 bveina
Last post wrangled fusion 360 into creating some acrylic pieces, but getting these pieces fabbed is a different challenge.
the design is intentionally split into just 4 components duplicated multiple times.
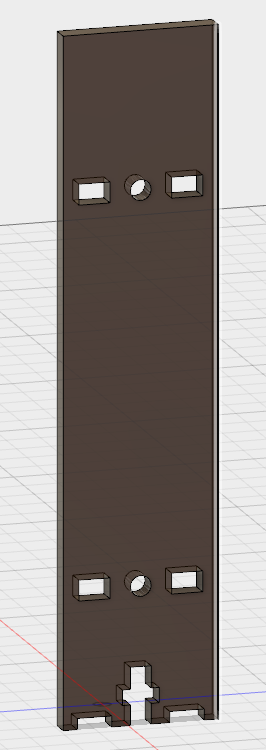
- inner vertical
- outer vertical
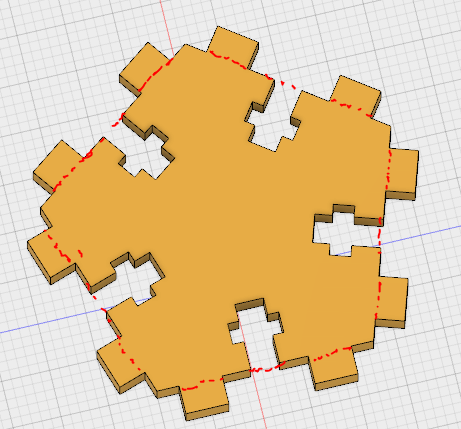
- center holder
- middle holder
 |  |  |  |
now i needed to get these to my laser cutter. a Chinese import 300x500 with an Rudia controller.

The software on these machines is notoriously ... not great ... but ive gotten used to it at this point. all i need is a dxf file to send to the software and ill be happy at this point.
so, fusion360 can do this pretty quick!
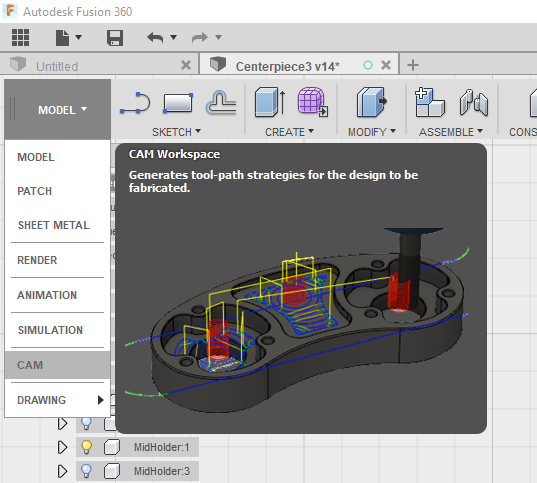
the cam tool can work with laser cutters and with an extra plugin, written by autodesk, it can make dxf files.
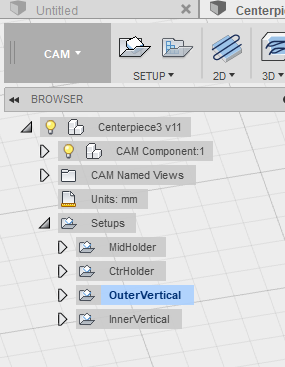
so im going to create 4 different "setups" one for each of the pieces i need to cut.
 |  |
for the vertical pieces, i need to tell fusion to perform two separate cutting operations.
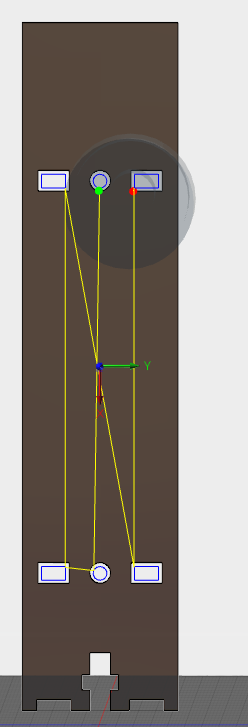 notice the cam has accounted for the laser kerf | 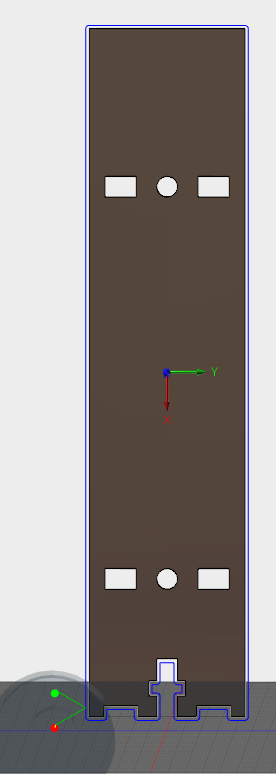 notice the cam has accounted for the laser kerf |
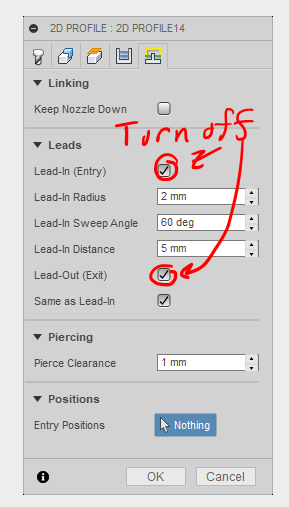 |  |
only one piece threw me on this part. on the outer cut, notice the green lines coming from the start and stop points? that's called lead-in in fusion 360. if you have tiny holes, you need to turn this off otherwise the cam processor can't make it work. so, thats a thing...
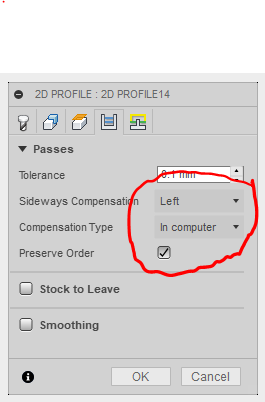
Also for the DXF export it is important to choose the correct kerf compensation selection. you want to choose Left compensation and "in computer" the dxf post processor cant handle the "in controller" option.
as ive been designing this model ive forgotten my laser cutter kerf, but thats ok i can change one parameter and the cam processor will compensate.

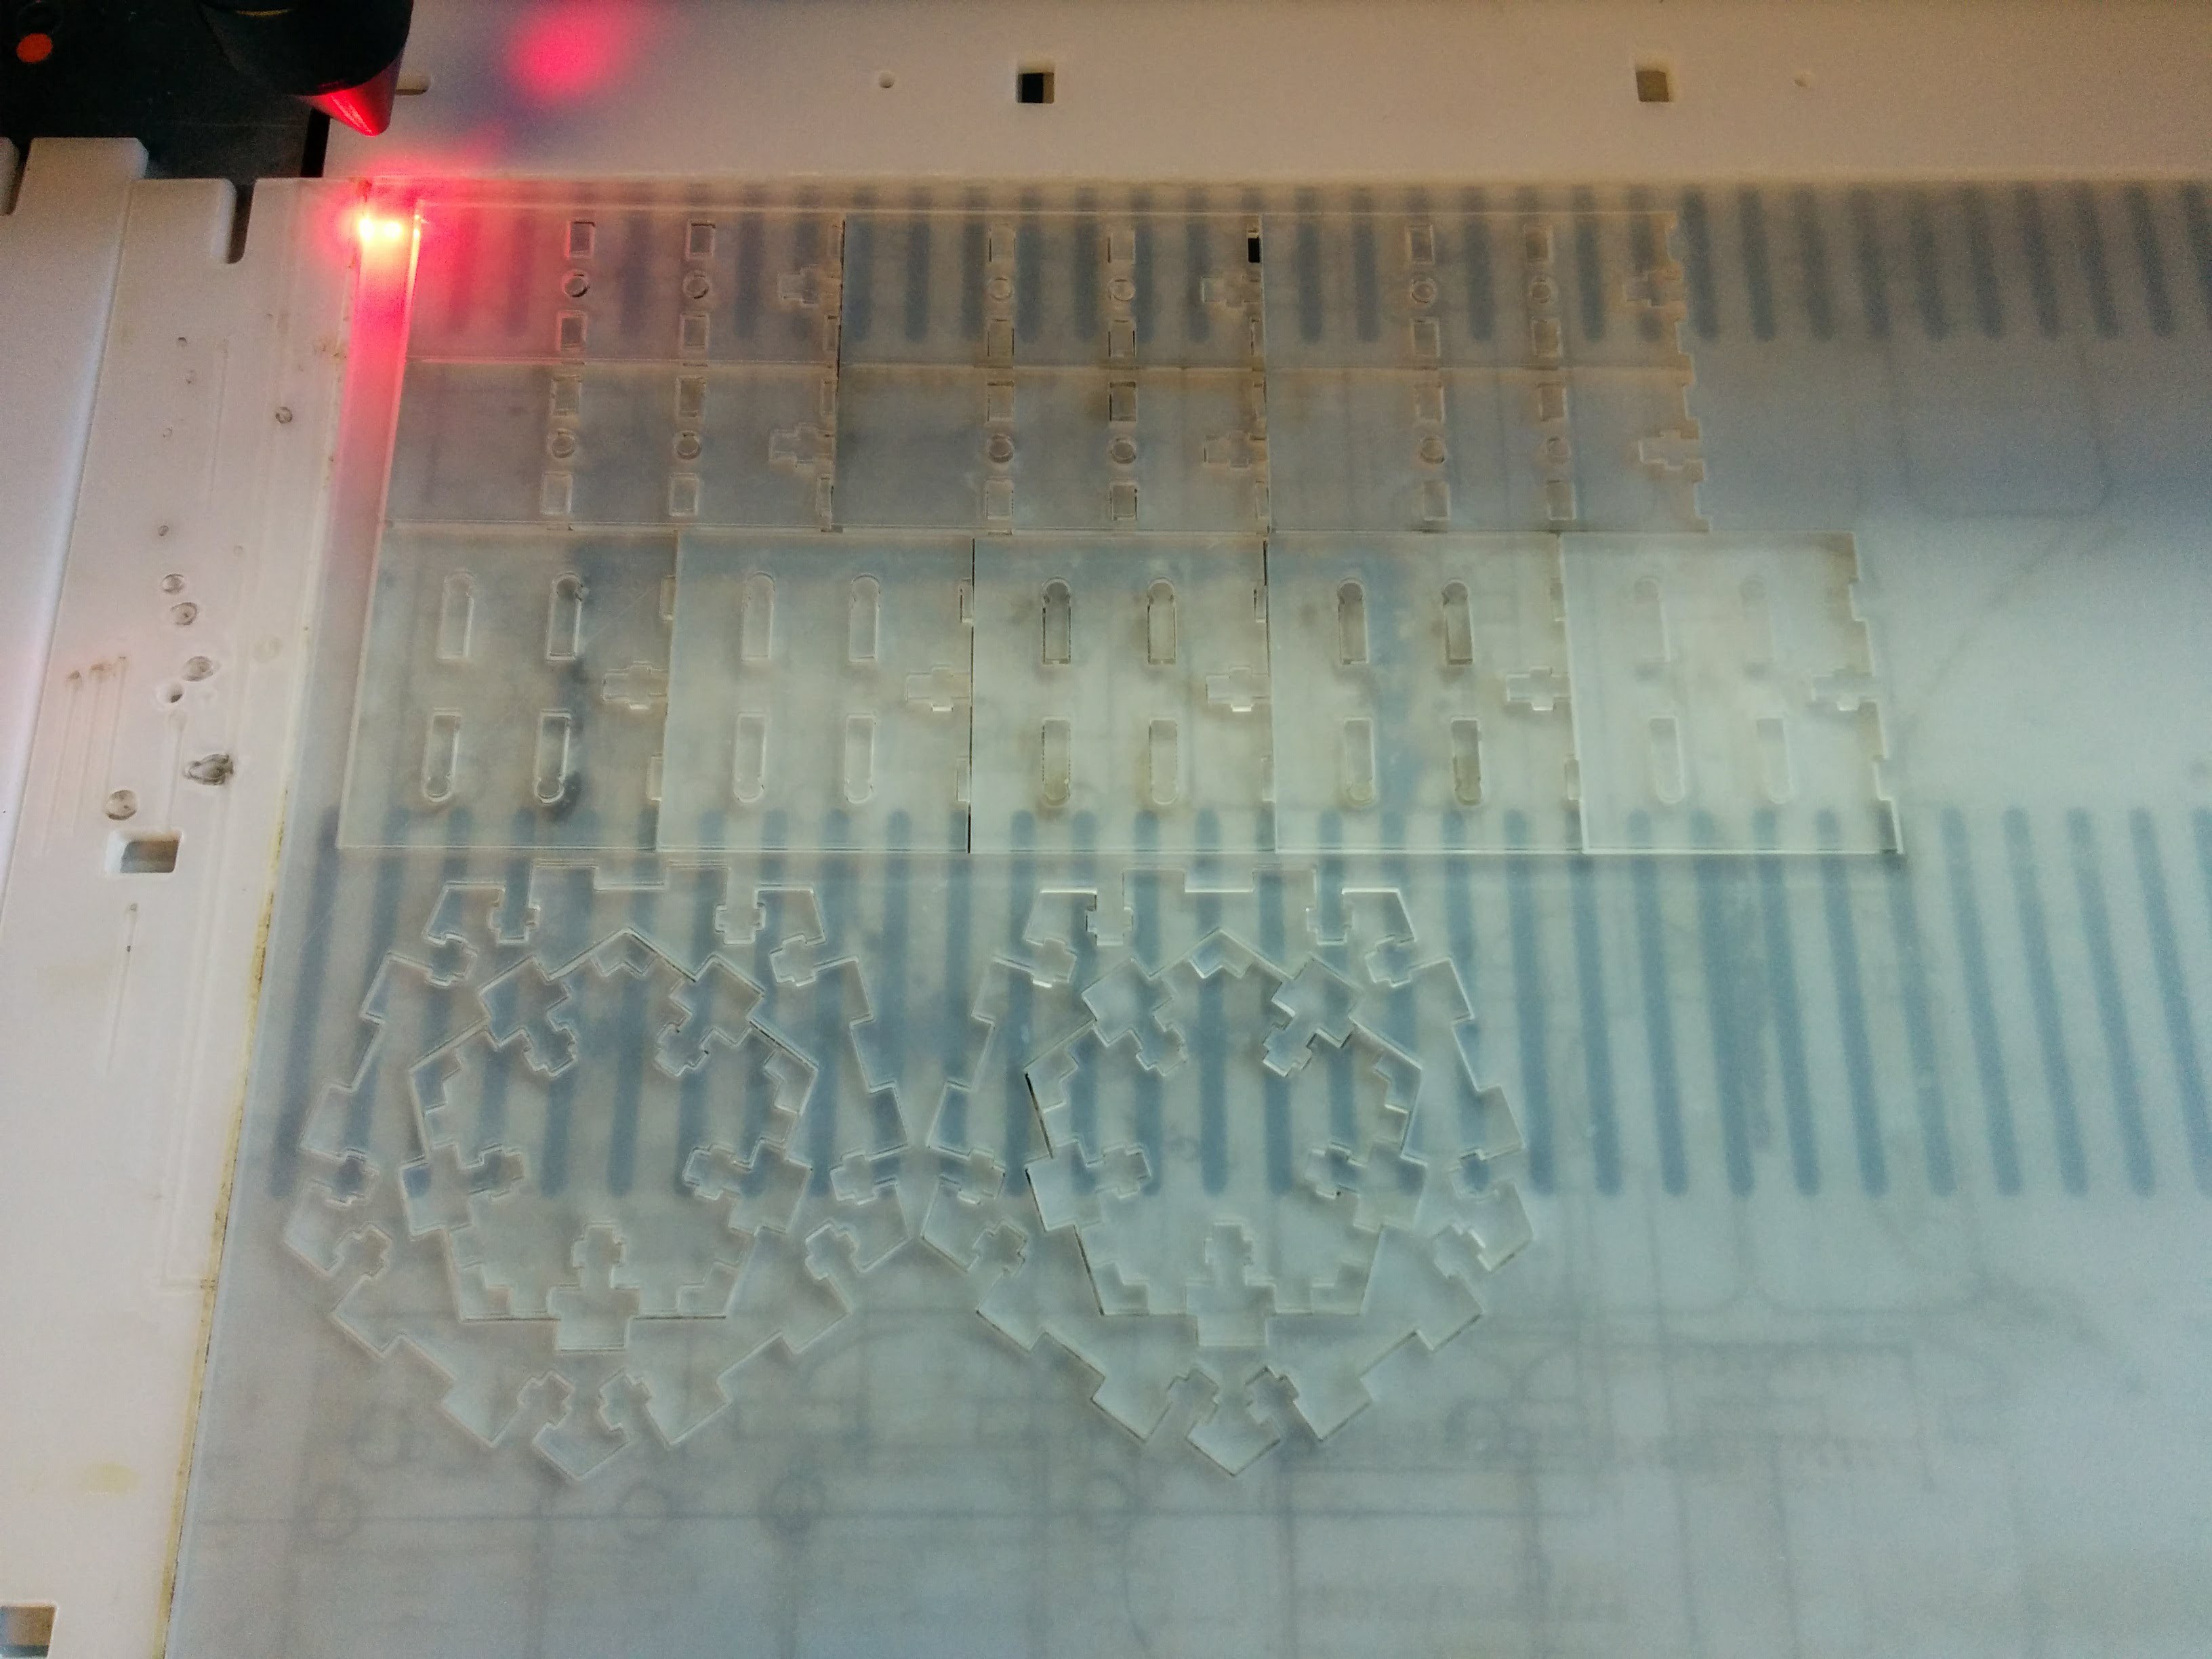
since i was trying to test construction methods with this prototype i set the parameters to relatively small. after running the post processor and importing into RDworks I've sent it to the laser cutter.
and assembled.
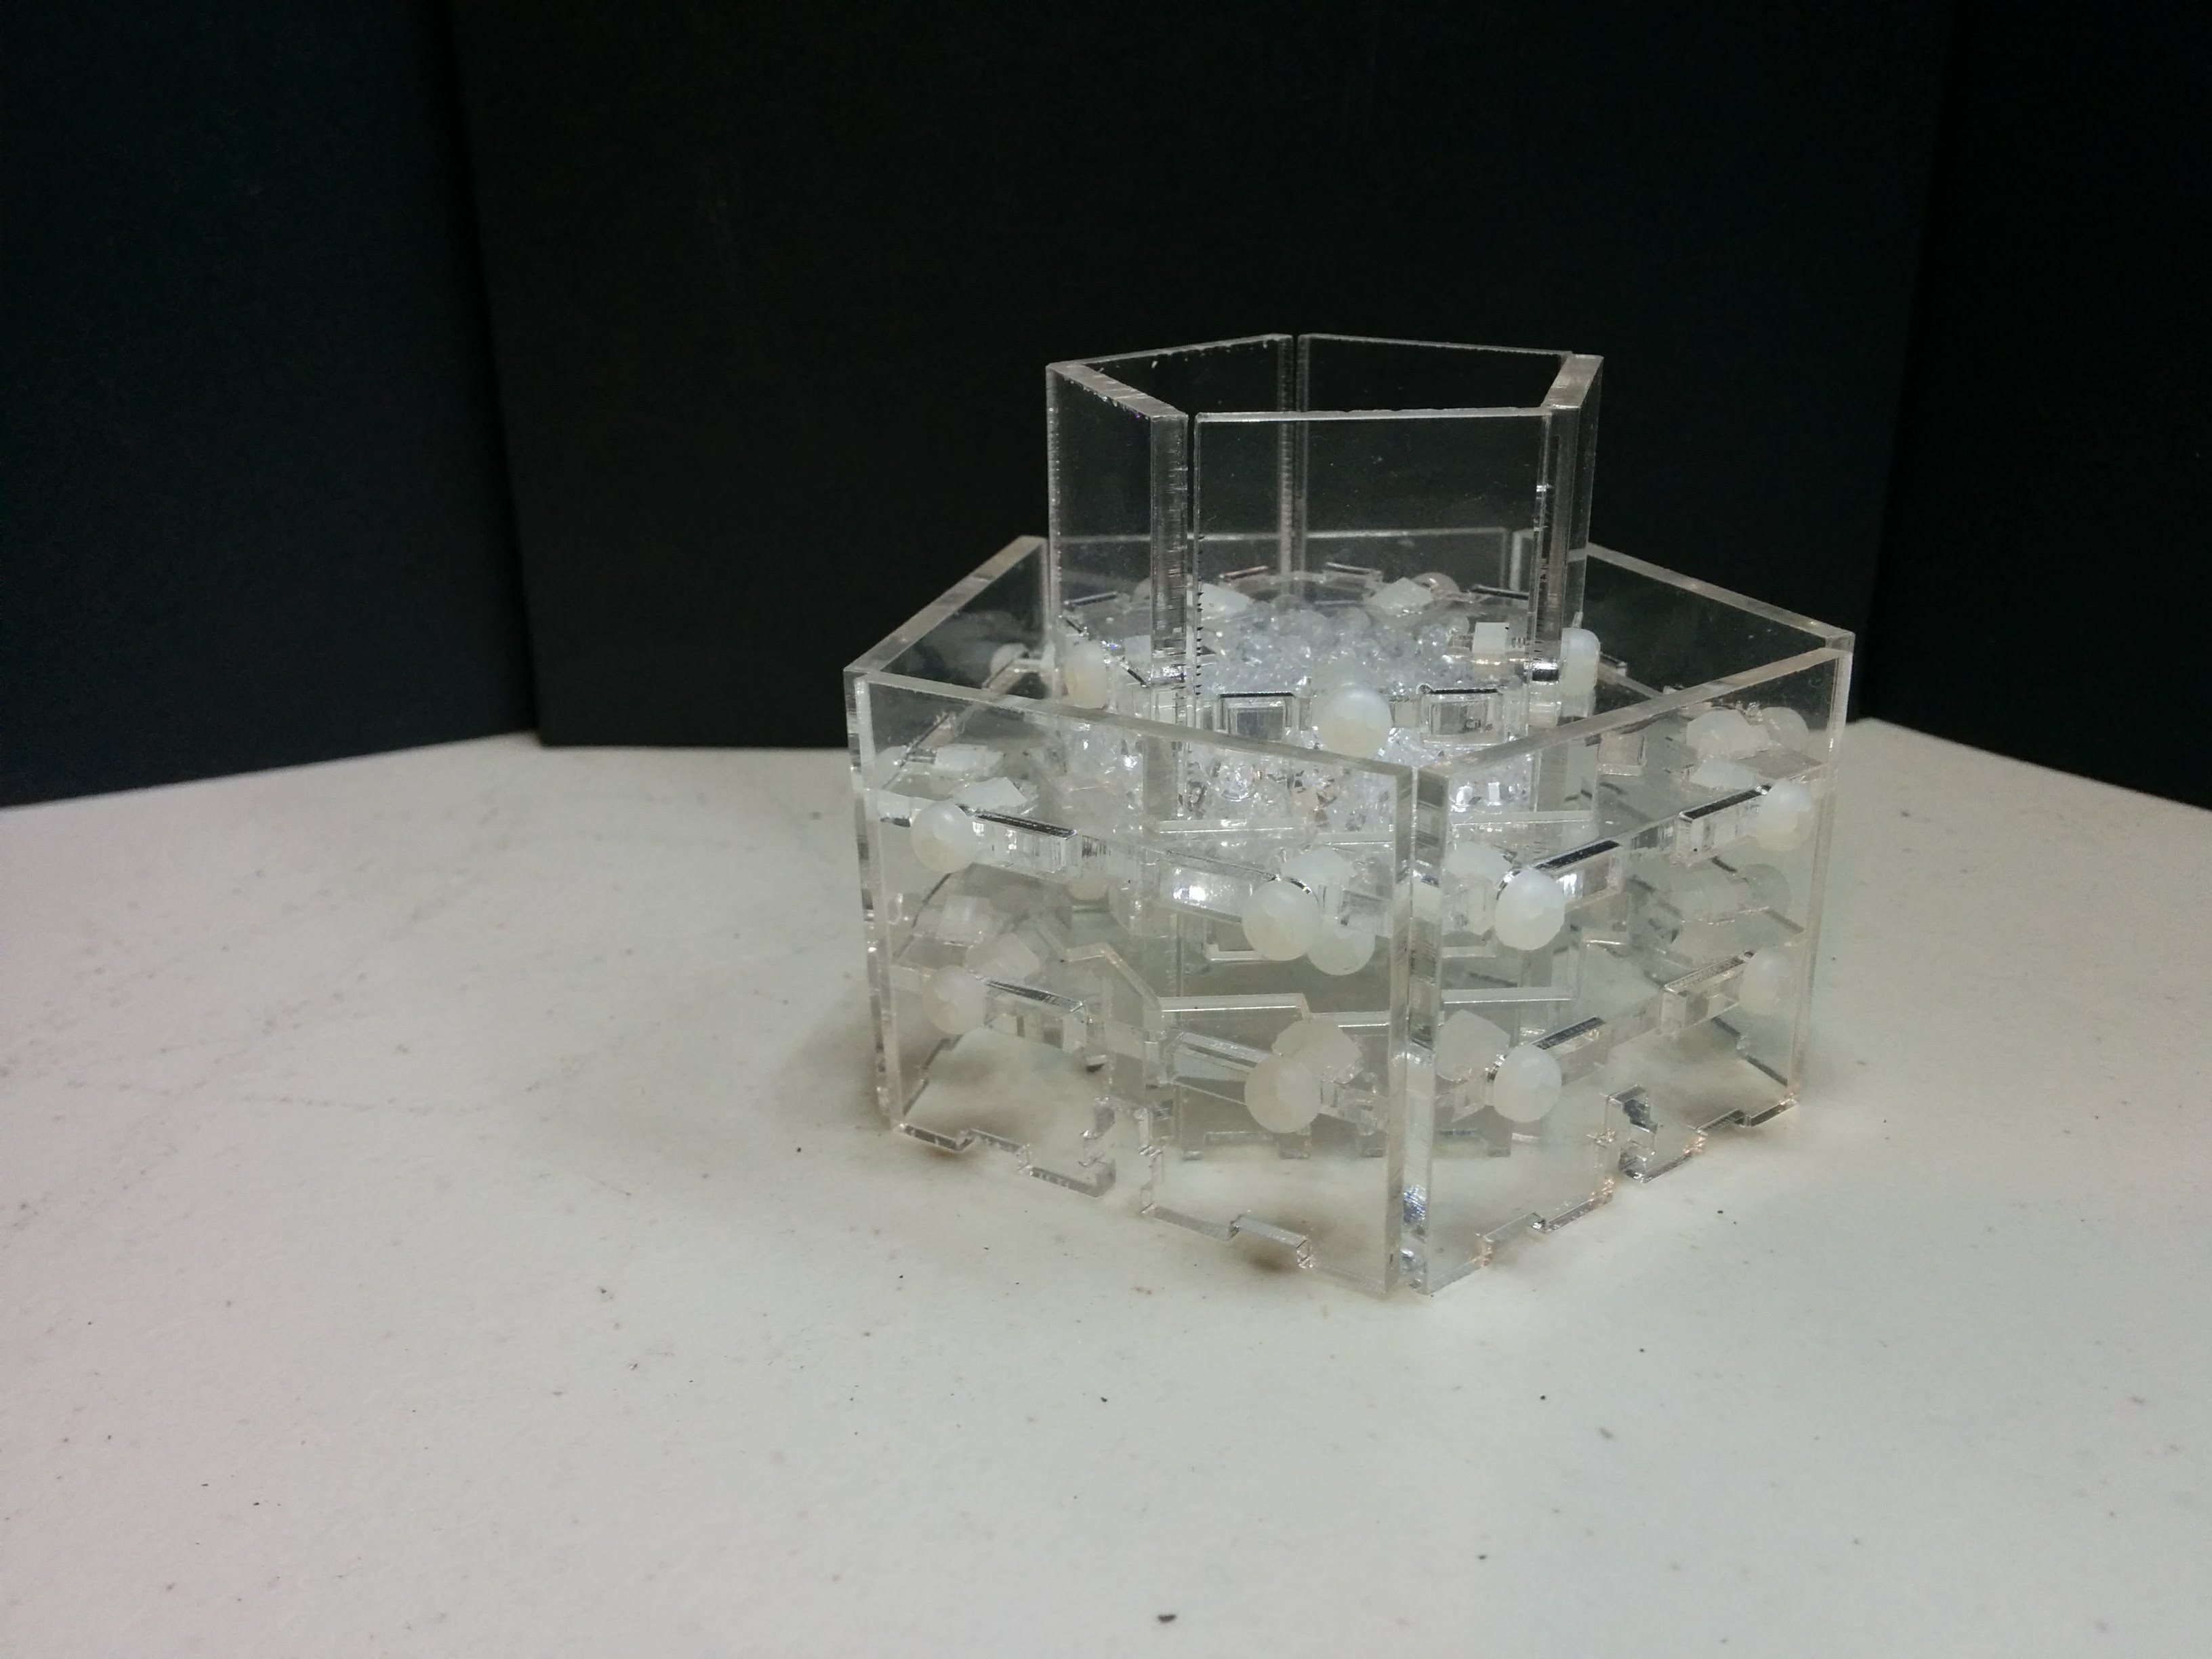
this version went together SO much better. also, as an added bonus, the center has been filled with 4.5mm rhinestones, for that extra sparkle.
i hope the next post will talk about the wireless transmission aspect.
Discussions
Become a Hackaday.io Member
Create an account to leave a comment. Already have an account? Log In.