 bveina
500milx300mil
that is the size of my APA102 breakout board. (call it 13x8 mm) and with DirtyPCBs I can have 100mm x 100mm so panelization is a must. opening up GerberPanelizer by ThisIsNotRocket Science the first step is adding as many breakout boards as possible.
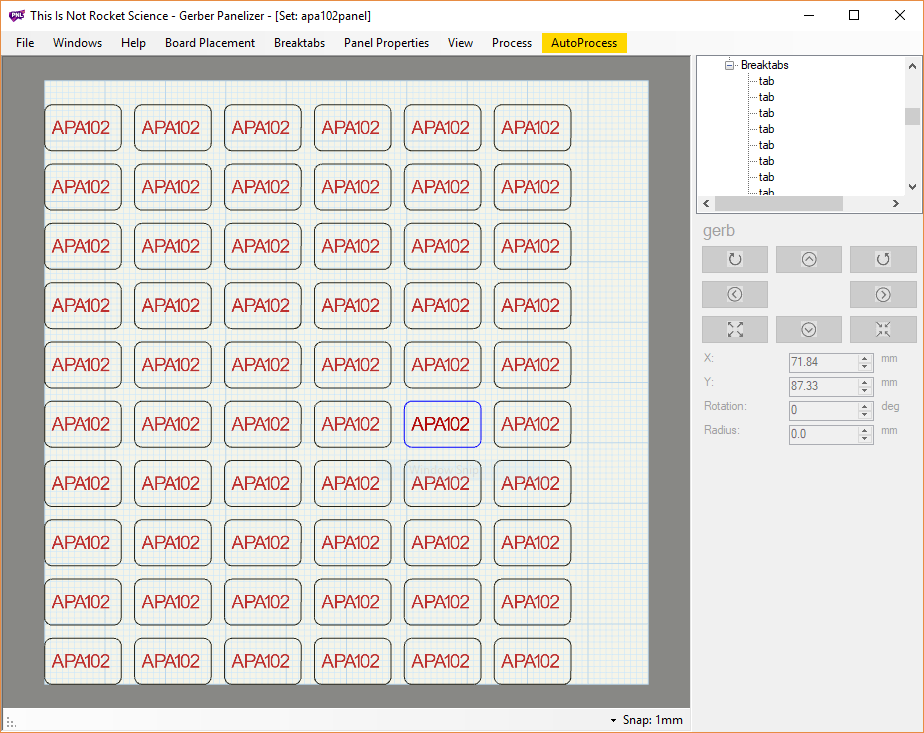
i use the naive autopack feature to get a clean grid of 60 boards, now i need to add breakout tabs. thats alot of tabs lets see what the auto breaktab feature does?
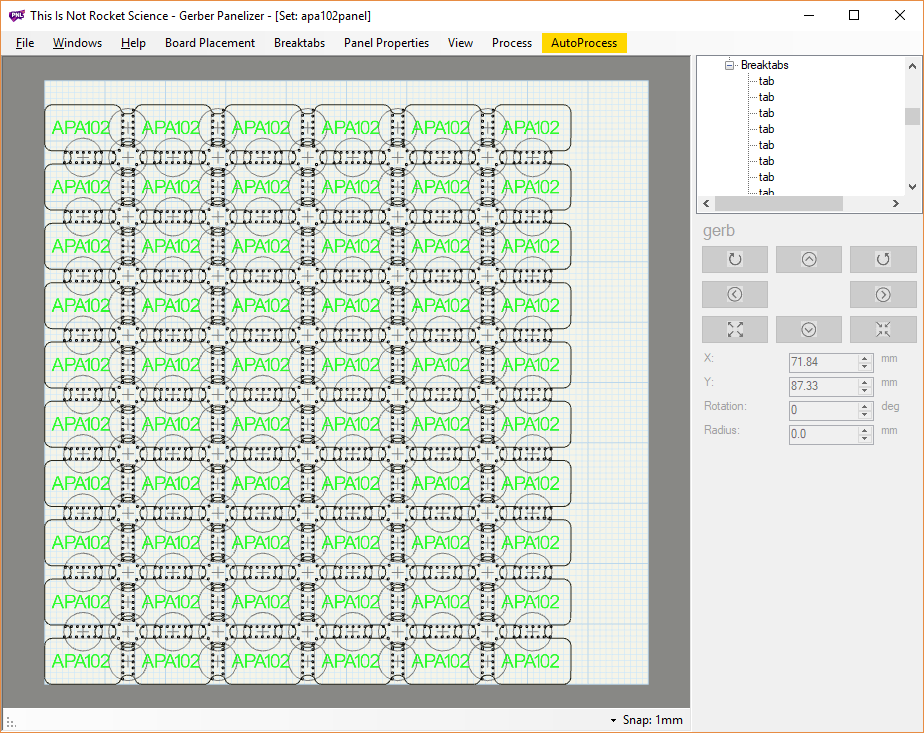
ok, that was a bit more than i anticipated. time to get creative
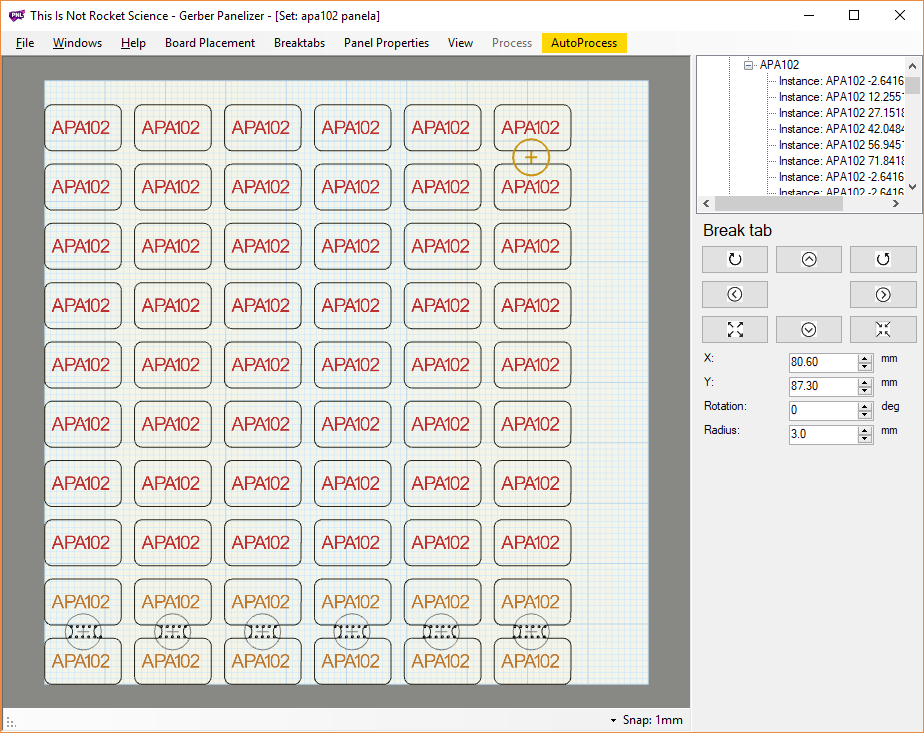
i am going to place two breaktabs precisely where i want them in opposite corners and save the file.
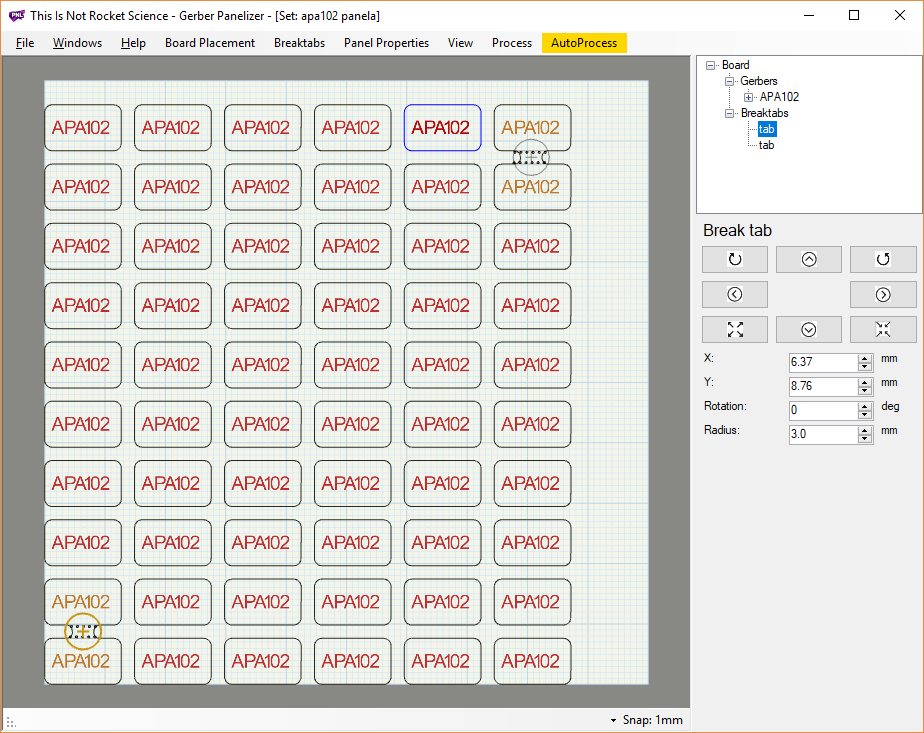
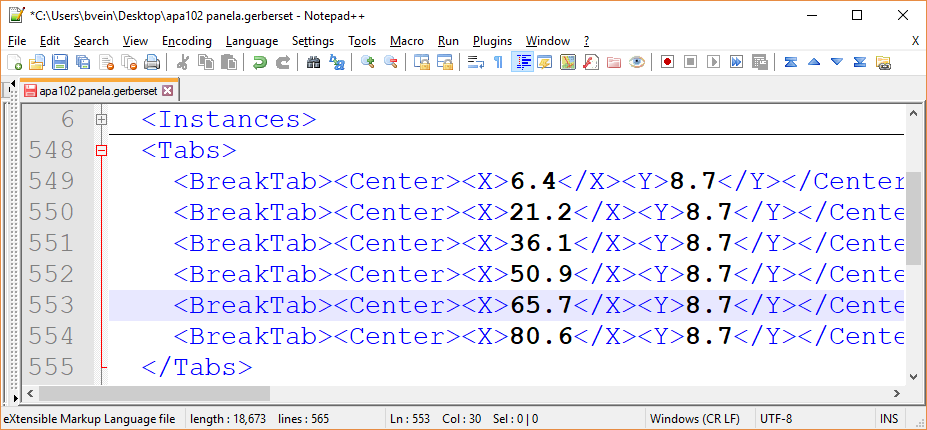
if focused on placing the tabs exactly in the middle between the two breakout boards and at the midpoint of the boards. this is important because any errors at this stage will propogate through the process. next open the file in notepad++. its simple xml we want to find the tabs section.

and now this is all we need is some quick division and then copy and paste. there are 5 spaces between columns in the x direction:
(80.4-6.4)/5=14.84
thats all that need to be added each time. same formula for the y direction.
first i check the distribution across the x axis, add 5 lines
save the file and reopen it in gerber panelzer
i consider this a huge time savings, and it makes the tabs much more repeatable. repeat this for all the long edges and the narrow edges and we arive at the final panel and only four had to be placed manually.
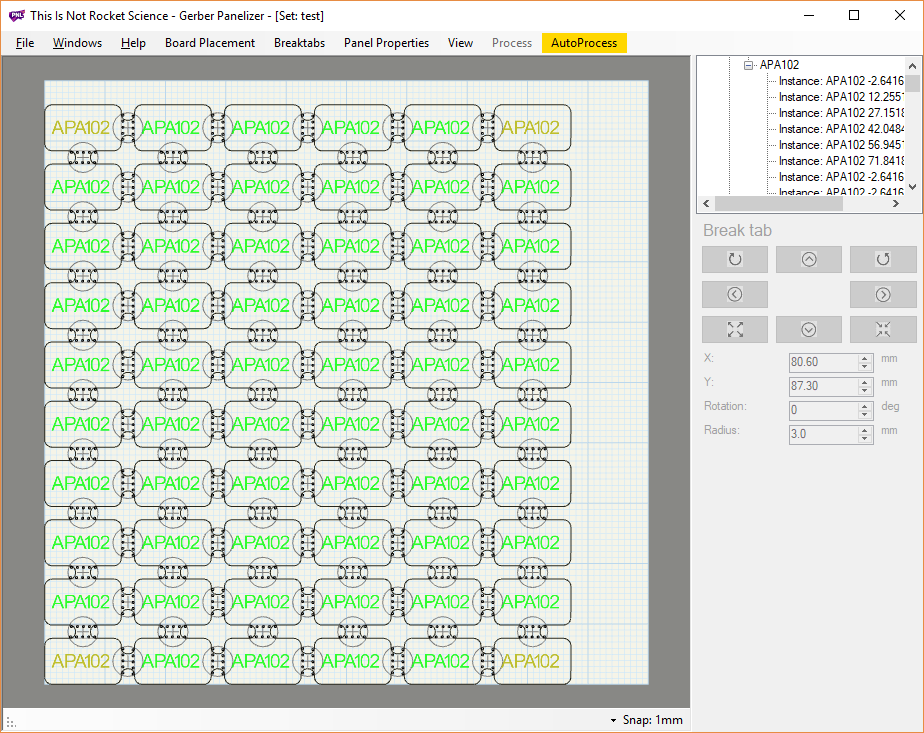
Thats it for panelizing and its been sent off to Dirty PCBs so in just a week or two ill have 600 breakout boards. ready to prototype with.
Discussions
Become a Hackaday.io Member
Create an account to leave a comment. Already have an account? Log In.