This project has 3 parts:
1. Replace the speaker and/or amplifier. I have several car speakers that might work for this and have better sound, but the main issue is volume. The current amplifier isn't very powerful, so I'd like to change that. I might be able to add multiple speakers, too.
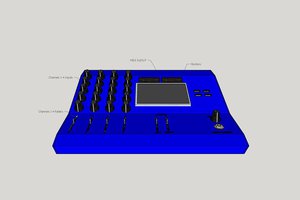
2. Add smarts. I don't like having a wire running to the speaker from my computer for two reasons. First, it doesn't look good because it originally was wired through the school's walls. Second, the headphones cord I have right now is too short, so I had to extend it with some extra wire and scotch tape (for lack of better materials in my dorm). Instead, I want to add either Bluetooth or AirPlay receiving. I'll probably end up using either an Arduino with a Bluetooth module or a Raspberry Pi with a WiFi adapter for this. Going wireless will also require a battery pack and some way to conserve power.
3. Fix the veneer. It's currently pretty beat up and has paint marks over the sides and even the front. I want to fix it up while preserving the original look, but this will probably involve replacing the entire veneer. Alternatively, I could simply paint it, since the wood grain pattern is very subtle anyway. I would still need to patch up some minor damage to the wood.
Originally, the speakers were used as two-way communication between the office and the classrooms. This works because speakers can also act as (low-quality) microphones when used in reverse. It would be really cool to get that working as well, but that's not part of the core of the project.
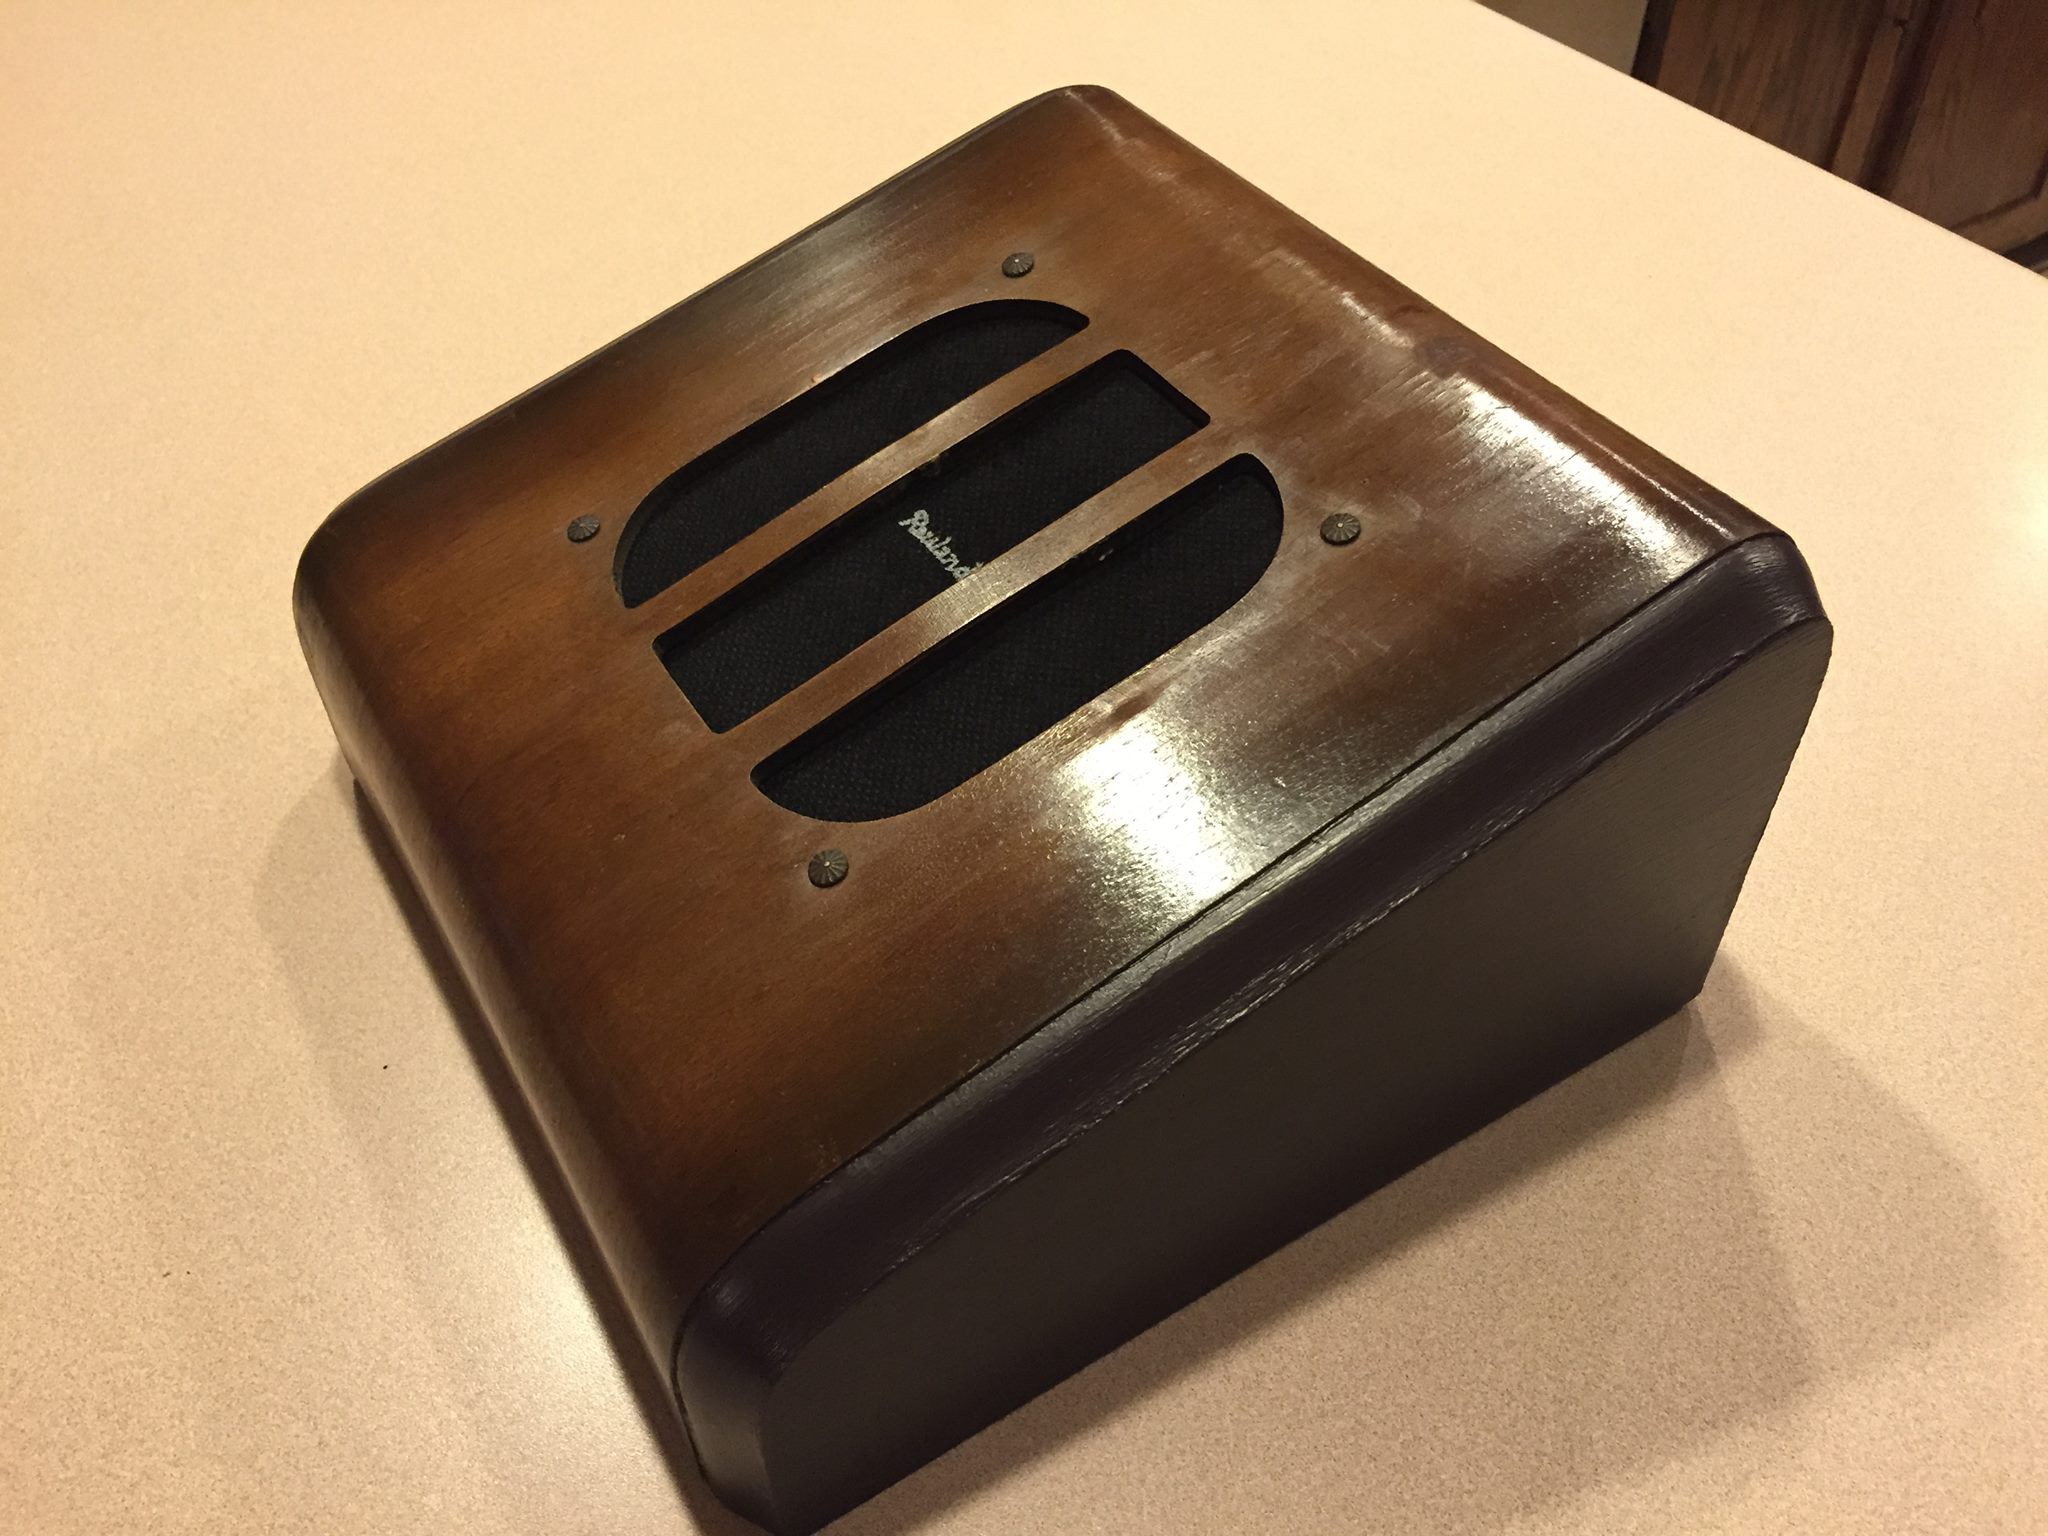
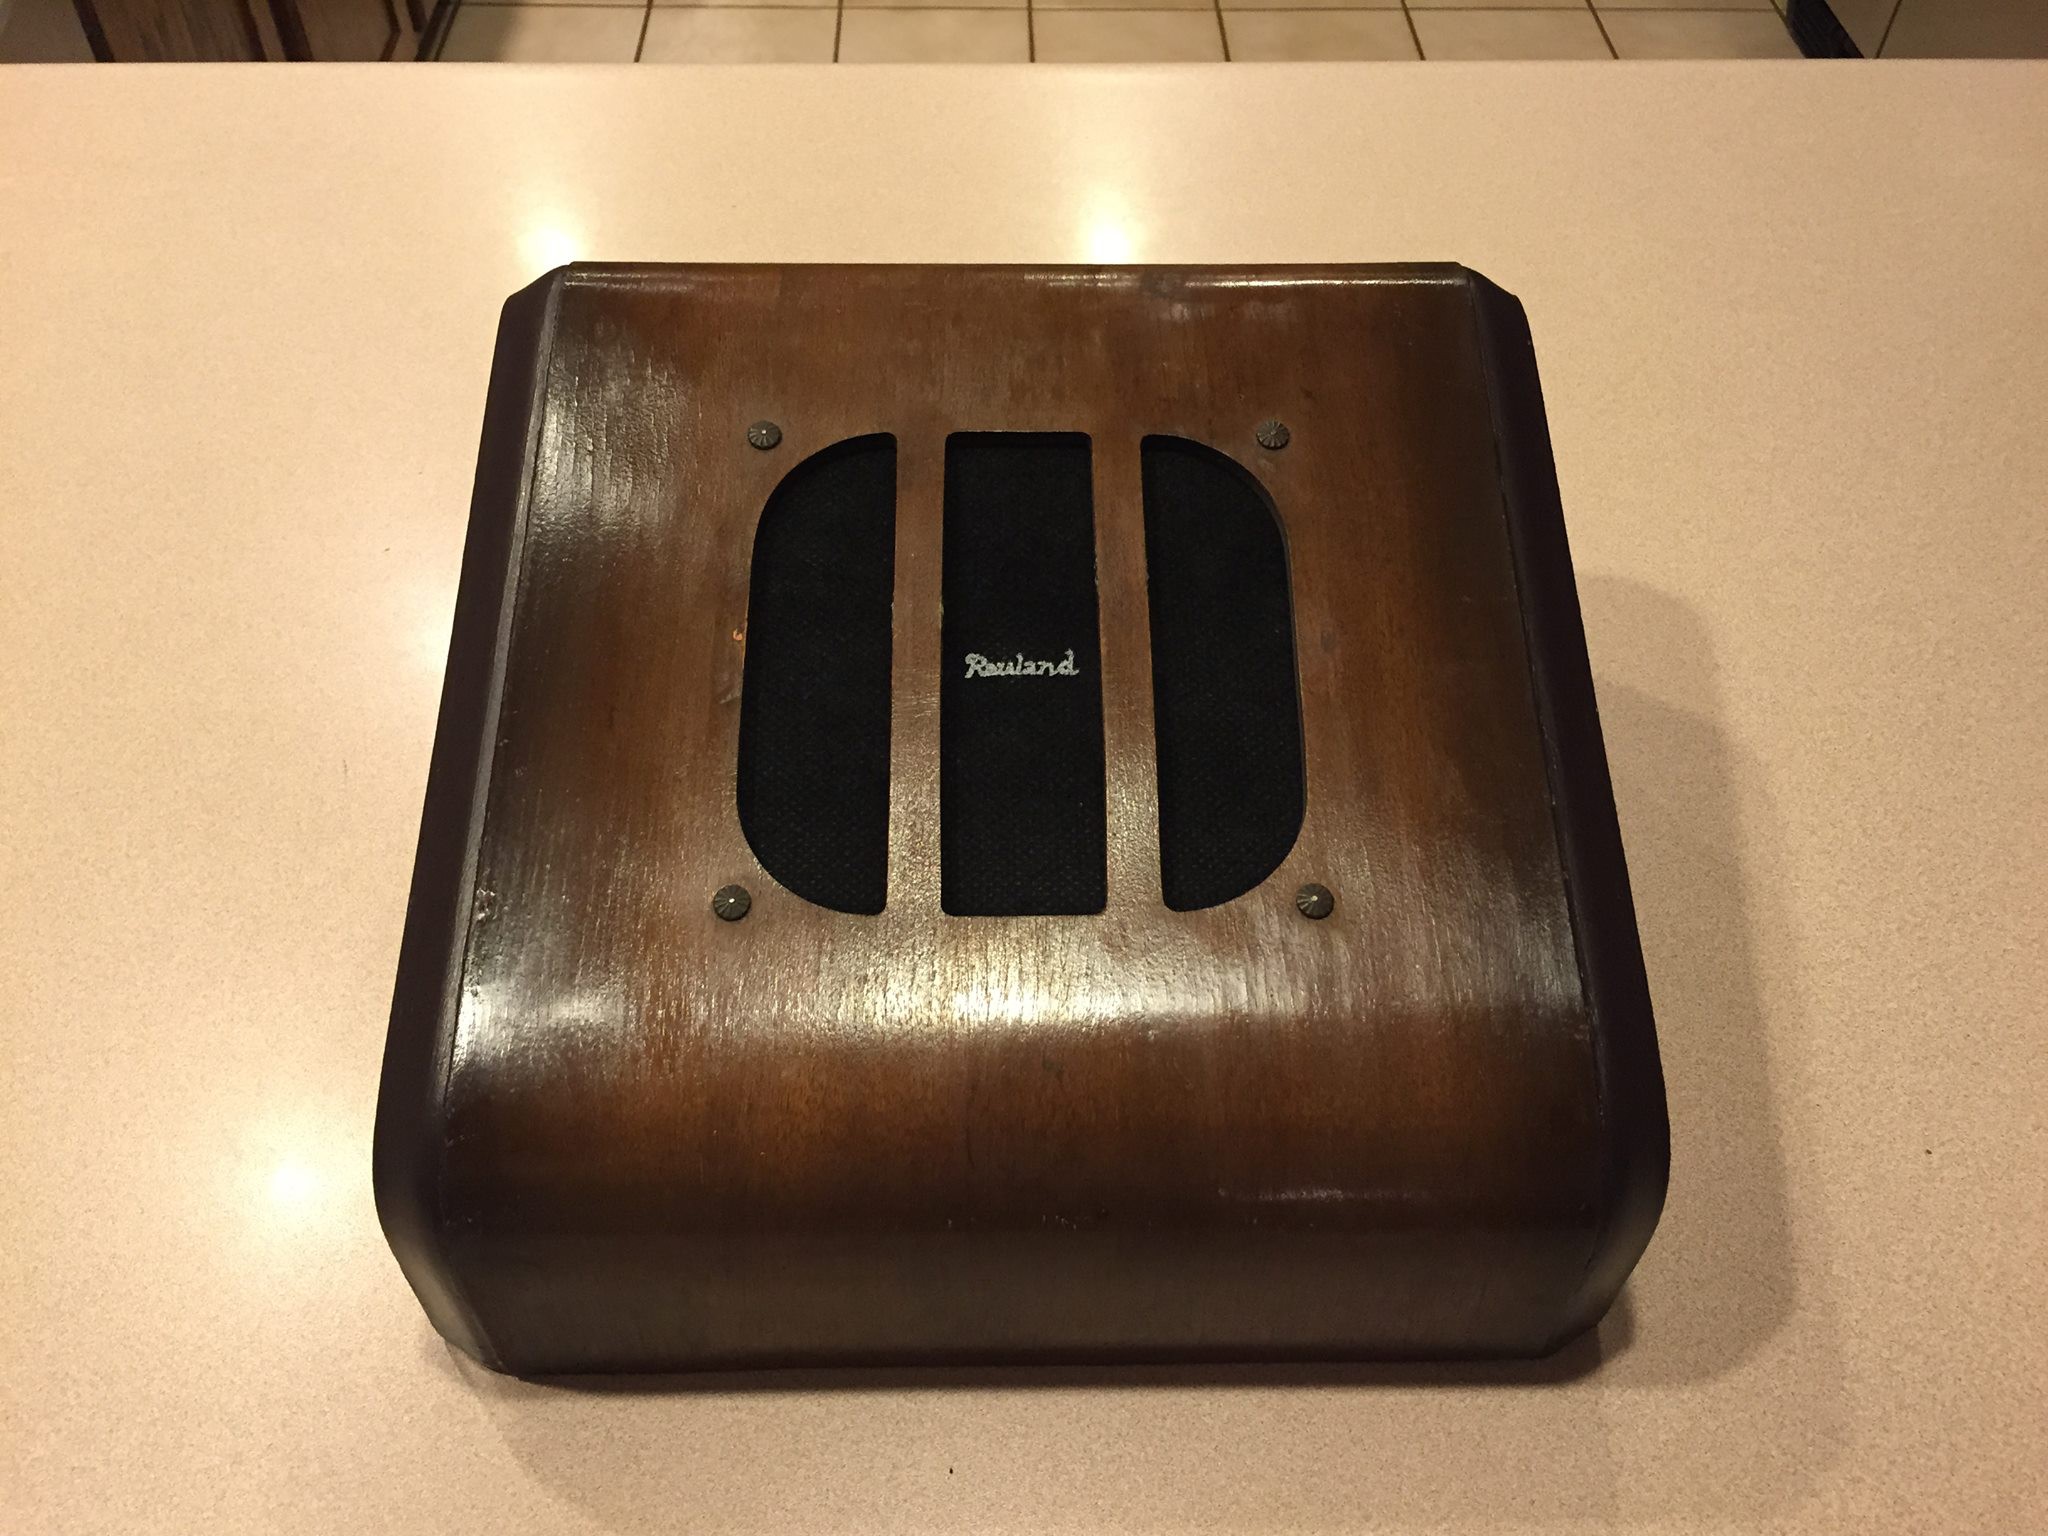 I took the speaker out, and it seems to have held up surprisingly well over the years. No signs of any damage, although it was quite dusty. I was originally going to replace the speaker cloth, but when I took it out, I realized it too was in much better condition than I thought. I washed out the dust and grime, then flipped it inside out so the less faded side was facing out. My sister kindly painted the Rauland logo on the new front. While I was at it, I glued the broken cross bars back together.
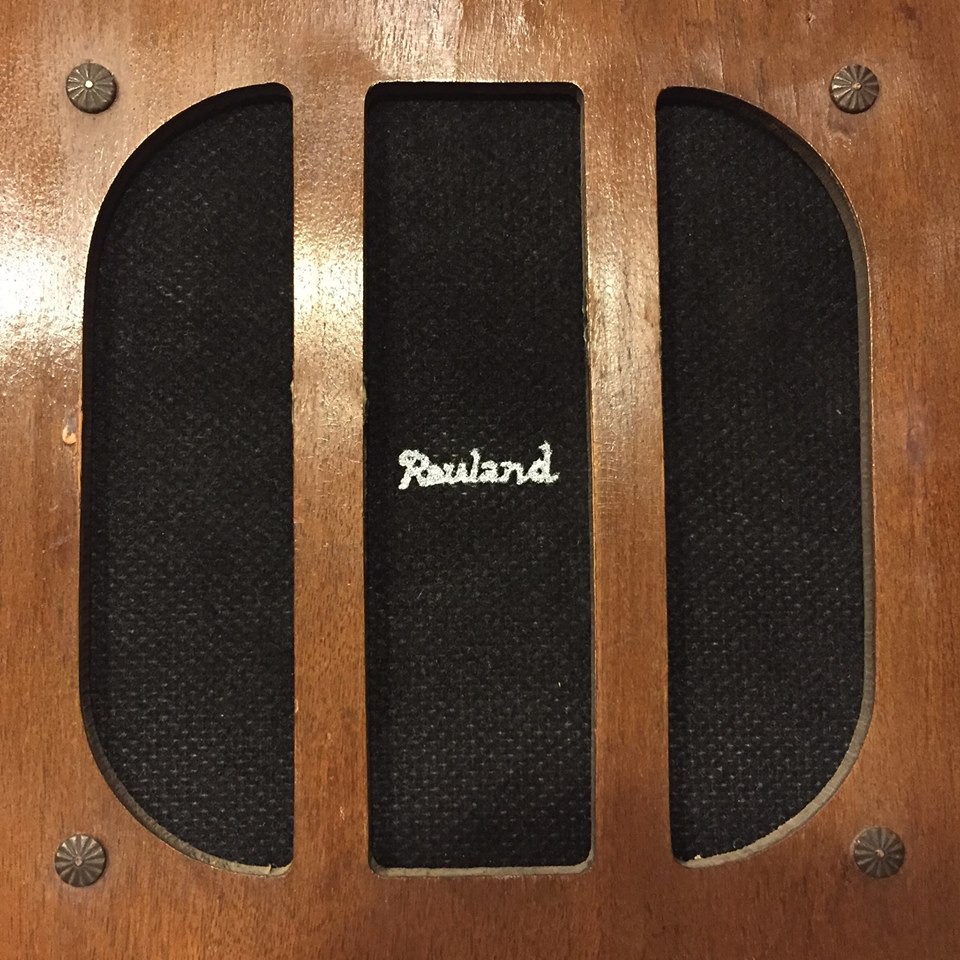

 Daniel Frausto
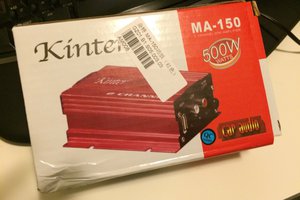
 Mike
Mike
 Matt
Matt
If you can, use the original speaker. Many old PA speakers actually have a rich, full sound when driven properly. I have been using 6" PA speakers rescued from a church dumpster in my home theater system, and they sound fantastic.