Background
So this project started with myself and a couple other members checking to see if we could melt some sand with the K40 Laser Cutter at River City Labs (local makerspace in Peoria,IL). The first tests with the sand went pretty well. The melted objects were pretty brittle, but that's to be expected with something this crude. The next step was to try sugar. I basically did a vector engrave using Laserweb and manually jogged our motorized Z axis between each layer. Again, the melted sugar was brittle, and a little burnt.
The next step was to automate the process. I set a couple guidelines for myself for no particular reason but for the challenge. The limitations that I set were to make the 'upgrades' for this strictly mechanical in nature. So adding extra electronics would not be permitted. It also needed to easily detach from the laser so other members could go back to using the laser within a few minutes. I also restricted myself from modifying the firmware on the smoothieboard for the same reason as well.
The concept
The idea is pretty simple. What if you added a salt shaker to the head of the laser cutter? This would allow you to "shake" out the new layer of sugar after each layer. So you would vector engrave the layer, the head would then move back and forth in a "jittering" motion to shake out the next layer of powder.
Most SLS systems have 2 separate powder beds with roller to lay the next layer. You could modify a laser cutter to do that, and people have in the past. I just wanted to see if something this minimal could work.
Testing
The first test used a 3d printed shaker attached to the laser head with nothing else. You do have to disconnect the air assist from blowing the sugar around, but this was just the first test. The first model was basically a square box that was turned into Gcode using Laserweb with an added zig-zag pattern added after the end of the layer. I then jogged the bed down 1mm manually and ran the gcode again. I repeated this about 4 or 5 times until I had a sort of single walled square thingy.
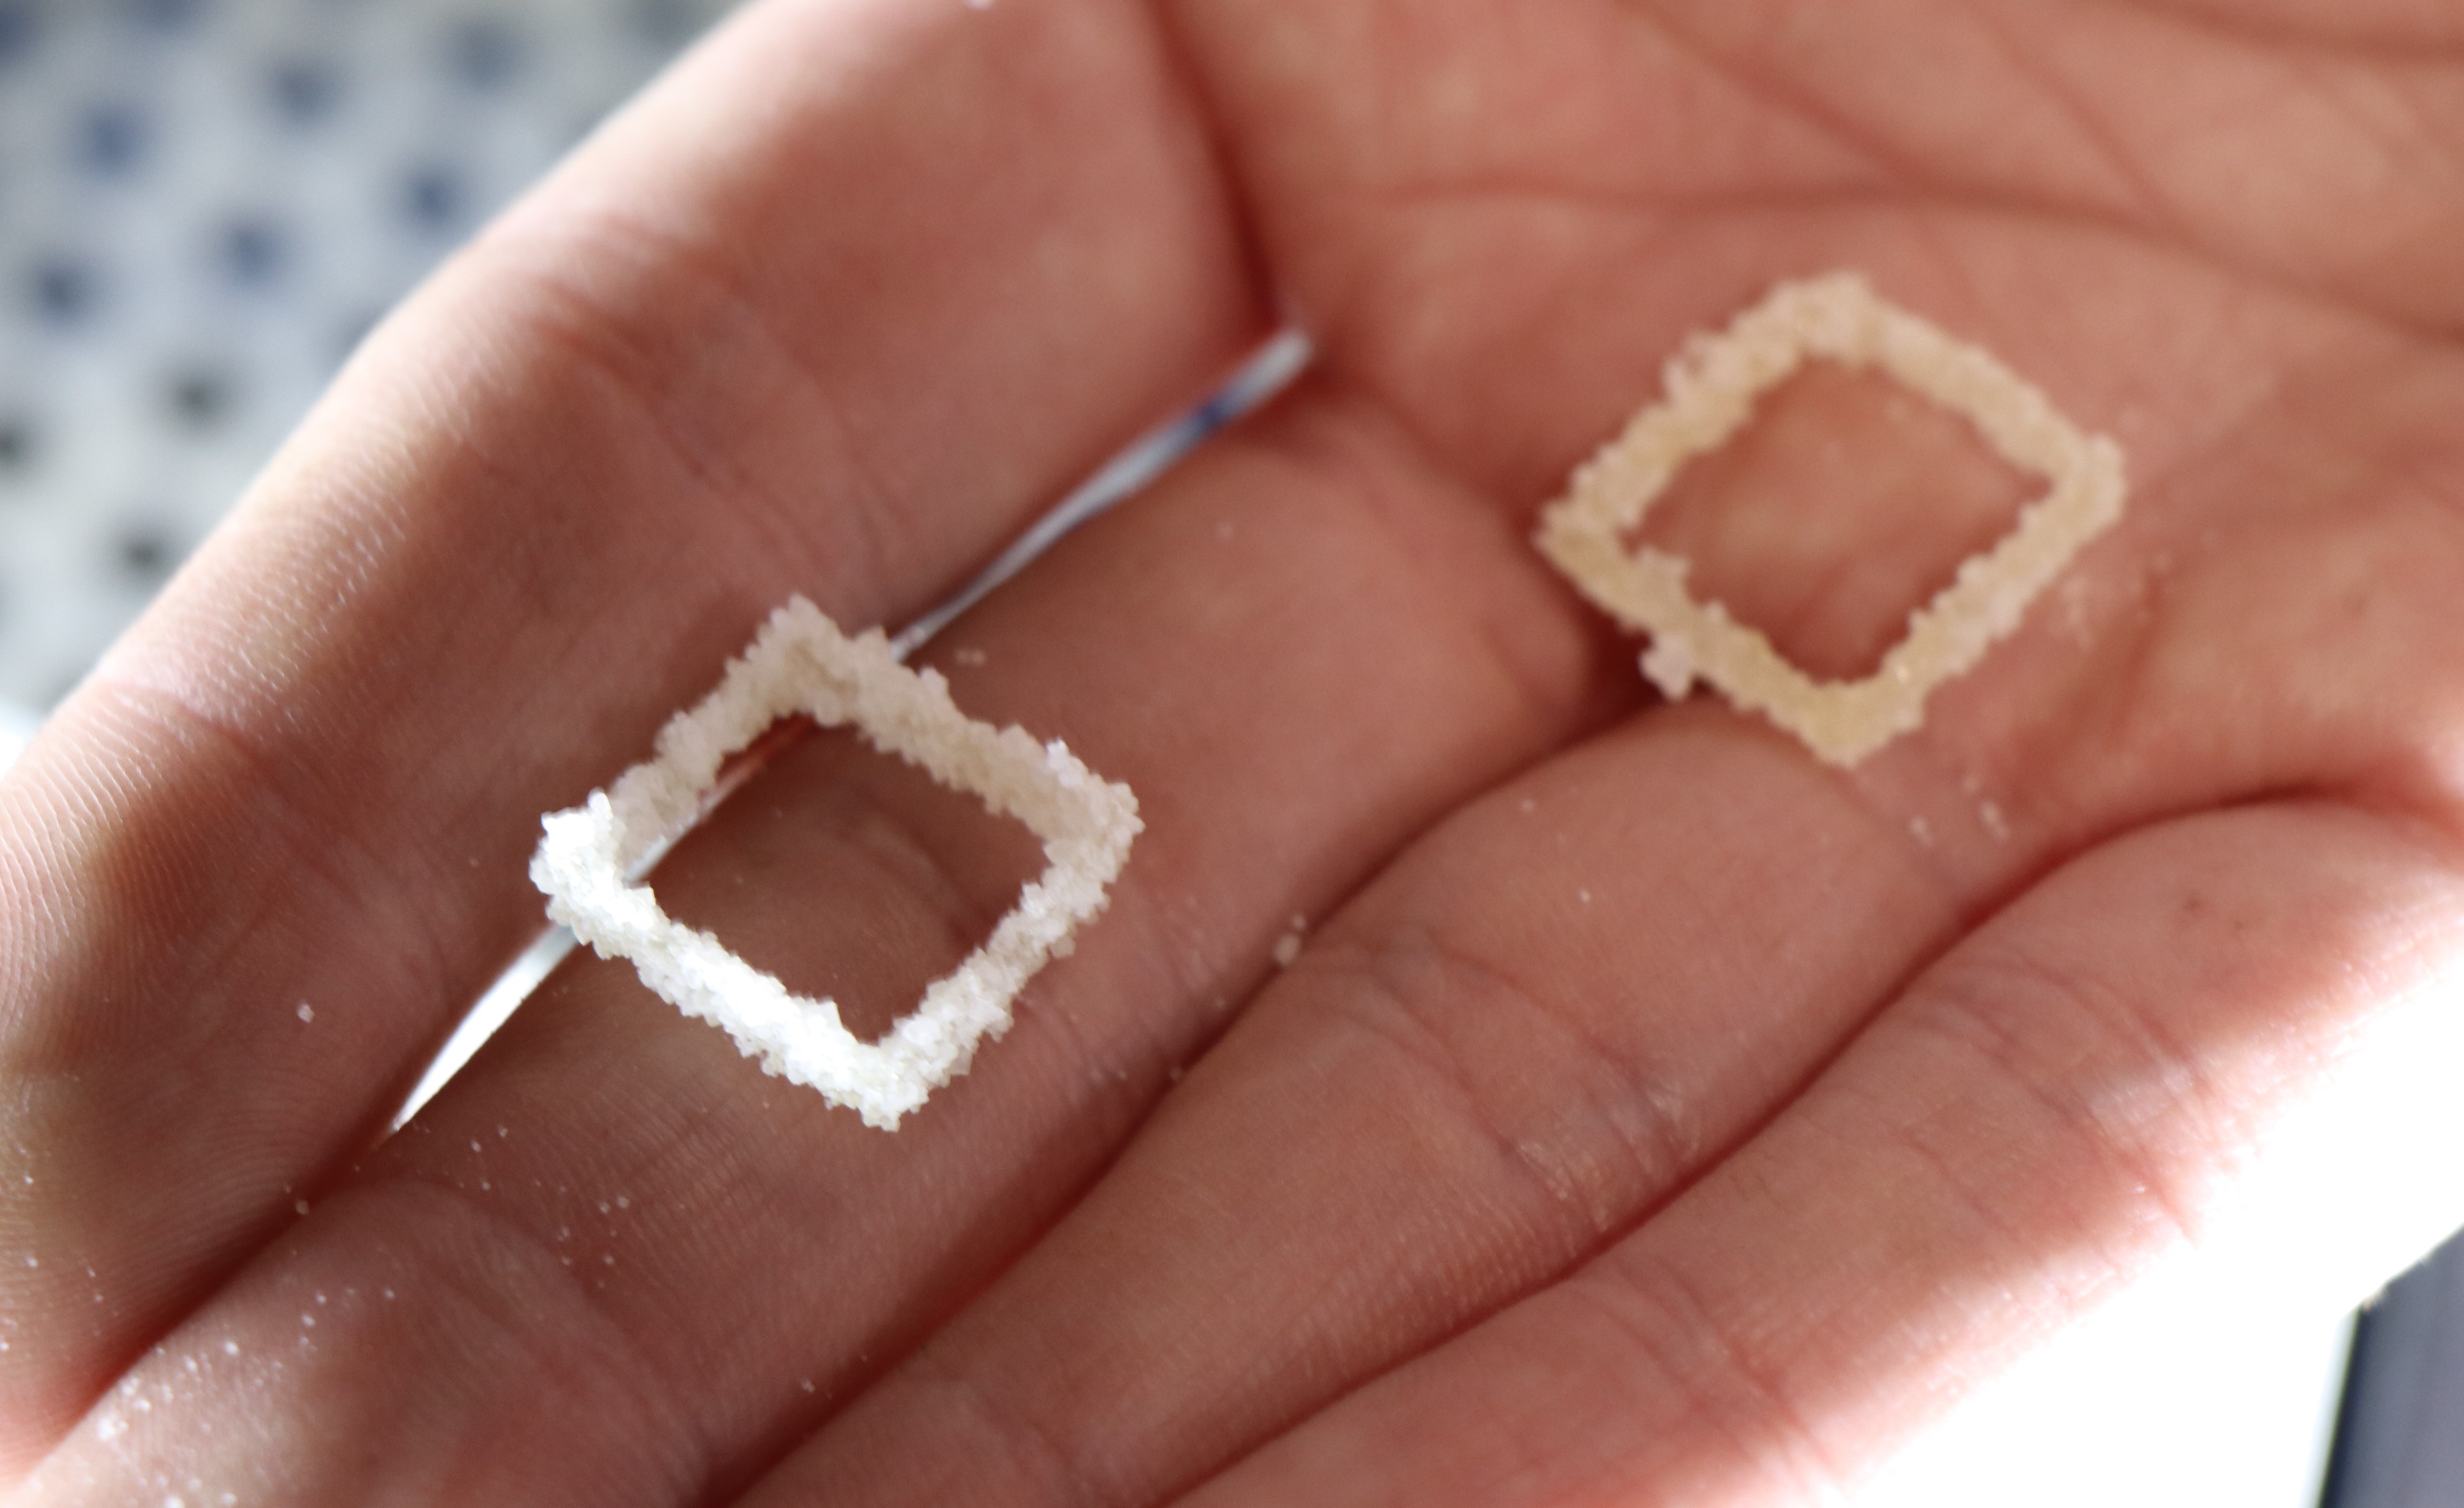
The results weren't very promising as you can see. I did however find a good laser setting and speed so that it melted it but didn't caramelize the sugar. The biggest problem was the sporadic depositing of the sugar. I knew that would be an issue, but the shaker holes tend to clog every so often.
Fixing the "flow" problem
The next step was to obviously improve a few things. To solve the sporadic sugar layers you could sieve the sugar beforehand, but to be honest, that's just more work than this "hack" really deserves. You could also try using a finer sugar. The first thought most people have is "powdered sugar", but what I learned from the "CandyFab" printer from Evil Mad Scientist Laboratories (definitely worth checking out btw! This was years before Makerbot even! https://candyfab.org/ ), most powdered sugar is starch and not actual granular sugar. There could be other sugars out there, but that's not my specialty.
So if you cant make the sugar more consistent we might as well make it flow easier. Many people suggested adding a vibrating motor to the shaker. I created my initial guidelines for this very reason. If I just added a vibrating motor onto this already "sketchy" hack, then I would be solving the problem, but not the underlying reason for that problem. If we can add a vibrating motor, then we might as well make a proper motorized dispenser.....and if we do that, then we may as well create a proper bed....etc. You can follow that line of reasoning until the point where I should have just created an SLS printer from scratch, hence the guidelines.
So the approach I took was to make the holes bigger in the shaker and create a mechanical way of turning on and off the flow of sugar. The next version had a cover on the bottom that could be rotated to turn the flow of sugar on and off. So now before it starts the next layer,...
Read more »
 Satoshi Tanaka
 helge
helge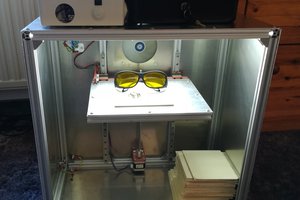
 Dominik Meffert