 AVR
AVRThis week I managed to get a bit more done, a little bit of work here and there on each of the different parts. At the start of the week I ordered all the components for populating the PCBs, they should be in from Digikey after the weekend. I went through my inventory of components on hand and decided to just order all new components, to keep things simple, it ended up being a lot cheaper than I originally estimate too.
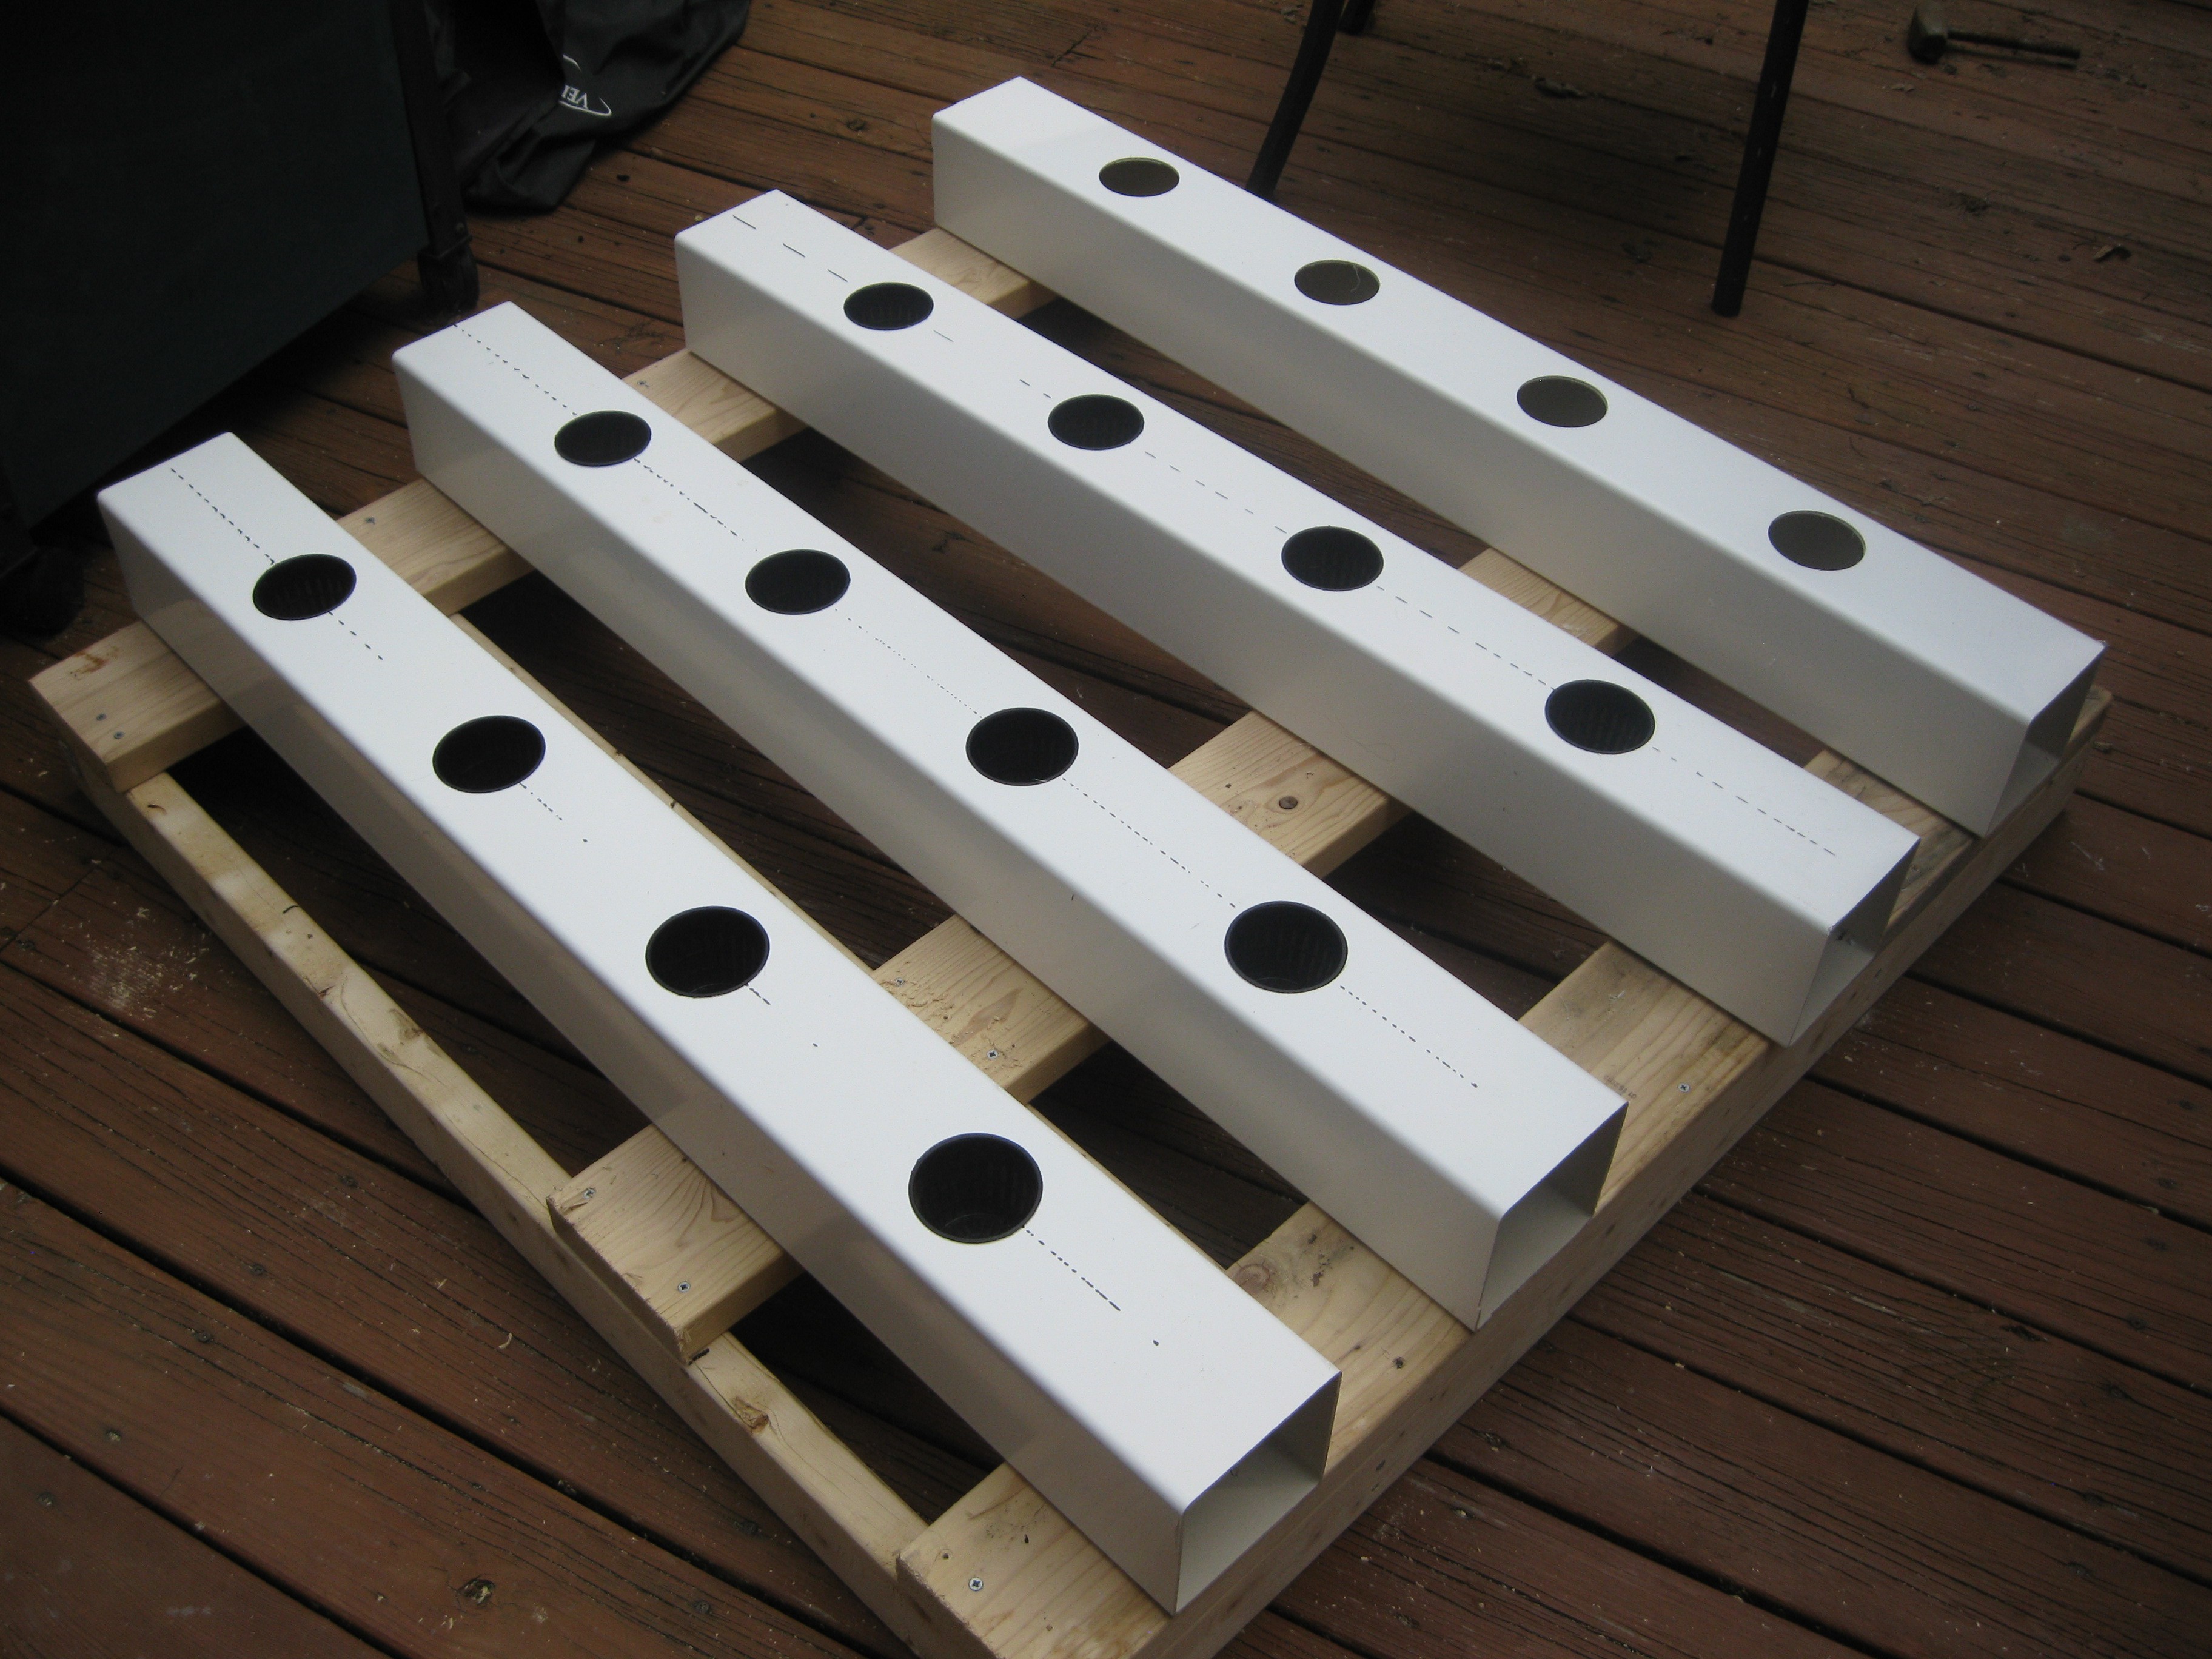
During this week I also got a lot more done on the grow unit. With the help of some friends I went to the local hackerspace's free night and drilled out all the wholes for the pots in the fence post. Unfortunately I forgot my camera so I don't have any pictures at the space of the drilling.
Posts all drilled with pots in all but 4 positions, see that the frame isn't finished, more on that next!
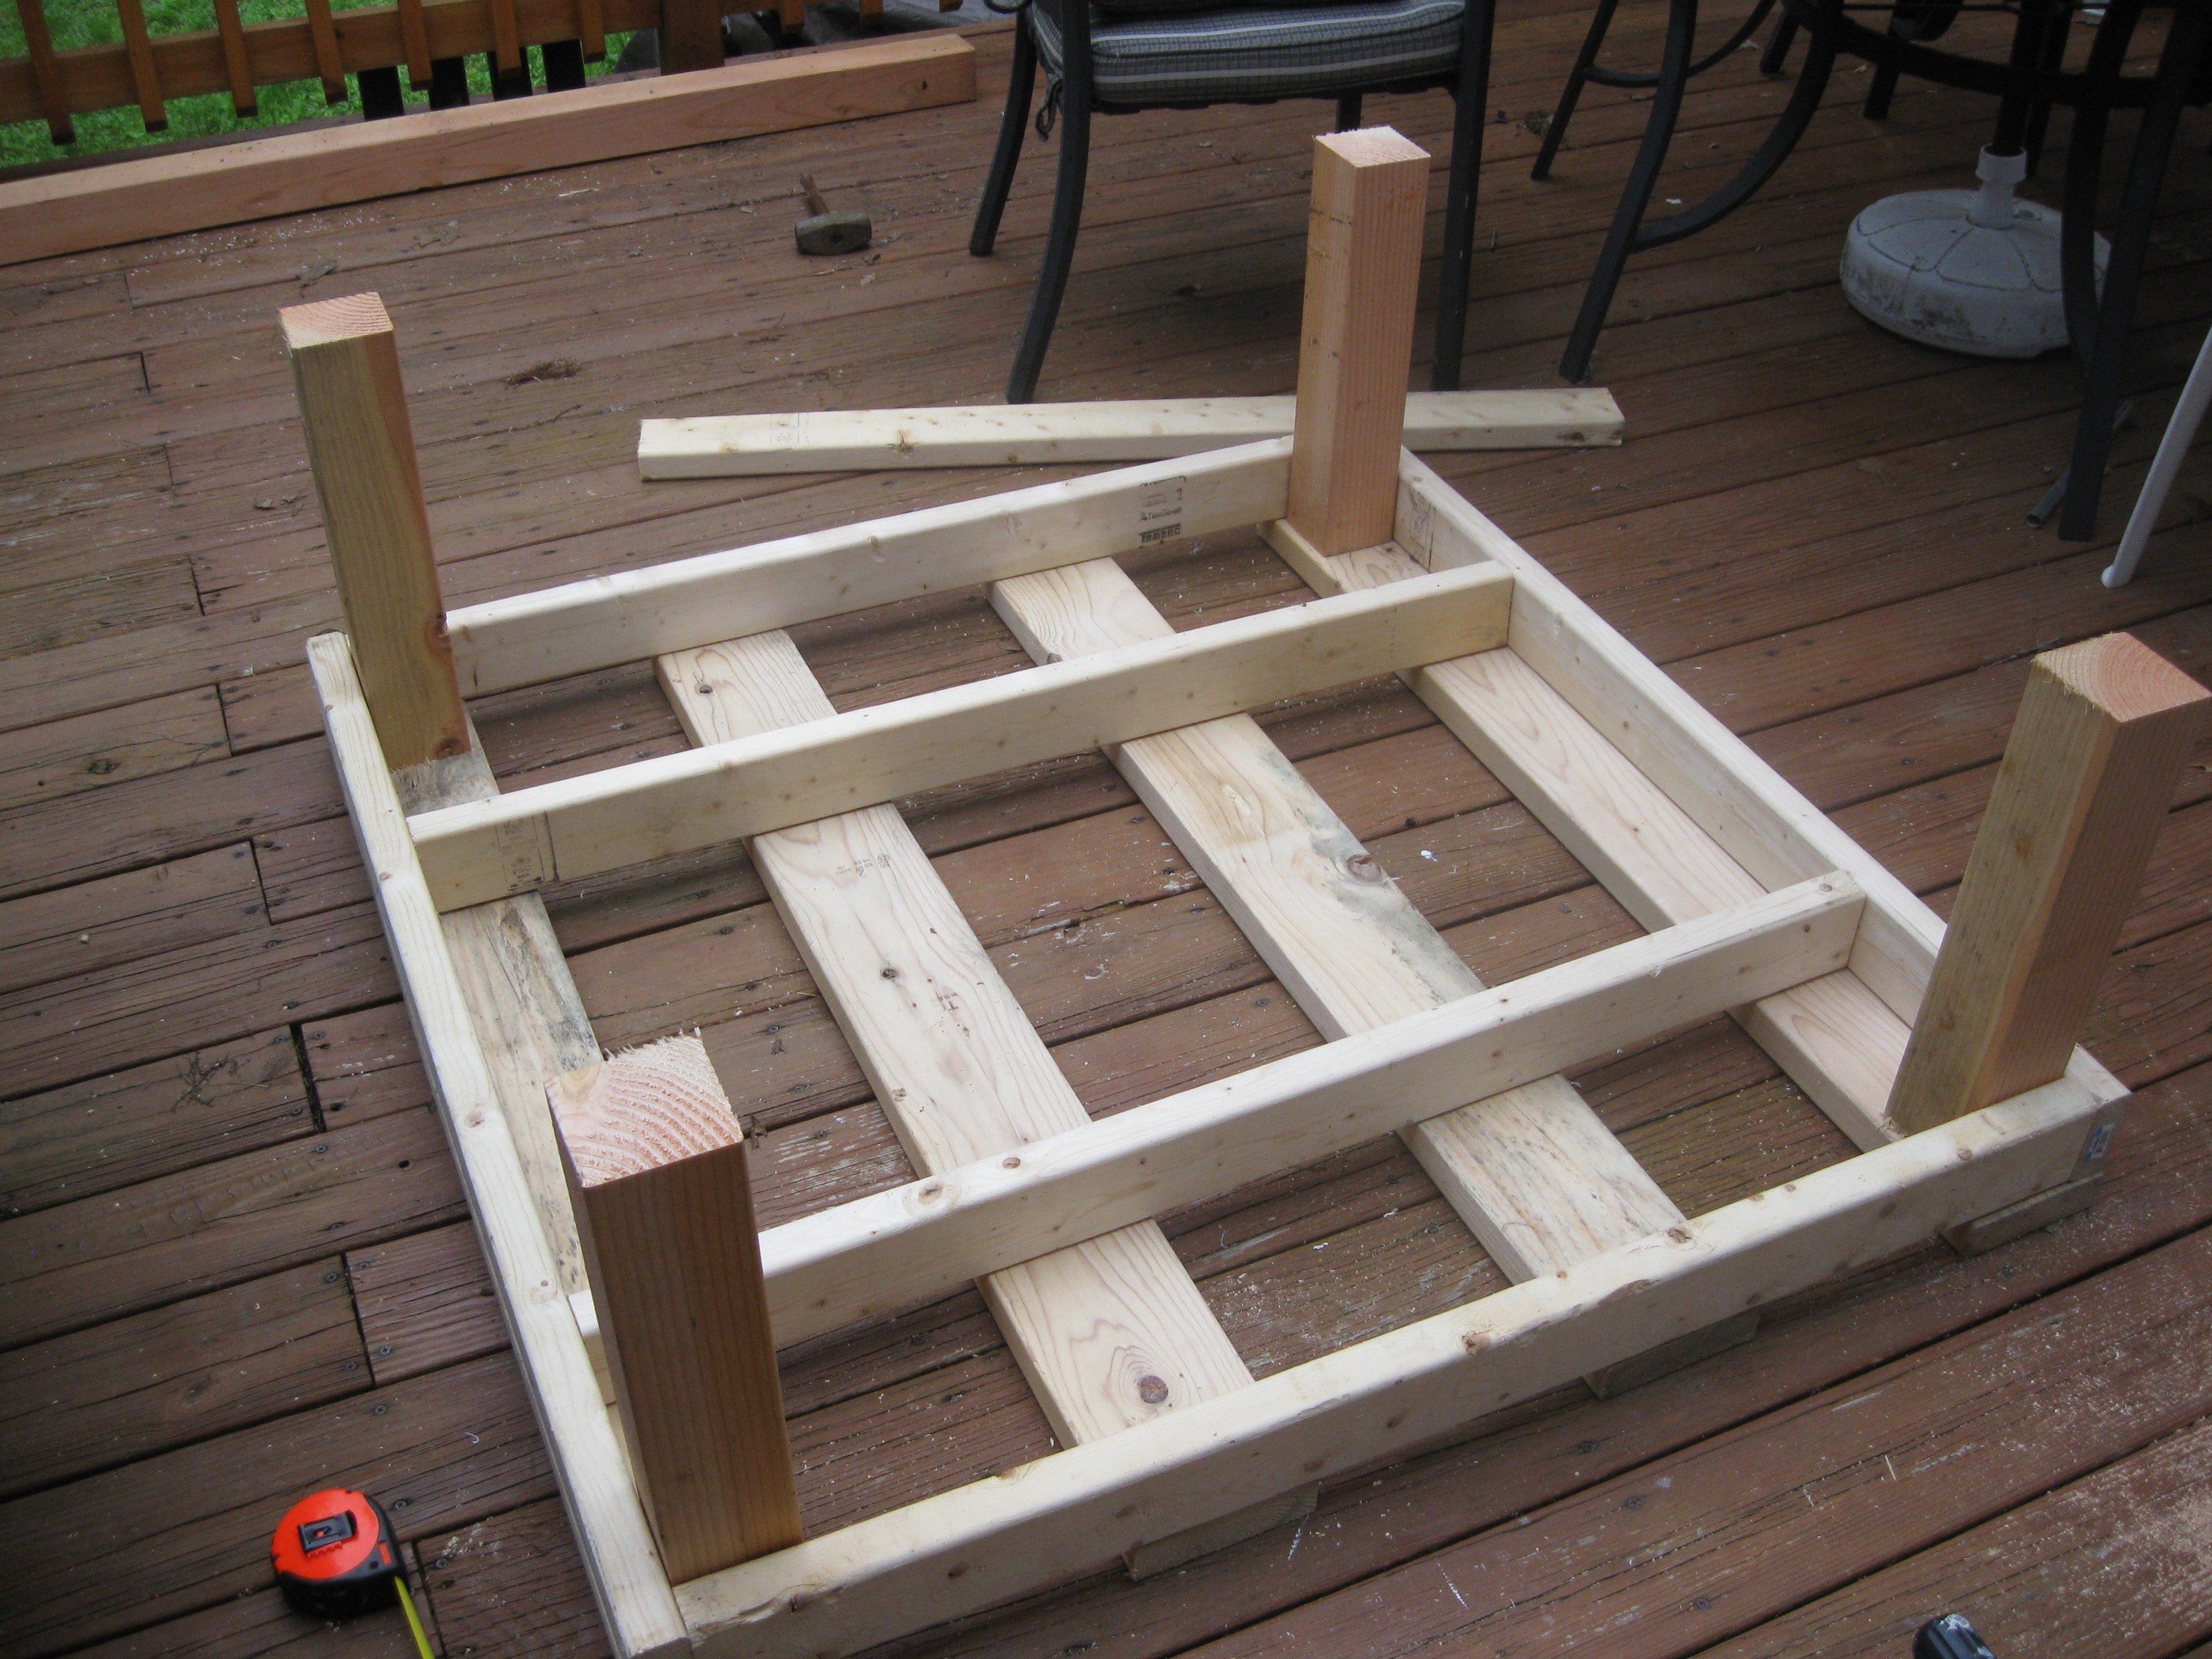
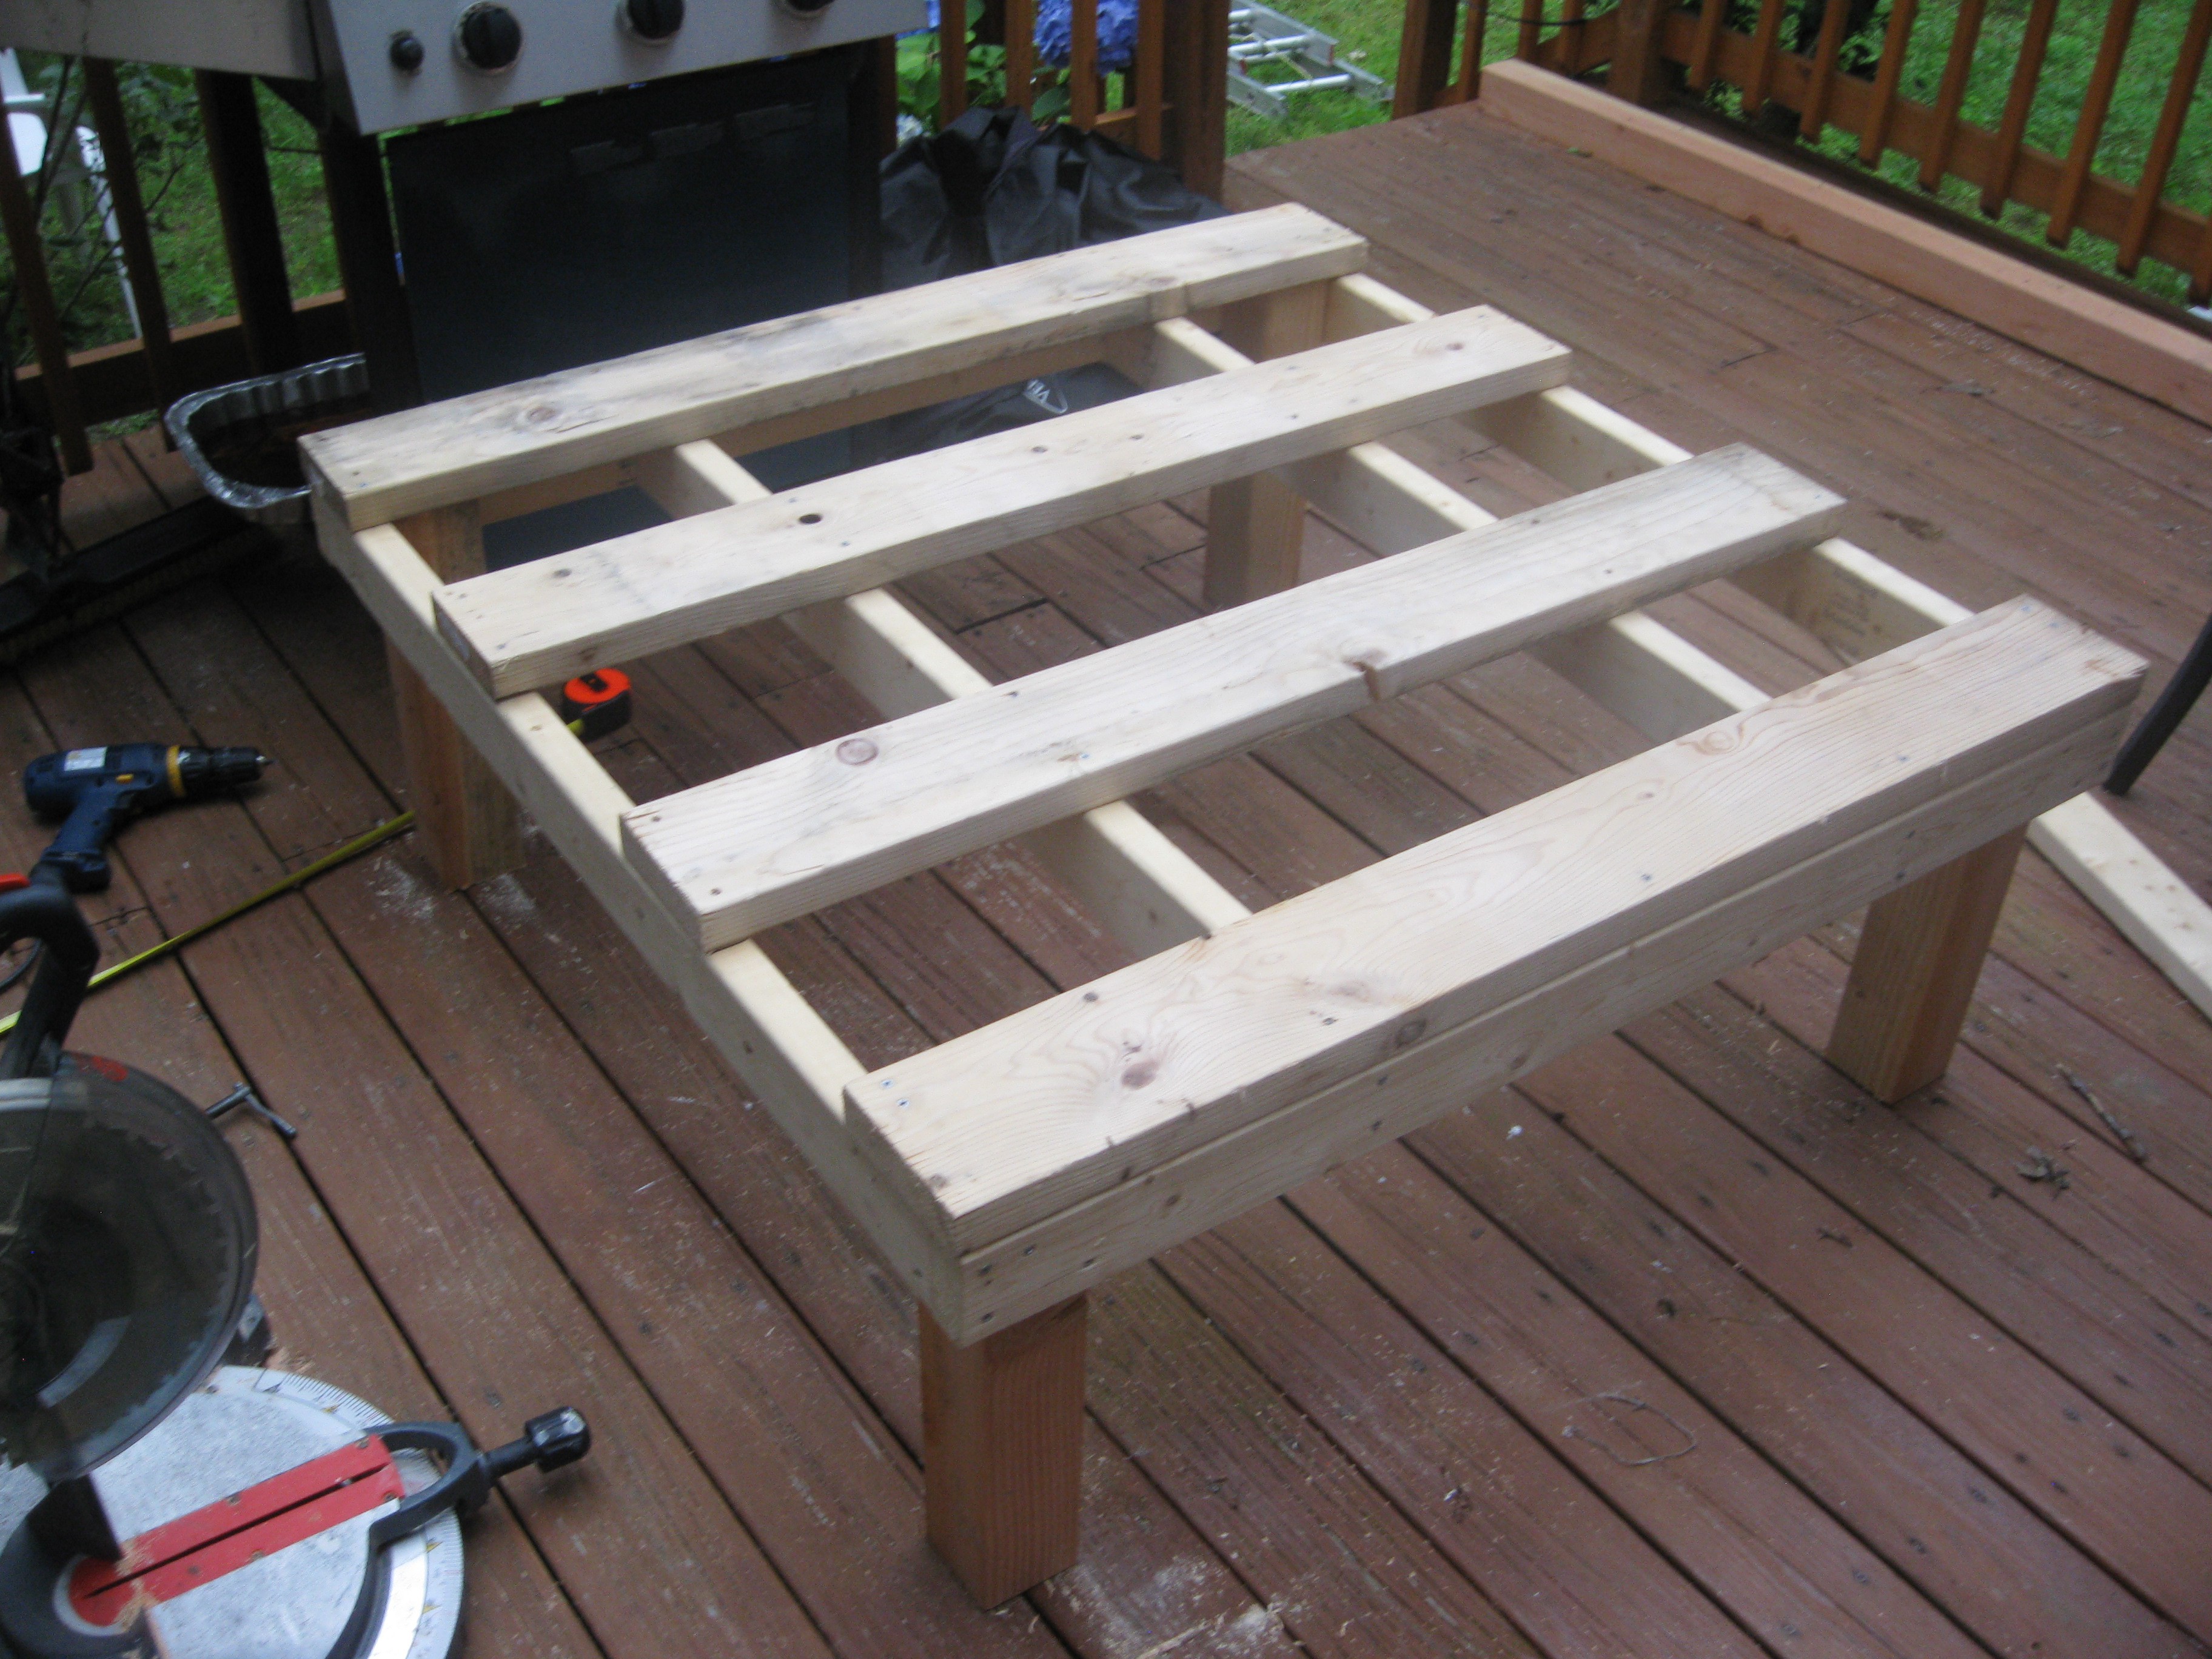
Today I finished the wooden frame of the whole unit. I added the crossboards and legs, take a look at the pictures to see what I mean:
Dry fitting the legs after the cross boards added to the top of the frame.
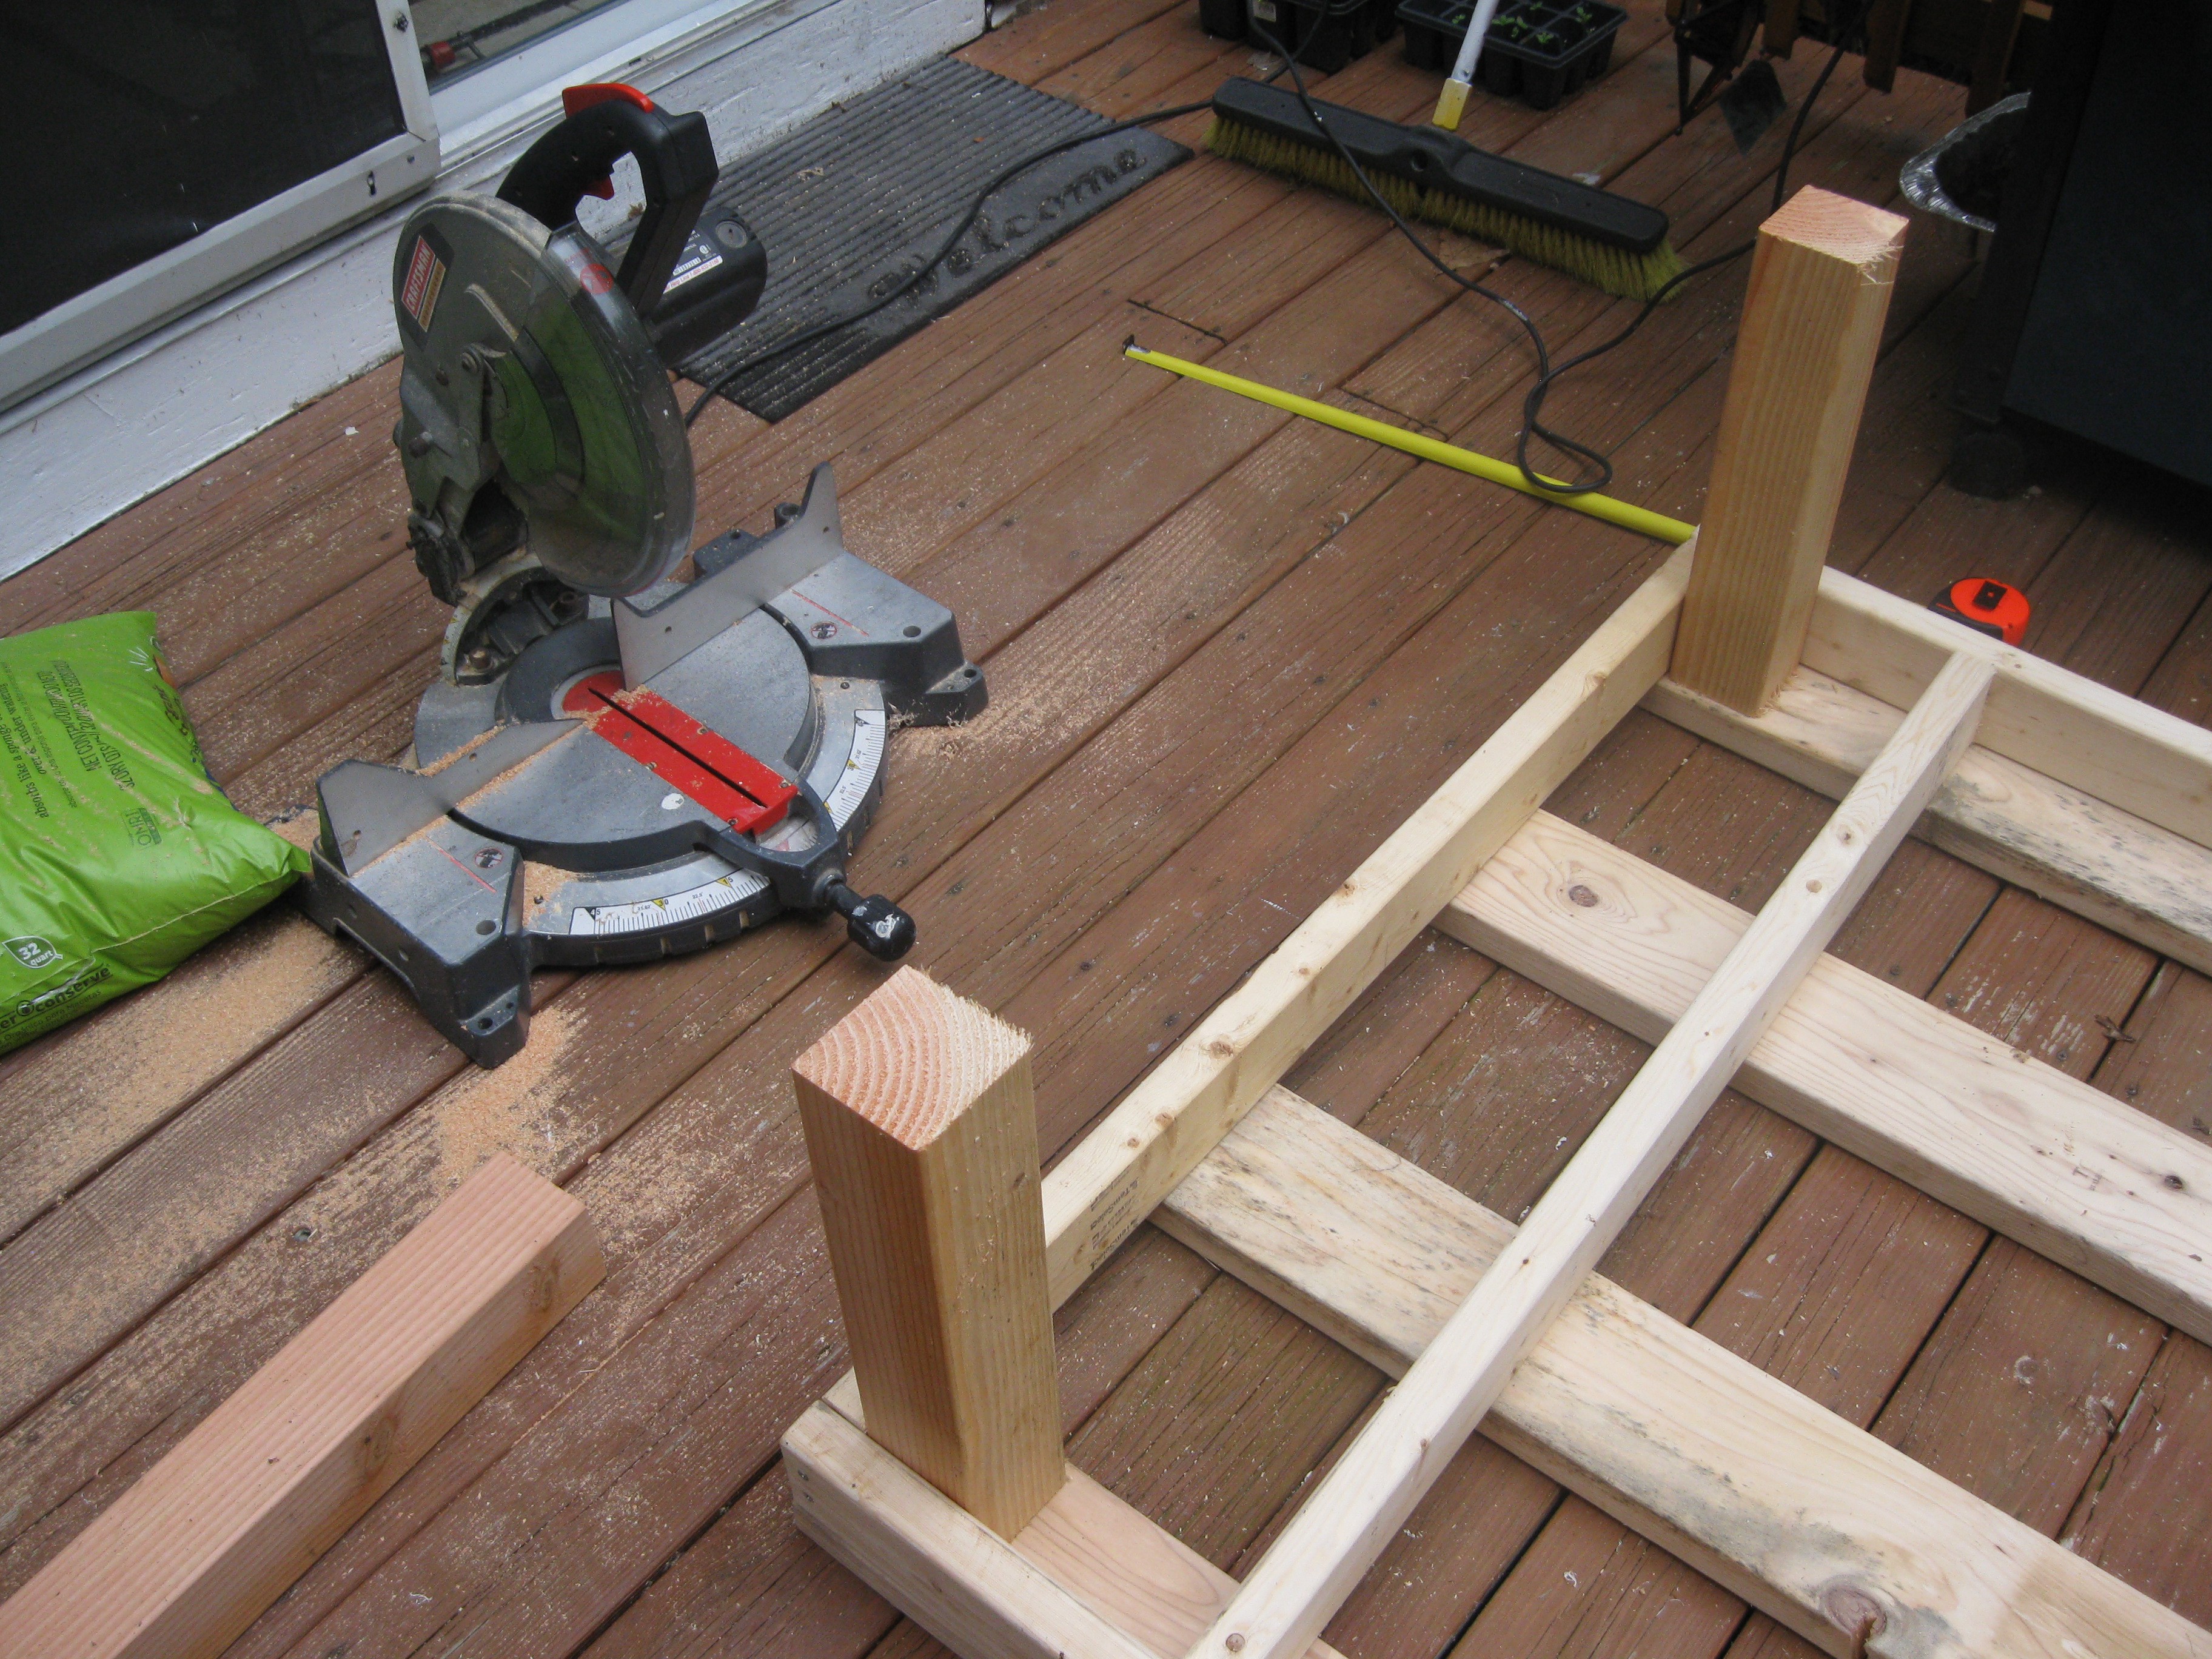
To attach the legs securely and straight, I clamped them tightly into each corner with the same two clamps I used the other day. I used a spare piece of the 4X4 wood to hammer each leg after being clamped to make sure its flat up against the board on the top of the frame. I used 4 screws on each leg. I'm trying to decide if I want to have crossmembers between the legs or have a skirt for the frame at the bottom, or both. I think a skirt at the bottom is definitely going to happen, mainly so I can build a giant drawer underneath the unit to store the water reservoirs.

Another view:
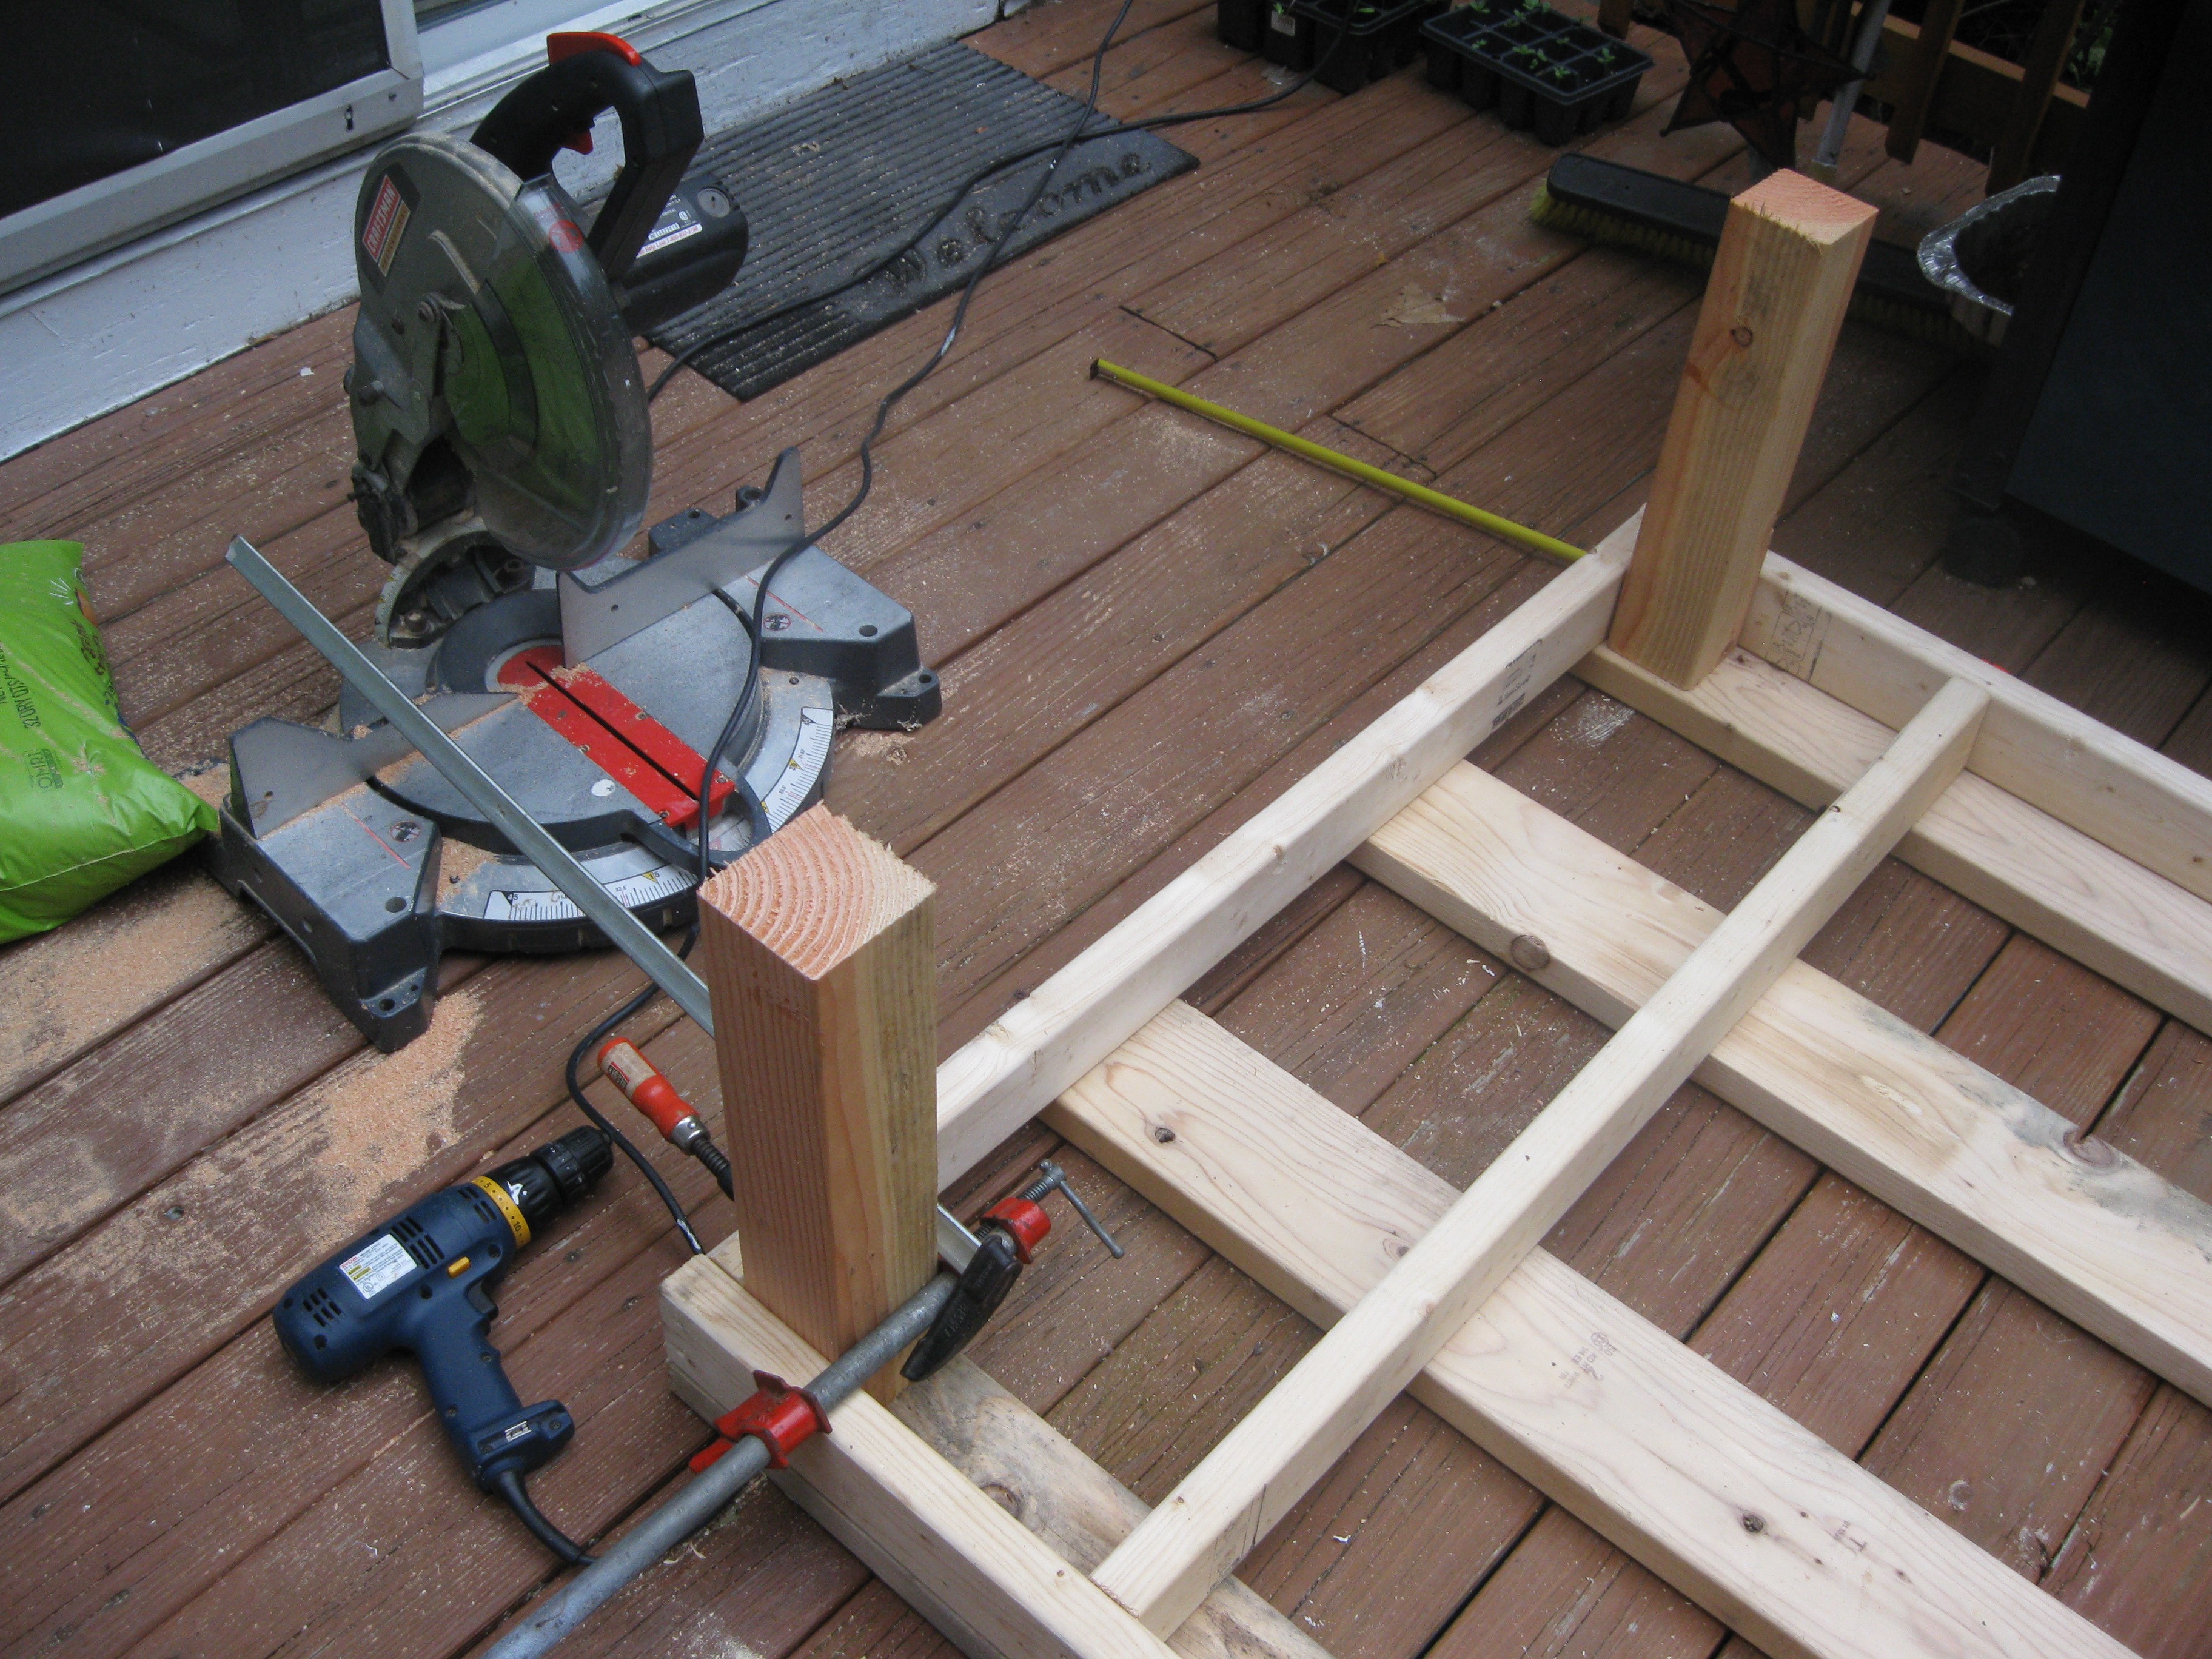
Done for now, there will be a two by four skirt added to the bottom (as I stated previously), next trip to the hardware store I will be getting the remaining wood to build the skirt and bright green paint!
What it looks like with the rows of fence on top:
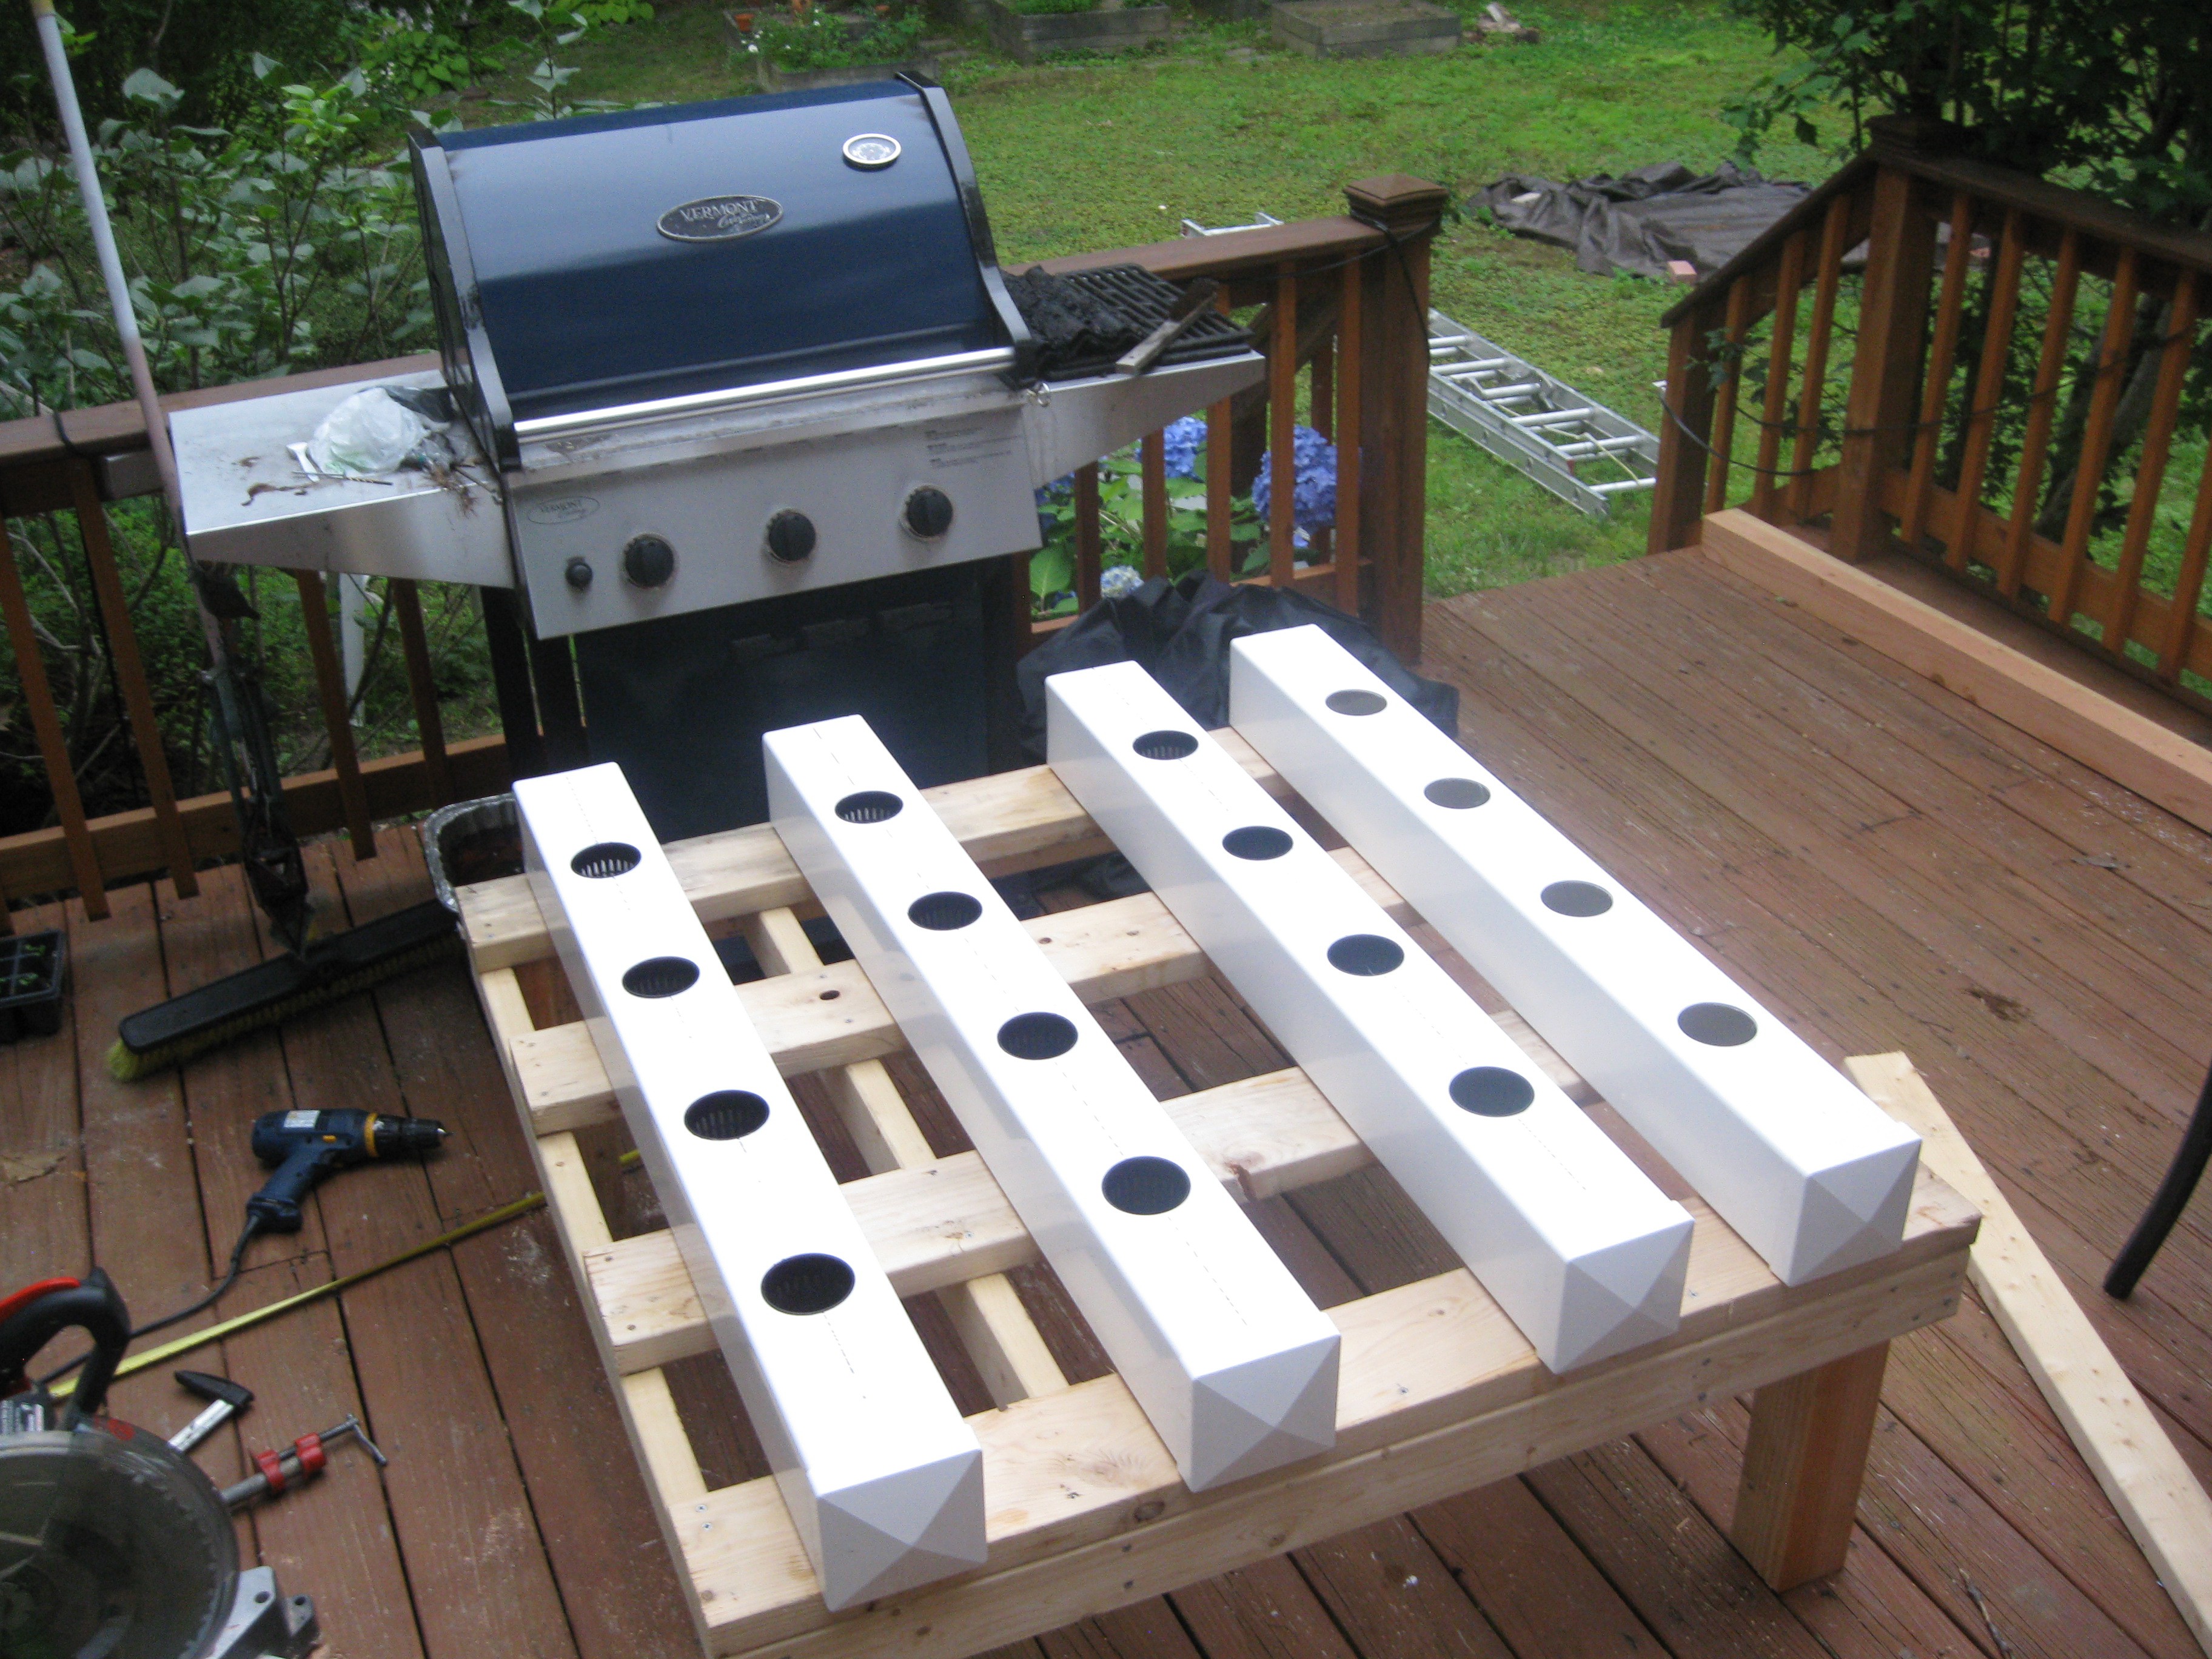
Overall I like how the frame came out, its almost a perfect 4X4 foot square and a little less than two feet of the ground. Orignally I was going to make it 5 tall off the ground, but I wanted more height for the plants to grow. I am also going to be using rubbermaide tubs for a reservoir instead of a 55 gallon water barrel which was also another reason to make it shorter.
As for software updates I did some more basic test work on the embdedded side and made some changes to how the GUI will be done. The GUI to control HydroPWNics will be just be a Jquery web application on a web page that the user logs into. The application will receive data to display from the cloud data server and send/receive JSON packets to the Java application running locally on the beaglebone black. With all these changes I should also mention that user Shane Kirkbride has joined the project offering his Microsoft Azure based cloud data system for plants.The platform is called Viva Planet and can be found here: http://www.vivaplanet.io/ I will be adjusting the HydroPWNics API to talk to his system, so all the java I wrote and posted is subject to heavy change. This development is very good news though, now cloud database doesn't have to be created from scratch and I can now focus on the application and embdedd software.
As for embedded work I have been experimenting with the ESP8266 modules I have and the Arduino IDE. The reason for using the IDE is that its a simple way to see if the ESP modules I purchased are non-counterfeit or just work like they are supposed to. I also messed around with my Sparkfun ESP8266-Thing but did not get it to program with the IDE. I explored it with a logic analyzer and discovered that the chip isn't talking back but thats as far as I got with it. Here are some pictures of the two test setups I'm working with:
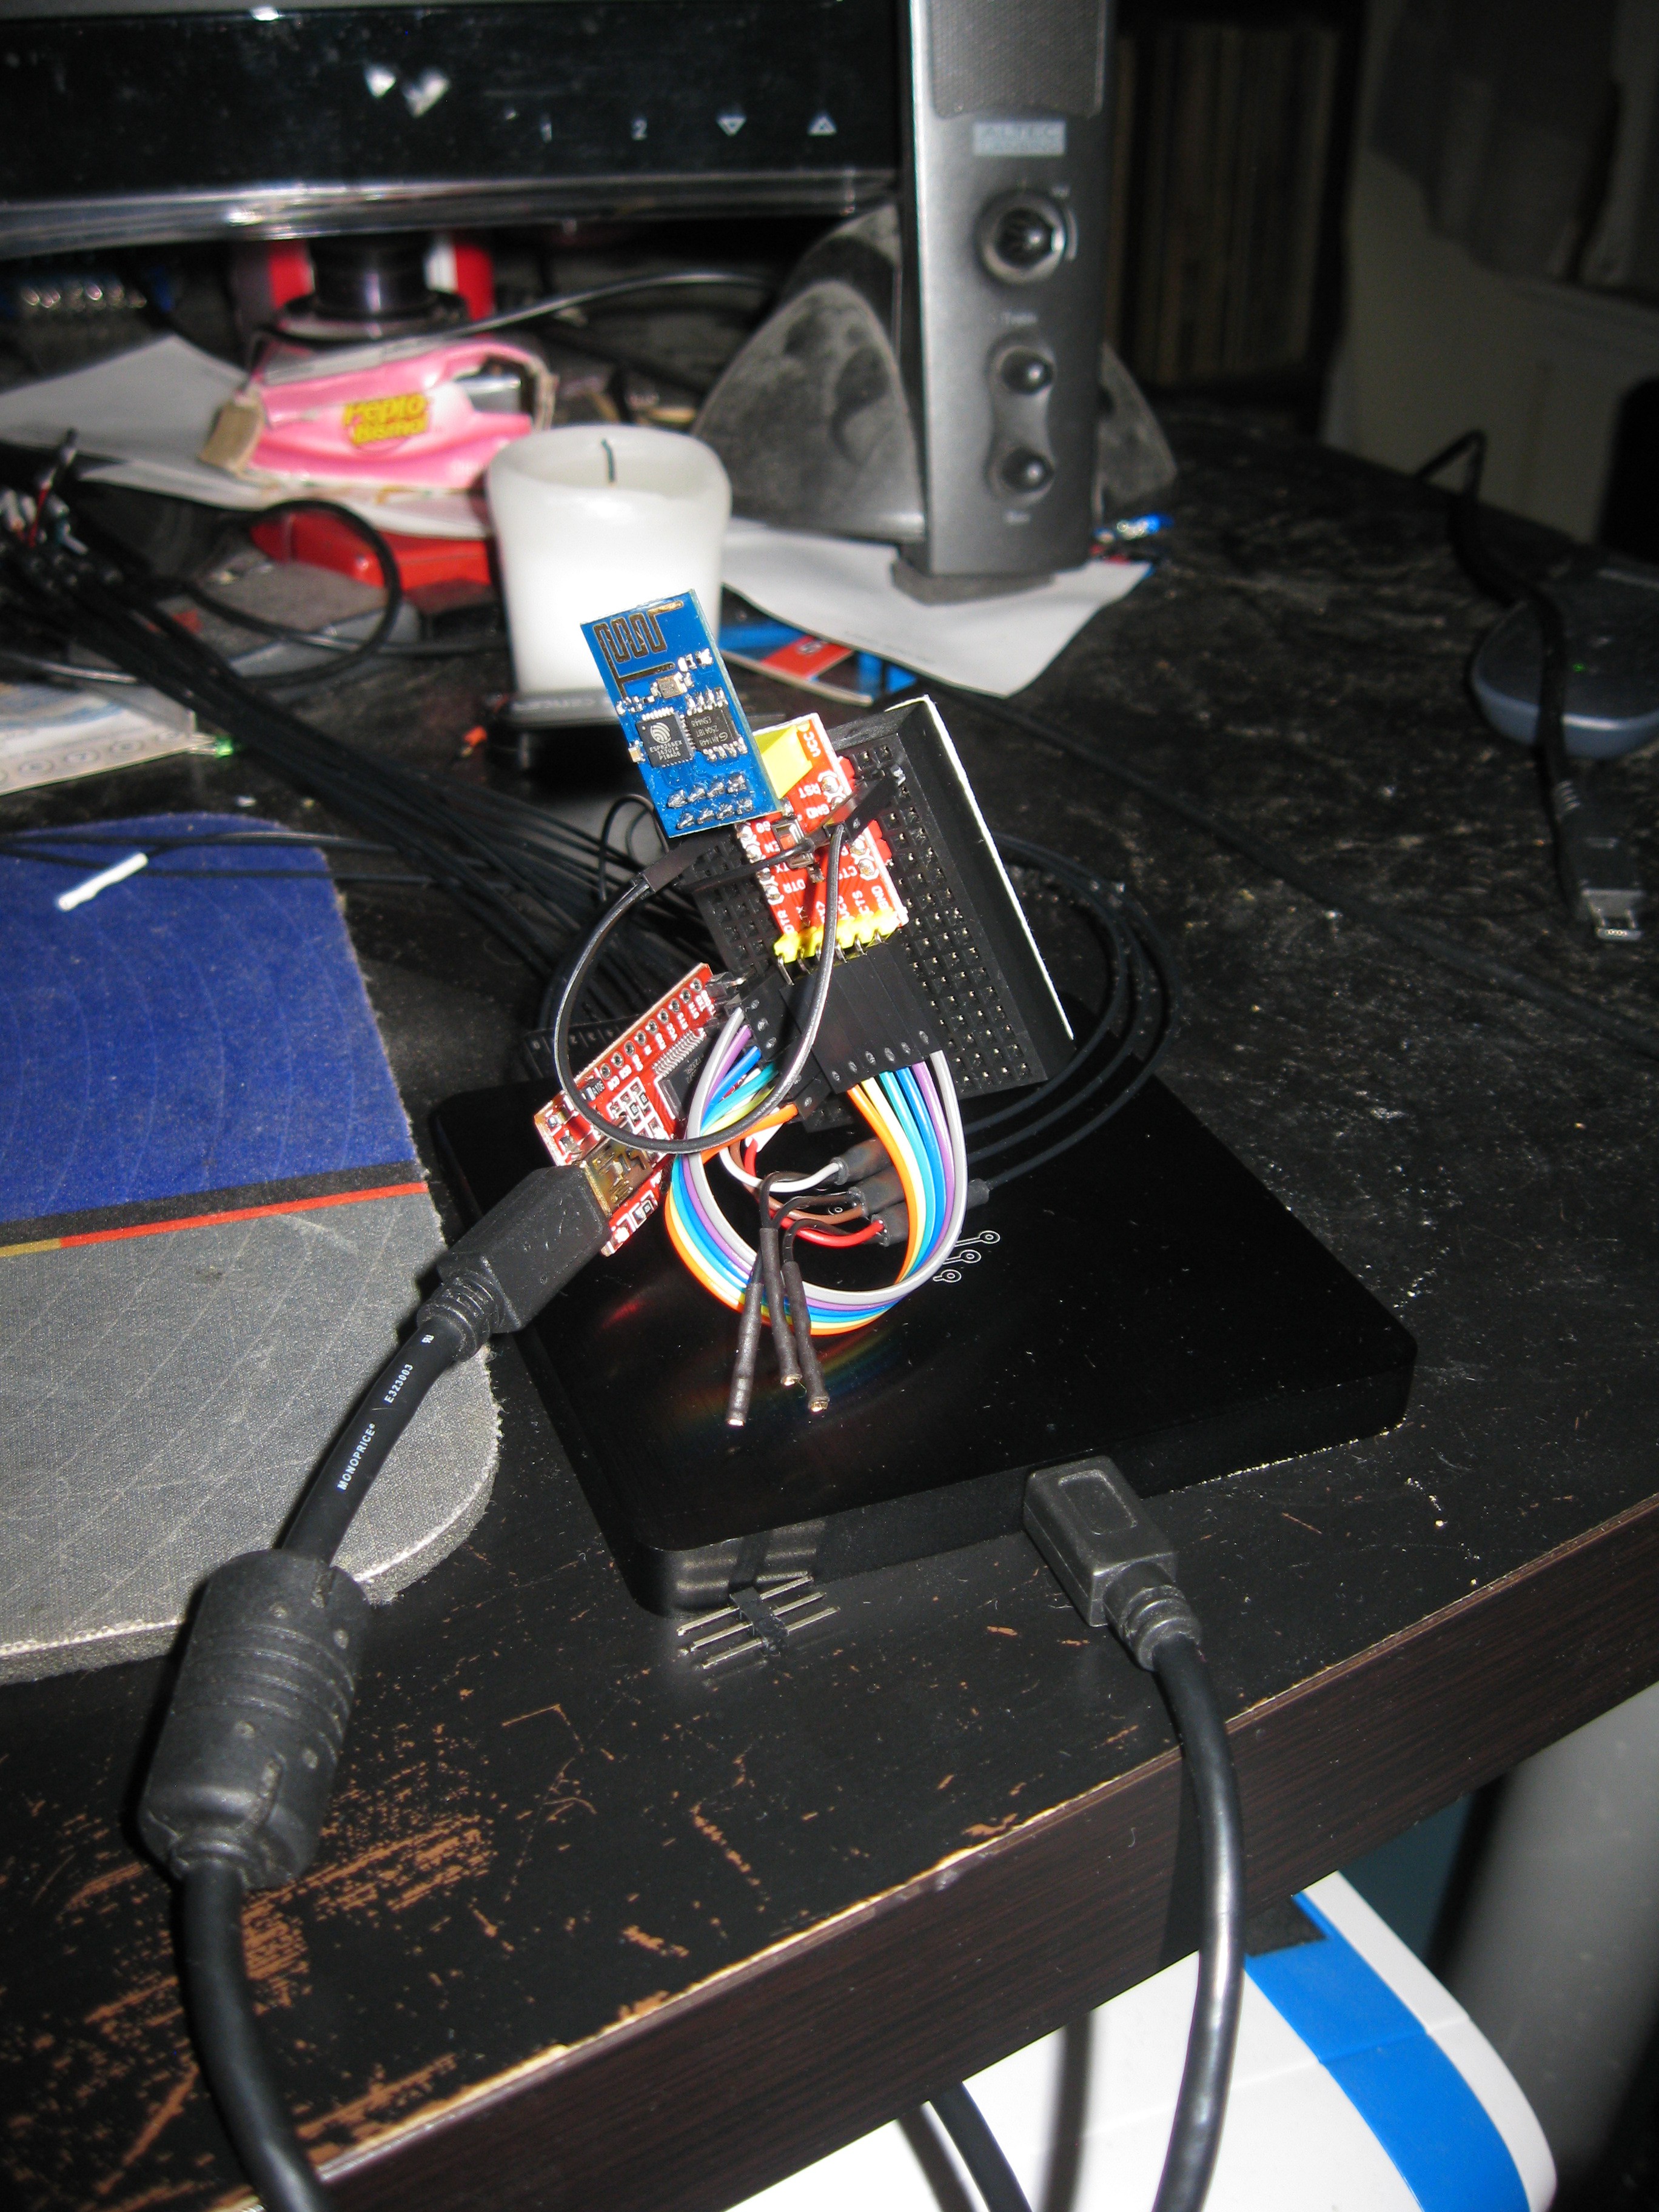
Standard ESP-02 module, hooked up to an FTDI breakout that can do 3v3 and 5v power. Pictured is the logic analyzer wired up to monitor the RX/TX lines. I was looking to record an entire programming sequence and see how it compared to the the sparkfun module's response.
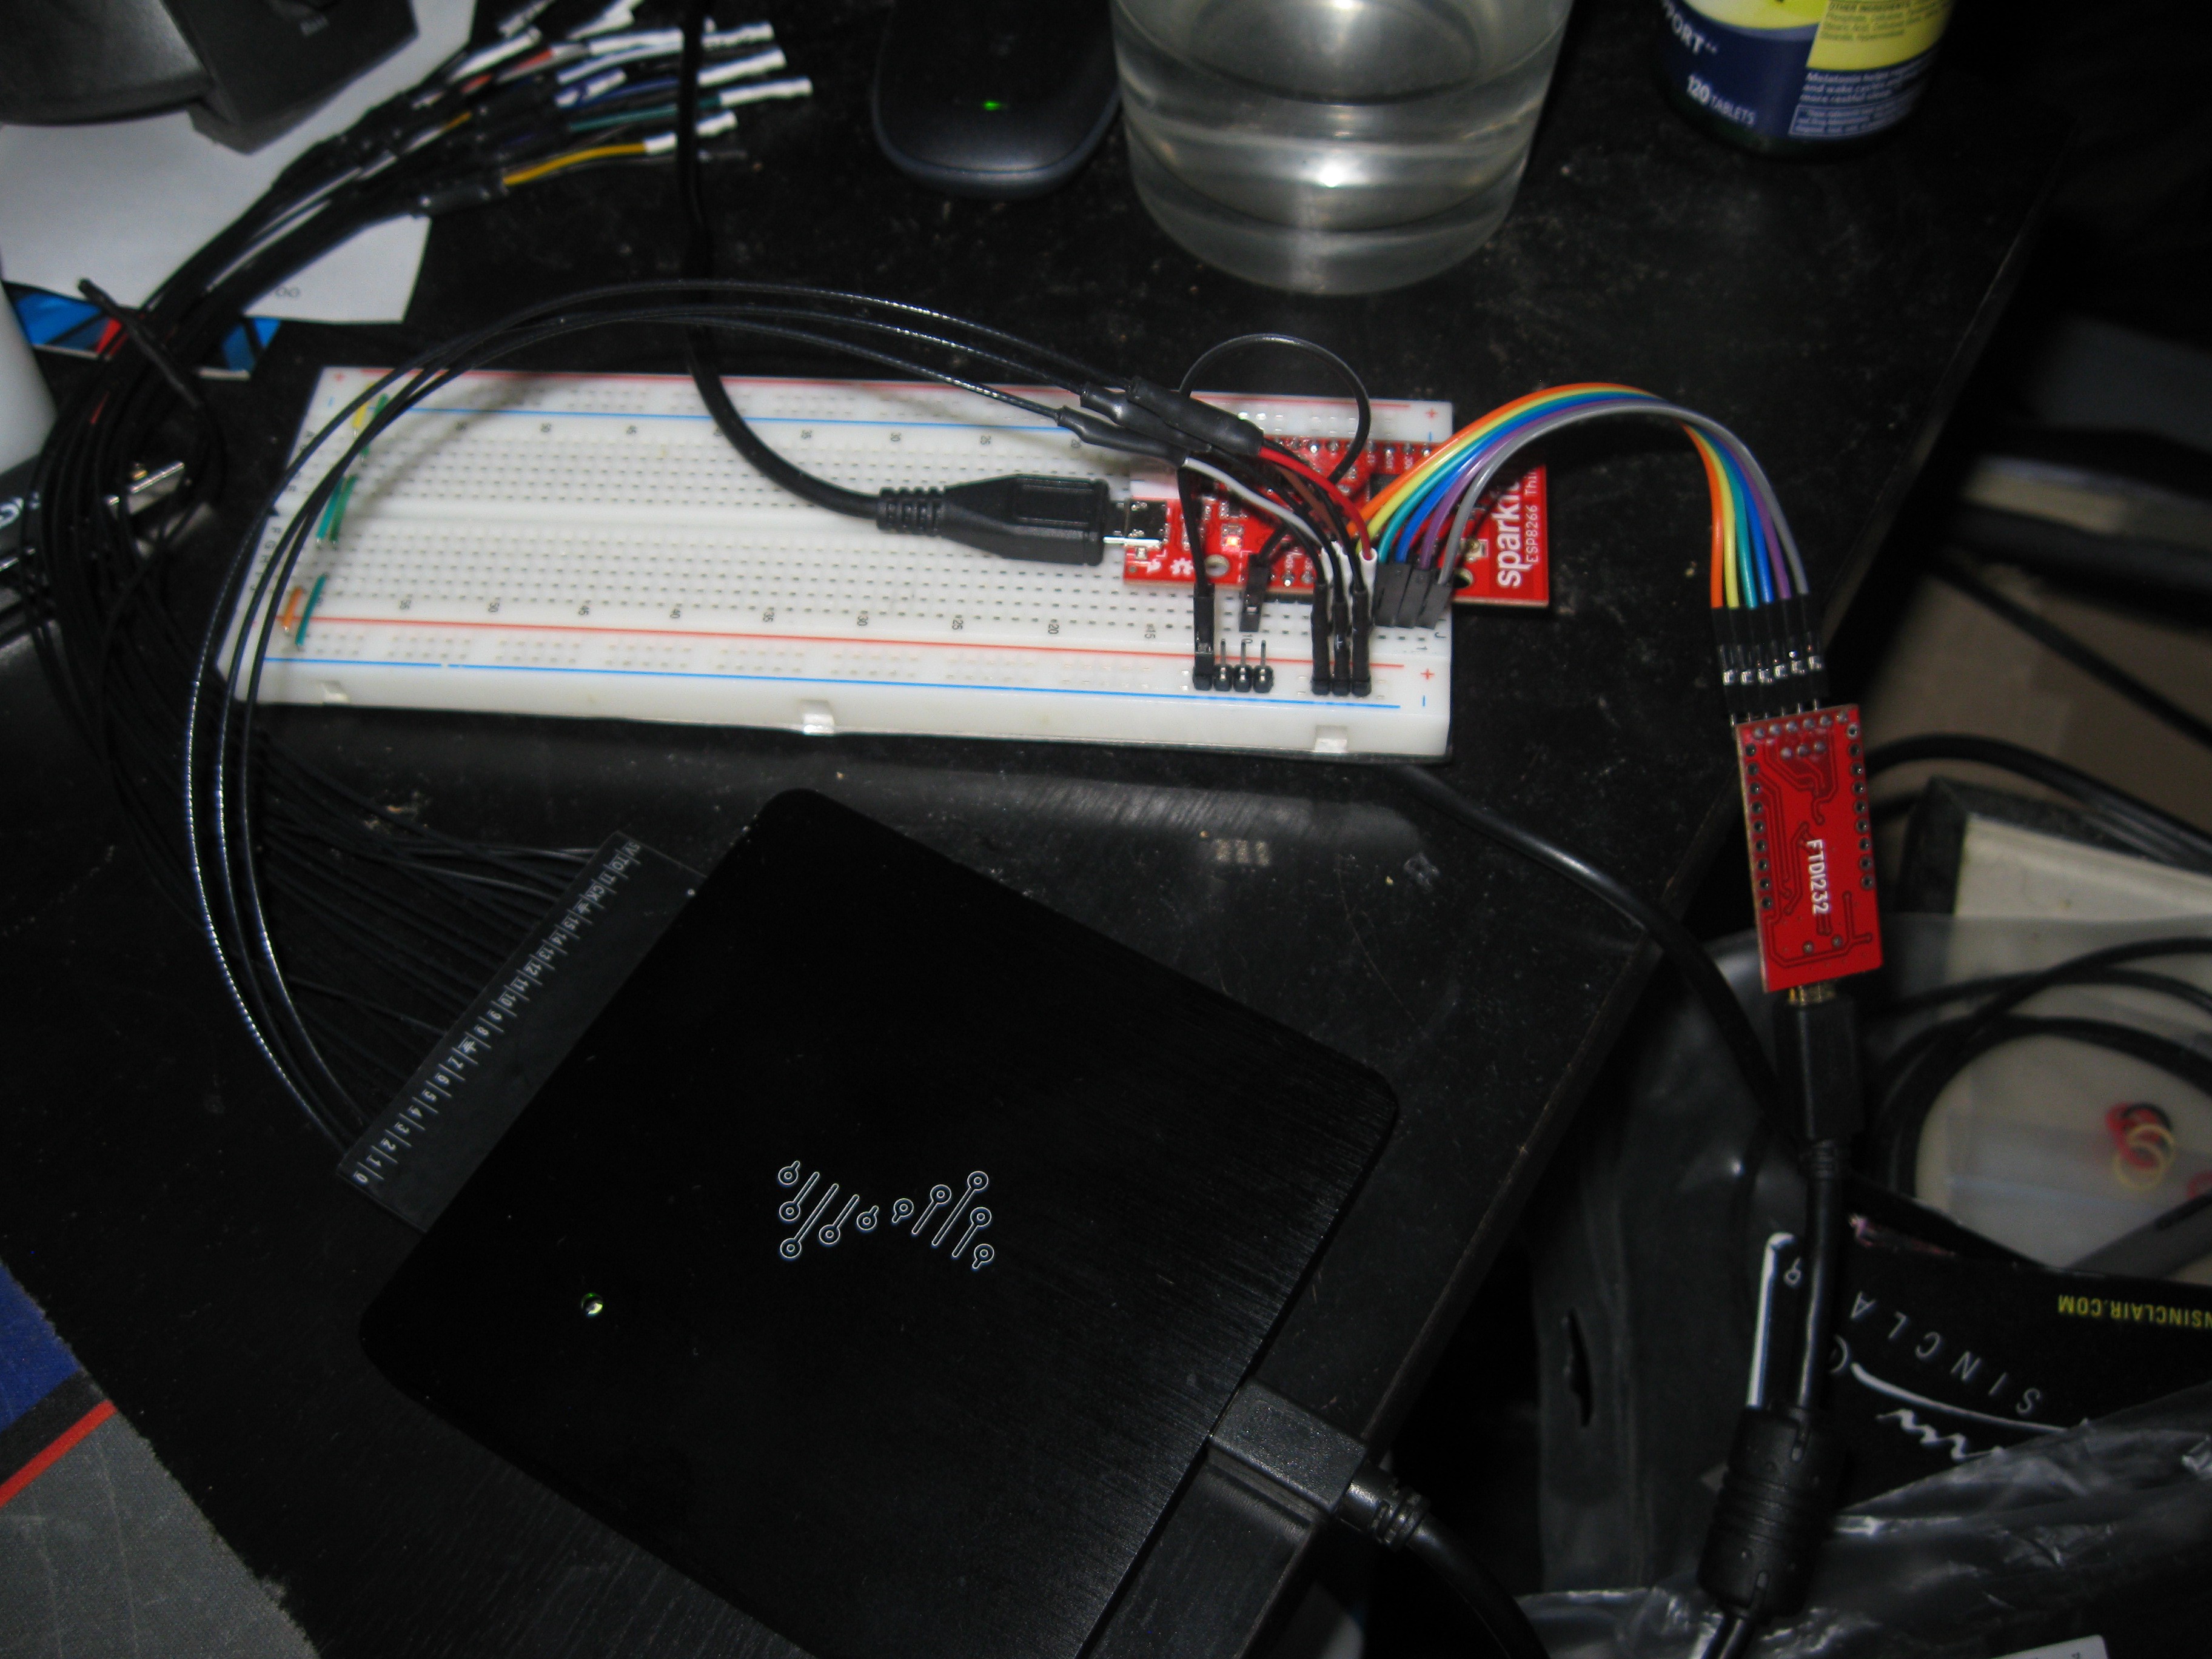
Sparfun board setup, I really hope I figure out whats wrong with it, I think I might have bricked it. Though I have to say this logic analyzer has been super useful !
My next plan for the ESP hardware is to setup the bare metal GCC based toolchain under linux and perform tests with that. I will be using the standard toolchain for compiling the Bowler MCU server for the ESP chip. After I have the ESP working with its toolchain I'm turning my attention back towards the FreeScale hardware, the plan is to setup a terminal build script under linux using the ARM GNU toolchain so that I can work independently of the Kinetis IDE. Stay tuned for more interesting updates to come, next week I am soldering all the PCBs together by hand, I promise there will be lots of pictures!!!!
Discussions
Become a Hackaday.io Member
Create an account to leave a comment. Already have an account? Log In.