 AVR
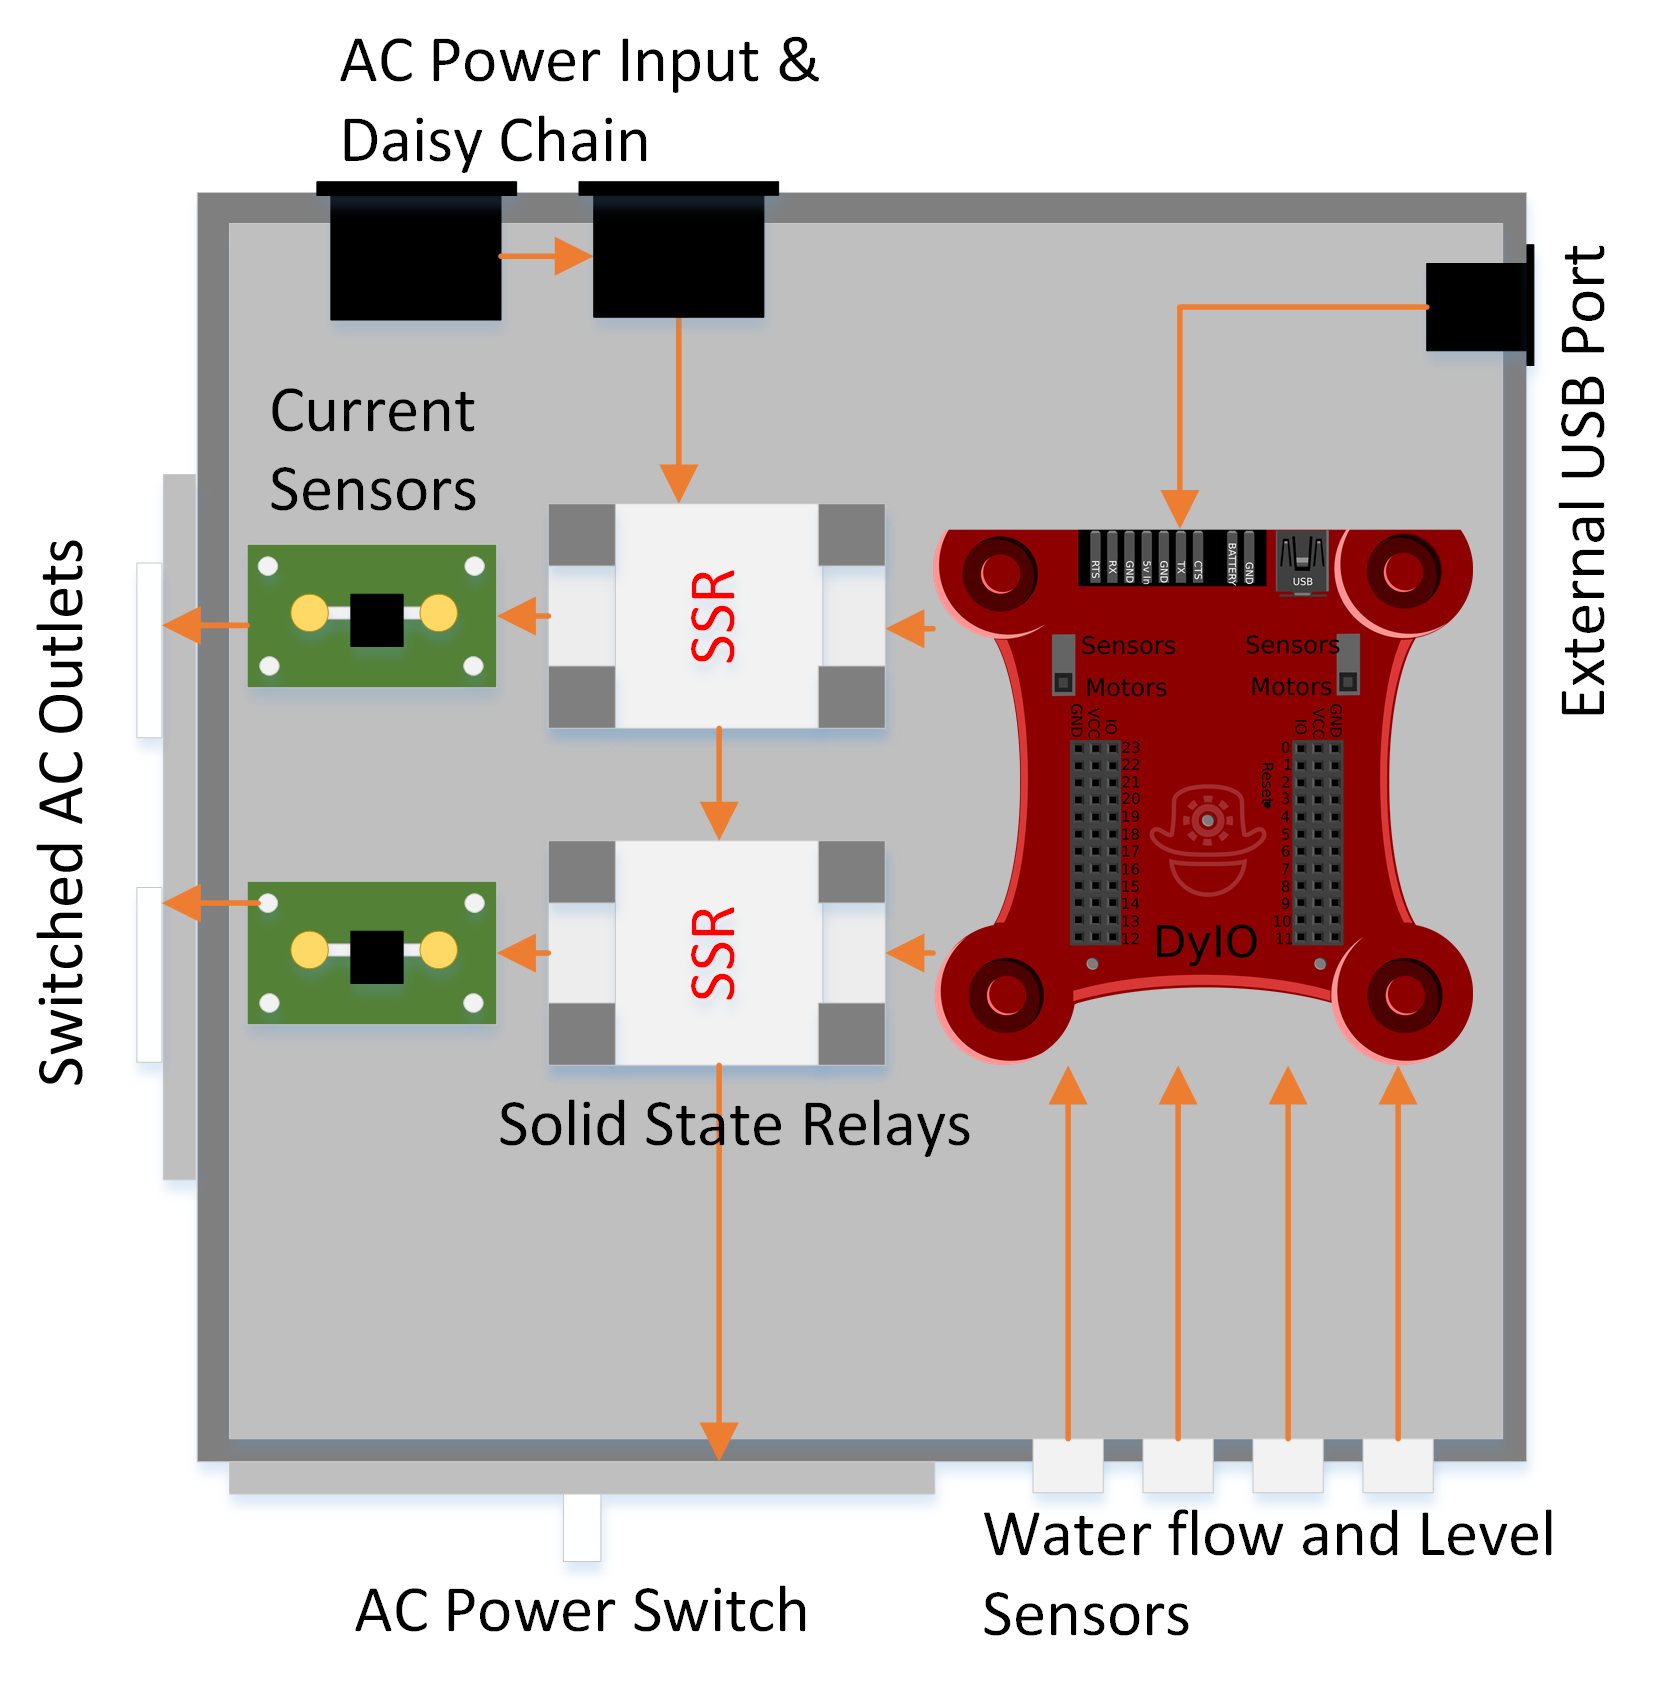
AVRSo quite a bit more got done on HydroPWNics since the last update. I did a lot of work on the AC control box discussed in the details section and system design document. Quick refresh: the AC control box is design to control all the AC powered components in the NFT grow system, its based on a DyIO solidstate relays, and two allegro current sensor eval boards. All the circuitry and DyIO will be housed in a PVC electrical box. The box also has connections for water flow and level sensors, since the pump is controlled off AC. The diagram below taken from the details section further explains the internals of the AC control box:
AC Control box
In the Java application the AC control box is represented by a java class/object, called AC_ControlBox . This class is rather simple, it only contains functions for controlling the relays and reading the current sensors. Right now the class is very simple only setup for manual control of the AC devices from the main application. Later timers, sensor input, and additional intelligent control will be implemented. The idea is to implement the most basic function and debug the hardware along the way, confirming features as functioning one at a time, this is to ease the debugging process as the whole codebase grows.
package com.GardenControl.HydroPWNicsApp.github.io;

import com.neuronrobotics.sdk.dyio.DyIO;
import com.neuronrobotics.sdk.dyio.peripherals.AnalogInputChannel;
import com.neuronrobotics.sdk.dyio.peripherals.DigitalInputChannel;
import com.neuronrobotics.sdk.dyio.peripherals.DigitalOutputChannel;

public class AC_ControlBox {
	boolean outlet0_status = false;
	boolean outlet1_status = false;
	int outlet0_current = 0;
	int outlet1_current = 0;

	DyIO AC_CntrlDyIO = null;

	// Digital outputs for triggering SSRs for turning AC outlets on and off.
	DigitalOutputChannel acSSR0 = null;
	DigitalOutputChannel acSSR1 = null;

	// Analog inputs for current sensing on AC outlets
	AnalogInputChannel acSSR0_current = null;
	AnalogInputChannel acSSR1_current = null;

	// Flow Meter Digital Inputs
	DigitalInputChannel flowMeter0_p1 = null;
	DigitalInputChannel flowMEter0_p2 = null;

	// Water Level Sensor Digital Inputs, one per Row
	DigitalInputChannel wtrLvl0 = null;
	DigitalInputChannel wtrLvl1 = null;
	DigitalInputChannel wtrLvl2 = null;
	DigitalInputChannel wtrLvl3 = null;


	/**
	 *
	 * @param dyio
	 */
	public AC_ControlBox(DyIO dyio){
		setupClass(dyio);
		setOutlet0_OFF();
		setOutlet1_OFF();
	}

	/**
	 *
	 * @param dyio
	 * @param outlet0	boolean determining the on/off status of the outlet when AC_ControlBox is instantiated
	 * @param outlet1	boolean determining the on/off status of outlet1 when AC_ControlBox is instantiated
	 */
	public AC_ControlBox(DyIO dyio, boolean outlet0, boolean outlet1){
		setupClass(dyio);
		if(outlet0){
			setOutlet0_ON();
		}
		else{
			setOutlet0_OFF();
		}

		if(outlet1){
			setOutlet1_ON();
		}
		else{
			setOutlet1_OFF();
		}
	}

	/**
	 * Sets up all objects related to class, setup as a function to allow for cleaner constructors
	 * @param dyio
	 */
	private void setupClass(DyIO dyio){
		AC_CntrlDyIO = dyio;
		acSSR0 = new DigitalOutputChannel(AC_CntrlDyIO.getChannel(1));
		acSSR1 = new DigitalOutputChannel(AC_CntrlDyIO.getChannel(2));
		acSSR0_current = new AnalogInputChannel(AC_CntrlDyIO.getChannel(4),true);
		acSSR1_current = new AnalogInputChannel(AC_CntrlDyIO.getChannel(5),true);
		wtrLvl0 = new DigitalInputChannel(AC_CntrlDyIO.getChannel(6));
		wtrLvl1 = new DigitalInputChannel(AC_CntrlDyIO.getChannel(7));
		wtrLvl2 = new DigitalInputChannel(AC_CntrlDyIO.getChannel(8));
		wtrLvl3 = new DigitalInputChannel(AC_CntrlDyIO.getChannel(9));
		flowMeter0_p1 = new DigitalInputChannel(AC_CntrlDyIO.getChannel(10));
		flowMEter0_p2 = new DigitalInputChannel(AC_CntrlDyIO.getChannel(11));

	}

	// Outlet 0 Control Functions
	/**
	 *
	 */
	public void setOutlet0_ON(){
		acSSR0.setHigh(true);
		outlet0_status = true;
	}
	/**
	 *
	 */
	public void setOutlet0_OFF(){
		acSSR0.setHigh(false);
		outlet0_status = false;
	}
	/**
	 *
	 * @return
	 */
	public boolean getOutlet0_STATUS(){
		return outlet0_status;
	}
	/**
	 *
	 * @return
	 */
	public int getOutlet0_CURRENT(){
		return outlet0_current;
	}


	// Outlet 1 Control Functions
	/**
	 *
	 */
	public void setOutlet1_ON(){
		acSSR1.setHigh(true);
		outlet1_status = true;
	}
	/**
	 *
	 */
	public void setOutlet1_OFF(){
		acSSR1.setHigh(false);
		outlet1_status = false;
	}
	/**
	 *
	 */
	public boolean getOutlet1_STATUS(){
		return outlet1_status;
	}
	/**
	 *
	 * @return
	 */
	public int getOutlet1_CURRENT(){
		return outlet1_current;
	}


	public void setupOutletAsTimedPump(int outlet_num){

	}

	public void setupOutletAsFlowTestPump(int outlet_num){

	}

	public void setupOutletAsWaterLevelPump(int outlet_num){

	}

}
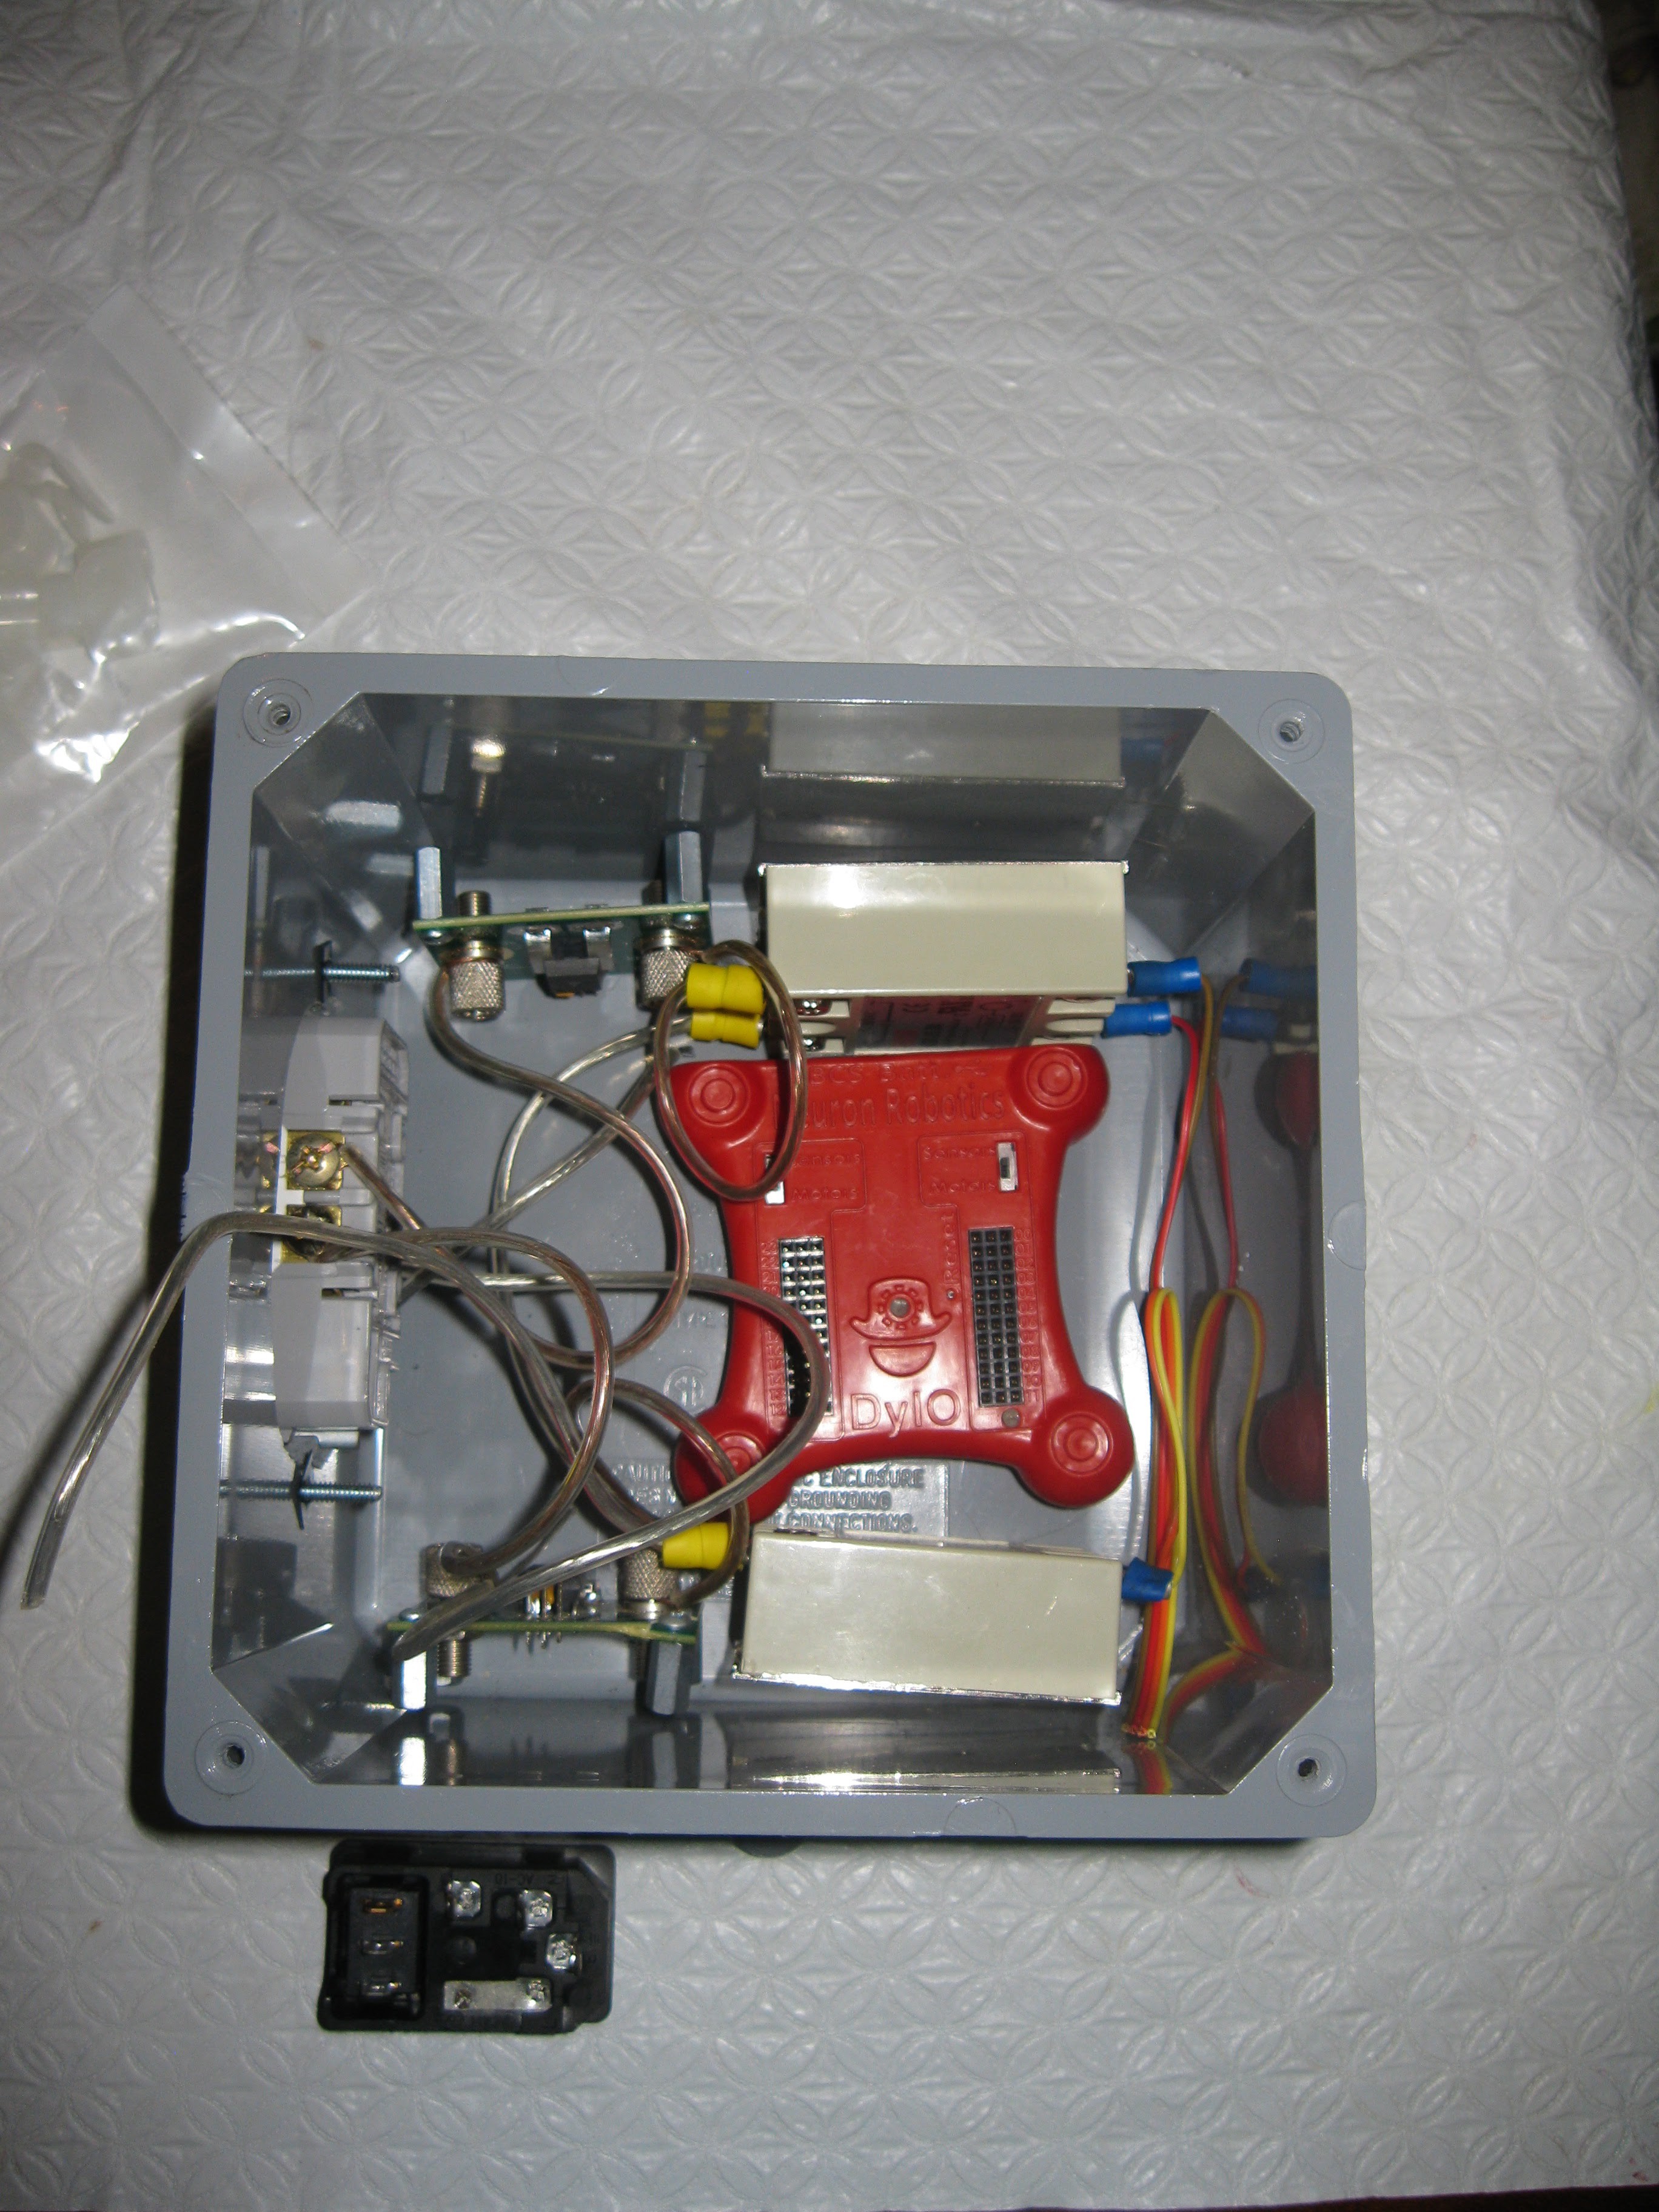
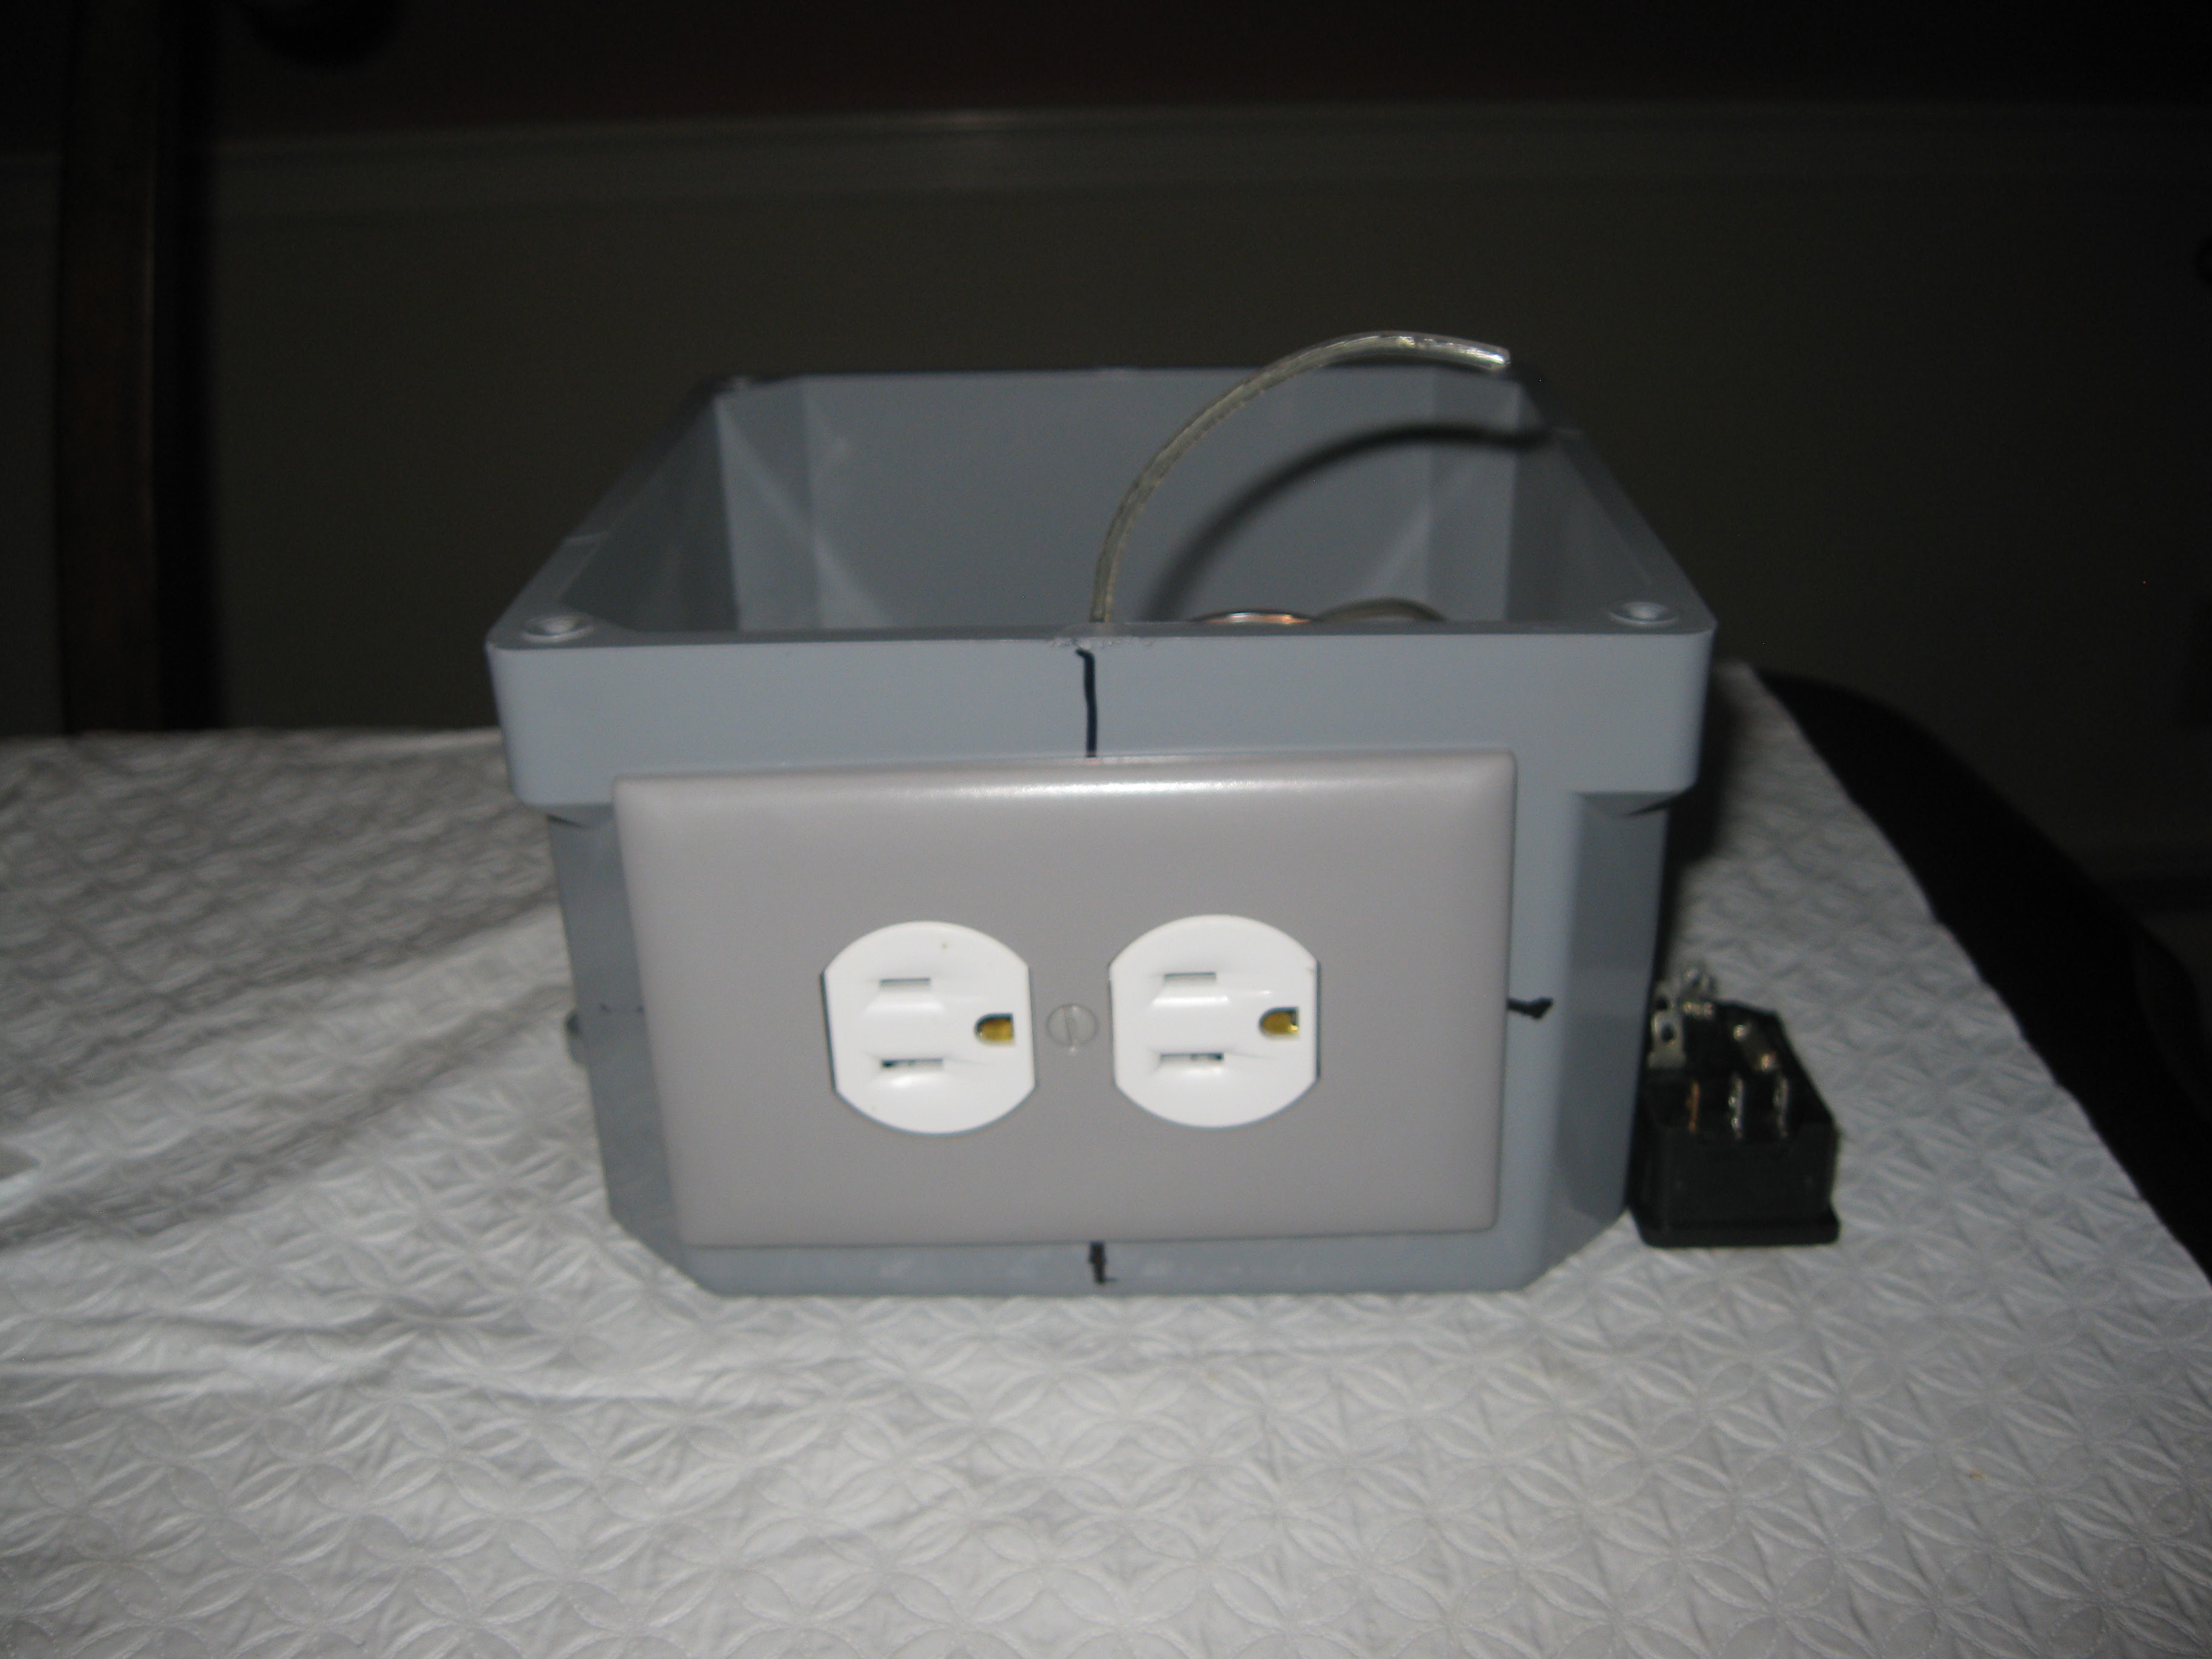
Also since last update I made quite a bit of progress building the AC control box itself. For the box I am using a Cantex electrical box, they can be bought online from a variety of retailers, I forget where I got mine exactly. I started by using a hole saw to drill two holes close together to mount the two socket AC outlet. The outlet is screwed in place with a bezel mounted over it to make it all look nice. Most of the other work on the box was with wiring, making cables and hooking everything together. I also spent some time placing the guts around in the box, I'm not 100% sure how I'm gonna mount it but what I have in the picture is what I'm considering.
AC Control Box being built:
Soldering connectors to wires for relays

AC control box being laid out, the outlet is installed but I need to measure and drill holes for the rest of the mounting. Also still need to decide whether the electronics will be laid out this way or if I lay them out a different way.
Side view of AC Box showing the two outlets
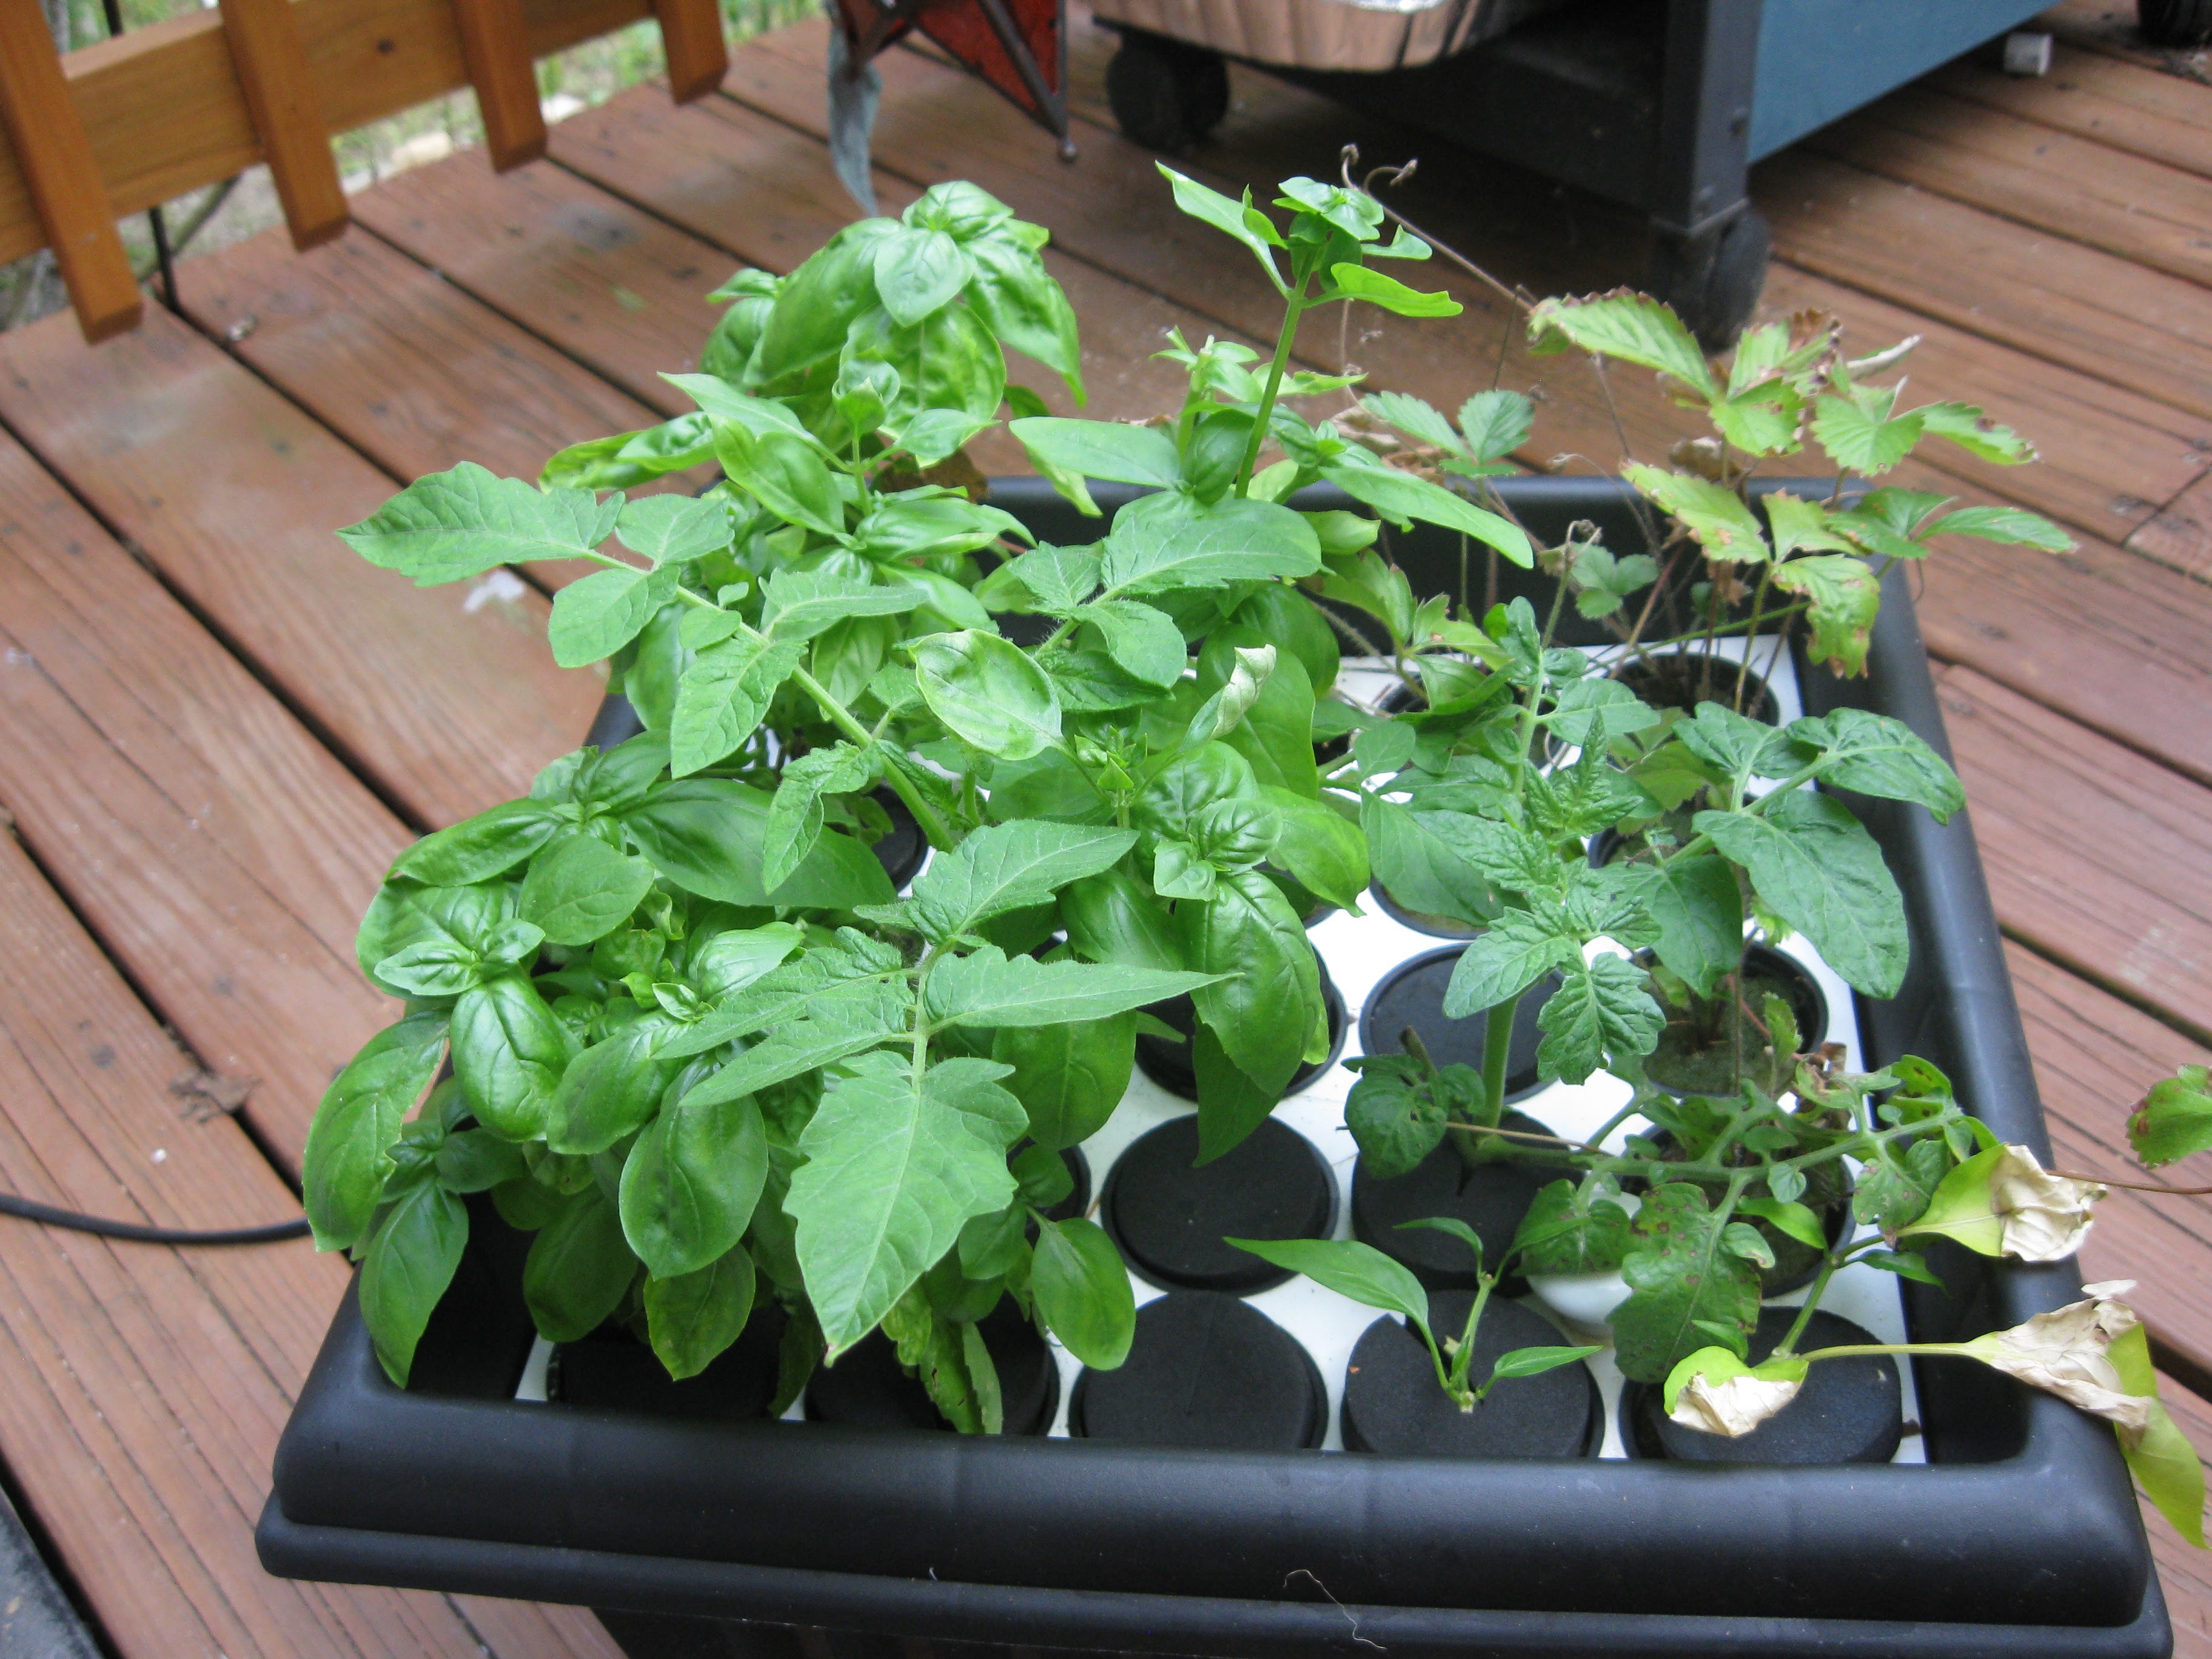
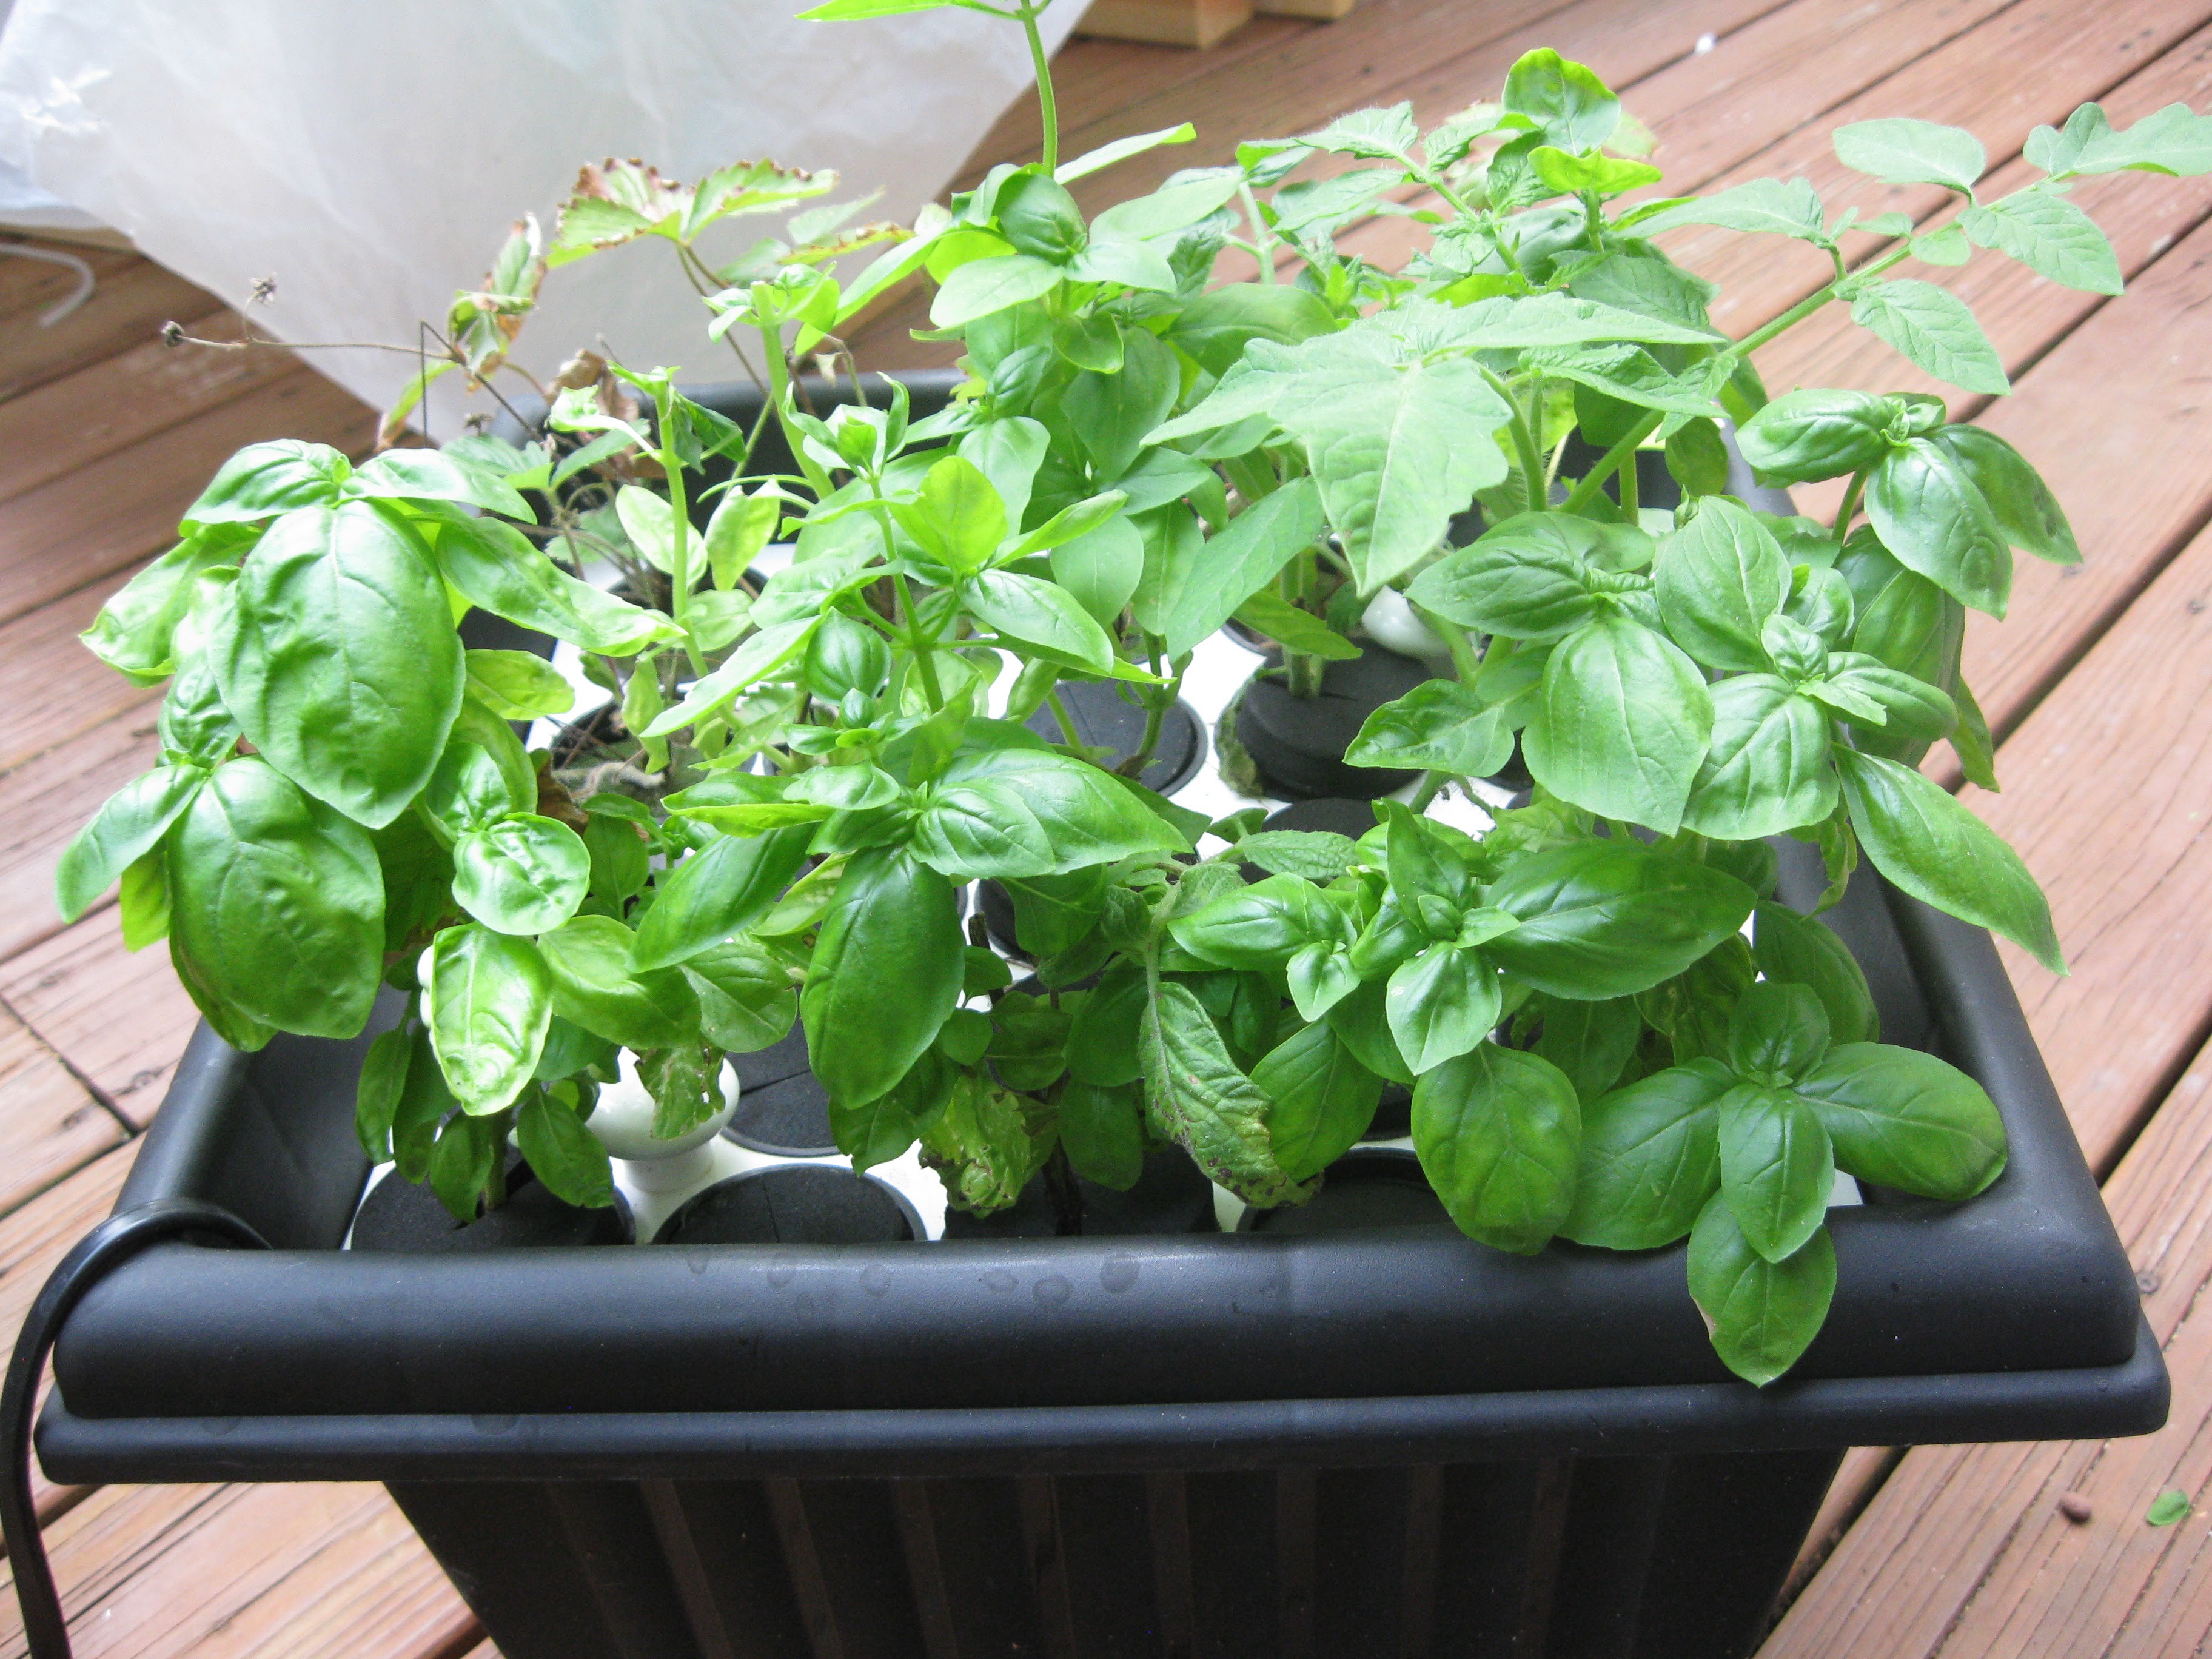
The plants have been doing quite well since the last update on them. The strawberries still haven't done much since I put them in the cloner a month ago so I won't be discussing them much. Moving onto the other plants, all of them have excellent root growth, great leaf color, and accelerated vegative growth. The peppers that just sprouted roots the last time have grow a bit more, I was worried that they weren't doing too well because they shed a lot of leaves but the root growth is up and new leaves are forming! The tomatoes and basil are doing the best, they have a lot of leave growth and significant root growth. The cheap Maxi Gro nutrients are working pretty well, I have high hopes of putting really healthy plants into the NFT when I get it up and running. That was sort of the goal to produce quality plants beforehand so that I can start generating lots of data about how the unit runs and generate lots of plant data for the cloud.
A nice picture of the cloner
Another shot from another side
Jalapeno pepper plant finally has some roots
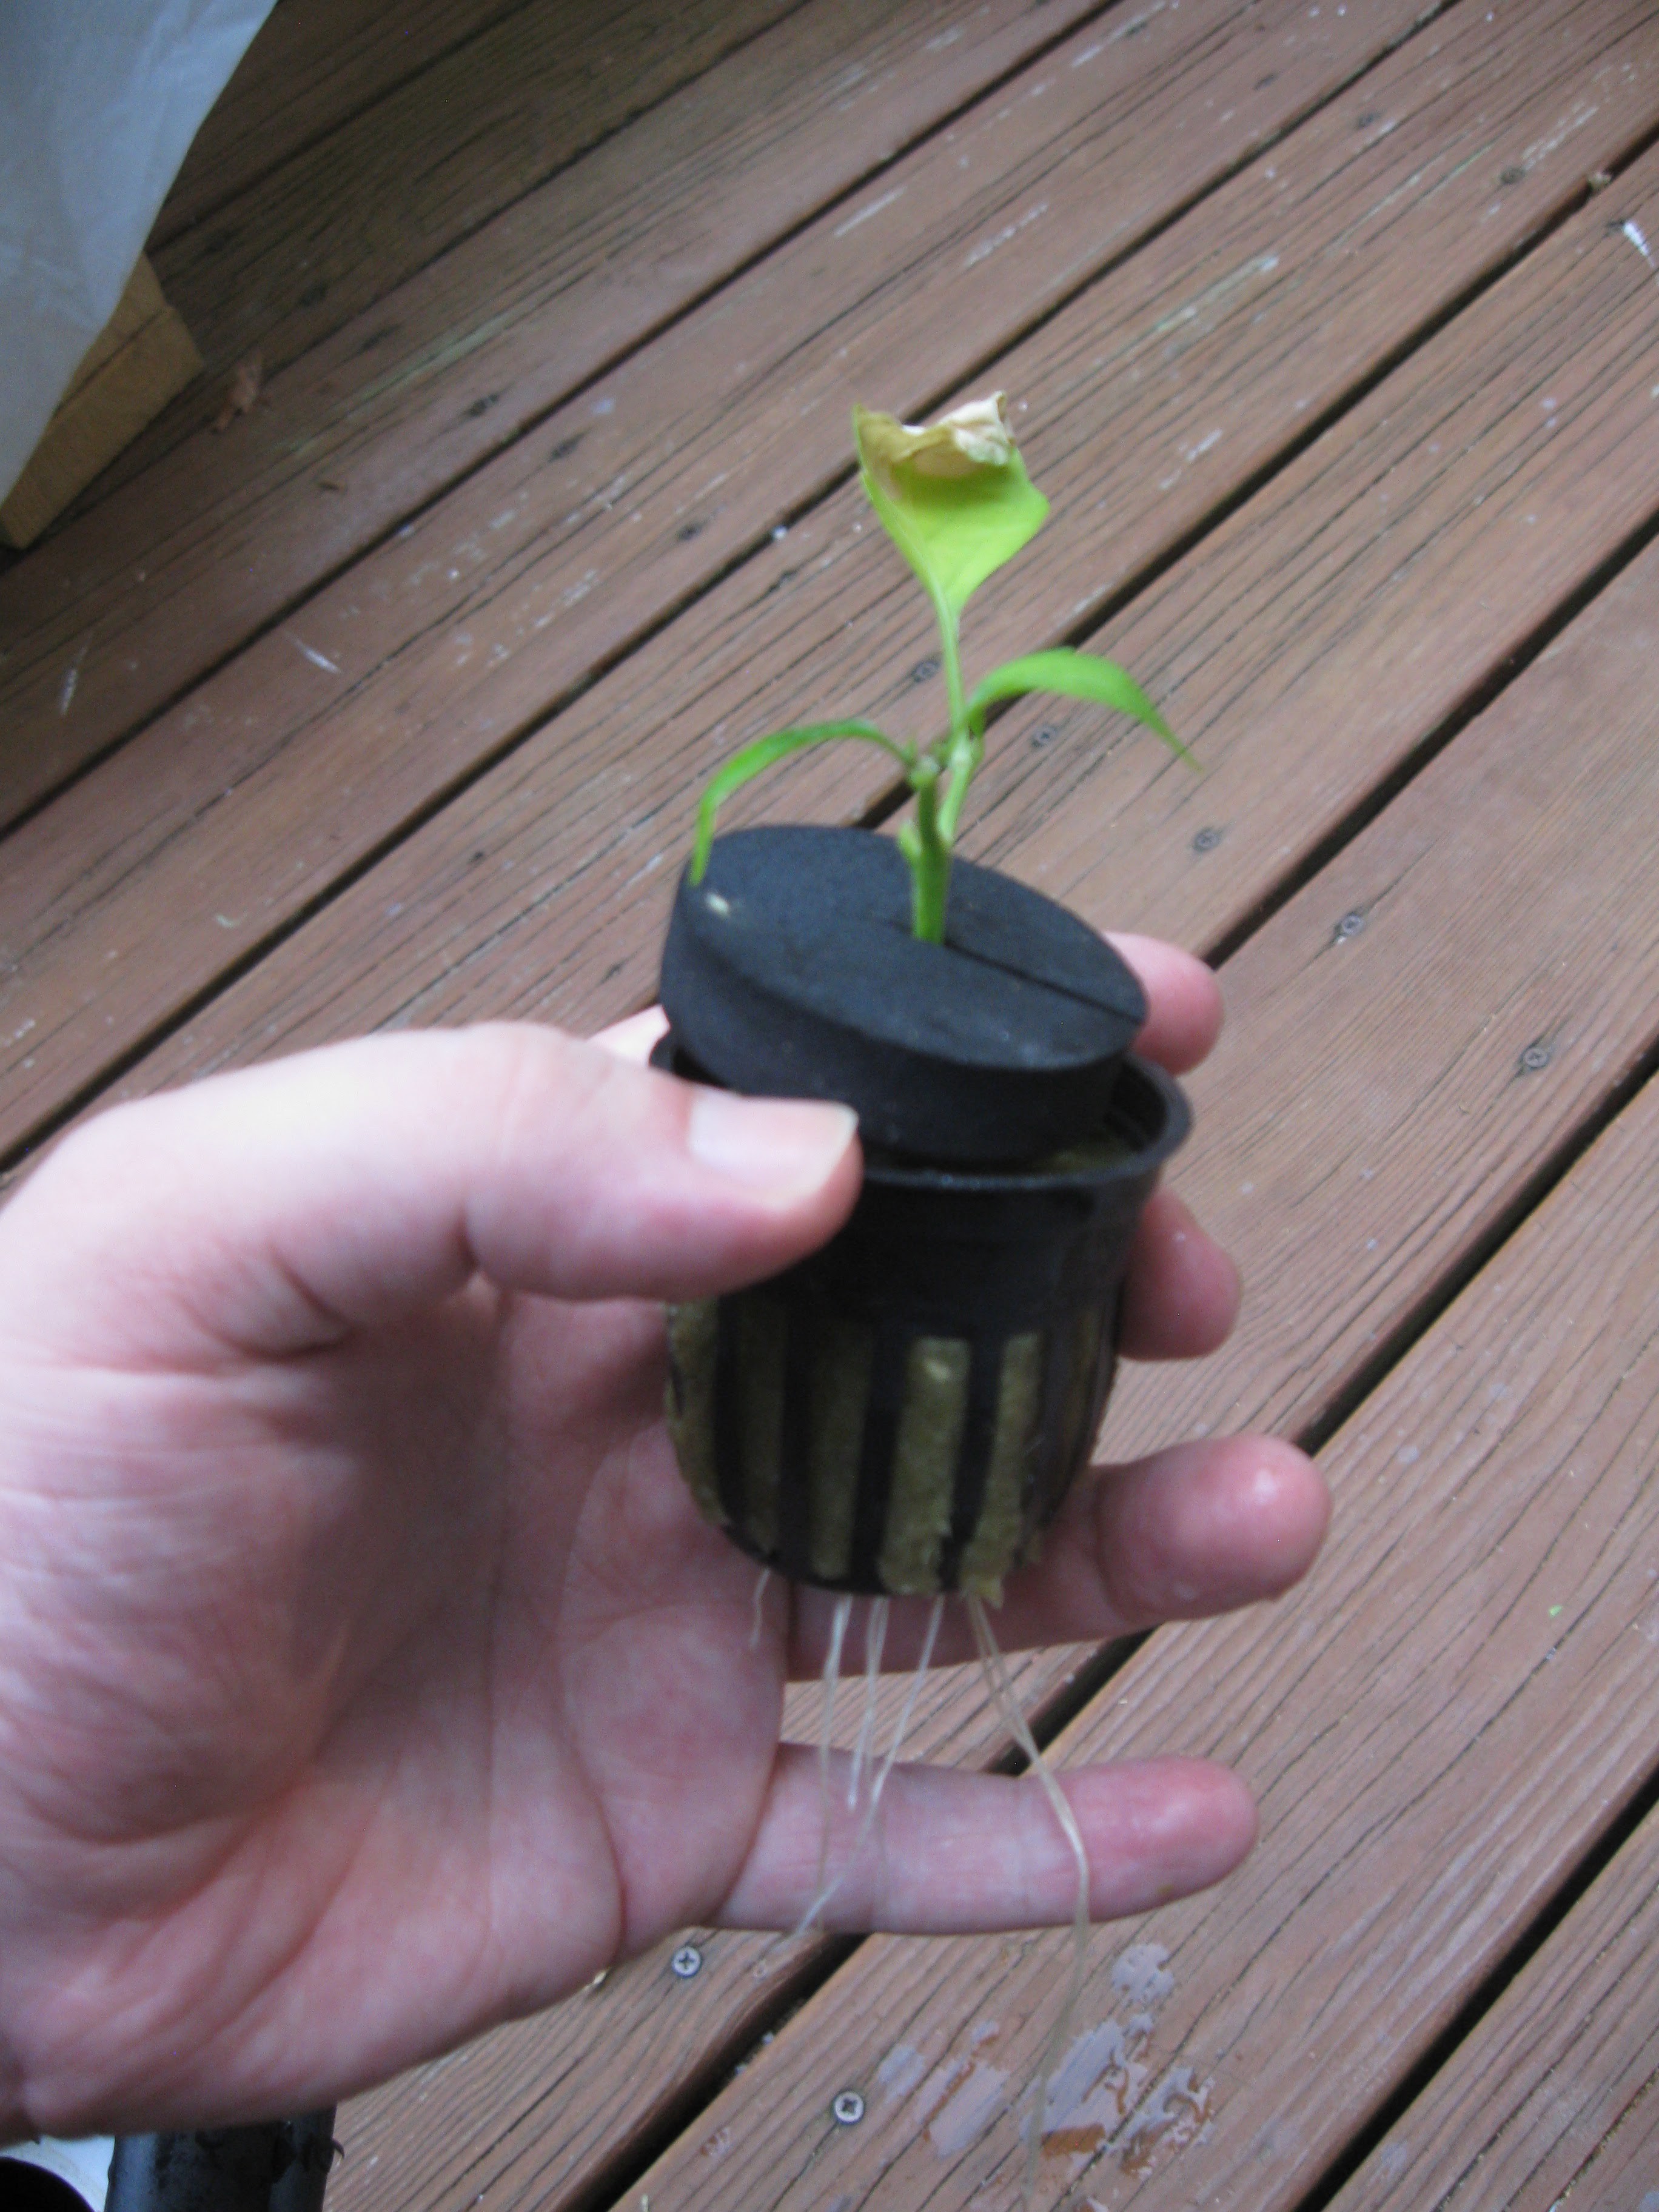
The other pepper plant

Over this past weekend I bought the gel PVC cement for PVC fence post gluing and glued the endcaps. To glue the endcaps to each section of post, I lined the lip of the cap and the crease where the cap meets the end of the cut post well with glue. After glue was applied to an endcap it was placed onto an end of post. I did each post one at a time gluing both endcaps on. I used a bungee cord to hold each endcap down tightly, I let each one sit for about 2 hours before switching to different post.

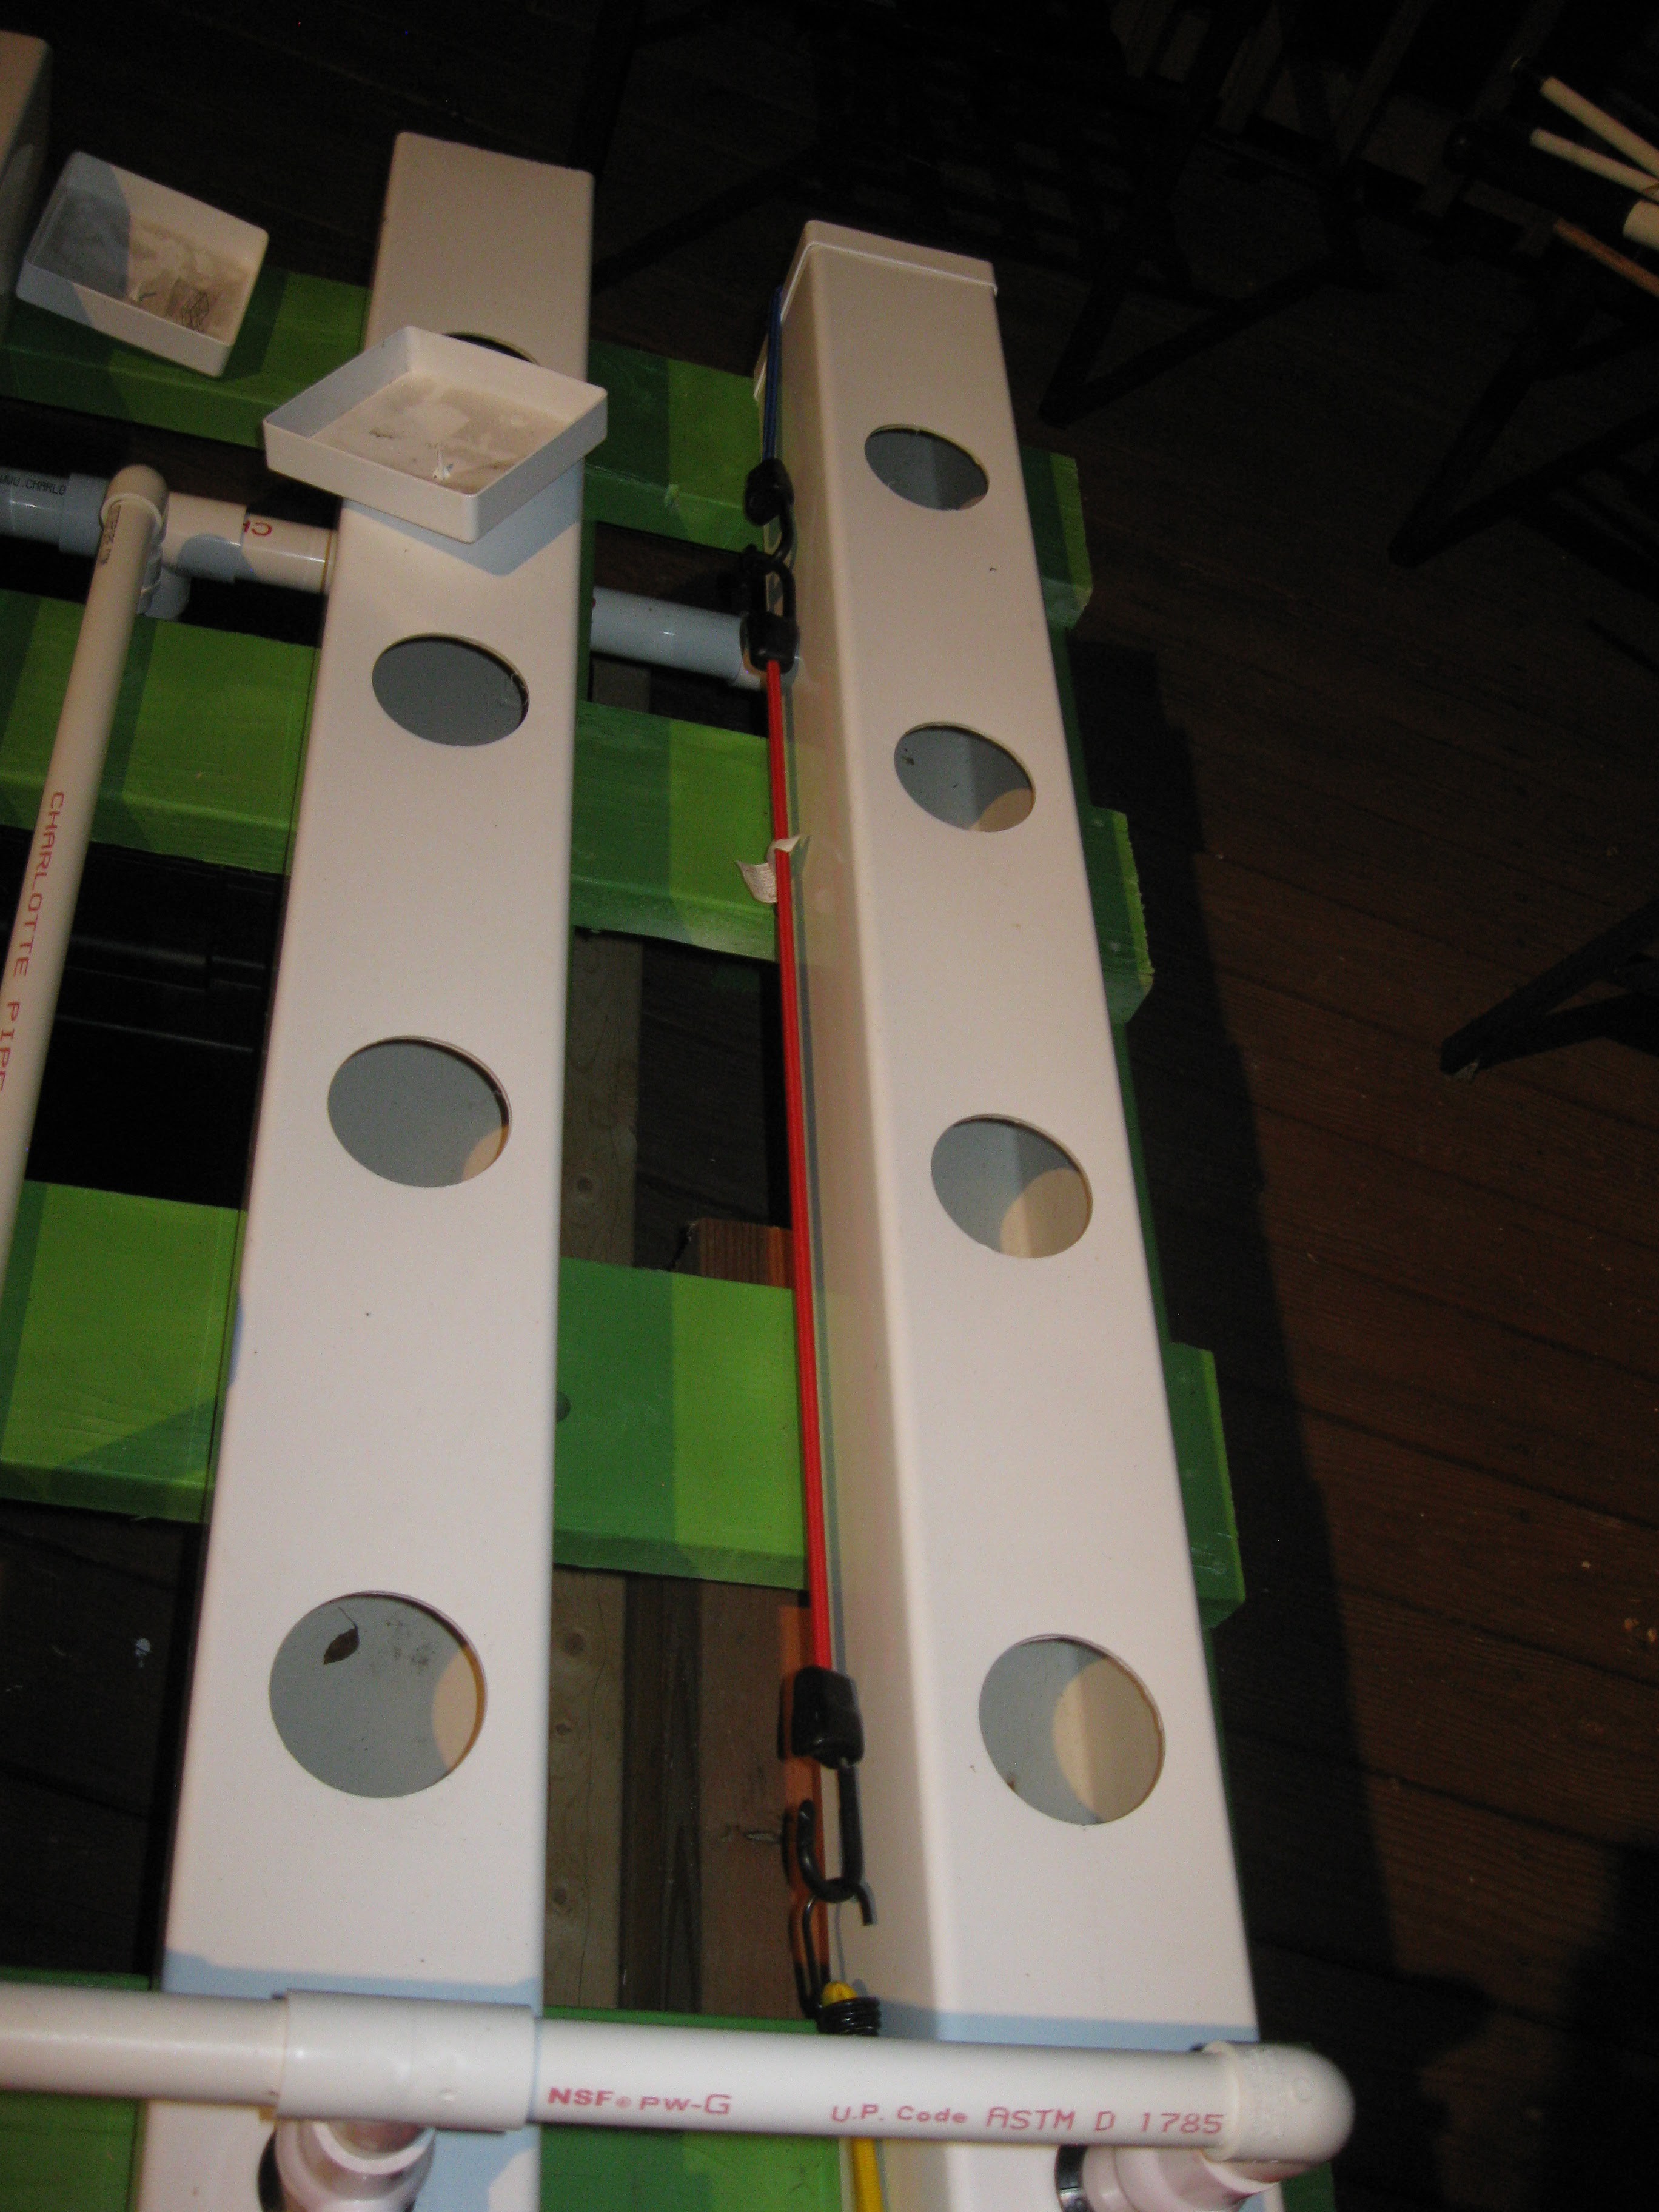
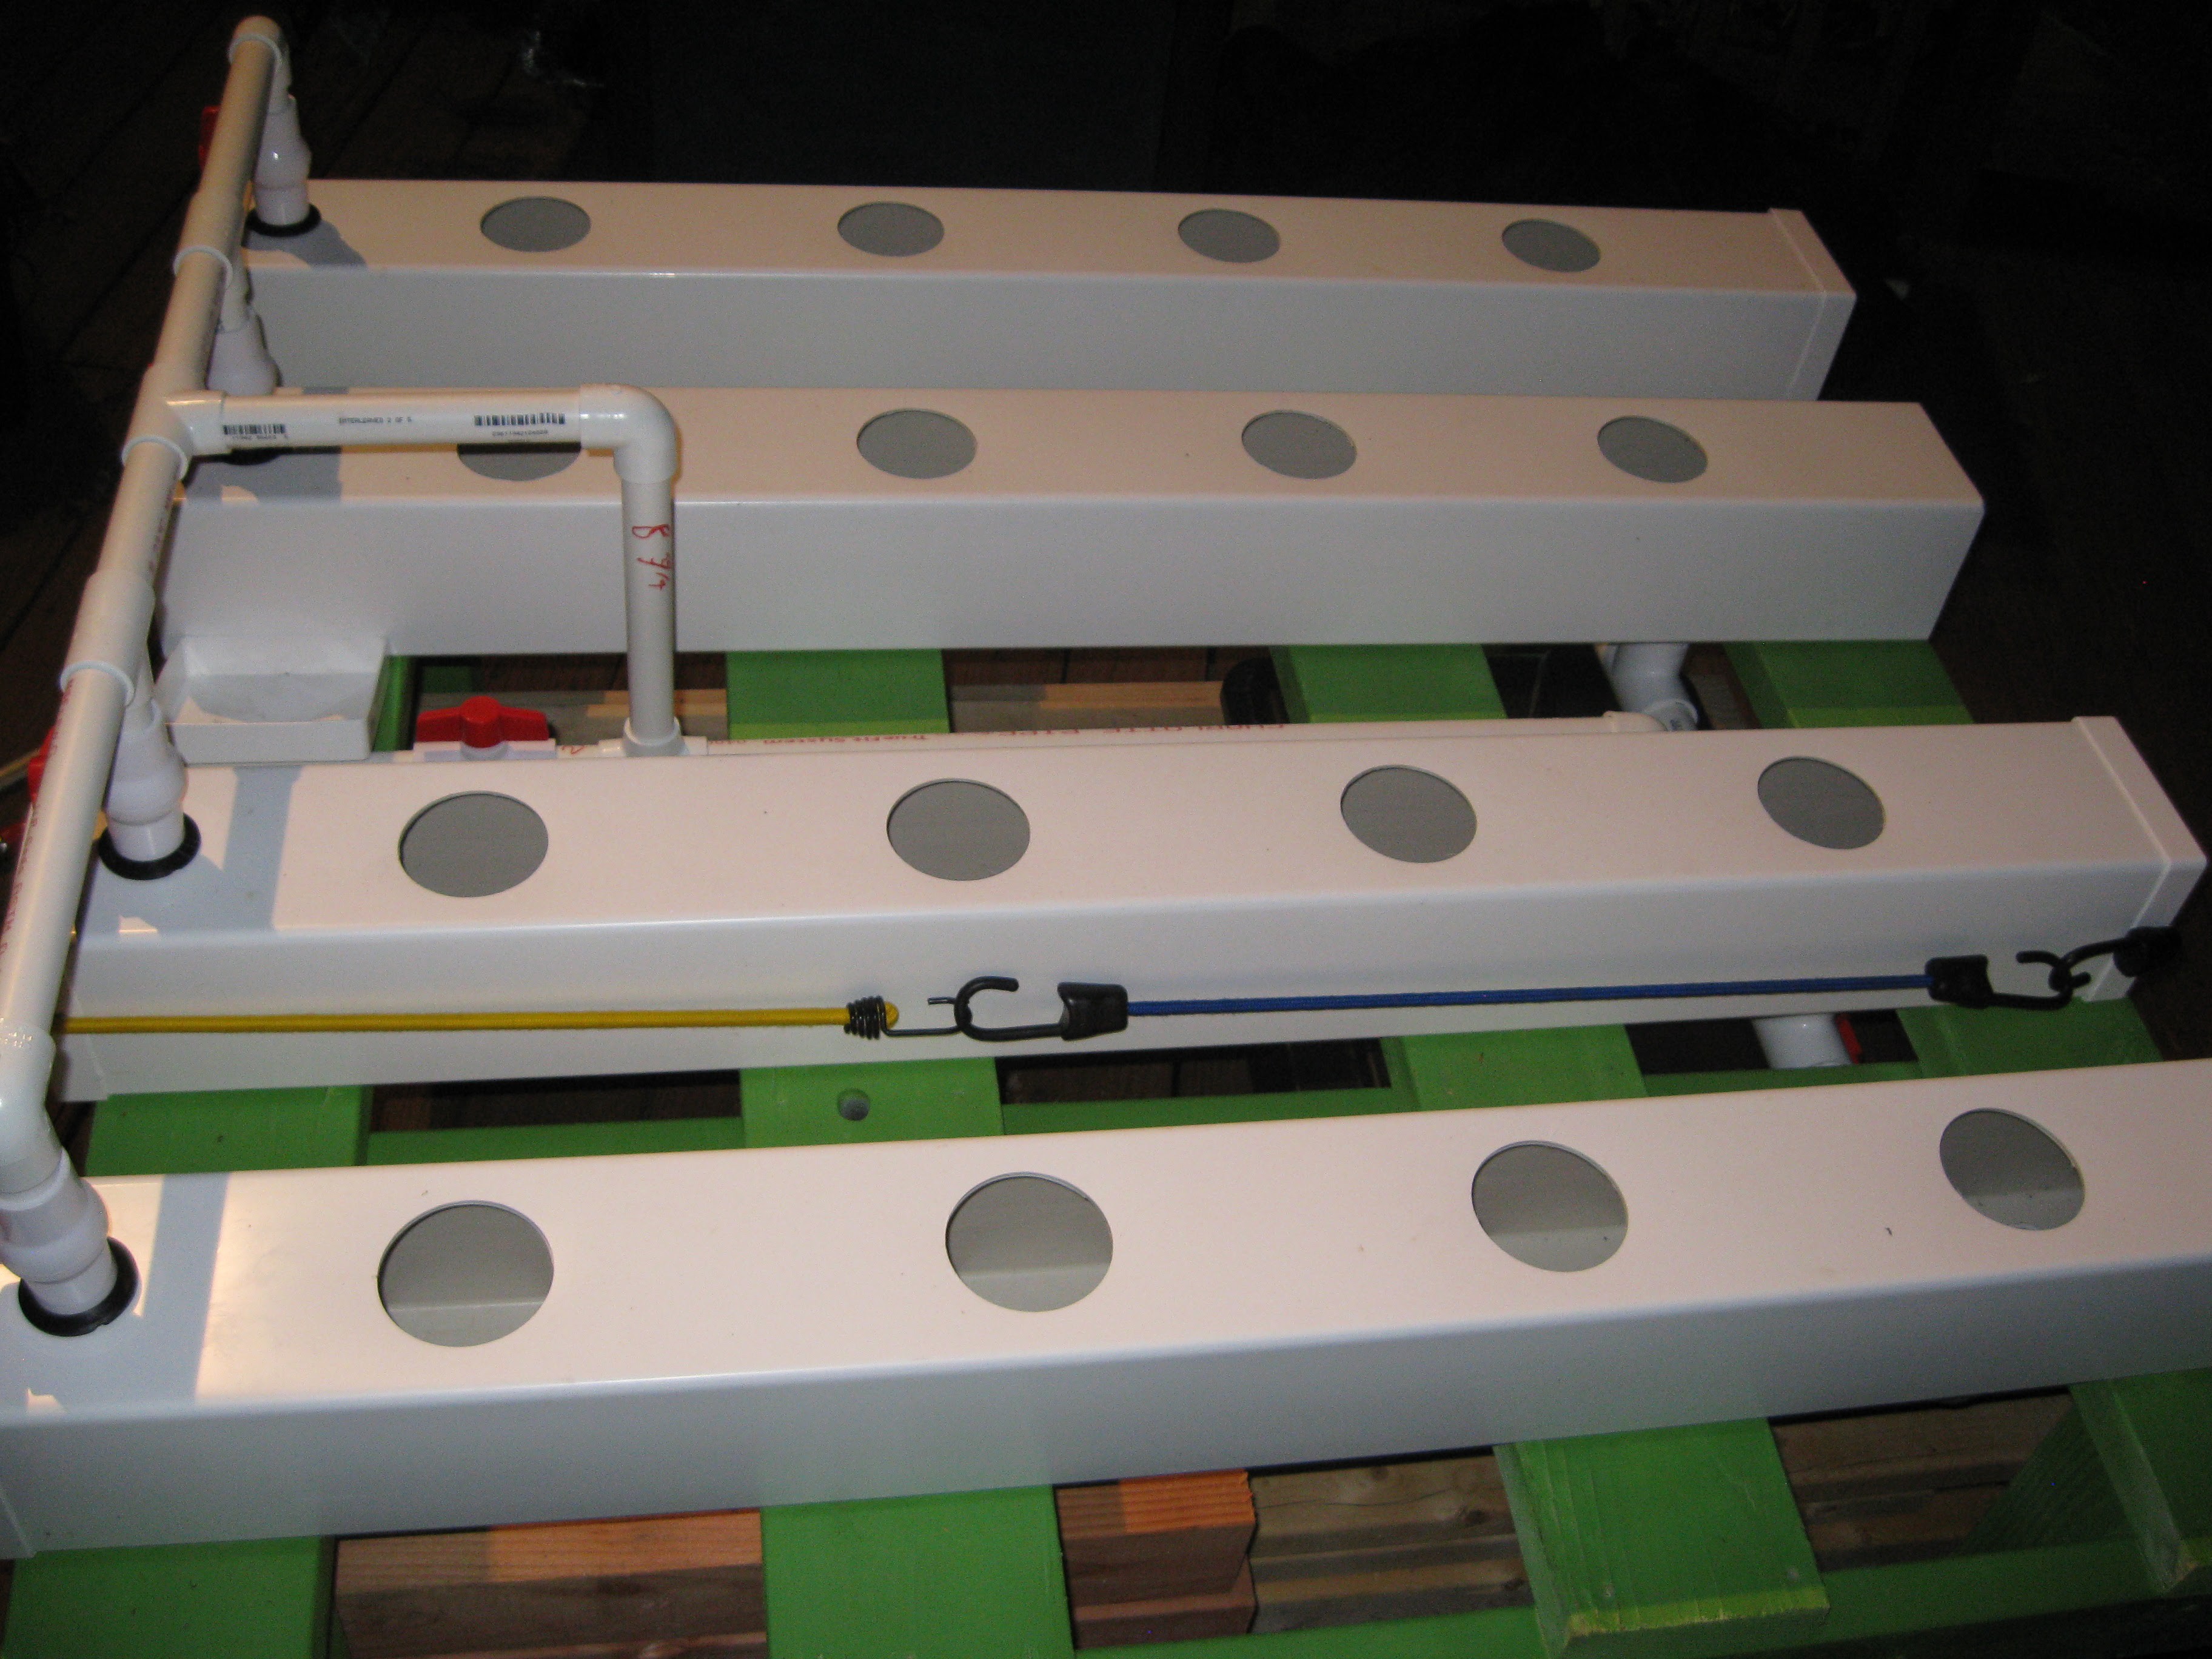


Days after the gluing though I noticed that there was some warping and melting to the endcaps, I am not sure if this is going to cause me any problems yet. I looked inside each post with a flashlight, the seem/crease where the end cap meets the post seems to be complete solid and filled in with dryed cement/PVC goo. Anyways just in case I plan on sealing the caps from the outside with silicon. On the next version I build of this system I think I'm going to attach the endcaps with silicon, this way the seal will be tight, and I can take the assembly apart for easier cleaning. Stay tuned for more updates !!!!!
Discussions
Become a Hackaday.io Member
Create an account to leave a comment. Already have an account? Log In.