0%
0%
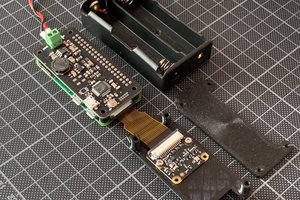
Lightbar
A 2M pole with 192 RGB LEDs used for light painting.
 Iamthesoundman
Become a Hackaday.io member
Already have an account? Log in.
Just one more thing
To make the experience fit your profile, pick a username and tell us what interests you.
Pick an awesome username
hackaday.io/
Your profile's URL: hackaday.io/username. Max 25 alphanumeric characters.
Pick a few interests
Projects that share your interests
People that share your interests


 volzo
volzo
 G.Vignesh
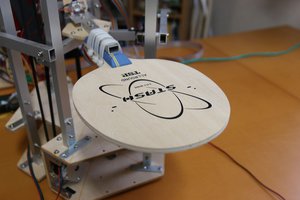
 Tobias Kuhn
 Myrijam
Am I correct to assume you're using serial comm from pi to teensy? Did you write your own code for that? I've done similar and keep wondering if there's a better way.
Thanks,
razputin