Stefan-Xp
-
Results
07/27/2015 at 16:50 • 0 comments"Today i got a photo for you" ;-)
- Heidi Klum
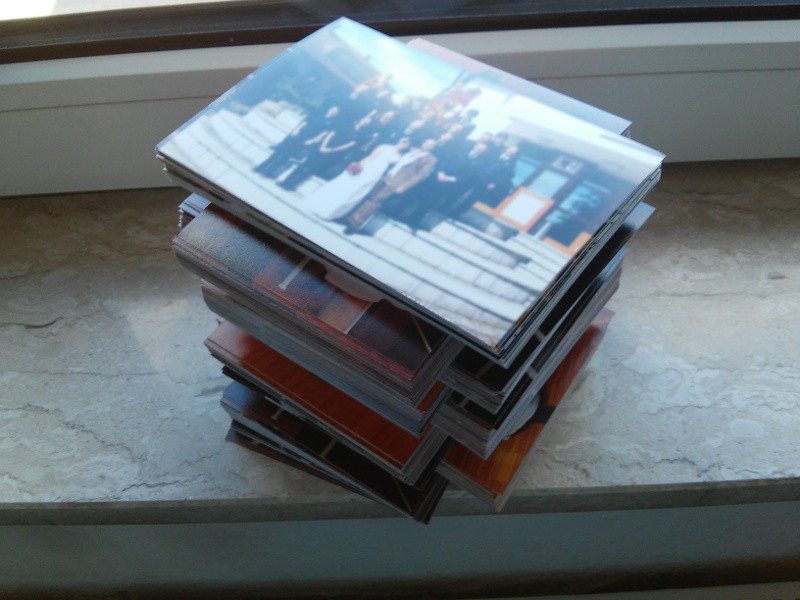
These are the resulting pictures from the photobooth ^^
As the bridal pair wished those are almost all Photos from the Photobooth :)
Only half of the first Layer are pictures which are not created by the Photobooth.
I'm sorry, that i can't share specific pictures... but there are really funny ones. Most of the pictures got into the Guestbook next to the best wishes of the specific people - i think its a real nice keepsake (souvenir / de:Erinnerungsstück)
The bride was happy with the outcome, so i am.
![]()
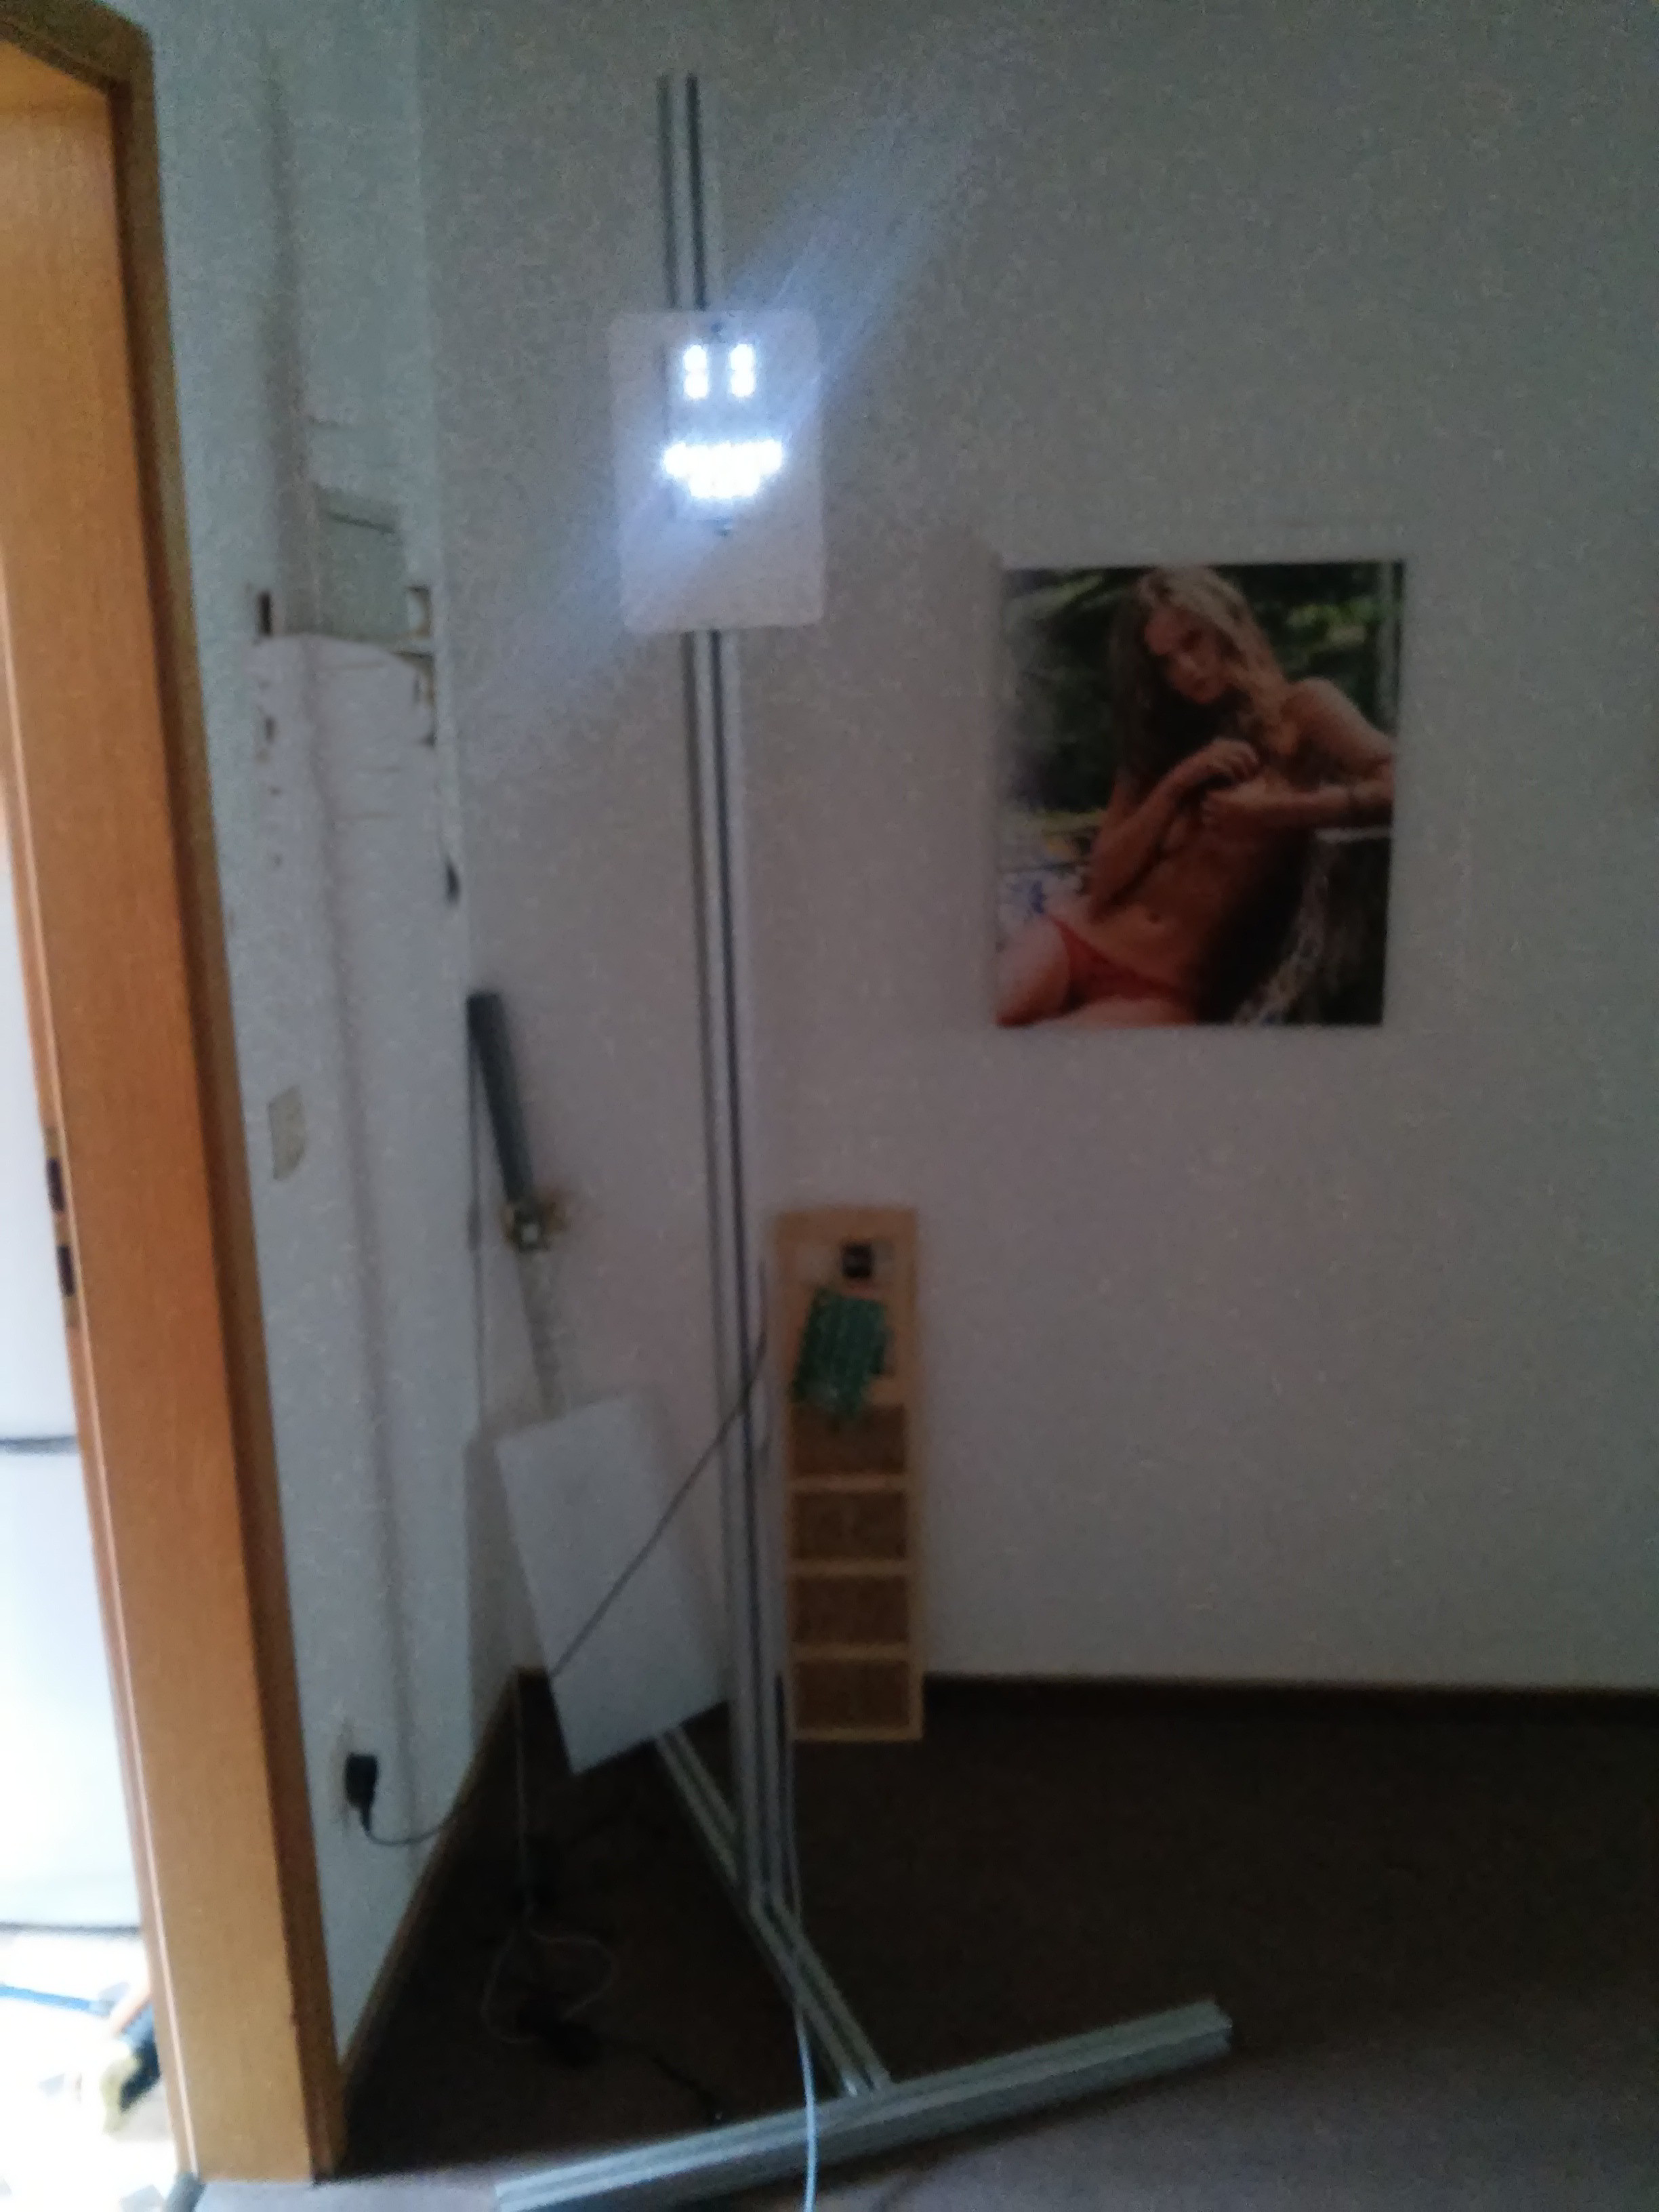
So at the moment the Aluminium pylon serves as clock-stand for my old 7 Segment + Binary Clock.
Perhapps it will also feature the new 4x 5x7 LED Matrix Wall Clock ;)
![]()
-
So it found it's destination...
06/15/2015 at 18:43 • 0 commentsFinally this Saturday the Photobooth was used the first Time :)
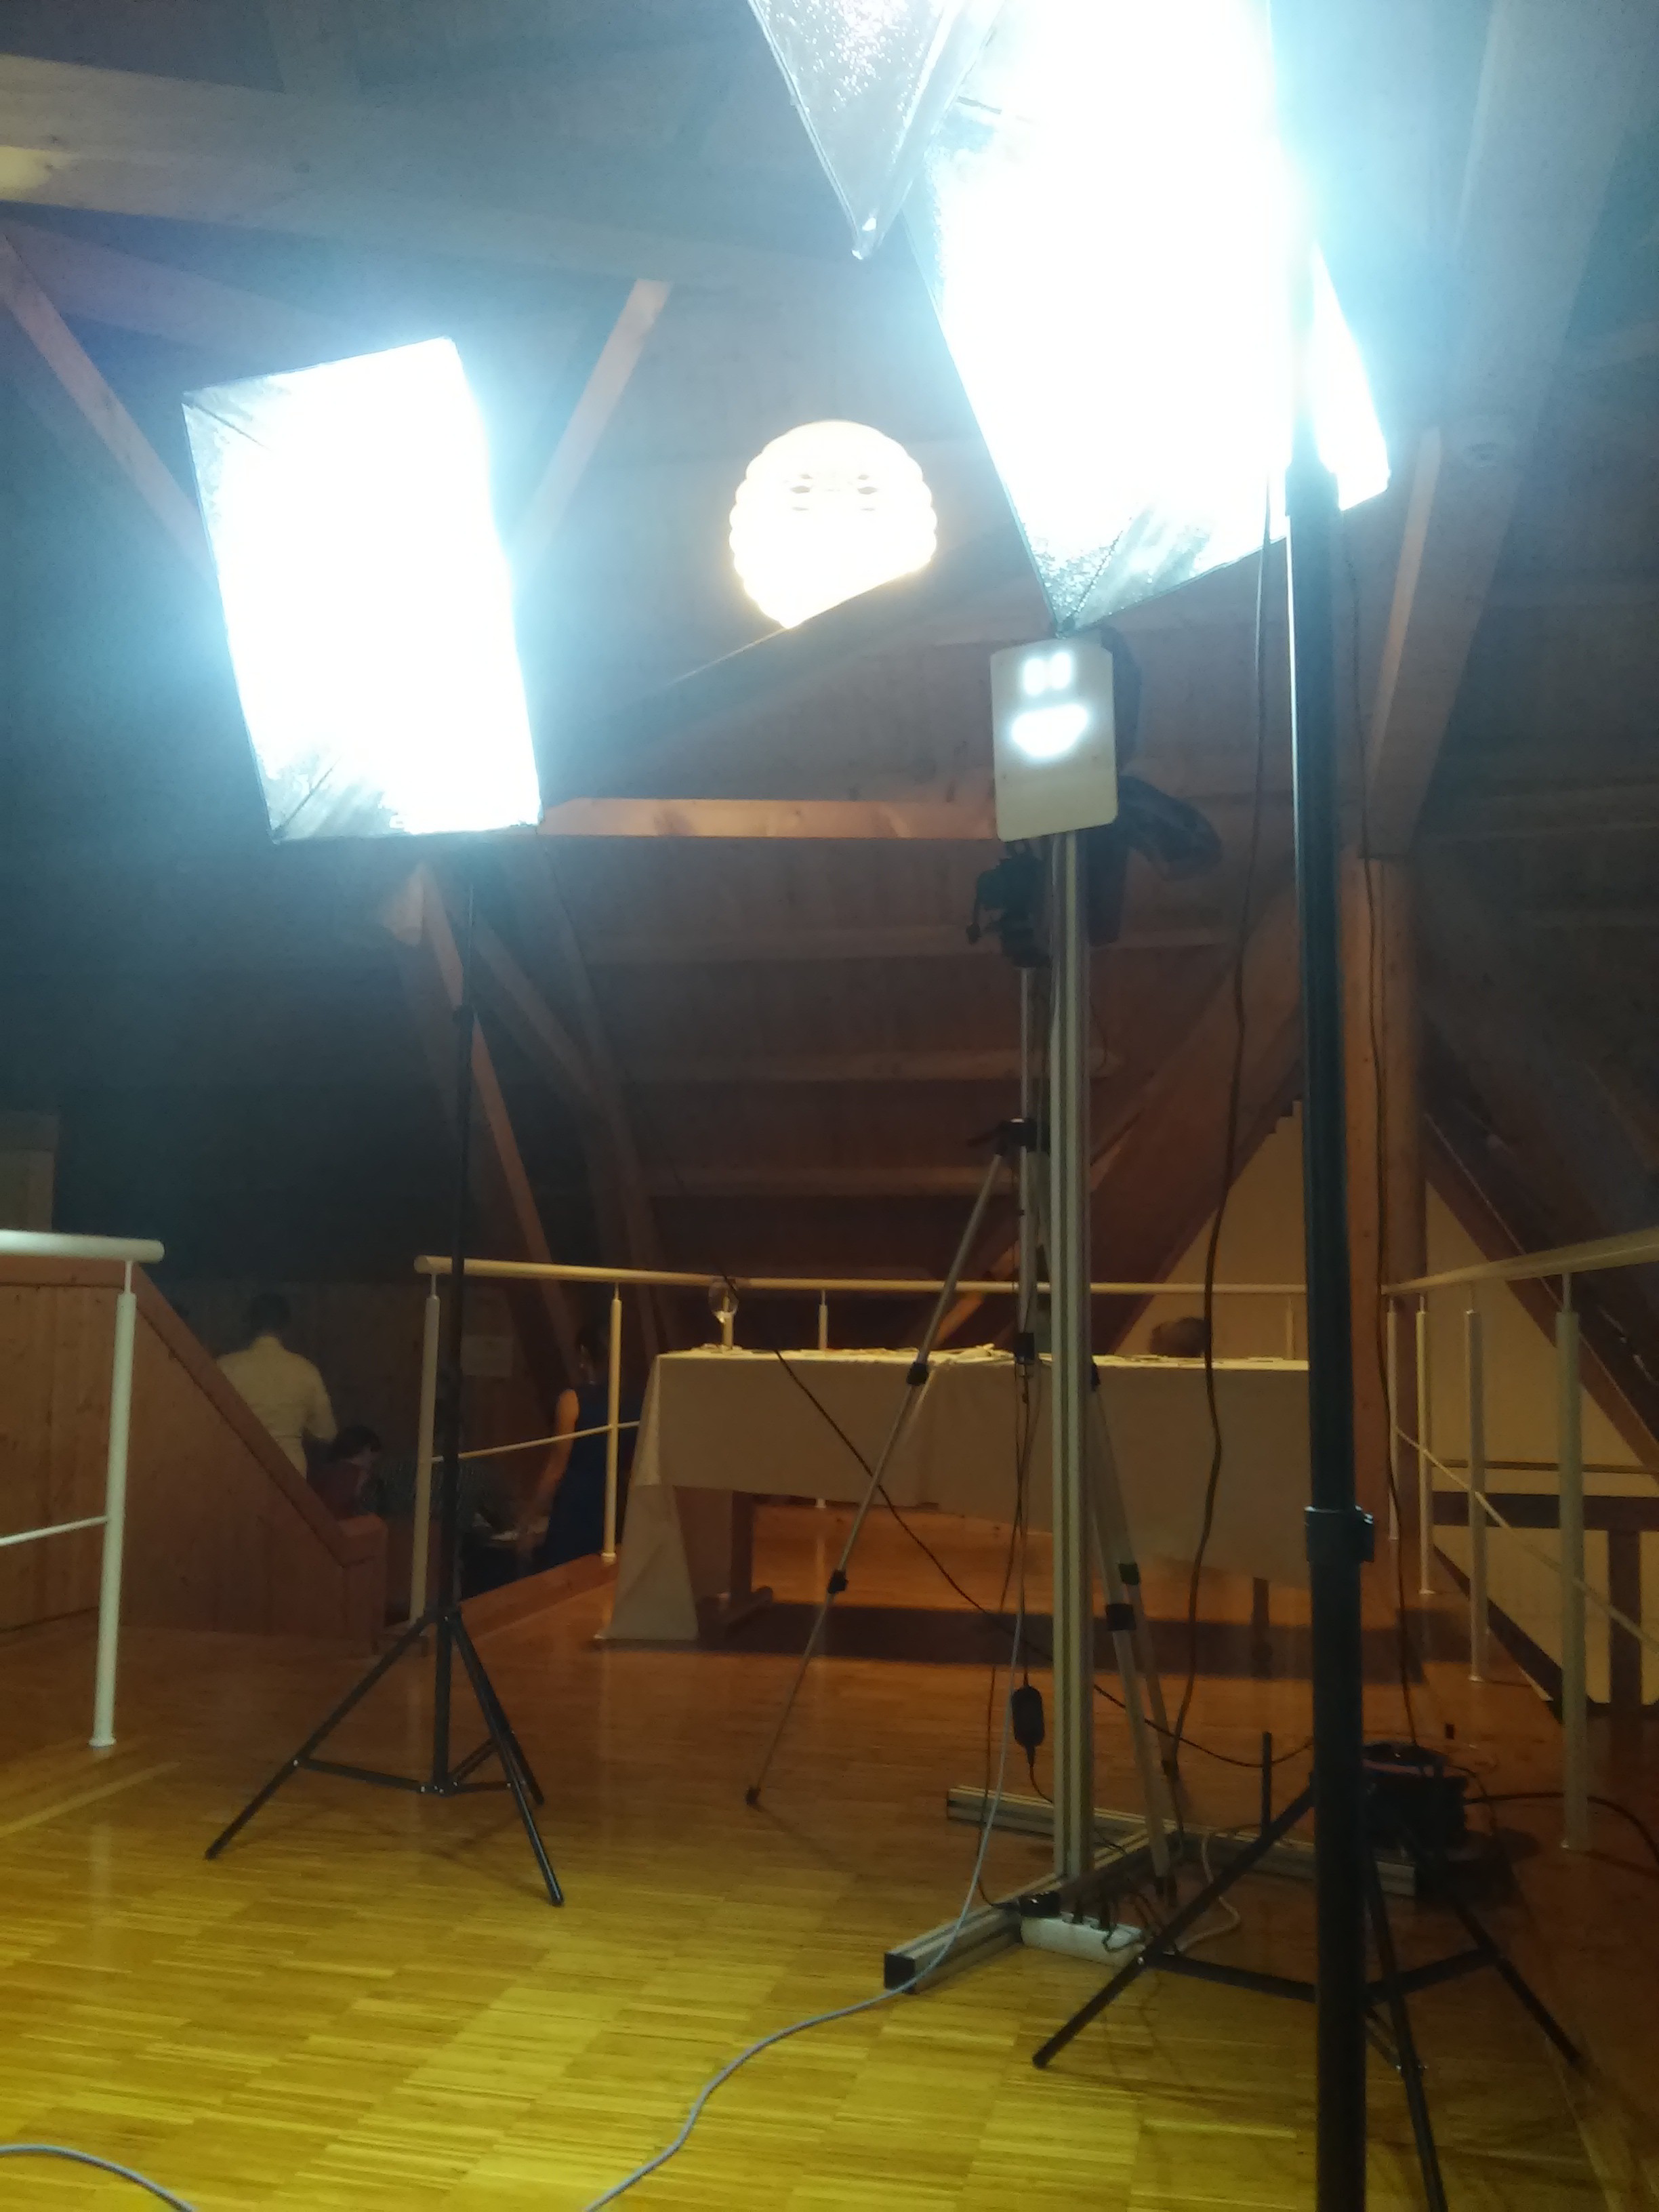
The Footobooth from below the Fotoposition:
![]()
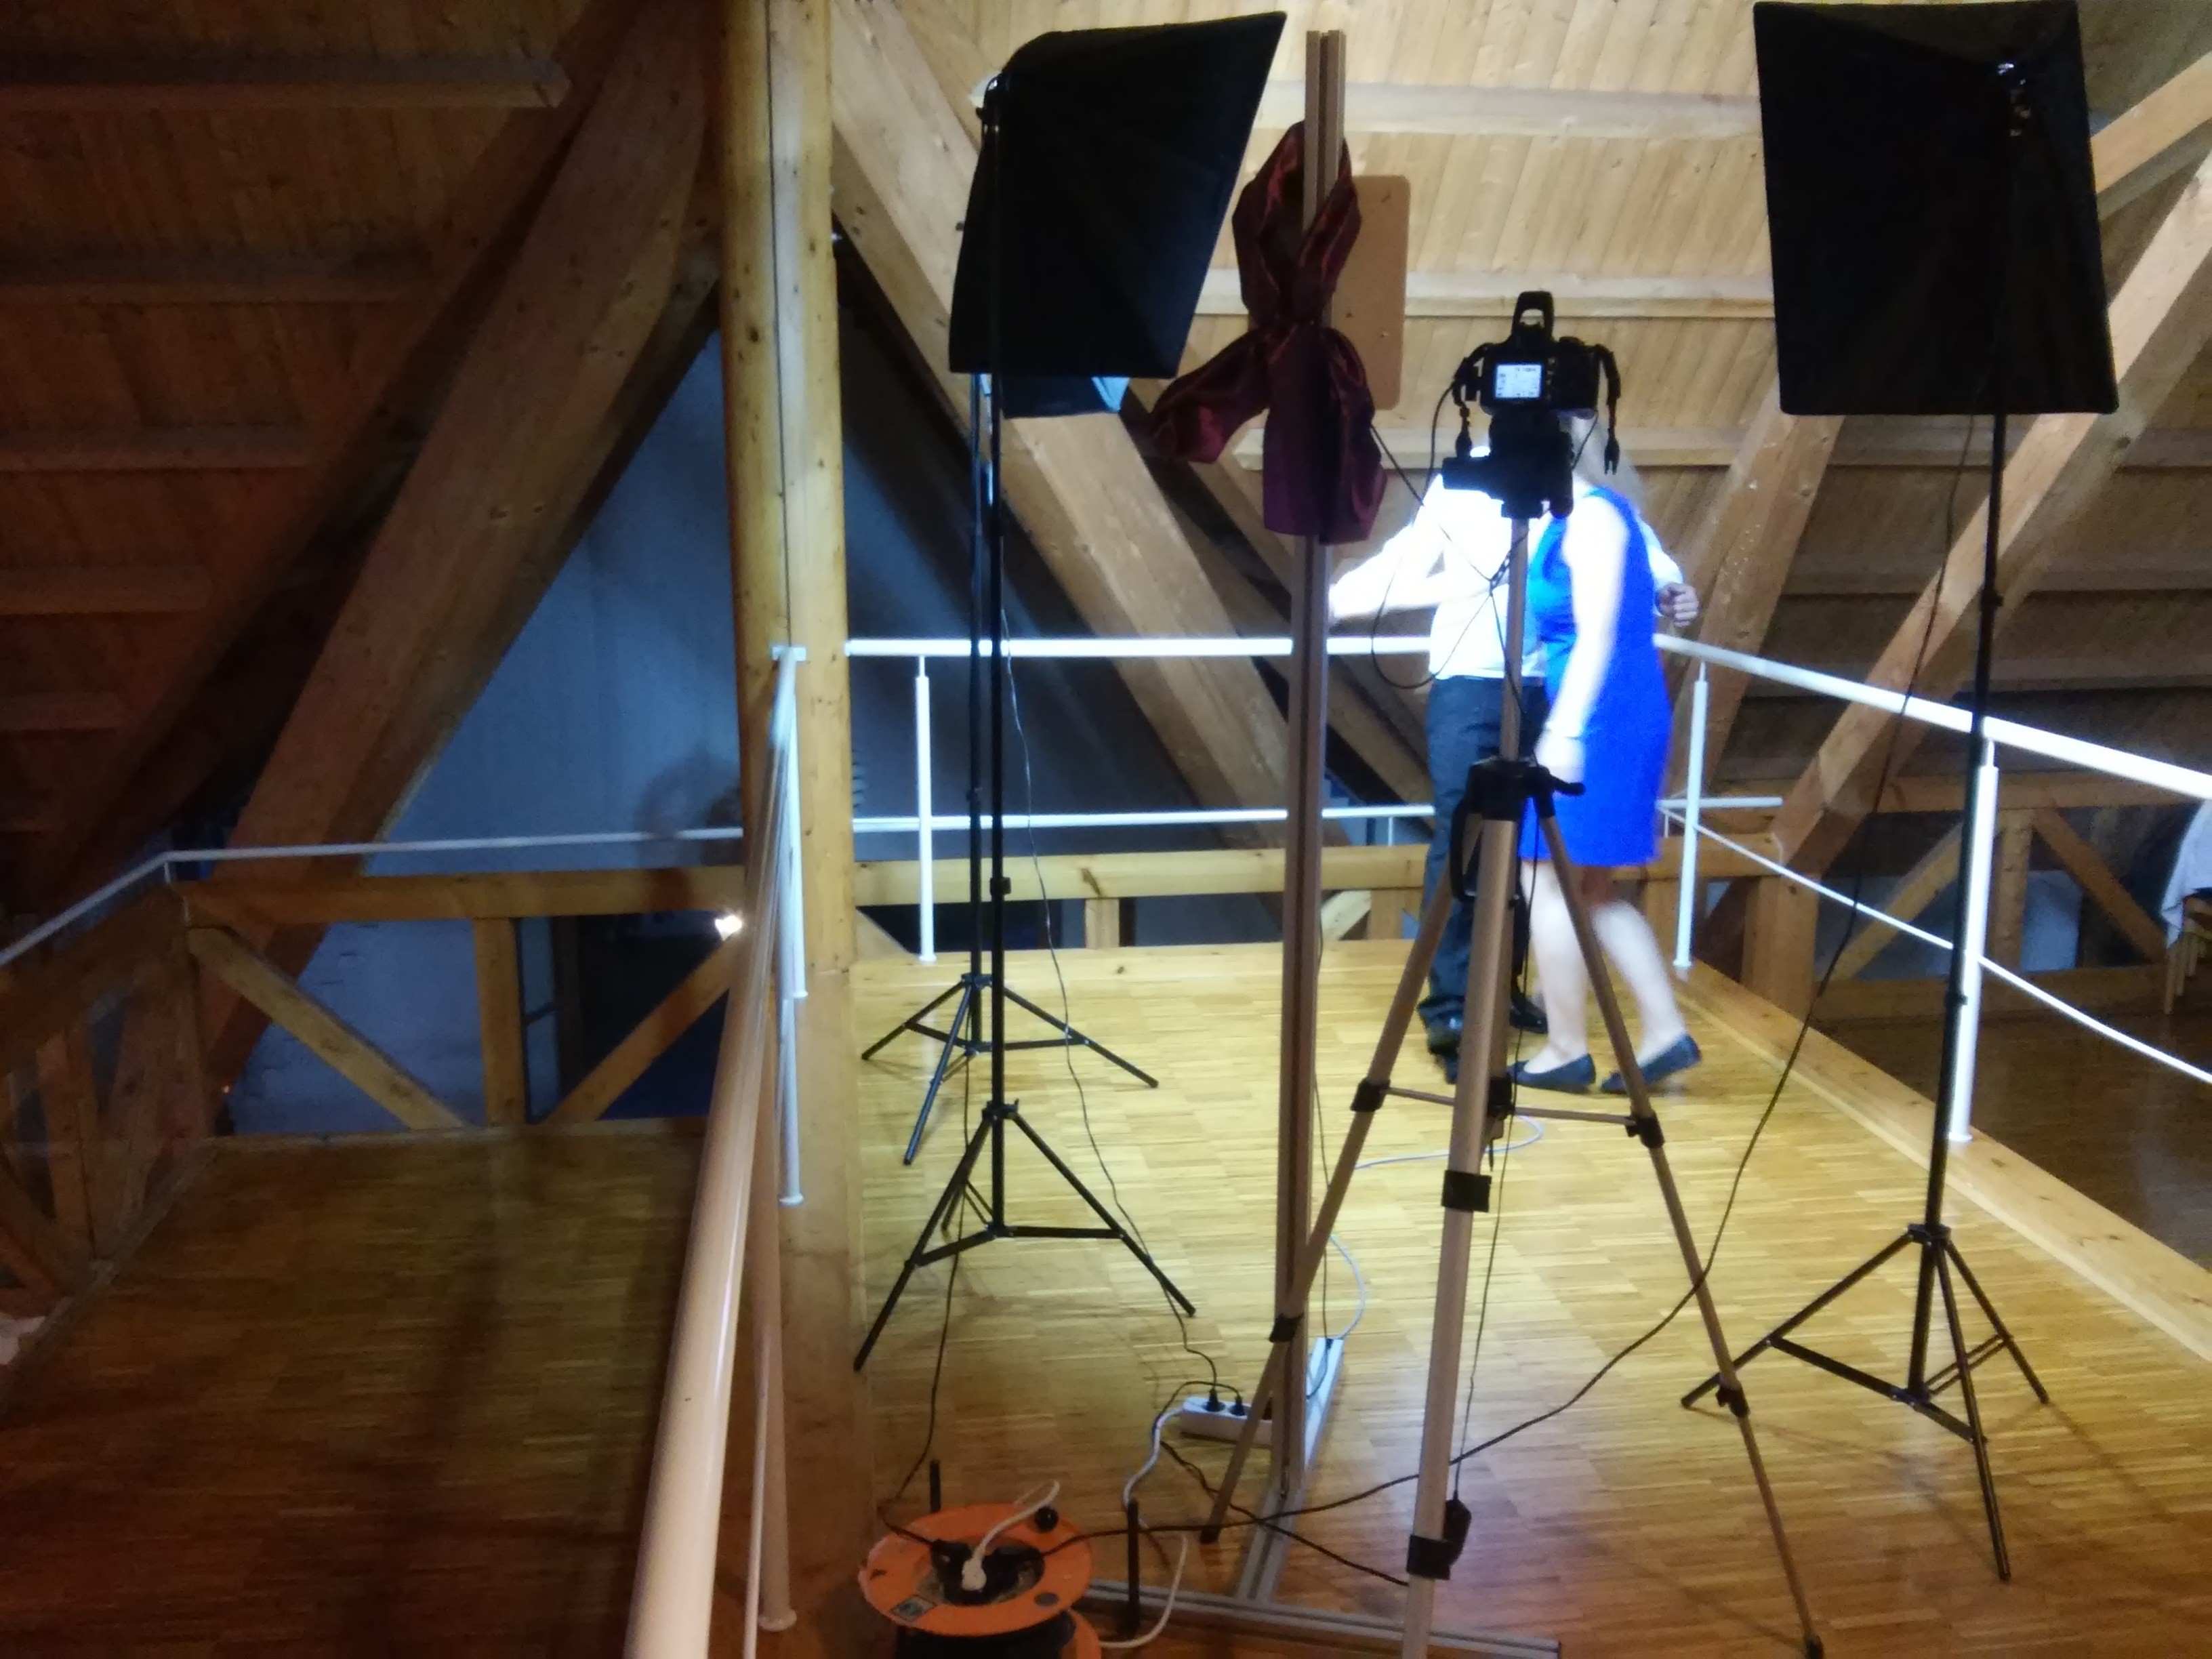
The Photobooth in use:
![]()
Finaly the Setup consists of the 7x5 LED Board, The Plywood/Acryl housing, the Aluminium profiles, 3 Daylight Lamps and the Canon EOS 400d.
Fazit:
On the plus side:
- The people really liked the concept of a Selphie Cam
- Some people said that its an amazing contraption
- Some people liked the Smiley
- If you also have "masking parts" for the people there will be amazing fotos
- From 711 there are about 450 usable fotos (~150 apertures @ 90 People)
- The Image size allowed generous cropping
On the minus side:
- Most images needed cropping
- There should be markings on the ground to make the pictures more "repeatable" (Often there were cut off feet)
- There was a bit less light especially after sunset (The exposure time went down to 1/15s, which is way to low)
- Some people used to fiddle around with the camera direction.
- The "review" of the Images was not convenient.
-
The Display Pylon
06/10/2015 at 22:37 • 0 commentsPerhapps it is a bit oversized but i Like it ;)
What I did the last Time:
- Swimming in Lake Constance
- Sunbathing at Lake Constance
- Ordering Aluminium Profiles and equippement
- Screwing them together
- Apply white "Silkscreen" to the PCB (Now the White LEDs are cristall clear white without Green undertone)
- Takeing a picture of the Pylon
![]()
![]()
Still To Do:
- Add the Camera with Tripod (Everything is prepared)
- Do a Testshoot
- Move it to the location
- Add some Lights
Soon there will be better pictures ;)
What would be nice to do if there were to much time&money left:
- Add a RaspberryPi with Display as Second source for Instant review and storage (File Distribution etc.)
- Add the Camera to the Pylon
- Add the Lights to the Pylon
- Add Fancy Description
BTW:
The Glowing Rod and the 7Digit LED Clock are on standby ;) If i don't need the Fotobooth any longer, i can still use it as pylon for the Clock or other things. I really fell in Love with thos Bosch Aluminium Profiles ;-)
-
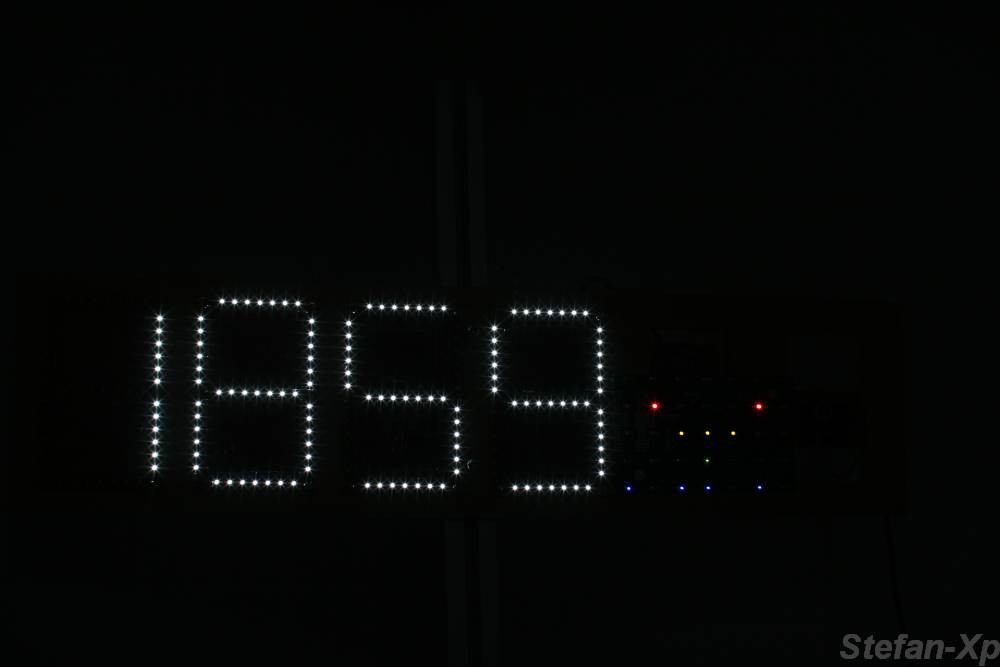
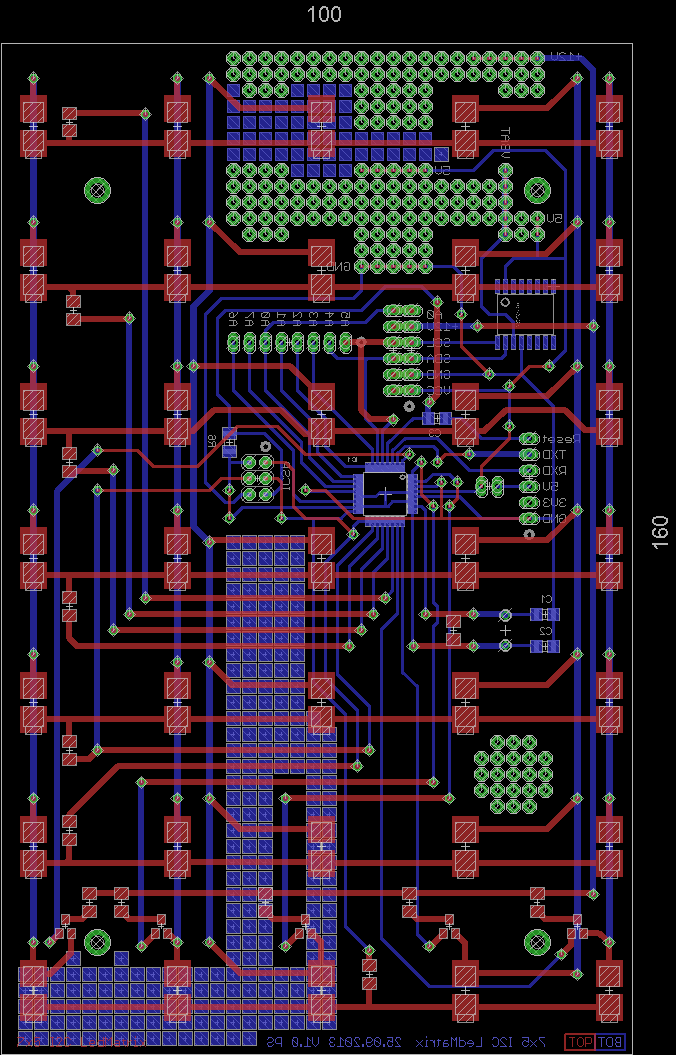
The 7x5 Dot Matrix Display
02/16/2015 at 16:15 • 5 commentsWell, i considered to introduce the 7x5 LED Dot Matrix Display.
It's designed for maximal readability. With a character hight of 160mm, it is readable from across every room, even without glasses ;-)
In fact its just the Bare Arduino schematic with LEDs and a few transistors ;-) Its also used at the #Alarmierungsuhr.
![]()
As seen from today the following changes would be appreciated:![]()
- Add a Resistor to the Columns, so different LEDs could be Used at the same board
- Add a current source for driving the LEDs instead of the Resistors.
- Add a FT232RL Footprint for PC connecivity
- Use M3 Mounting Holes, M2,5 sucks :-/
- For other kinds of projects (Coffeetables etc.) IR-LEDs and IR-Diodes would be great ;-)
- Get Black or White Solderstop ... more expensive but should eliminate the green shine...
- Don't forget the base resistors for the Transistors
- Don't forget the caps for VCC :-/
Comments are as always appreciated ;)
-
Going for the Jigsaw
10/23/2014 at 20:14 • 11 commentsAfter a lot of deep thoughts i finaly got to the Solution to create my enclosure from Layers.
Perhapps I leave out the second plywood plate. I'm also afraid, that it will take me another week to get on the jigsaw.
![]()
-
First Design Change
10/08/2014 at 21:31 • 5 commentsAs a Project get startet, there are always changes.
But first I found a few difficulties which bugged me a bit:
- Second Atmega Board is unneccesary, all con be handled by the 7x5 LED Matrix with Atmega328
- The camera doesn't work as i imagined with Win7 there is no remote shooting function for Canon 400d. I have to try it with Win Xp or try reinstall. If that doesnt work, there are more solutions ;)
- Perhapps its neccessary to monitor the camera activity... can't be sure that a picture is taken in time?
- Like Goethe said: "I need more light" .. I have to check out if 2 Softboxes with Daylight Lightbulps supply enough Light for my purposes.
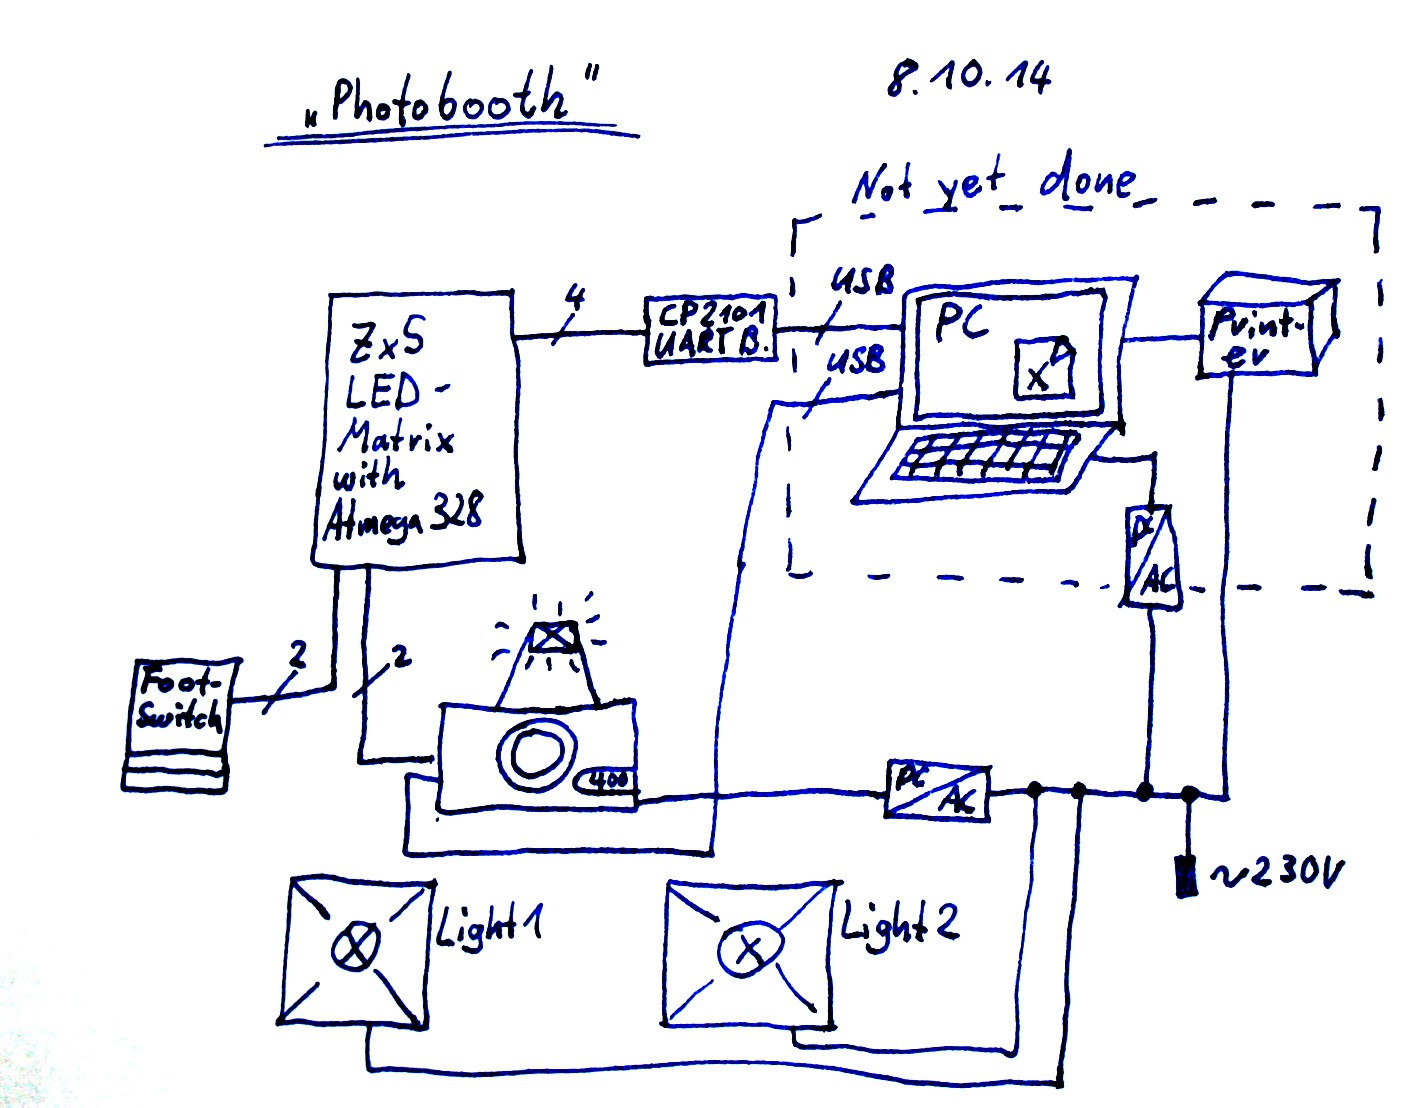
So my current Setup looks like this:
![]()
![]()
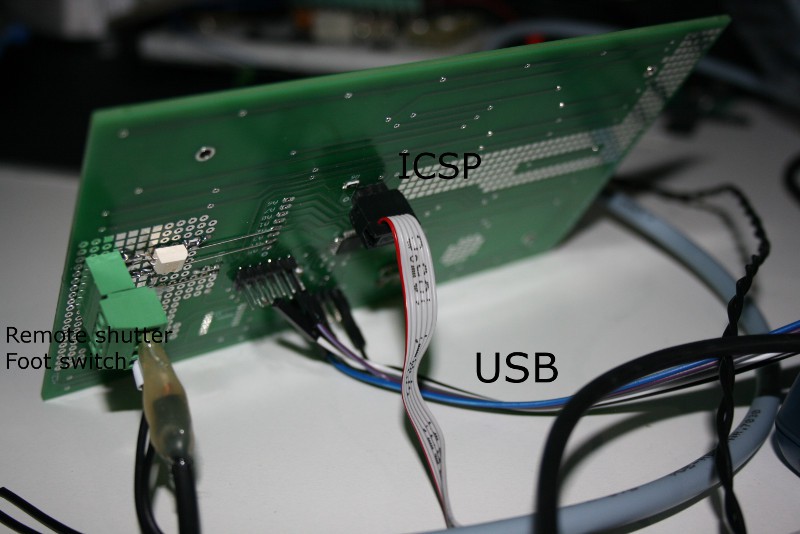
Okay, looks a bit like bricolage ... on the plus side: It works as imagined, i dont have to rework the plug twice a day.
On the minus side the Remote Shutter Plug looks really bad, the connector block didn't match the 2,54mm grid, the optocoupler was a bit big...
![]()
this is how the front looks if you take a picture of the active LEDs ("3") with Flash on and minimal brightness. I promise a better Picture next time.
Next Steps:
- Check if remote shooting works with Win Xp
- Think about a nice enclosure (VERY hard task... :-()
- Implement SW to get Informations form the 7x5 Panel and show the shoot Images (Optionally print them out) (VB Excel Macro)
- Try to figure out when the camera really shoots.
- Read some more on ETTL :-) http://www.freepatentsonline.com/6404987.pdf and http://billgrundmann.wordpress.com/
- At wurst käs i would need to add some external flashes and monitor if they fired.
- The Background could be Illuminated by a RGB flood light?
- Add some other funky features... (Eyecatchers on the 7x5 Display, ...)
Comments and tips are highly appreciated ;-)
Photobooth Control and Display
This project features Arduino compatible devices which connect to a PC and a camera