 The Reverend
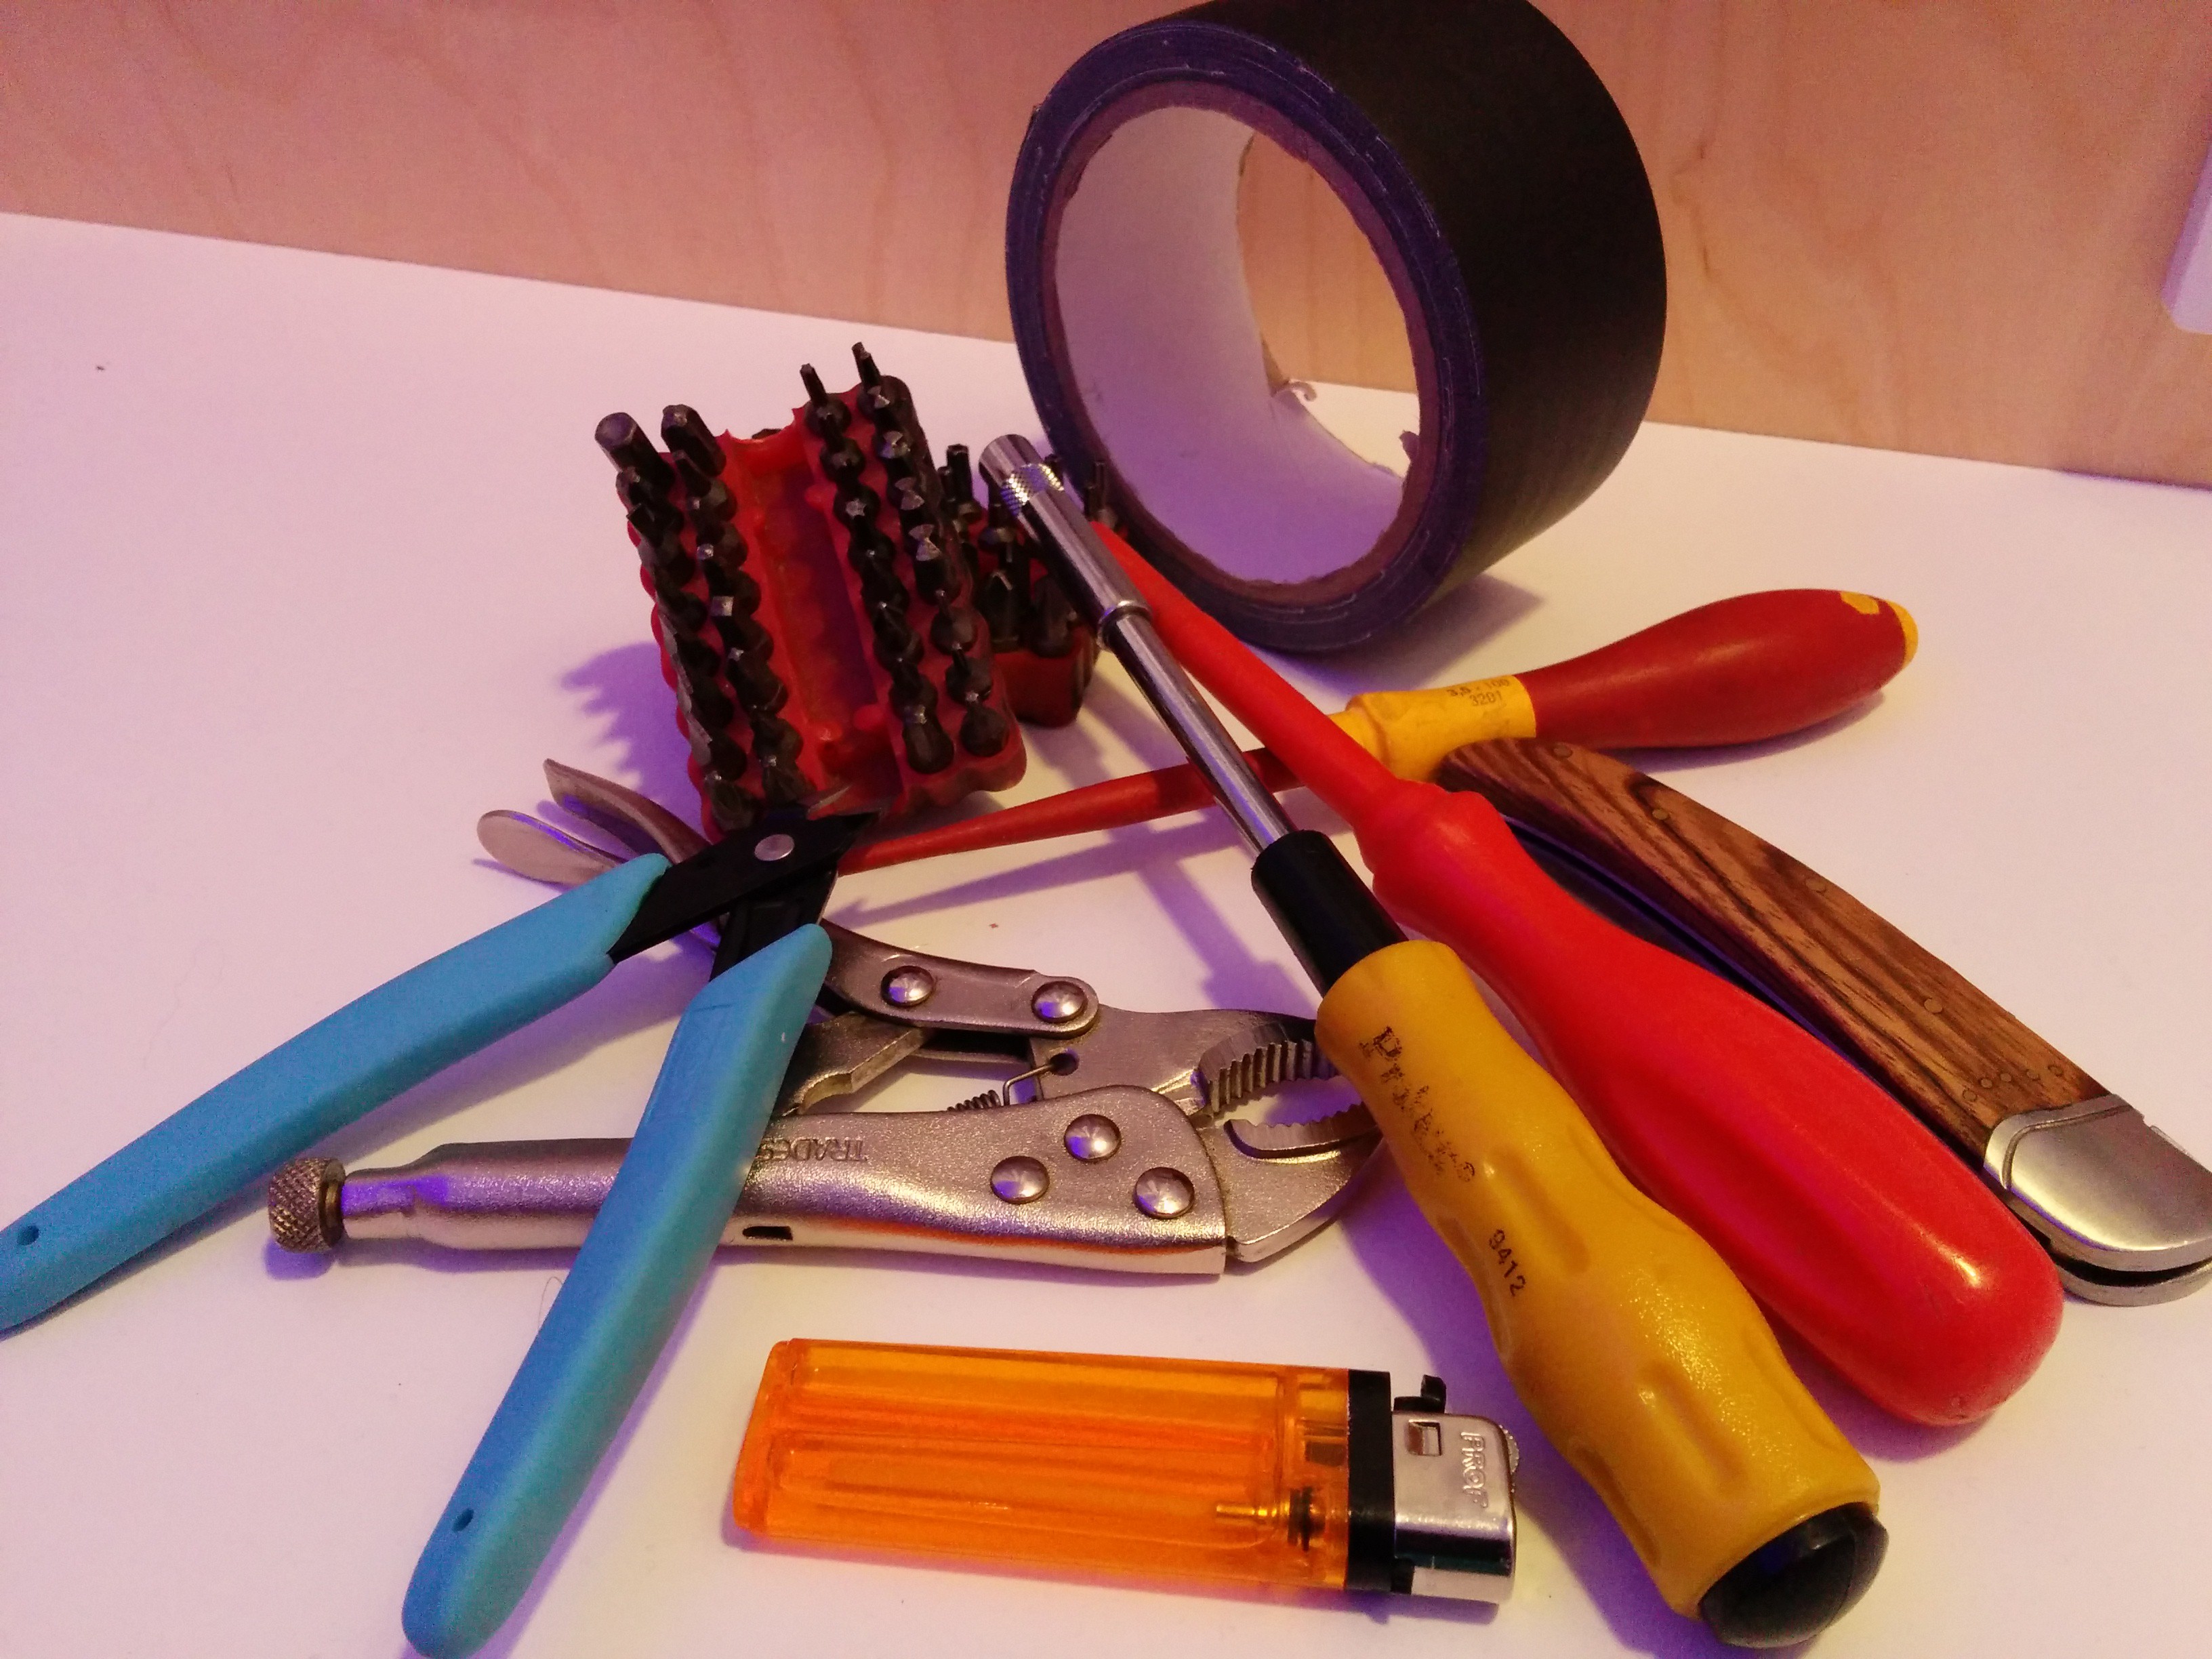
The premise was(is) pretty straight forward: An RGBW LED ambient lighting system that allowed for both automatic and manual control modes, was not too expensive, could be installed temporarily in my dorm room and most of all required almost not tools whatsoever to build. Being almost 20,000km away from home meant that I would have to make do with the most basic of hand tools that I had brought with me, if I needed something more elaborate it wasn't just a quick trip round the corner to get it.
The features:
- LED strip would use 5050 sized SMD LEDs and be RGBW;
- The system would be capable of setting any combination of intensity levels through push buttons, resulting in almost endless colour selection. Single press brings colour up to full, if held the intensity starts to drop and will hold at the desired level when the push button is released;
- Cross fade mode to cycle through the spectrum, perhaps using the push button as a 'Tap Timer' to set the rate;
- A sound activated party mode, what dorm room lighting system would be complete without 'Party Mode'? Maybe I need a big red button, or missile switch covers, or even dual keys to activate it? That can wait;
- Reset switch to return to a non-illuminated state;
- Simple occupancy sensing, if the system is in automatic mode it will ramp the red LED's up to 70% over a 10 second period upon sensing motion, hold there for as long as motion is detected plus three additional minutes then ramp down to 30% over 10 seconds and hold for a further minute then fade to off. This will function as orientation lighting at night;
Having developed an RGB LED controller a few years back for another project I already had a functional set of basic code that I could build off and I figured that I could just order the parts I needed from the usual places on the internet and have them delivered, no different to what I would have done back home. That was until I looked into the import rules in Denmark. That threw a spanner in the works, the first of many.


 M.R. Inc
 Josh
Josh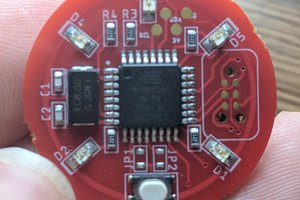
 Charles Dean Modrich