 Setvir
There are numerous different kinds of domino clocks out there on the internet, I looked at few of them and where I would get the parts locally (South Africa).
After making cost calculations I decided to build one using an arduino micro pro, a few shift registers and leds.
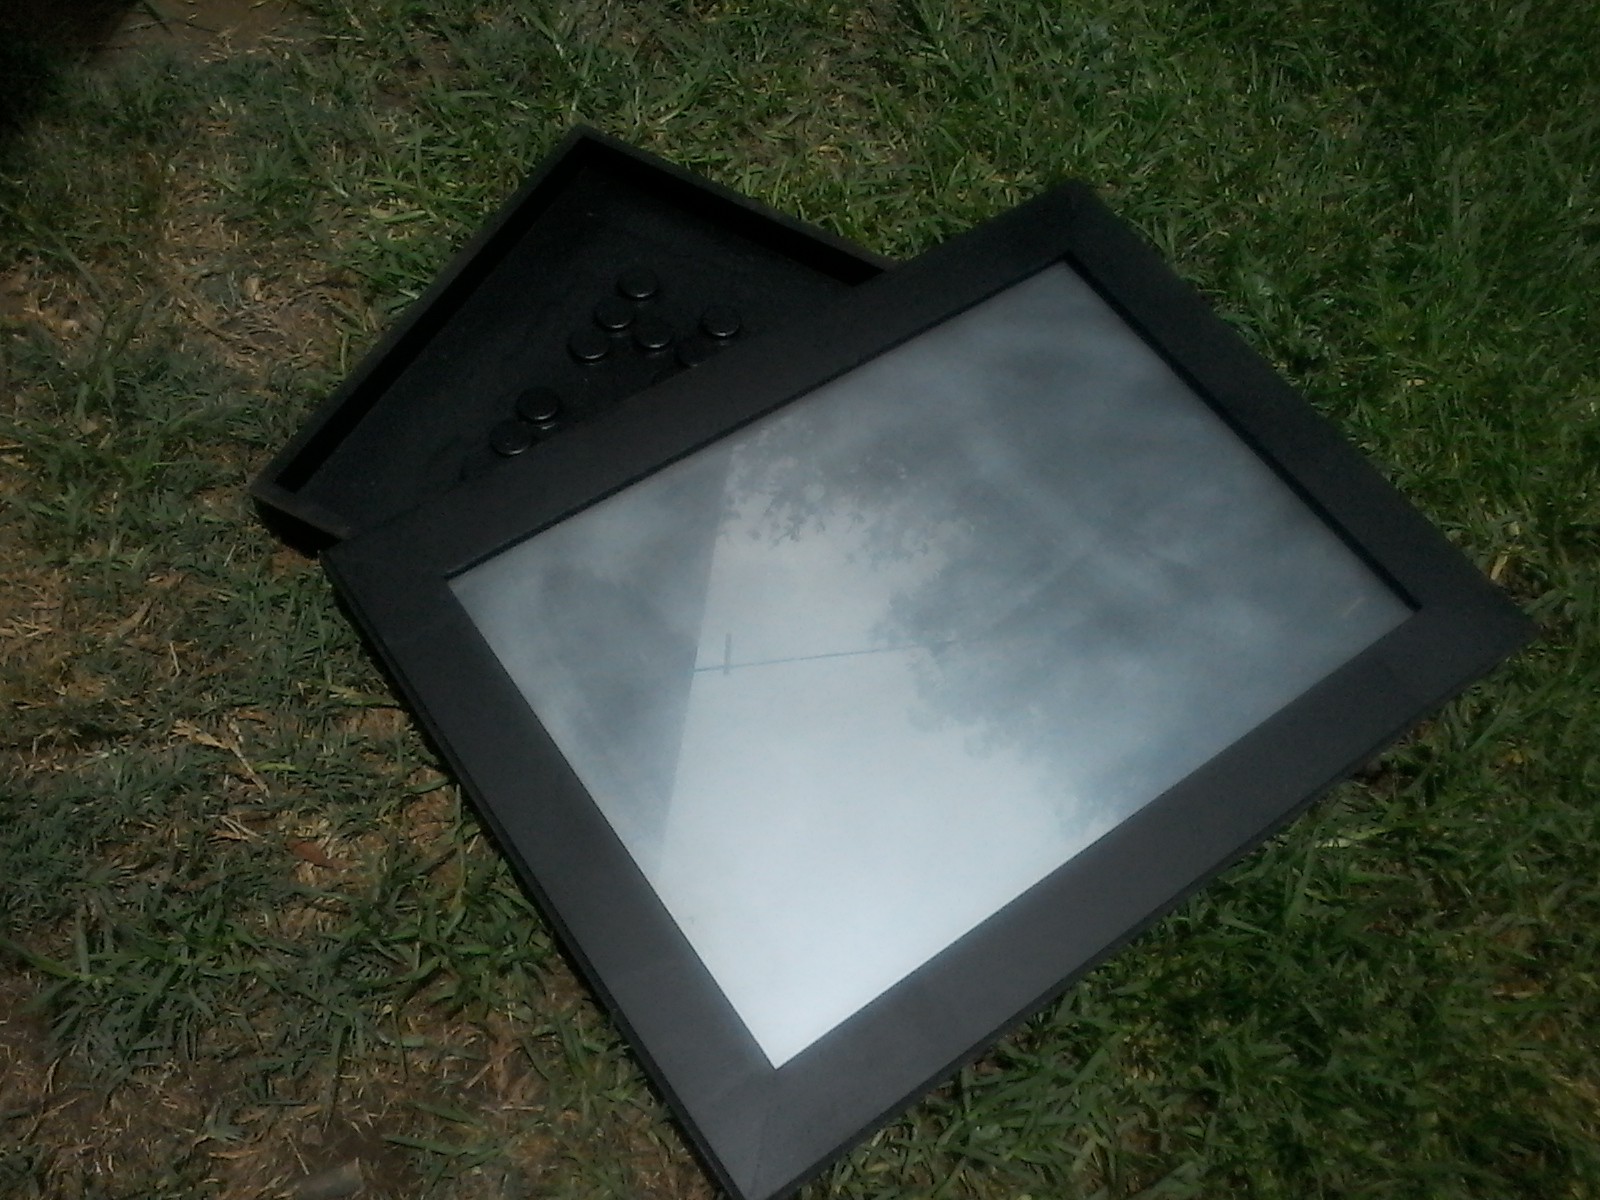
I found a cheap boxframe from a hobbyshop that would fit all the parts comfortably. The frame has a glass front and is about 4cm deep. Ideal to fit the electronics in. Covering the glass with one-way mirror or tinting frilm would allow the electronics to be hidden, but only the LEDs to shine through.
The first idea was to use cheap table tennis ball halves to house the LEDs in, but they would be to big for the frame. After searching for alternatives I came accross pill/makeup holders (see the photo) that were short enough to fit into the case.
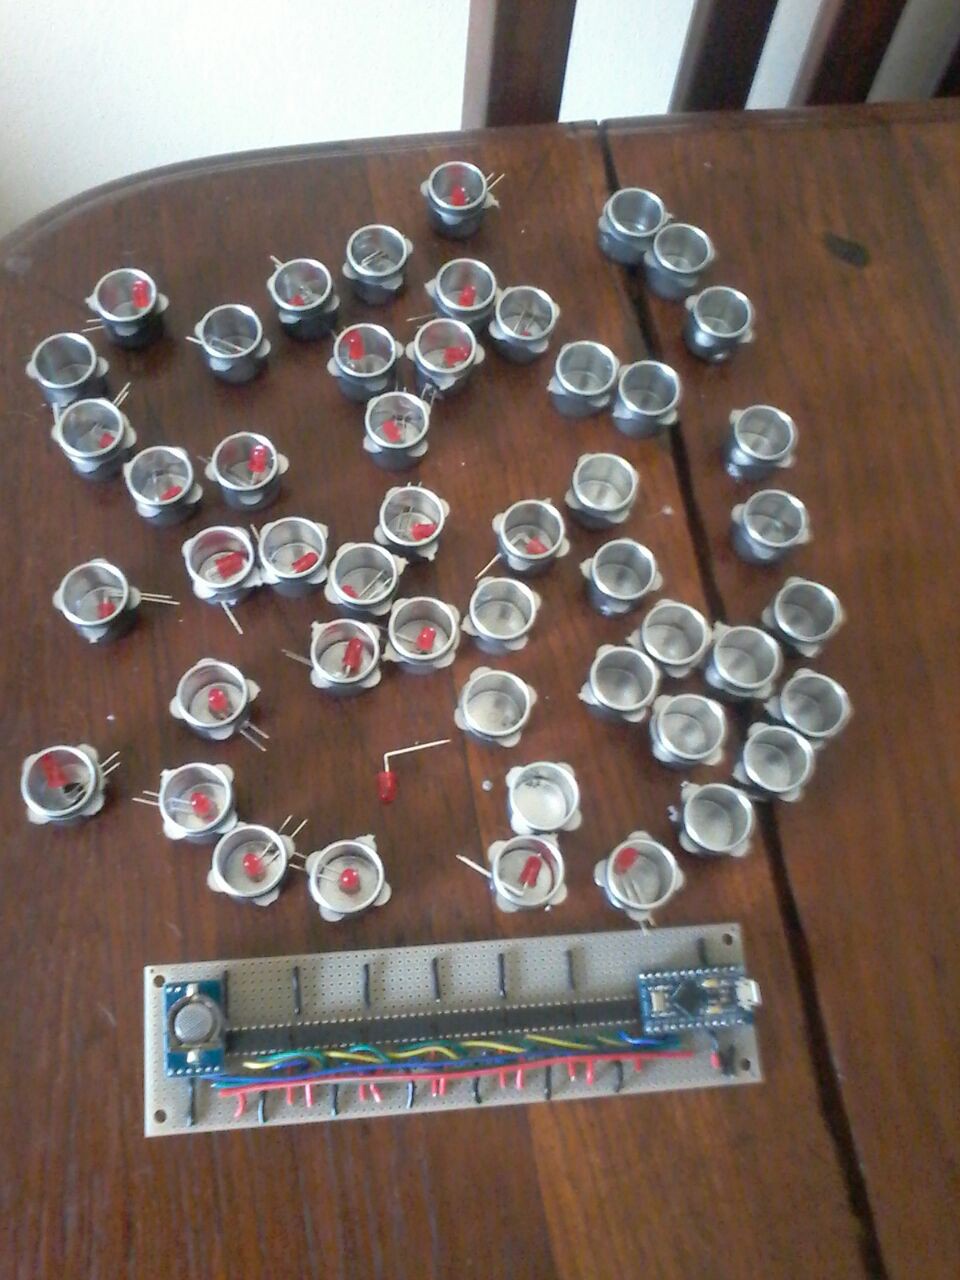
I bought mirror spraypaint to cover the inside of the pill holders and mat black paint for the inside of the box and the oudside of the pill holders.
The pill holders did not press up against the glass as I wanted, so I epoxied the caps to the bottom of the boxframe, which worked like a charm.
I wanted to use film to hide the electronics, but after seeing the cost (R400.00 for a roll at Builders Warehouse) I decided against it. Spraying a layer of the mirror paint onto the inside of the frame worked very well. I covered the paint with an 2 part epoxy (liquid glass), I got from a hobby store. I had to spread the epoxy with a card, this caused streaking of the mirror paint (seems like the epoxy in its wet form acts like paint remover), and the paint to become more grayish. In hindsite, I should have used a spray-on covering, but it does work for my purposes...
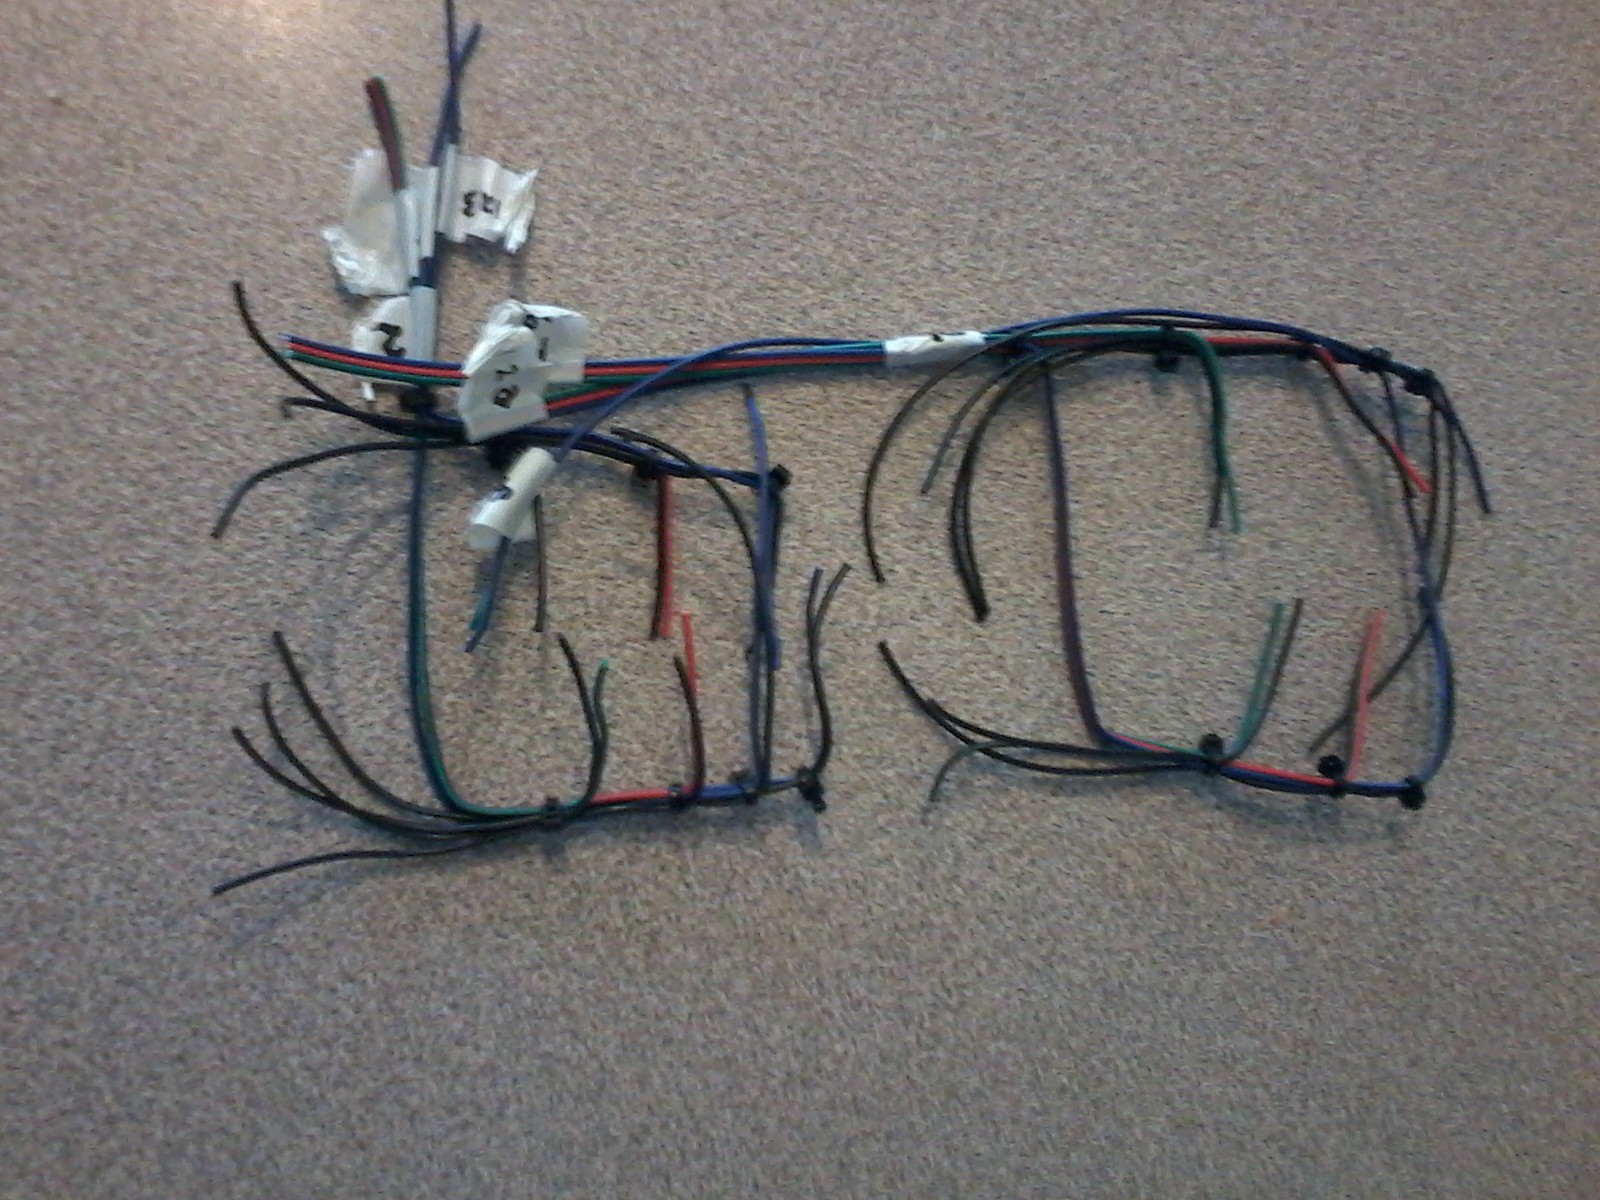
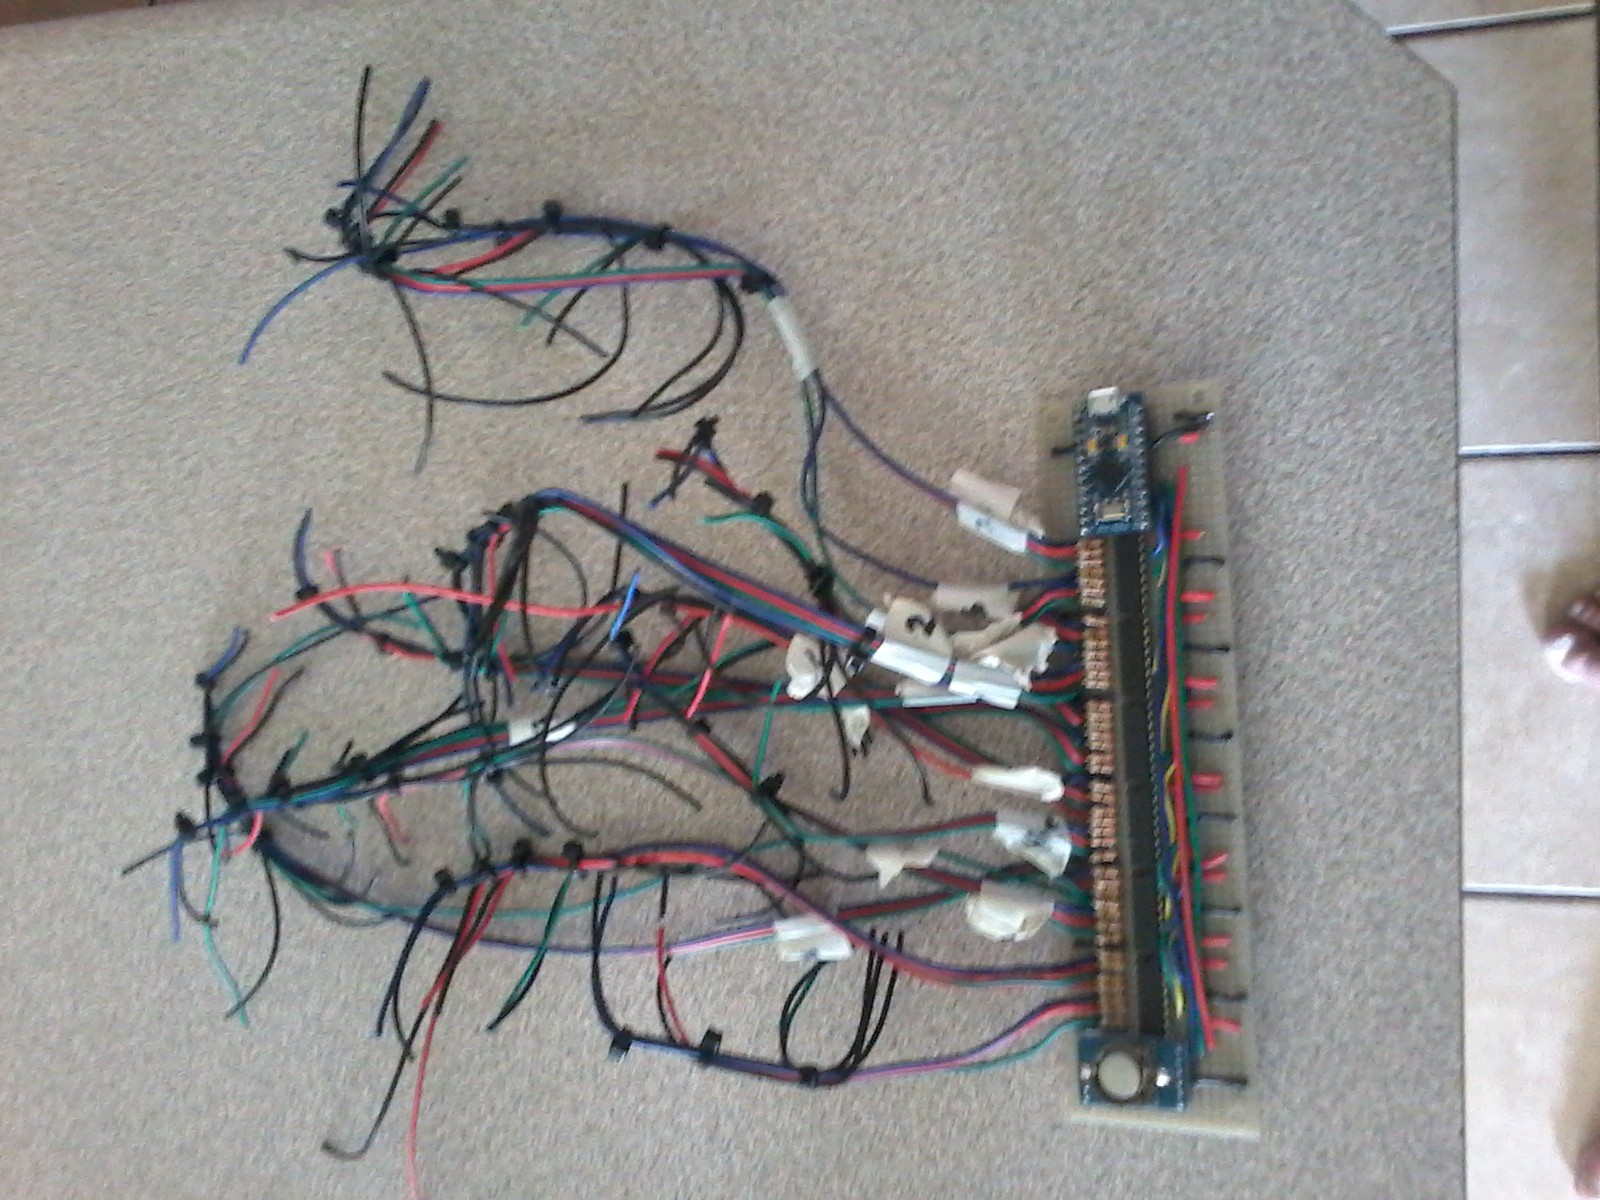
I have assembled a board (still have to learn how to make a circuit diagram to publish the details ;-) ), but followed the instructions on arduino's website to assemble (http://arduino.cc/en/tutorial/ShiftOut).
I bent the pins on the RTC breakout so it lays paralel with the breakout board. and connected it using the instructions on the arduino site: (http://playground.arduino.cc/Main/DS1302)
I plan to power the project with from a wall plug, so I am trying to source a +-2A 5v charger/power supply for cheap. This should be enough to drive the electronics.
Todo:
I still have to buy some more red leds and resistors as I do not have enough on hand. Cant wait till the end of the month! ;-)
Wire up the leds to the board and write the code.
If you have any ideas inputs or comments, they are welcome :) !


 Coders Cafe
 Jay Hamlin
 Enrico
 Tom Nardi
This course encompasses various aspects of our field, equipping our team members with the skills and knowledge needed to deliver exceptional service. https://velbehagklinikk.no