 shlonkin
It's intended as an educational toy for my 2 year old son. The idea is that he plays with letters and numbers and eventually spelling and maybe even math.
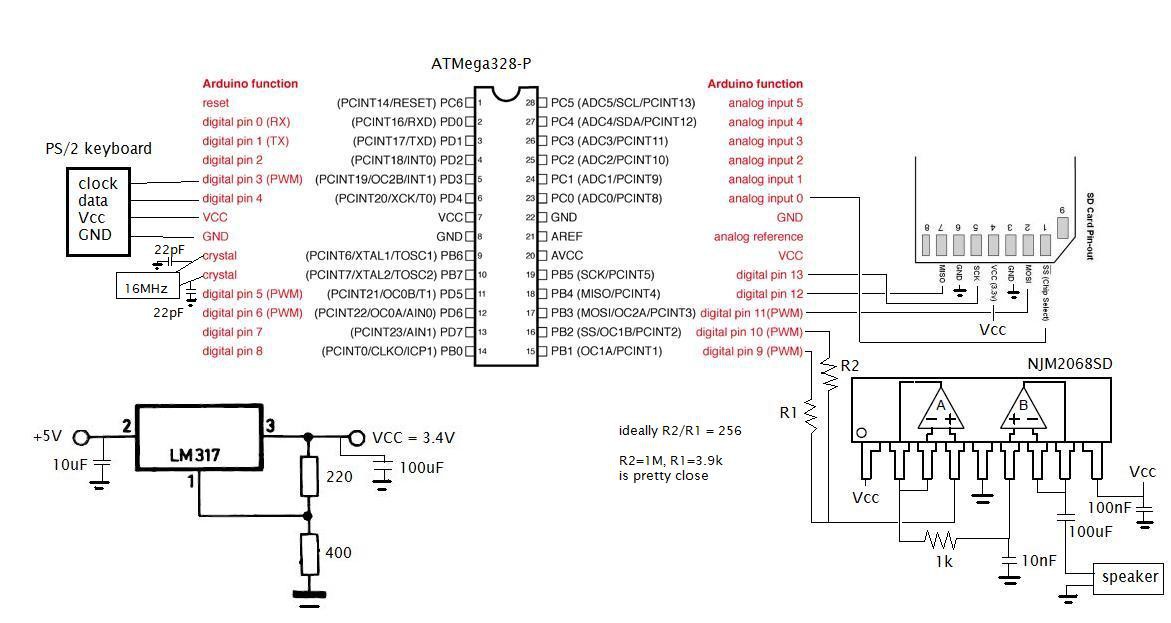
As mentioned above, there is a PS/2 keyboard attached to an ATMega328-P programmed using Arduino. The mcu is connected to an SD card via a DIY socket, and to an audio circuit. The audio makes use of dual pwm(8bit X2 = 16bit) and can support either 8-bit or 16-bit samples at either 8kHz or 16kHz. It runs through a buffer, low-pass filter, and amplifier before heading off to some speakers.
The alphabet and number keys simply speak those letters/numbers. The punctuation and other keys play animal sounds, words or phrases. I am planning to paint all the keys with big, colorful letters or pictures to match the sounds.
Unfortunately, I doubt that would keep a kids attention for very long, so I am currently implementing some simple spelling games and perhaps eventually some simple math games if he finds this toy interesting enough to keep that long. Of course, if I really want it to be entertaining there should be some visual aspect. At the very least some colorful LEDs, but a graphical display of some sort would be great. However, I do not want to go so far as a large monitor type screen because that would not be portable and handleable by a 2 year old. If I had a small graphical LCD screen, that would be ideal, but I don't happen to have one on hand.
Anyway, I'll post logs with all the details, schematics and code. I'm busy these days so I can't write it up all at once.
 The SD card is stuck in a really simple socket that I made from some header pins. The pads on the card have the same pitch, so this is easy. The bent pins on the left make contact with the pads on the card. If you do this, be sure that all the pins press firmly on the card or you will have some unpleasant bugs.
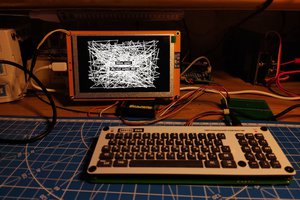
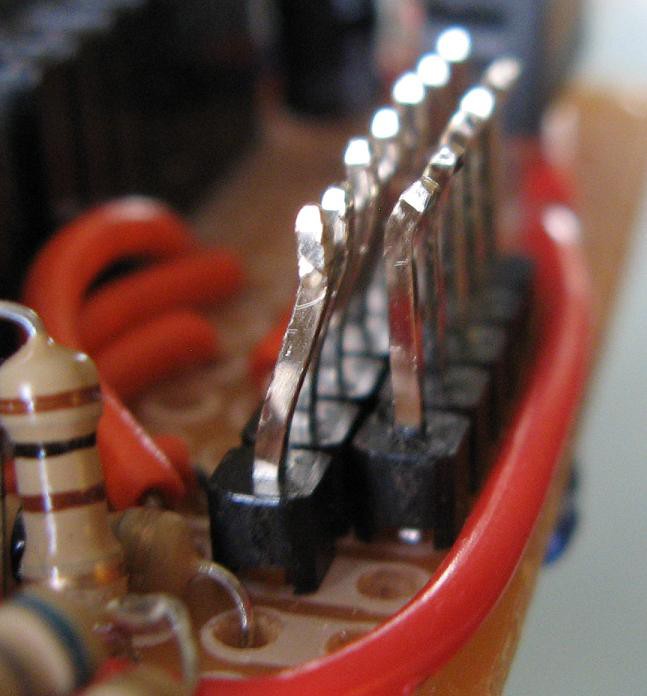 And finally, here is a picture of the keyboard I'm working with and it's connector with an olde timey adapter. If you look closely you will find some keys you've probably never seen and some extra symbols next to the letters. This is what keyboards look like in Japan.
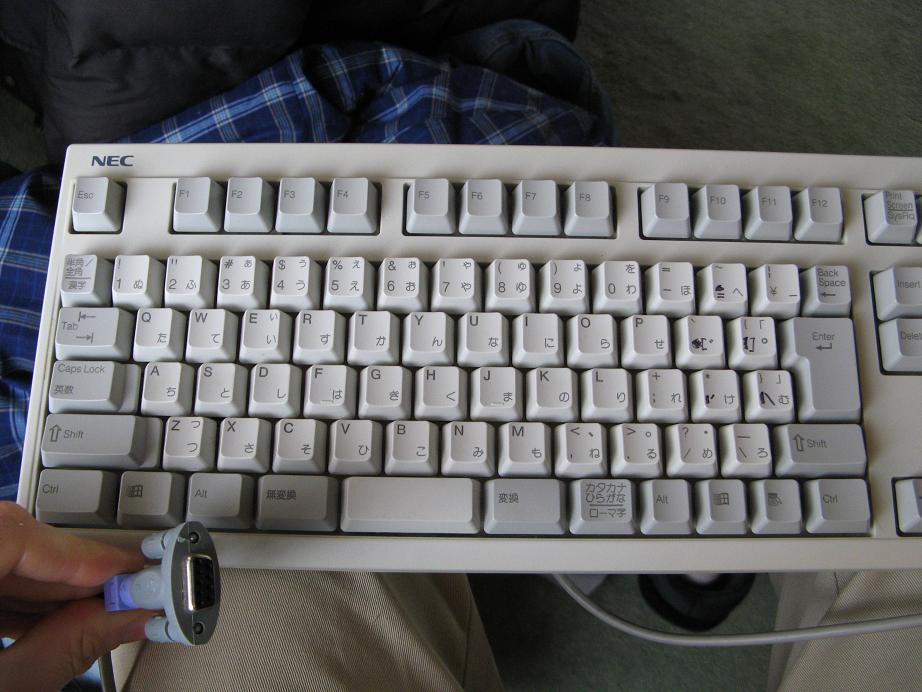
 rossumur
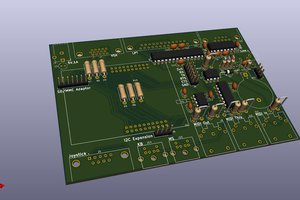
 Jonathan 'theJPster' Pallant
 svofski