 Nyles
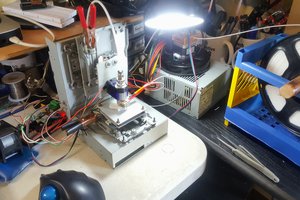
NylesAs delivered, the Boots Industries V2.5 delta-style 3D printer was barely usable:
- The glass build plate was warped.
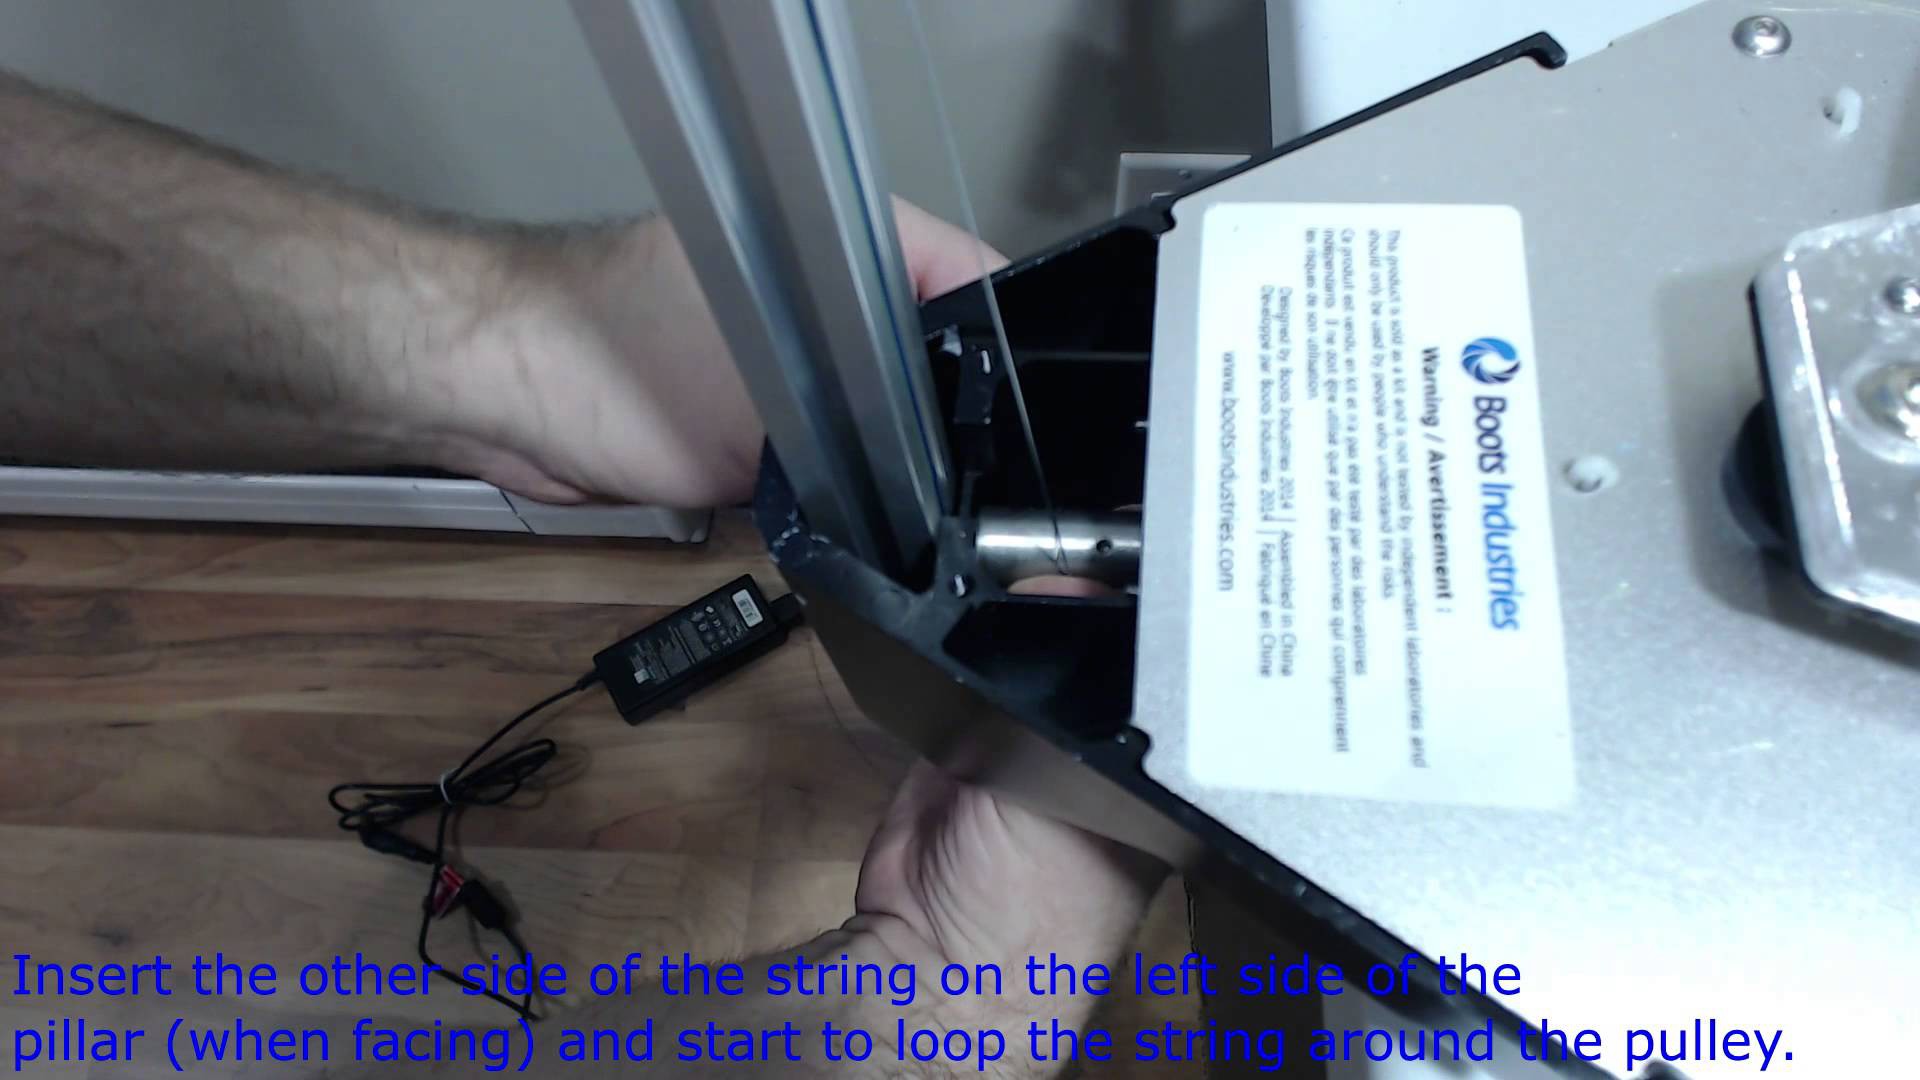
- The wire based axis drive system was doomed to failure; the wire either broke over time or ran off the spool.
- The hot end was so-so; printing ABS was probably beyond it's capability.
- The heated bed was totally underpowered.
- The heated bed lives on a sheet of wood. Good grief.
- The bed alignment gadgets are plastic, and deforming over time.
- The extruder was both underpowered and tended towards slippage.
- The axis drive circuits were underpowered.
- The top deck was made of some sort of brittle acrylic sheet, which was very prone to breakage.
- The axis sliders were apparently intended to do a dry slide, which was only marginally functional.
Why keep on with something with so many things messed up? Well:
- To build the machine I had in mind originally, it would have taken me at least a year of flailing about to build a prototype that worked as well as the V2.5 out of the box.
- There are many things that they did right with this machine.
- Everything I fixed was part of an education on how 3D printers work.
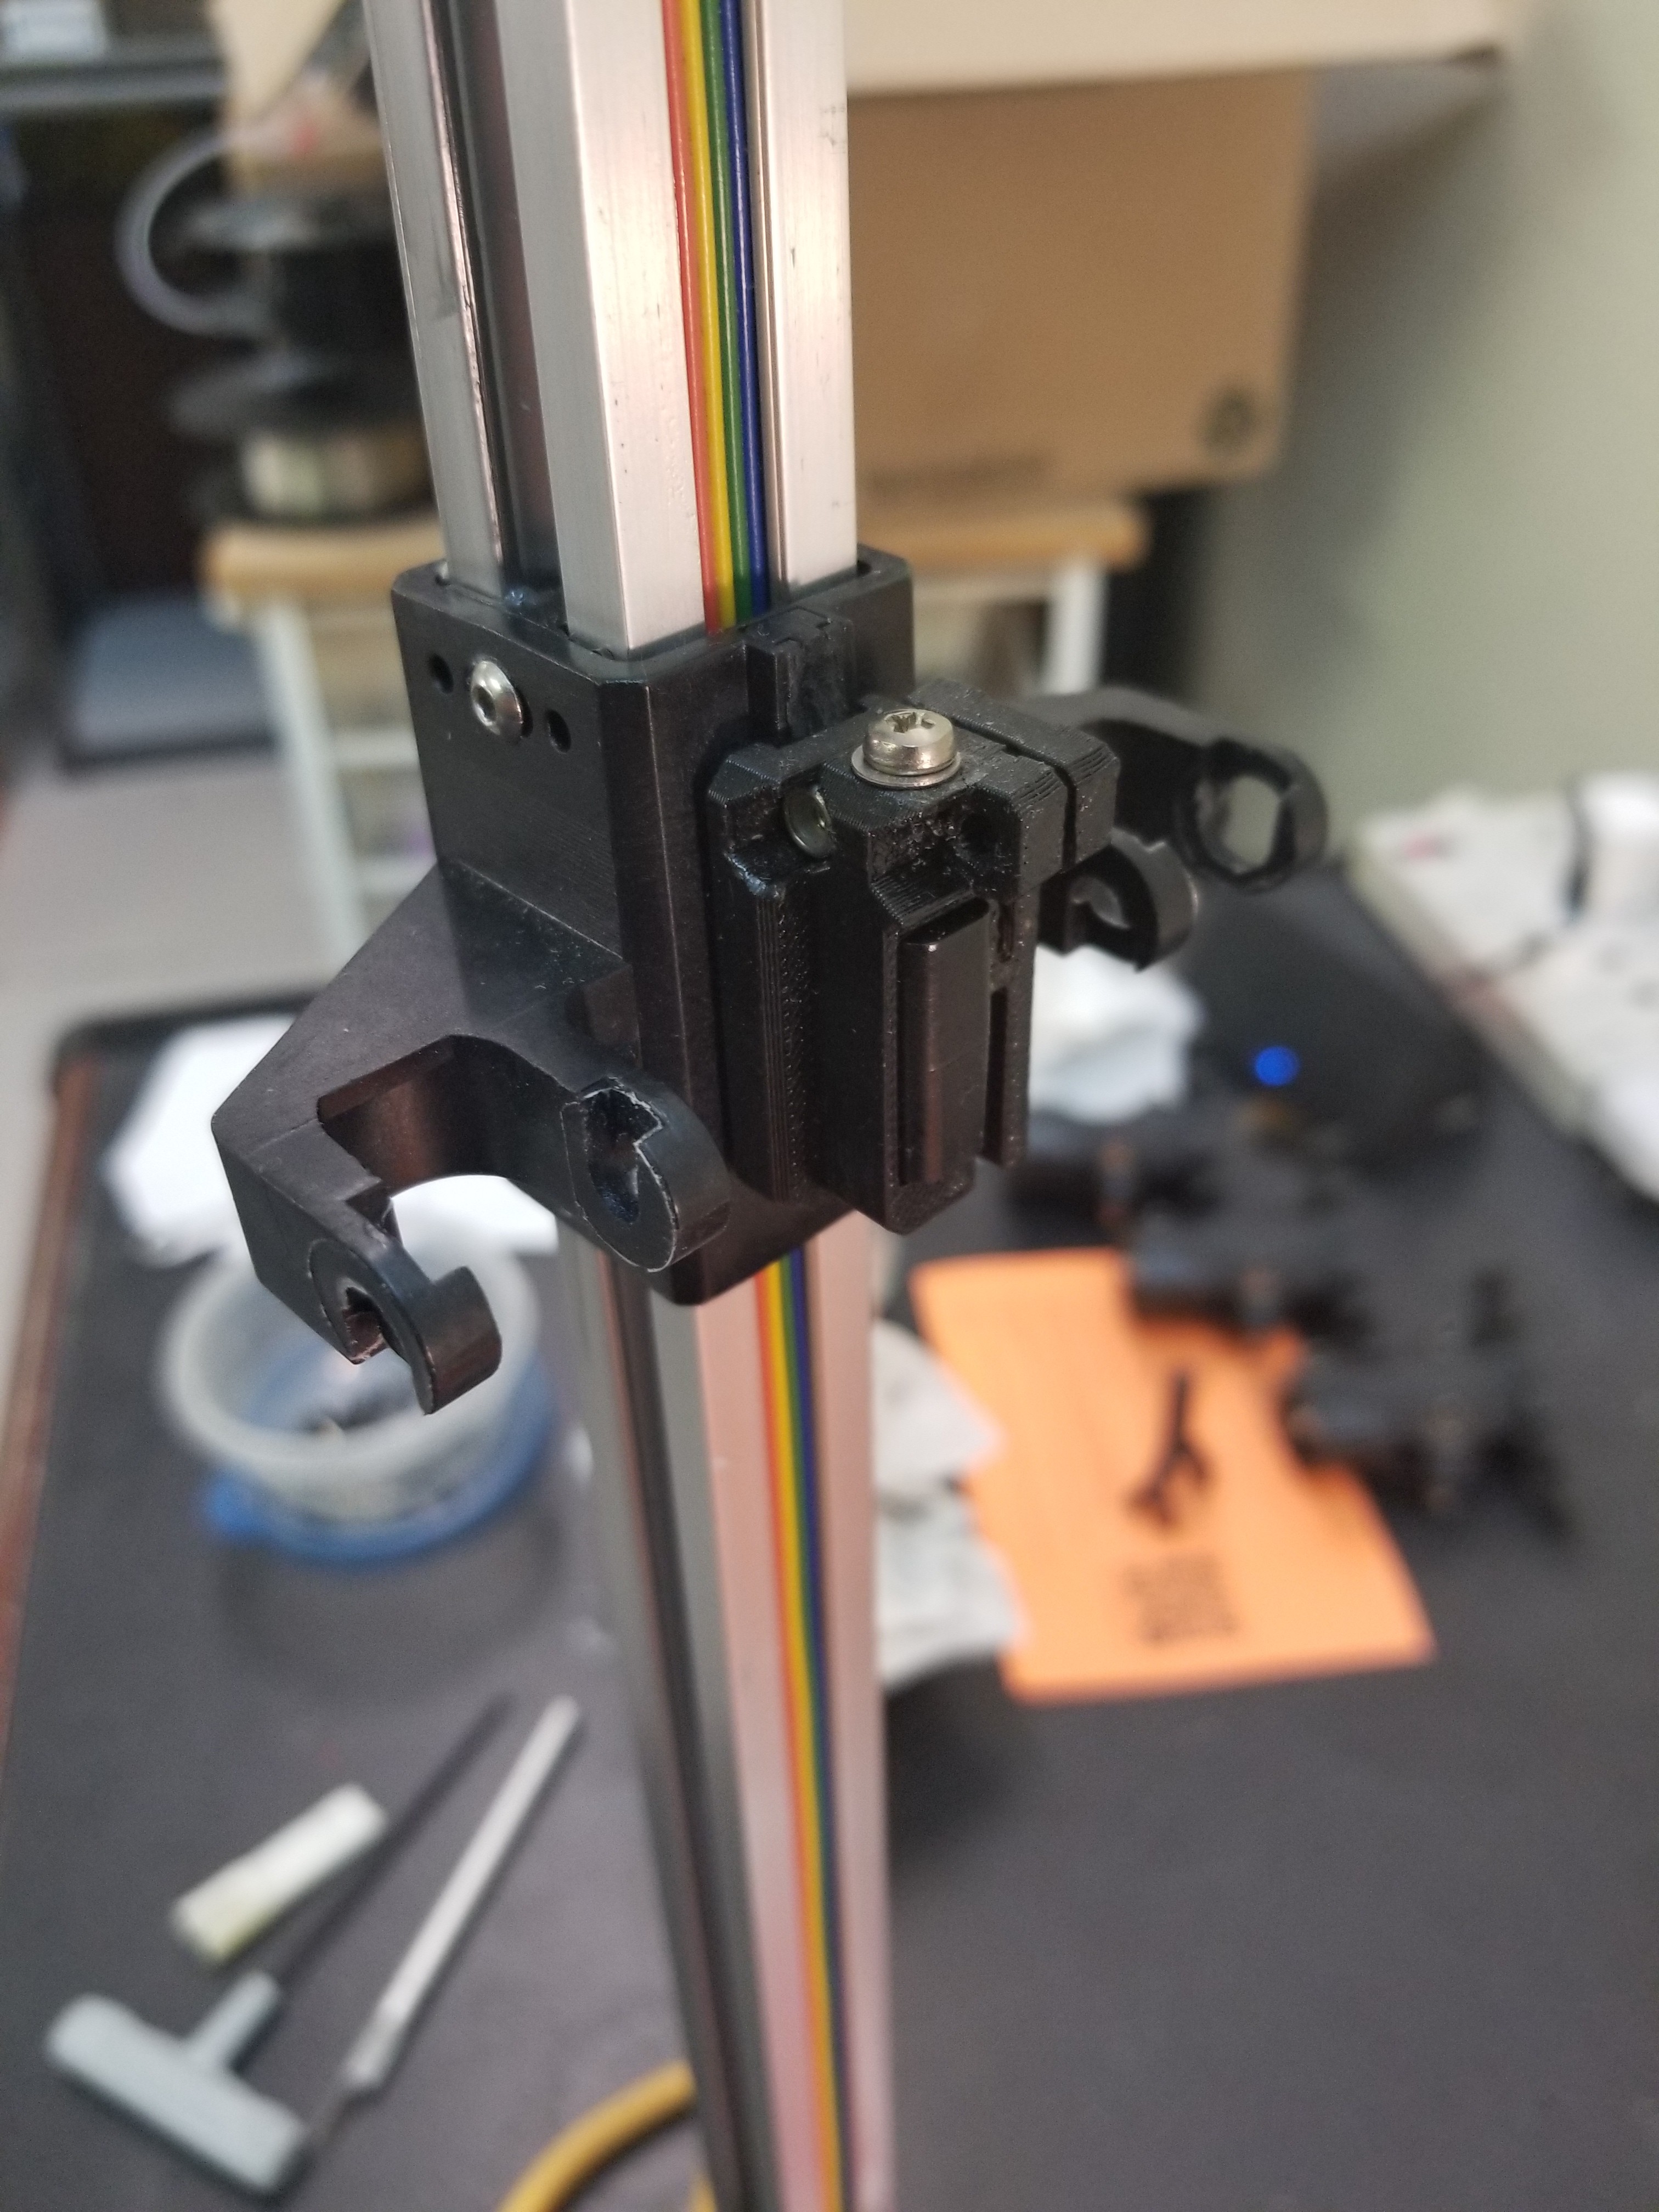
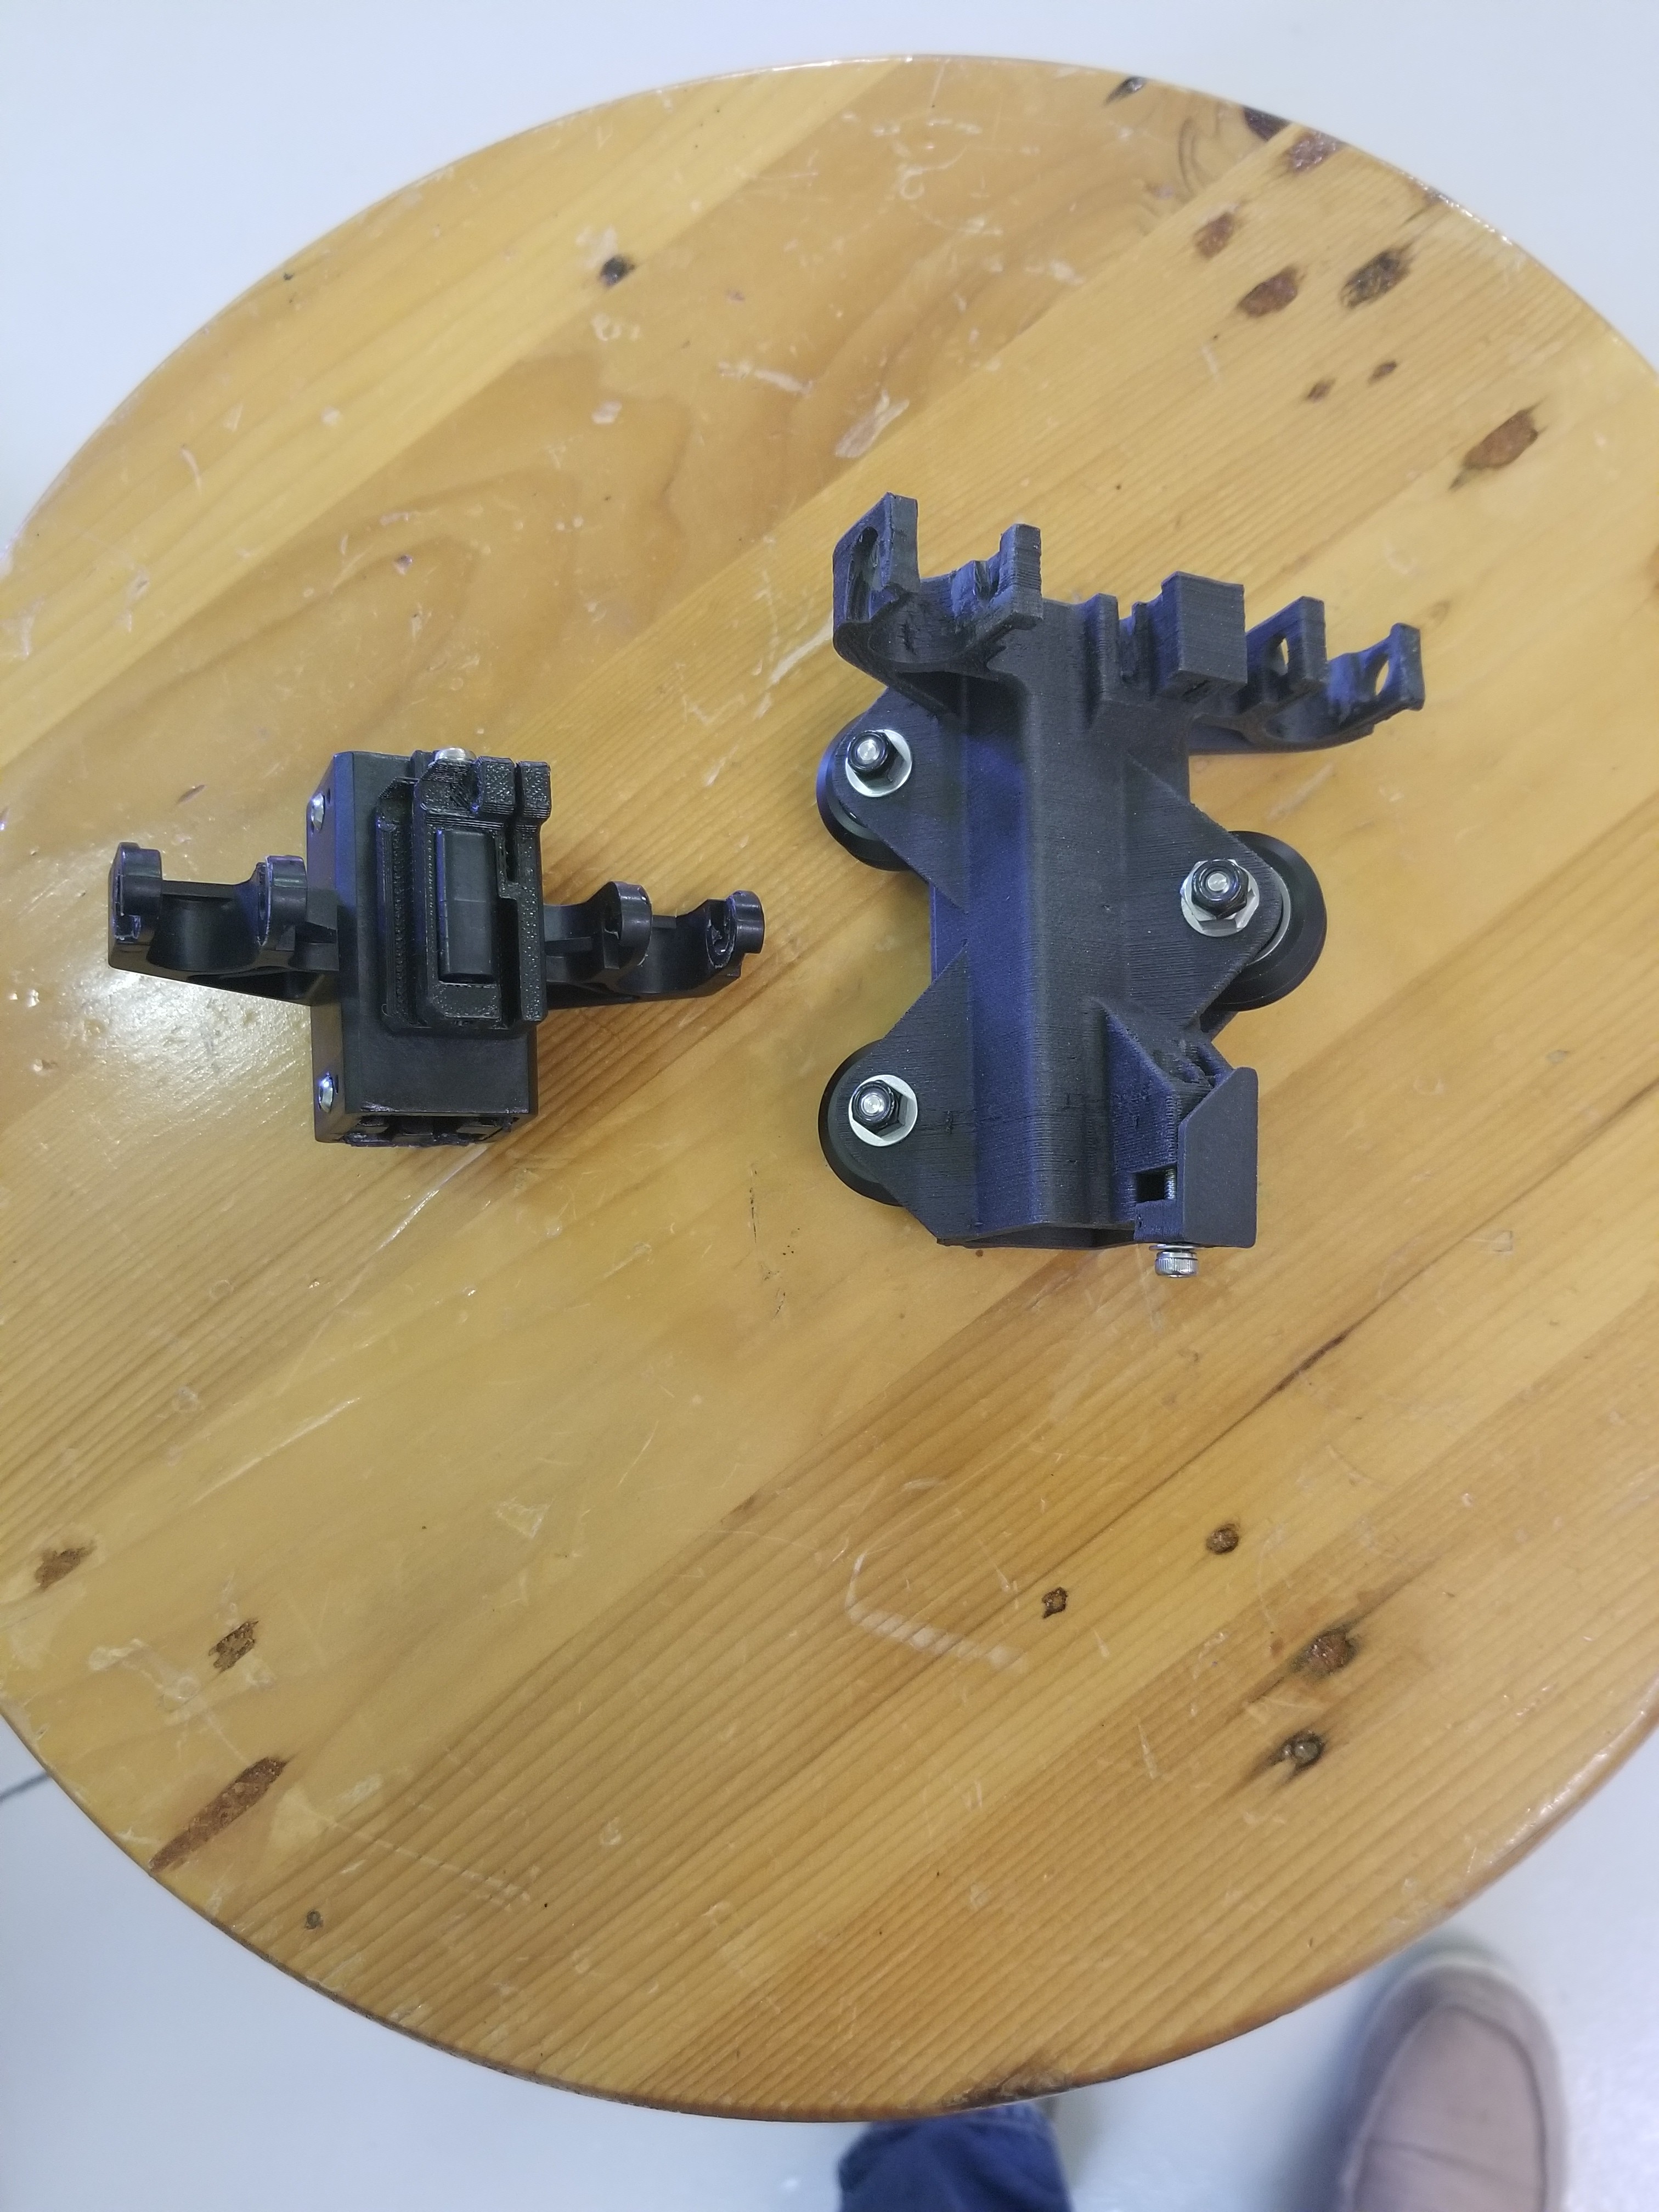
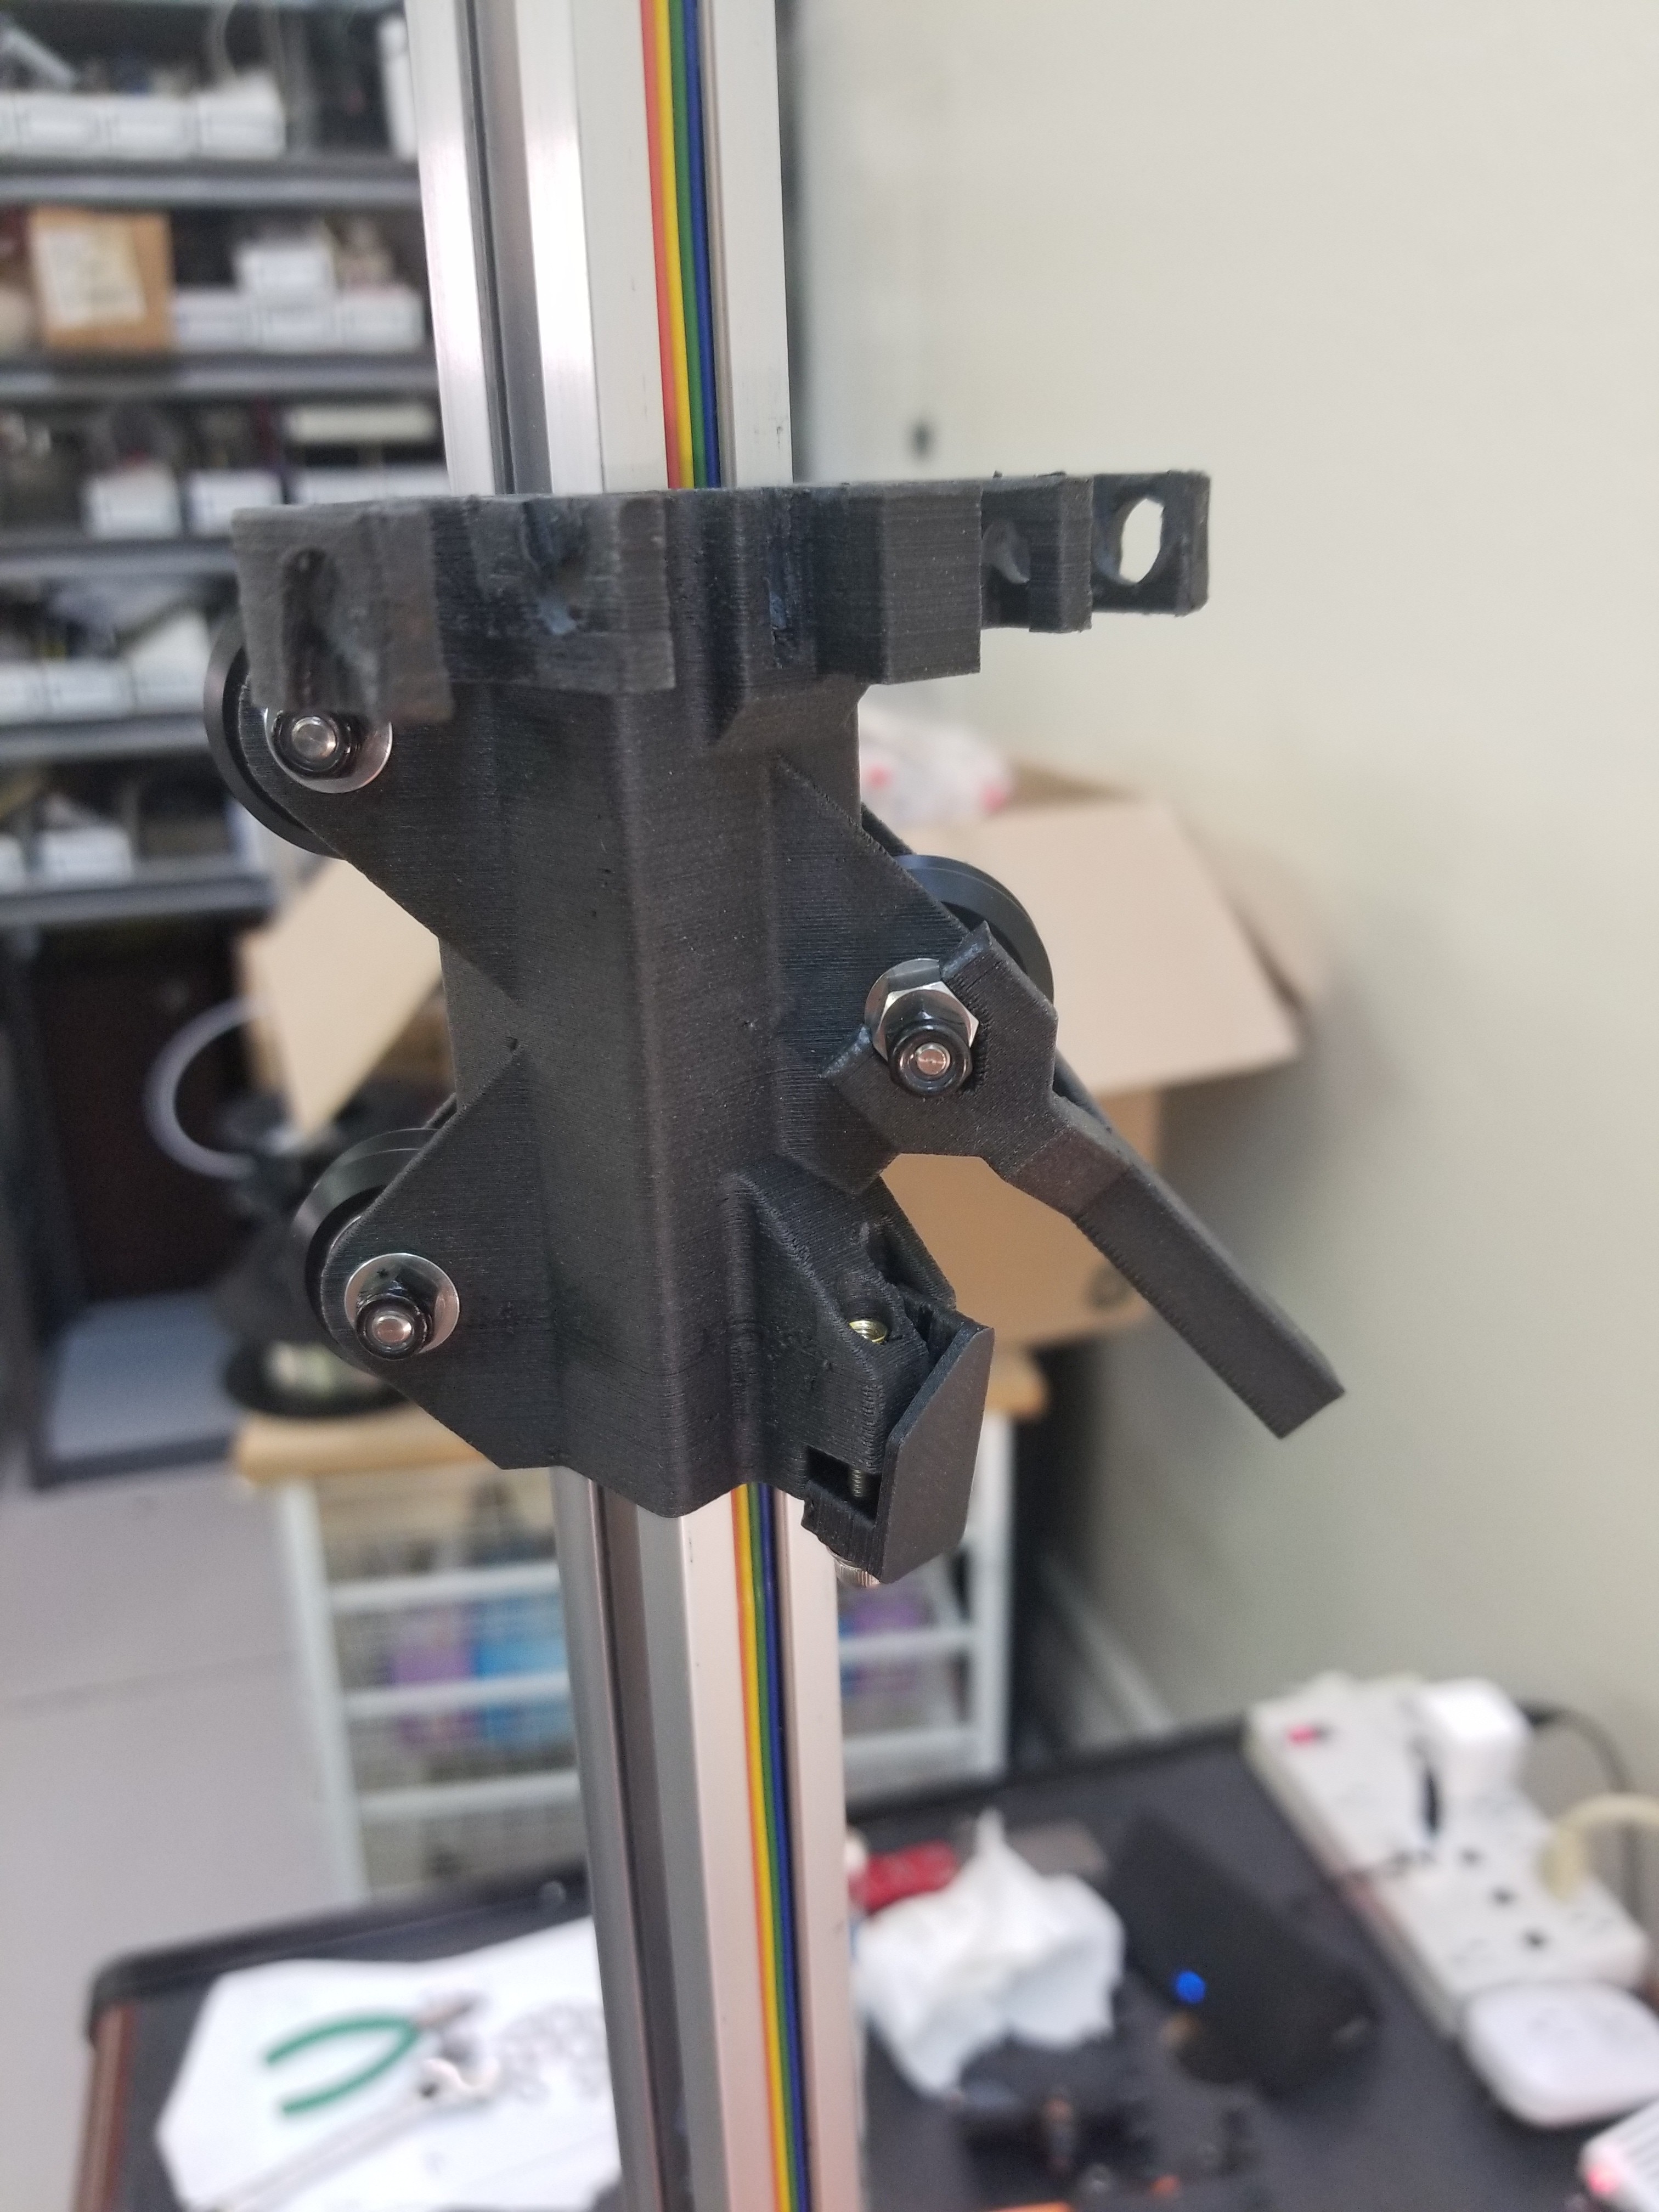
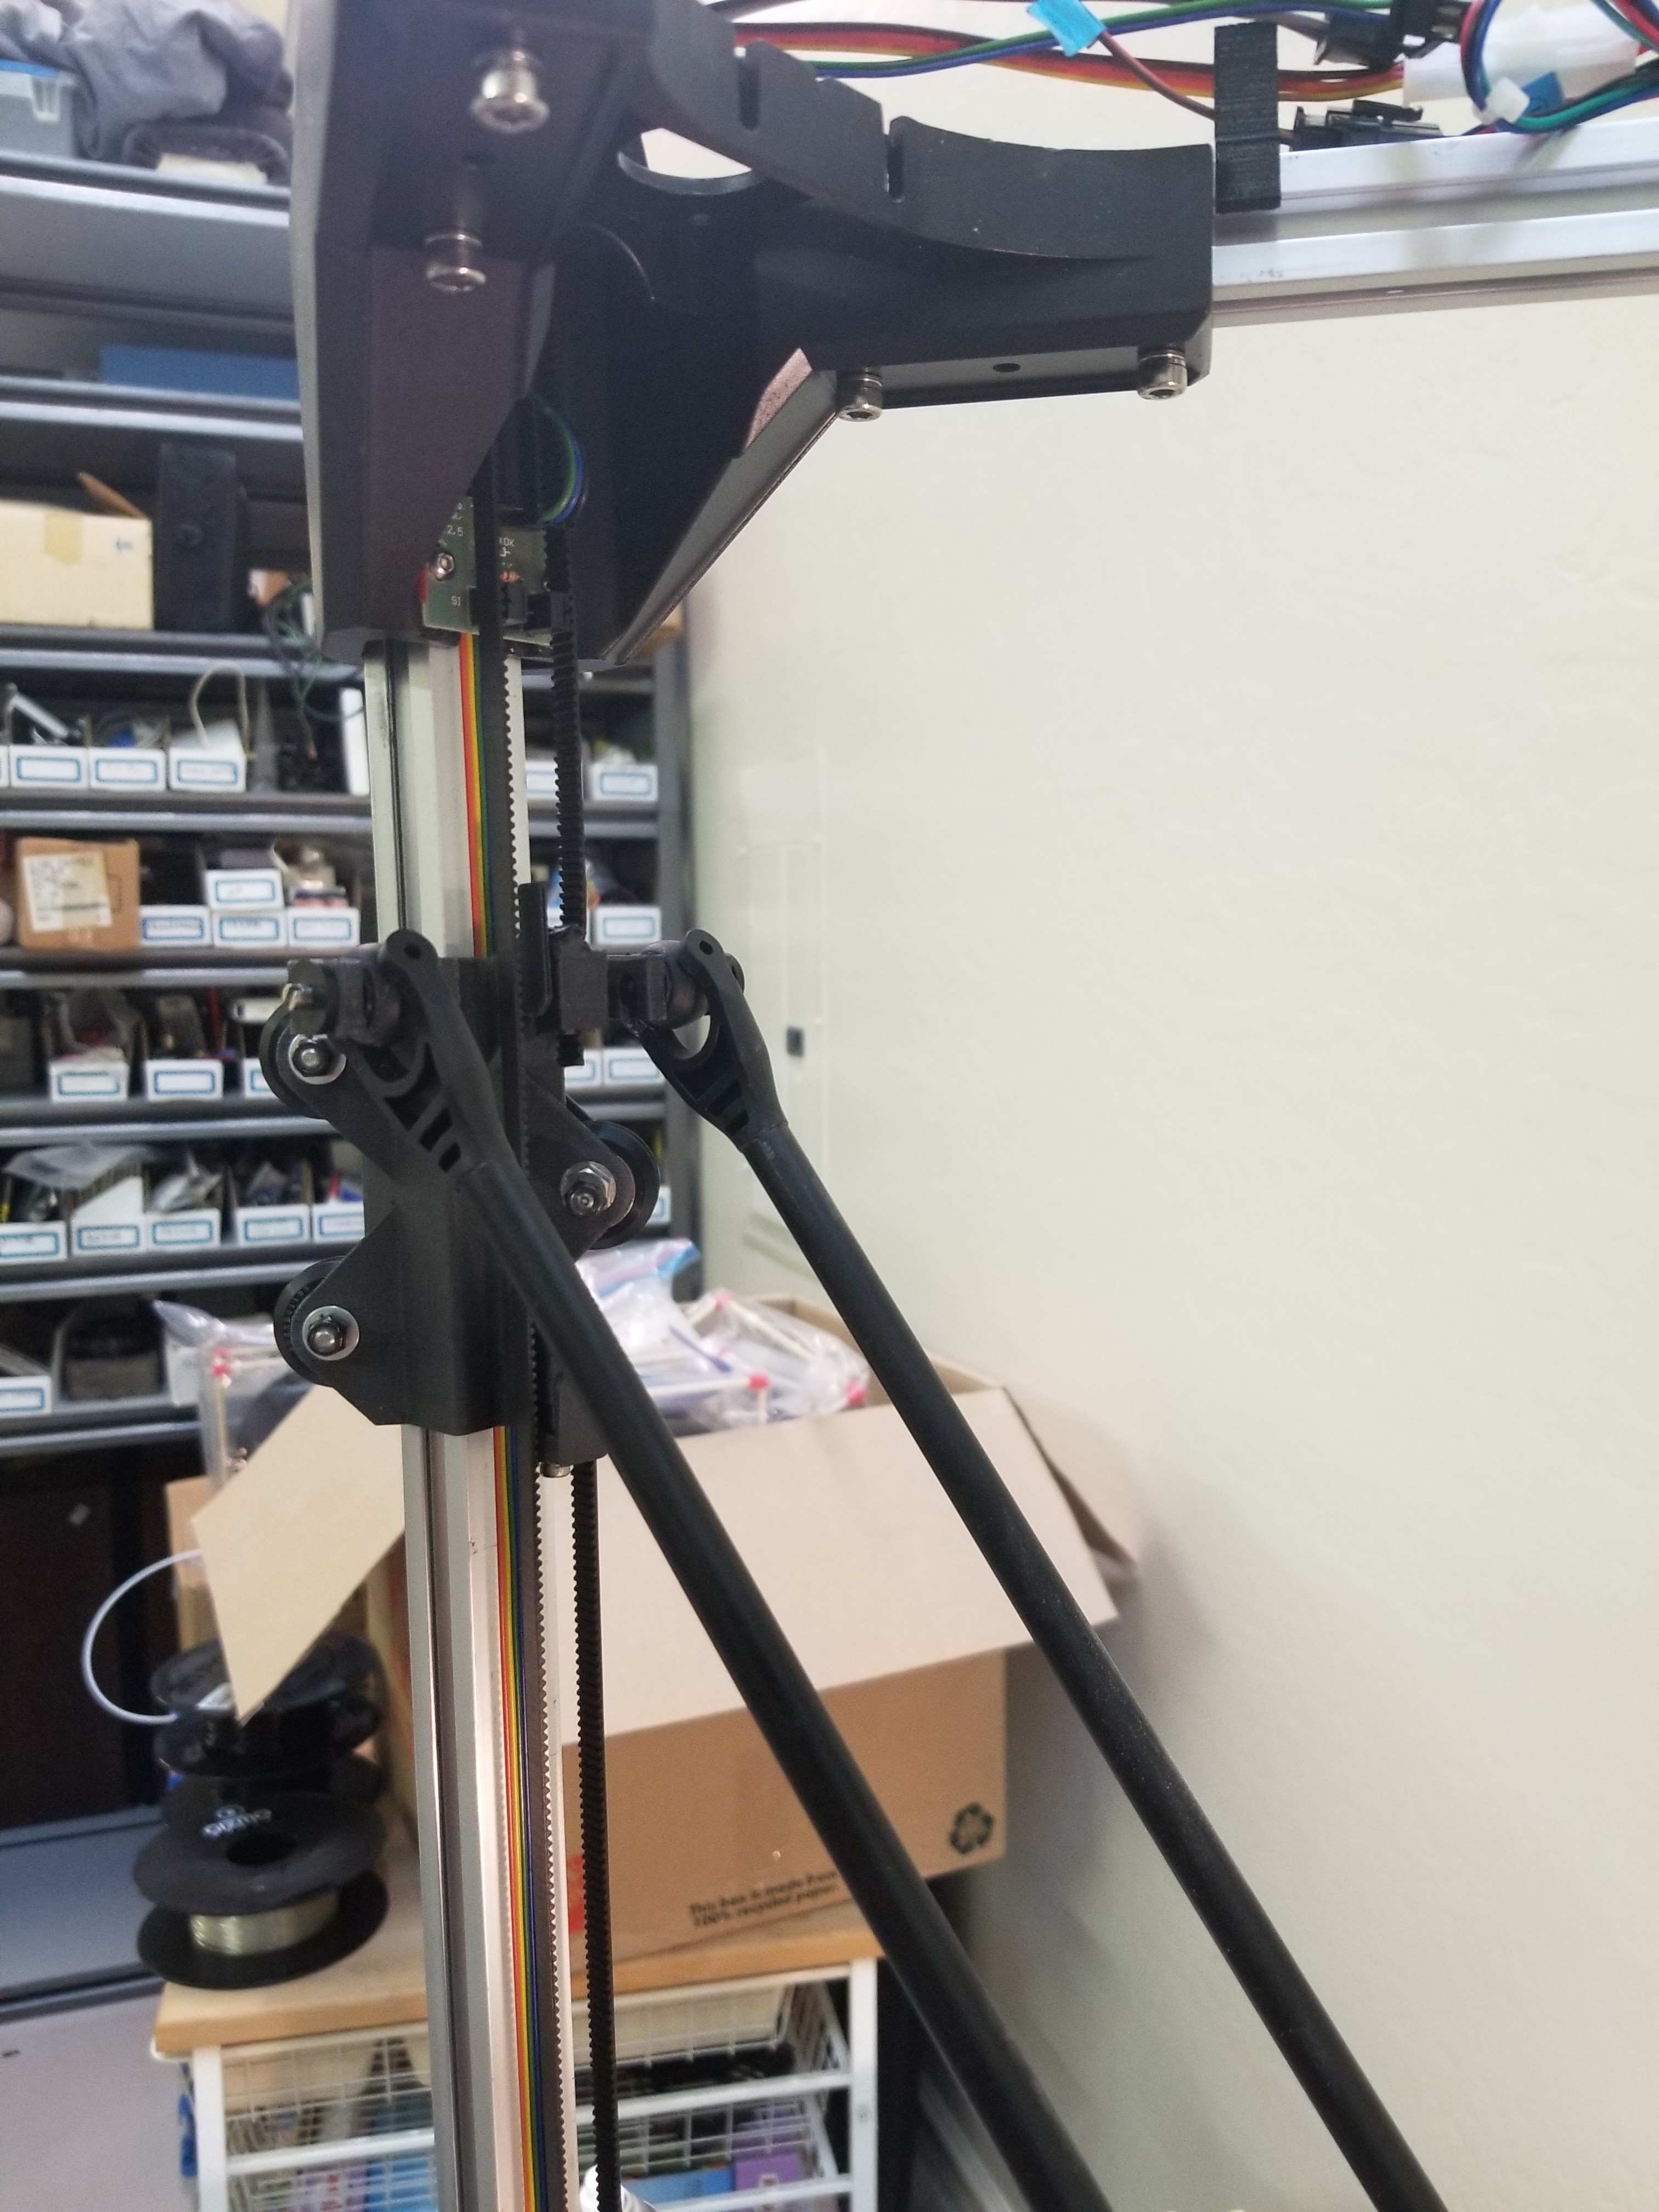
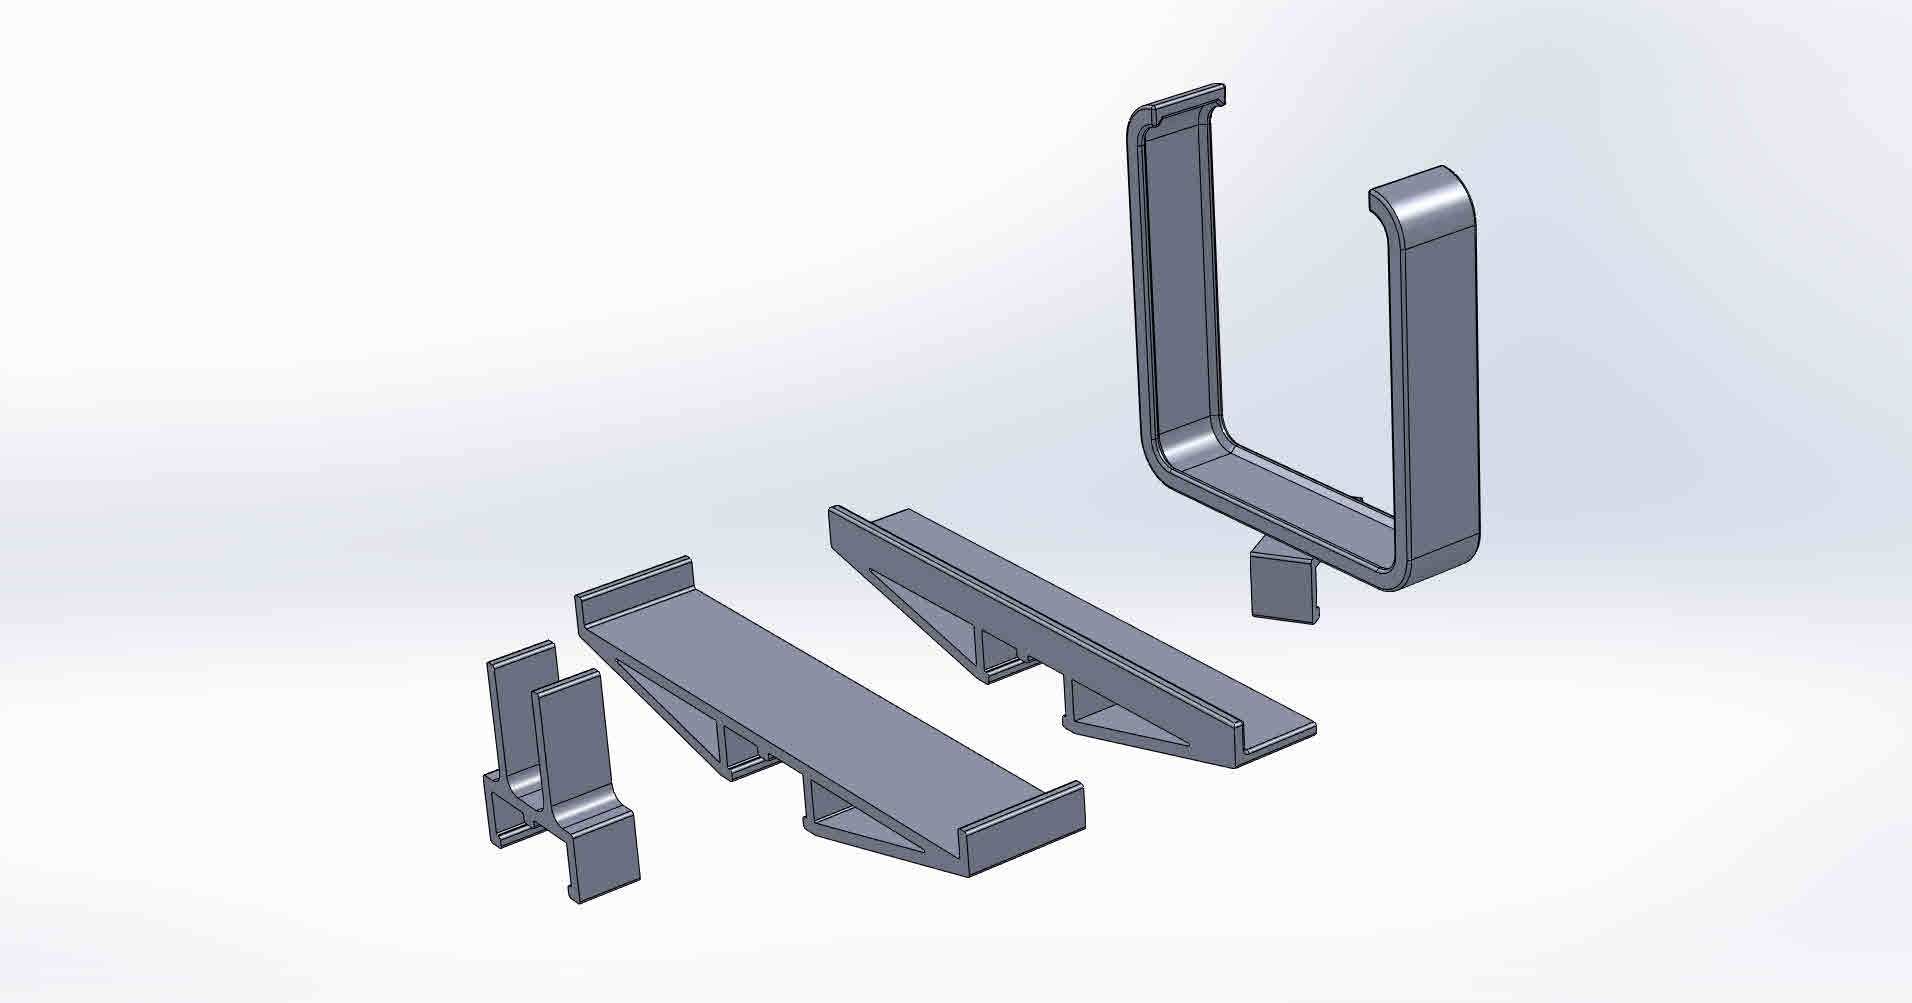
For starters, I'll concentrate on the 3D printed parts that I designed and built to repair and upgrade. If there's any interest I'll write up the rest of the work I've done, and am contemplating. I think it'll work to do this as log entries - haven't done this before so we'll see. :)
About the pictures and illustrations at the top - the first pic is of the machine as shipped. The illustrations are of the various designs I printed to do the upgrades and fixes.


 AccidentalRebel
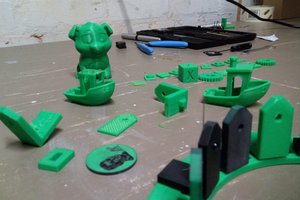
 johnowhitaker
 Saabman
 Eno423
I went through a similar journey with my printer. I saw someone locally advertise it for a couple of hundred bucks. First thing I noticed was how badly mangled the extruder was due to crashing down on the print plate. It was a miracle that I even got it to run somewhat. It was a start to a long journey with my printer.
Long story short, other than the frame, everything has been modified. These are the changes I made to the system.
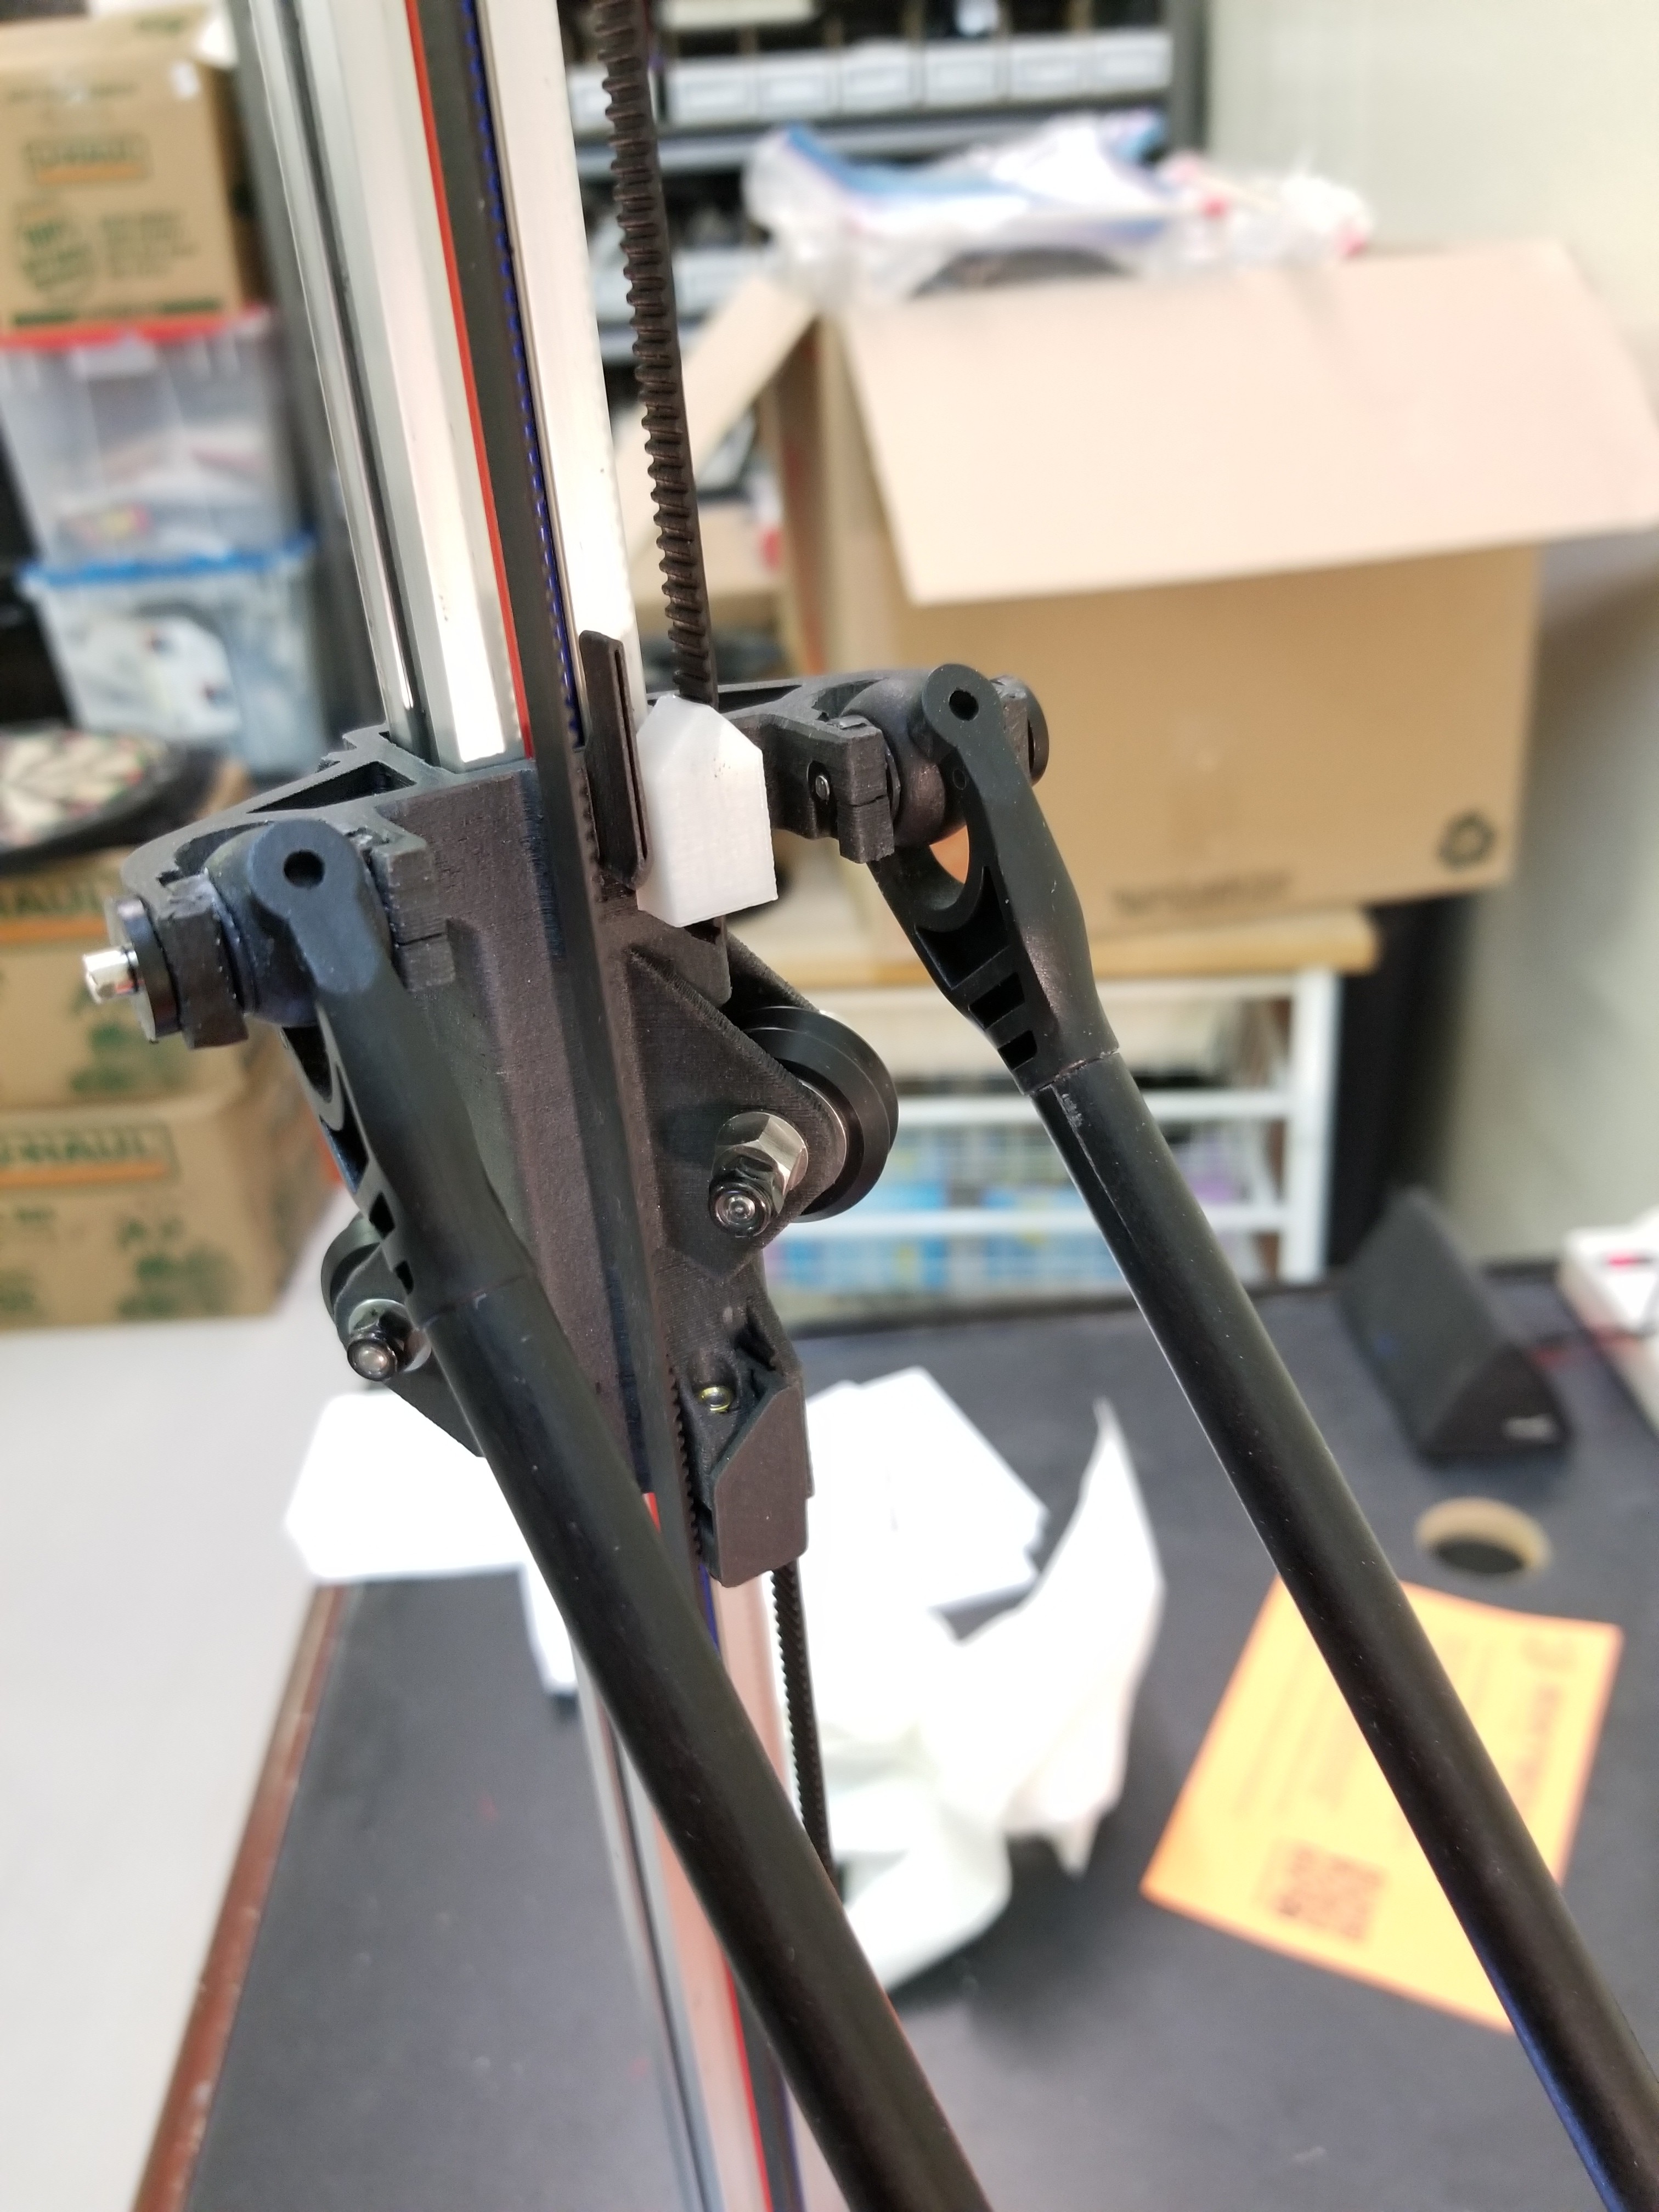
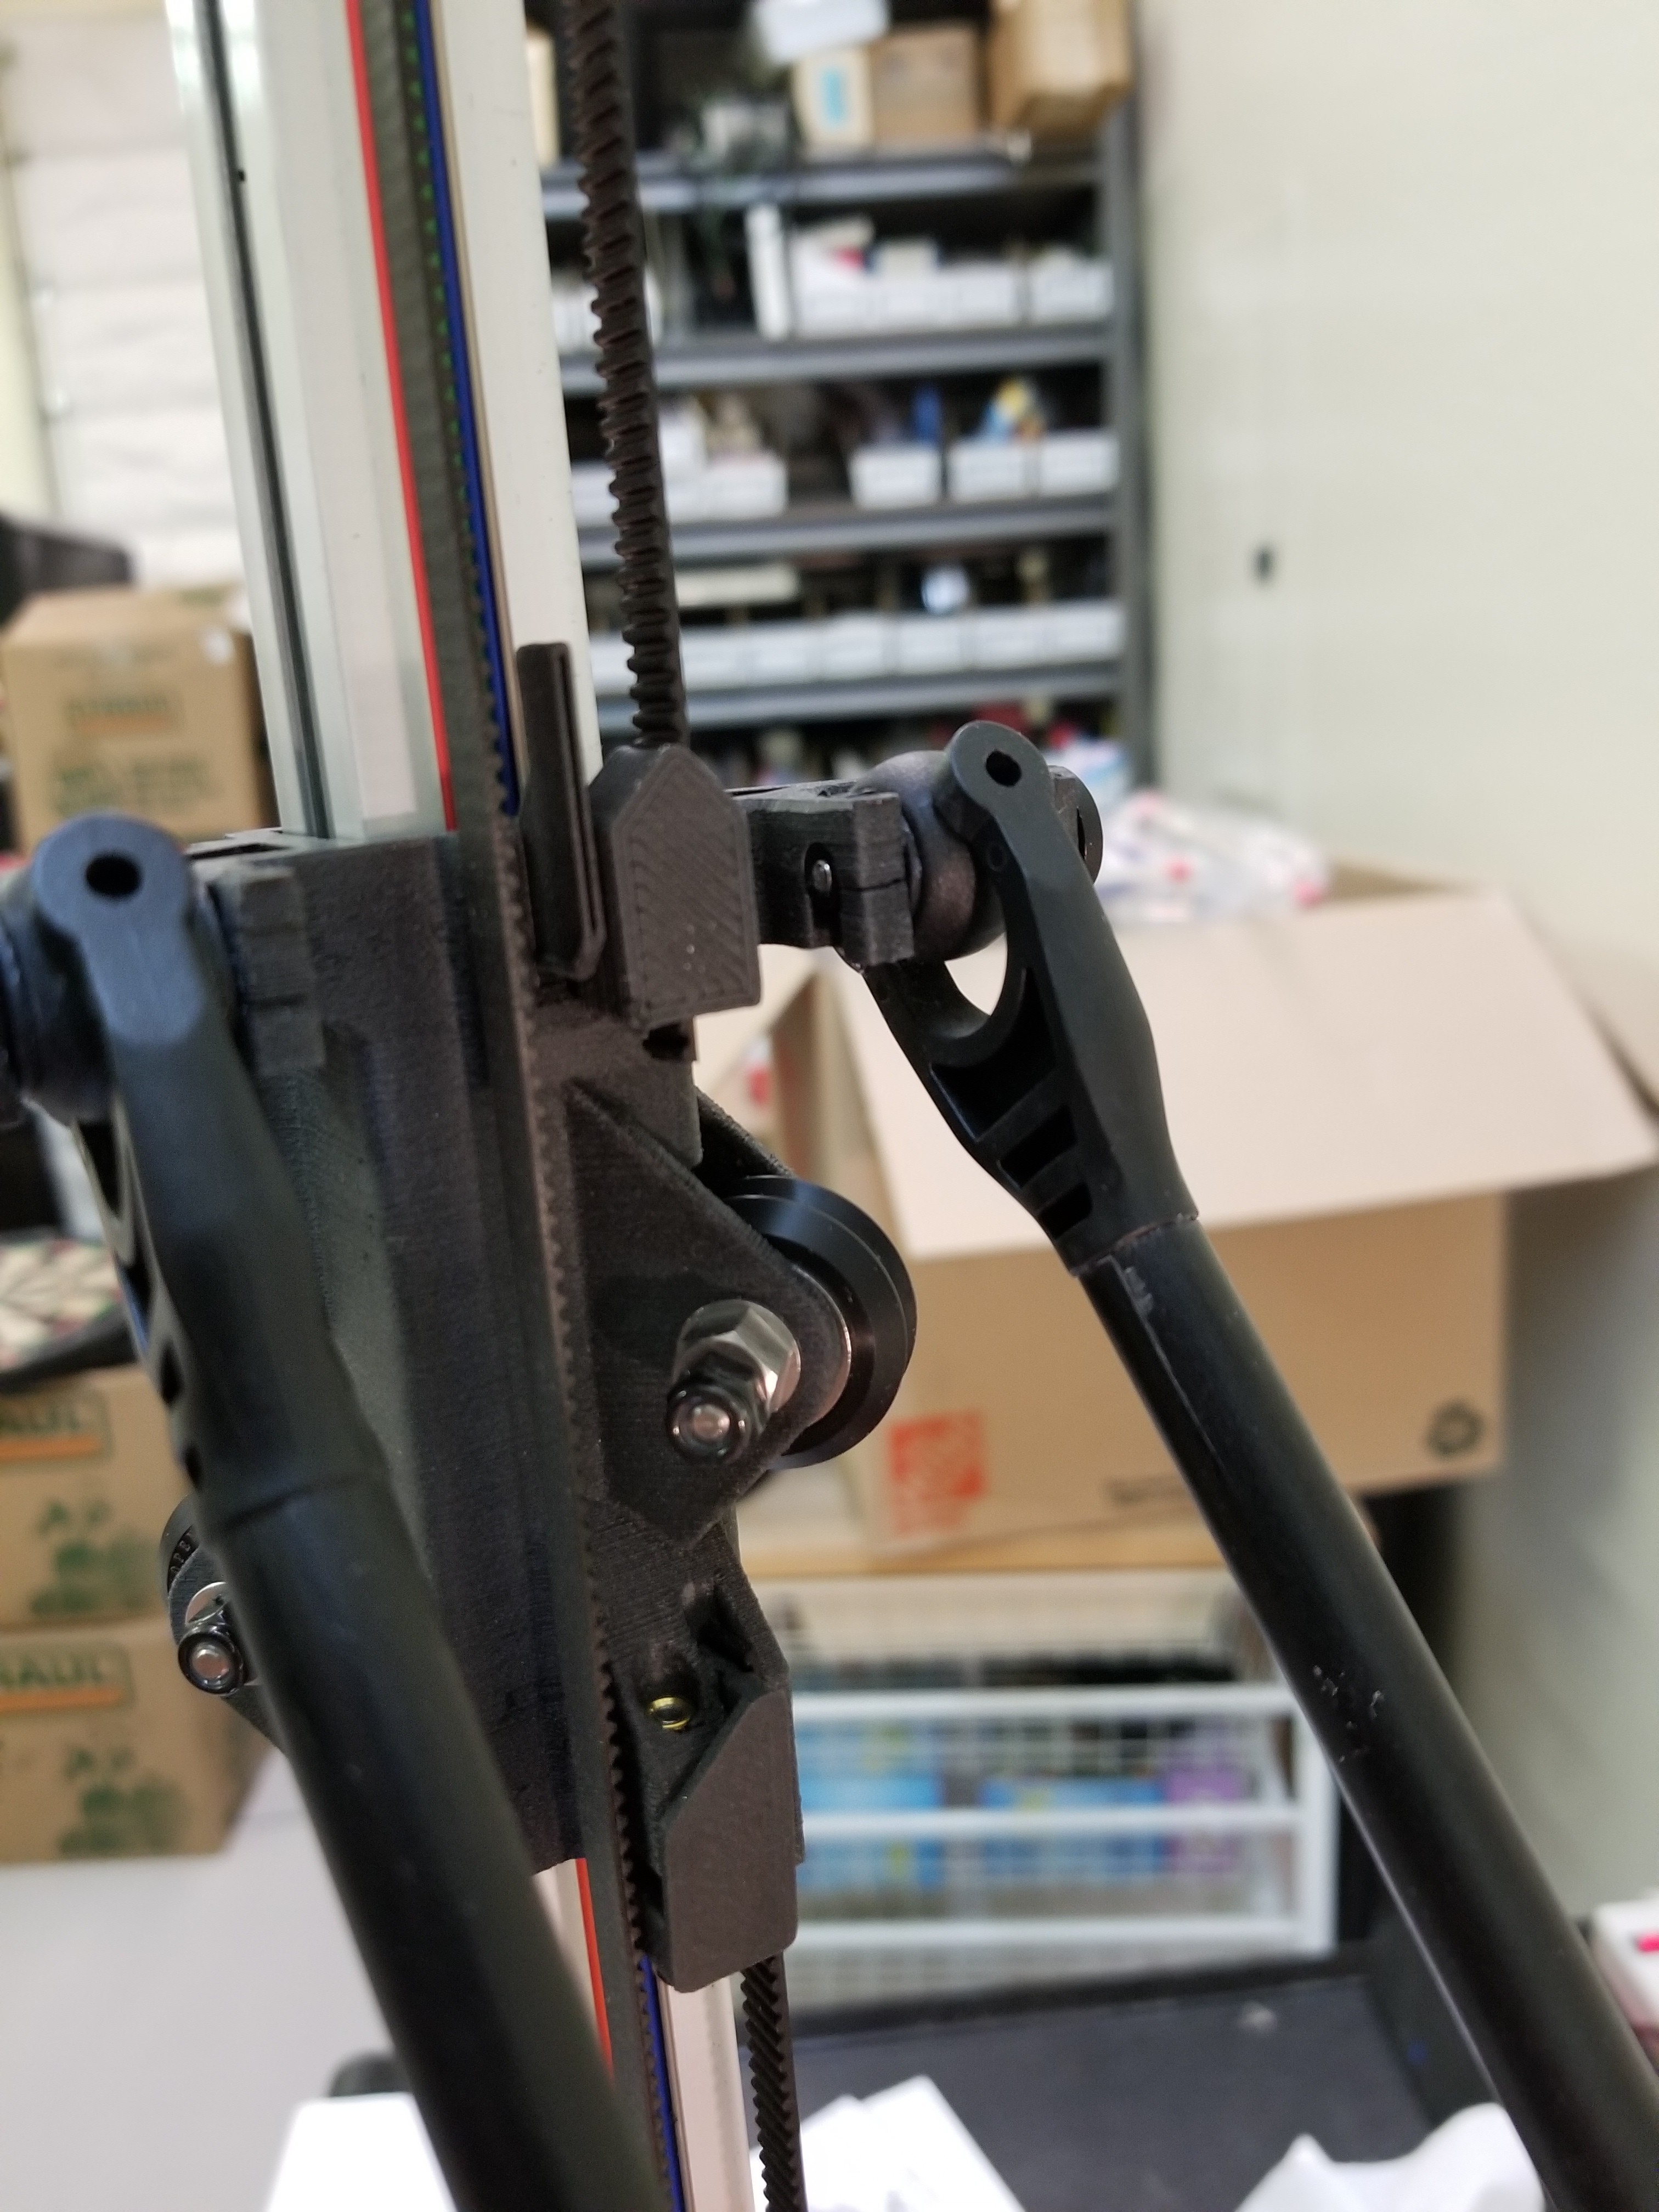
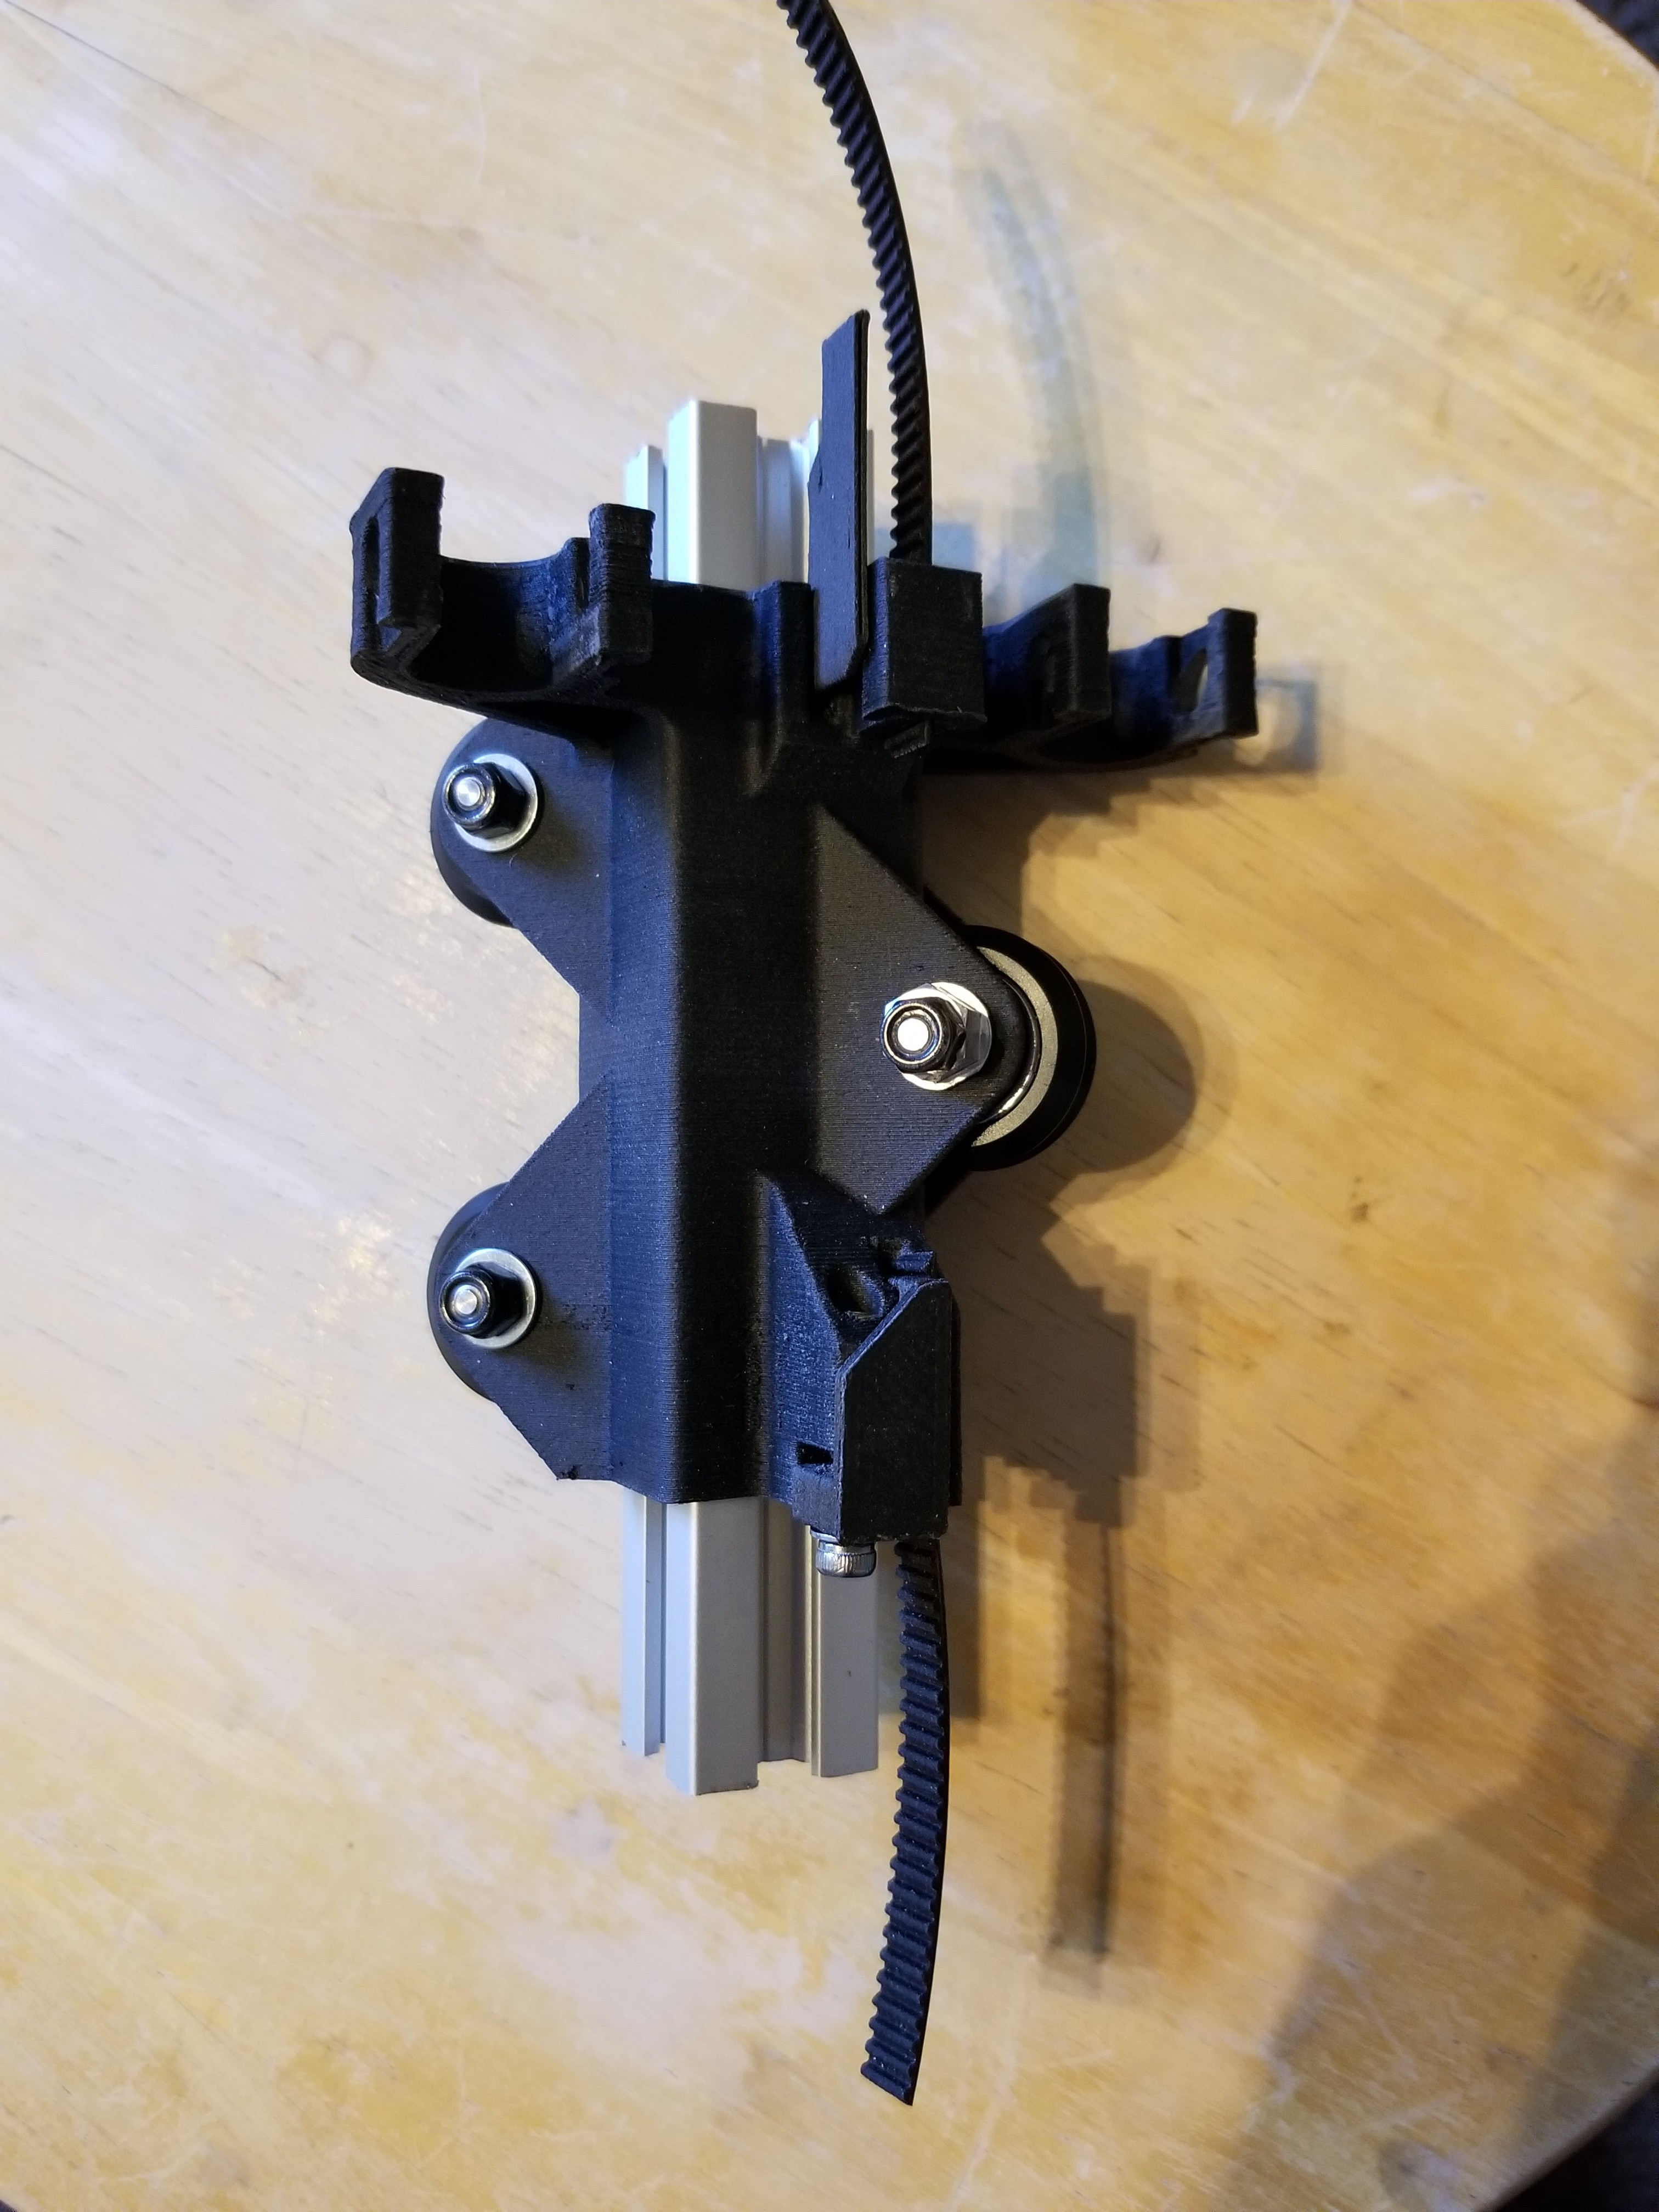
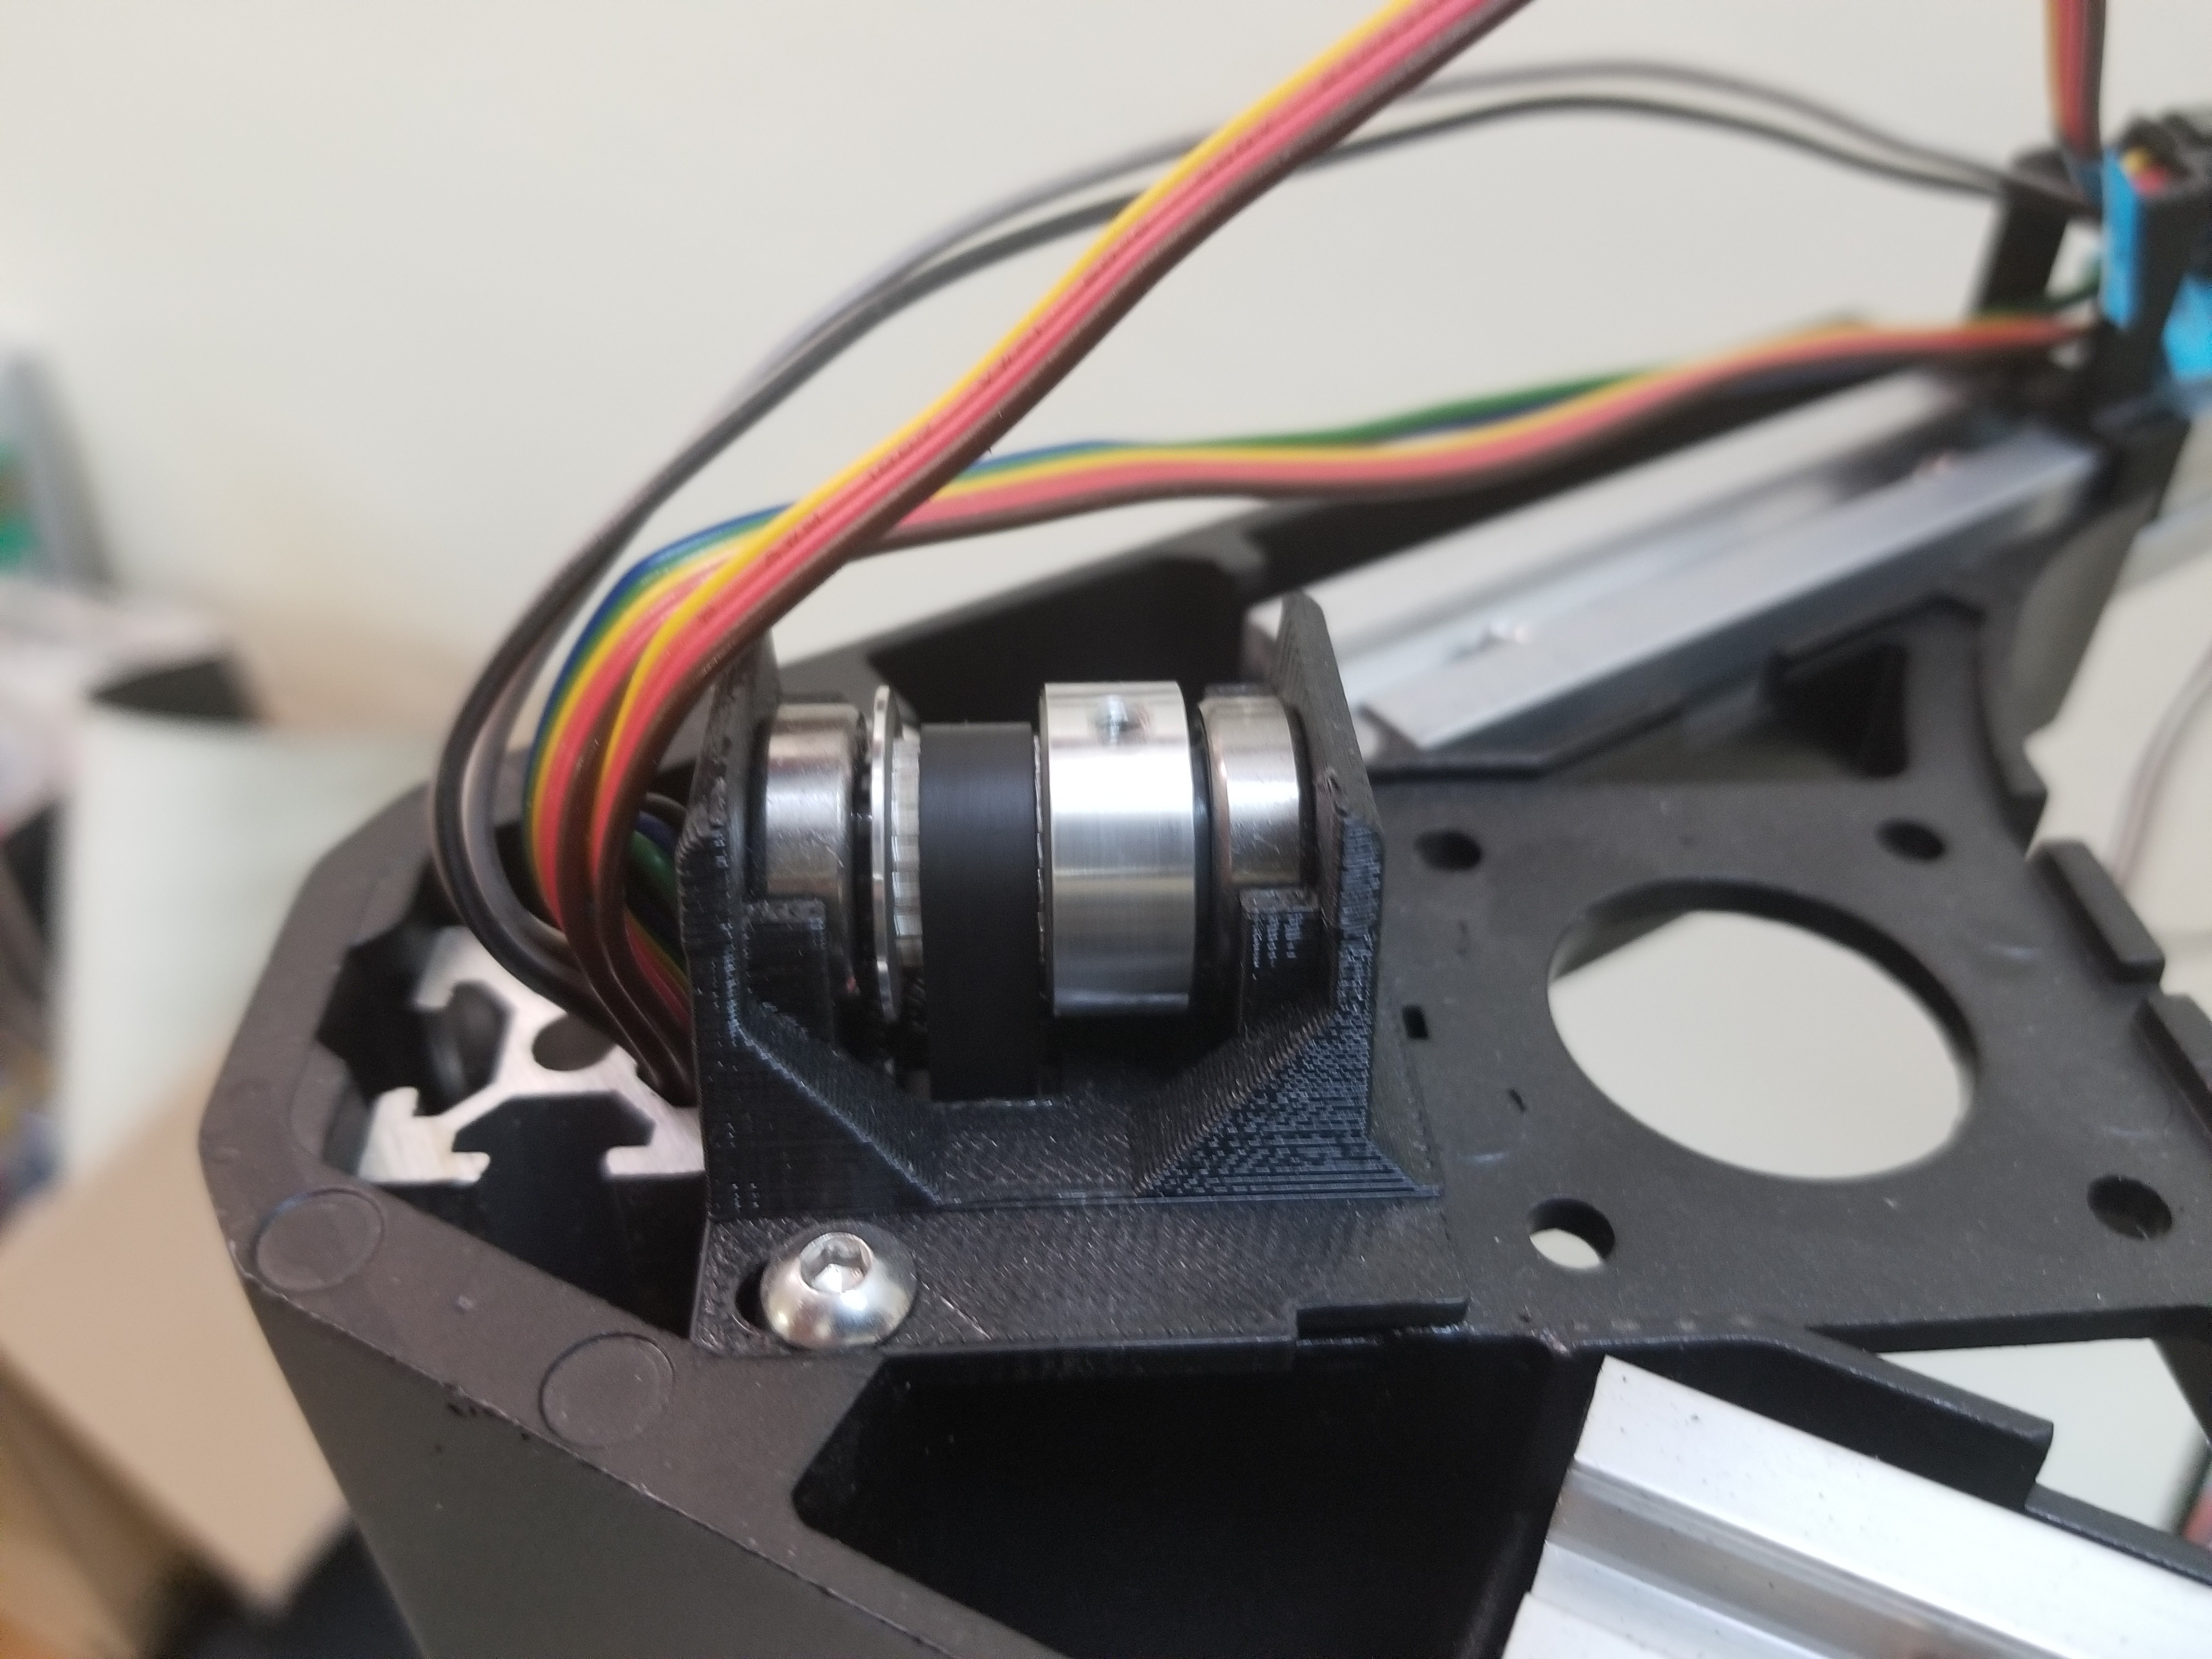
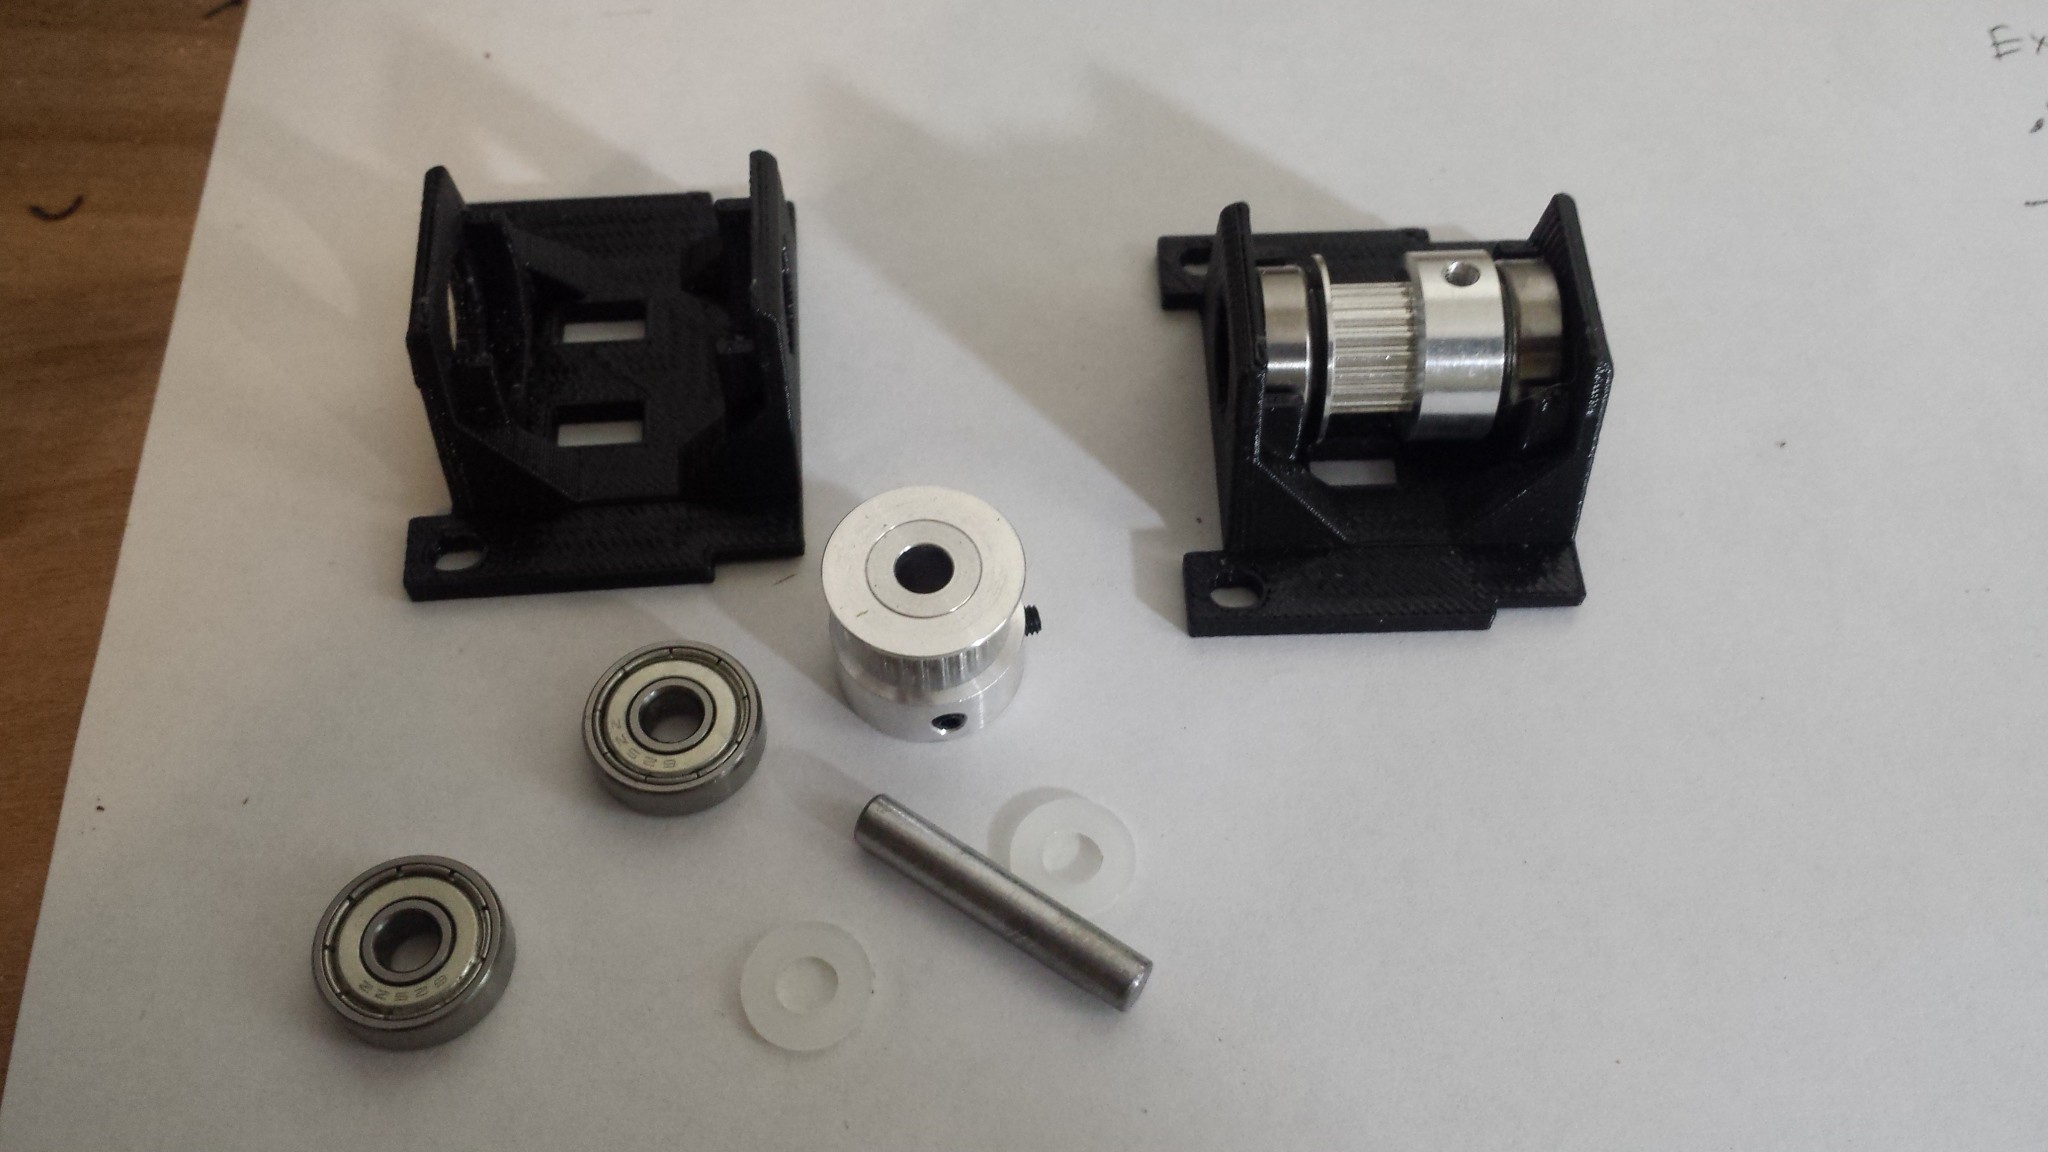
1) Replaced drive wires with a belt drive system using high quality steel core GT2 6mm belts.
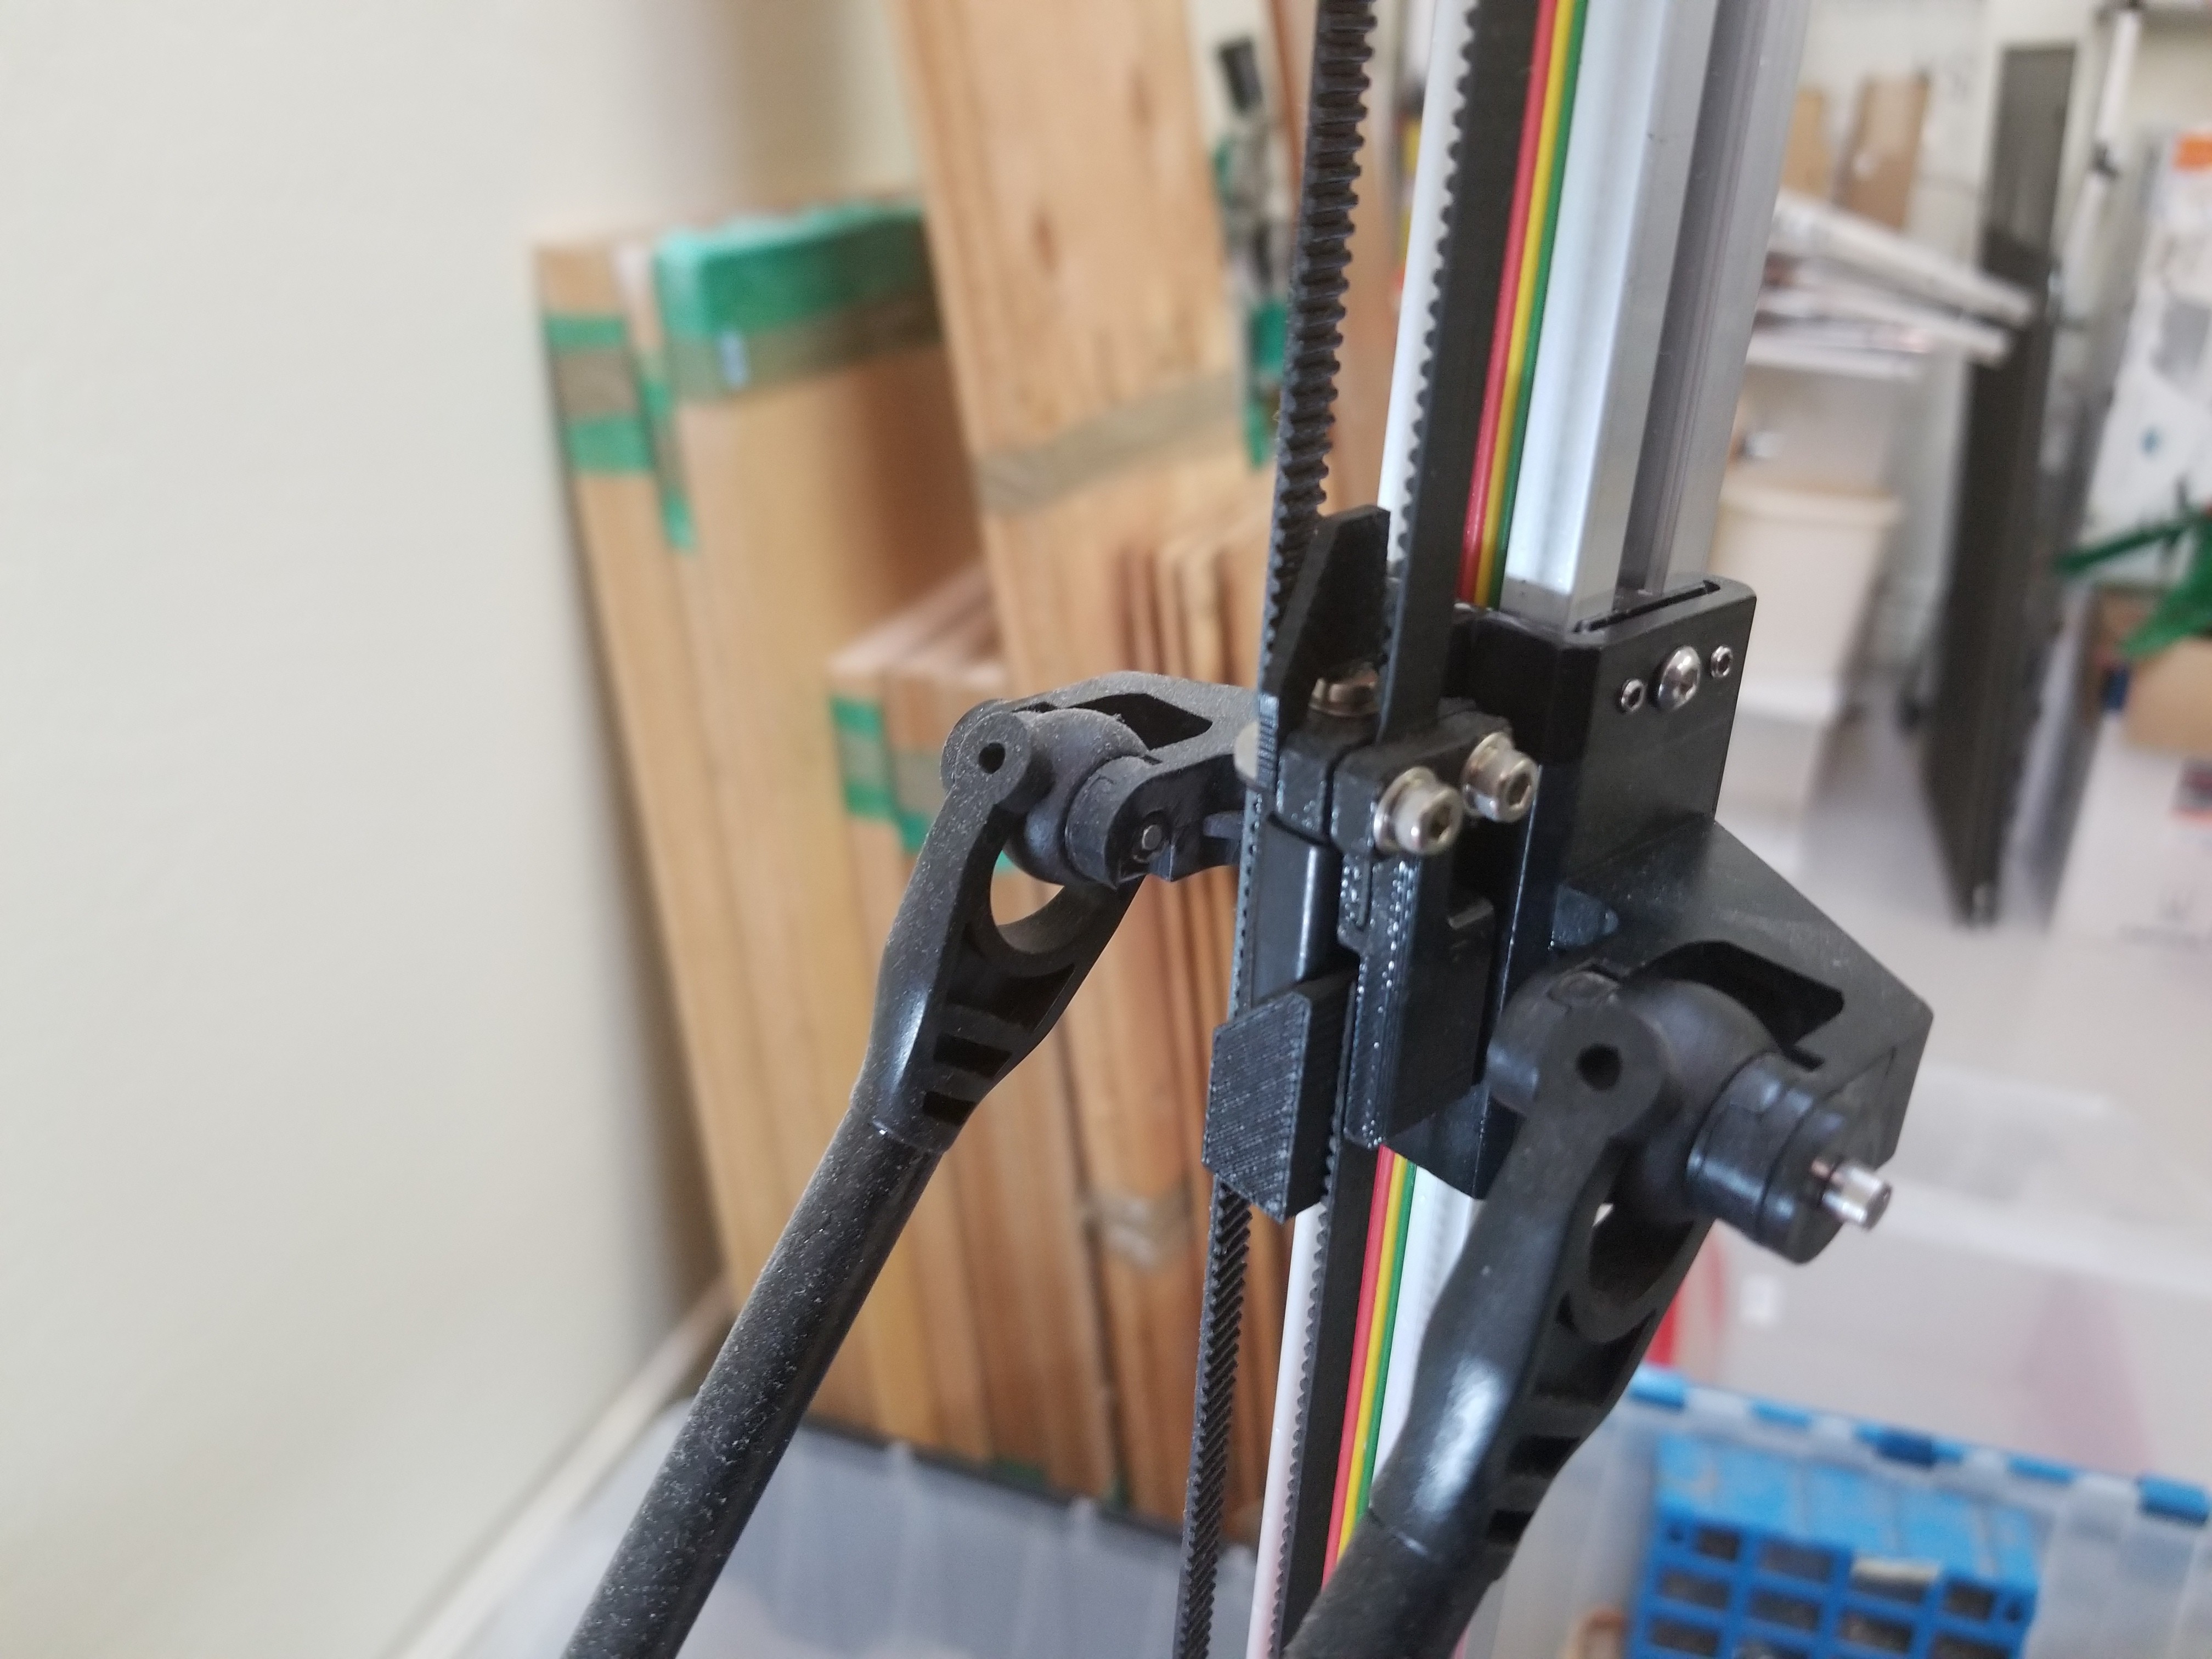
2) Replaced the side carriage multiple times and finally ended up with a magnetic rod system with roller wheels.
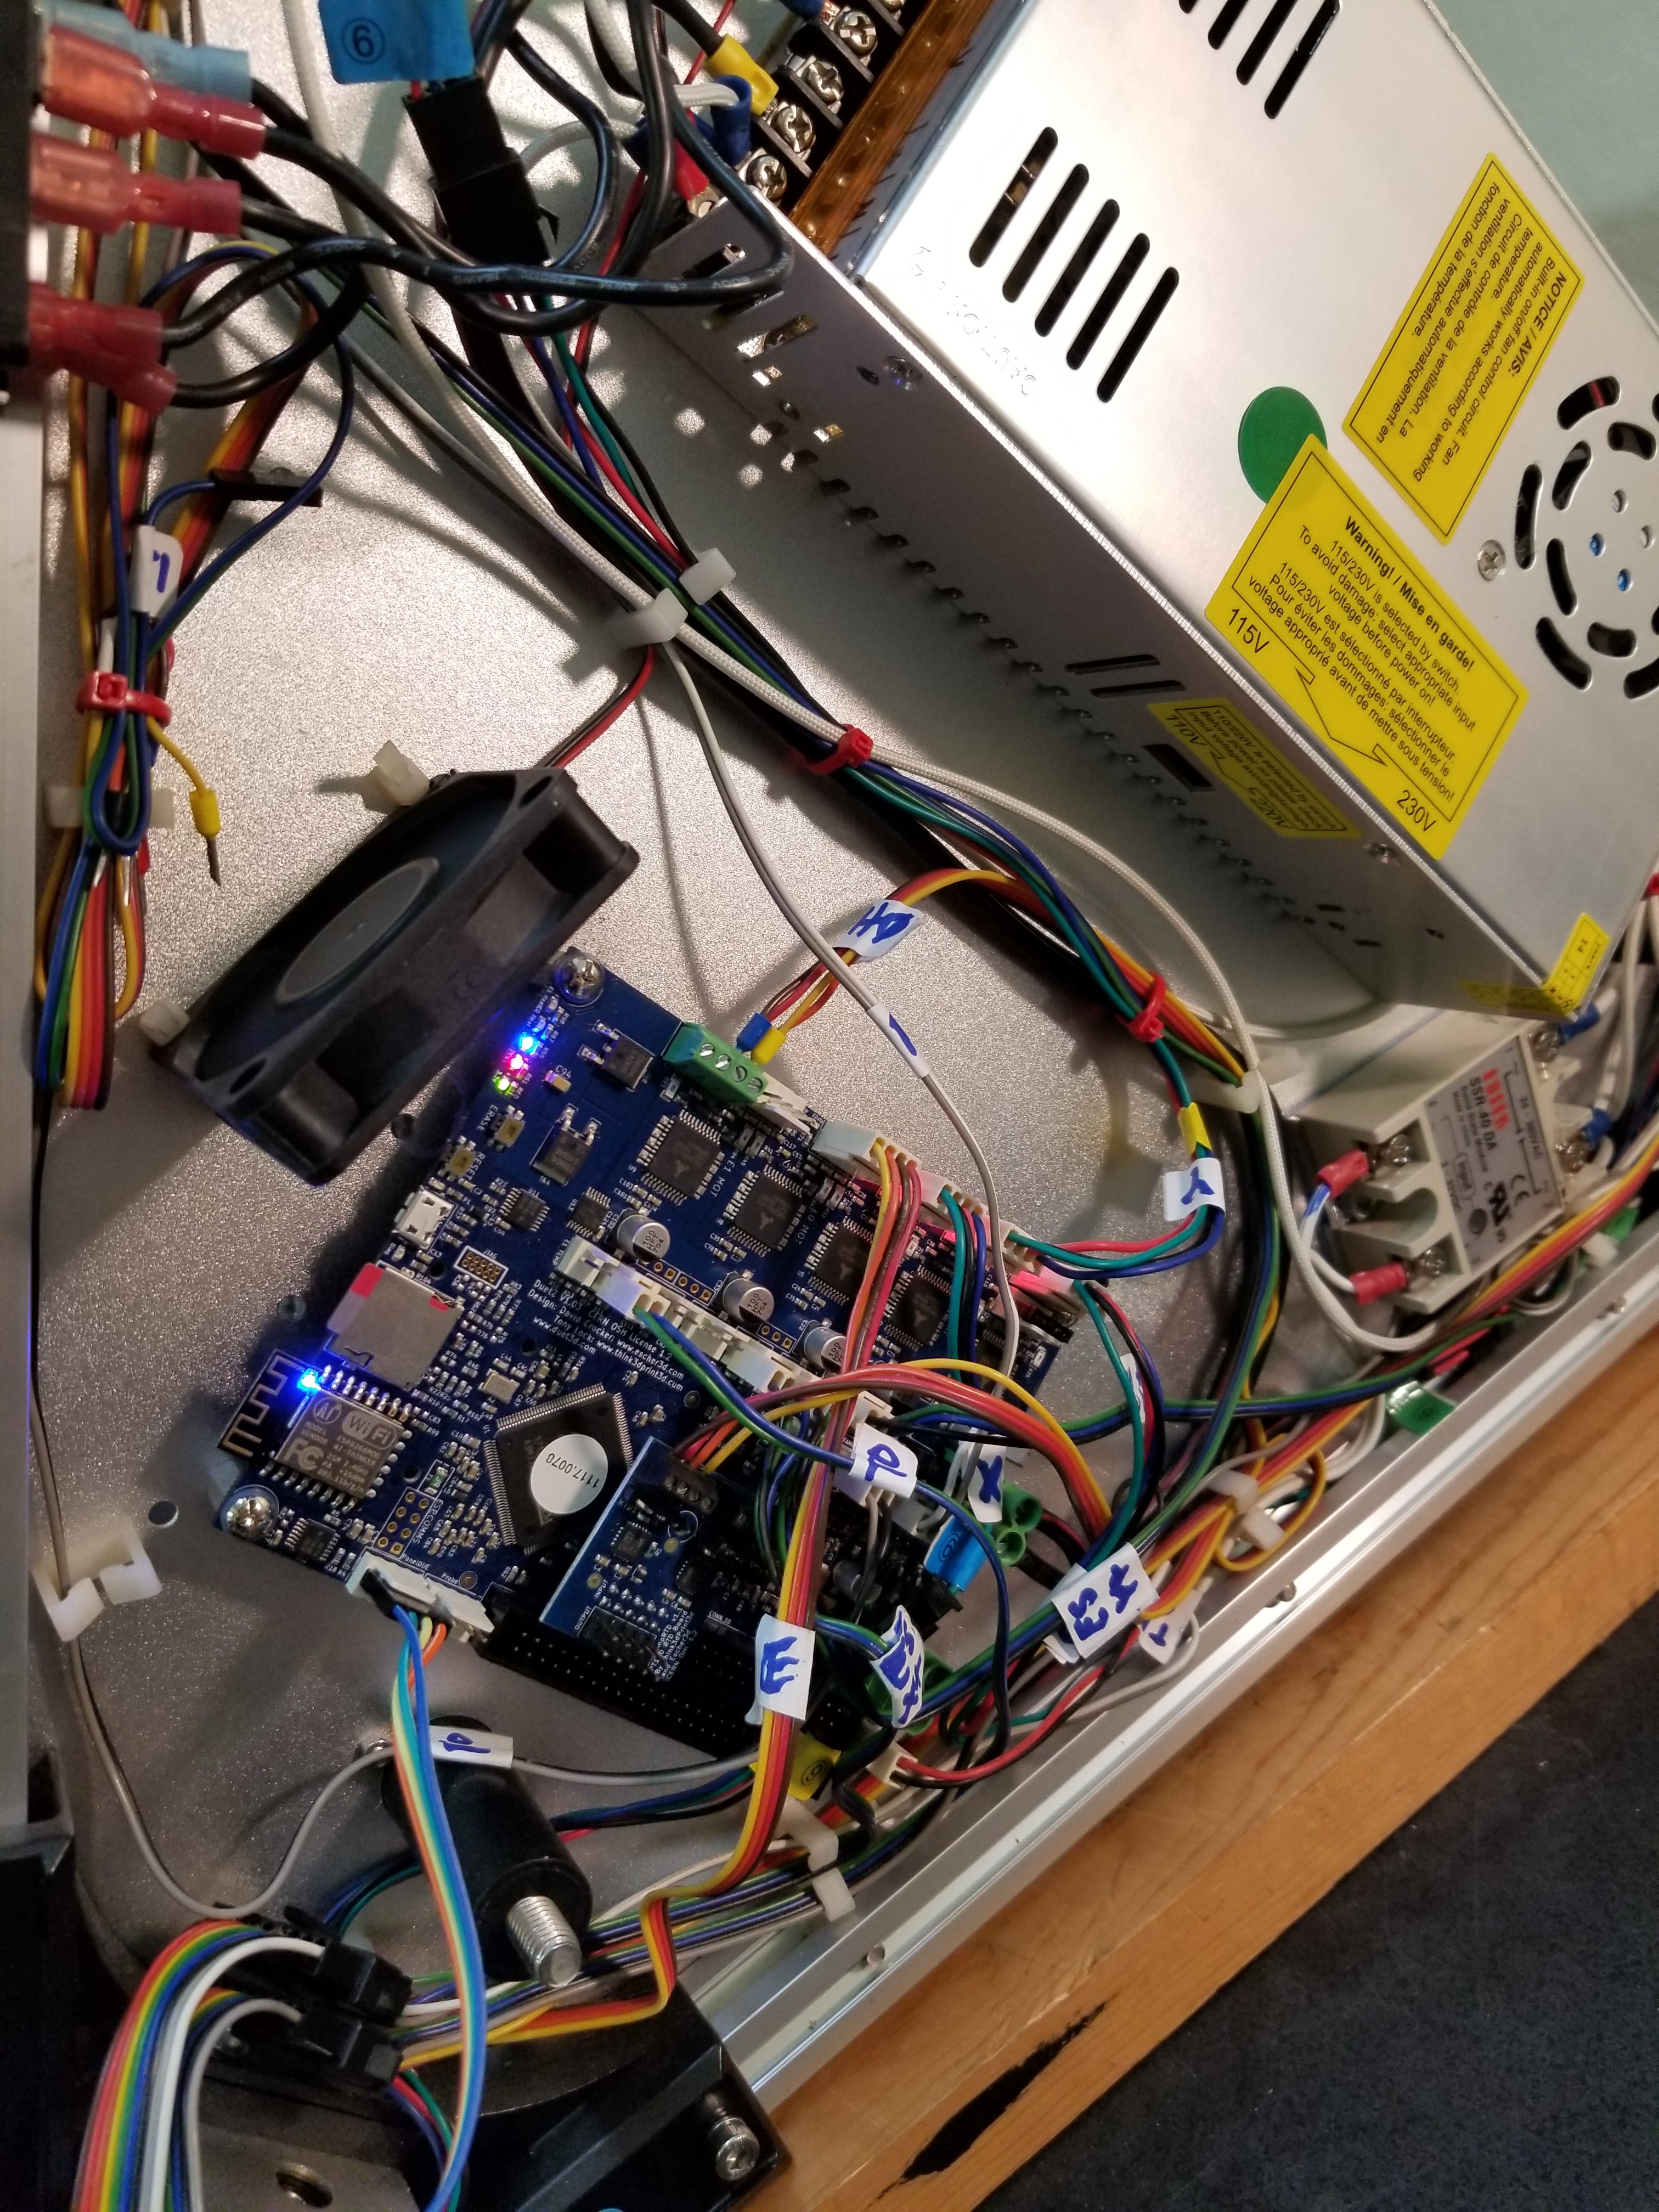
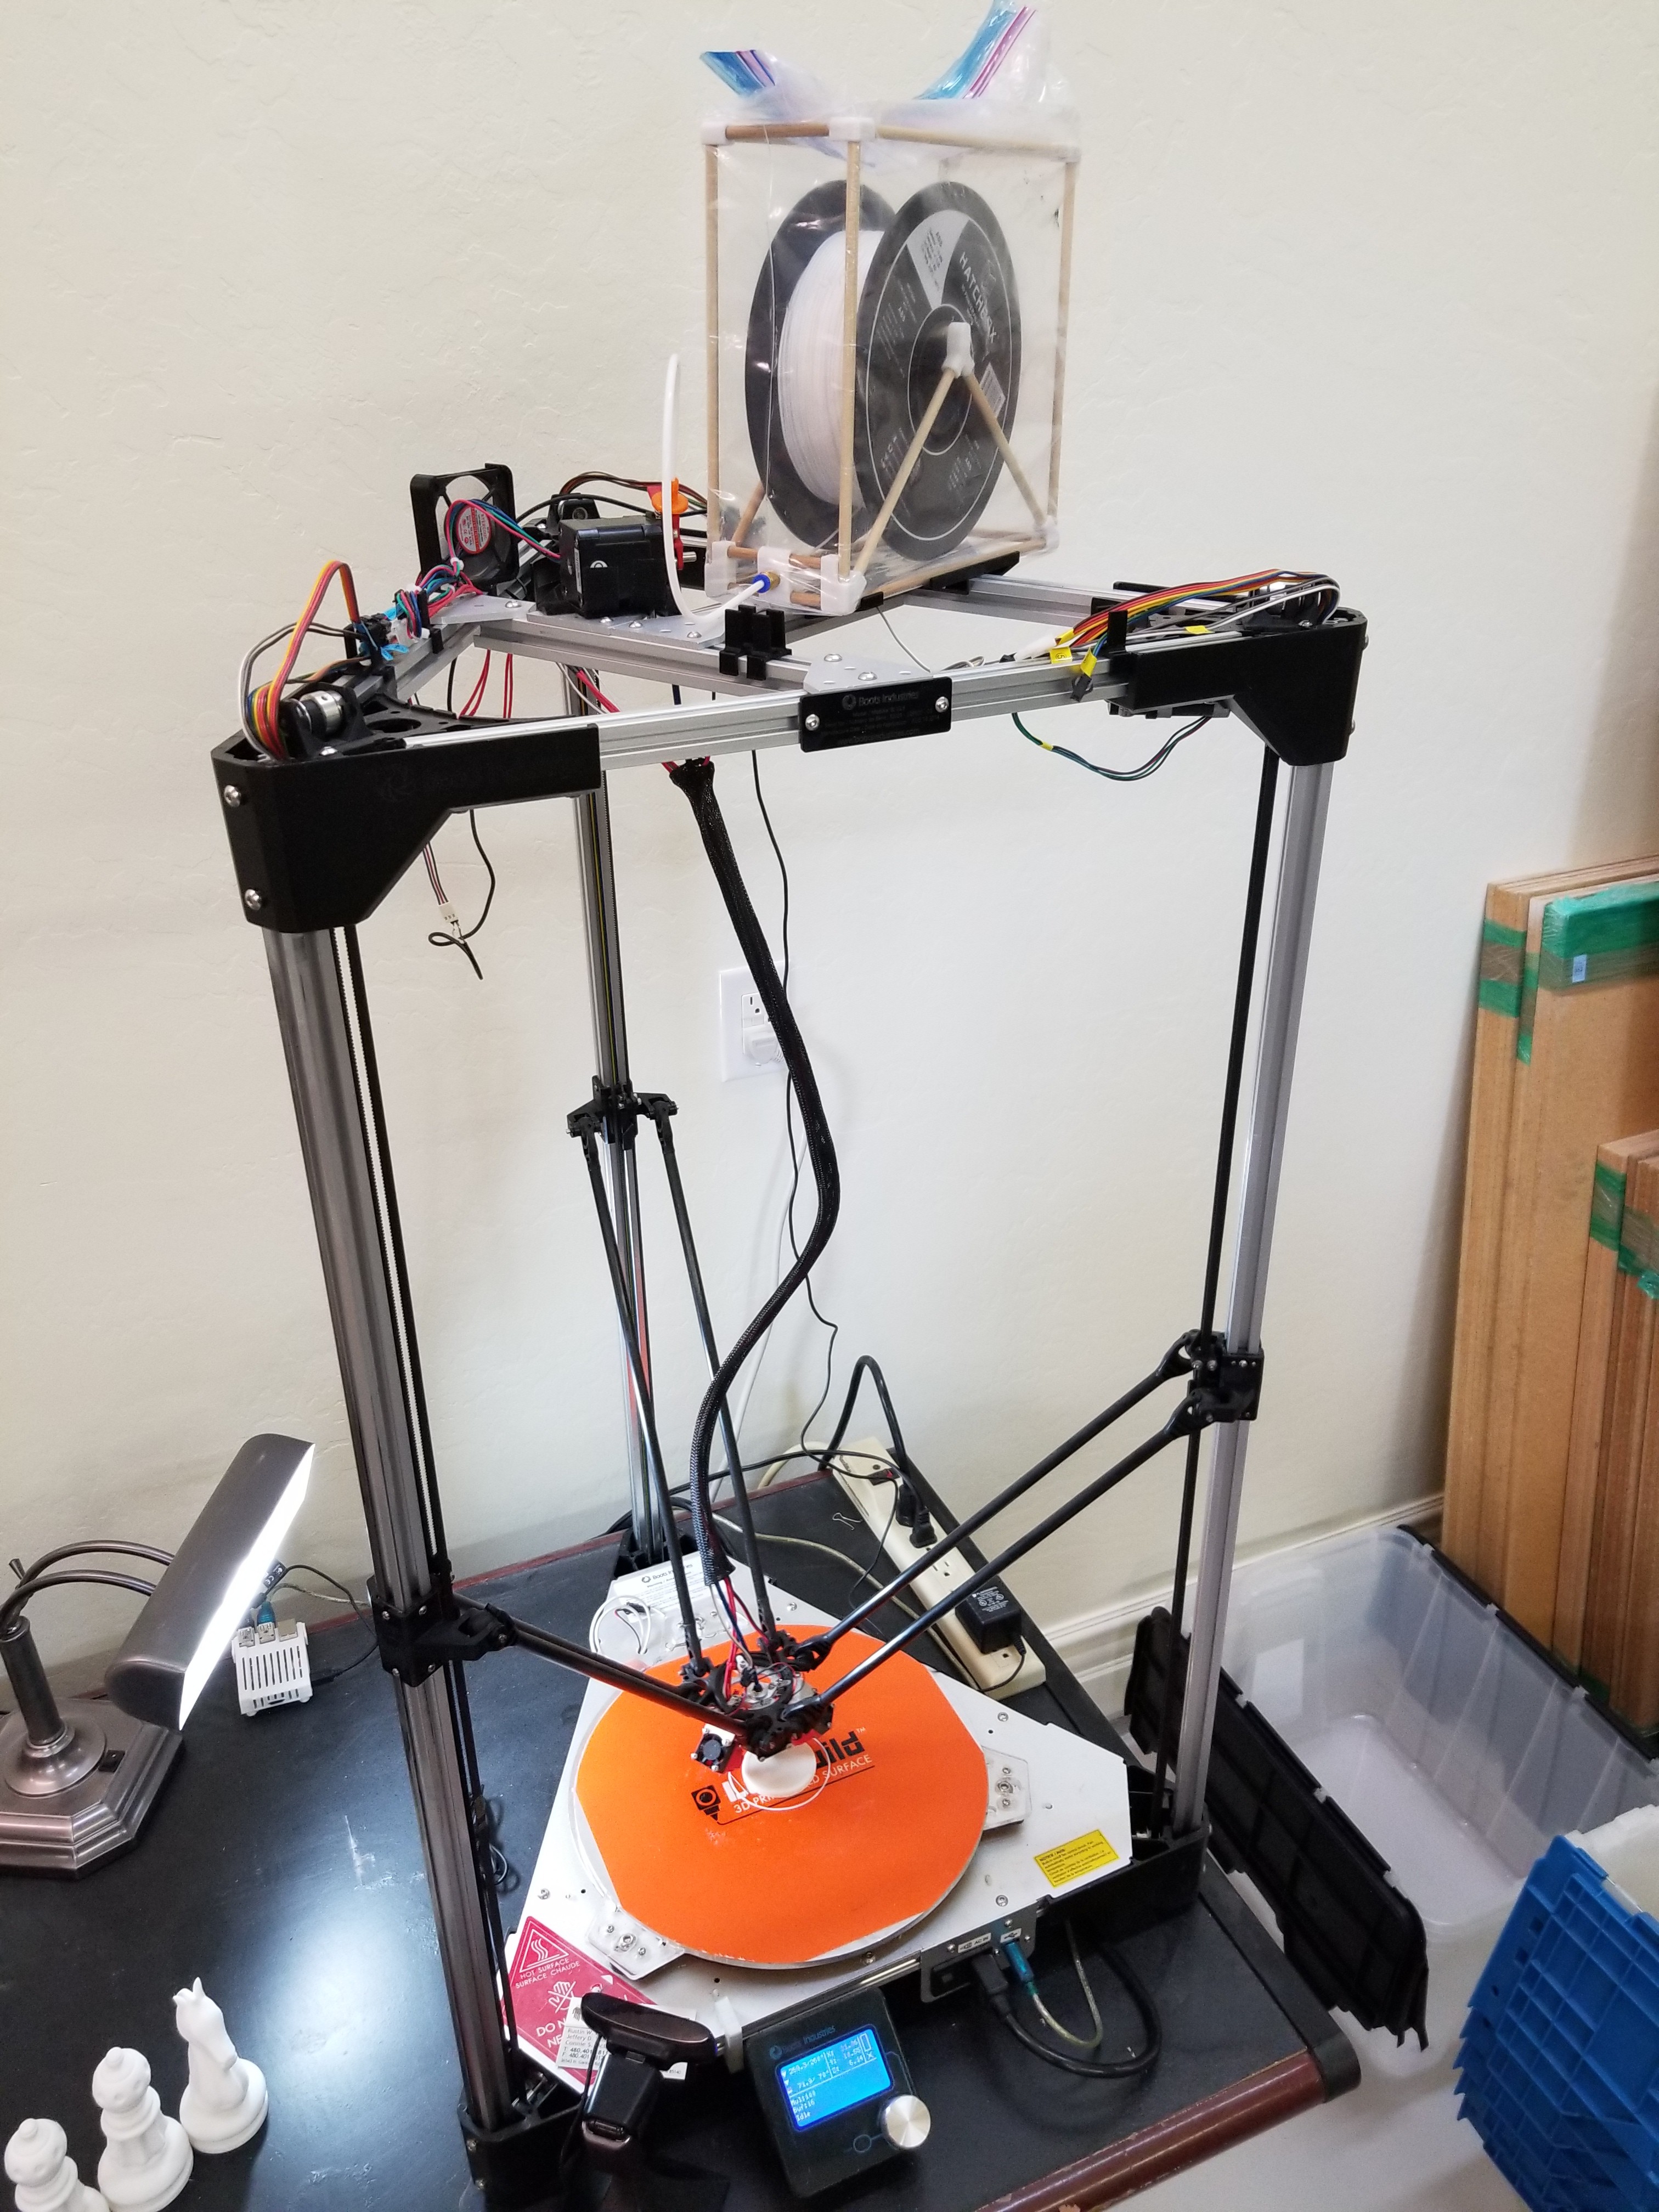
3) Updated the electronics to a DuetWifi and PanelDue. Moved all the electronics from under the printer to mount on top frame so its more accessible.
4) Moved the motors to be on the top frame instead of under the unit.
5) Added a berd air system for direct cooling
6) Replaced extruder with a zesty nimble drive and a pancake motor.
7) Replaced the heater with a Keenovo mains heater using a SSR
8) Designed my own effector with E3D extruder
9) Added a Precision Piezo sensor to use nozzle as probe tip (went through many other types prior like the BL touch and even the IR sensor
10) Changed temp sensors to PT100
Like I said, other than the frame, there isn't much that is original anymore. It has been a long journey and many times I wanted to toss it into the trash. However, it has survived my rage long enough to get a couple of okay prints. Quality wise, its not the best, but it works.
The machine was actually broken down for a few years and I finally just fixed it last night. The PT100 sensor board had a cracked connector and gave bad temp data. Finally figured that out since it was cracked in a spot that was not visible. The update to Rep Rap Firmware 3 also added some headaches due to config changes. The panel due had issues with a firmware update but that was also fixed. The air hose nipple also broke off the Berd Air system, so had to McGuyer a fix for it.
Once I patched the problems, she came right back up and the print was just fine. I would say the mere mention of a BI2.5 printer bring a love hate relationship. Its a never ending battle with this printer. She has been with me for a long time and through a lot of struggles. I can see why some older BI owners moved on to Core-XY printers.