 Martin Ferreira
THE CONCEPT
Connections
The main idea is represented in the following image. It's a diagram of the different connections between the Nano arduino and the other devices, such as the battery, sensors and devices who storage information.
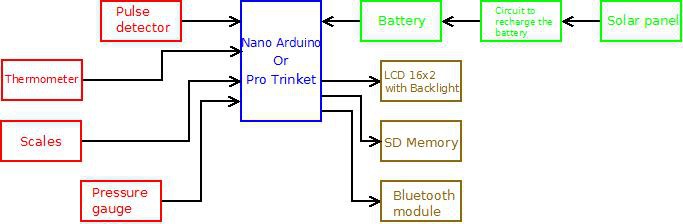
The input devices are:
- The pulse detector
- Thermometer
- Scales
- Pressure gauge
- Battery
The output devices are:
- LCD 16x2 with backlight
- SD Memory
- Bluetooth module

The connections are these. Almost all the arduino digital pins are occupied. There is no place to connect a Bluetooth module. So it will be eliminated.
Functions
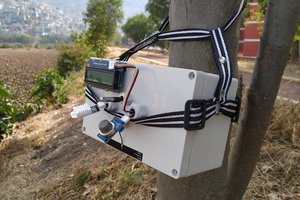
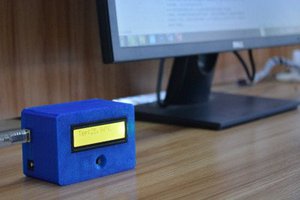
The Pocket Nurse is intended to work as an artifact that measures the pressure, weight, temperature and pulse from a person. It eases the way of making a diagnosis and puts within reach of their hand a lot of data from the symptoms.
If you want to have al this data in a computer you just remove the SD Card, or turn on the Bluetooth module and you process that in a plain text archive generated by the arduino. Also there would be an option of viewing the data in real time, except form the blood preasure.
Another way to access this information in real time is to watch the LCD screen and take note. Because it will display de the information there.
Like:
Temperature: 36,7°C
Pulsations per minute: 110
The display has only two lines were the text could be displayed, so the text would be displayed 10 seconds and the other text other 10 seconds and so on.
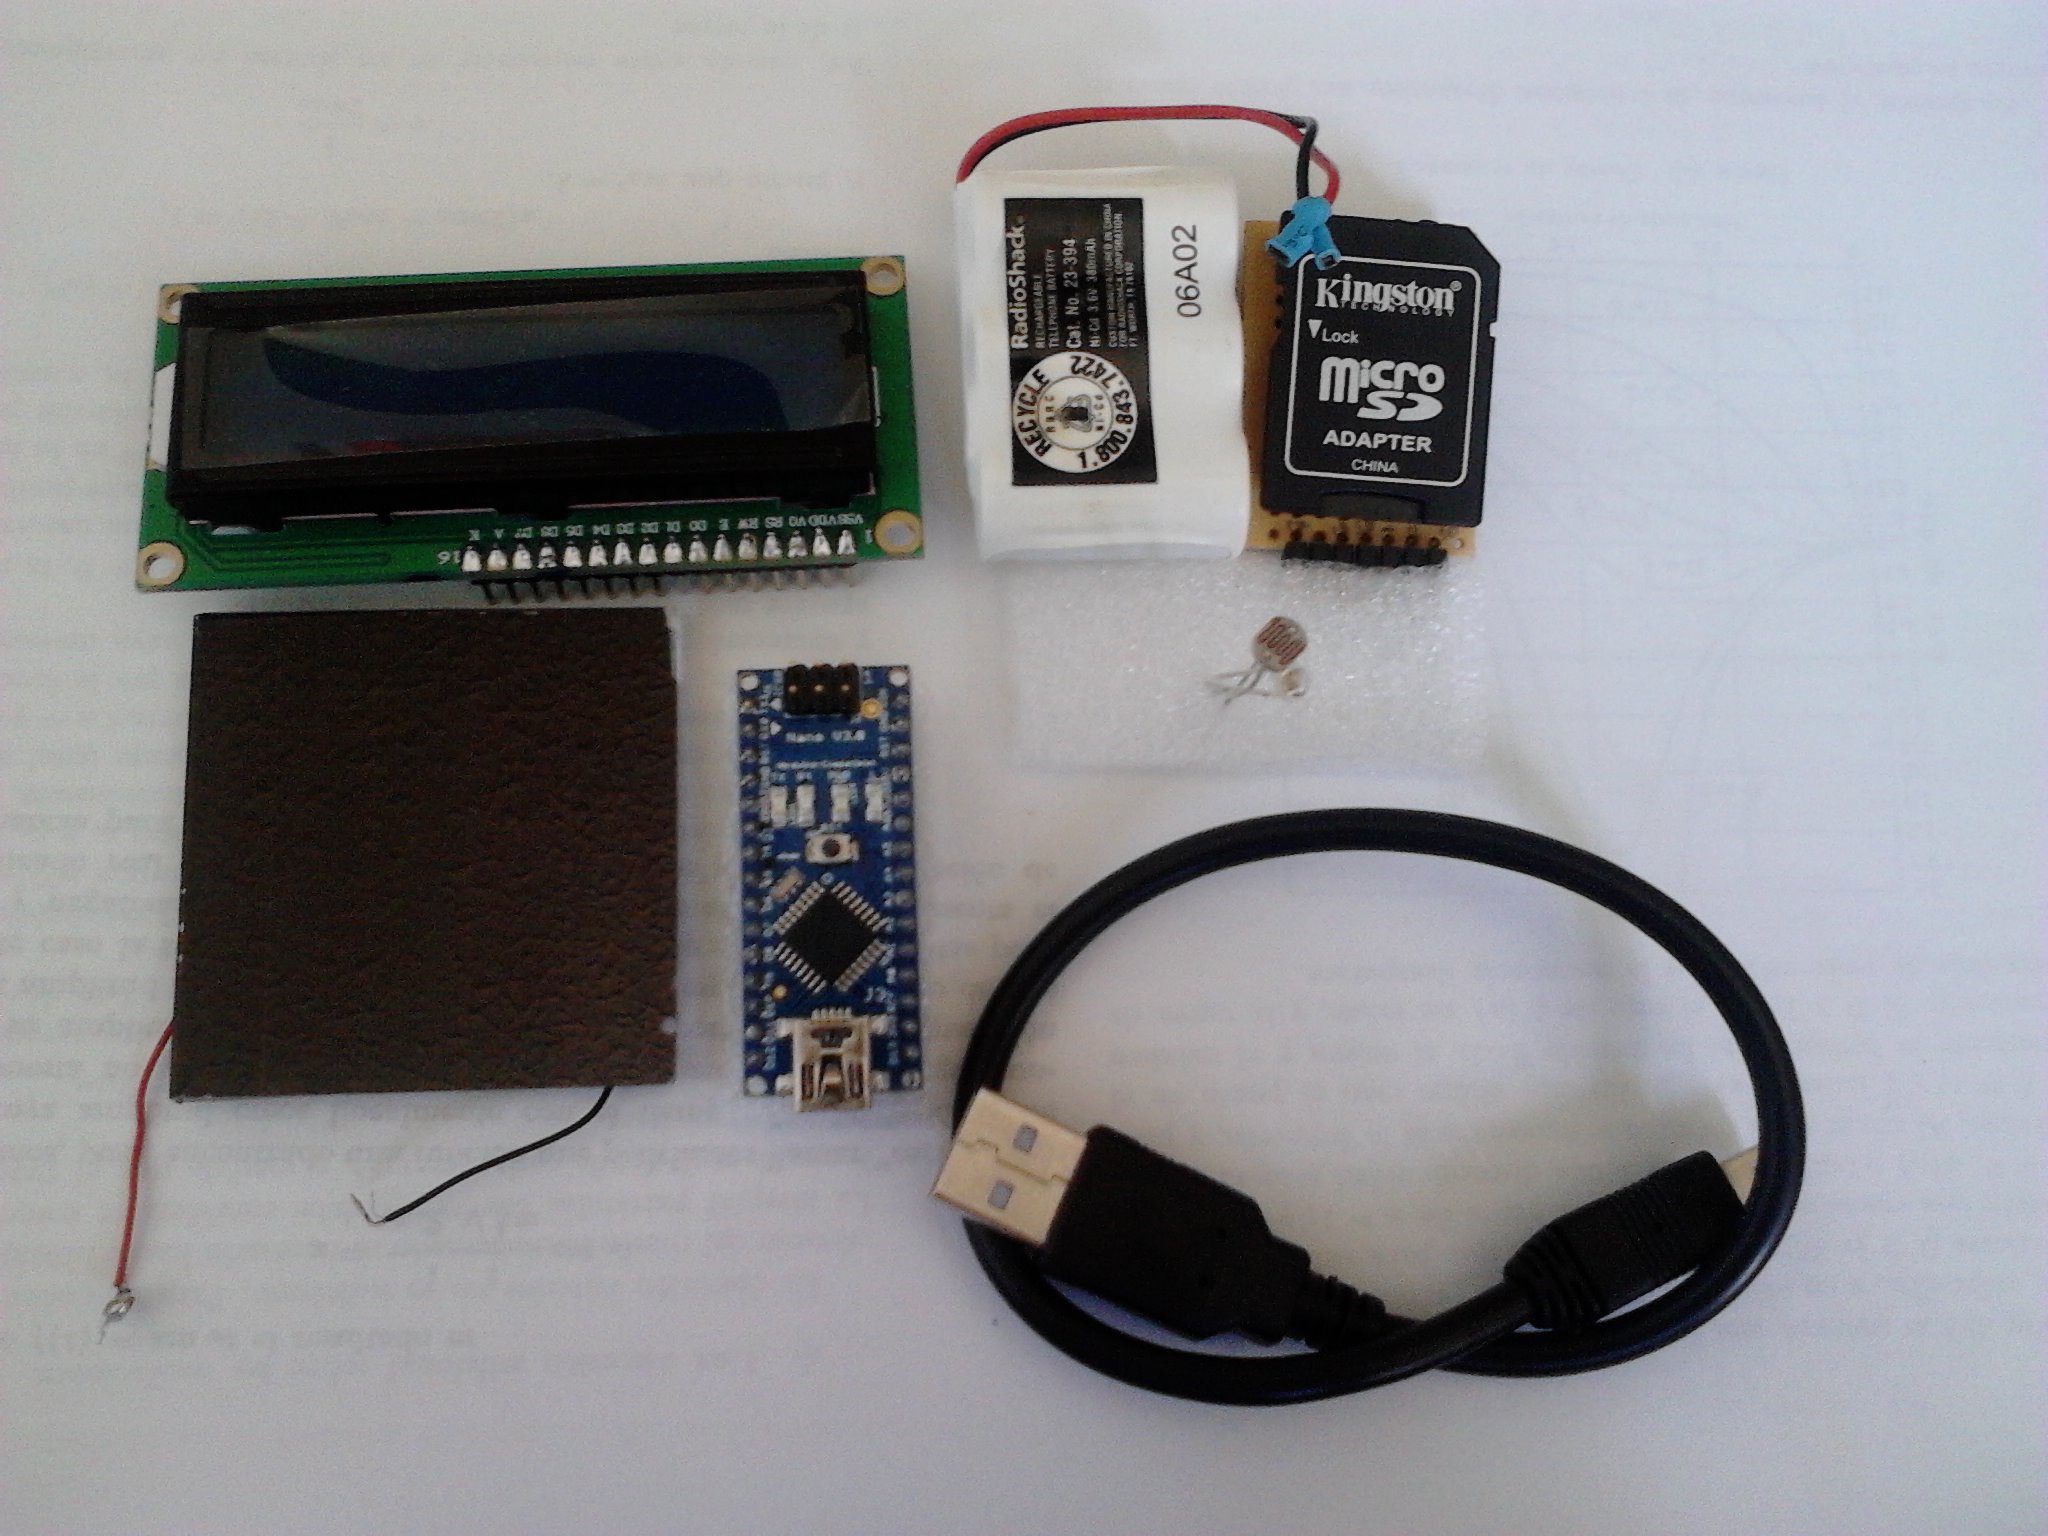
Components
Memory Card
There is where the information will be stored. As long as the board gather data, the important one will be stored here.
I had no money to afford an SD card shield, so I have built it by myself and with a little help from this tutorial.


LCD 16x2
Other important part of this project is the screen, there will be displayed the data. All you need to know is how to solder it properly the pins to the screen and how to connect it to the board.

The code to make the LCD 16x2 work is HERE.
Temperature Sensor
To measure the body temperature is necesary a digital temperature measure device, as the TMP36GZ.
The code to make it work and watch the temperature in the serial log is HERE.
Pulse detector
Other function of this pocket nurse was the capability of meauring the pulse. So with a LDR and a green ledit could be possible.
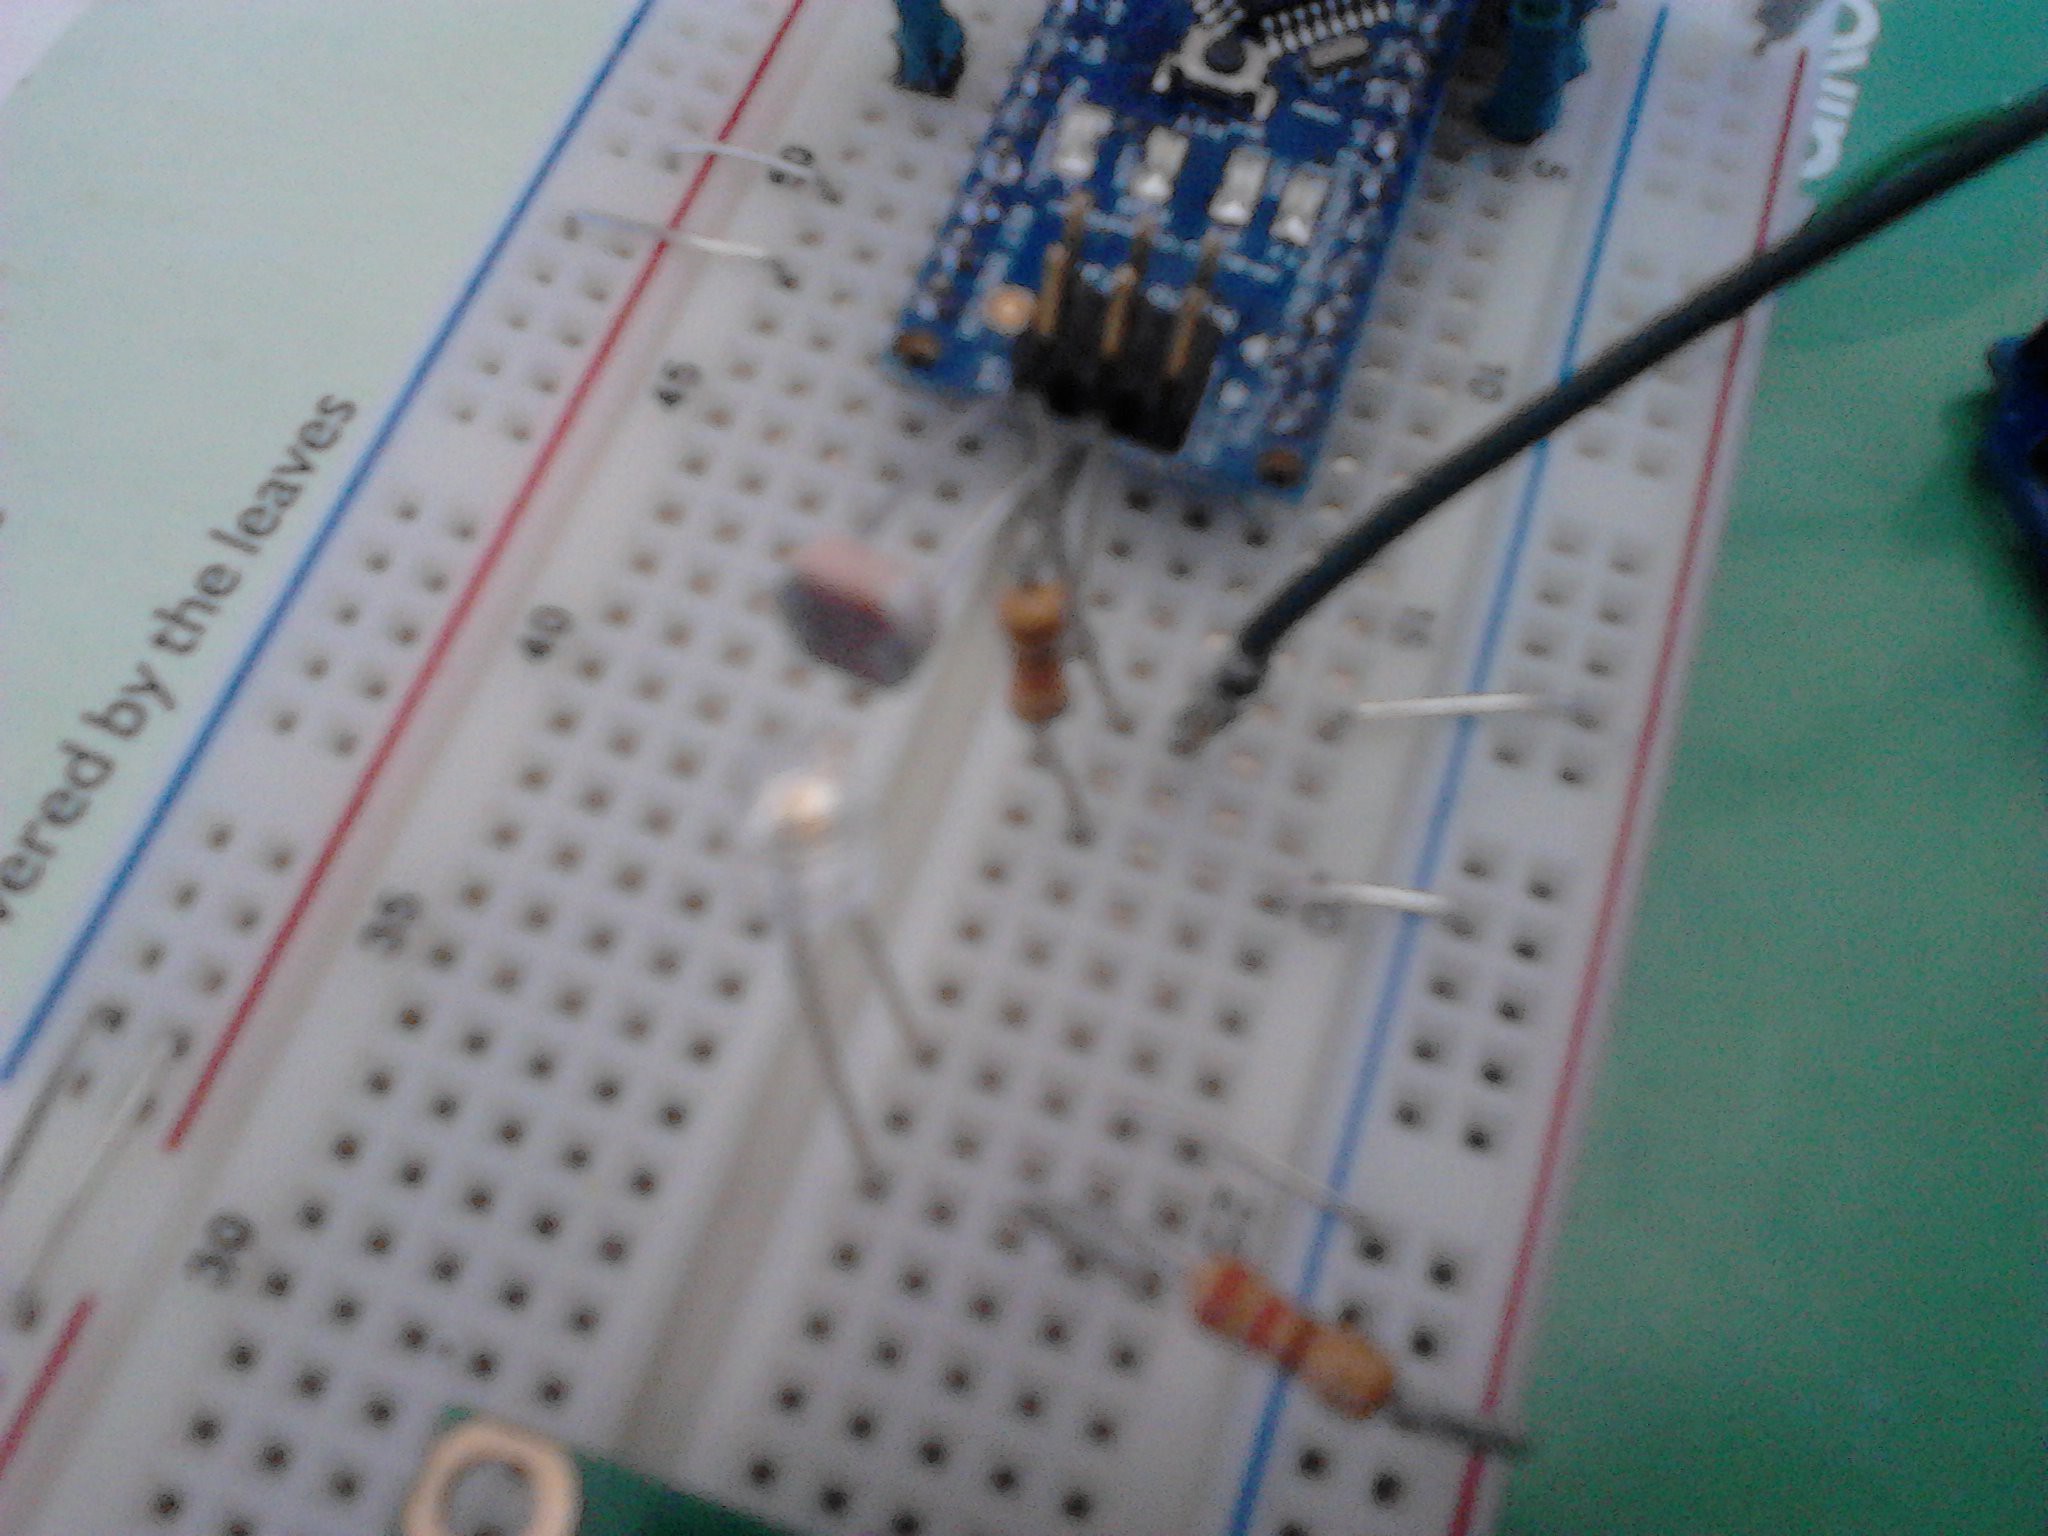
This photo shows the LDR and the green high bright led connected. The code to make it work is HERE.
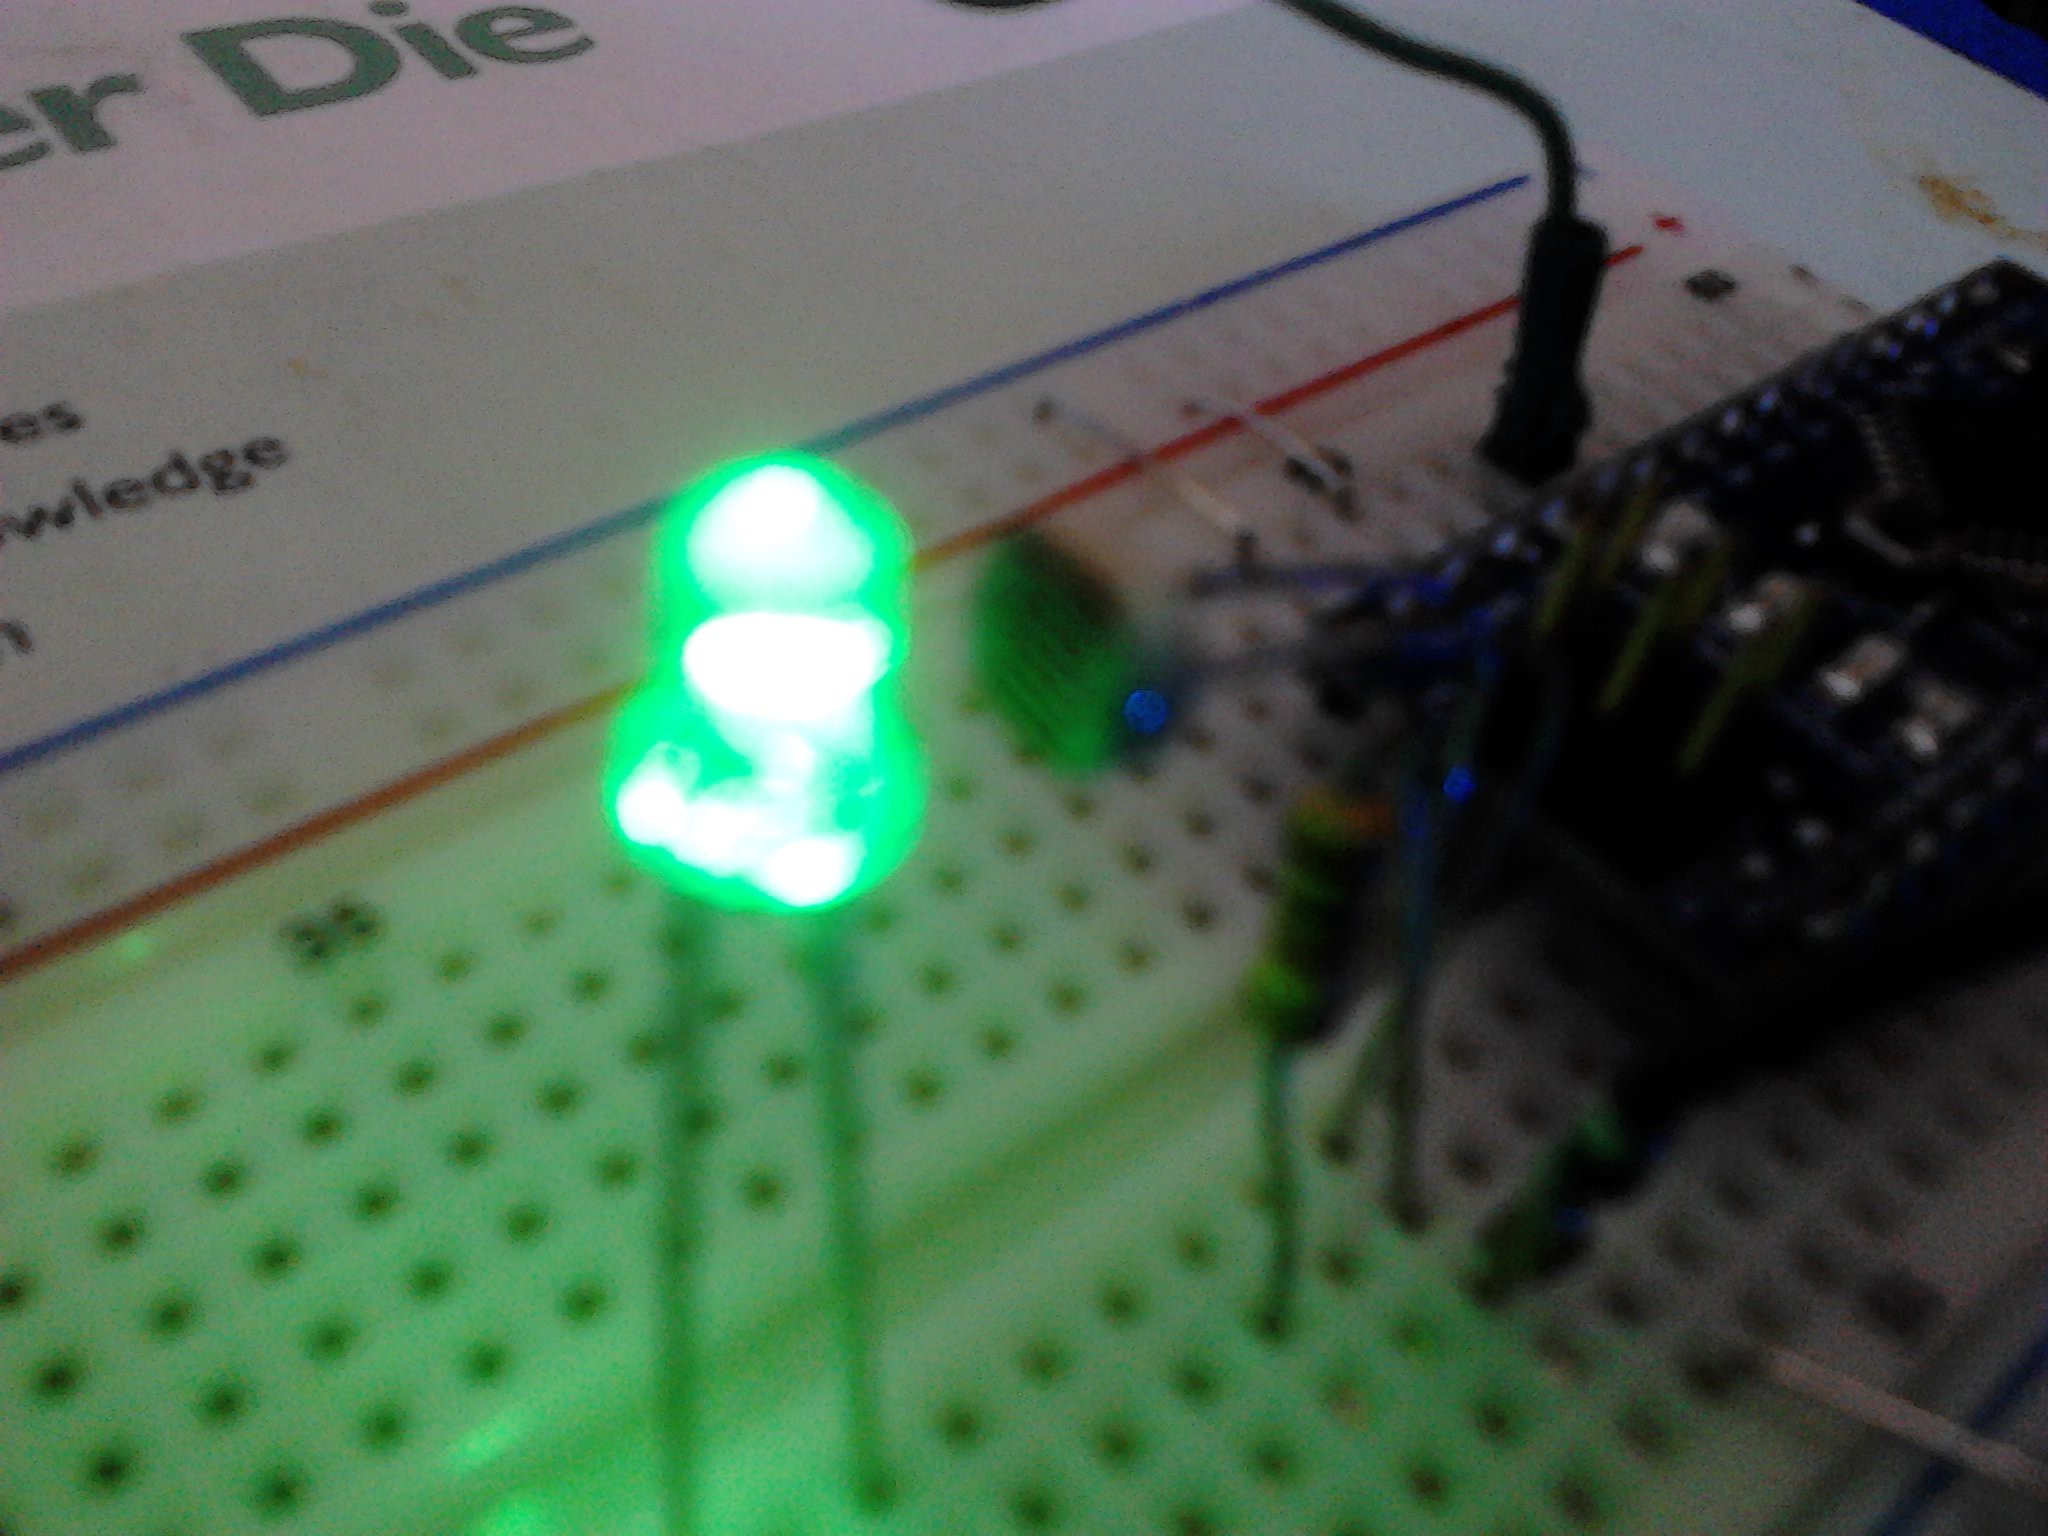
Pulse detector WORKING!
RESULTS
After trying some codes and addapting them to my components I have reached something. The temperature sensor works fine and it mesures the temperature correctly. It has a Time counter because it is needed to have a correct measure of the temperature, you must wait around 3 to 4 minutes (180 to 240 seconds).
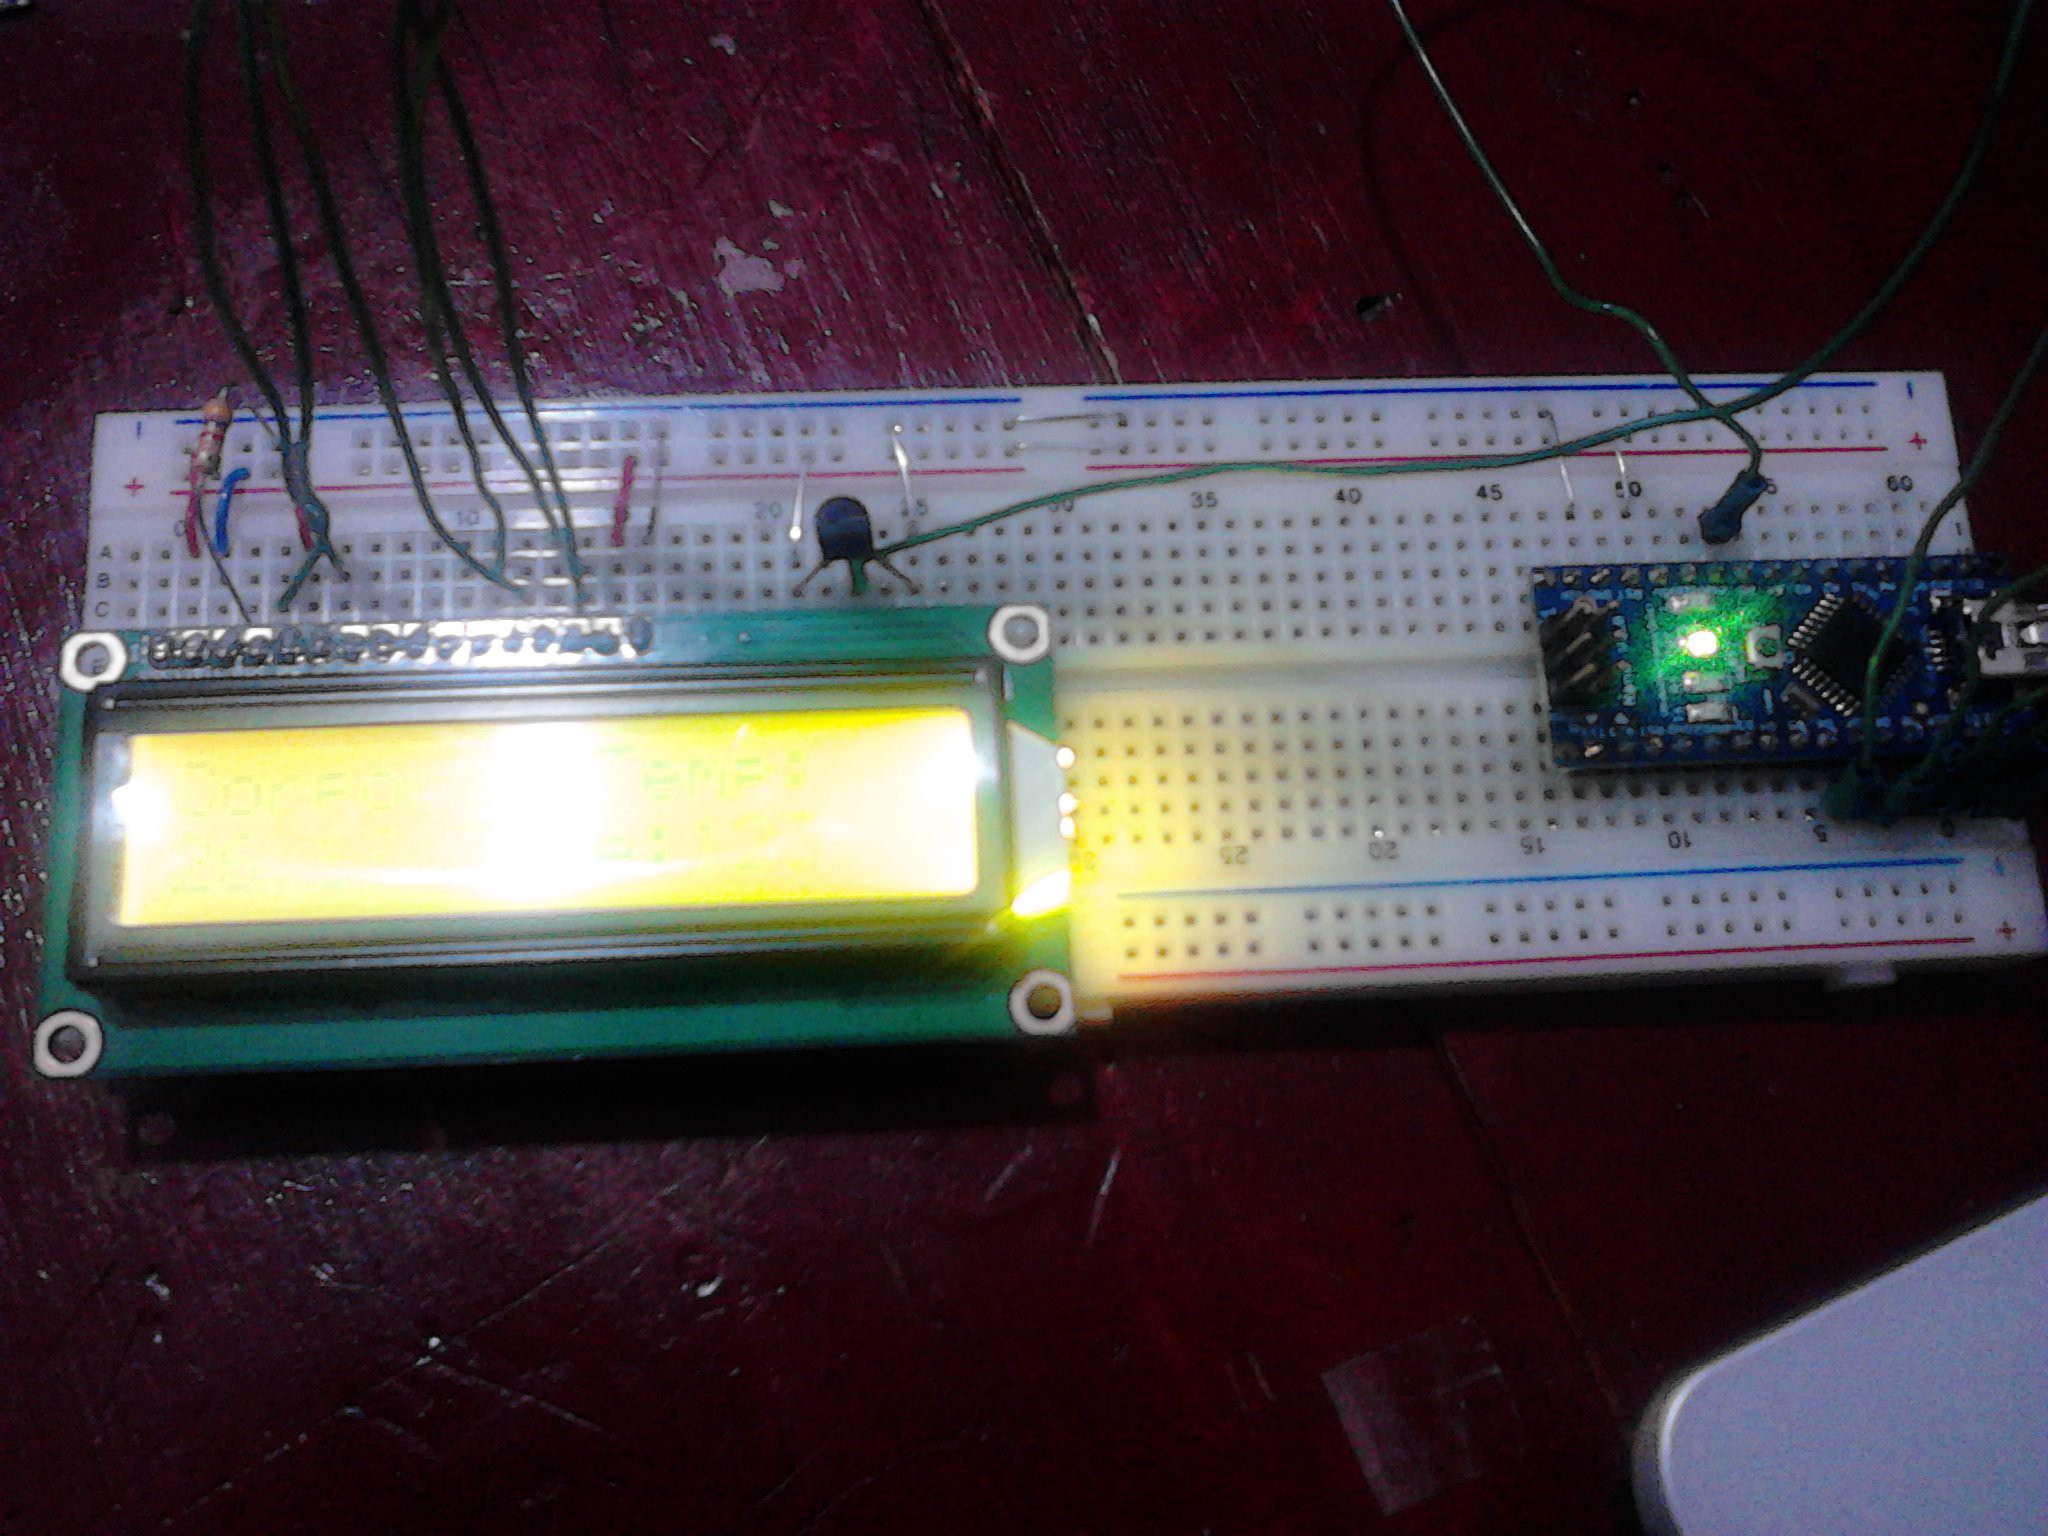
The display shows something like this:
Corporal Temp:
29.98 ºC Time:128 s

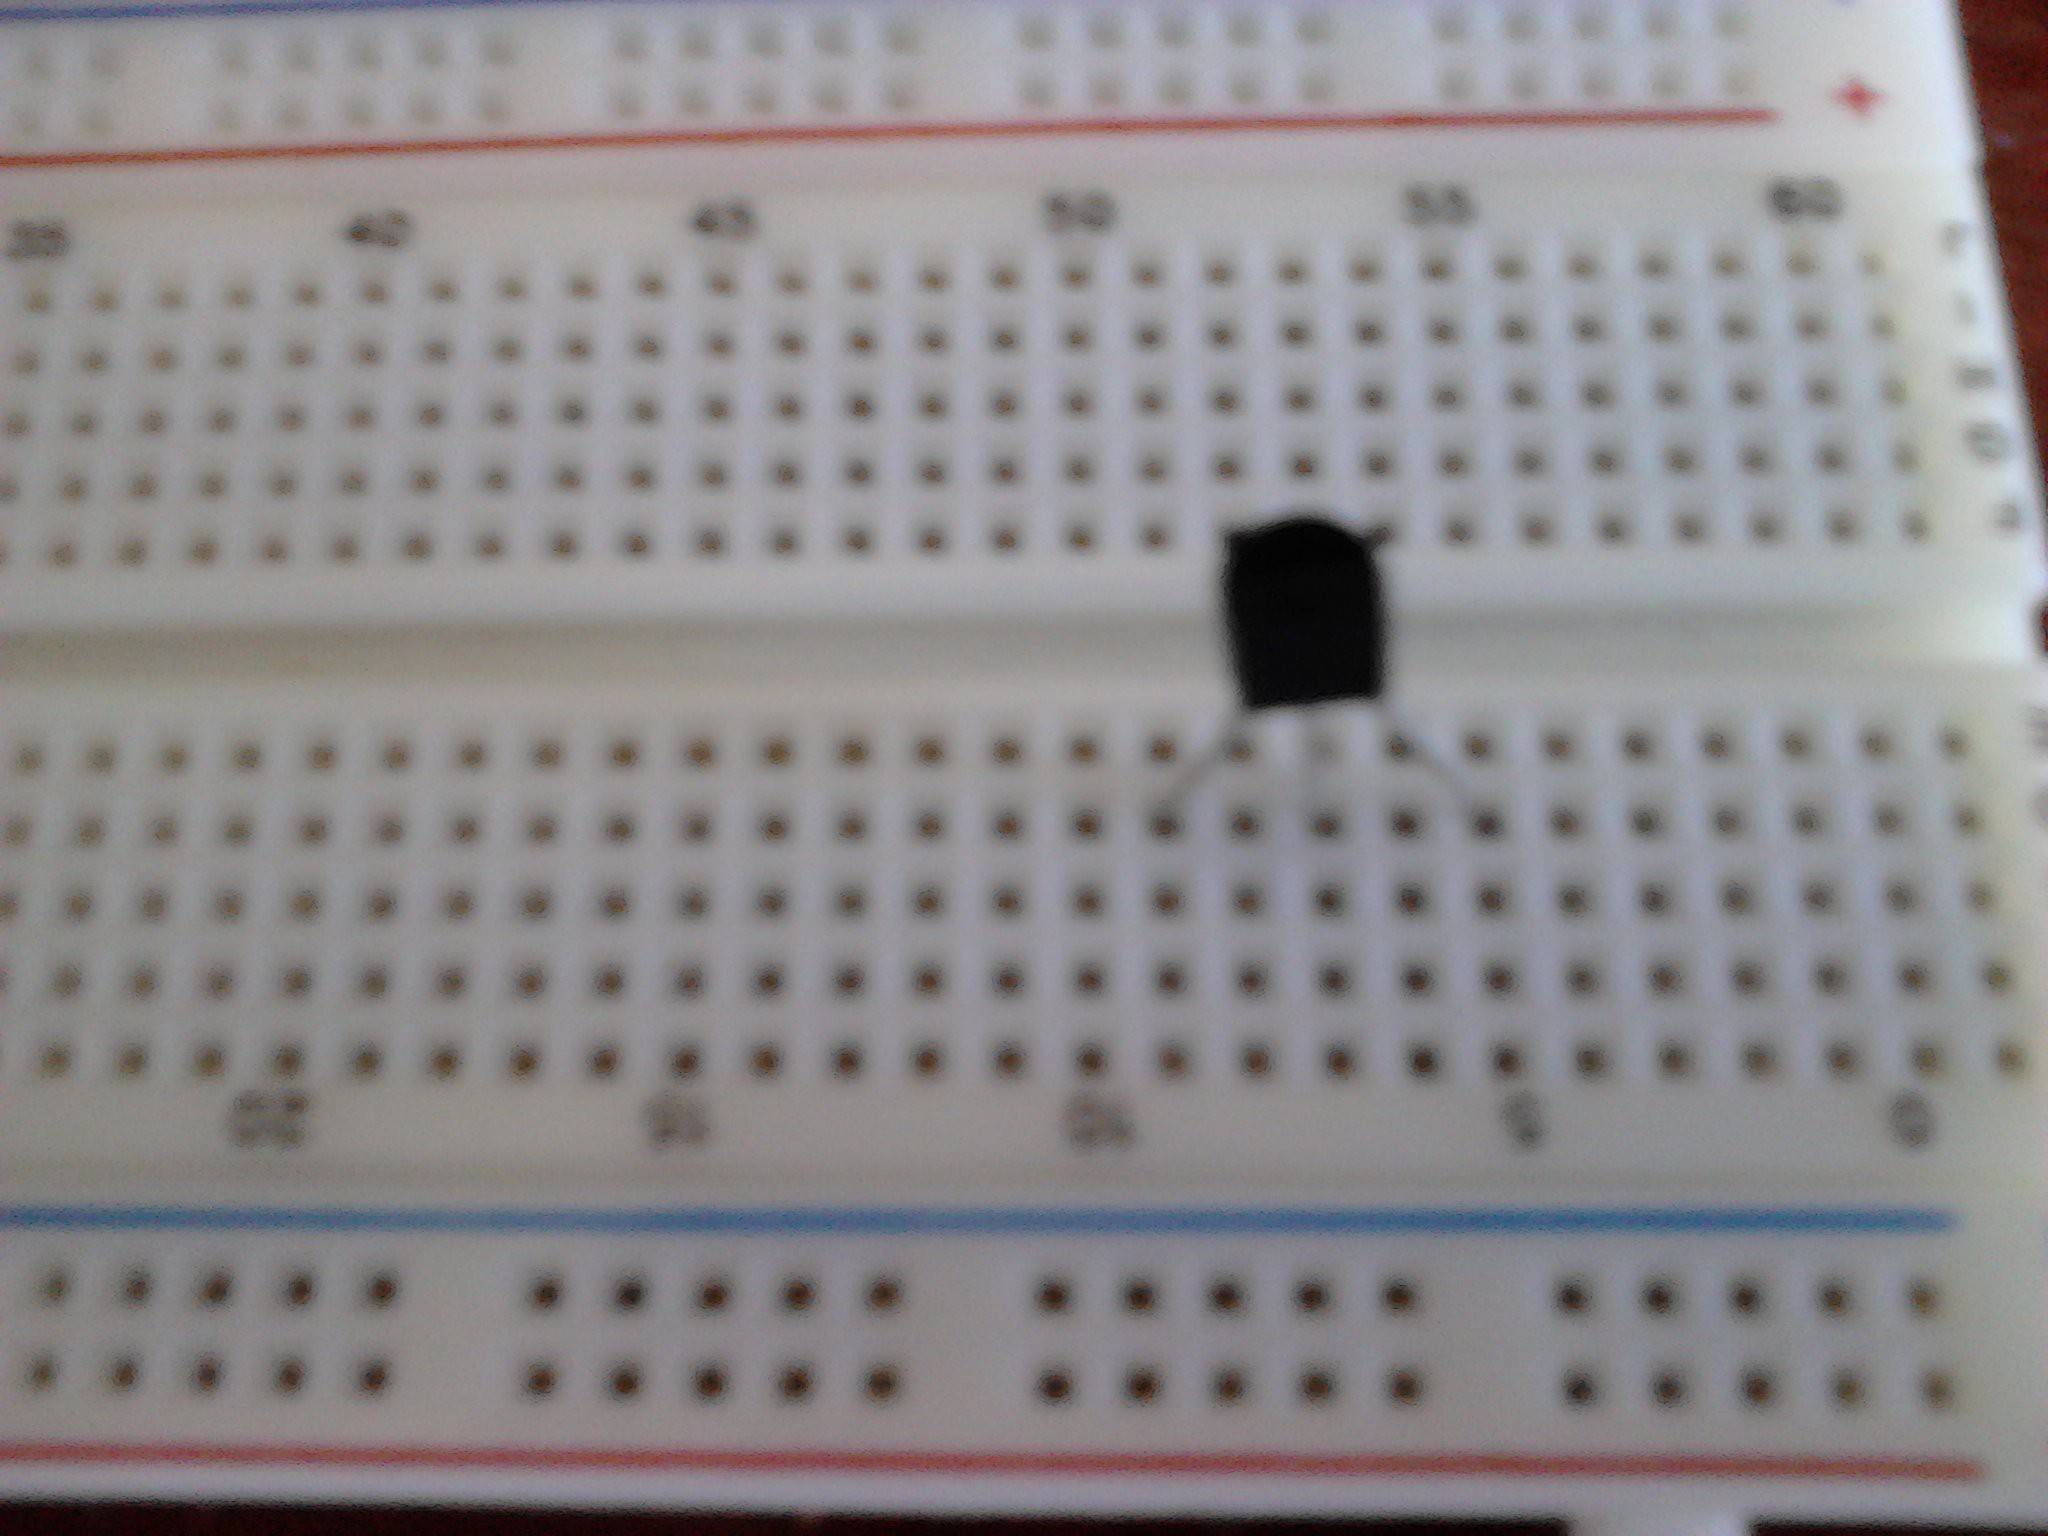
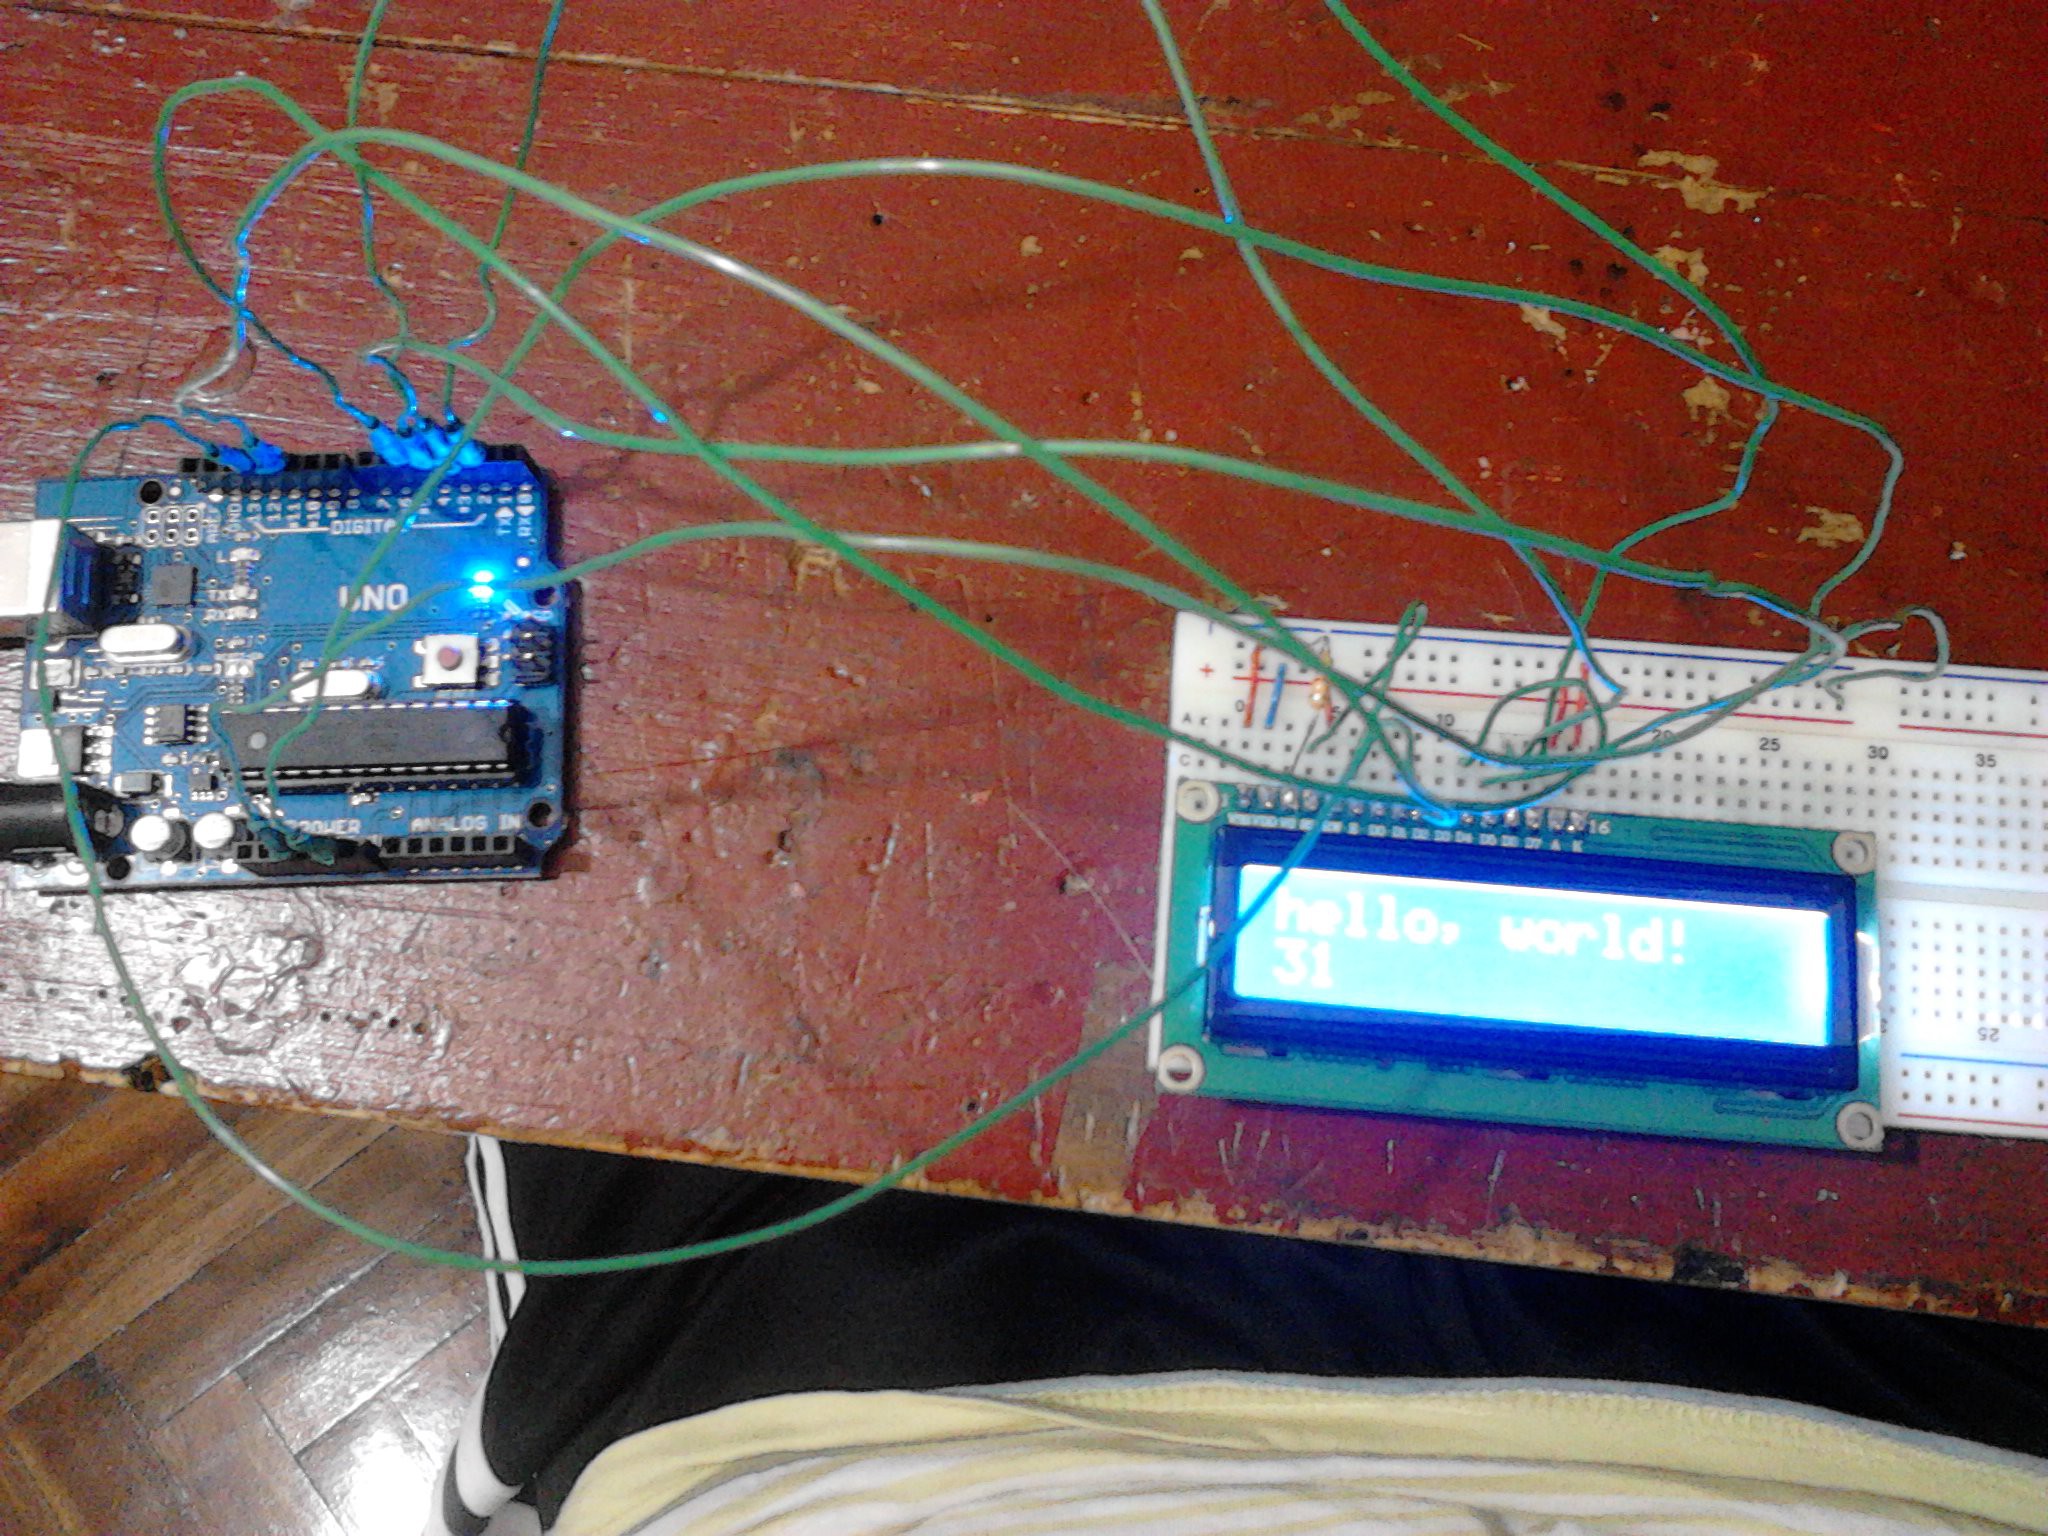
This other photo shows that I'm using a ATmega 328.
The final code
#include <LiquidCrystal.h>
#include <SD.h>


LiquidCrystal lcd(5, 3, 6, 9, 8, 7);


const int chipSelect = 4;


float voltaje;
float grados;
float pulsostot;
int i=0;
int pulsos;
int cont = 1;
int pulsoini[1000];


void setup ()


{
  lcd.begin(16,2);
  pinMode(10, OUTPUT);
  Serial.begin(9600); //Iniciamos la comunicación con el puerto serial

  if (!SD.begin(chipSelect)){
    lcd.print("Error reading SD.");
    return;
  }
}


void loop() {

File dataFile = SD.open("PocketNurse.txt", FILE_WRITE);


  voltaje = analogRead(5) * 0.004882814;
  grados = (voltaje - 0.5) * 100.0;
  lcd.setCursor(0,0);
  lcd.print("Body Temp:");
  lcd.print(grados);
  lcd.print("C");


  //pulsoini[cont]=analogRead(3);
  pulsostot= i;
  cont++;
  lcd.setCursor(0,1);
  lcd.print("Pulse:");
  lcd.print(pulsostot);
  lcd.print("bpm");
  delay(500);
  // if (pulsoini[cont] != pulsoini[cont--]){
  //i++;
  //}


 if (dataFile) {
    // Escribimos en el fichero "POT: "
    dataFile.print("Temp: ");
 // A continuacion...
Read more »
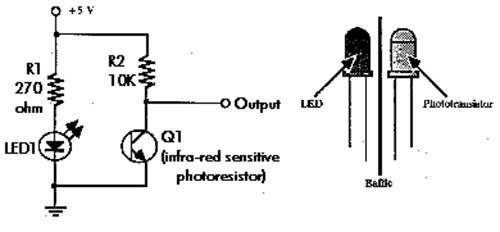 I found this image on the internet, and it describes how to build a heart beat detector. It uses an infrarred receiver (infrarred sensitive photoresistor as it´s shown in the picture), and a infrarred transmitter.
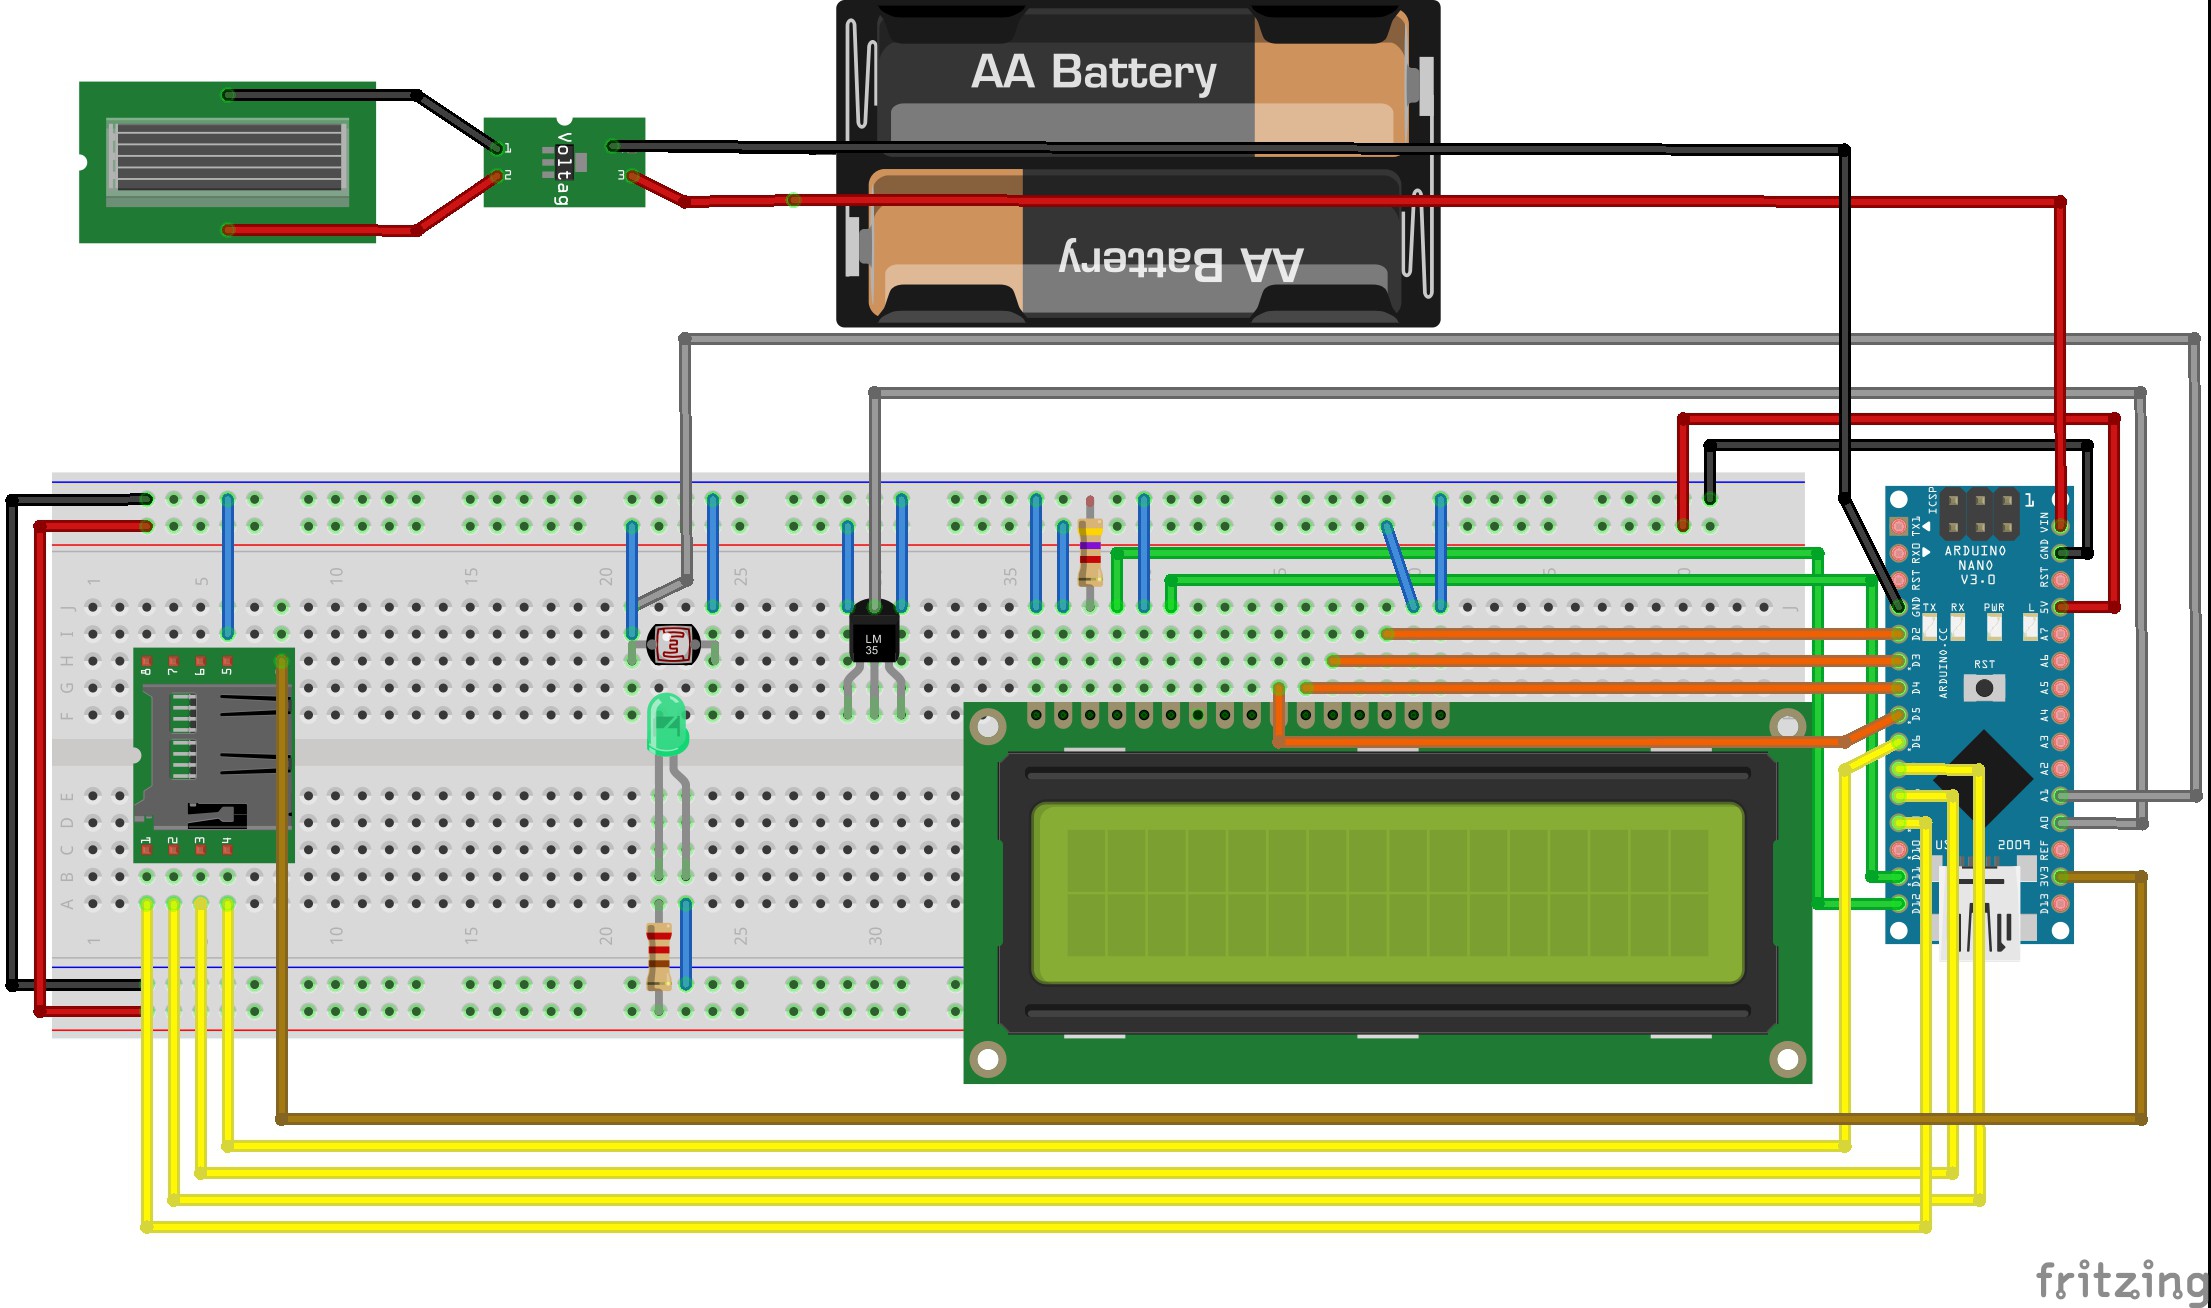
 Guillermo Perez Guillen
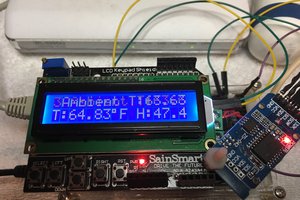
 muzi
muzi
 Jithin Sanal
I see for your pulse detector, you have no amplifiers and filters (not even any digital ones in the code). How accurate and sensitive is the pulse detector that way? Also, did you set up your pulse detector for reflection (light reflects off of the skin down to the LDR; both LED and LDR below the finger) or transmission (light goes through the skin; finger in the middle of LED and LDR)? Will you be using IR light at all? How do you plan to measure blood pressure? Will you use Pulse Transit Time? I am working on a similar project using an Arduino Uno, #An Arduino-based Medical Tricorder, and maybe we could collaborate!