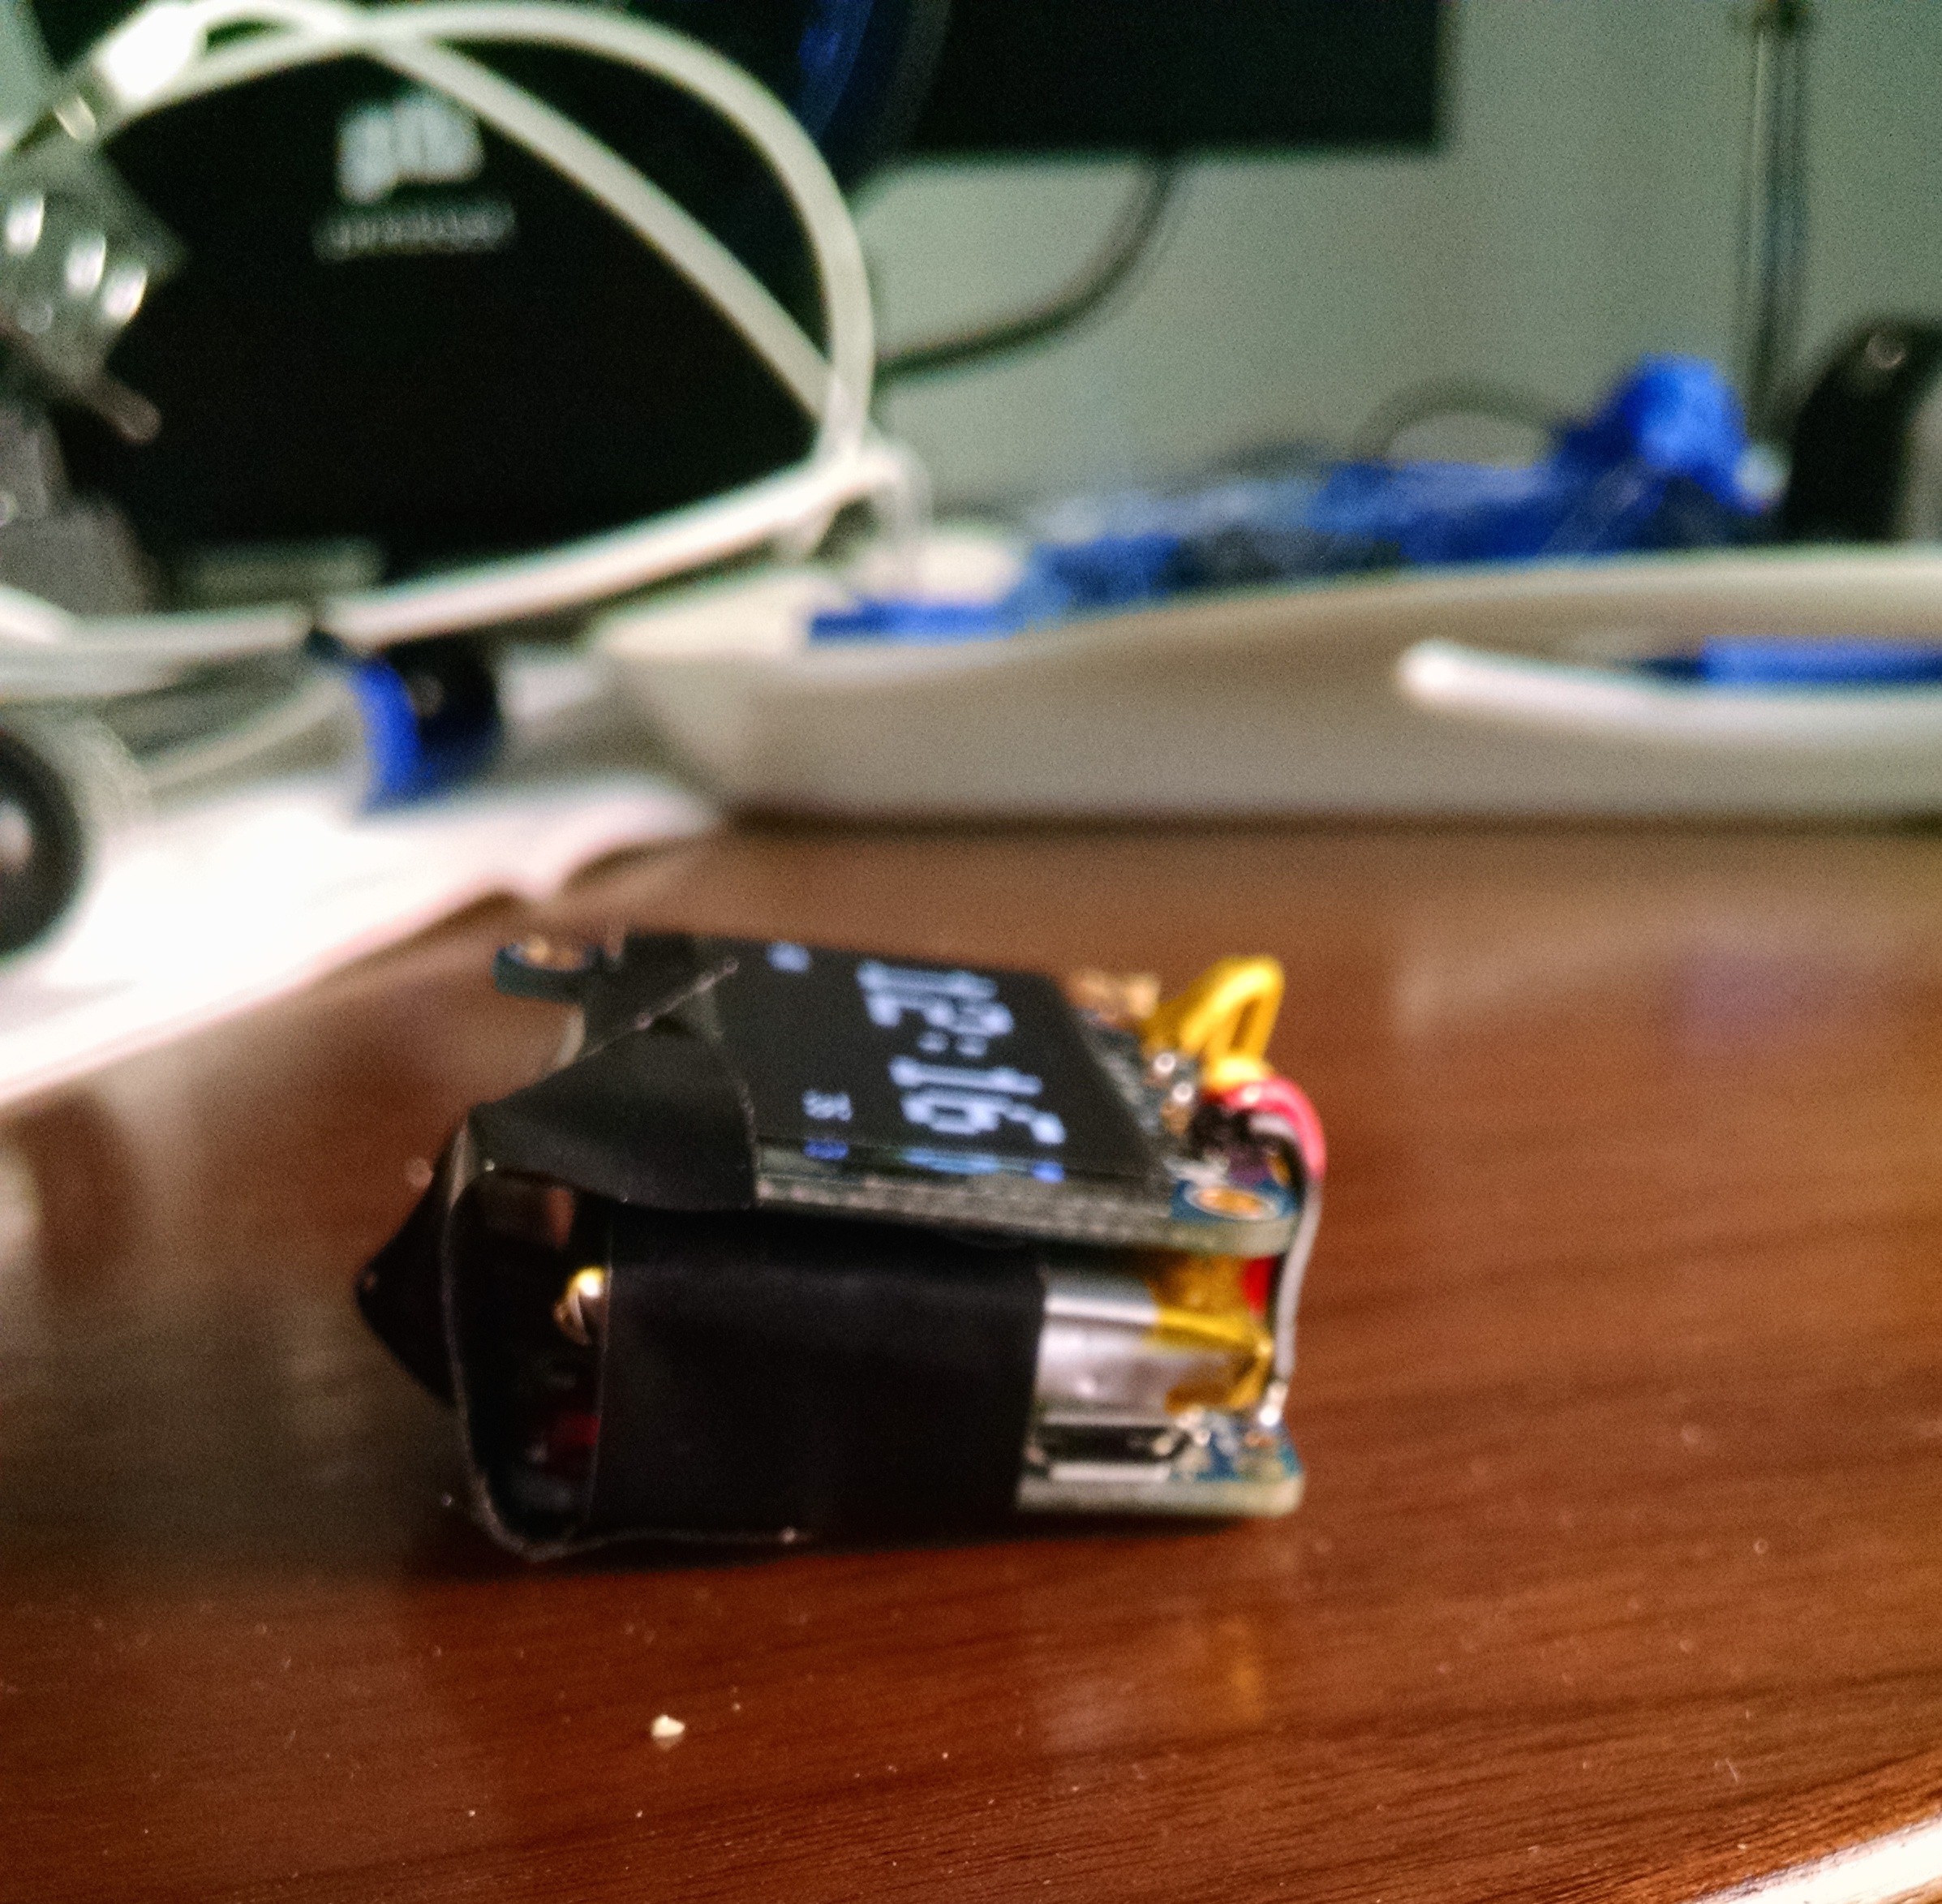
Instead of waiting for the step-up regulator to arrive, I decided to put everything else together in a small package. First thing I did was cut down the leads on the OLED. Then, I soldered the SDA and SCL wires to A4 and A5, respectively. The reset pin was switched from 4 to 12, since 4 was on the other side of the trinket. I soldered Vin to pin 11 and Ground to pin 10. In the code, 11 is set to OUTPUT, HIGH and 10 is set to OUTPUT, LOW. This way, the wires don't have to stretch all the way across the board. After that, I soldered the backpack back on.
The next thing to do was to solder on the buttons. I placed them on some PCB from RadioShack (I know, I know), and soldered them in. I then cut off the extra board so it would be less than height of the watch, and then soldered leads for the three digital pins to the other side of the switches. After soldering that all together, soldering the ground lead, and bending the wires to "smush" everything together, I had something that resembled a watch:

Since the RTC currently isn't integrated, the next thing was to find a way to set the time. C++ adds a string constant, __TIME__, that represents the time in HH:MM:SS format. I parse this string, and set the hours, minutes and seconds to the right value. I wrote a function, adjustInternalTime(), that increments milliseconds using millis() and increments seconds, minutes, and hours accordingly. The last thing I added was a new mode for changing the time. It looks pretty similar to the digital clock view, but it's in 24-hour mode and tells you if you're incrementing hours or minutes. A video, showing off the new form factor as well as an overview of the software as it stands, is below:
Next thing to do is to make an enclosure and watch strap. This'll be a little tricky since it can't be too bulky.
 davish
Discussions
Become a Hackaday.io Member
Create an account to leave a comment. Already have an account? Log In.