1.) project goals ---DONE
2.) product specifications ---DONE
3.) order(and wait) --- DONE
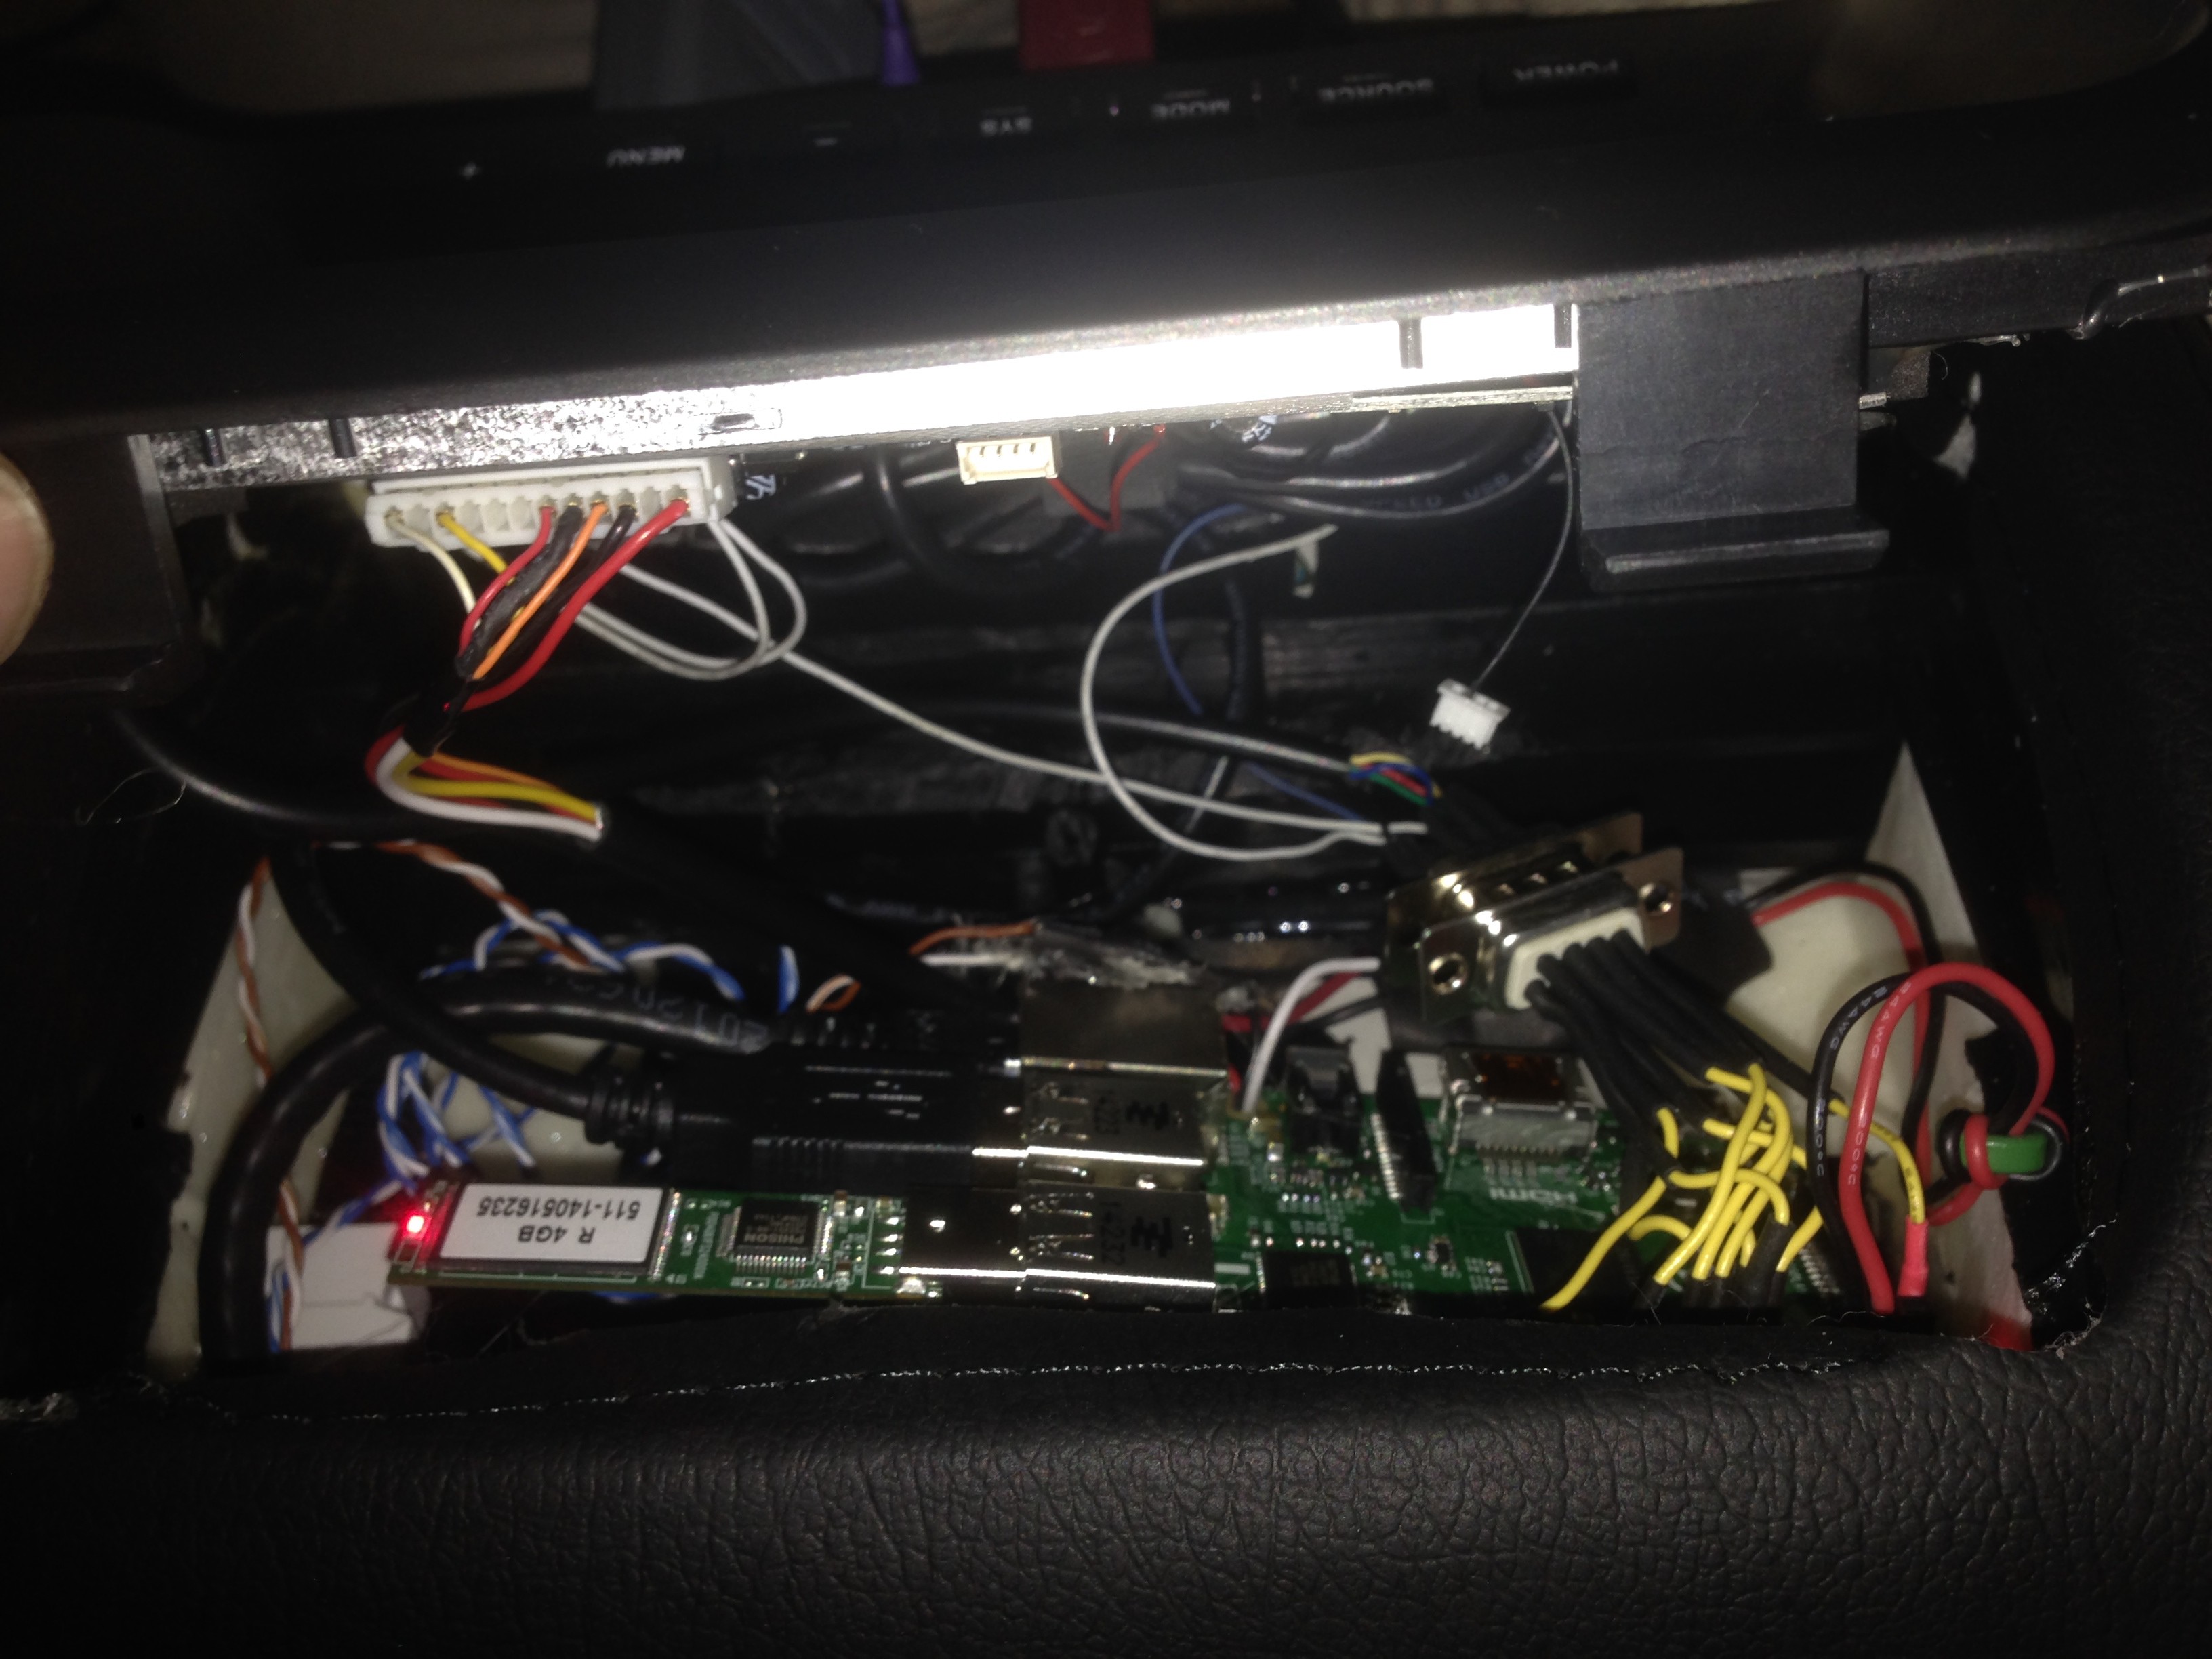
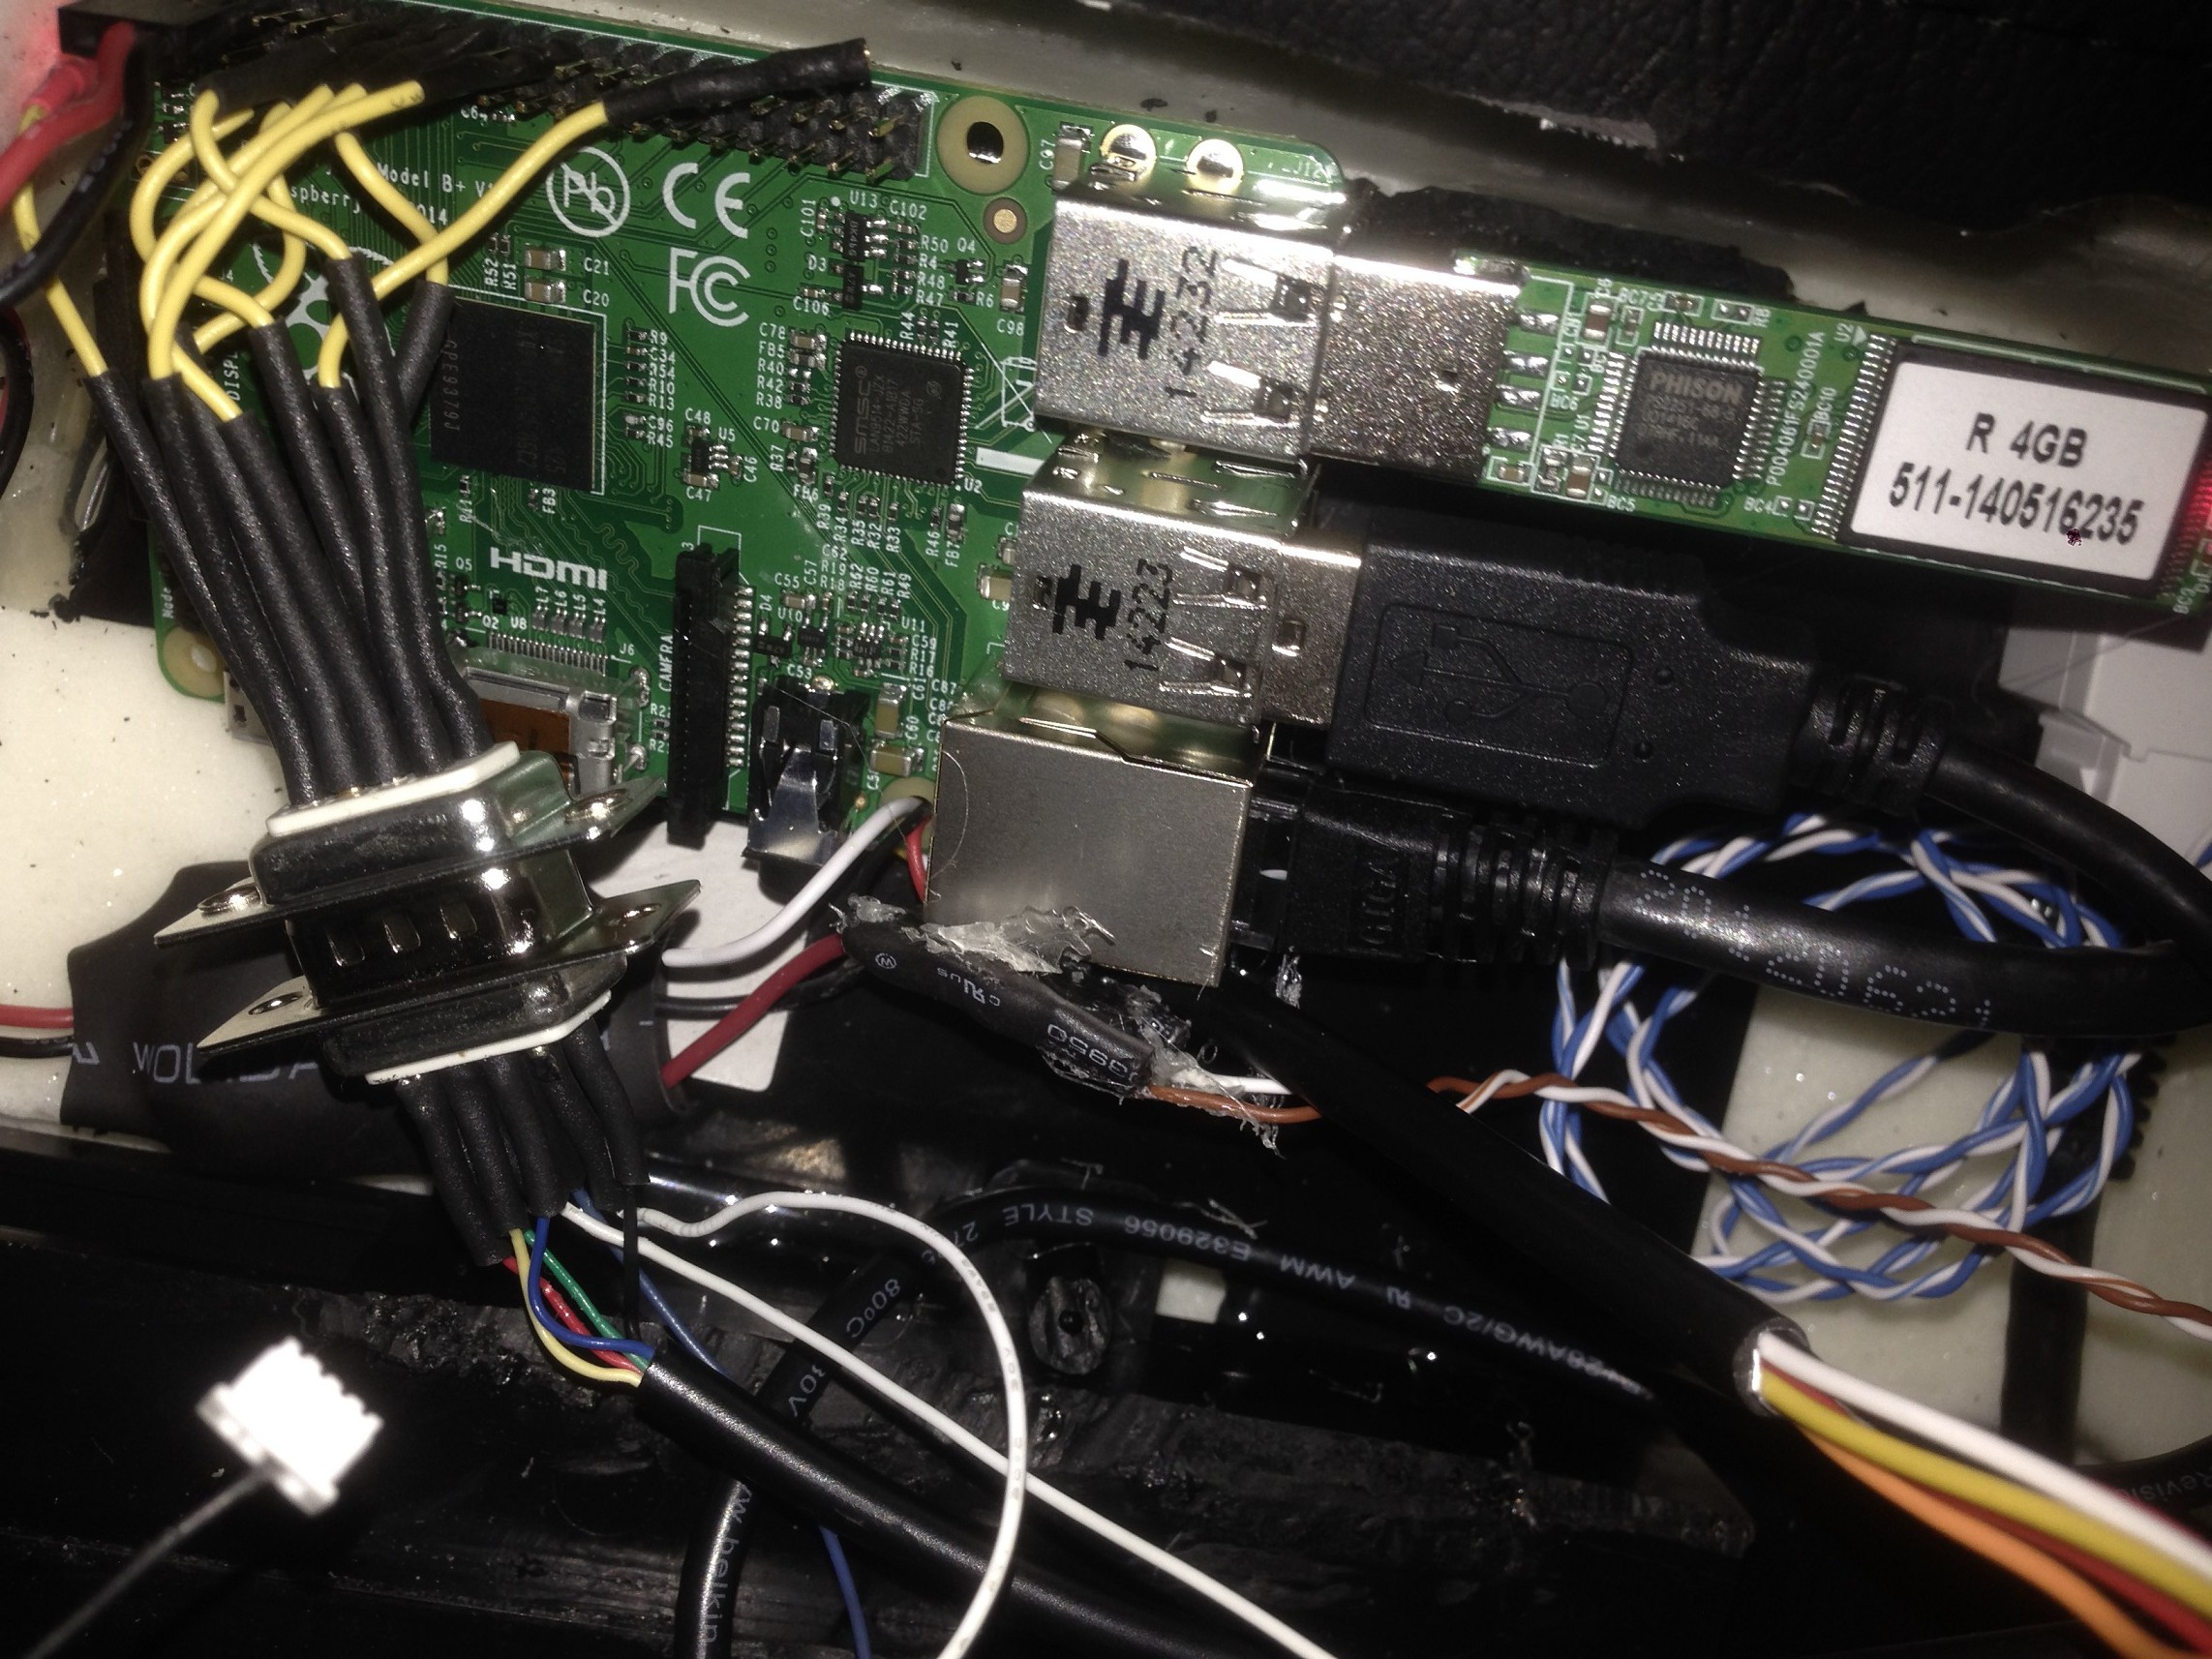
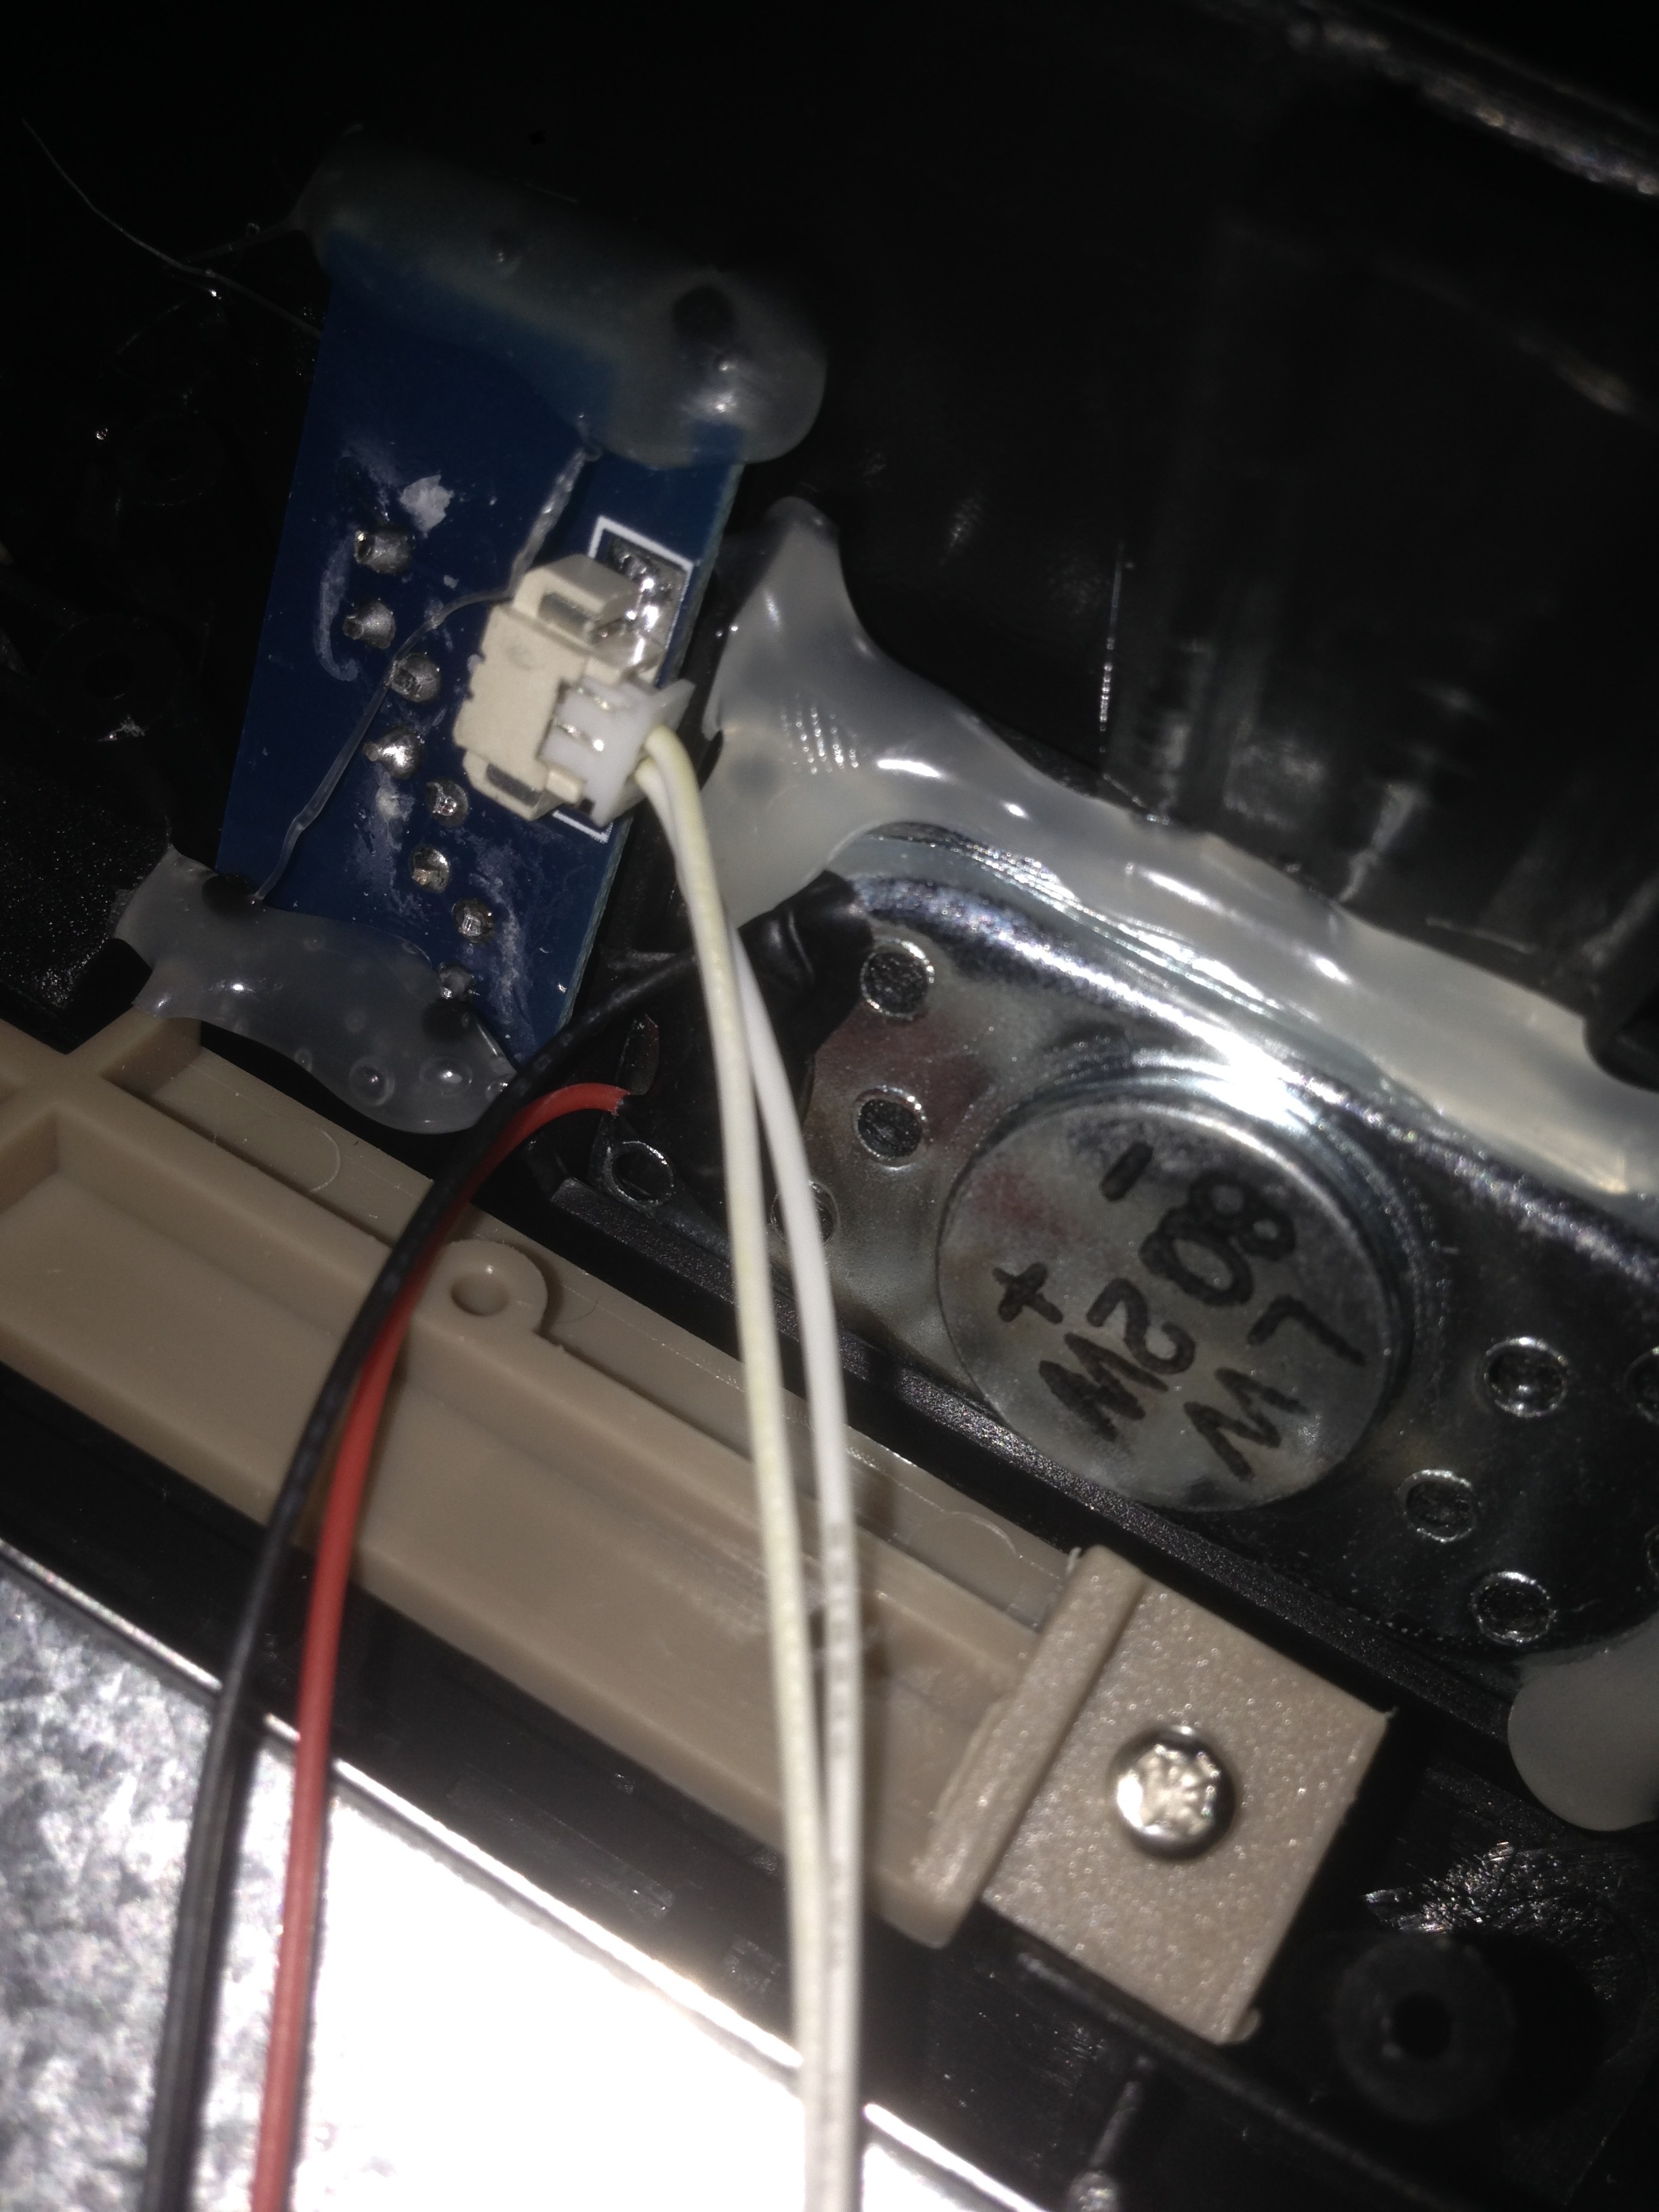
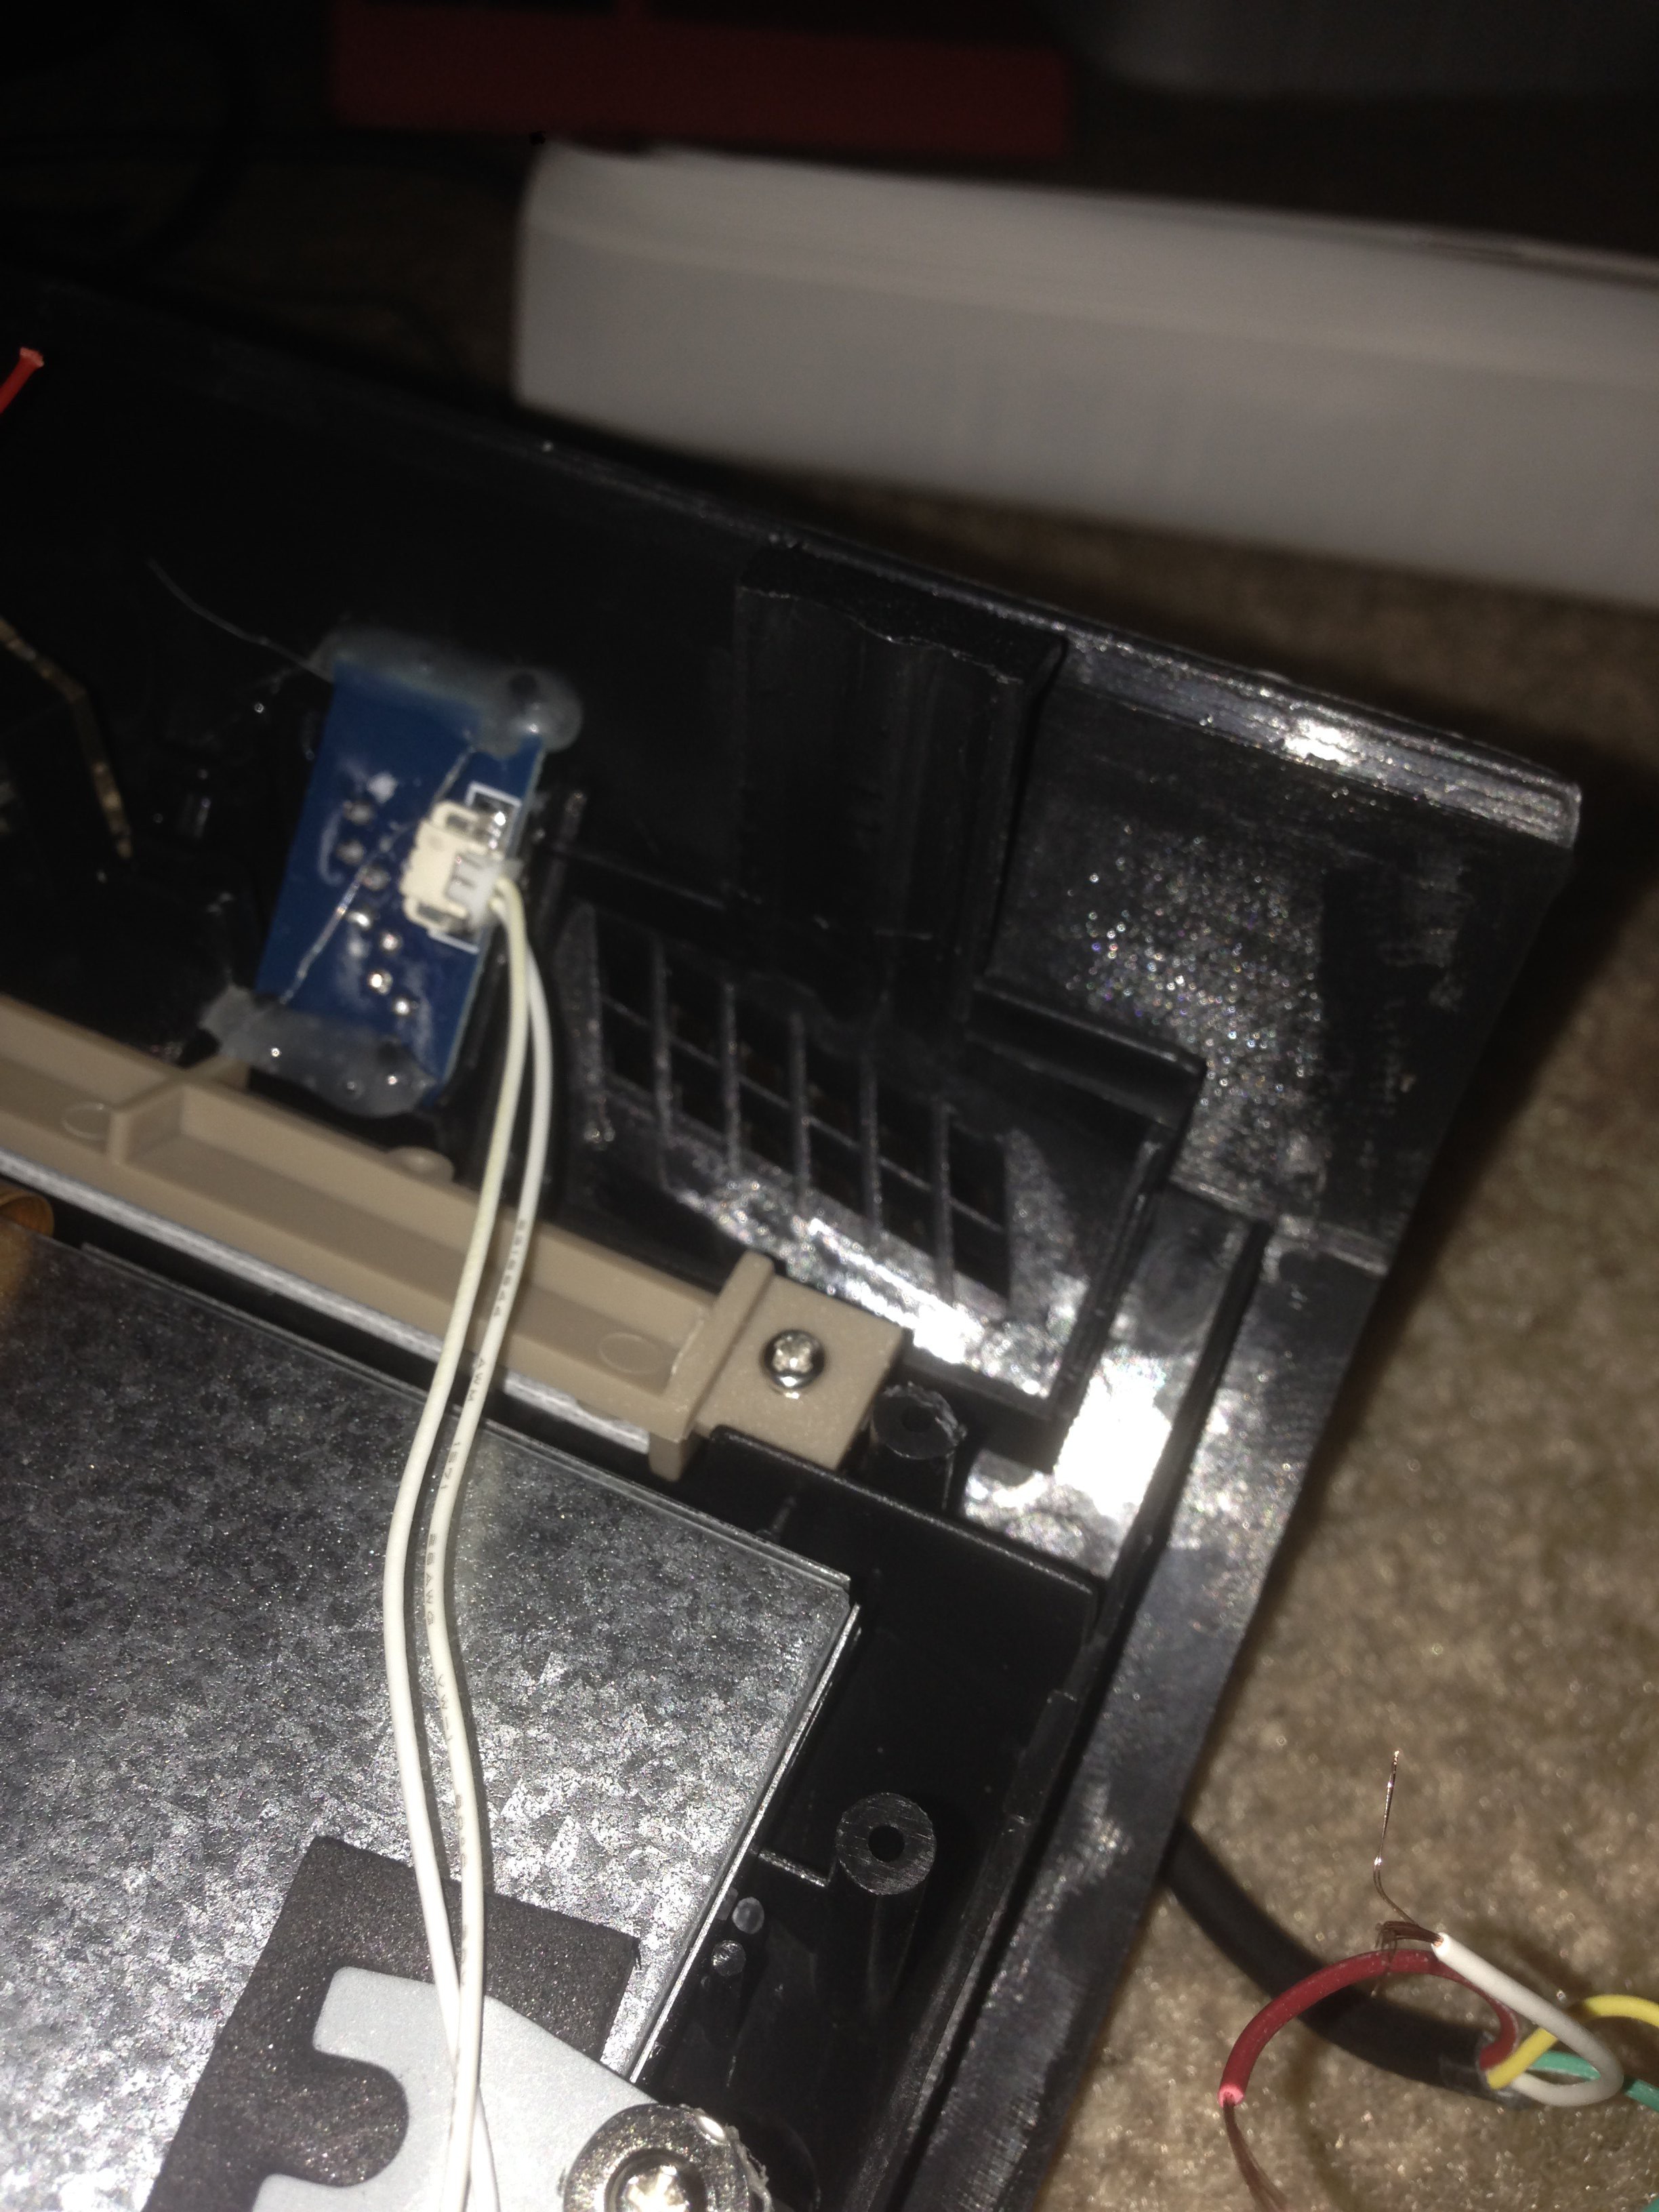
4.) disassemble parts and specify space constraints ---DONE
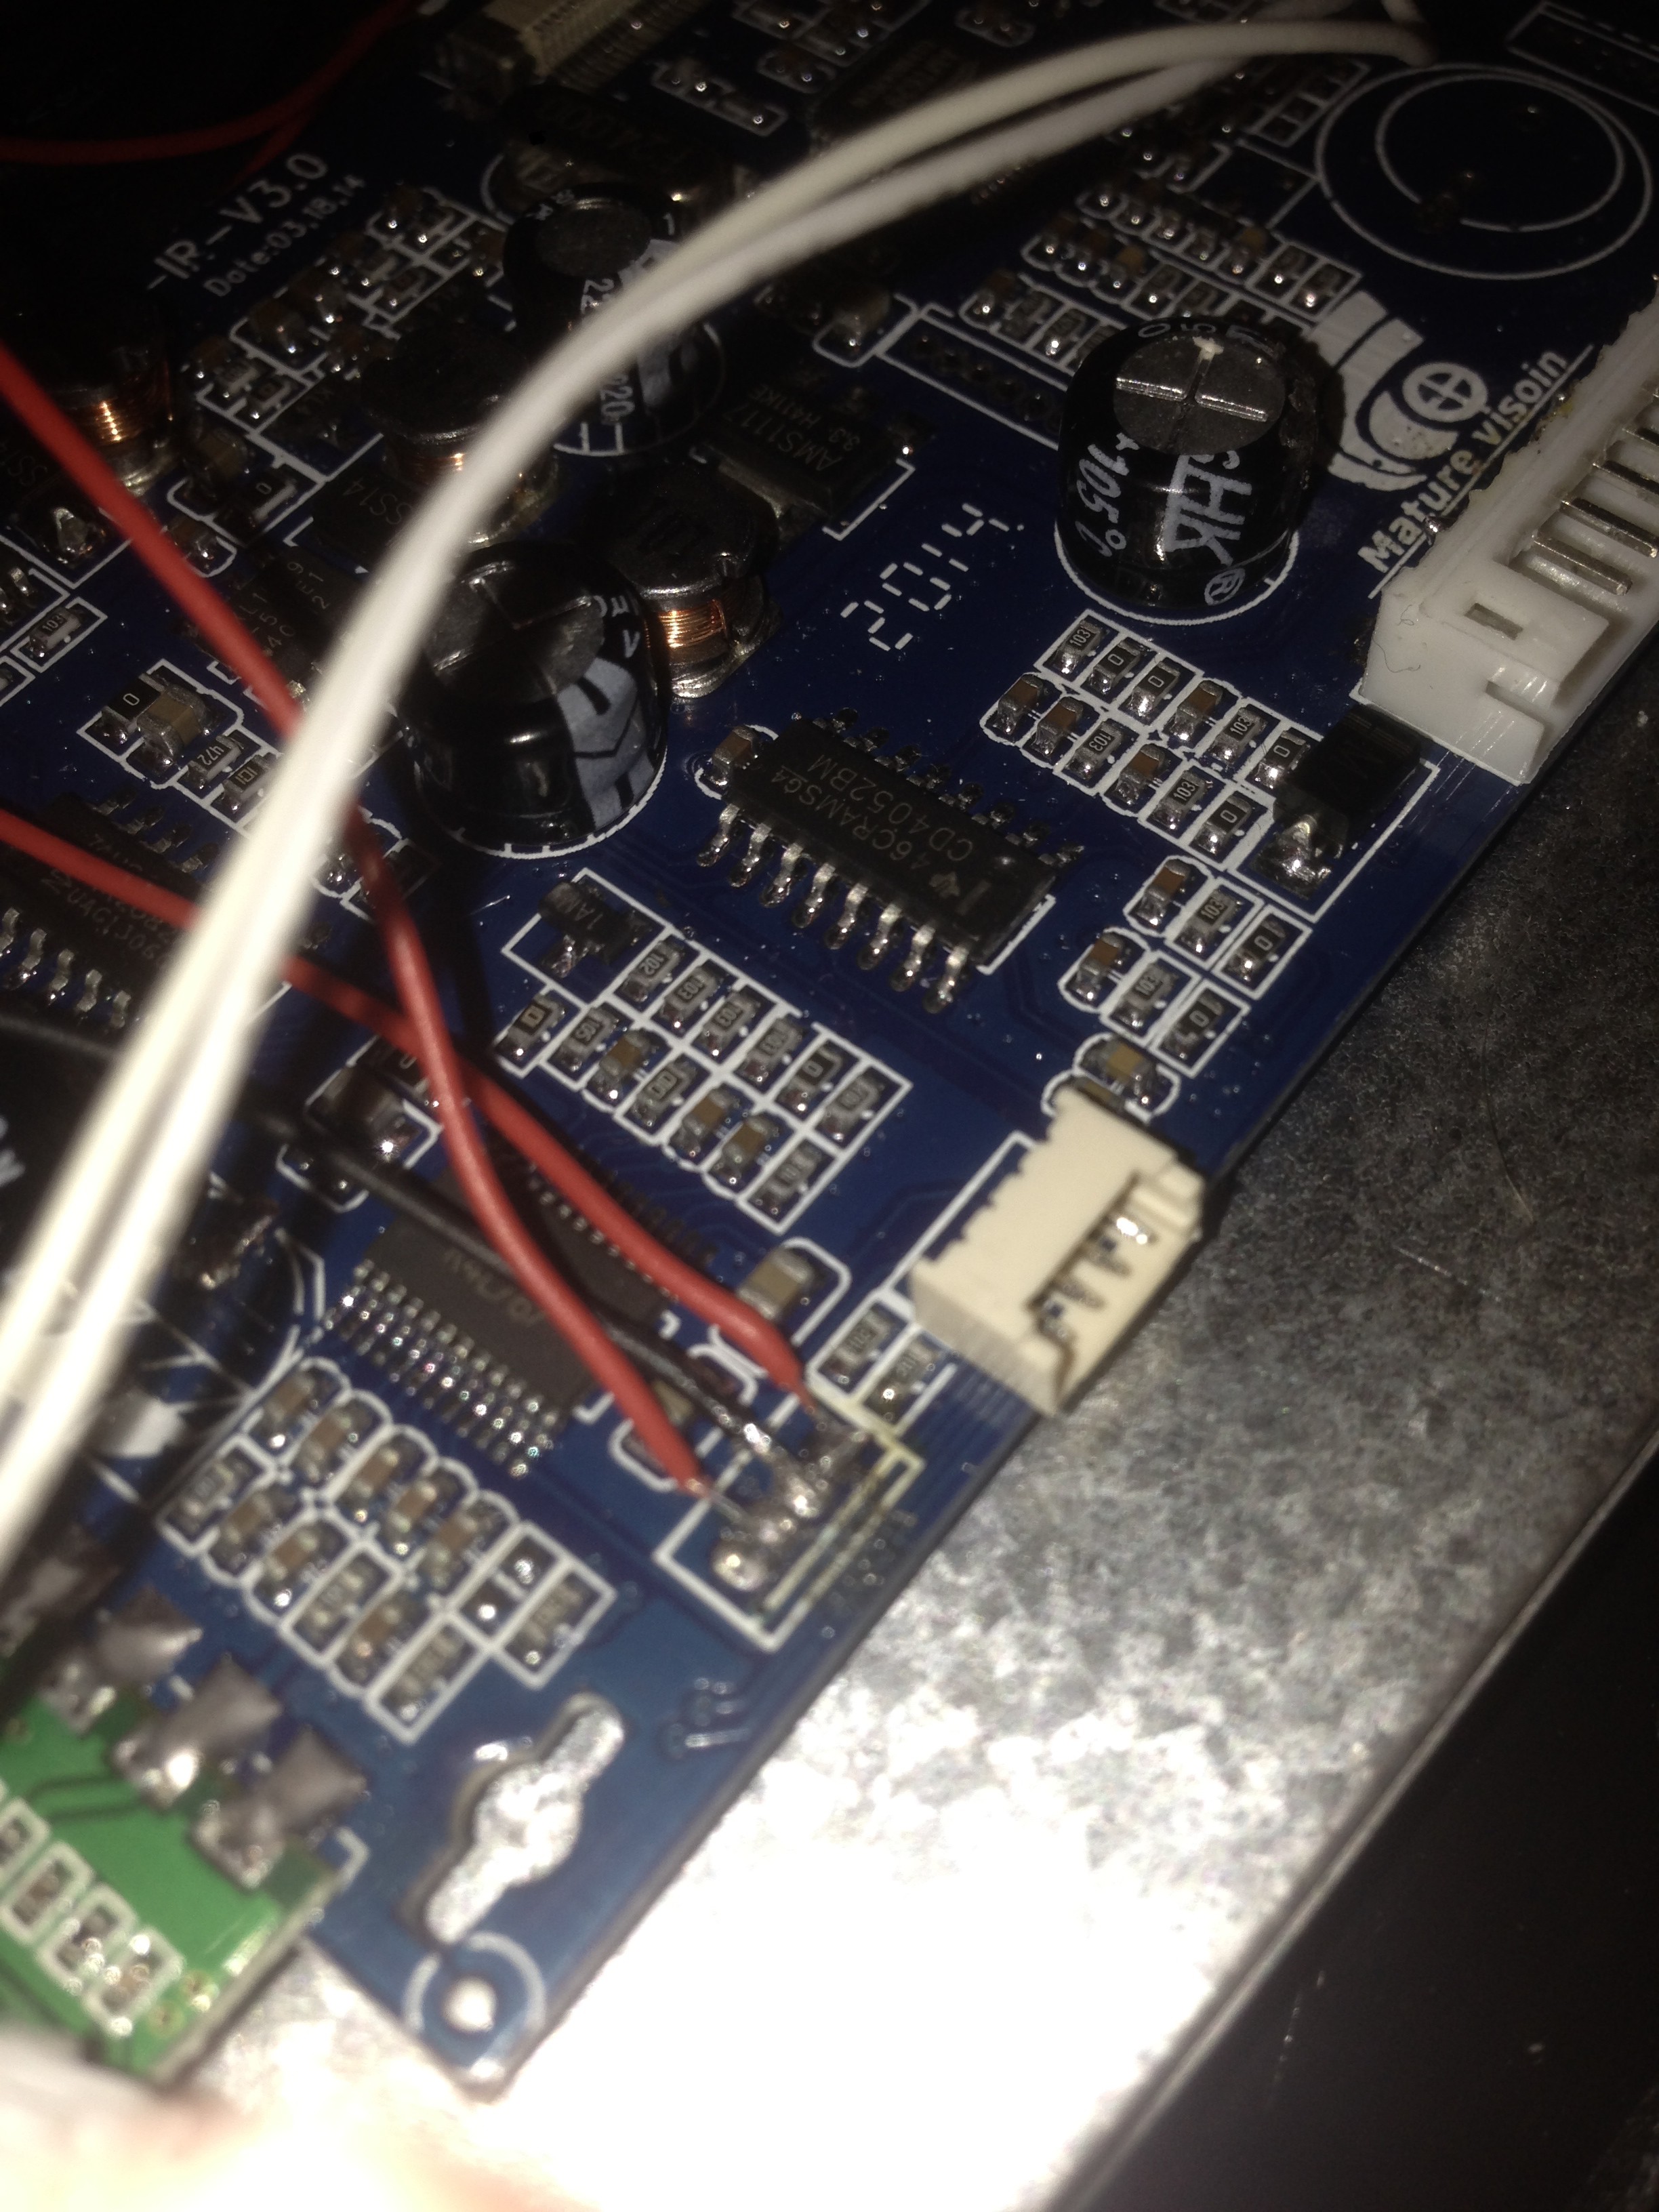
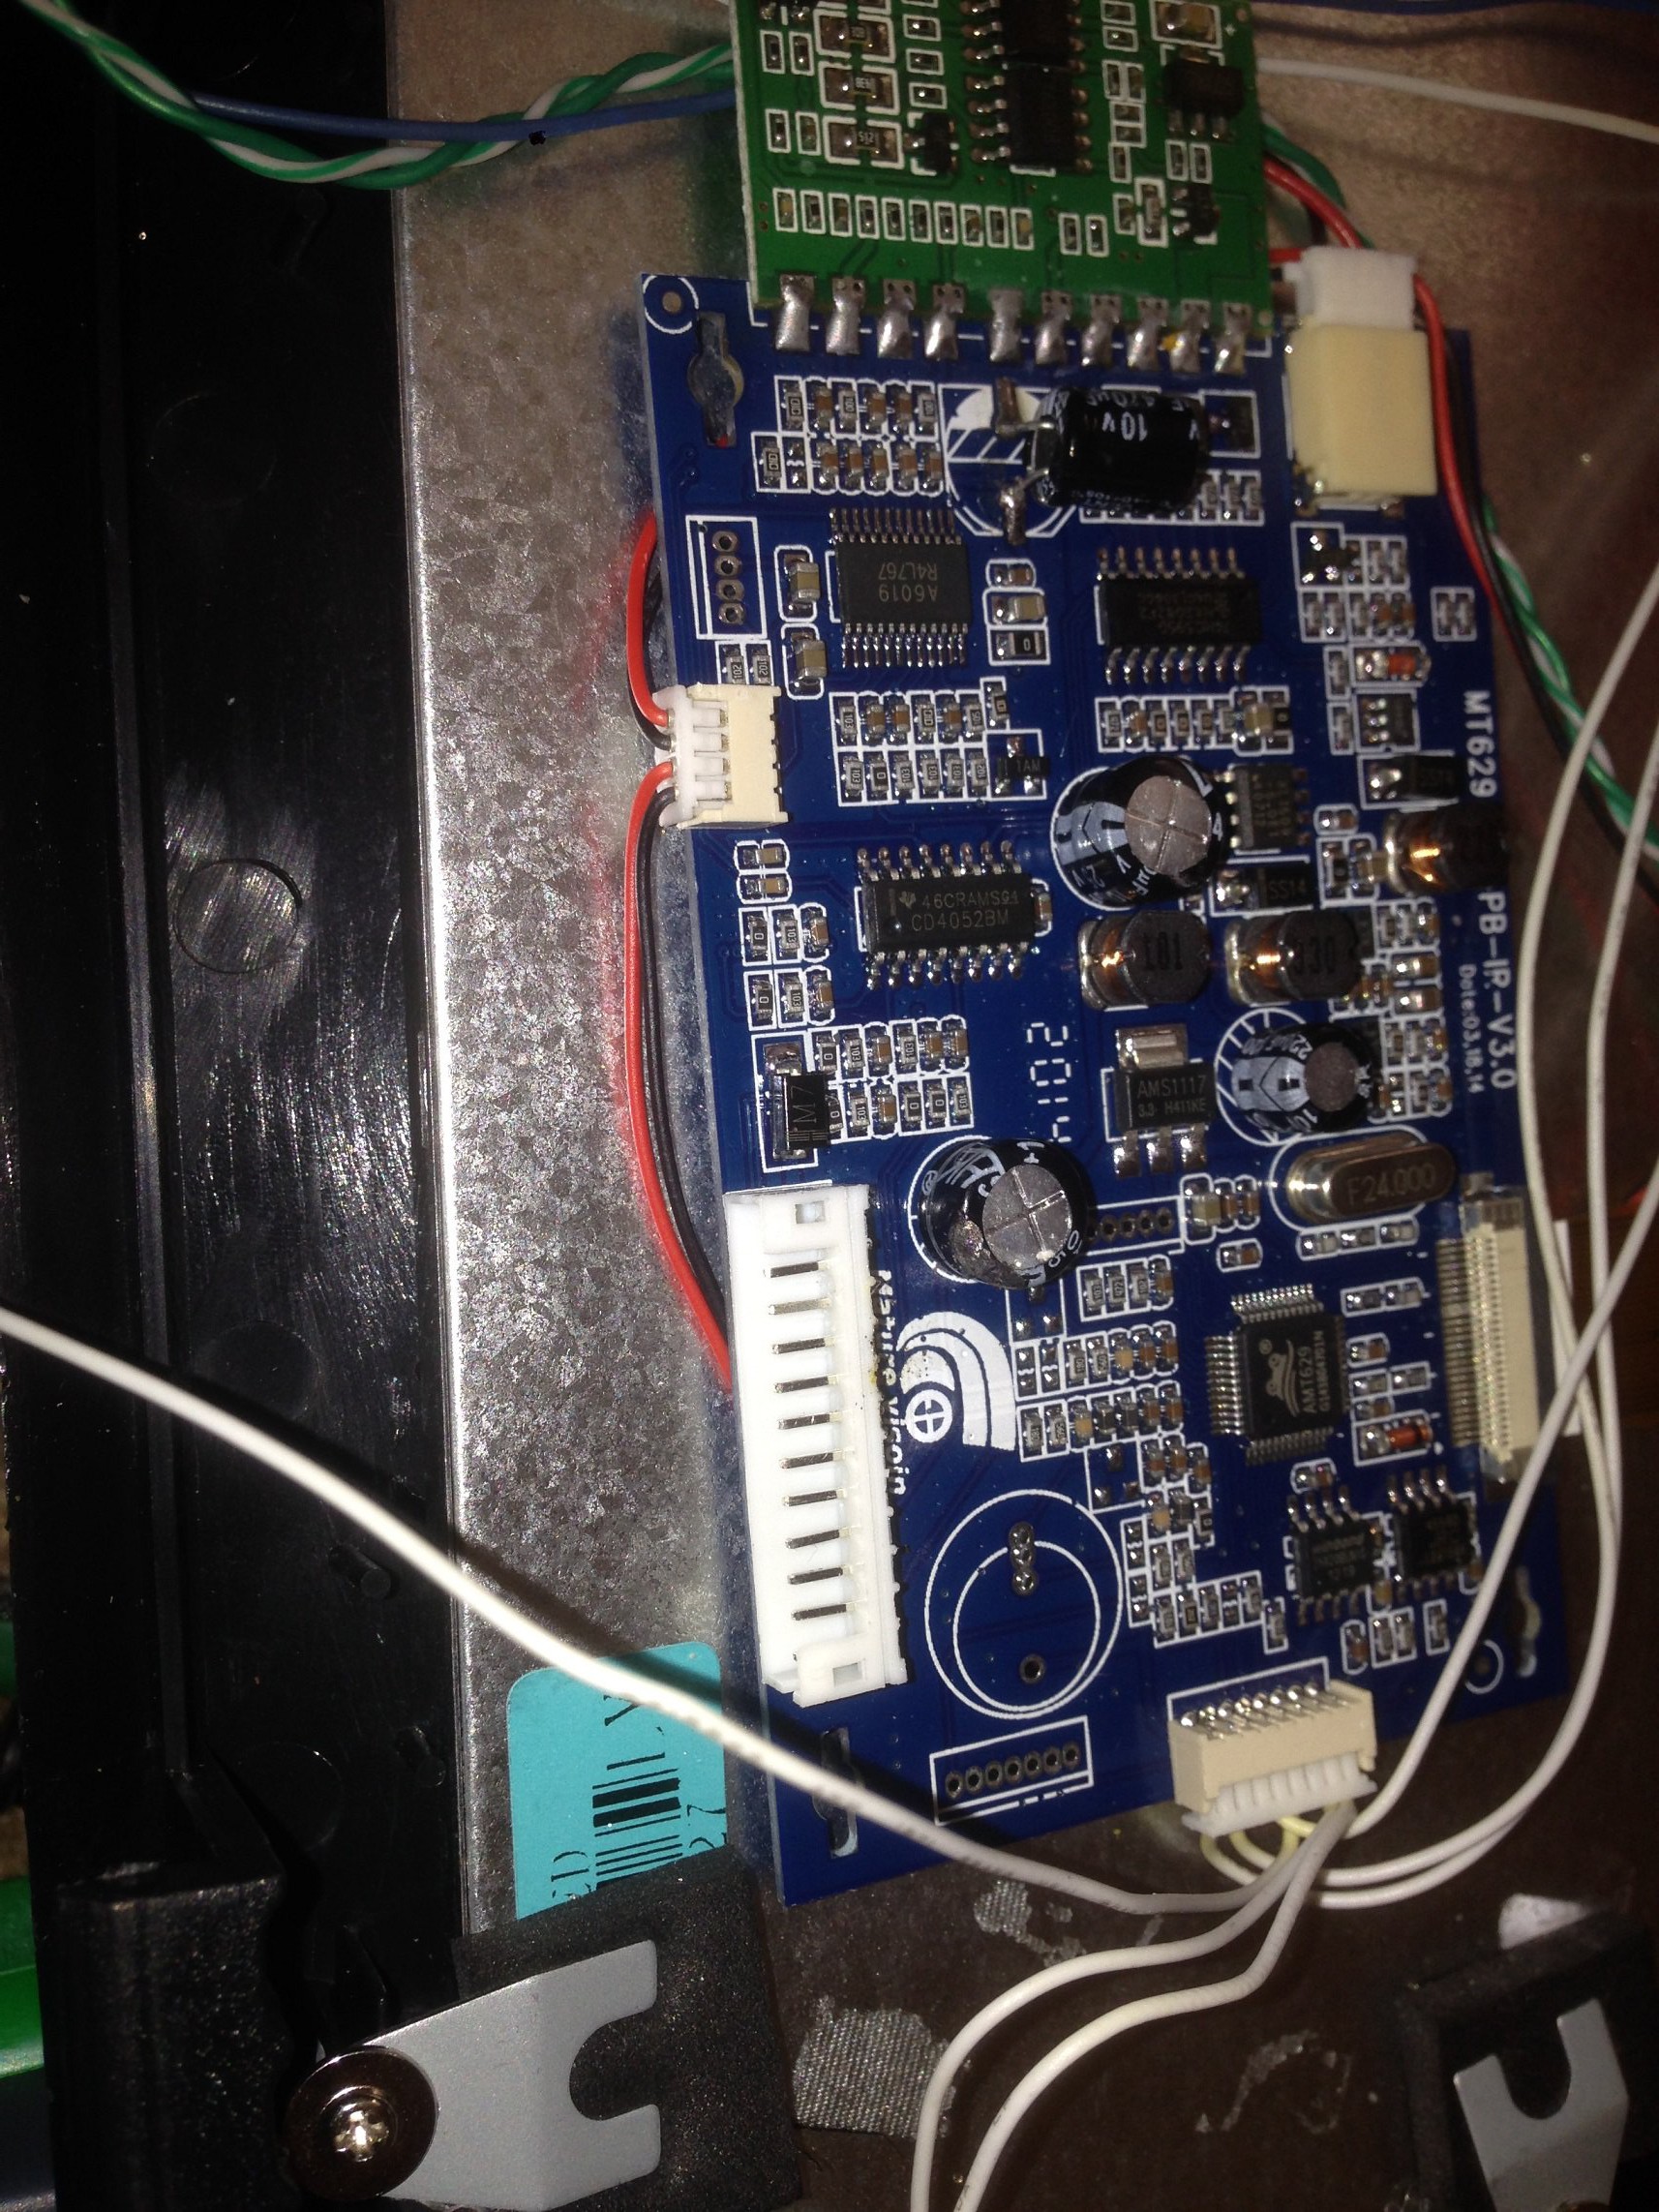
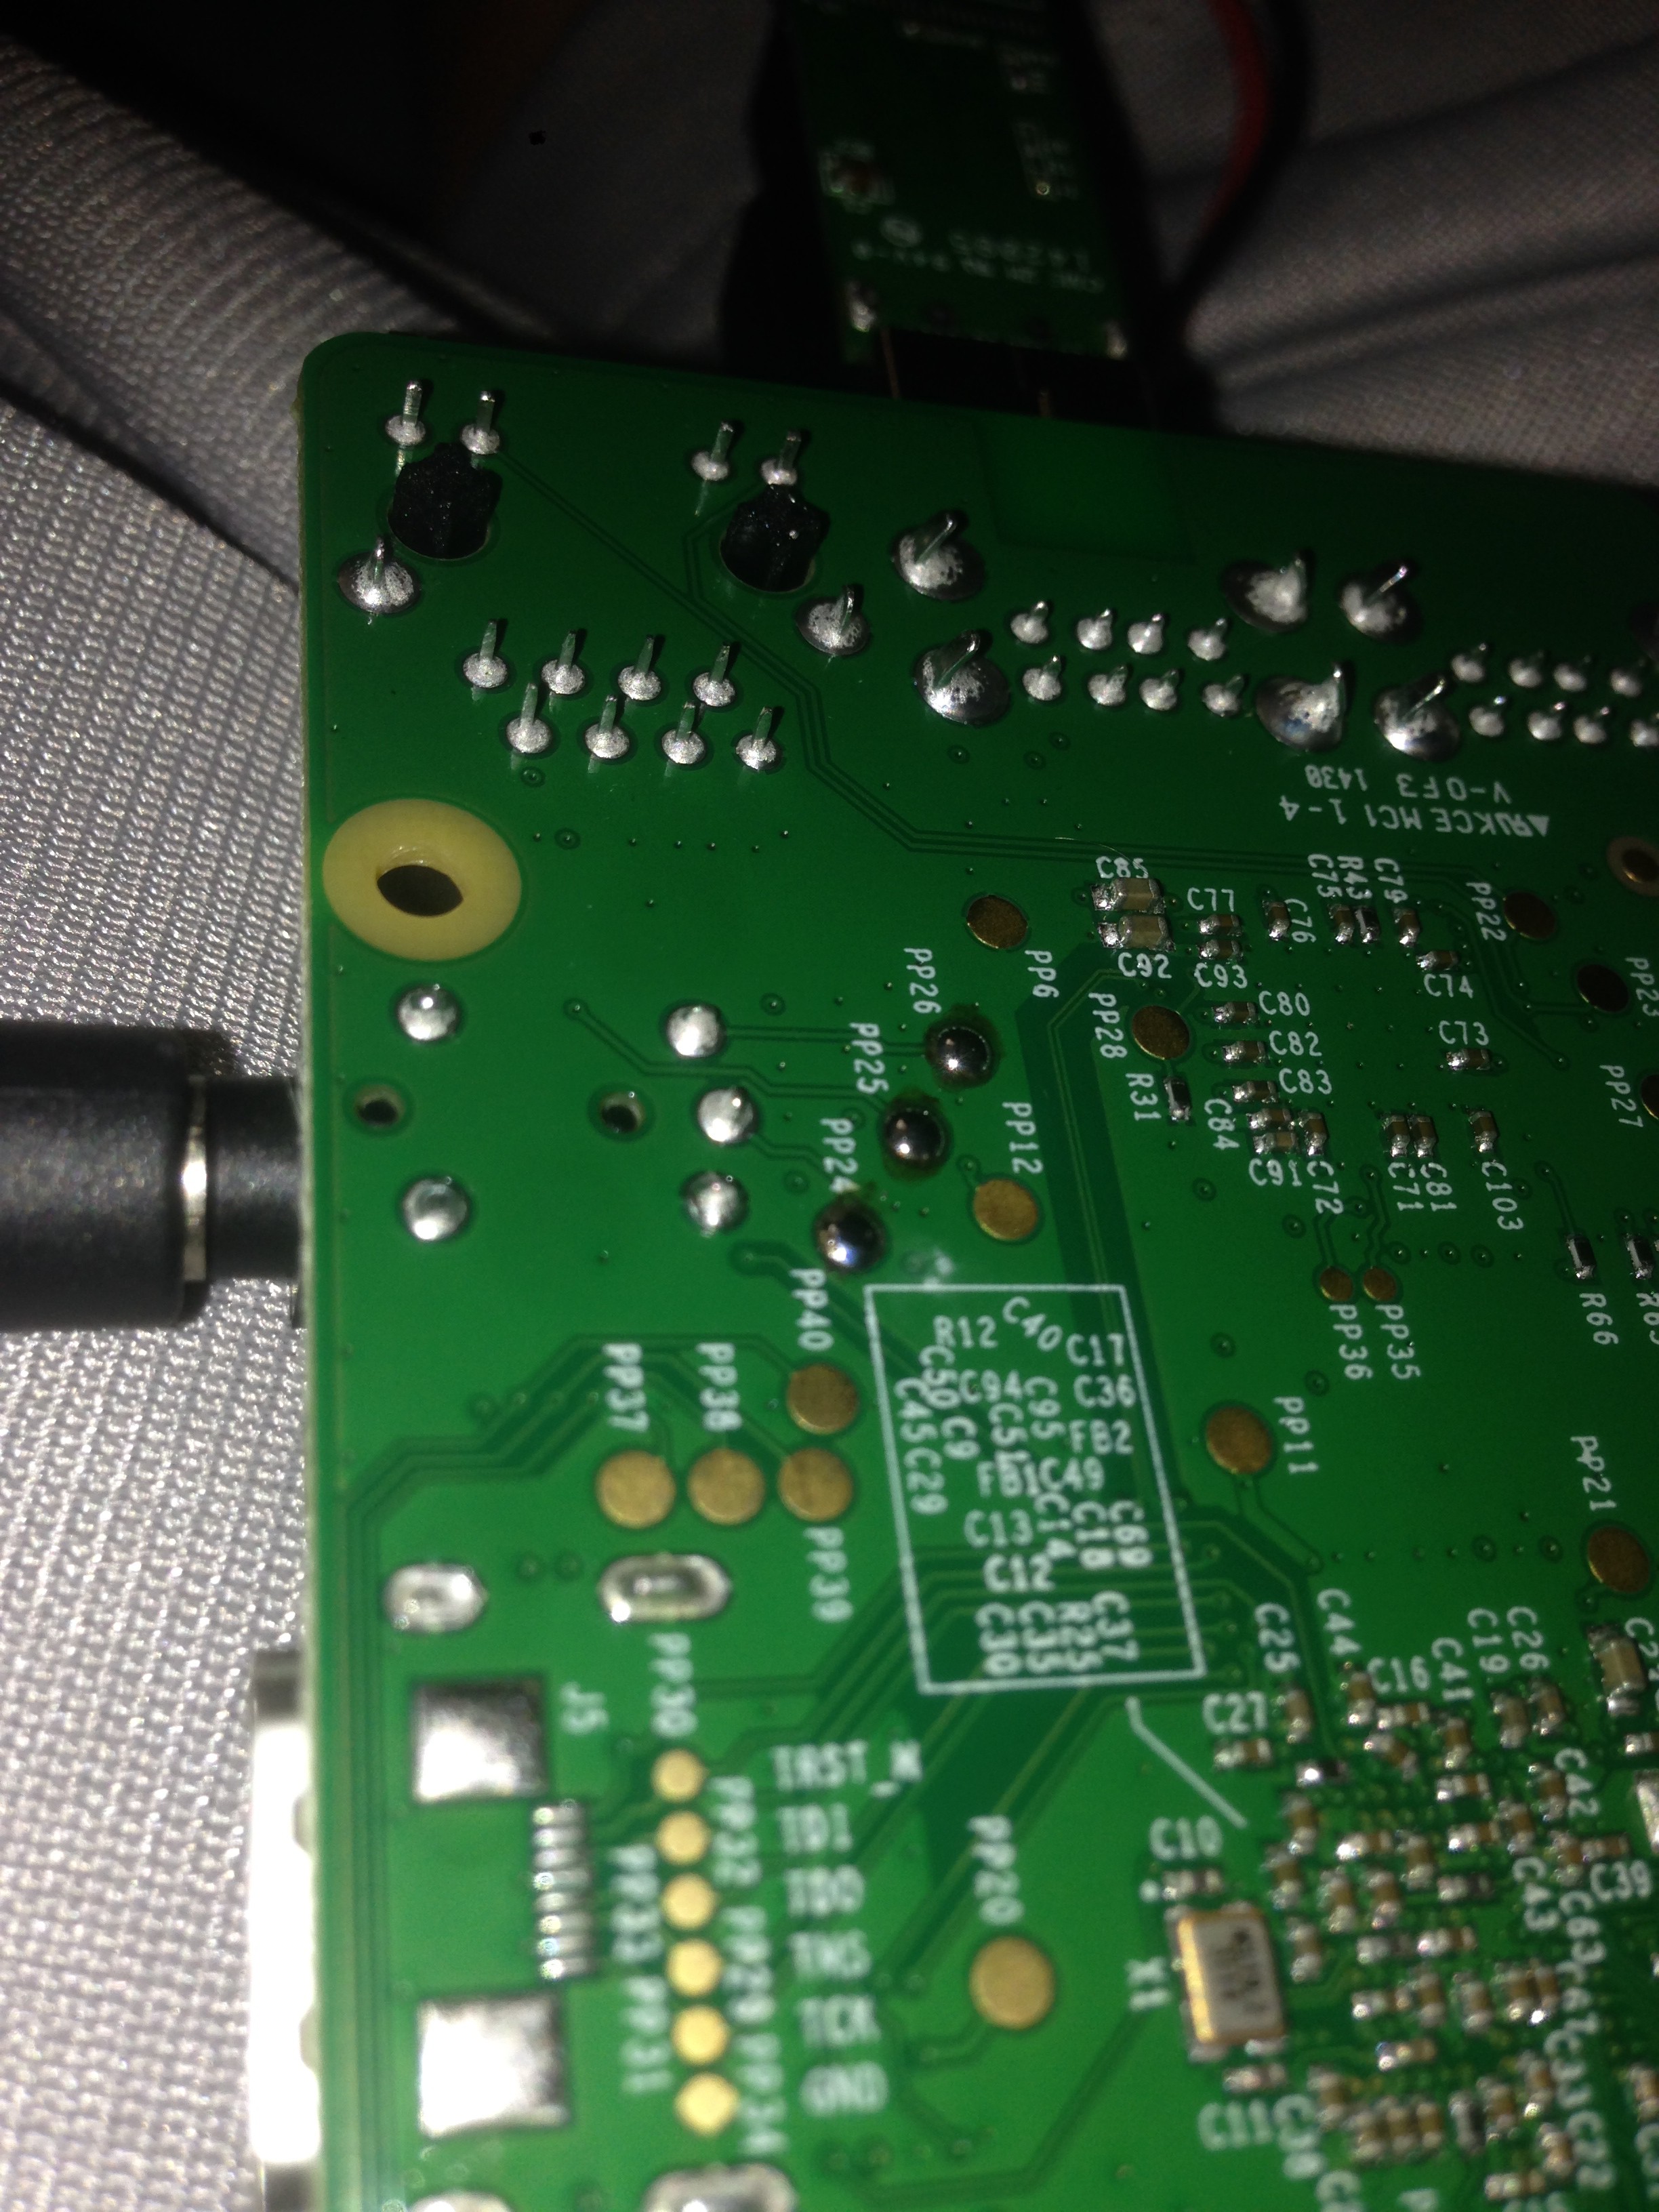
5.) trace and document important signals -- DONE
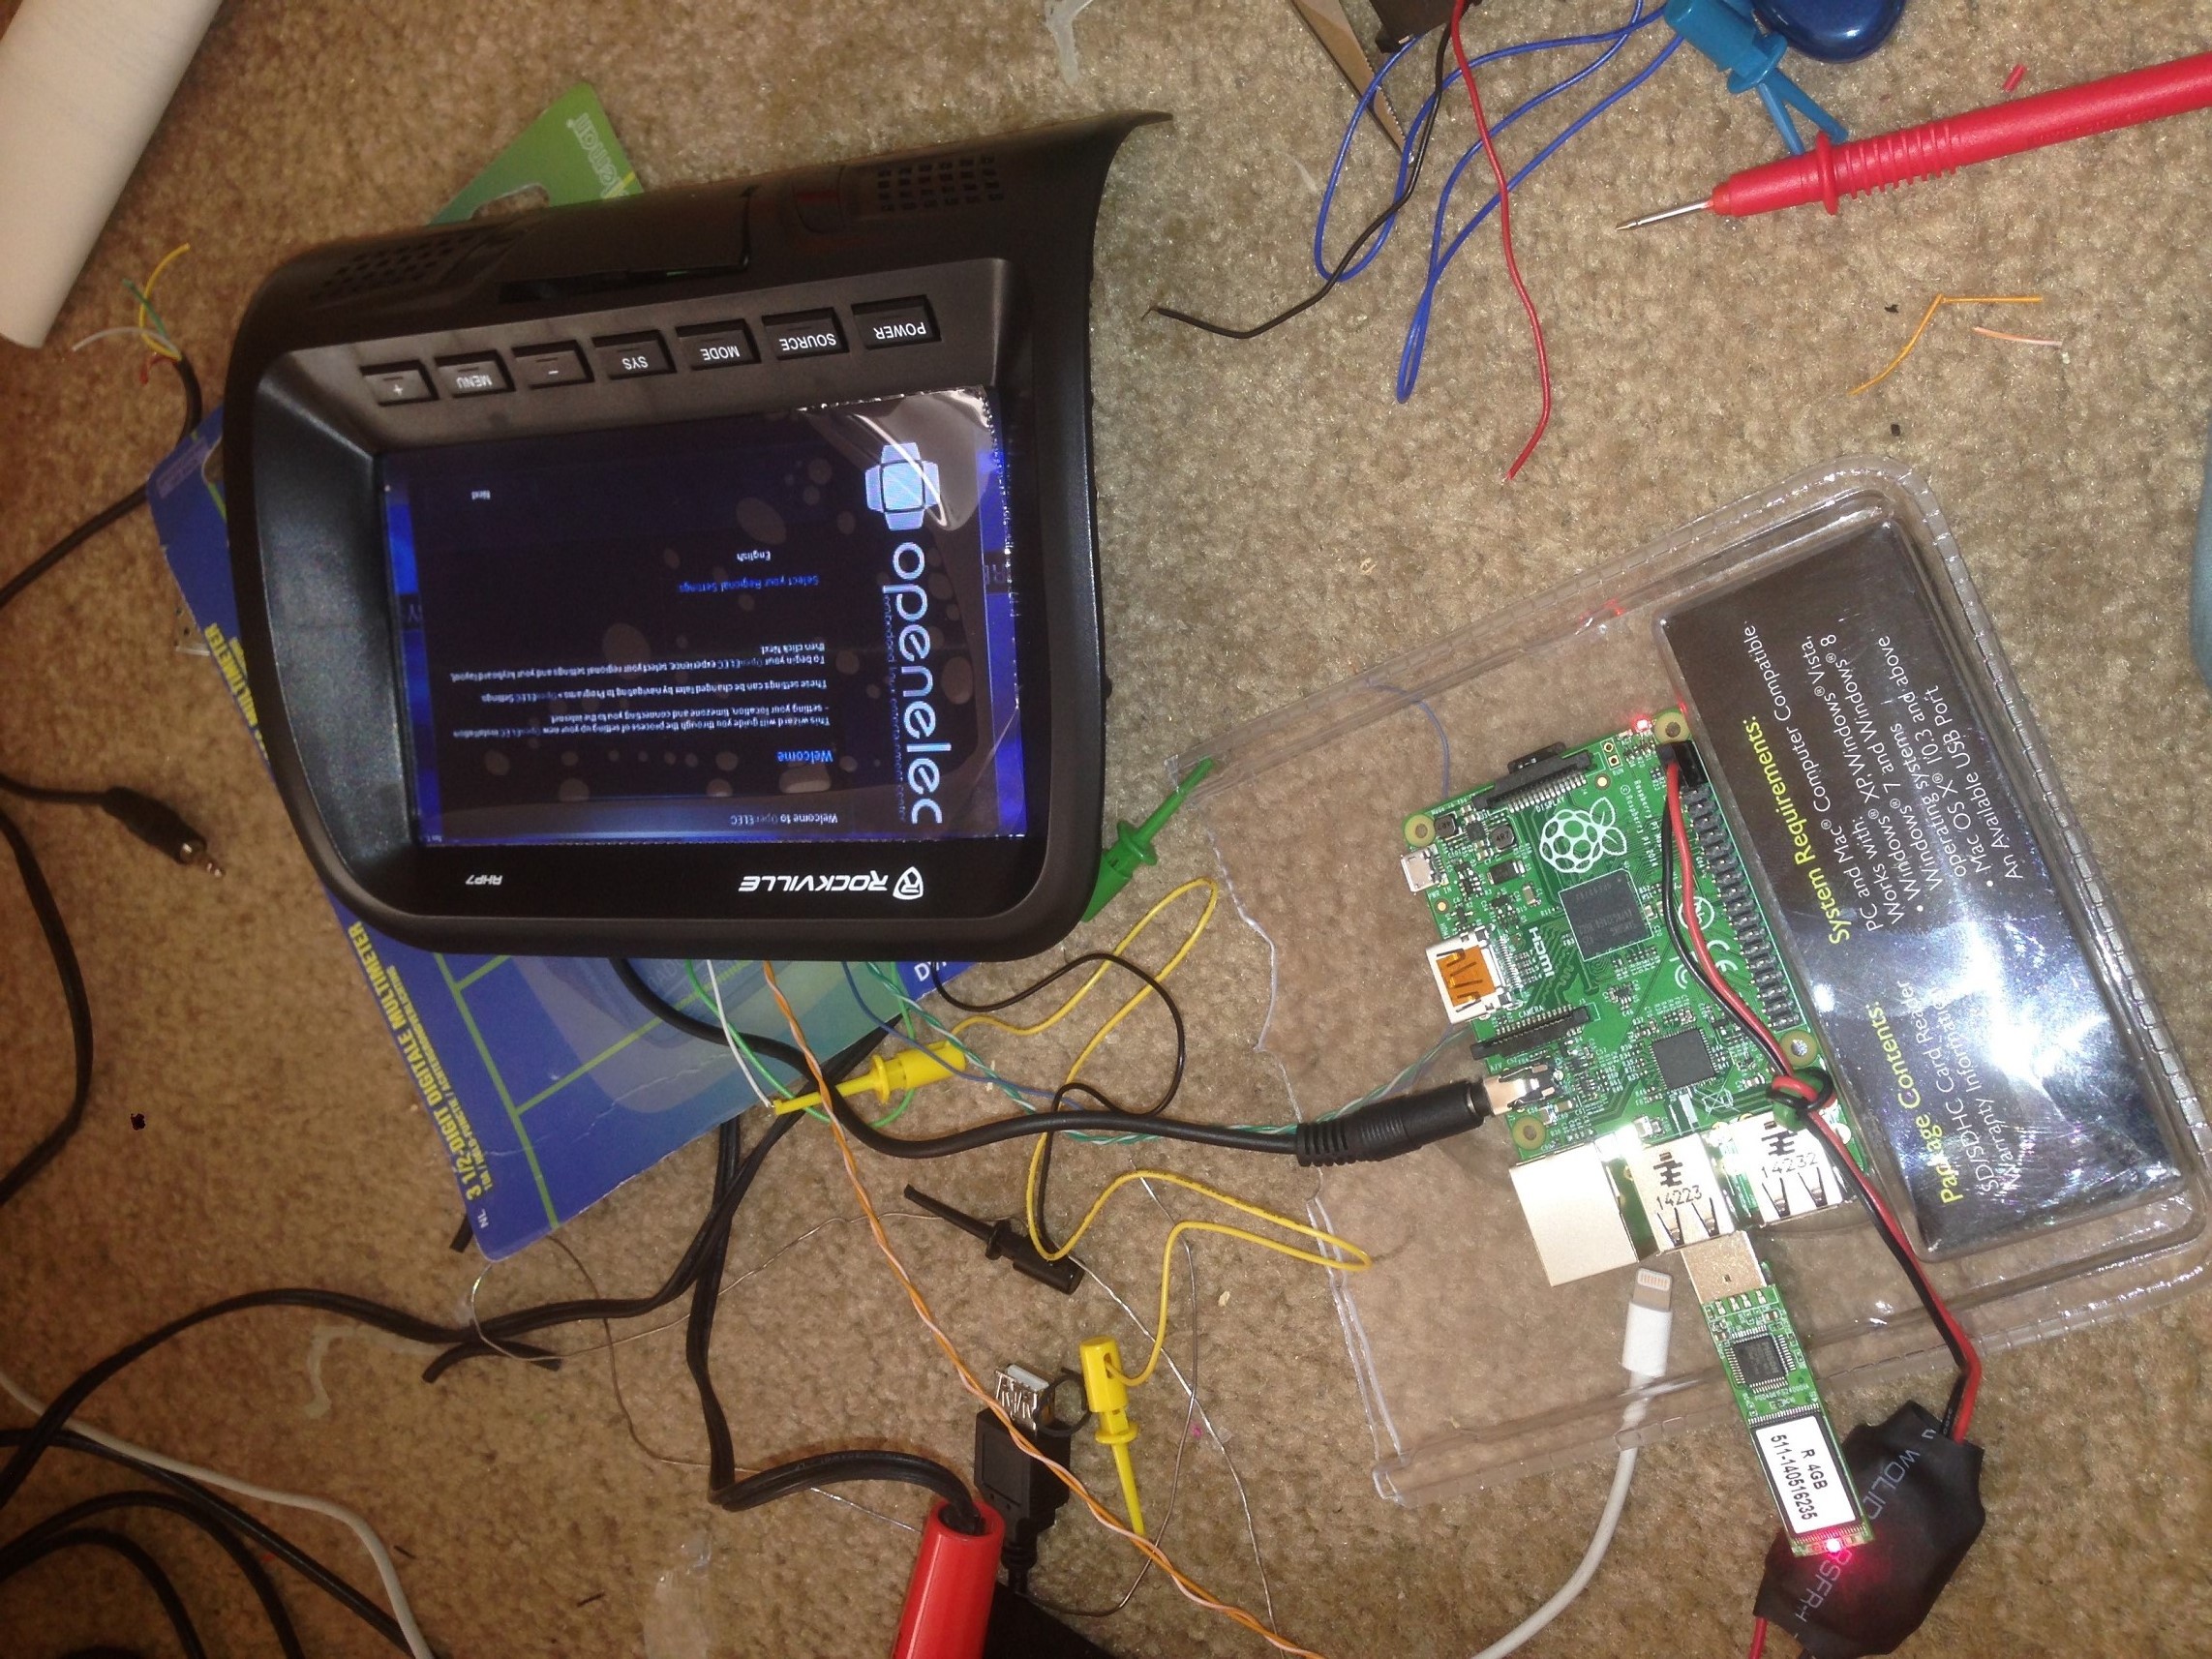
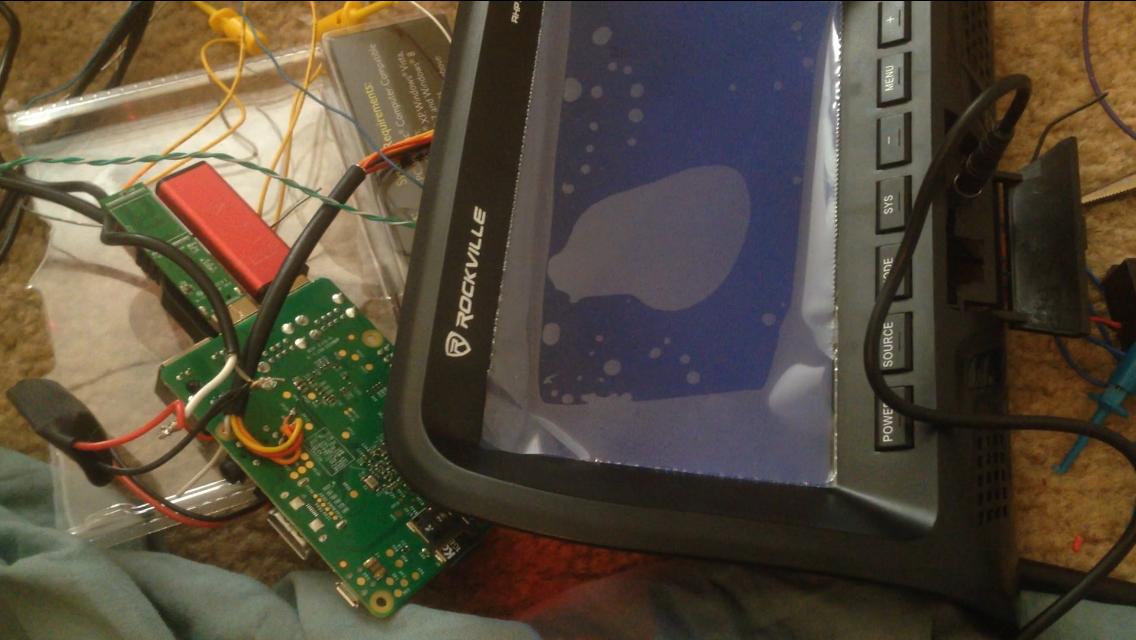
6.) make connections and mount hardware -- DONE
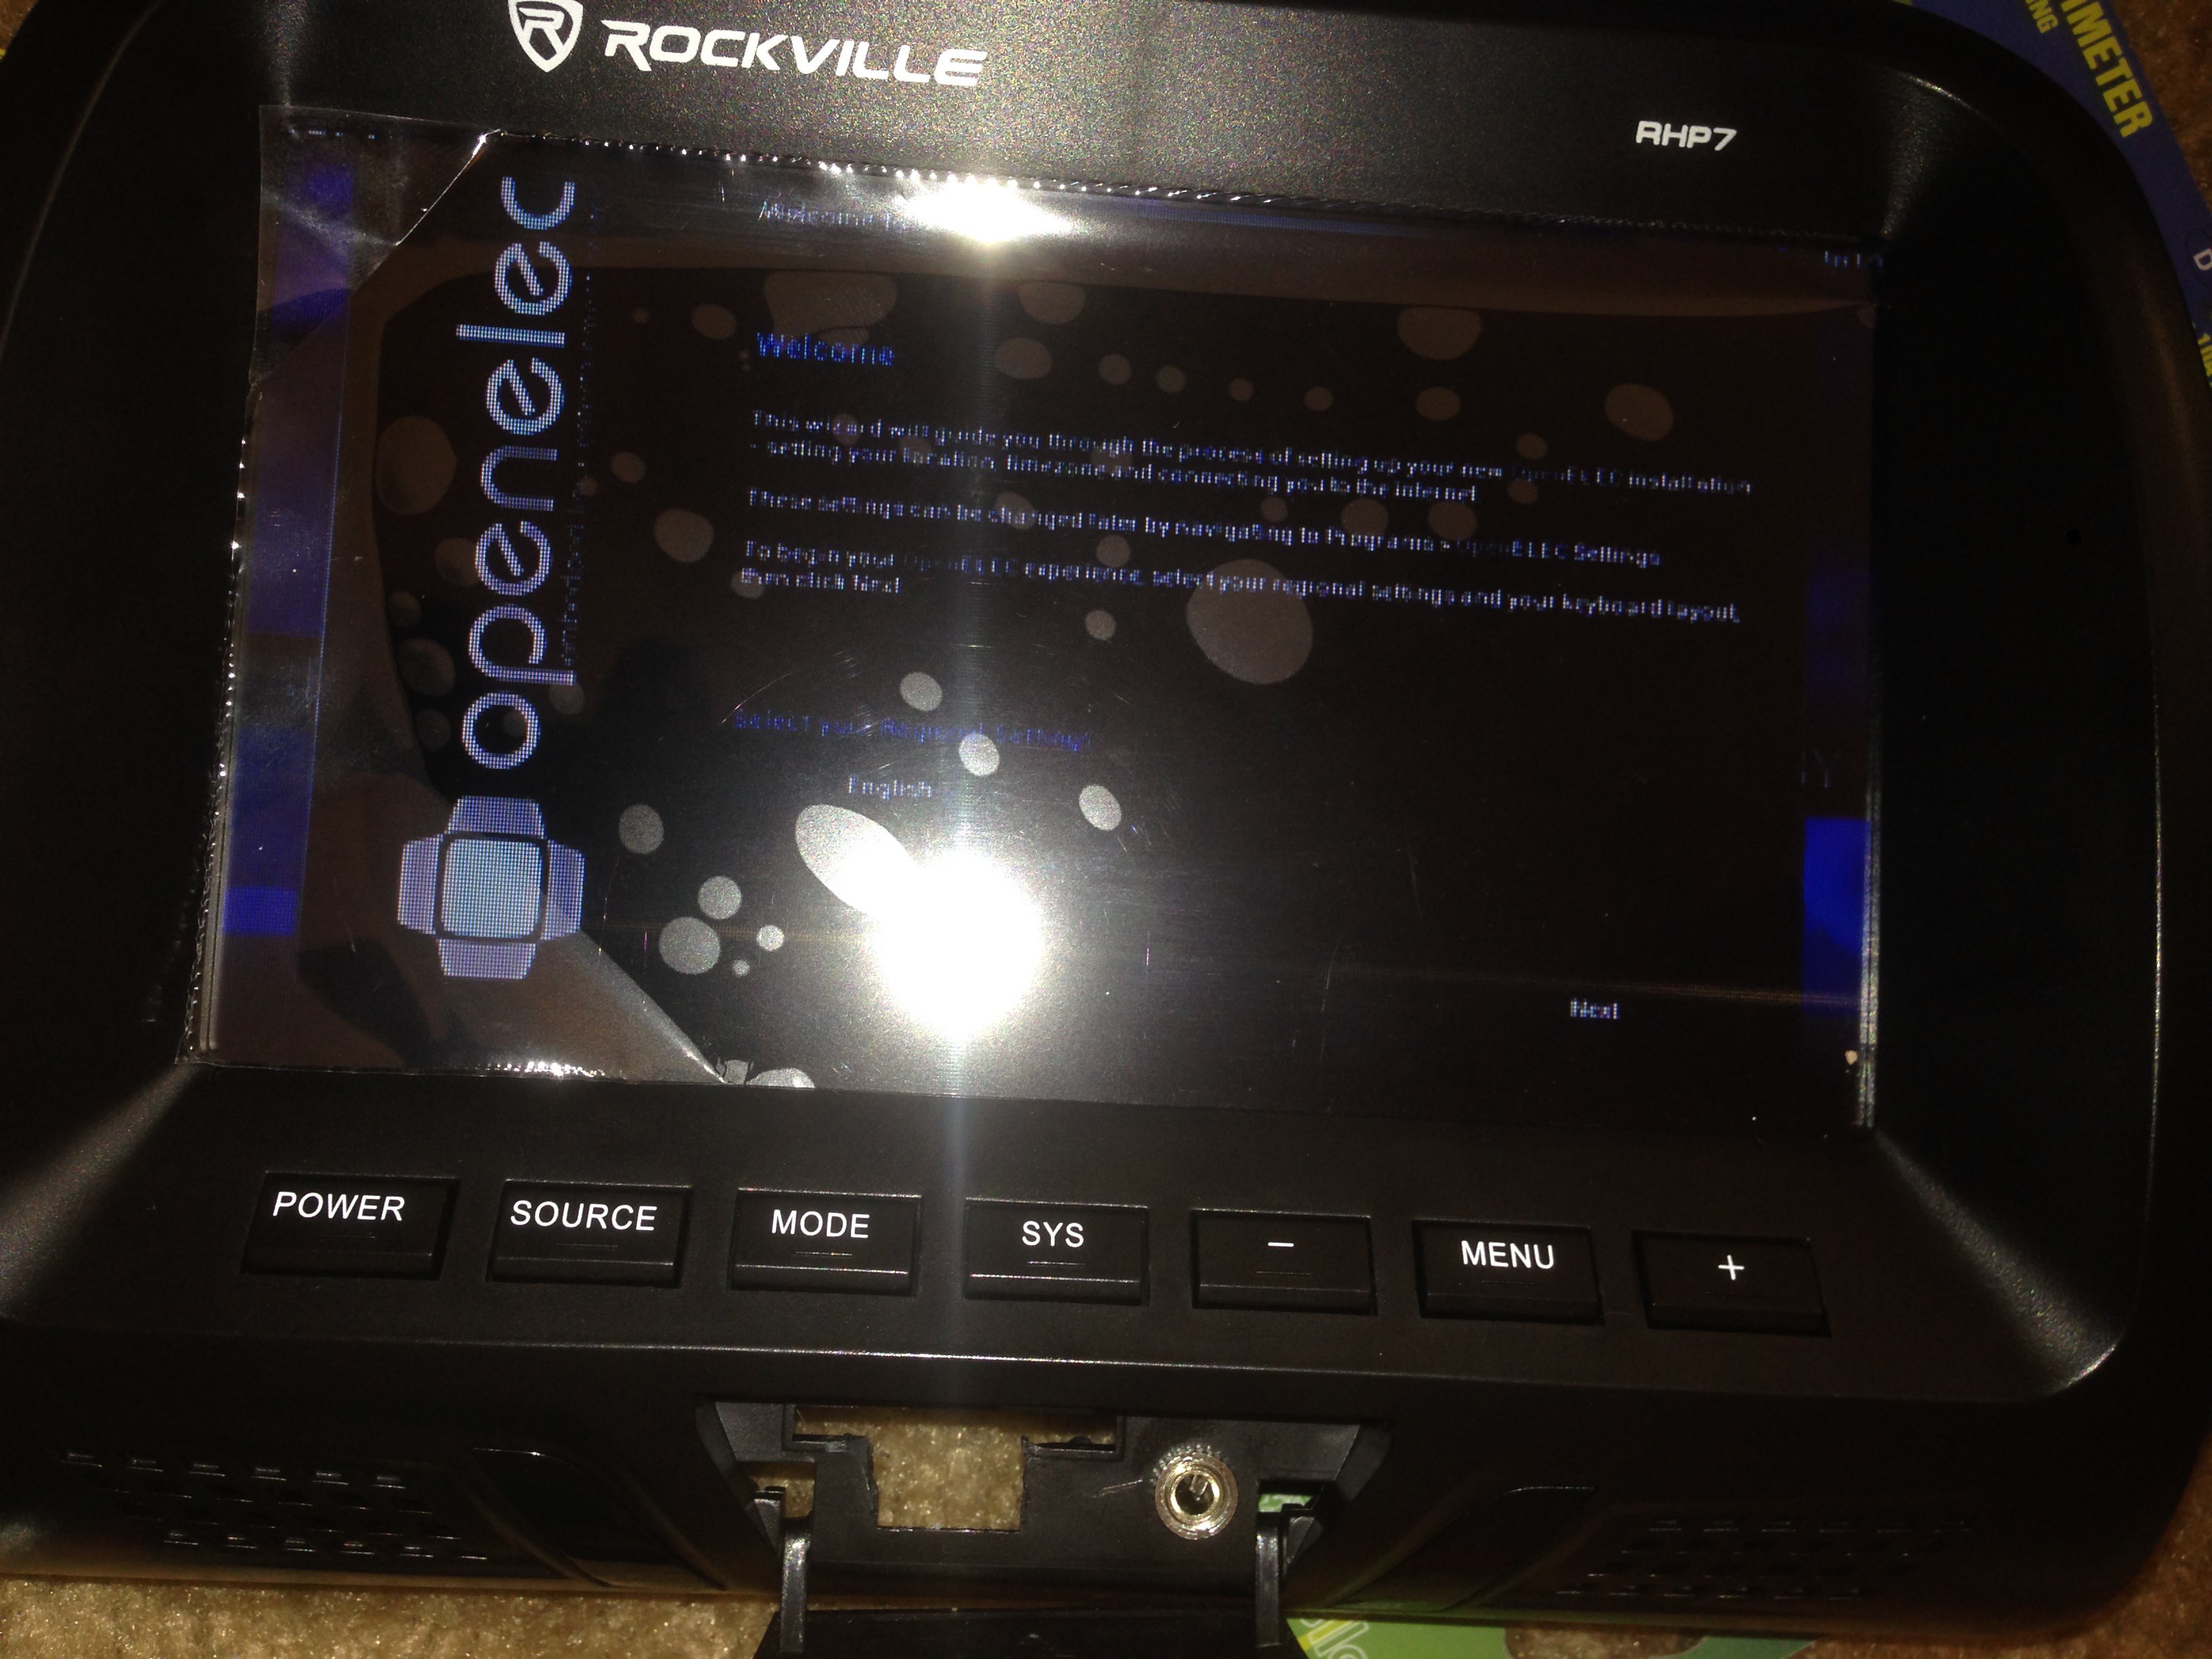
7.) software

 Jorge Miar
 HybridAir
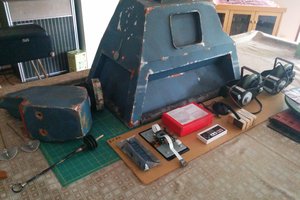
 Andrew Bills
 Retroplayer
Hi. Great job! I'm also trying to get SNESDEV to work with Kodi and was wondering if you wouldn't mind sharing your SNESDEV build or the code you used to get an SNES controller to work with Kodi. Thanks.