0%
0%
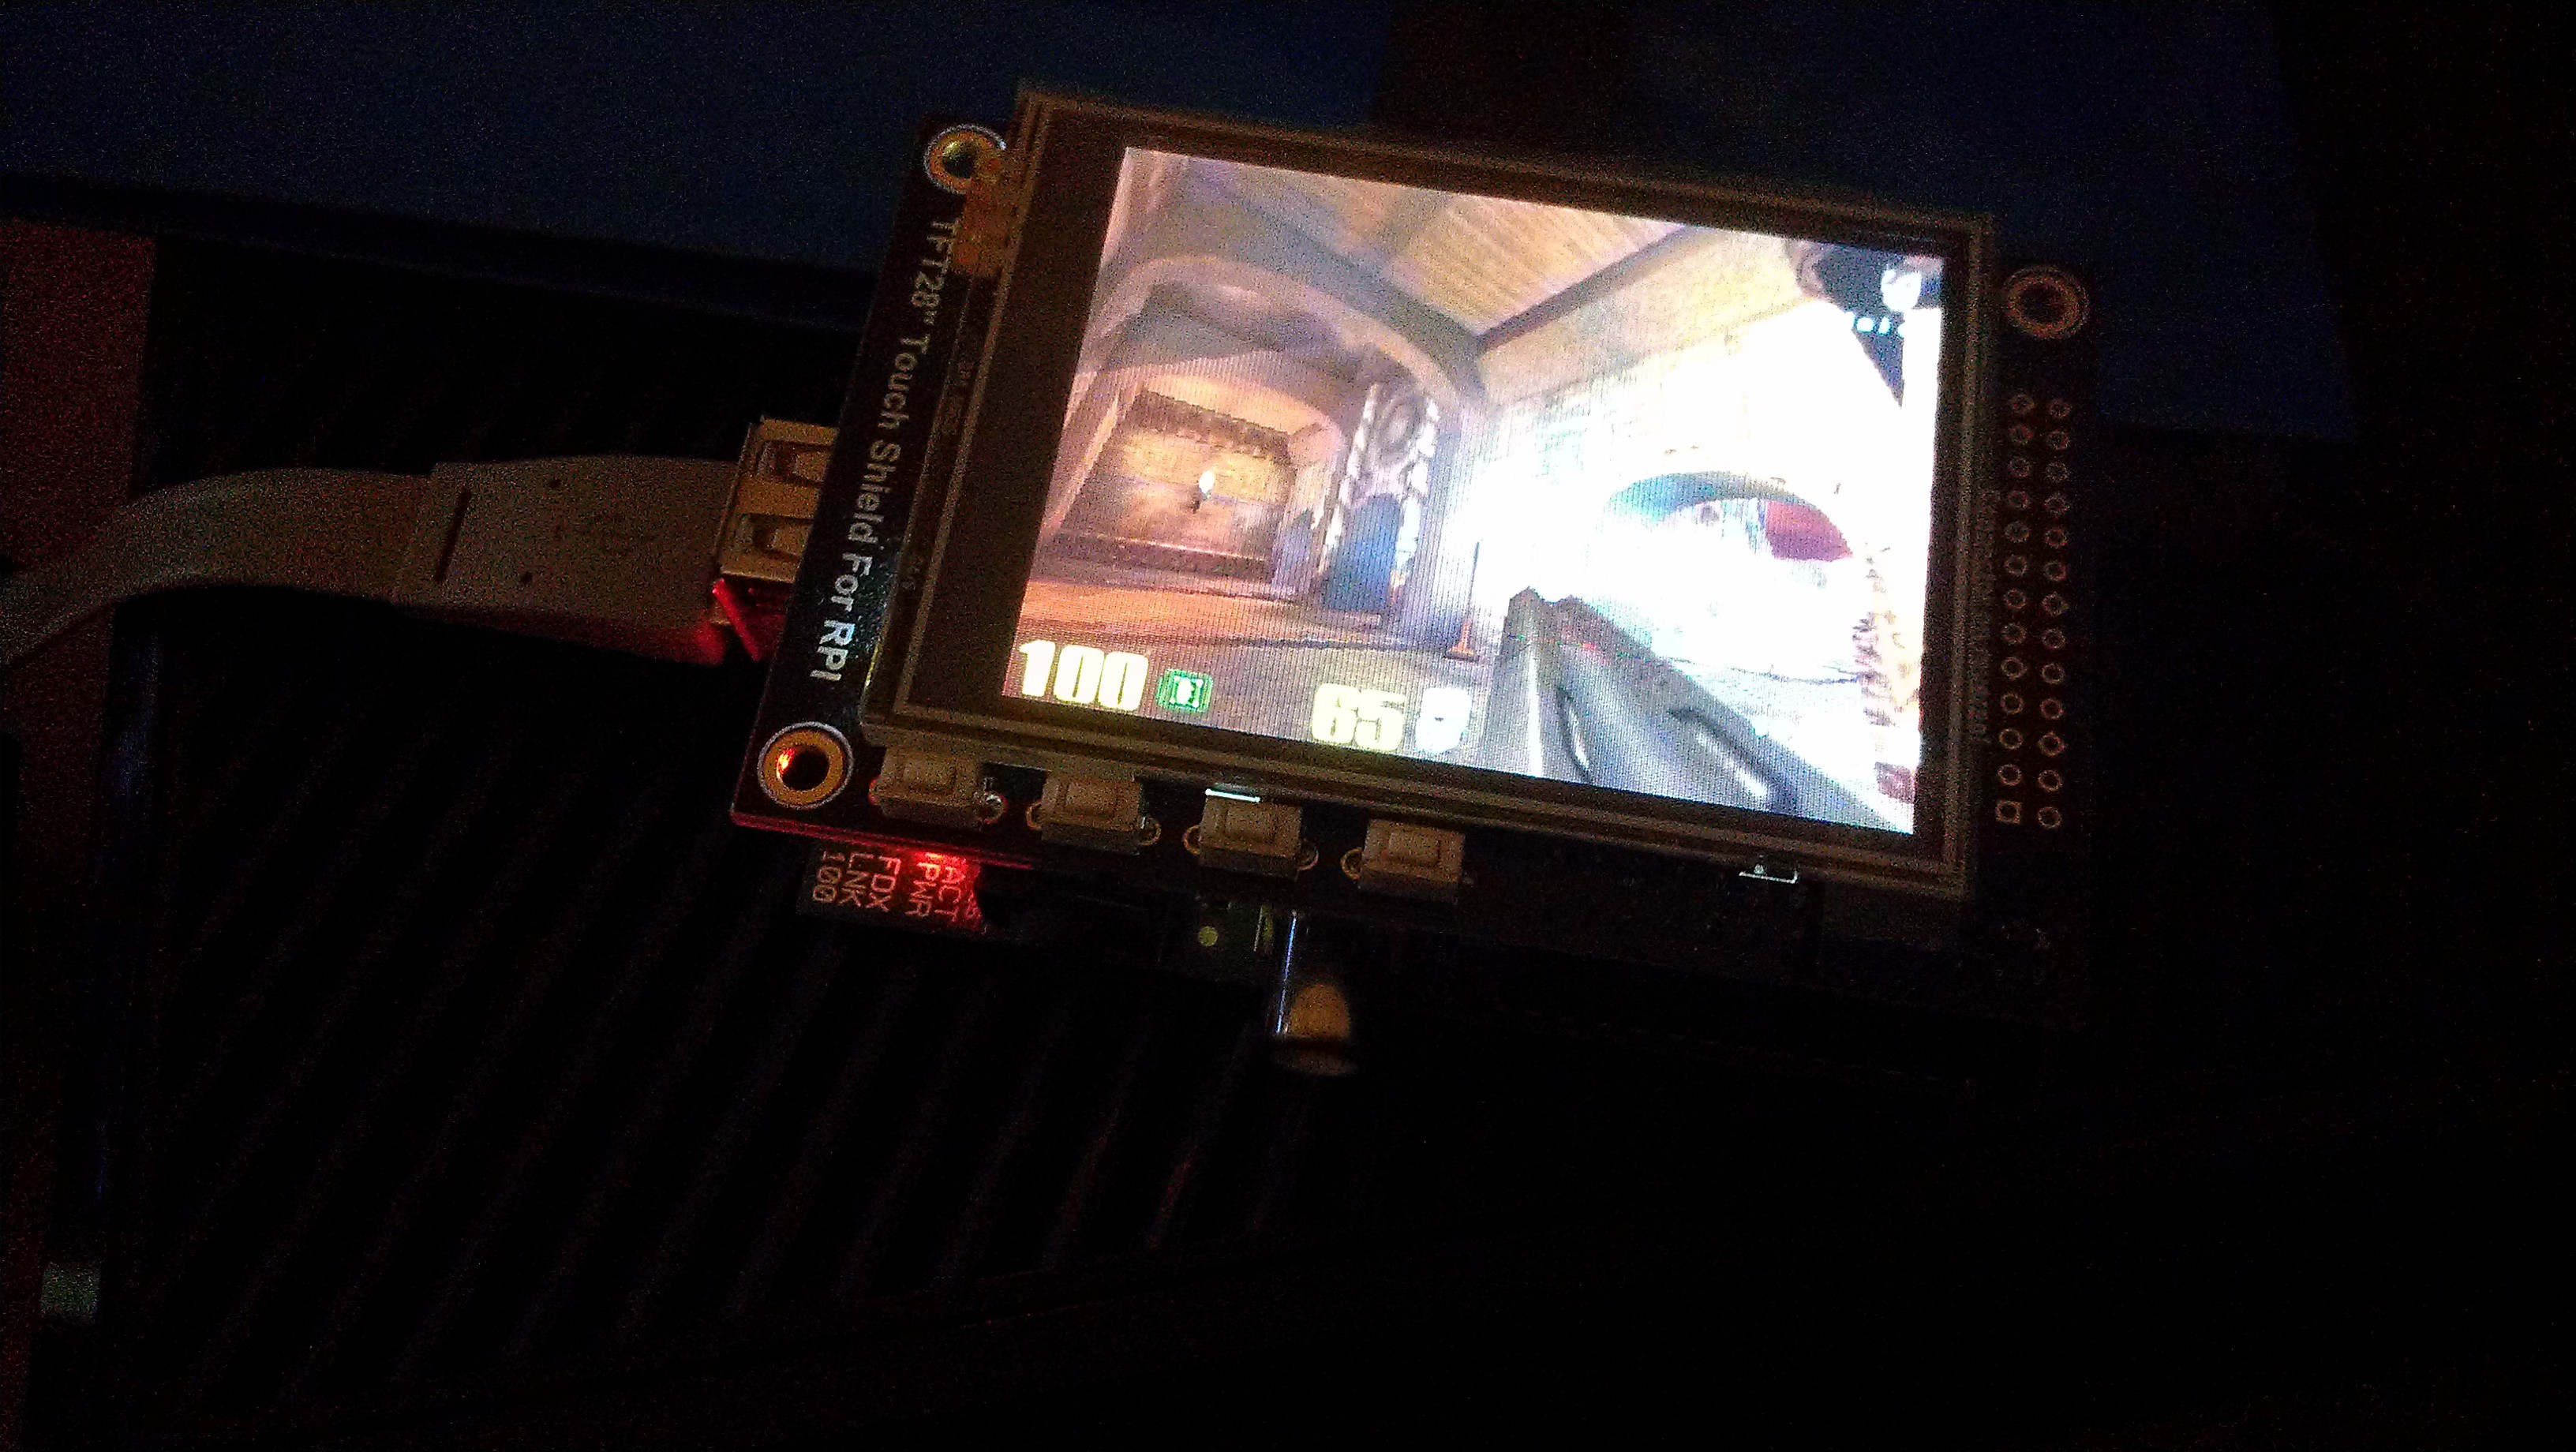
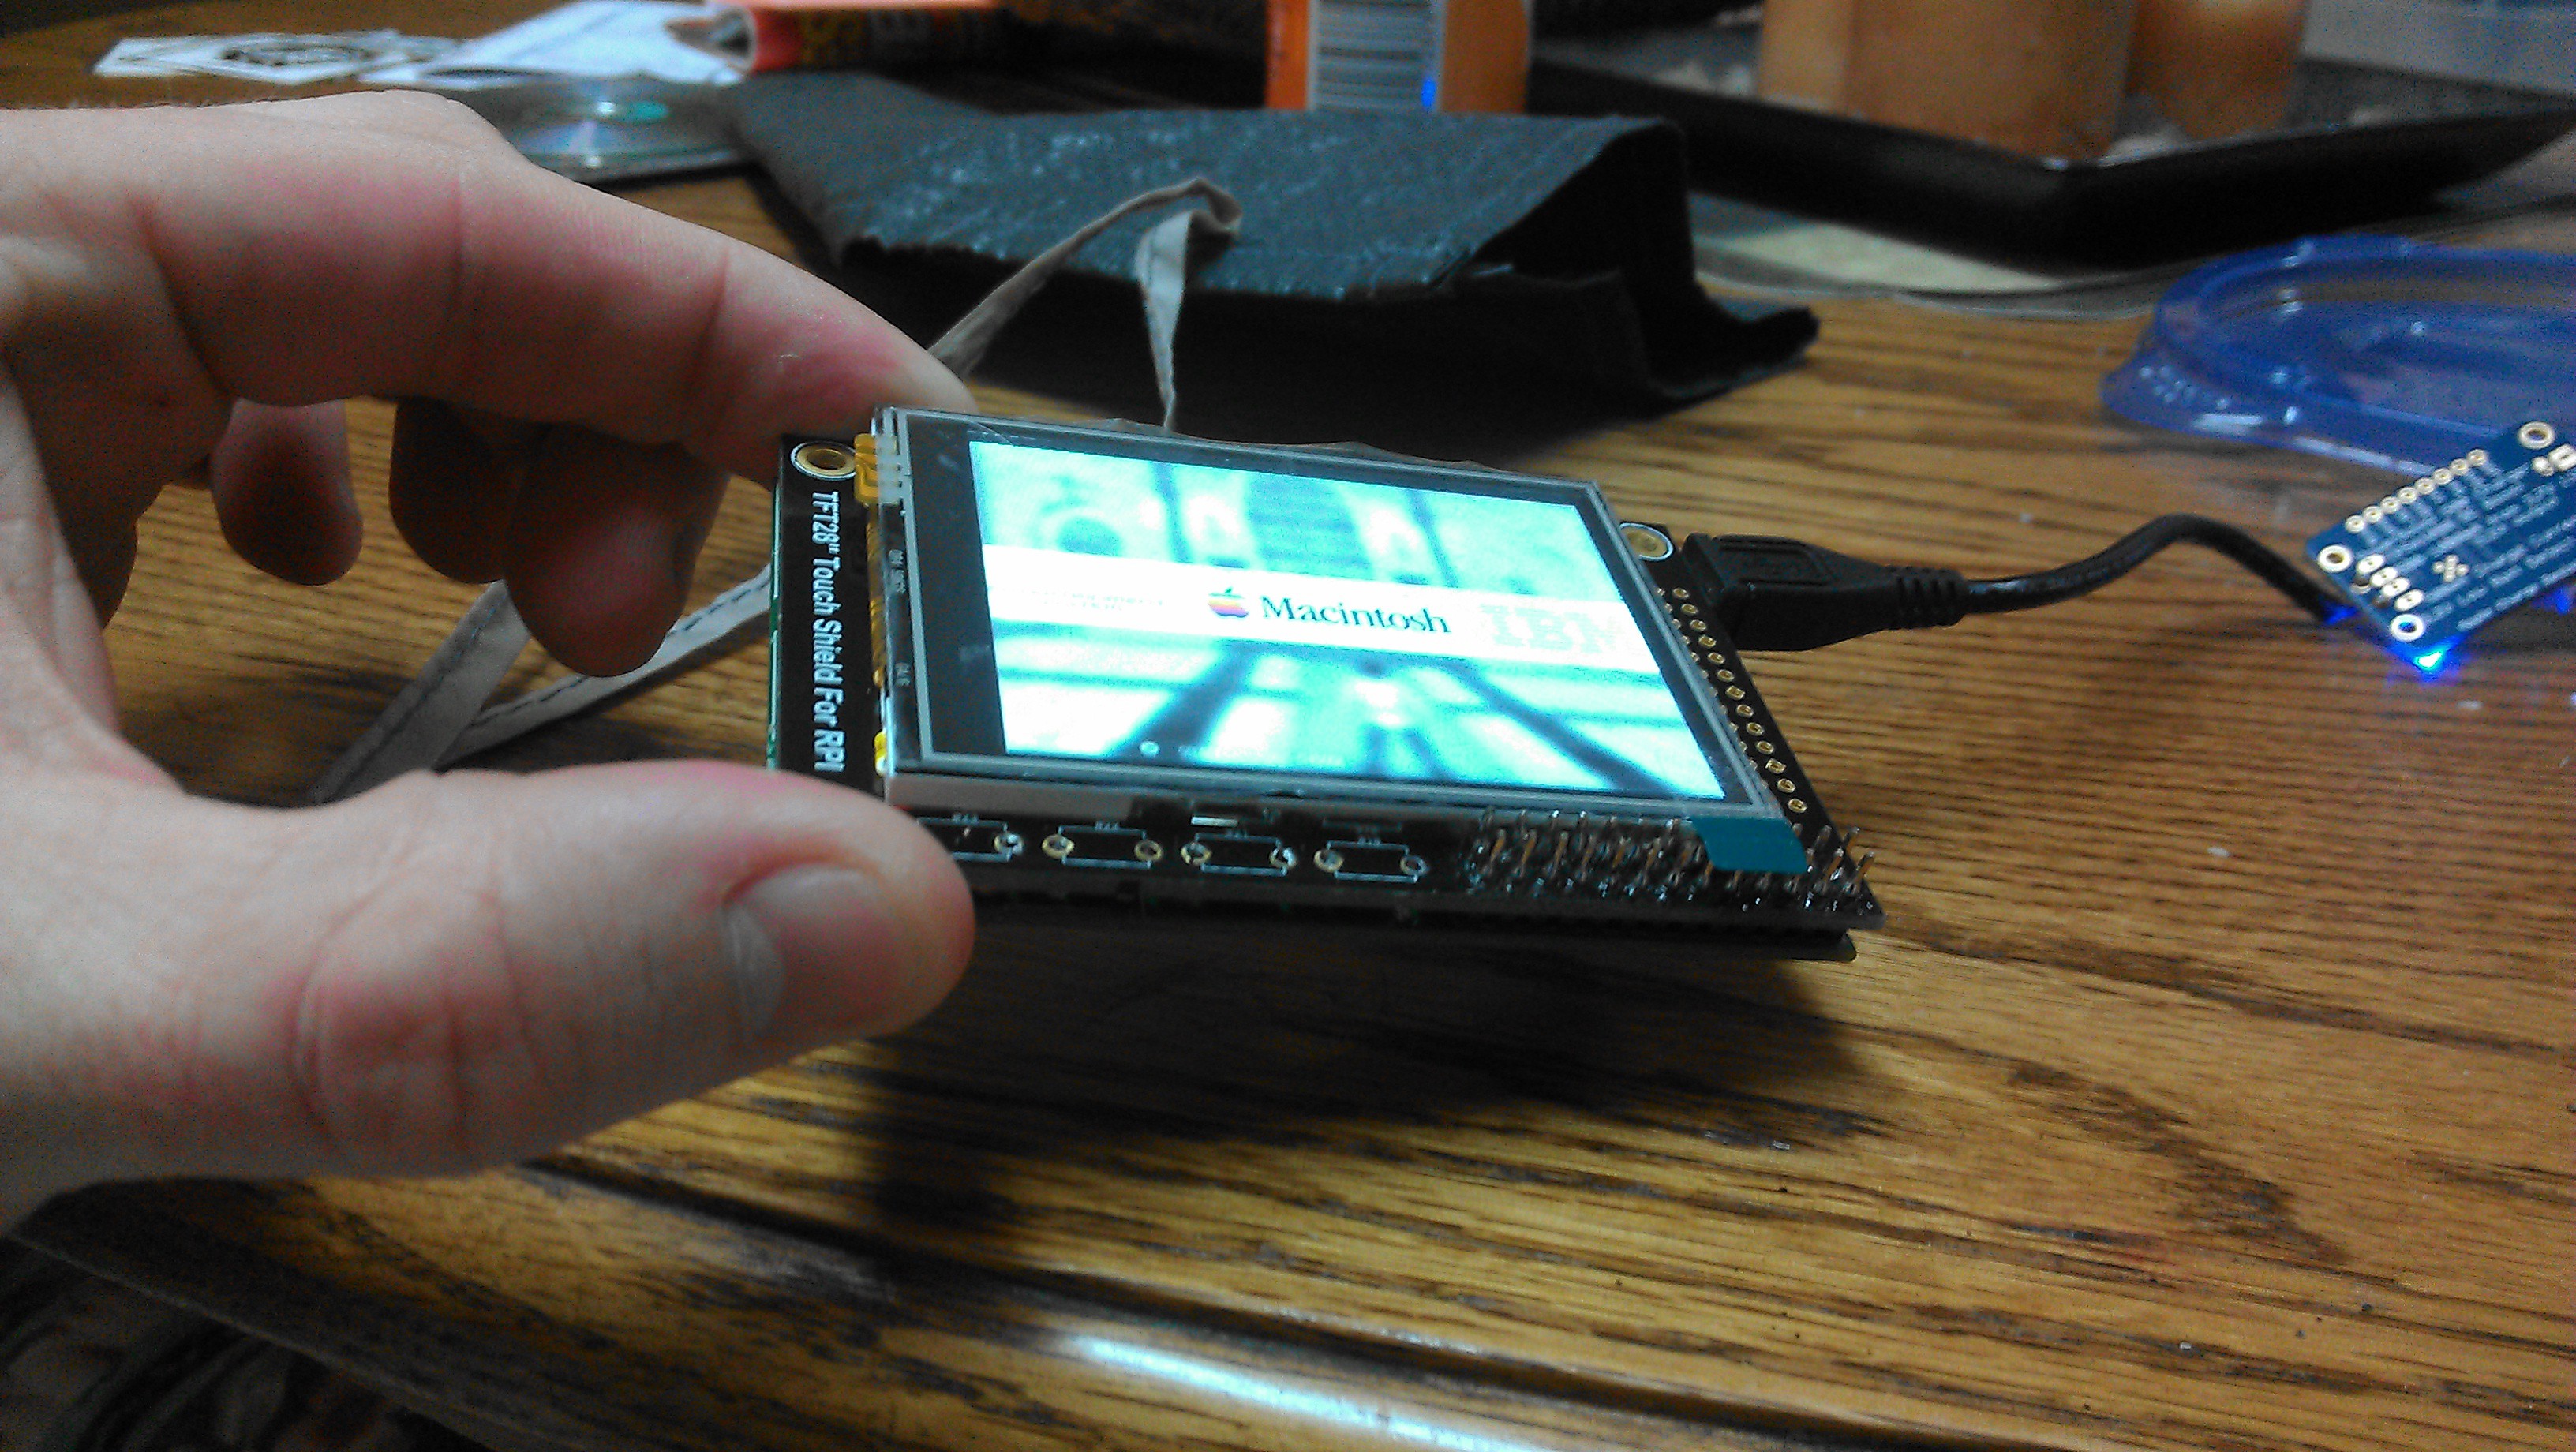
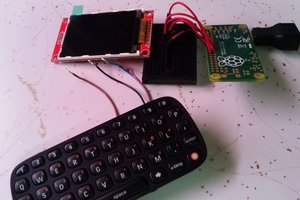
Raspberry Pi with 2.8 inch touch screen
I'm thinking about recreating Adafruit's PiGRRL, except in a different form factor
 j0z0r pwn4tr0n
Become a Hackaday.io member
Already have an account? Log in.
Just one more thing
To make the experience fit your profile, pick a username and tell us what interests you.
Pick an awesome username
hackaday.io/
Your profile's URL: hackaday.io/username. Max 25 alphanumeric characters.
Pick a few interests
Projects that share your interests
People that share your interests
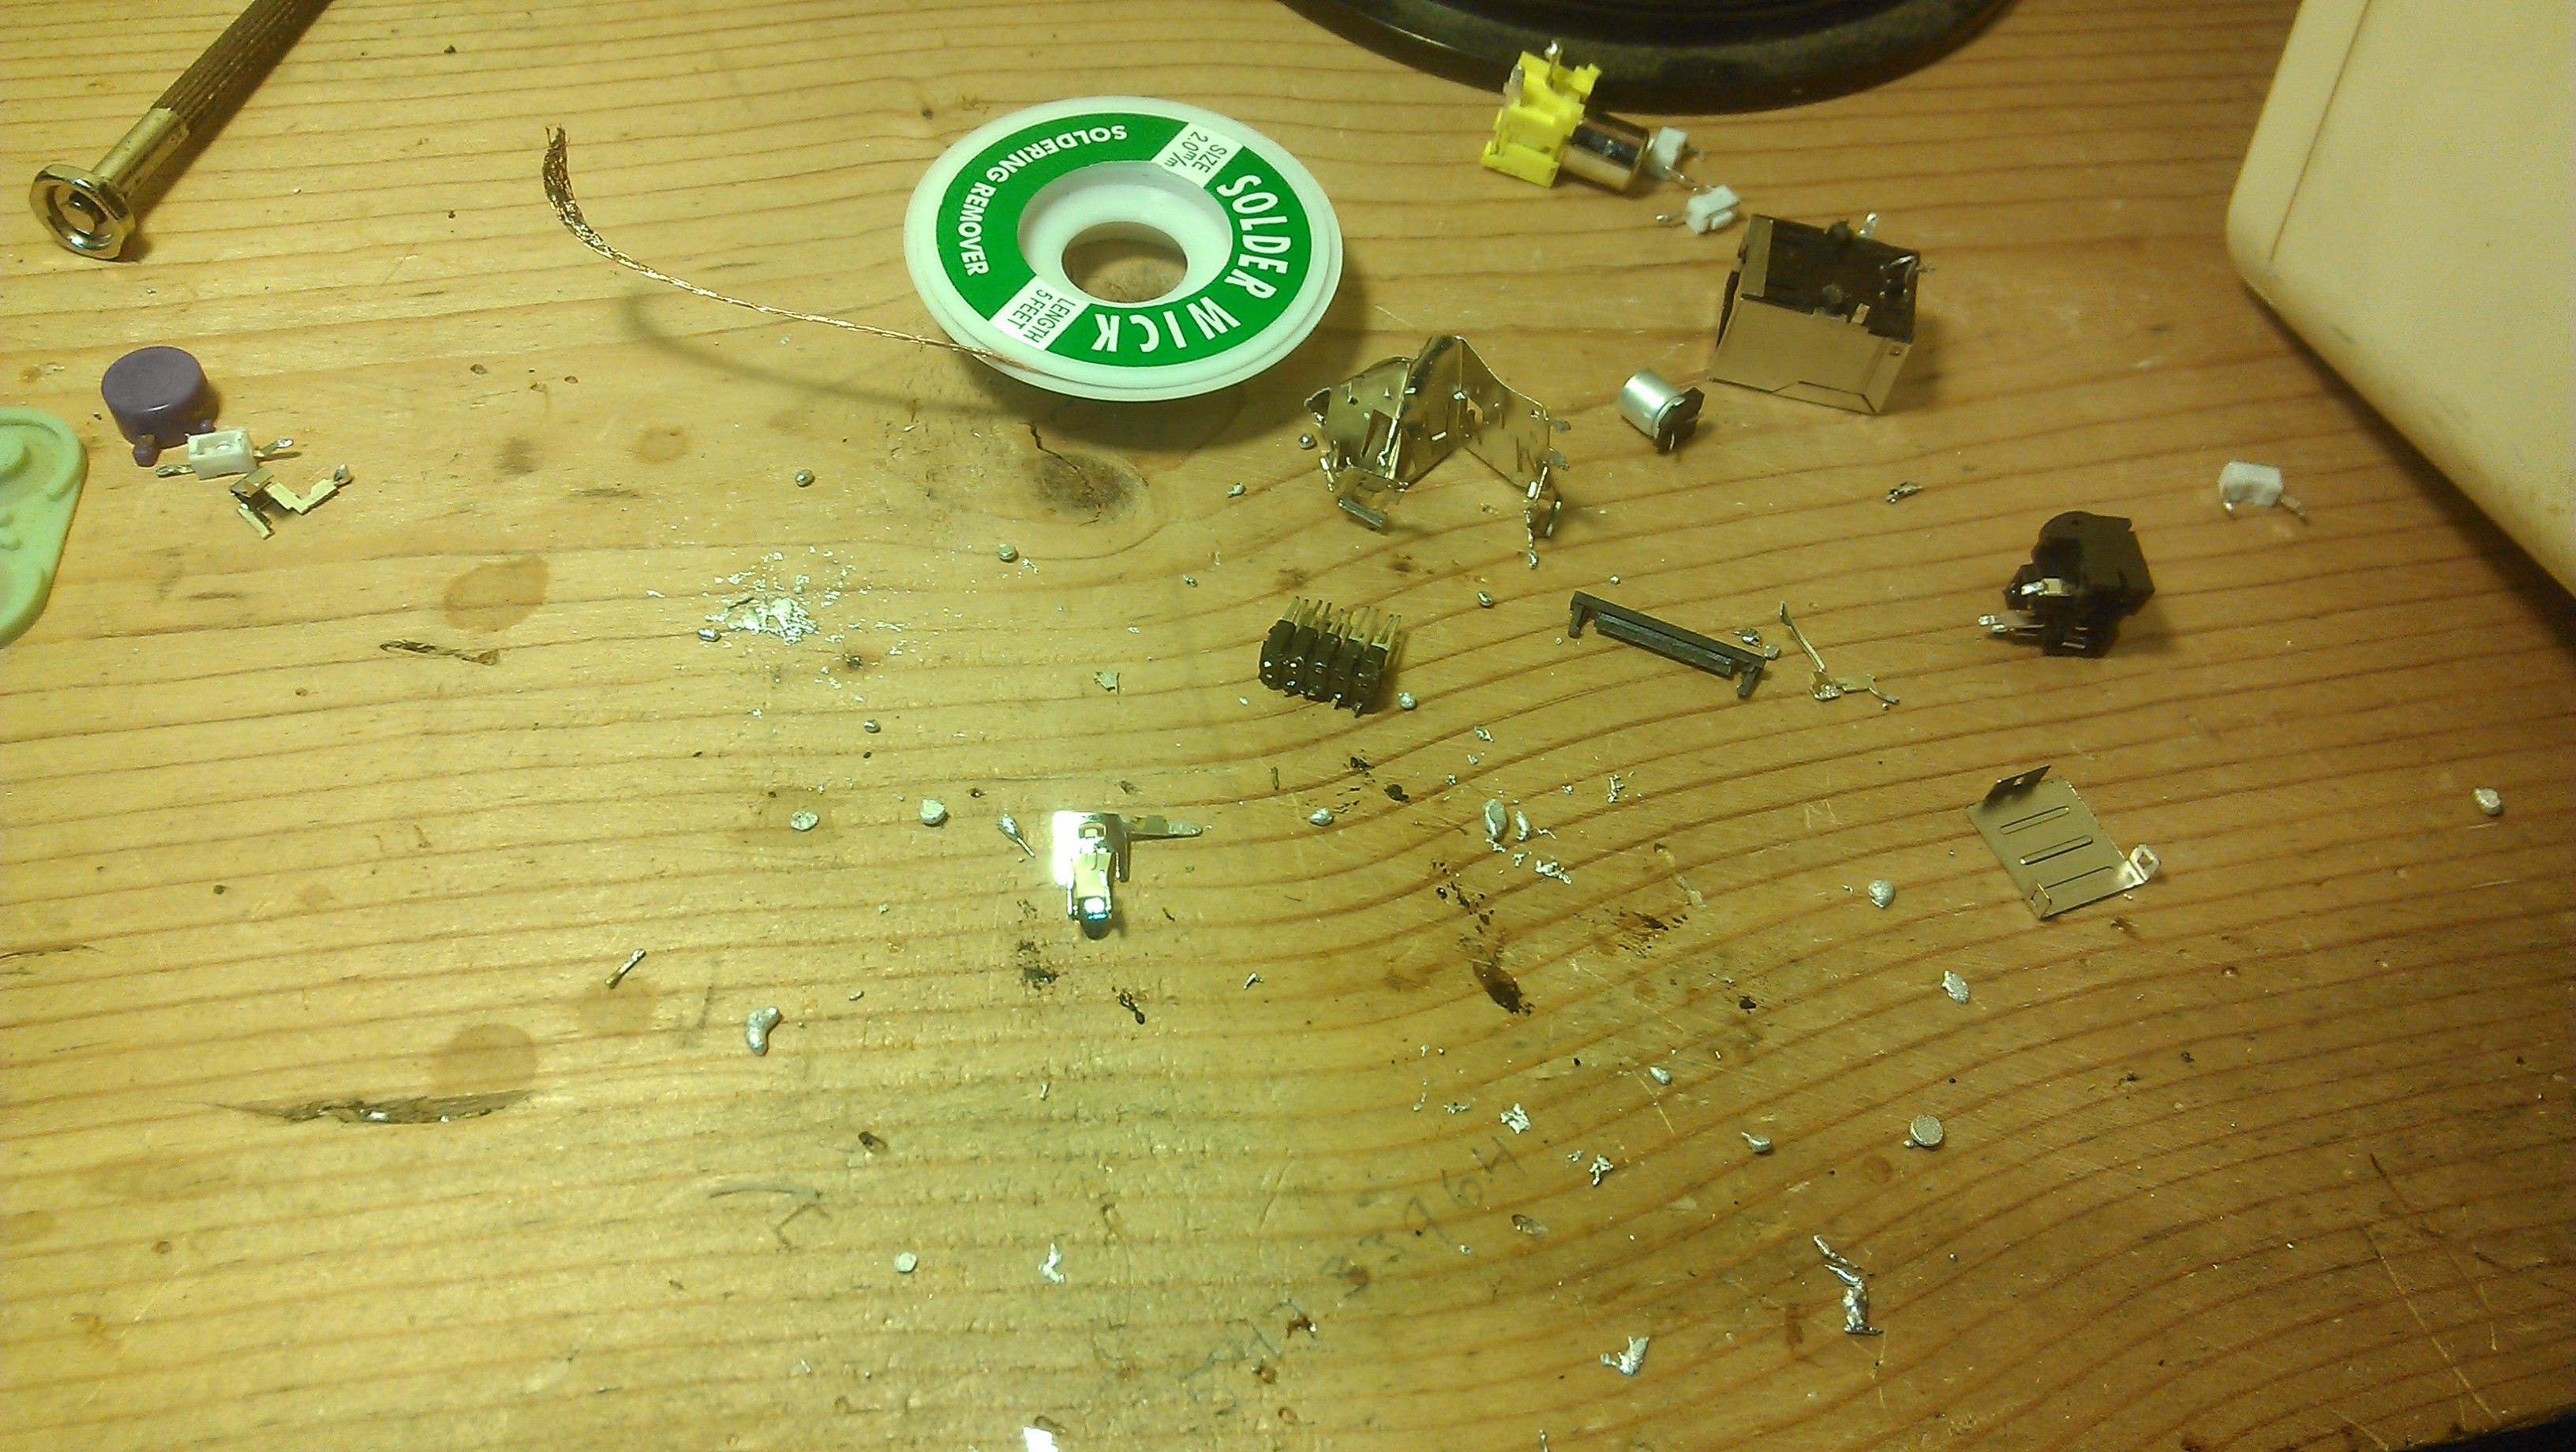
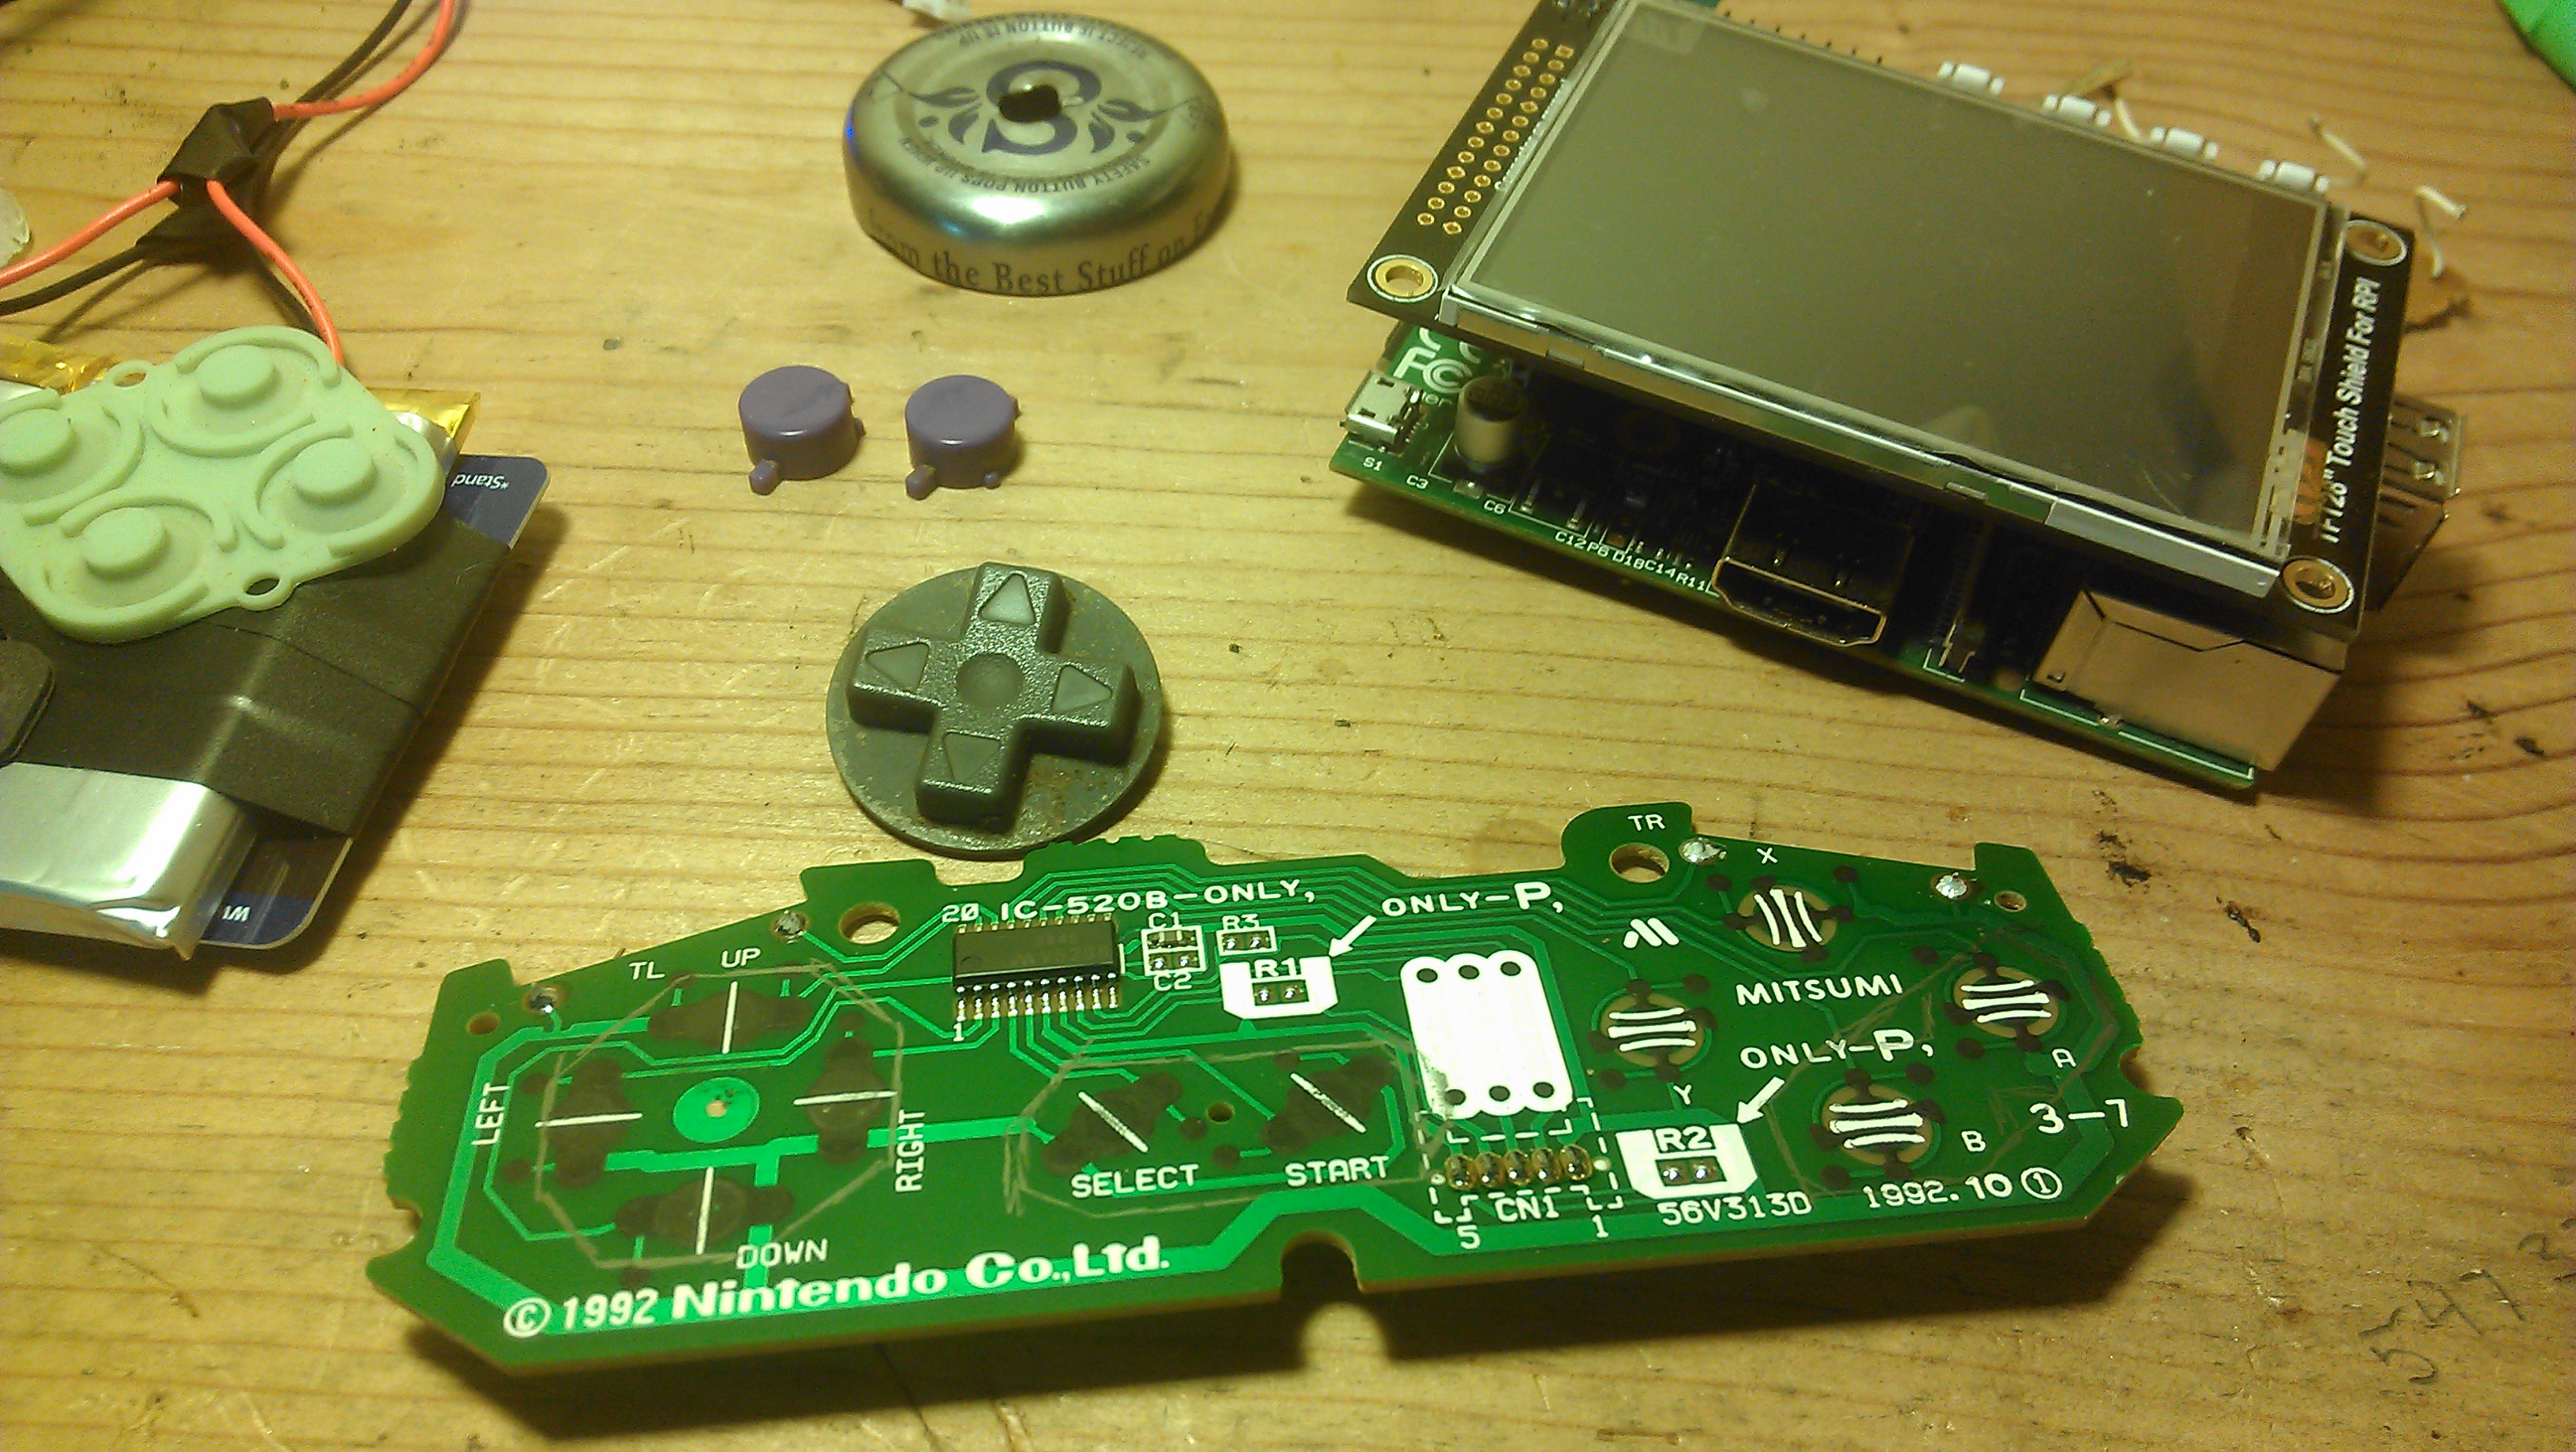
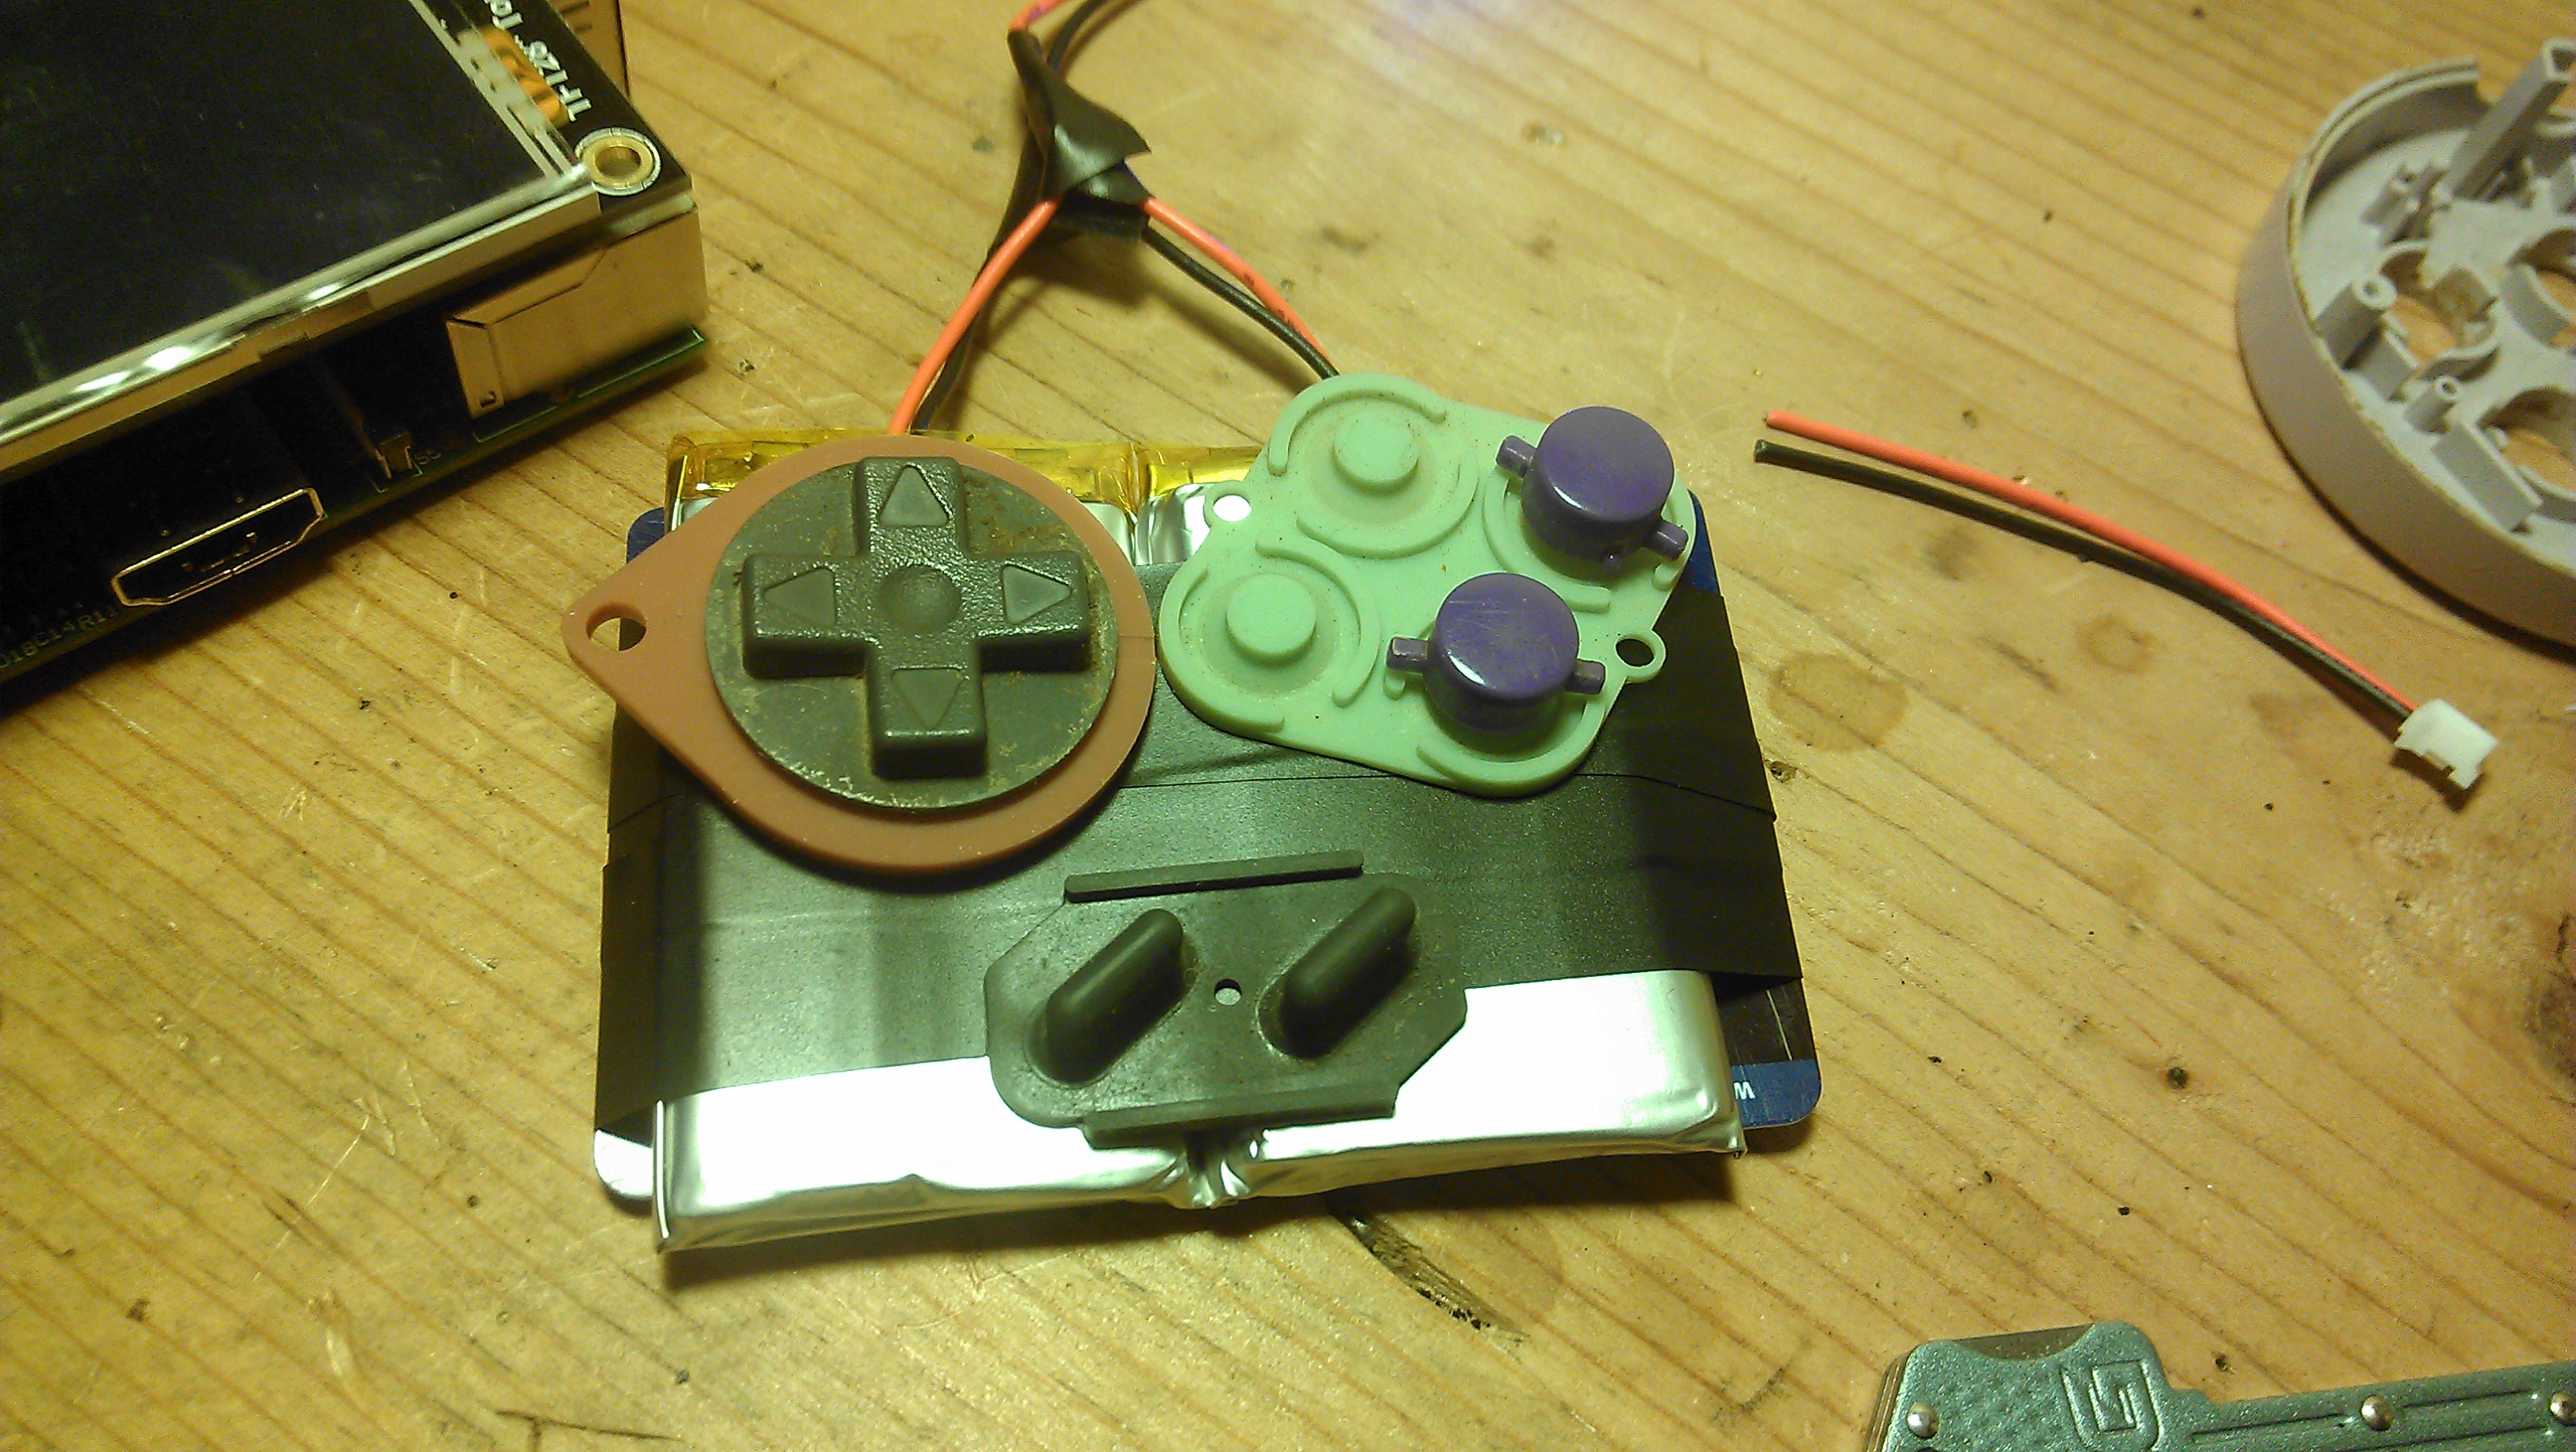
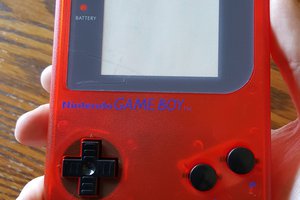
 And put it to either side. It might be better to keep the batteries together behind the screen and just move the controls to either side. I'm still not set on it though, and I may figure out something better before I get to that stage. Currently my to-do is wire up the buttons to the GPIO after cutting up the PCB and then get my selected emulators running with FB copy. After that all works, I still need to desolder all the "extras" on the RPi that I'm not going to be using.
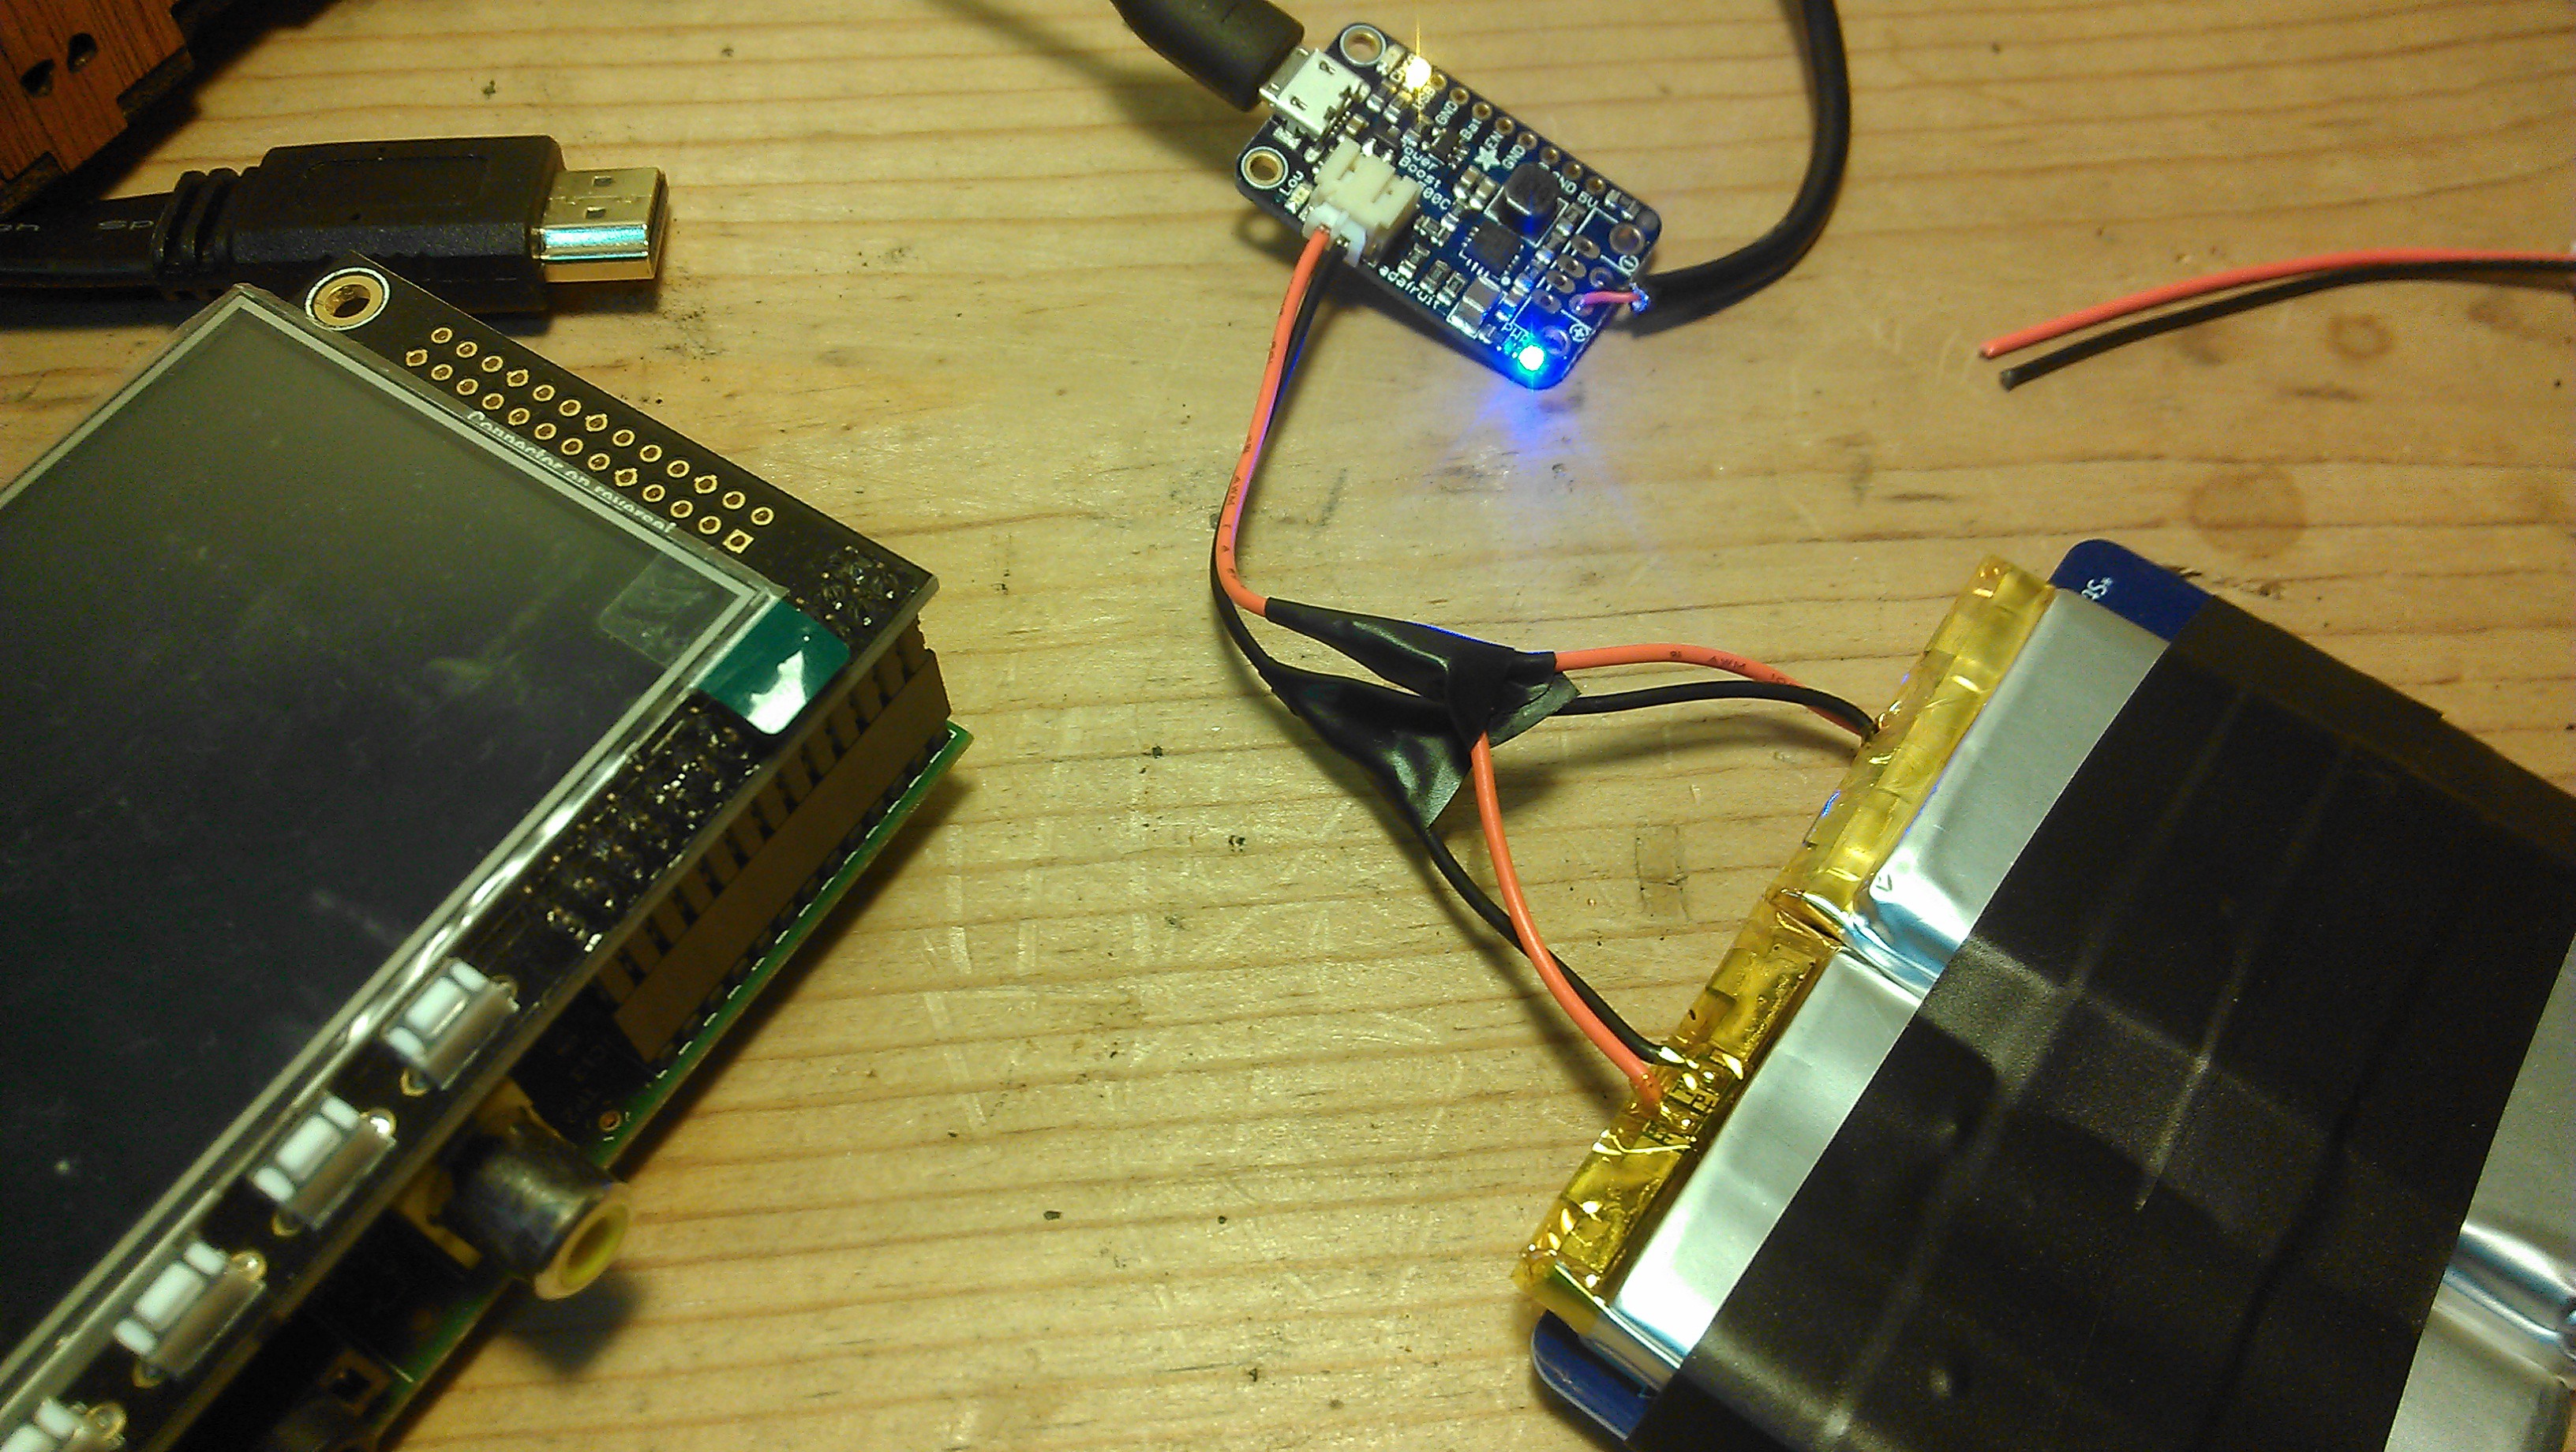


 Nicholas Hill
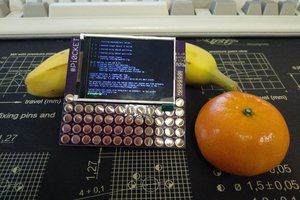
 moosepr
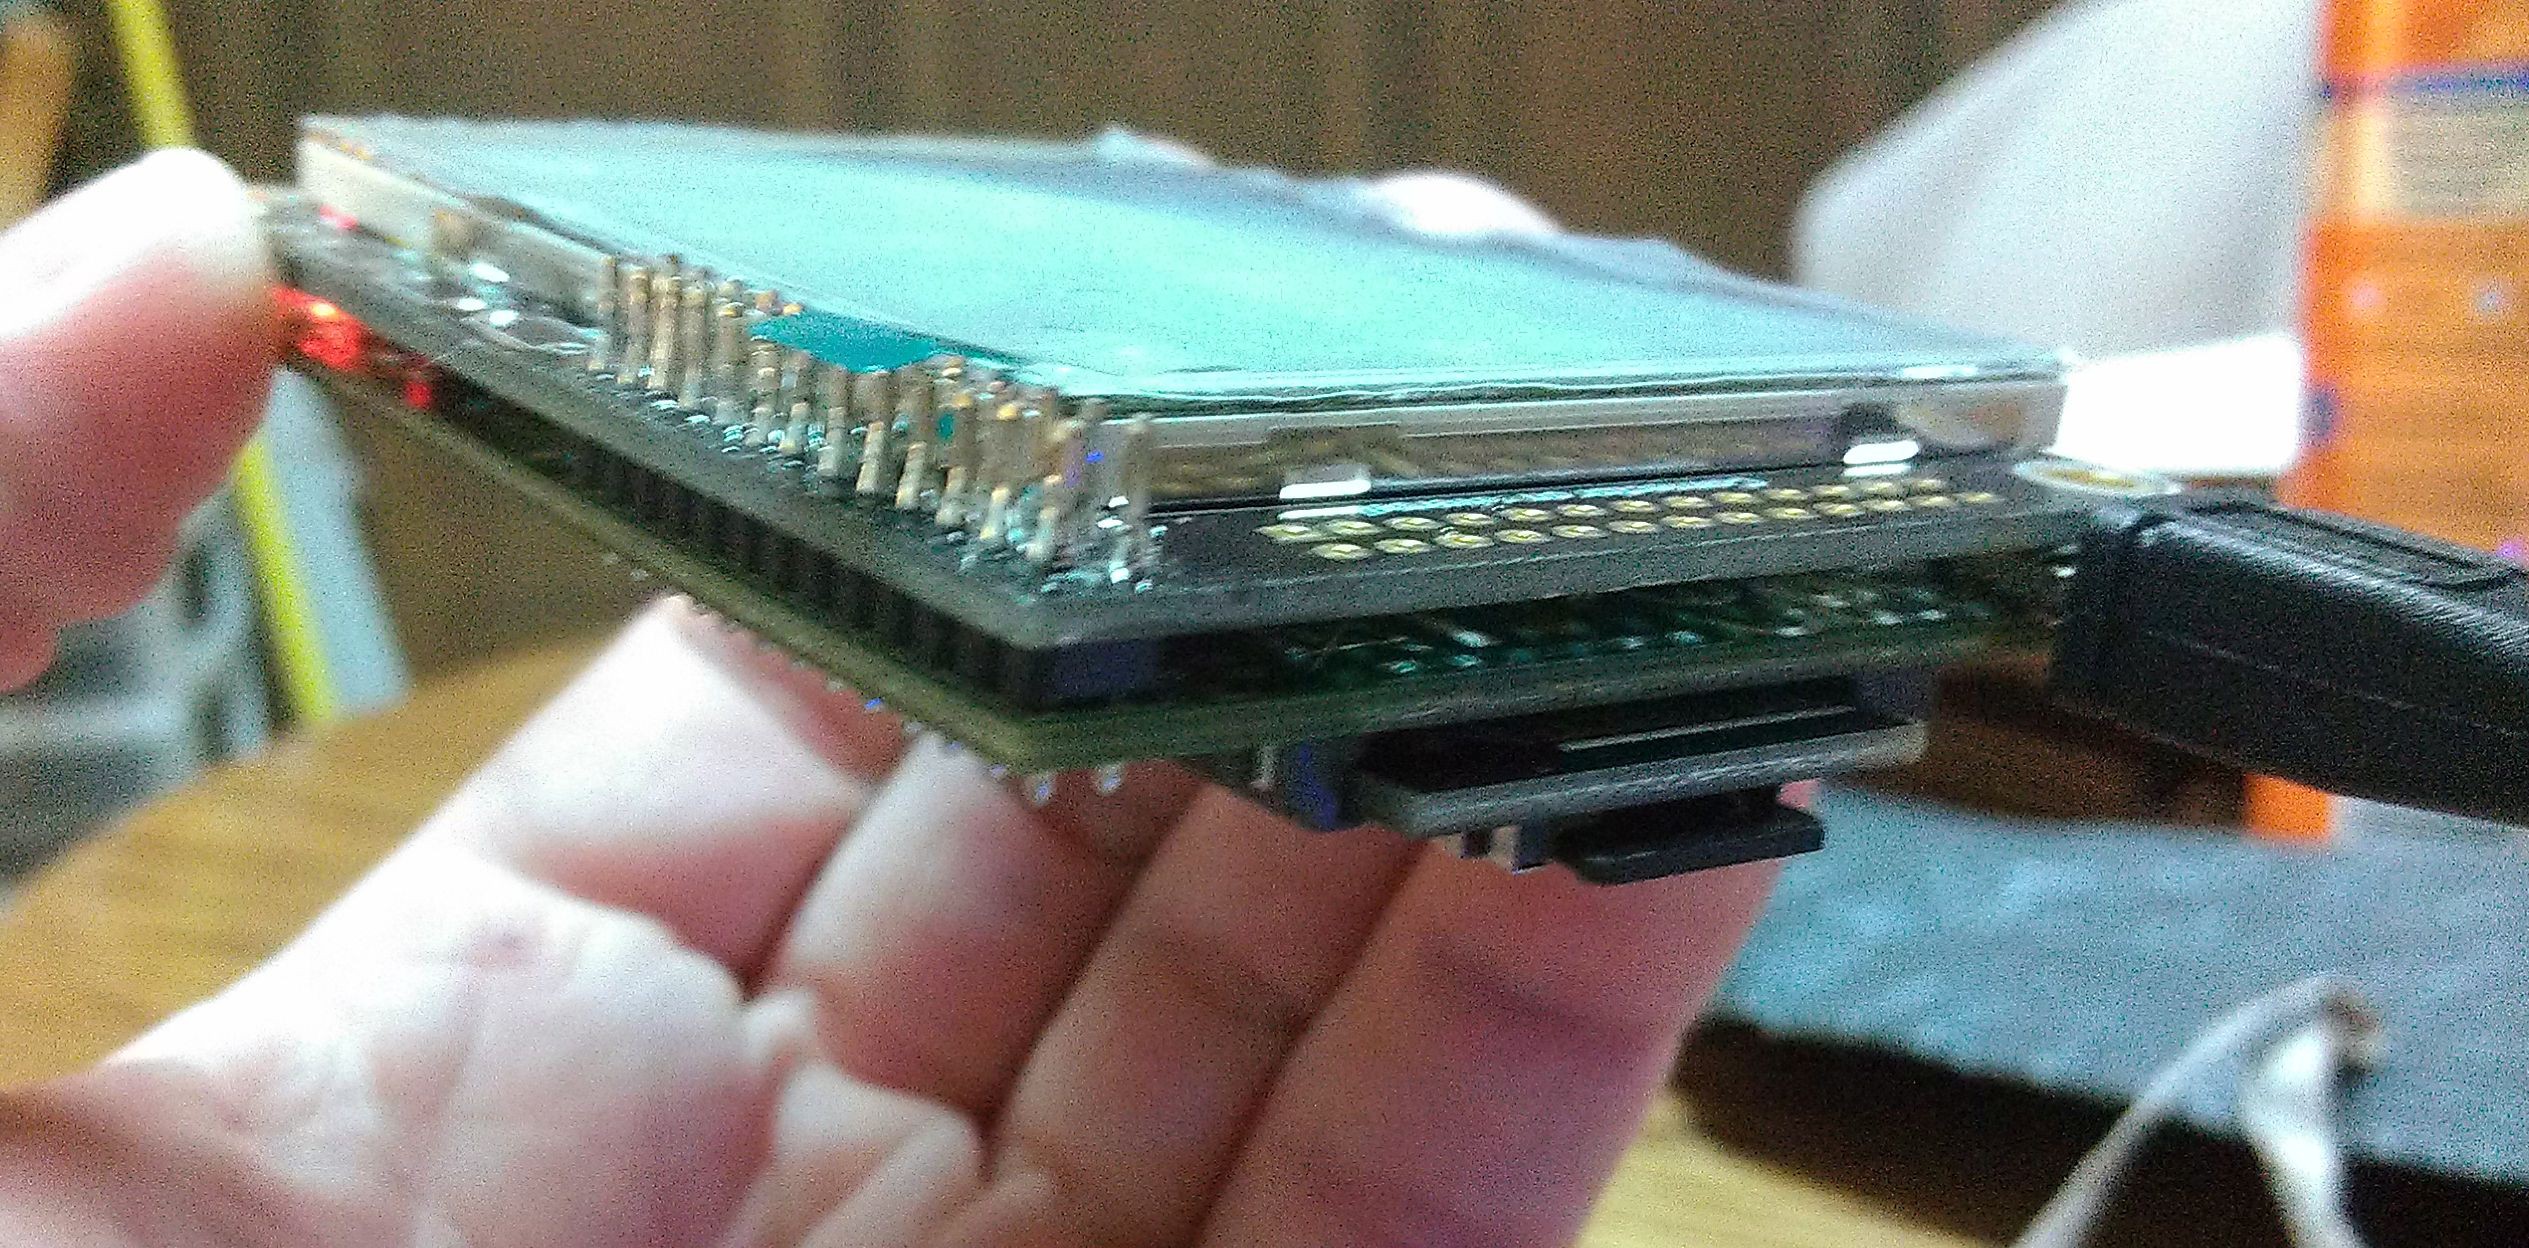
Thanks! Ben Heck is one of my major inspirations. In fact, I plan on desoldering the unnecessary components from the Pi to make the screen and Pi combo as thin as possible, just like ole Ben in his episode on "mini-fying" a Pi based point and shoot camera. He makes everything look so easy