 j0z0r pwn4tr0n
I'm most of the way to finishing this project, but that last 10% is the hardest part. I followed the excellent tutorial posted by Adafruit on making framebuffer copy work with their 2.8 inch screen. It was very in-depth, explaining why every instruction and command was essential for the process. Here's the link if you want to follow/bookmark it:
https://learn.adafruit.com/running-opengl-based-games-and-emulators-on-adafruit-pitft-displays
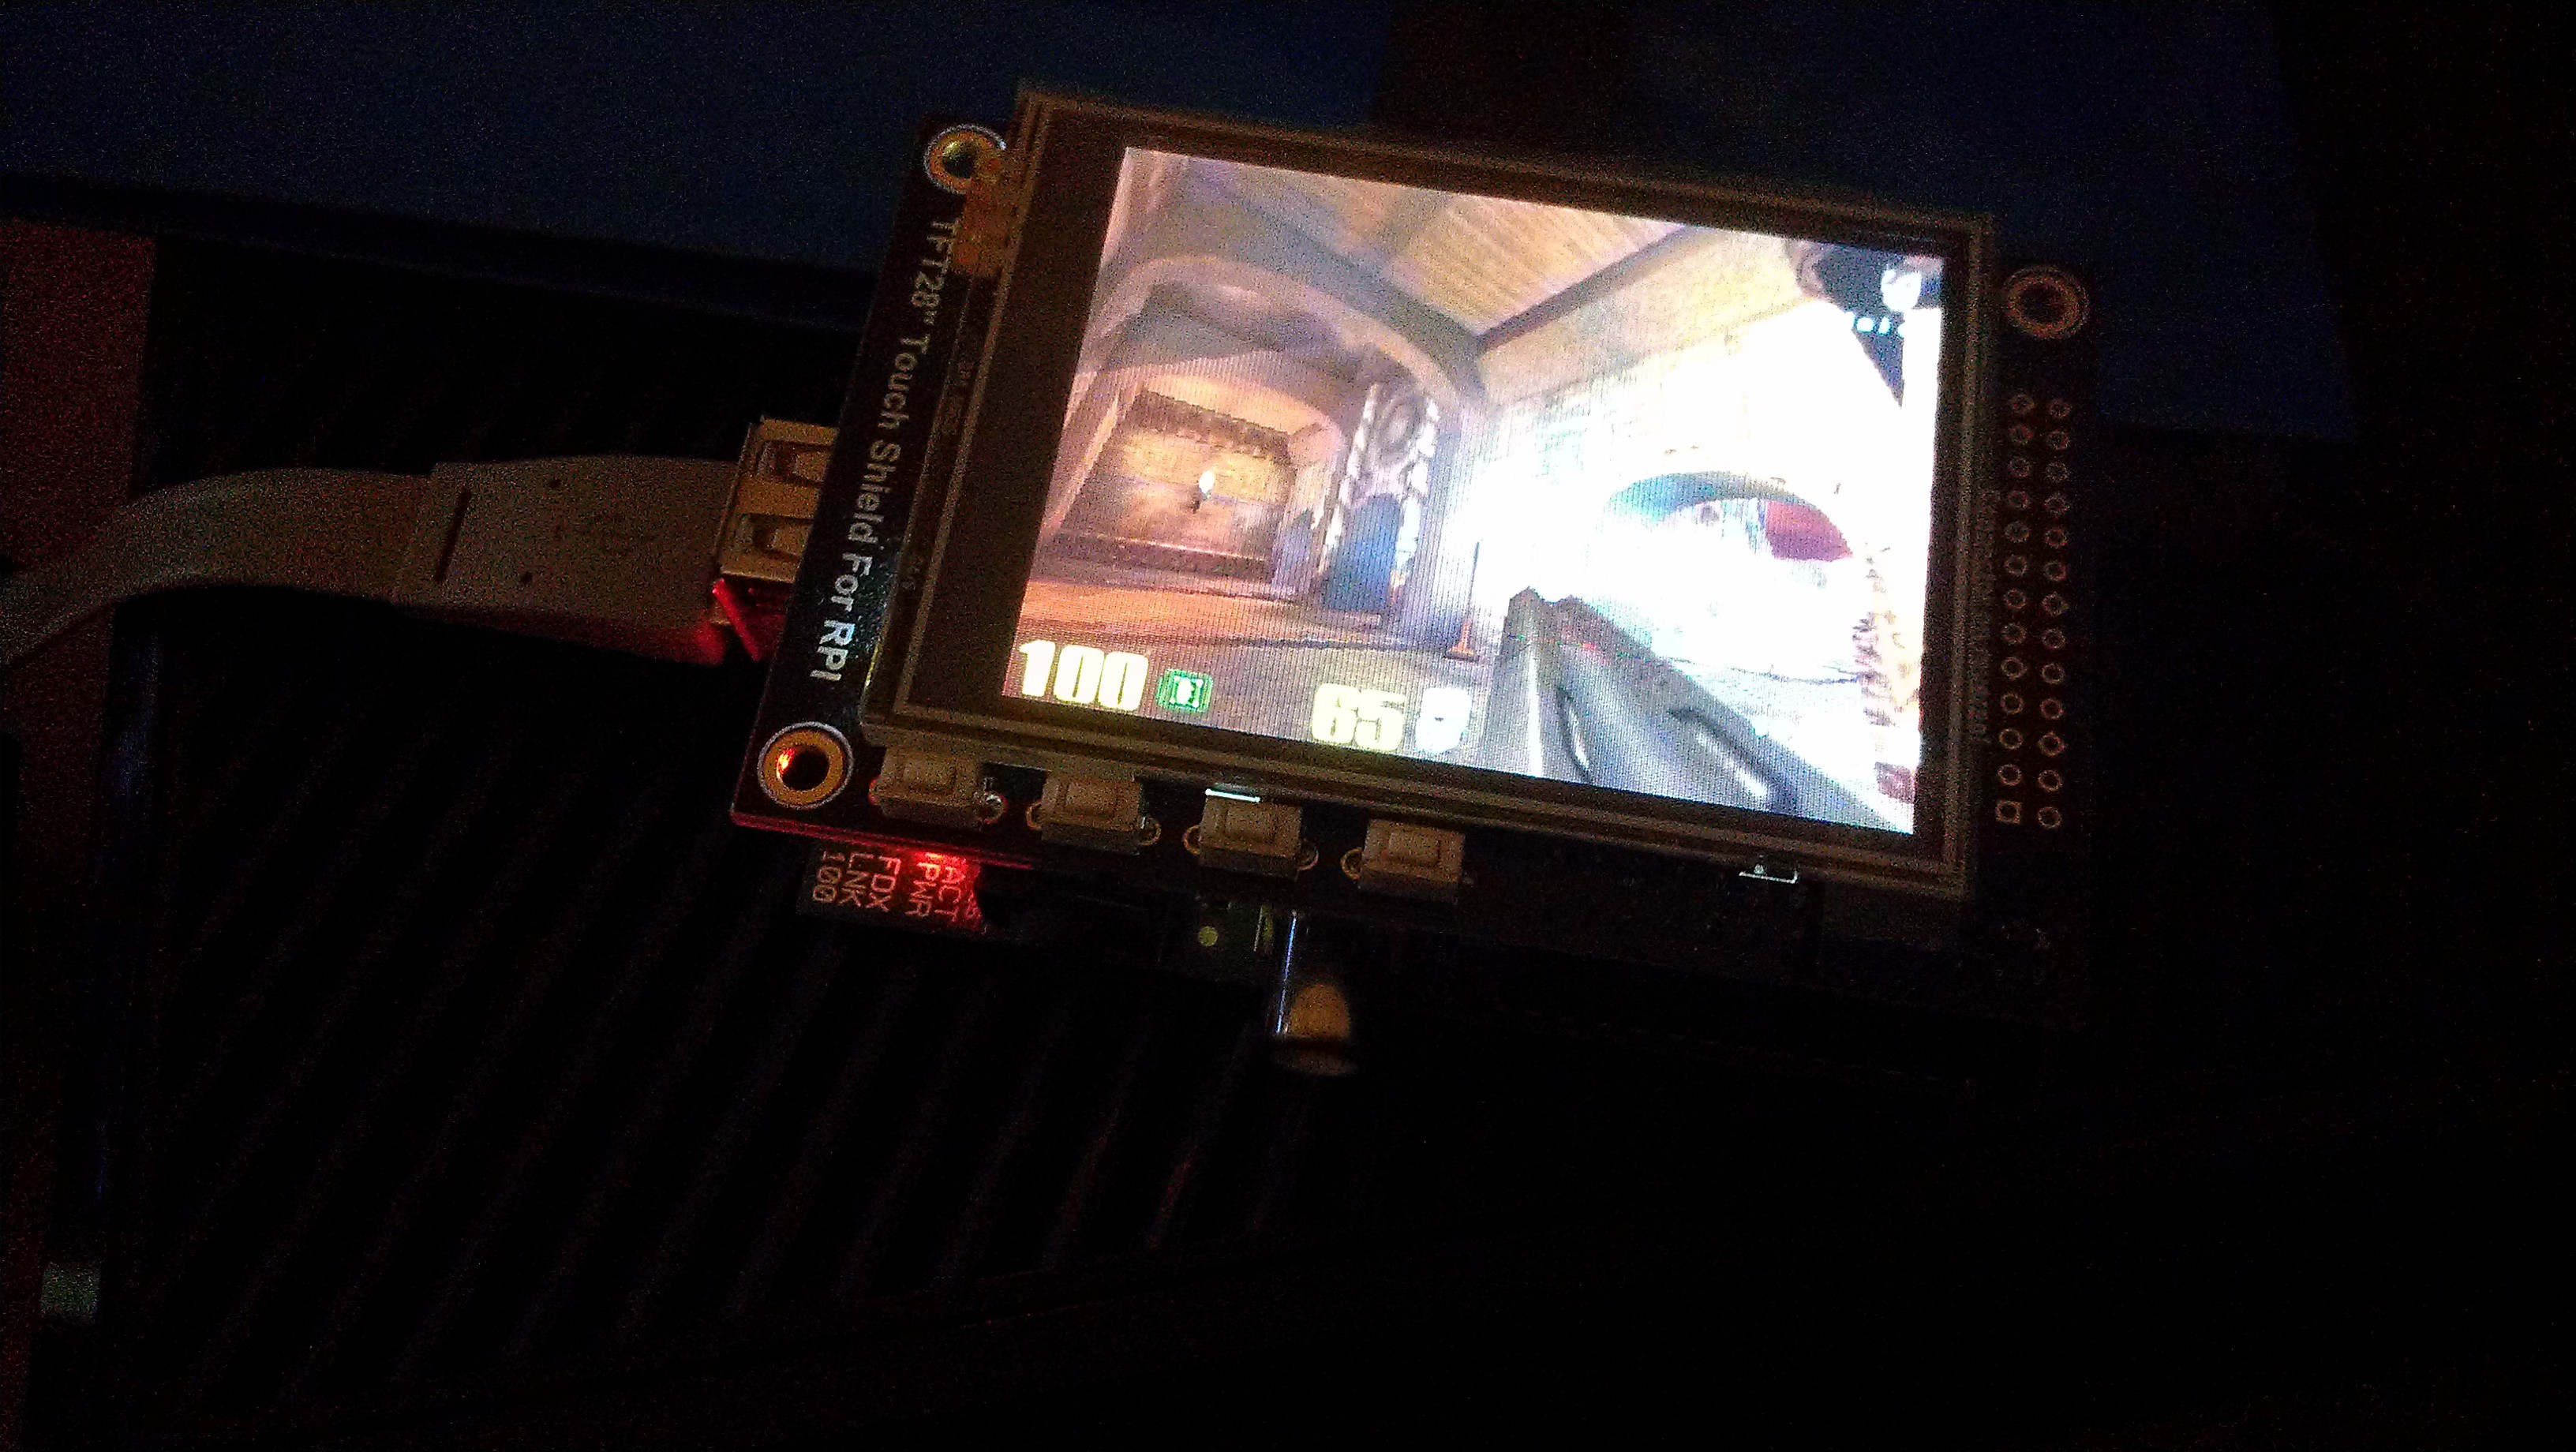
I fired up Quake 3 as soon as I was done installing everything:
It wasn't as clean and easy as Ben Heck made it seem, but it was possible for us mere mortals. Here's the link to Ben Heck's show and the specific episode in which he desoldered the Pi and attached this exact screen:
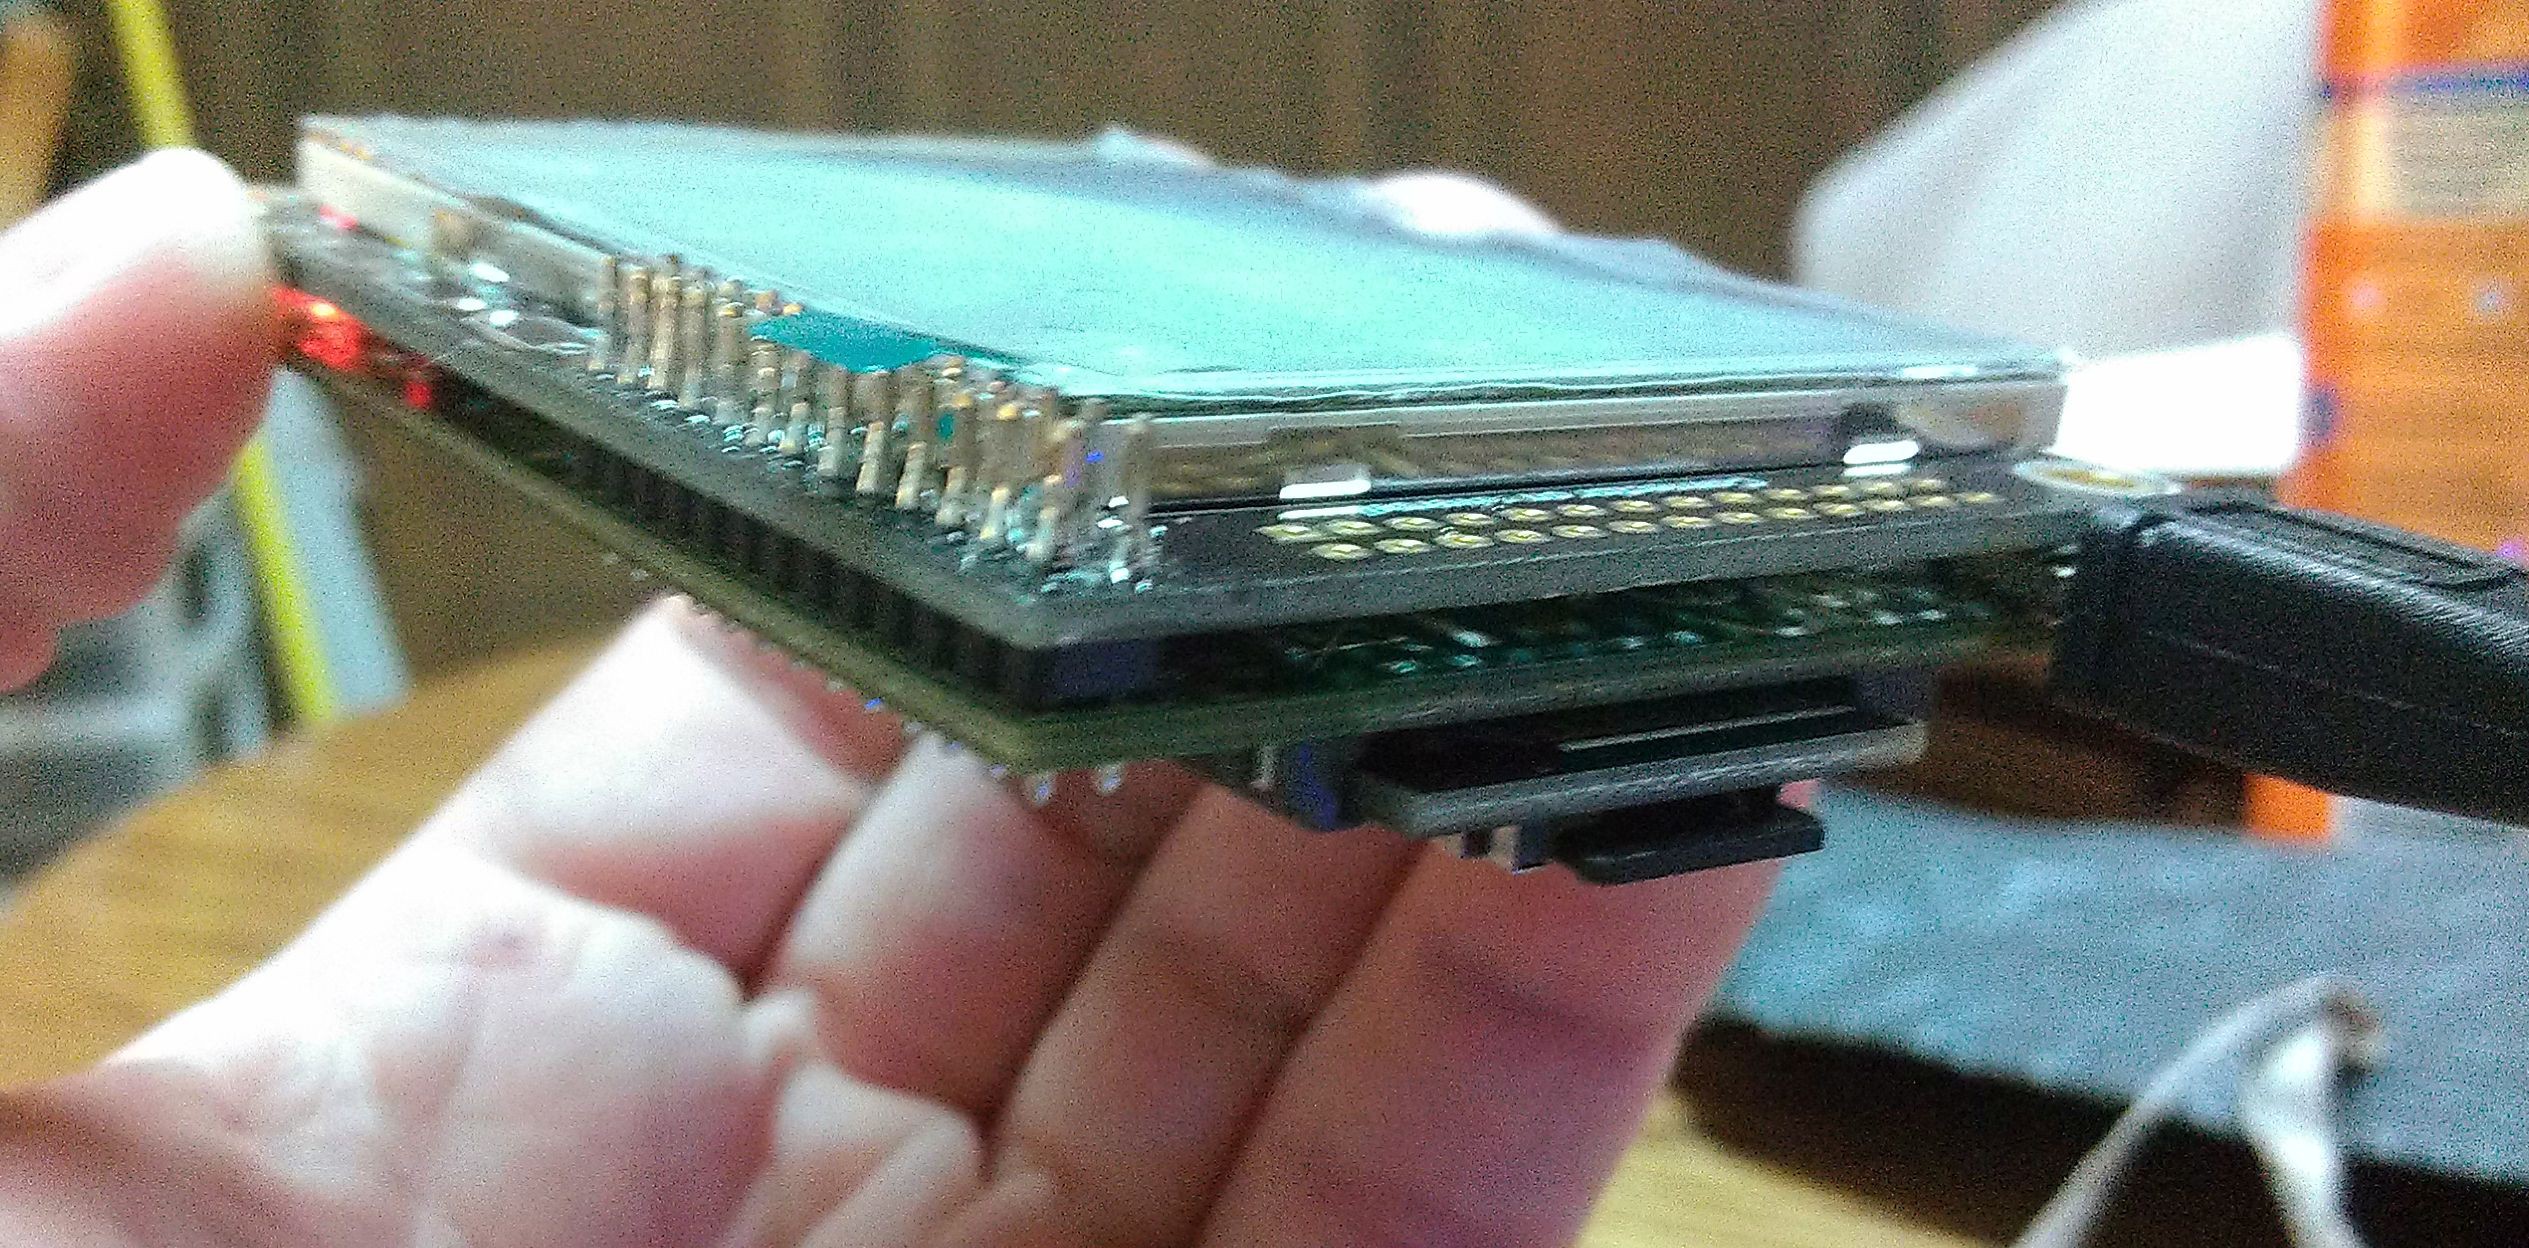
Ben Heck is frequently my inspiration for projects and what is possible. I tried to take some pics of the screen combo once it was soldered up, but the camera wouldn't focus properly on the thin profile of it:
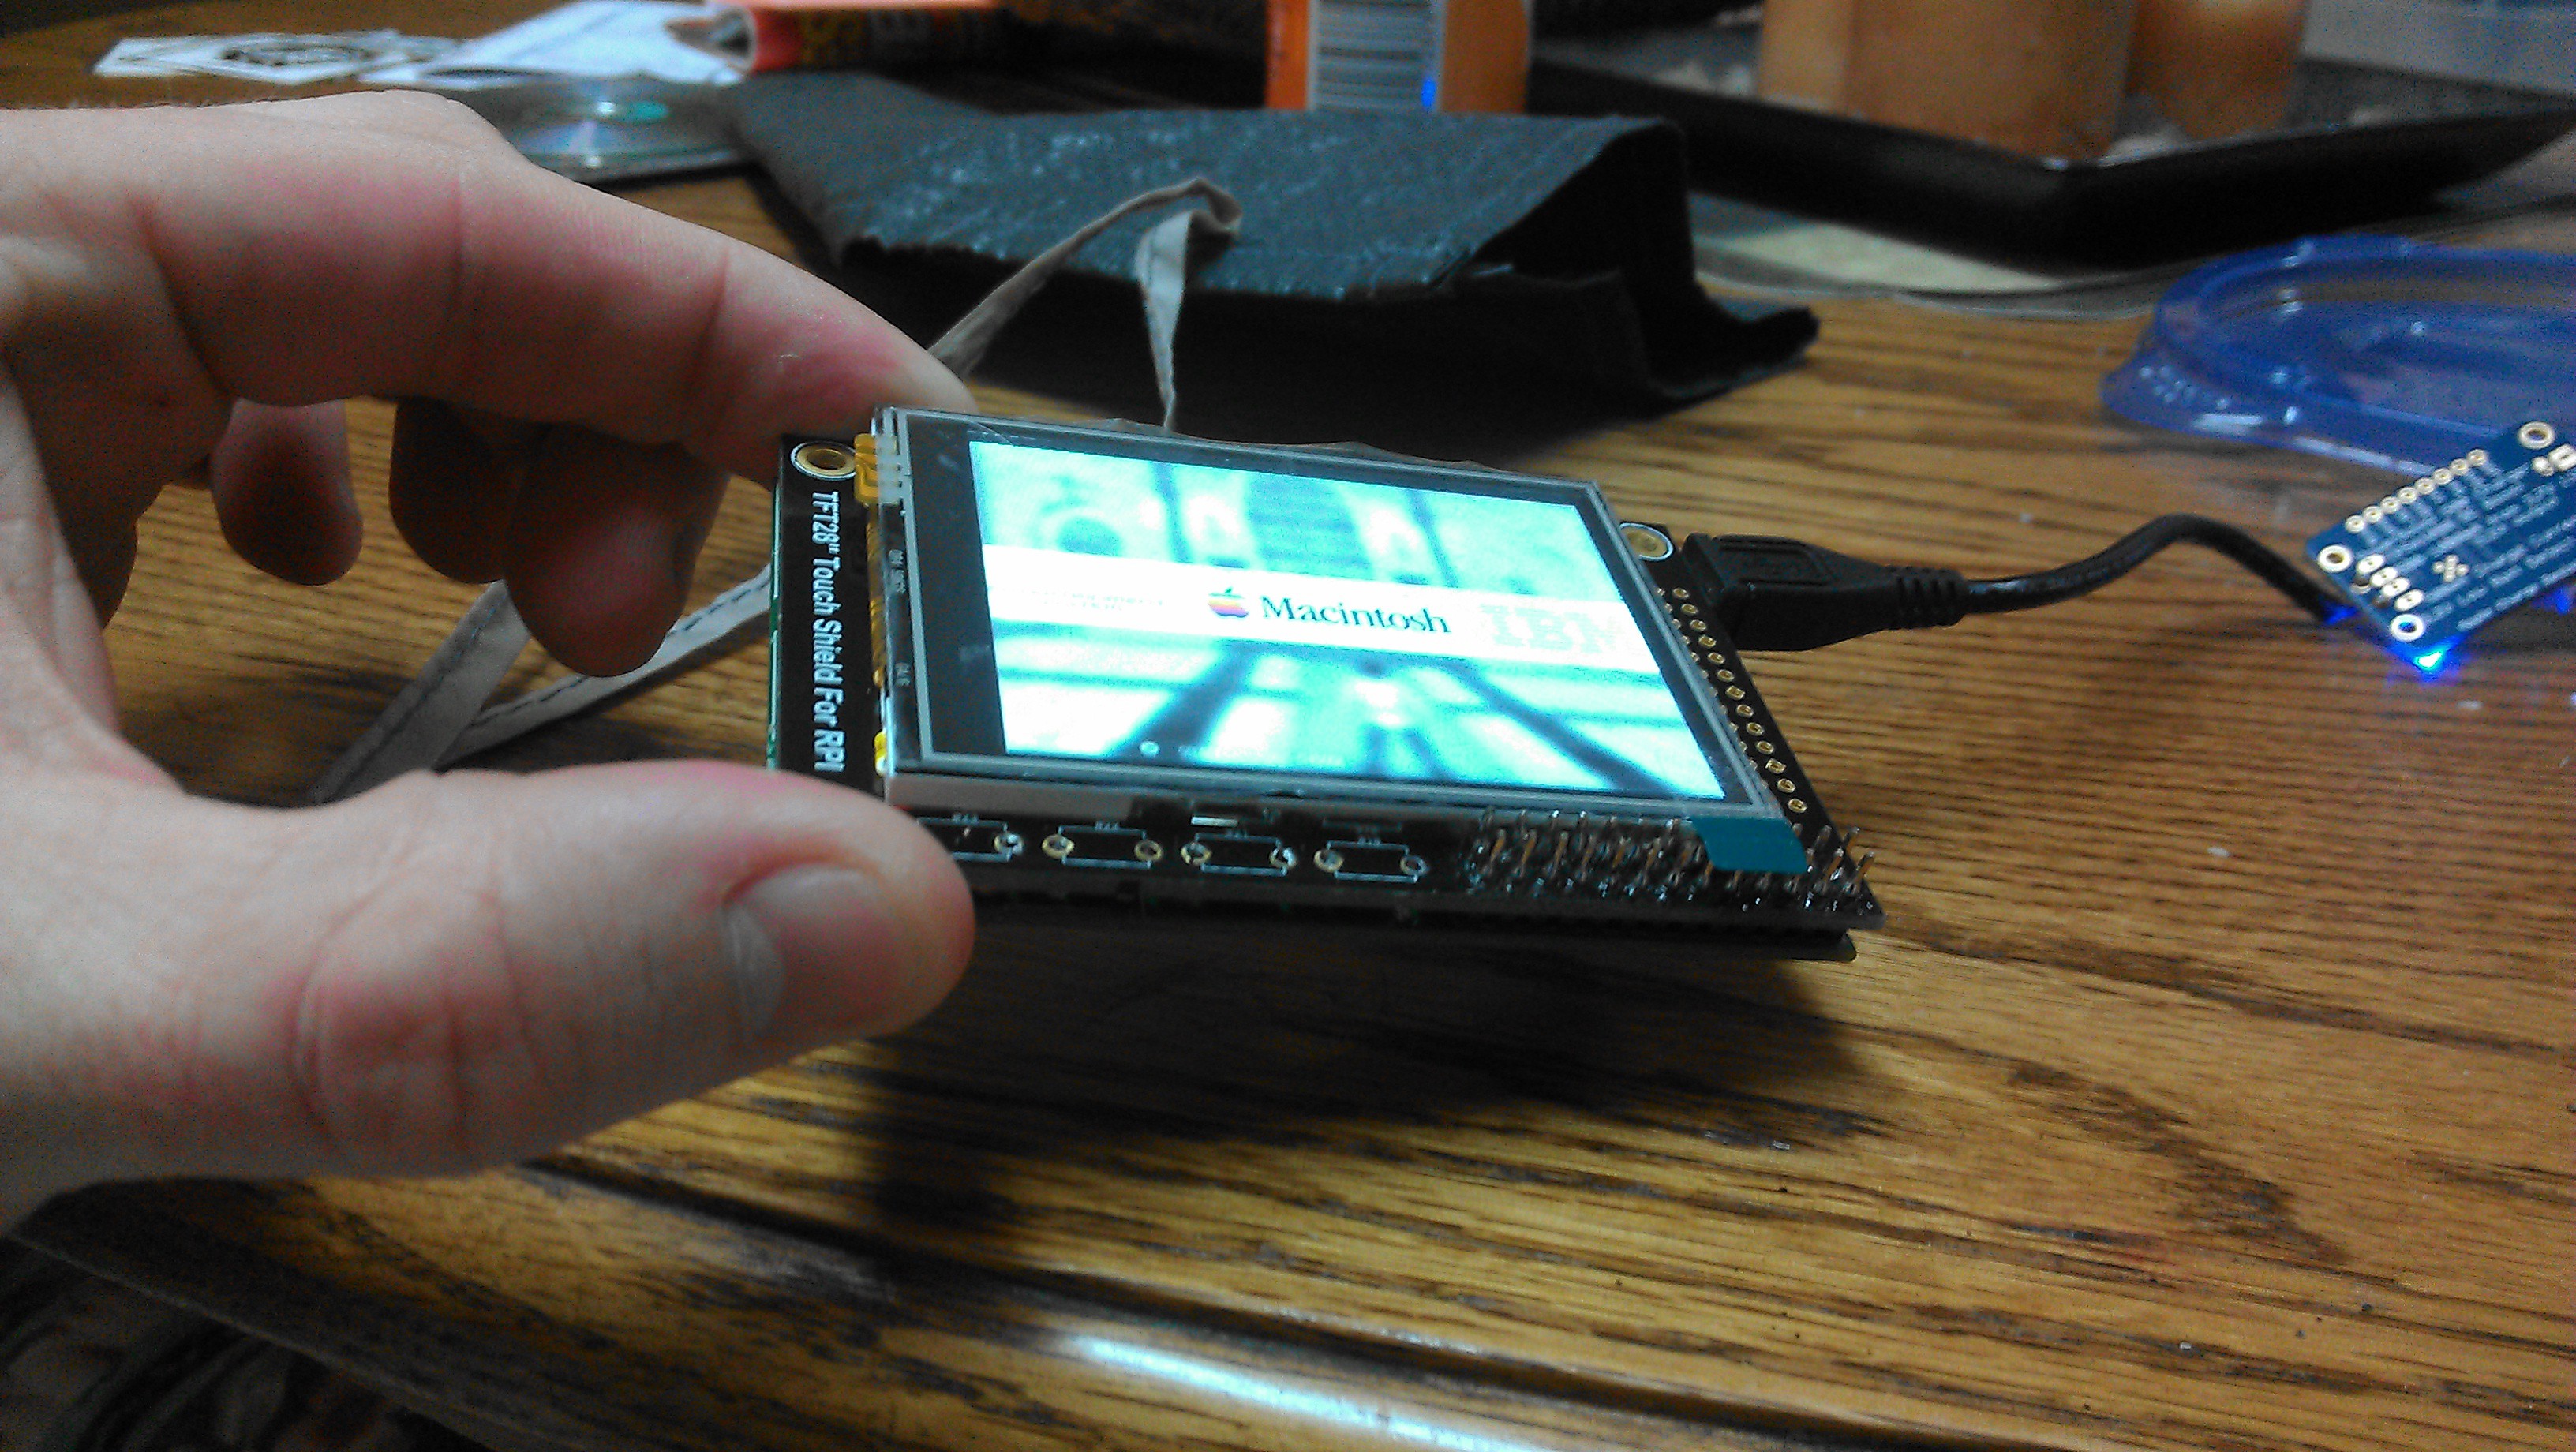
I forgot that I need a USB port for dragging and dropping ROMs as well as configuring the GPIO buttons, so I'm gonna have to put one back on the board, perhaps permanently. I'm not sure when I'll get to work on it more, but I'll keep updates rolling in.
Discussions
Become a Hackaday.io Member
Create an account to leave a comment. Already have an account? Log In.