Close
0%
0%

Pi-Print

A cheap Bluetooth printer for ugly prints.

Similar projects worth following
Quite often during parties, people could use their phone to take not-always-very-artistic pictures. Let's make a printer these photographs deserve.

Send an image file with bluetooth, and print it!

Mainly inspired by the [ch00f] PrintSnap Instant Camera.
http://ch00ftech.com/2014/12/17/printsnap-instant-camera/
and the Polatherm Instant Camera.
http://dkia.at/en/projekte/Polatherm

When I saw the Instant camera of [ch00f], I was amazed by the cheap thermal printer. I like the Raspberry Pi, I already use it for another project. It have a serial port, and even an optional camera module.

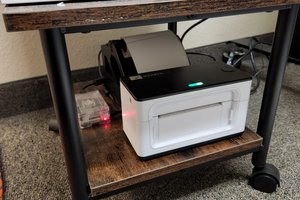
But wait, we all (nearly) have a camera on our phone, with Bluetooth. Why not make a cheap Bluetooth thermal printer !

(Sure you love the proto case)

Soon more to come, in the logs !

  • 1 × Raspberry Pi Model B
  • 1 × Bluetooth USB key
  • 1 × >= 4Go SD card
  • 1 × Serial Thermal Printer CSN - A2, such as the Adafruit one
  • 1 × >= 2A Power supply 5v, such as Battery - 5v/2A regulator

View all 8 components

  • Google code...

    Muth03/18/2015 at 11:33 0 comments

    Hi there,

    To anticipate the soon closure of Google code, here is the GitHub repository for the raspberrypi Java code.

    https://github.com/pierre-muth/blueprinter-pi

    And a big thanks to Adafruit for relaying the project :

    https://blog.adafruit.com/2015/03/13/pi-print-build-a-cheap-bluetooth-printer-for-ugly-prints-piday-raspberrypi-raspberry_pi/

  • Java Adventure

    Muth01/22/2015 at 16:48 0 comments

    Java adventure:

    I personally know Java better than other language such as python or C/C++. That's why I started to code this project in Java. Since Oracle provided their virtual machine, the Raspberry pi is reasonably capable to run Java. To do so, I installed a Samba server on the Raspberry pi, and use Eclipse IDE on another computer (on windows...). Eclipse take care of the compilation, and we just have to launch the code, remotely with ssh or locally, on the Raspberry pi.

    I used also a Google code SVN repository : link

    Remember the code I 'produce' is quick and dirty. I wanted to see something out of the prototype...

    Control the Thermal printer:

    As mentioned on hardware part, the tricky part of interfacing the A2 thermal printer is data flow sent over the serial port. I started first by estimated the black dots on each lines, and wait the corresponding heating time. I used the system nanoTime() to sleep the code more precisely, but I'm still not sure of accuracy…

    for (int i = 0; i < length; i++) {
        if (i%255 == 0) {  //we can only send by 255 lines max
            int remainingLines = length-i;
            if (remainingLines > 255) remainingLines = 255;
            printLineCommand = 
              new byte[] {0x12, 0x2A, (byte) remainingLines, 48};
                                            
            for (int j = 0; j < printLineCommand.length; j++) {
                start = System.nanoTime();
                serial.write(printLineCommand[j]);
            }
         }
                                    
         bitONCount = heatingDotsMax -1;
         heatingStepsCount = 0;                       
         for (int j = 0; j < 48; j++) {
             byte imageByte = imageBytes[(i*48)+j];
             serial.write(imageByte);
             bitONCount += Utils.countBitOn(imageByte);
             if (bitONCount >= heatingDotsMax) {
                 bitONCount = 0;
                 heatingStepsCount++;
             }
         }
                                    
         switch (heatingStepsCount) {
         case 1:
             heatingTimeUs = 2000;
             break;
         case 2:
             heatingTimeUs = 4800;
             break;
         case 3:
             heatingTimeUs = 10000;
             break;
         case 4:
             heatingTimeUs = 15000;
             break;
         case 5:
             heatingTimeUs = 20000;
             break;
         case 6:
             heatingTimeUs = 25000;
             break;
         default:
             heatingTimeUs = 0;
             break;
         }
                                    
         if (heatingTimeUs > 0) {
            start = System.nanoTime();
            do {
                end = System.nanoTime();
            } while(start + (heatingTimeUs*1000) >= end);
                                            
        }
    }

    It was not very easy to determine correctly these delays, and finally some picture condition still makes the printer not behave correctly.

    For the next step, I cabled one of the step motor driving line on an input of the raspberry pi. I had some doubt about the ability of Java to handle interrupt at about 200Hz. But not at all, thanks to the nice Pi4J library, every transition result to an event, makes easy to count the printed number of line.

    if (lineSent > 50) {  //start to fill the buffer with 50 lines
        int i=0;
        while ( (lineSent - linePrinted.get()) > 80 && i < 20) {
        // if we sent more than 80 lines in advance, wait a millisecond...
            try { 
                sleep(1);       
                i++;
             } catch (InterruptedException e) {   }
        }
    }

    With this method I could experiment more easily the printer parameters. I found for the moment these parameter gives reasonably good results:

    Setting Control Parameter Command: ( ESC 7 n1 n2 n3 )
    heatingMaxDot = 11; ((11+1) *8) = 96 dots, so max 4 heats for a black 384 dots line
    heatTime = 70;
    heatInterval = 250;

    Set printing density: (DC2 # n) I didn't see clearly differences when I change these parameter (??!)
    printDensity
    = 0;
    printBreakTime = 0;

    Listen for new file in a folder:

    As the Bluetooth transfer is done in the background, we have to observe the destination folder, and process new images. Java implements some strategies for that with WatchService on files. I took the examples on Oracle :

    try {
        watcher = FileSystems.getDefault().newWatchService();
    } catch (IOException e1) {
         e1.printStackTrace();
    }
    
    Path dir = Paths.get("/home/pi/project/piprint/");
    
    try {
        key = dir.register(watcher, ENTRY_CREATE, ENTRY_MODIFY);
    } catch (IOException e) {
        e.printStackTrace();
    }
    
    WatchKey akey;
    for(;;) {
        try {
            akey = watcher.take();
            for (WatchEvent<?> event: key.pollEvents()) {
                @SuppressWarnings("unchecked")
                WatchEvent<Path> ev = (WatchEvent<Path>)event;
     fileToPrint = ev.context().toString();
    ...
    Read more »

  • Bluetooth Adventure

    Muth01/22/2015 at 09:59 1 comment

    Bluetooth and RaspberryPi:

    Fortunately, a lot of Bluetooth USB keys are supported by the Raspbian linux distribution. Some Goggling and you find how to install it:

    It starts with the installs :

    sudo apt-get install bluetooth bluez obexpushd

    Followed by the config.

    sudo hciconfig hci0 name "my_funny_name"
    This is to change the name seen by the other devices when scanning.

    sudo hciconfig hci0 piscan
    This is to make it discover-able

    sudo bluetooth-agent -c NoInputNoOutput 1234
    This is to make it pair-able with the code "1234" and with no confirmation on the raspberry side. (I found it's quite hard to find information on bluetooth-agent command line option...)

    sudo obexpushd -B -o /home/pi/project/piprint/
    And finally start the file server, which auto accept file and save them in the specified folder.

    To make it each time after boot, I edited the /etc/rc.local file. By adding these lines:

    sleep 2
    sudo bluetooth-agent -c NoInputNoOutput 1111 &
    sleep 2
    sudo hciconfig hci0 piscan &
    sleep 2
    sudo obexpushd -B -o /home/pi/project/piprint/ &
    sleep 2
    cd /home/pi/project/piprint/bin
    sudo java -classpath .:/home/pi/project/piprint/lib/'*' piprint.Launcher

    exit 0

    Last lines are to launch the printer program, that I'll describe a bit later.

  • Thermal Printer adventure

    Muth01/21/2015 at 18:41 0 comments

    The thermal Printer:

    I was first fascinated by the cheap thermal printer made by Cashinotech. Their model CSN-A2 can be found quite easily. By seeing the datasheet link, the printer might be compatible with ESC/POS protocol. It use a serial port at 115200 baud, TTL level.

    I start to connect a scope on the serial lines. In my case the pull-up on TX and RX are not 5v but 3.3v. I can then safely connect it to the RaspberryPi serial port.

    Then I faced to the behavior of the printer when you want to print a bitmap image. It takes me some time to understand why the printer speed is not constant. It implies also to understand correctly the parameters, which is not very easy from the datasheet.

    Many faced to this problem and it's written on the Adafruit arduino code, there is no flow control to avoid overrunning the printer's buffer. If we send data too fast, the printer could either crash, print garbage characters, or just jump into newer data. If we send data too slowly, the printer wait and makes some stops, and the printed image have some white lines.

    The printing module inside the printer is a "FTP-628MCL101" link. By combining the datasheets, we can suppose the meaning of the configuration parameters of the printer. The "max heating dots" is apparently the amount of black dot (heated) can be heated at ones. A line is 384 dots, if you put this parameter to 64 as the default ((7+1) *8), it means that for a black line, it takes 6 heating steps. Which a step time is the parameter "heating time" plus "heating interval". We cannot heat all the 384 dots at ones, probably due to the current peak. So here we can try to predict the printing speed to not overrun the data buffer, by counting the black dots sent to the printer, and make some stops. That is for the case when the printer is slower than the data rate. But when there is blank of very light parts on a bitmap, I face the inverse where the printer stops to wait data.

    I found someone who also dig quite far on this printer , and he found a software link to change the serial speed from 19.2 Kbaud to 115.2 Kbaud. In addition, it also allow to change the character set from chinese to international.

    Even knowing that, it is very hard to find the right delays and I still faced to wrong behaviour. I had a better look to the board of the printer.


    The micro used is a NXP LPC1114. The stepper motor driver is an Allegro A3906. The motor makes a step for each printed line. I connected one of the 4 motor driving input lines to a scope. To do so, I used the brutal method. I scratch the copper line to solder directly a wire. (And use an unused pad to secure it)


    And yes: each transition correspond to a step. "Bingo" I have a way to know how much line is printed, and have to take care of not sending too much bytes in advance.

View all 4 project logs

Enjoy this project?

Share

Discussions

Muth wrote 07/29/2015 at 09:23 point

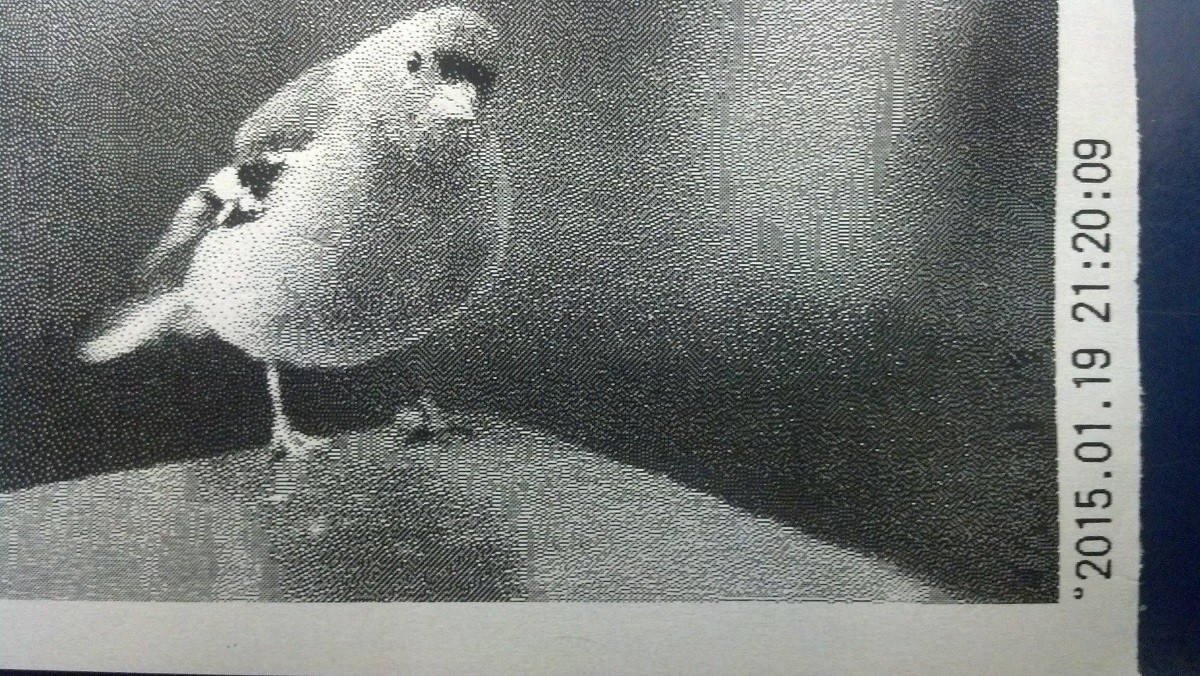
Sorry to disappoint you, I actually use the error diffusion Floyd–Steinberg dithering method.

I though to really hack the thermal module to have grays, but the thermal pads are driven 6 by 6...

  Are you sure? yes | no

matseng wrote 07/29/2015 at 09:57 point

Ah, so the more bit that are on in the array that are turned on the longer you need to supply current to them.  Is this because there's just a limited amount of current that is shared between all elements so this compensation is necessary?

  Are you sure? yes | no

Muth wrote 07/29/2015 at 12:19 point

I take back a look to the printing module documentation, and my answer was not completely accurate. ( http://www.konkurel.ru/fujitsu/tp/pdftp/FTP-628/FTP-628MCL101_50.pdf )

To transfer the on/off pixel of one line, it is done with a latch register. And the heating done by blocks of 64 pixels. In the config of the printer however, the heating number and timings is fix for all pixels. To perform gray scale, it could be possible to heat pixels one by one, but the printing will be very long :)

I tested several config, it is not possible to heat all pixels in one time due to current limitation.

  Are you sure? yes | no

matseng wrote 07/29/2015 at 08:27 point

Interesting... so you actually do a more or less real gray scale for each dot by varying the on-time of the thermal elements.  Thats nice.

I work with payment terminals for my day job and occasionally need to print photo images on them, but I have to resort to plain b/w dithering and have staff tweak the image contrast and brightness of the images to get them as good as possible after dithering and printing on the thermal printer of the terminals.


  Are you sure? yes | no

Similar Projects

Does this project spark your interest?

Become a member to follow this project and never miss any updates