 Muth
MuthJava adventure:
I personally know Java better than other language such as python or C/C++. That's why I started to code this project in Java. Since Oracle provided their virtual machine, the Raspberry pi is reasonably capable to run Java. To do so, I installed a Samba server on the Raspberry pi, and use Eclipse IDE on another computer (on windows...). Eclipse take care of the compilation, and we just have to launch the code, remotely with ssh or locally, on the Raspberry pi.
I used also a Google code SVN repository : link
Remember the code I 'produce' is quick and dirty. I wanted to see something out of the prototype...
Control the Thermal printer:
As mentioned on hardware part, the tricky part of interfacing the A2 thermal printer is data flow sent over the serial port. I started first by estimated the black dots on each lines, and wait the corresponding heating time. I used the system nanoTime() to sleep the code more precisely, but I'm still not sure of accuracy…
for (int i = 0; i < length; i++) {
    if (i%255 == 0) {  //we can only send by 255 lines max
        int remainingLines = length-i;
        if (remainingLines > 255) remainingLines = 255;
        printLineCommand =
          new byte[] {0x12, 0x2A, (byte) remainingLines, 48};

        for (int j = 0; j < printLineCommand.length; j++) {
            start = System.nanoTime();
            serial.write(printLineCommand[j]);
        }
     }

     bitONCount = heatingDotsMax -1;
     heatingStepsCount = 0;
     for (int j = 0; j < 48; j++) {
         byte imageByte = imageBytes[(i*48)+j];
         serial.write(imageByte);
         bitONCount += Utils.countBitOn(imageByte);
         if (bitONCount >= heatingDotsMax) {
             bitONCount = 0;
             heatingStepsCount++;
         }
     }

     switch (heatingStepsCount) {
     case 1:
         heatingTimeUs = 2000;
         break;
     case 2:
         heatingTimeUs = 4800;
         break;
     case 3:
         heatingTimeUs = 10000;
         break;
     case 4:
         heatingTimeUs = 15000;
         break;
     case 5:
         heatingTimeUs = 20000;
         break;
     case 6:
         heatingTimeUs = 25000;
         break;
     default:
         heatingTimeUs = 0;
         break;
     }

     if (heatingTimeUs > 0) {
        start = System.nanoTime();
        do {
            end = System.nanoTime();
        } while(start + (heatingTimeUs*1000) >= end);

    }
}
It was not very easy to determine correctly these delays, and finally some picture condition still makes the printer not behave correctly.
For the next step, I cabled one of the step motor driving line on an input of the raspberry pi. I had some doubt about the ability of Java to handle interrupt at about 200Hz. But not at all, thanks to the nice Pi4J library, every transition result to an event, makes easy to count the printed number of line.
if (lineSent > 50) {  //start to fill the buffer with 50 lines
    int i=0;
    while ( (lineSent - linePrinted.get()) > 80 && i < 20) {
    // if we sent more than 80 lines in advance, wait a millisecond...
        try {
            sleep(1);
            i++;
         } catch (InterruptedException e) {   }
    }
}
With this method I could experiment more easily the printer parameters. I found for the moment these parameter gives reasonably good results:
Setting Control Parameter Command: ( ESC 7 n1 n2 n3 )
heatingMaxDot = 11; ((11+1) *8) = 96 dots, so max 4 heats for a black 384 dots line
heatTime = 70;
heatInterval = 250;
Set printing density: (DC2 # n) I didn't see clearly differences when I change these parameter (??!)
printDensity = 0;
printBreakTime = 0;
As the Bluetooth transfer is done in the background, we have to observe the destination folder, and process new images. Java implements some strategies for that with WatchService on files. I took the examples on Oracle :
try {
    watcher = FileSystems.getDefault().newWatchService();
} catch (IOException e1) {
     e1.printStackTrace();
}

Path dir = Paths.get("/home/pi/project/piprint/");

try {
    key = dir.register(watcher, ENTRY_CREATE, ENTRY_MODIFY);
} catch (IOException e) {
    e.printStackTrace();
}

WatchKey akey;
for(;;) {
    try {
        akey = watcher.take();
        for (WatchEvent<?> event: key.pollEvents()) {
            @SuppressWarnings("unchecked")
            WatchEvent<Path> ev = (WatchEvent<Path>)event;
            fileToPrint = ev.context().toString();
            screen.display(fileToPrint);
        }
        akey.reset();
    } catch (InterruptedException x) {
        return;
    }
}
And here I faced another problem. When a file is transmitted, the Obex system on the background start by create the file, and then, during transfer, re-open the file, save what we already received, and close it. It redo that until the transfer is finished. That means we received event even if the transfer is not finished. That's why I choose to have a button to launch the printing. I have to find a way to detect when the transfer is finished to print the file automatically..
Convert the image to Black OR white: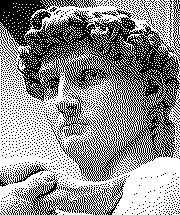
For the moment, image processing is limited to re-size and rotate the image, convert in gray scale, and compute the dithering. The rotation/re-size/gray-scale is implemented with Graphic2D (.rotate(Math.PI/2); and the .createGraphics() of a new BufferedImage).
For dithering, I used the error diffusion Floyd–Steinberg dithering method. It is very efficient, but within Java, image had to be converted to byte arrays :
.
final BufferedImage monoImageRotated =
new BufferedImage(resizedImageWidth, resizedImageLength,
BufferedImage.TYPE_BYTE_GRAY);
g = monoImageRotated.createGraphics();
g.rotate(Math.PI/2);
g.drawImage(monoImageresized, 0, -resizedImageWidth,
resizedImageLength, resizedImageWidth, null);
g.dispose();
pixList = new int[resizedImageLength * resizedImageWidth ];
int[][] pixArray2D =
new int[resizedImageWidth][resizedImageLength];
int[][] pixArray2Ddest =
new int[resizedImageWidth][resizedImageLength];
monoImageRotated.getData().getPixels(0, 0,
resizedImageWidth, resizedImageLength, pixList);
// init the arrays
for (int i = 0; i < pixList.length; i++) {
pixArray2D[i%resizedImageWidth][i/resizedImageWidth] =
(int) ((pixList[i]));
pixArray2Ddest[i%resizedImageWidth][i/resizedImageWidth] = 0;
}
int oldpixel, newpixel, error;
boolean nbottom, nleft, nright;
// dithering
for (int y=0; y<resizedImageLength; y++) {
nbottom=y<resizedImageLength-1;
for (int x=0; x<resizedImageWidth; x++) {
nleft = x>0;
nright = x<resizedImageWidth-1;
oldpixel = pixArray2Ddest[x][y] + pixArray2D[x][y];
if (oldpixel<brightnessThreshold) newpixel = 0;
else newpixel = 255;
pixArray2Ddest[x][y] = newpixel;
error = oldpixel-newpixel;
if (nright) pixArray2Ddest[x+1][y] += 7*error/16;
if (nleft&&nbottom)
pixArray2Ddest[x-1][y+1]+= 3*error/16;
if (nbottom) pixArray2Ddest[x][y+1] += 5*error/16;
if (nright&&nbottom)
pixArray2Ddest[x+1][y+1]+= error/16;
}
}
// Make a 1D array
for (int i = 0; i < pixList.length; i++) {
pixList[i] =
pixArray2Ddest[i%resizedImageWidth][i/resizedImageWidth];
}
// Makes 1dot = 1bit of the Byte array
result = new byte[(resizedImageWidth/8)*resizedImageLength];
int mask = 0x01;
for (int i = 0; i < result.length; i++) {
for (int j = 0; j < 8; j++) {
mask = 0b10000000 >>> j;
if ( (byte)(pixList[(i*8)+j]) == 0 ) {
result[i] = (byte) (result[i] | mask);
}
}
}
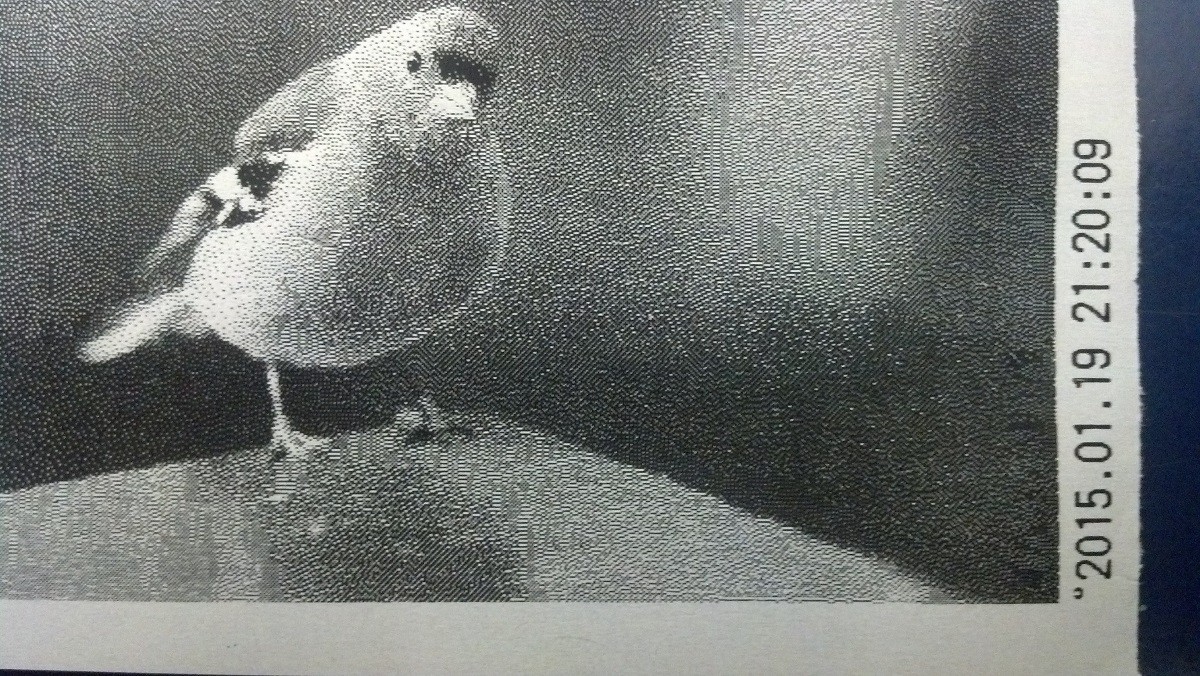
return result;And the result :
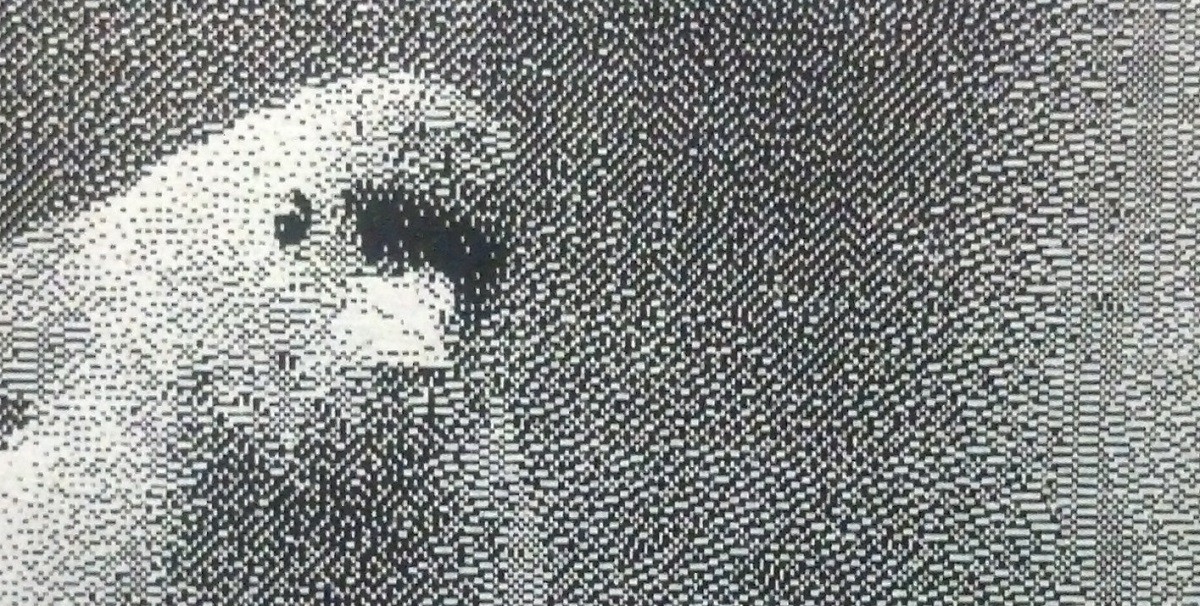
Close-up:
Discussions
Become a Hackaday.io Member
Create an account to leave a comment. Already have an account? Log In.