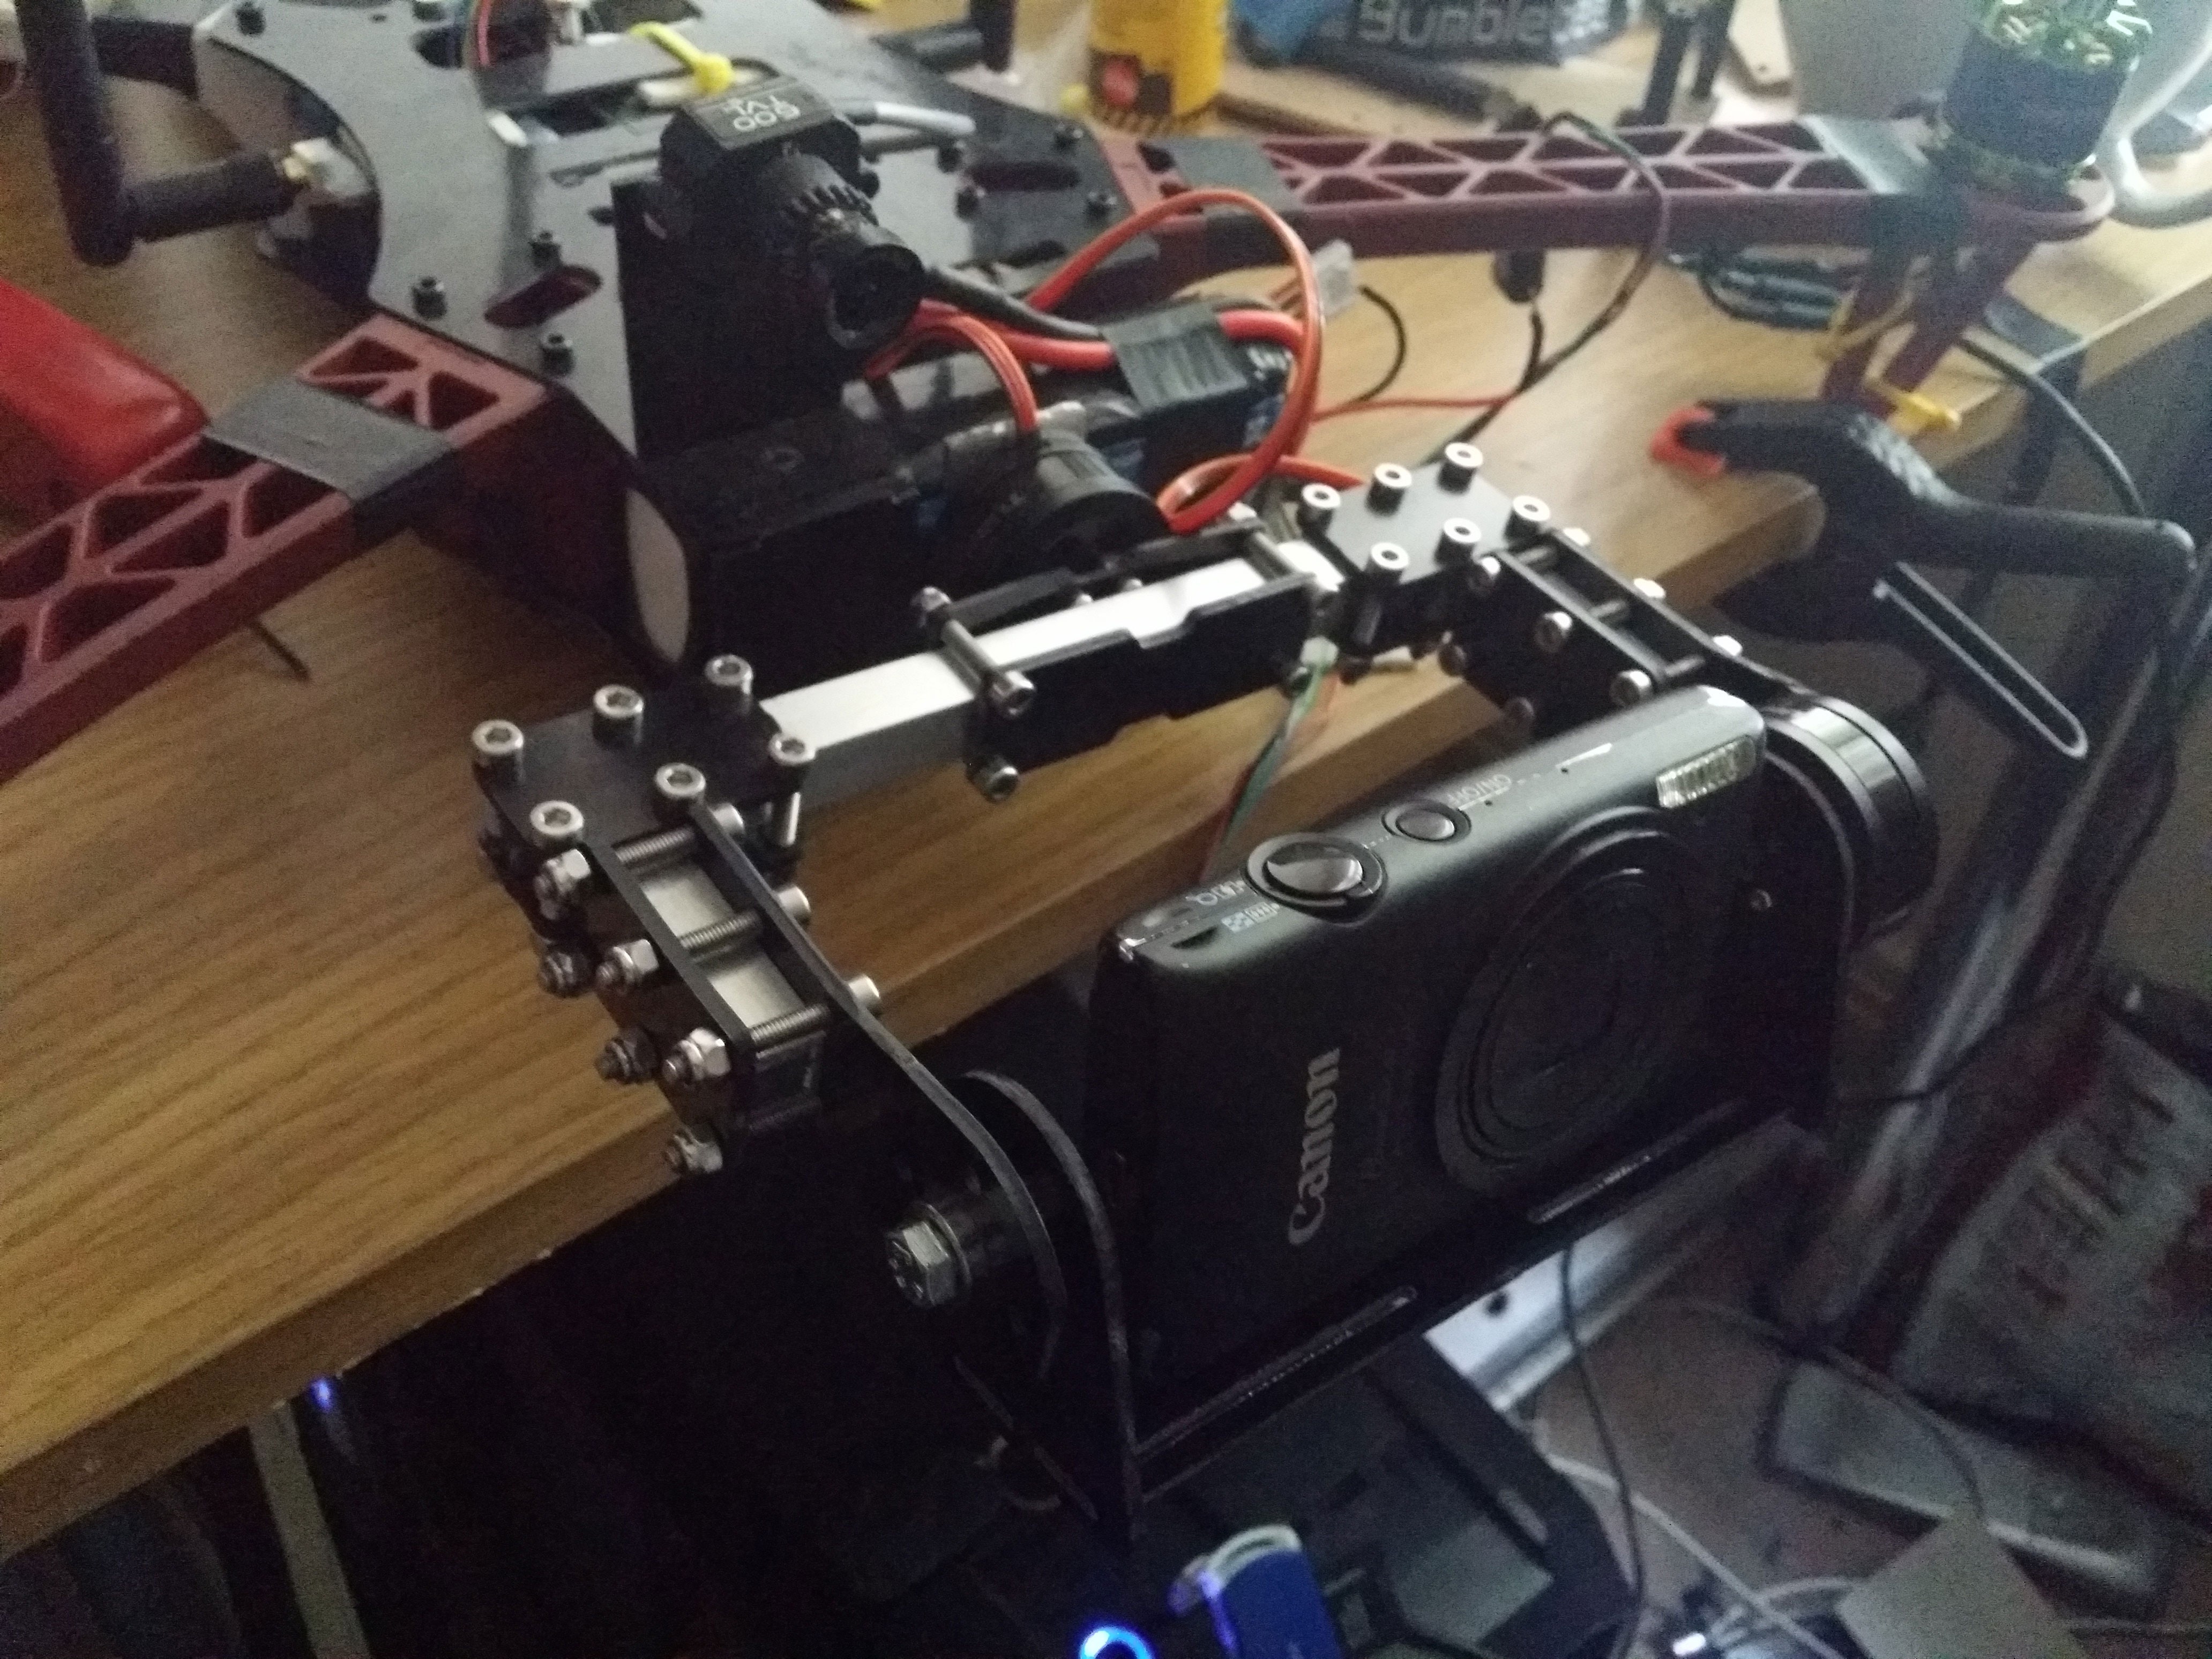
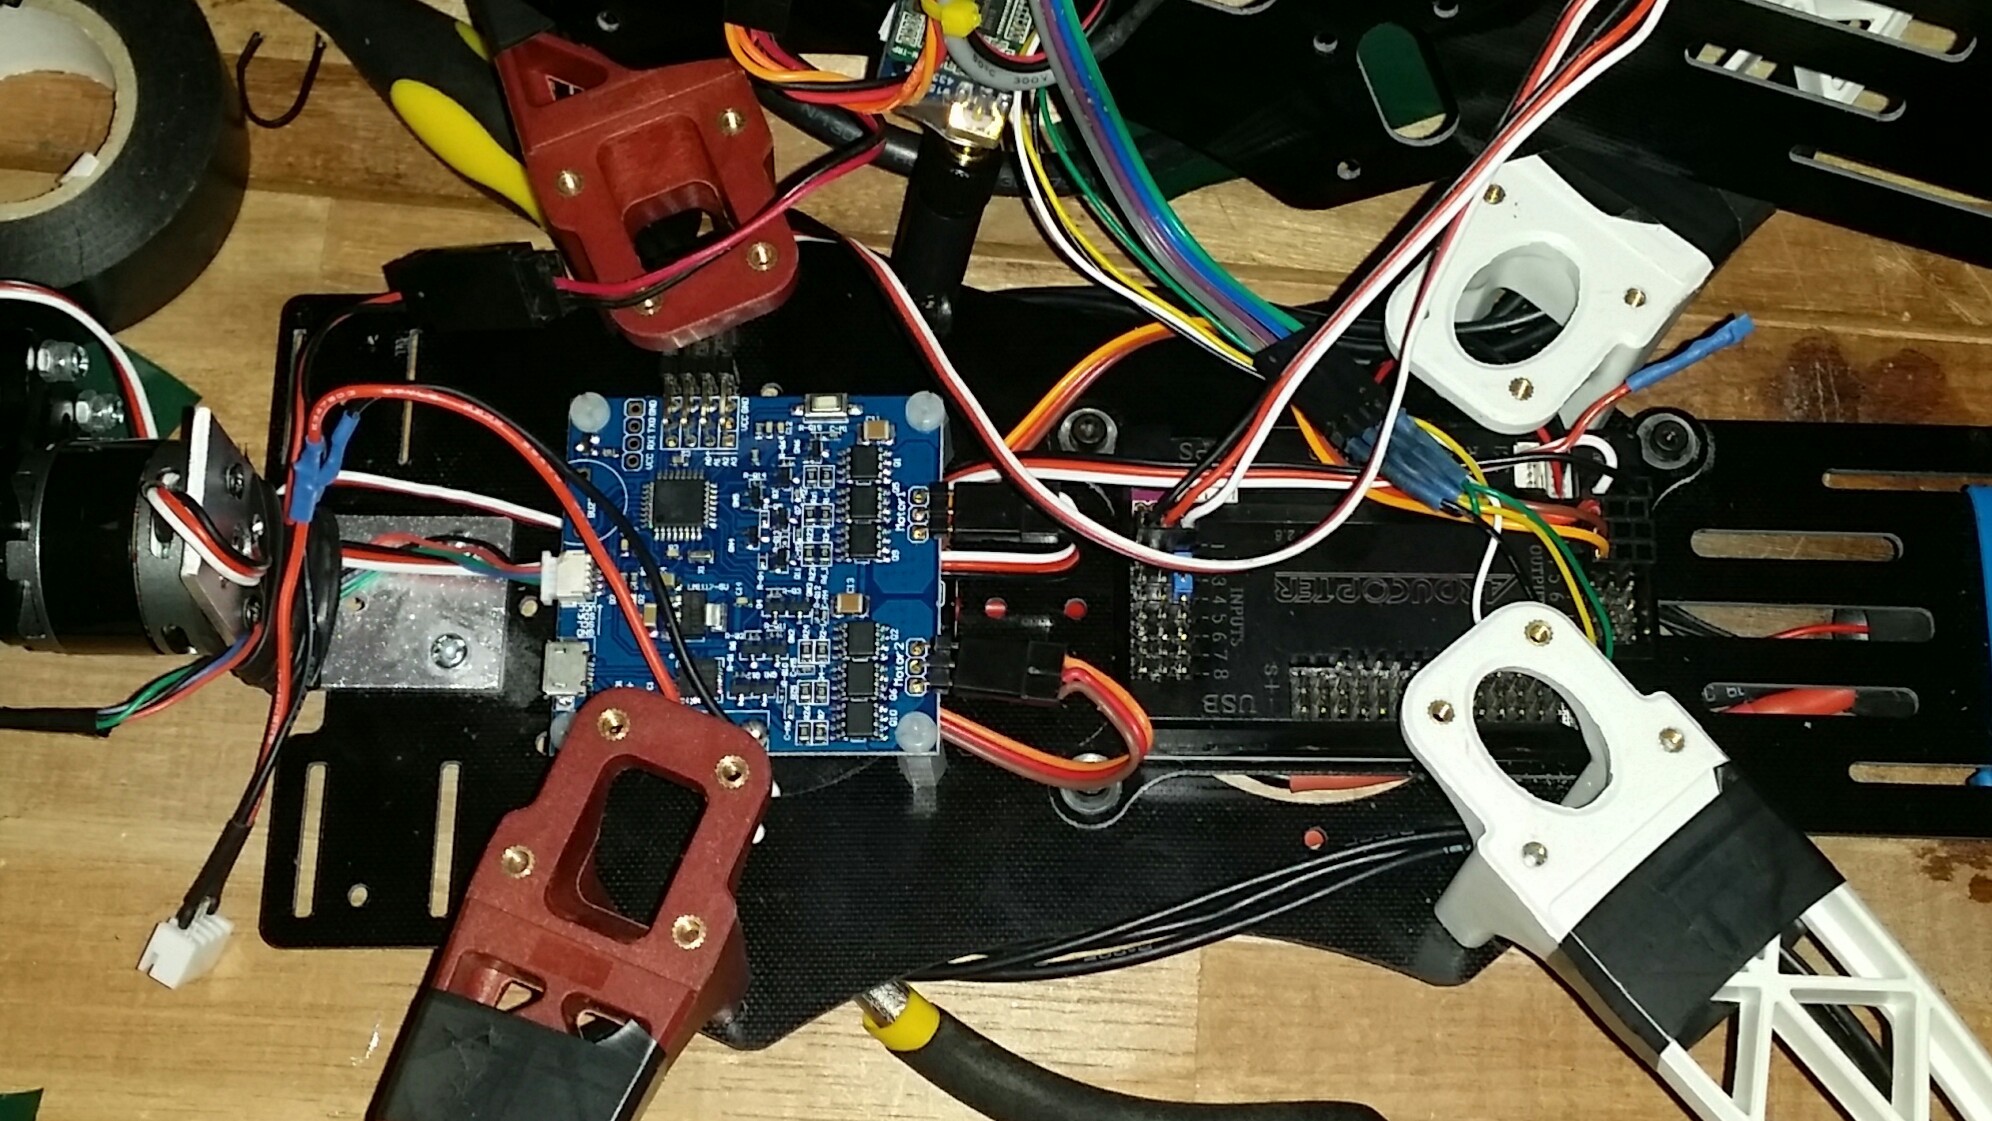
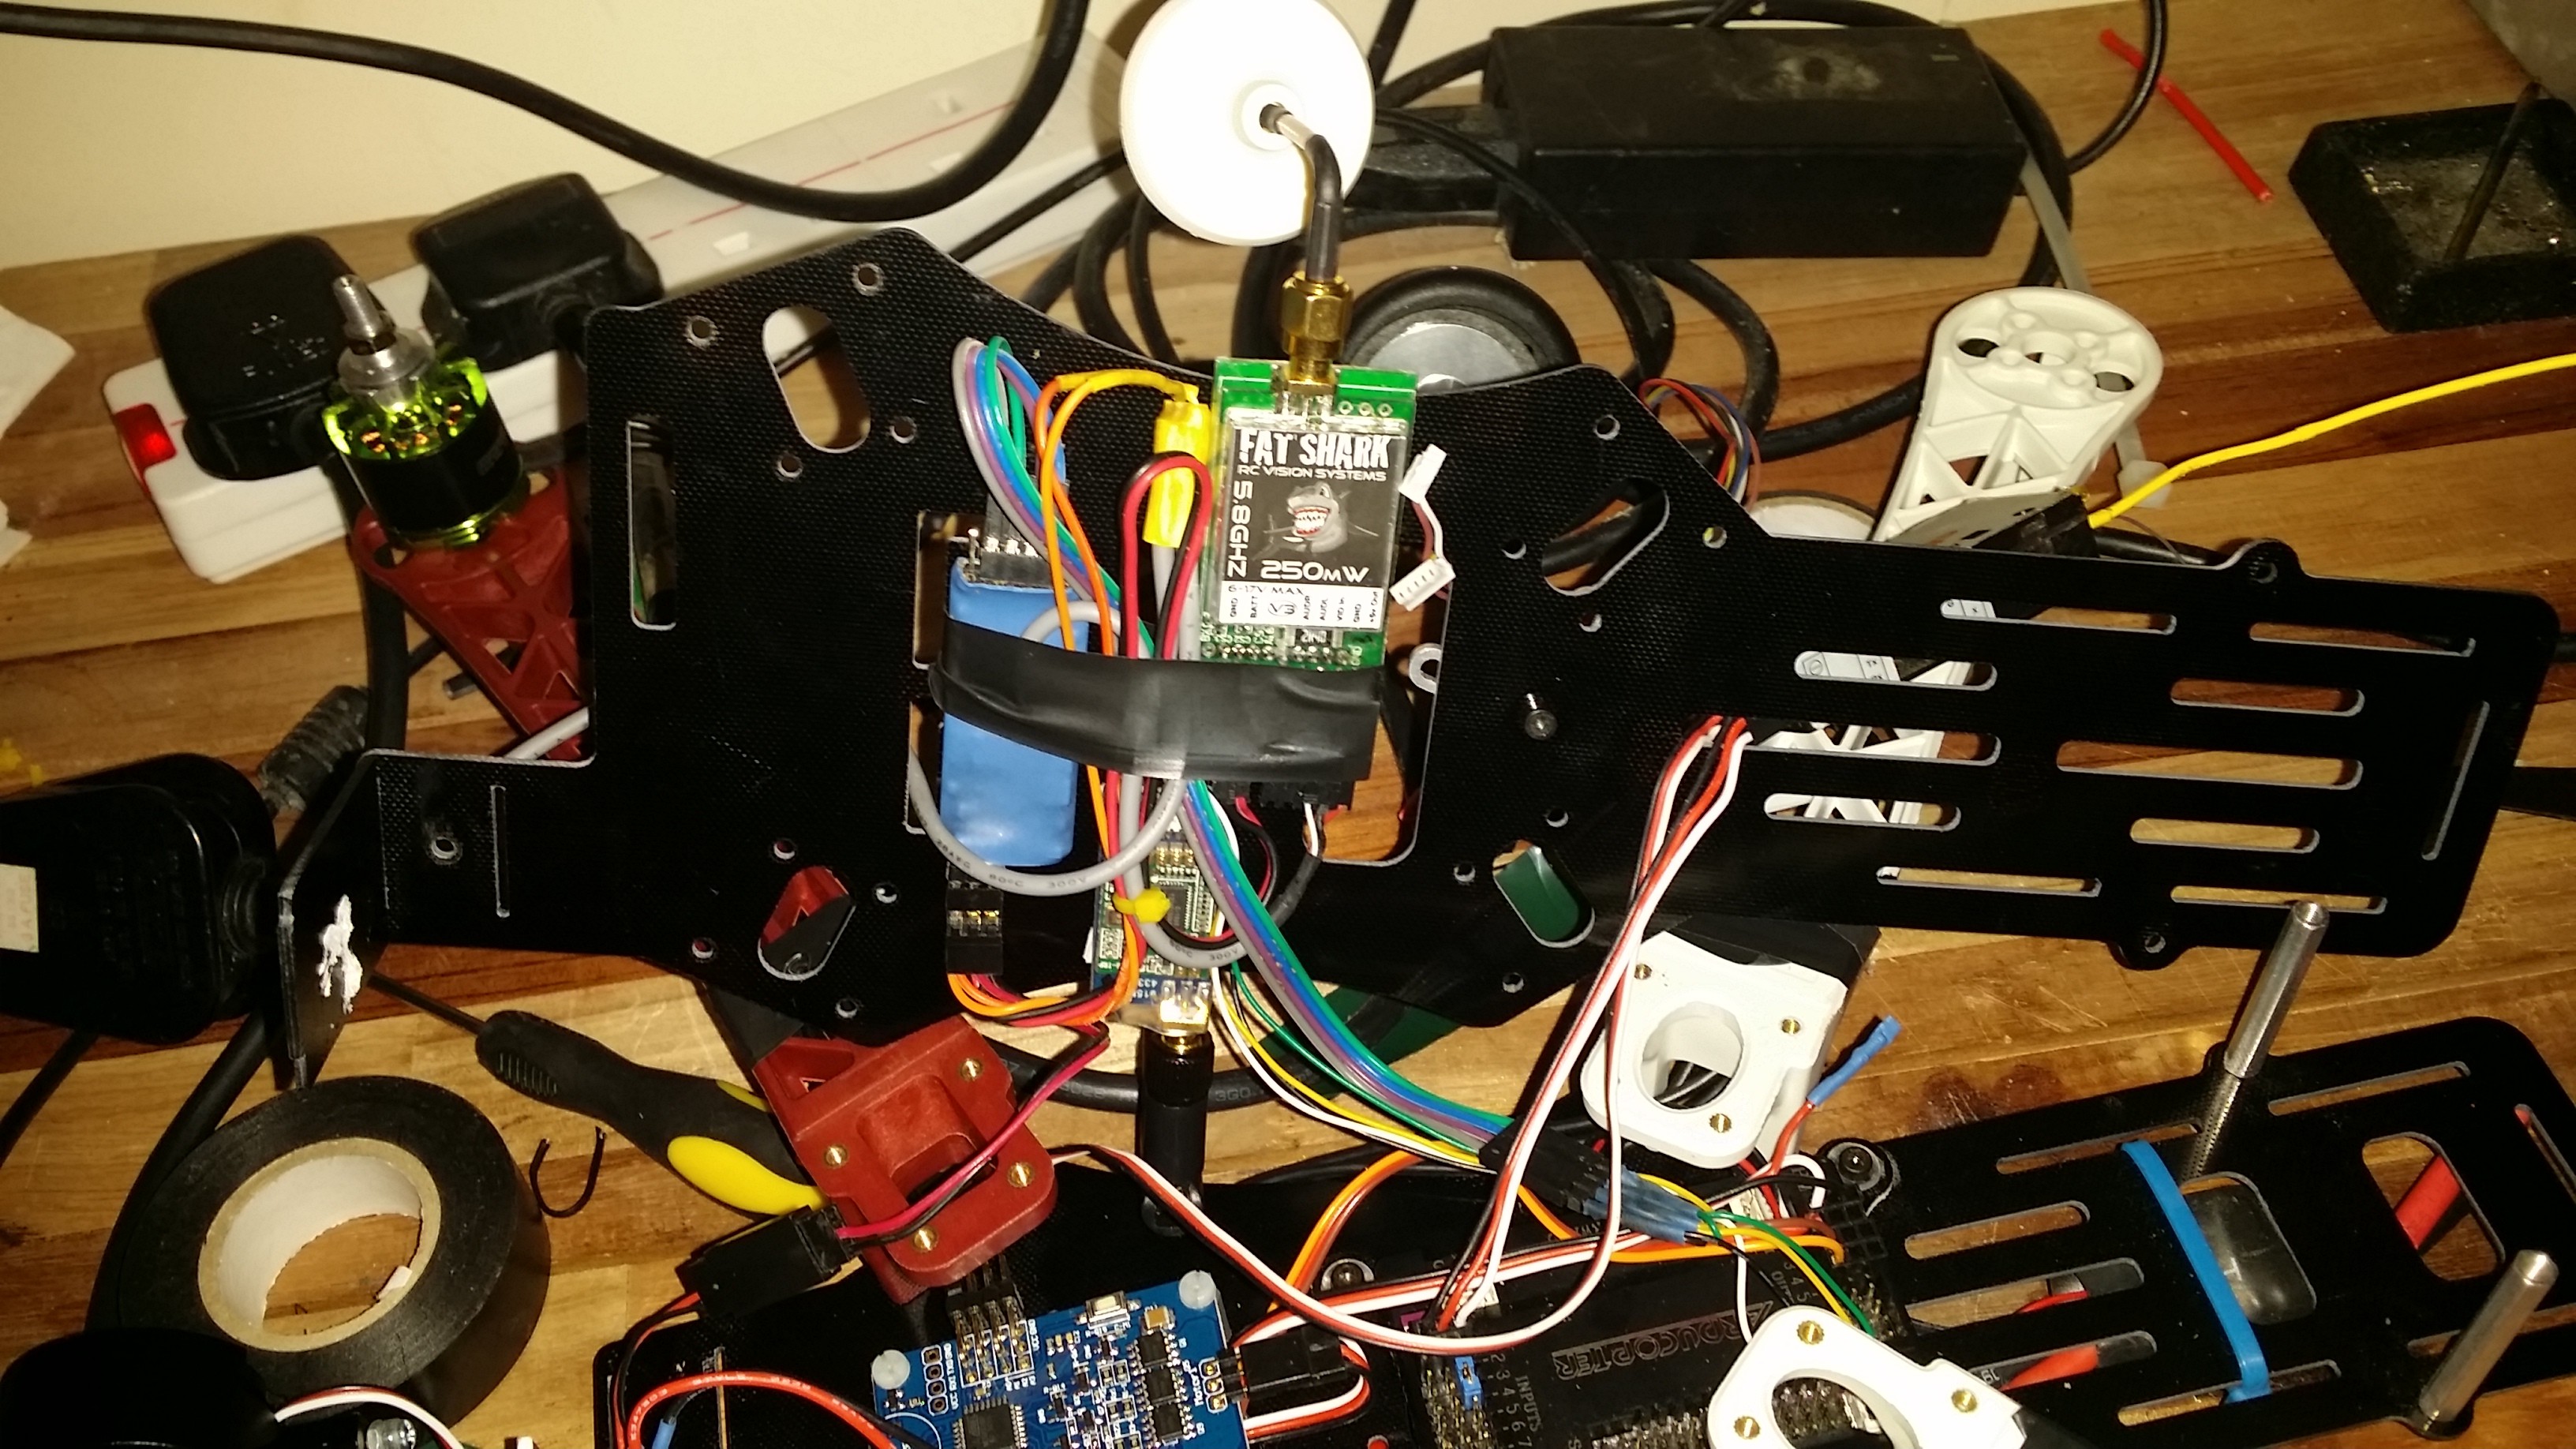
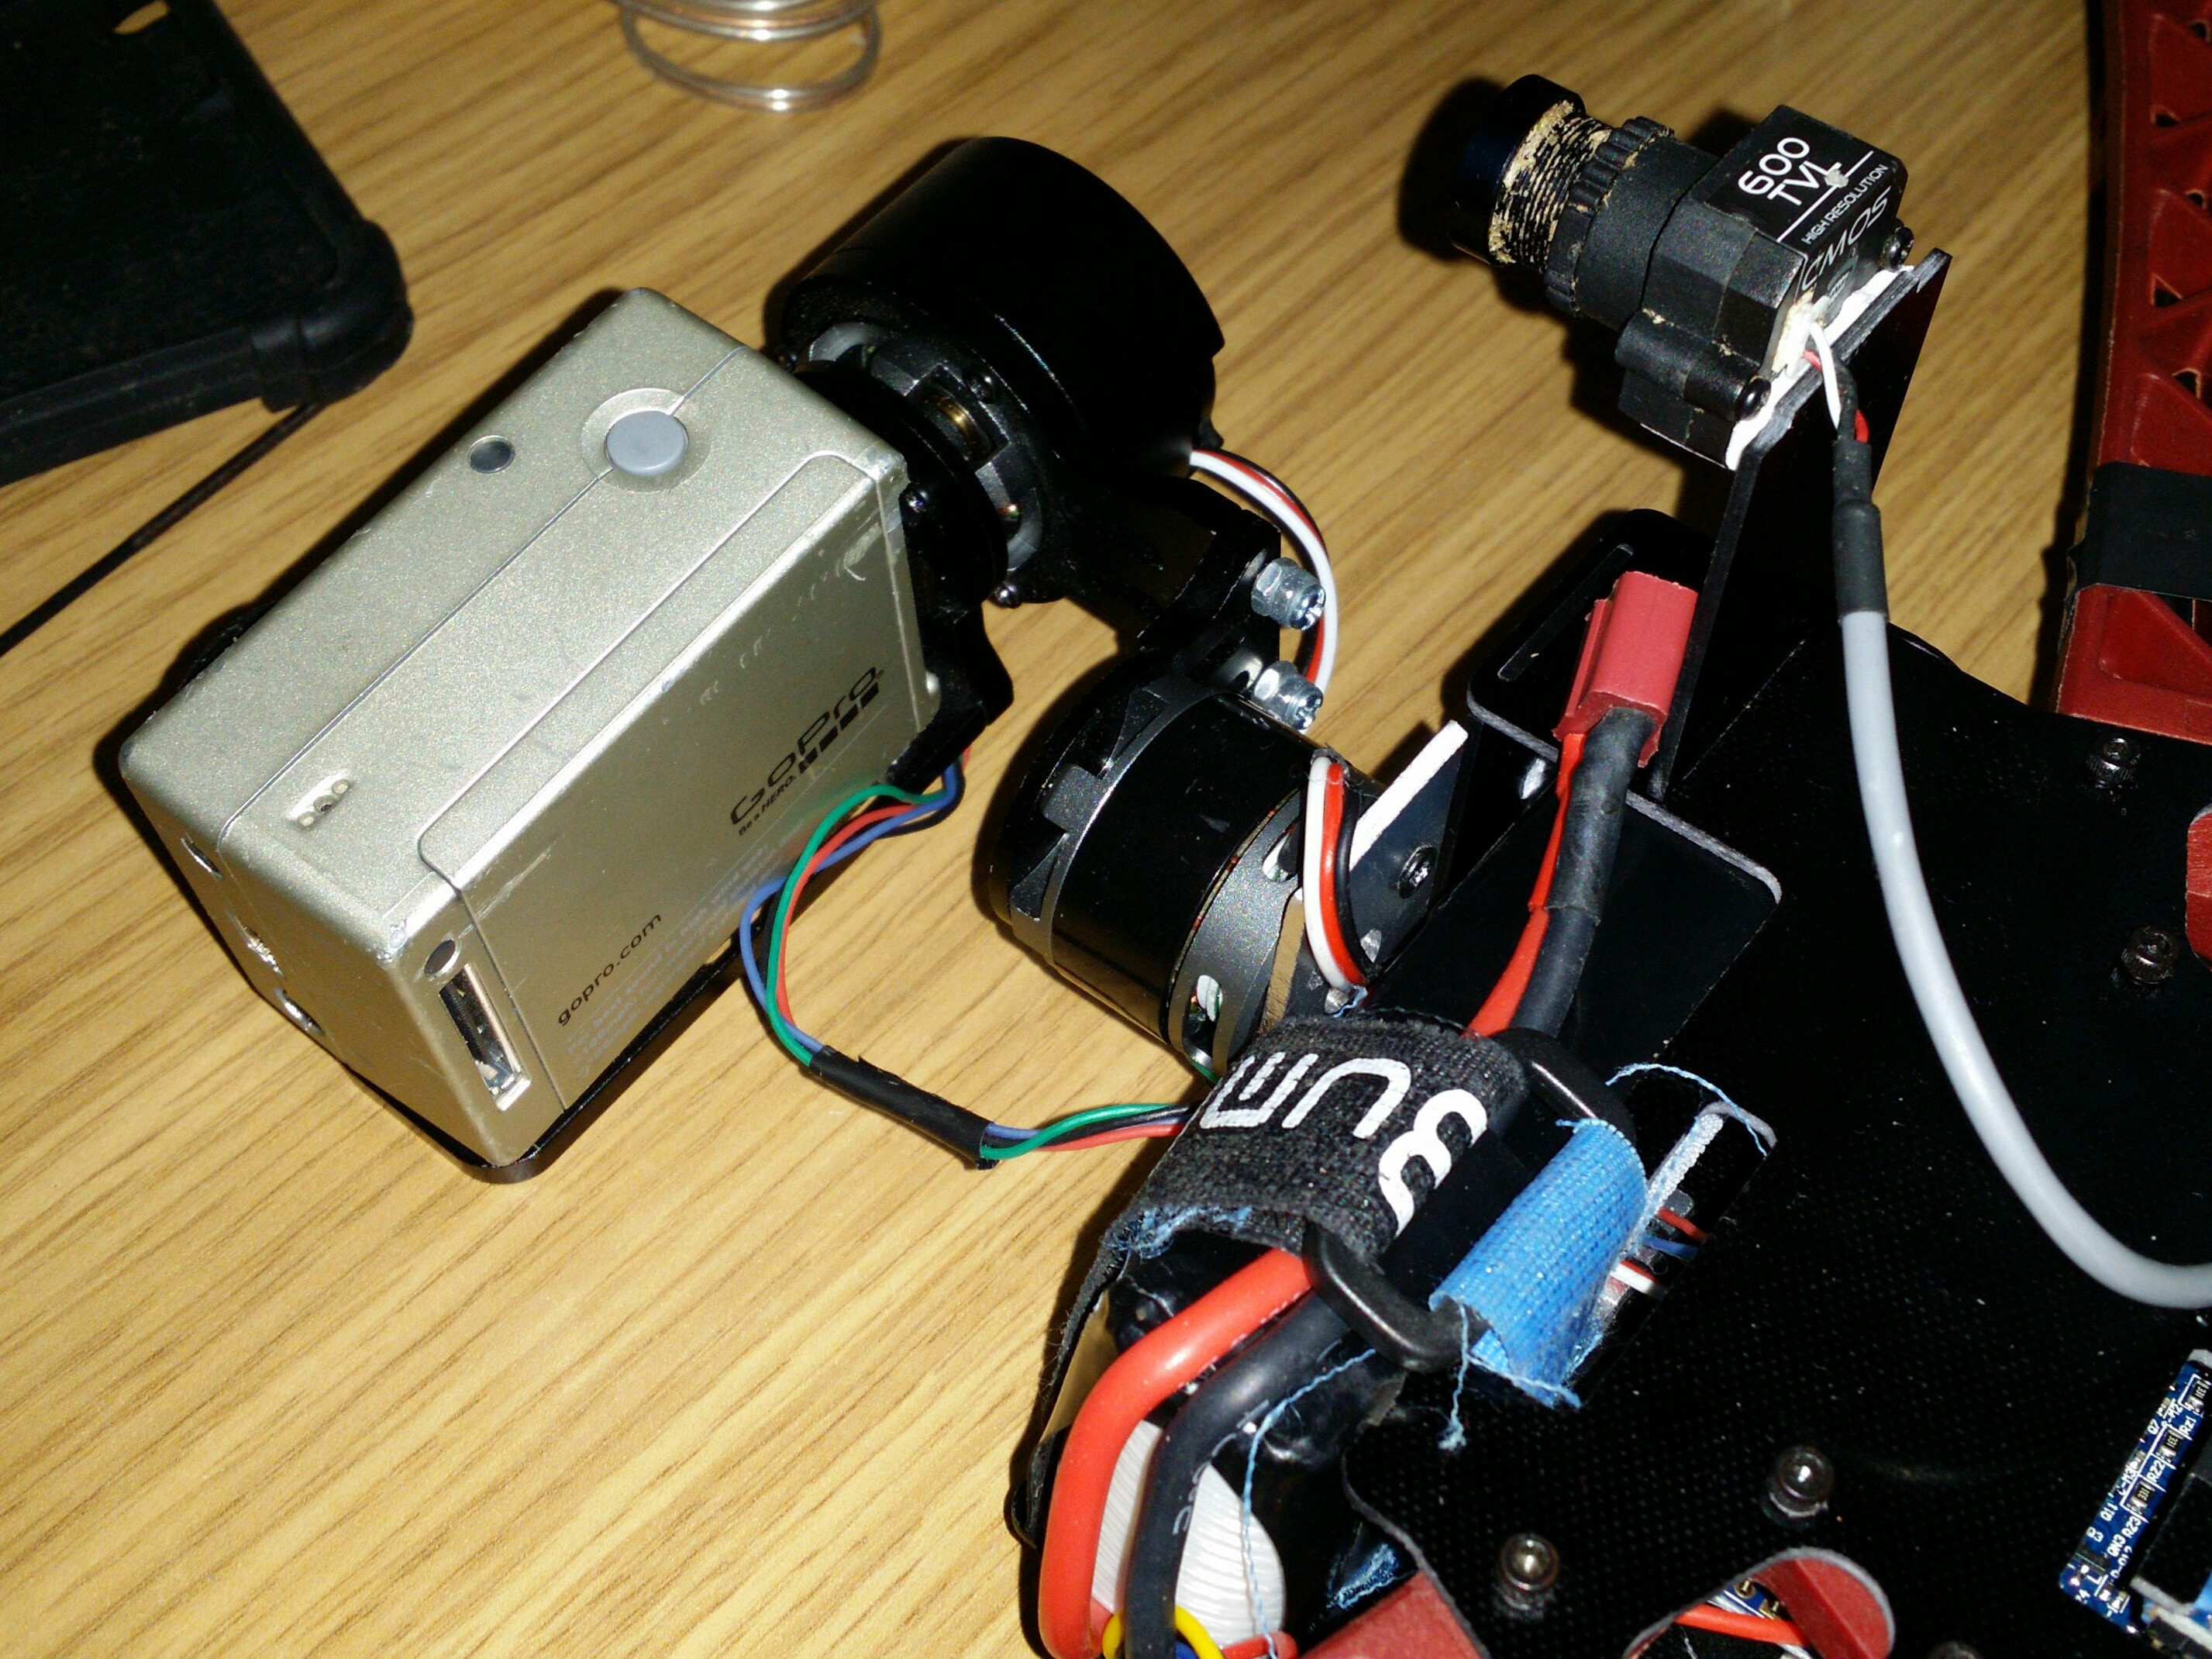
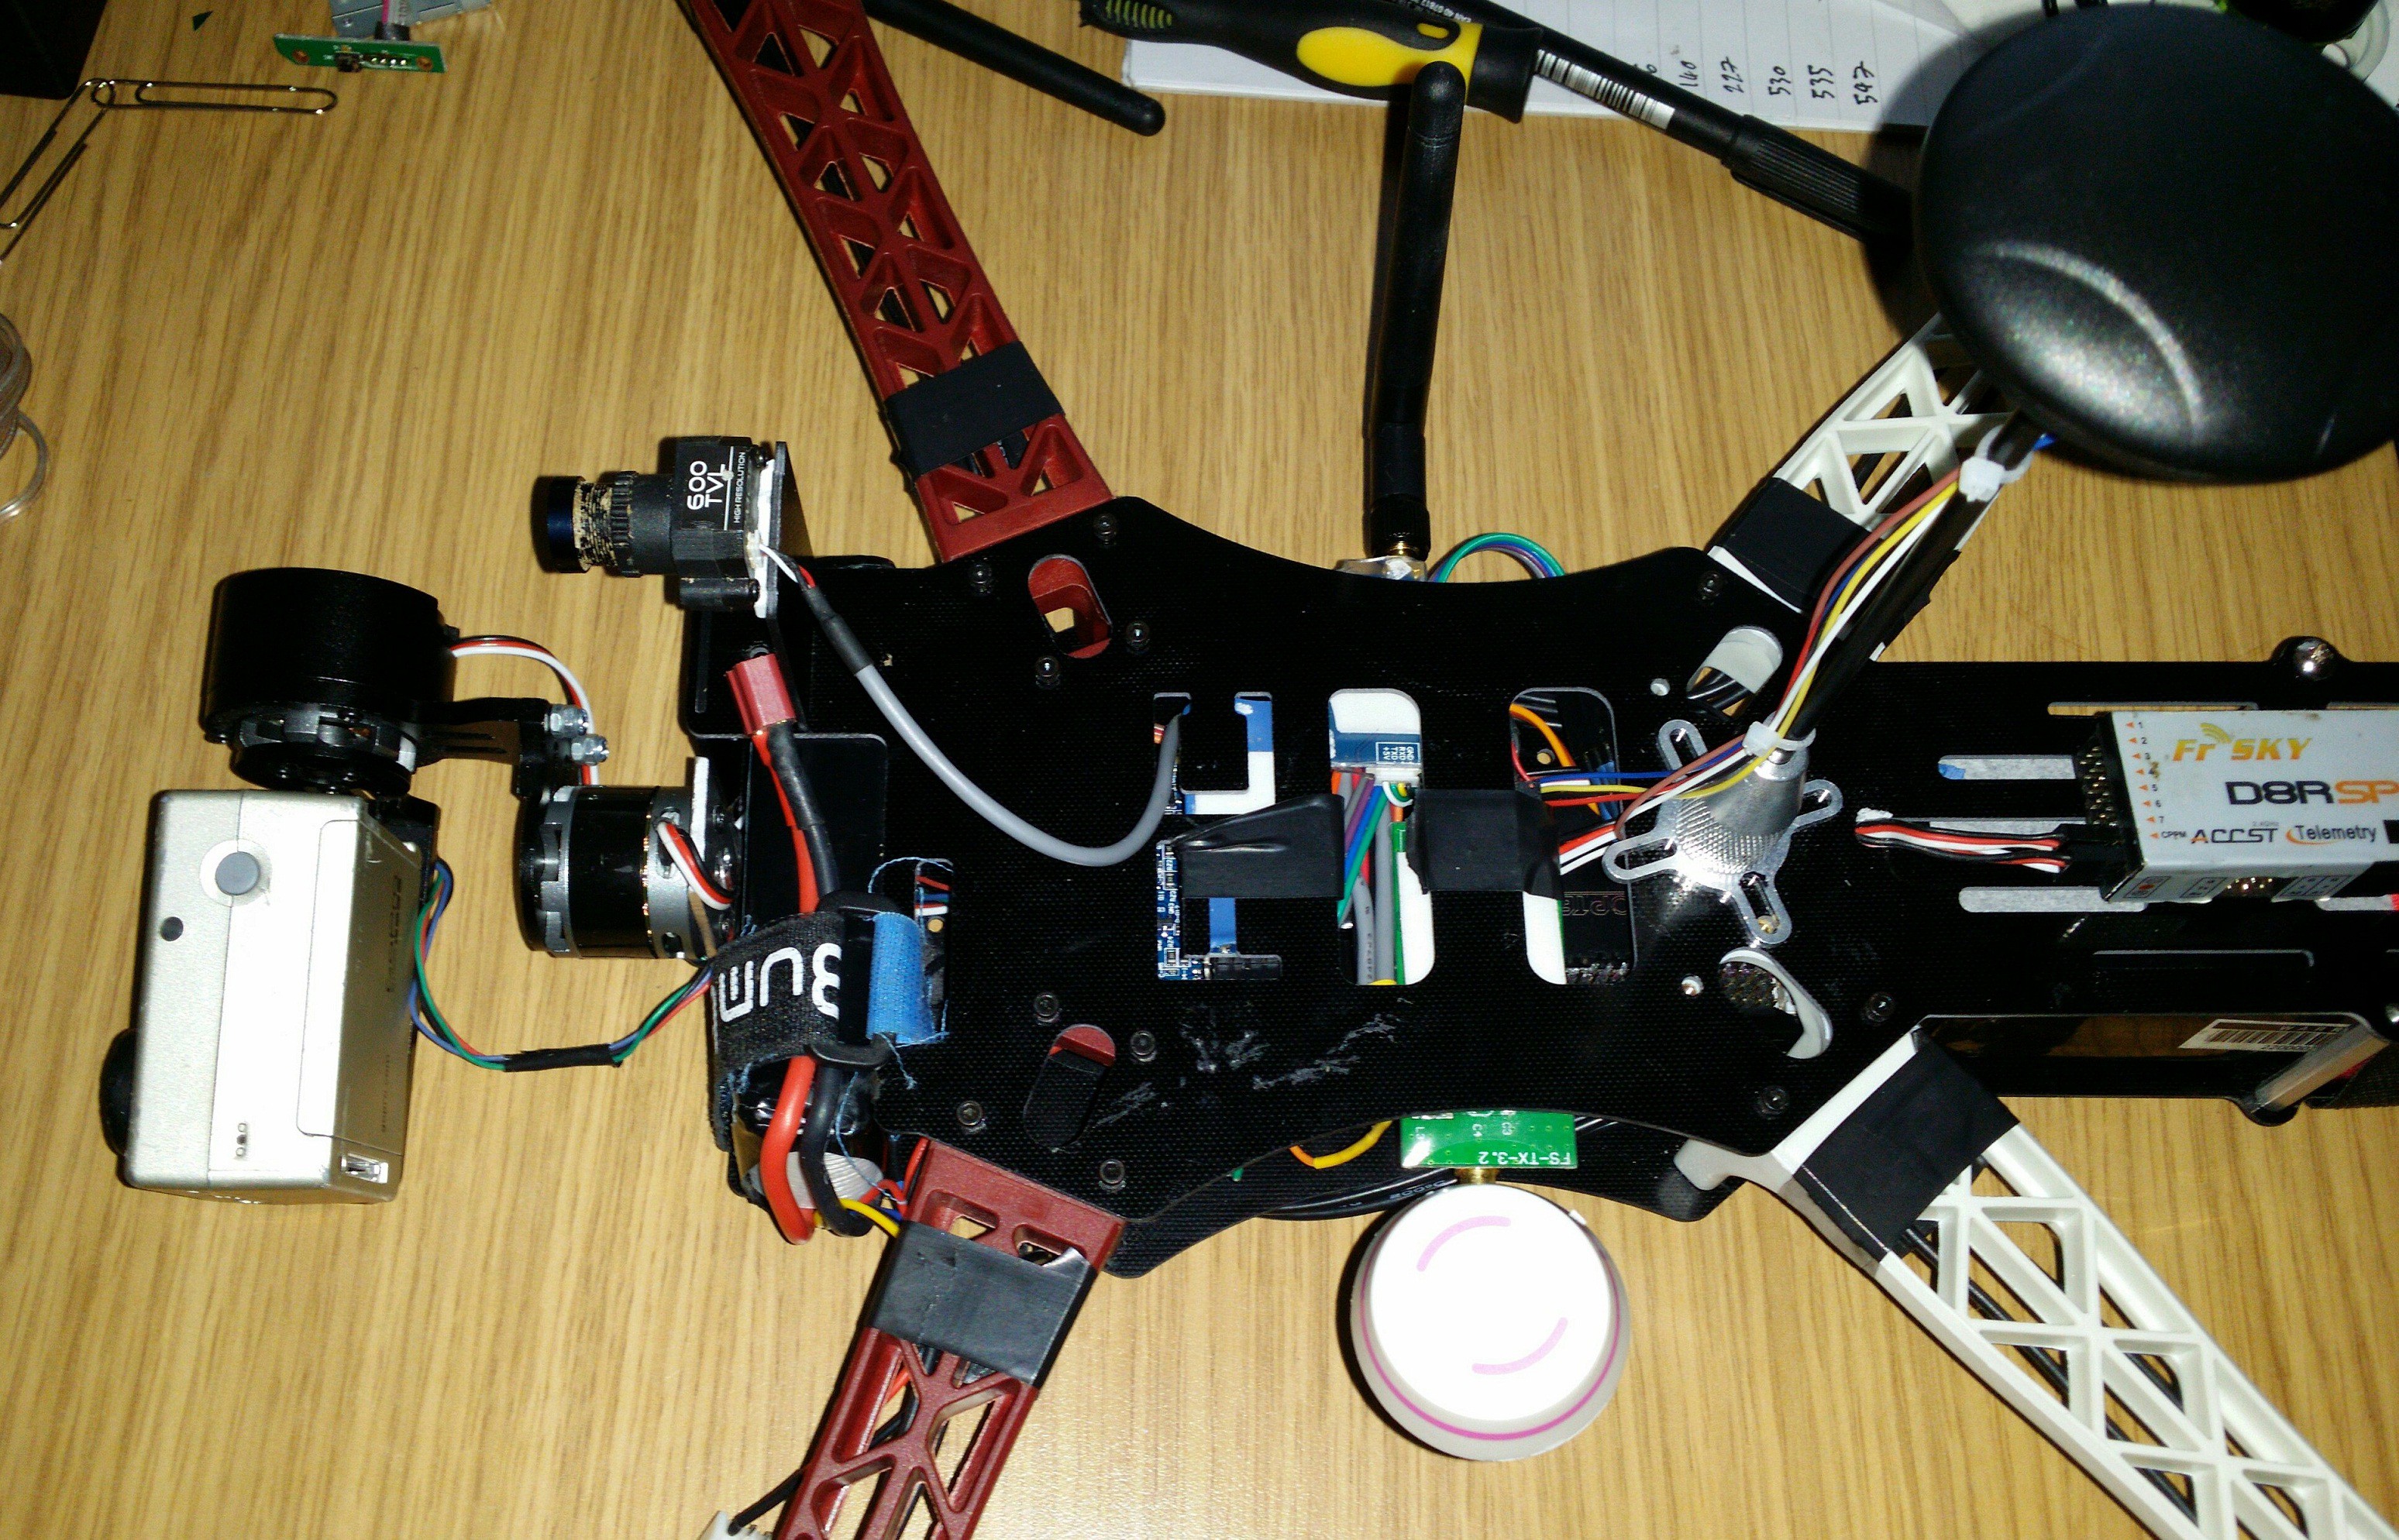
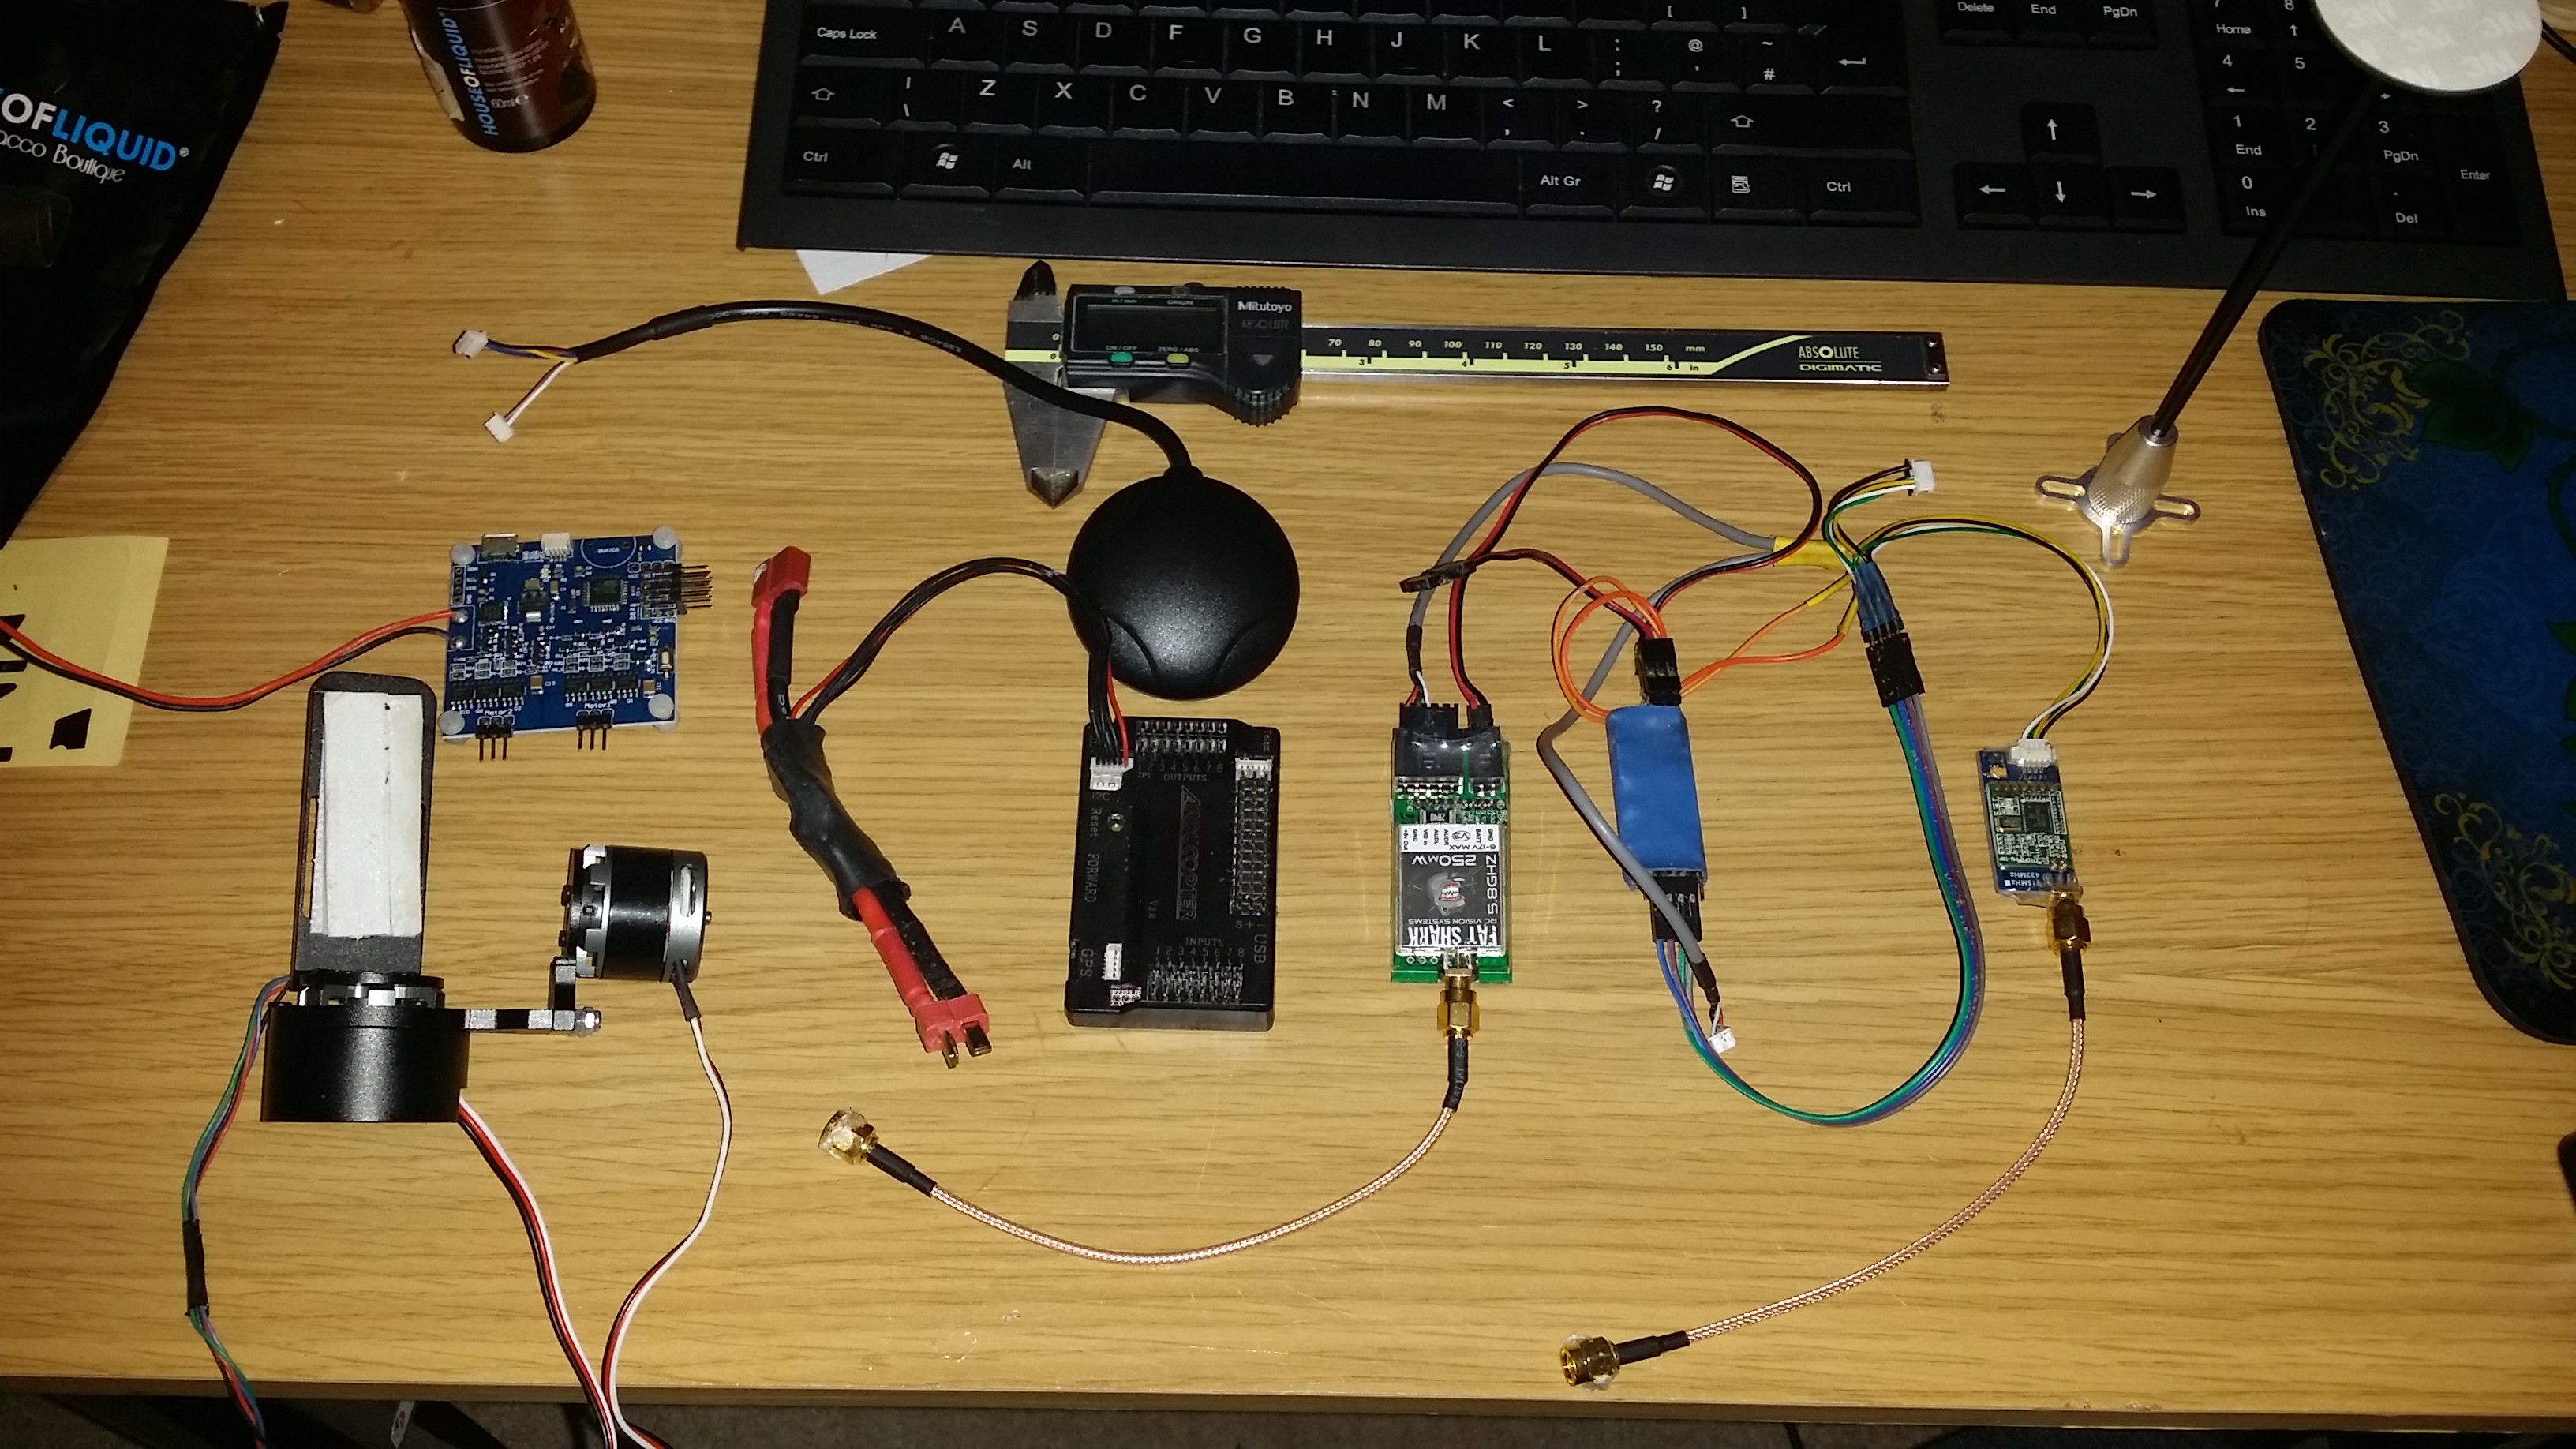
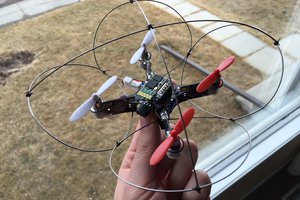
• New gimbal from napkin to copter!

    KMD06/06/2015 at 19:39 0 comments

    I was let lose with Solidworks this week and managed to design and build a new gimbal from scratch.

    Then cleaned up my CNC mill:

    Threw in a sheet of 2mm glass fibre plate, cut 3 lengths of 10mm x 10mm alloy box and this is the final product:

  • First Tests Look Good!!

    KMD06/06/2015 at 19:32 0 comments

    Her's a video of the first open field test. The only real problem I can see is that at speed or in a headwind, the pitch motor on the gimbal just cant take it. You can see start to show in the video but bear in mind that this was flown entirely in stable mode so throttle was capped at 70%.

    Next to build a stranger gimbal.

  • Something borrowed, something blue and the inevitable dissapointment with Microsoft

    KMD03/16/2015 at 11:54 0 comments

    After waiting for a new gimbal controller, which has apparently been lost in the post, I finally ran out of patients and borrowed one of these from my good friend Dave:

    Again it's a Chinese board but if it gets me in the air it will have to do.

    It came with Martinez firmware on it but I knew from previous experience that it would accept the Alexmos v2.2 firmware and so I began to flash this via USB.

    You'll notice from the image above that instead of an FTDI chip the USB to Serial on this board is taken care of by a SiLabs CP2102 chip. So I connected it to my Windows 7 x64 machine and installed the drivers.

    All went well and I started to flash the .hex file using XLoader. This is when the trouble began!

    The process failed and so did the next try and the next. So I thought I would burn the Arduino bootloader onto the 328p and try to install the Martinez firmware (which comes in the form of an Arduino sketch). It was then I received the dreaded "AvrDude Not in Sync" error.

    I decided then that the best thing to do would be to solder an ISCP header onto the board and break out my trusty USBTinyISP programmer to get the job done right:

    Of course anyone who has tried to use one of these on a 64-bit windows machine will tell you, it isn't just that simple!!

    After finding the correct drivers and disabling digital signing in Windows, I finally got it installed and connected, but would it work?? would it %&*£!!

    It was at this point that I realised how foolish I had been. I spun my chair around to face my Linux machine (which I swear had been laughing at me the whole time) and plugged the USBTiny in. 30 Seconds Later I had a fully functional BCG 2.0 board running the Alexmos firmware!

    I kissed my Linux machine, cursed Microsoft at the top of my voice and proceeded to tune my gimbal :)

  • The looooooong wait!

    KMD03/05/2015 at 13:51 0 comments

    While waiting for delivery of a new SimpleBGC board (any day now...please god any day now!!) I have installed one of these:

    Never used one before but the ability to switch between FPV camera and GoPro has always interested me. Installation was quick and simple, I decided to patch in the output from the OSD so the FPV view includes the OSD leaving the GoPro view clear.

    I toyed with the idea of adding a third, downward facing camera for landing, but decided not to bother as it would only be needed in an emergency and the GoPro can be tilted to point straight down.

    My only concern is the video-out cable from the GoPro may add a little resistance to the gimbal but I'll just have to wait to find out!

  • Gimbal Problems Identified!!!

    KMD02/24/2015 at 13:42 0 comments

    So, the roll issue was not because of vibrations, nor was it because of interference from the ESC's!! It was in fact a defective controller:

    When I connected the USB cable to investigate the PID's I noticed that the board didn't power up. It would power up and connect once the external battery was connected but then refused to let me write to the EEPROM.

    I was just about to investigate further when the whole board just died.

    Who would have thought that a knock off Chinese Brushless Gimbal Controller would be unreliable?!?! ;)

    So I bit the bullet and found that the 8-Bit version of the official Alexmos (now BaseCam) controllers are quite a lot cheaper than they were when I bought this one, due to their new 32-Bit ARM versions being the current model.

    It's also worth mentioning that BaseCam's current firmware version has an "Auto Tune" function for the gimbal PID's which I'm very exited to try out. I only hope it works on 8-Bit controllers as well!**

    E.T.A. 1 week to delivery so I'll try again then.

    **[edit] It appears the 8-Bit firmware does not have this option :(

  • First Flight Test

    KMD02/19/2015 at 11:23 0 comments

    Initial flight with no tuning on either the FC or Gimbal. It was quite breezy but flight wise I think it should be good with some tuning.

    The camera gimbal however is another matter. While pitch seems OK, the roll is having serious issues. What's more concerning is that I can't replicate the problem on the ground. This means that it's either vibration related (unlikely, but possible) or the gimbal controller is picking up interference from the Quad-ESC which is mounted below it.

    If it's the latter then it will have to be moved, unfortunately this means moving it closer to the Flight Controller. It may be that I have to ditch the Quad-ESC and put individual ESC's on the arms. This would mean building a Power Distribution Board but would enable me to use SimonK firmware on the ESC's.

    I'll wait for calmer weather and run the APM Auto-Tune and play with the Gimbal PIDs in the meantime though and see what happens.

  • Test Bed

    KMD02/16/2015 at 14:41 0 comments

    I decided the best way to go about this is to build a test bed from a similar cheap frame, add all the components I have, fly it for a while and draw up the pro/cons and see whats missing and what can be improved with a custom frame build.

    For this purpose I am using the Reptile 500 frame. The only custom part to this build is an L shaped piece of aluminium to mount the gimbal on.

    The Gimbal controller is on the left, APM on the right and the Q-Brain Quad ESC is mounted beneath the Gimbal board.

    Beneath the top plate is the FatShark TX, OSD and 433Mhz Telemetry modules.

    There is a 2200mah 3S in the front to power the Gimbal and FPV gear. This seems a bit over the top but it balances perfectly with the 4ah 4S in the back.

    The top plate is left clear exept for the RX and GPS/Mag pole.

    Given that everything is mounted quite firmly (including the gimbal) I'm hopeful that the Arducopter "Auto-Tune" function will work quite well and I won't have to spend a lot of time tuning the board before I can do some good test flights.

  • Gathering Equipment

    KMD01/25/2015 at 21:42 0 comments

  • Frame Design and ESC Placement

    KMD01/24/2015 at 21:14 0 comments

    I have ordered some parts and while I'm waiting on delivery I have been planning out the main frame.

    Using the TBS Discovery as a base, I'm going to design my own frame to fit with the components that I have / can afford.

    I began laying things out and have already come across my first hurdle:

    In the center is my APM, in front (with corner mounting holes) is my Brussless Gimbal Controller. The three holes in the nose will house rubber vibration grommets attaching a plate which will i'll mount the gimbal too.

    The red square represents the aprox. size of the Q-Brain quad ESC that I have. I can already see that having this ESC will be a pain as keeping it far away from the other elecronics is nearly imposible.

    I'm thinking at the moment, because I certainly don't want it beneath/above the APM and I'm mounting the FPV/Telemetry gear towards the rear, that mounting the ESC beneath the BGC and possably outside the frame to give it some airflow might be the best bet.