 Gary
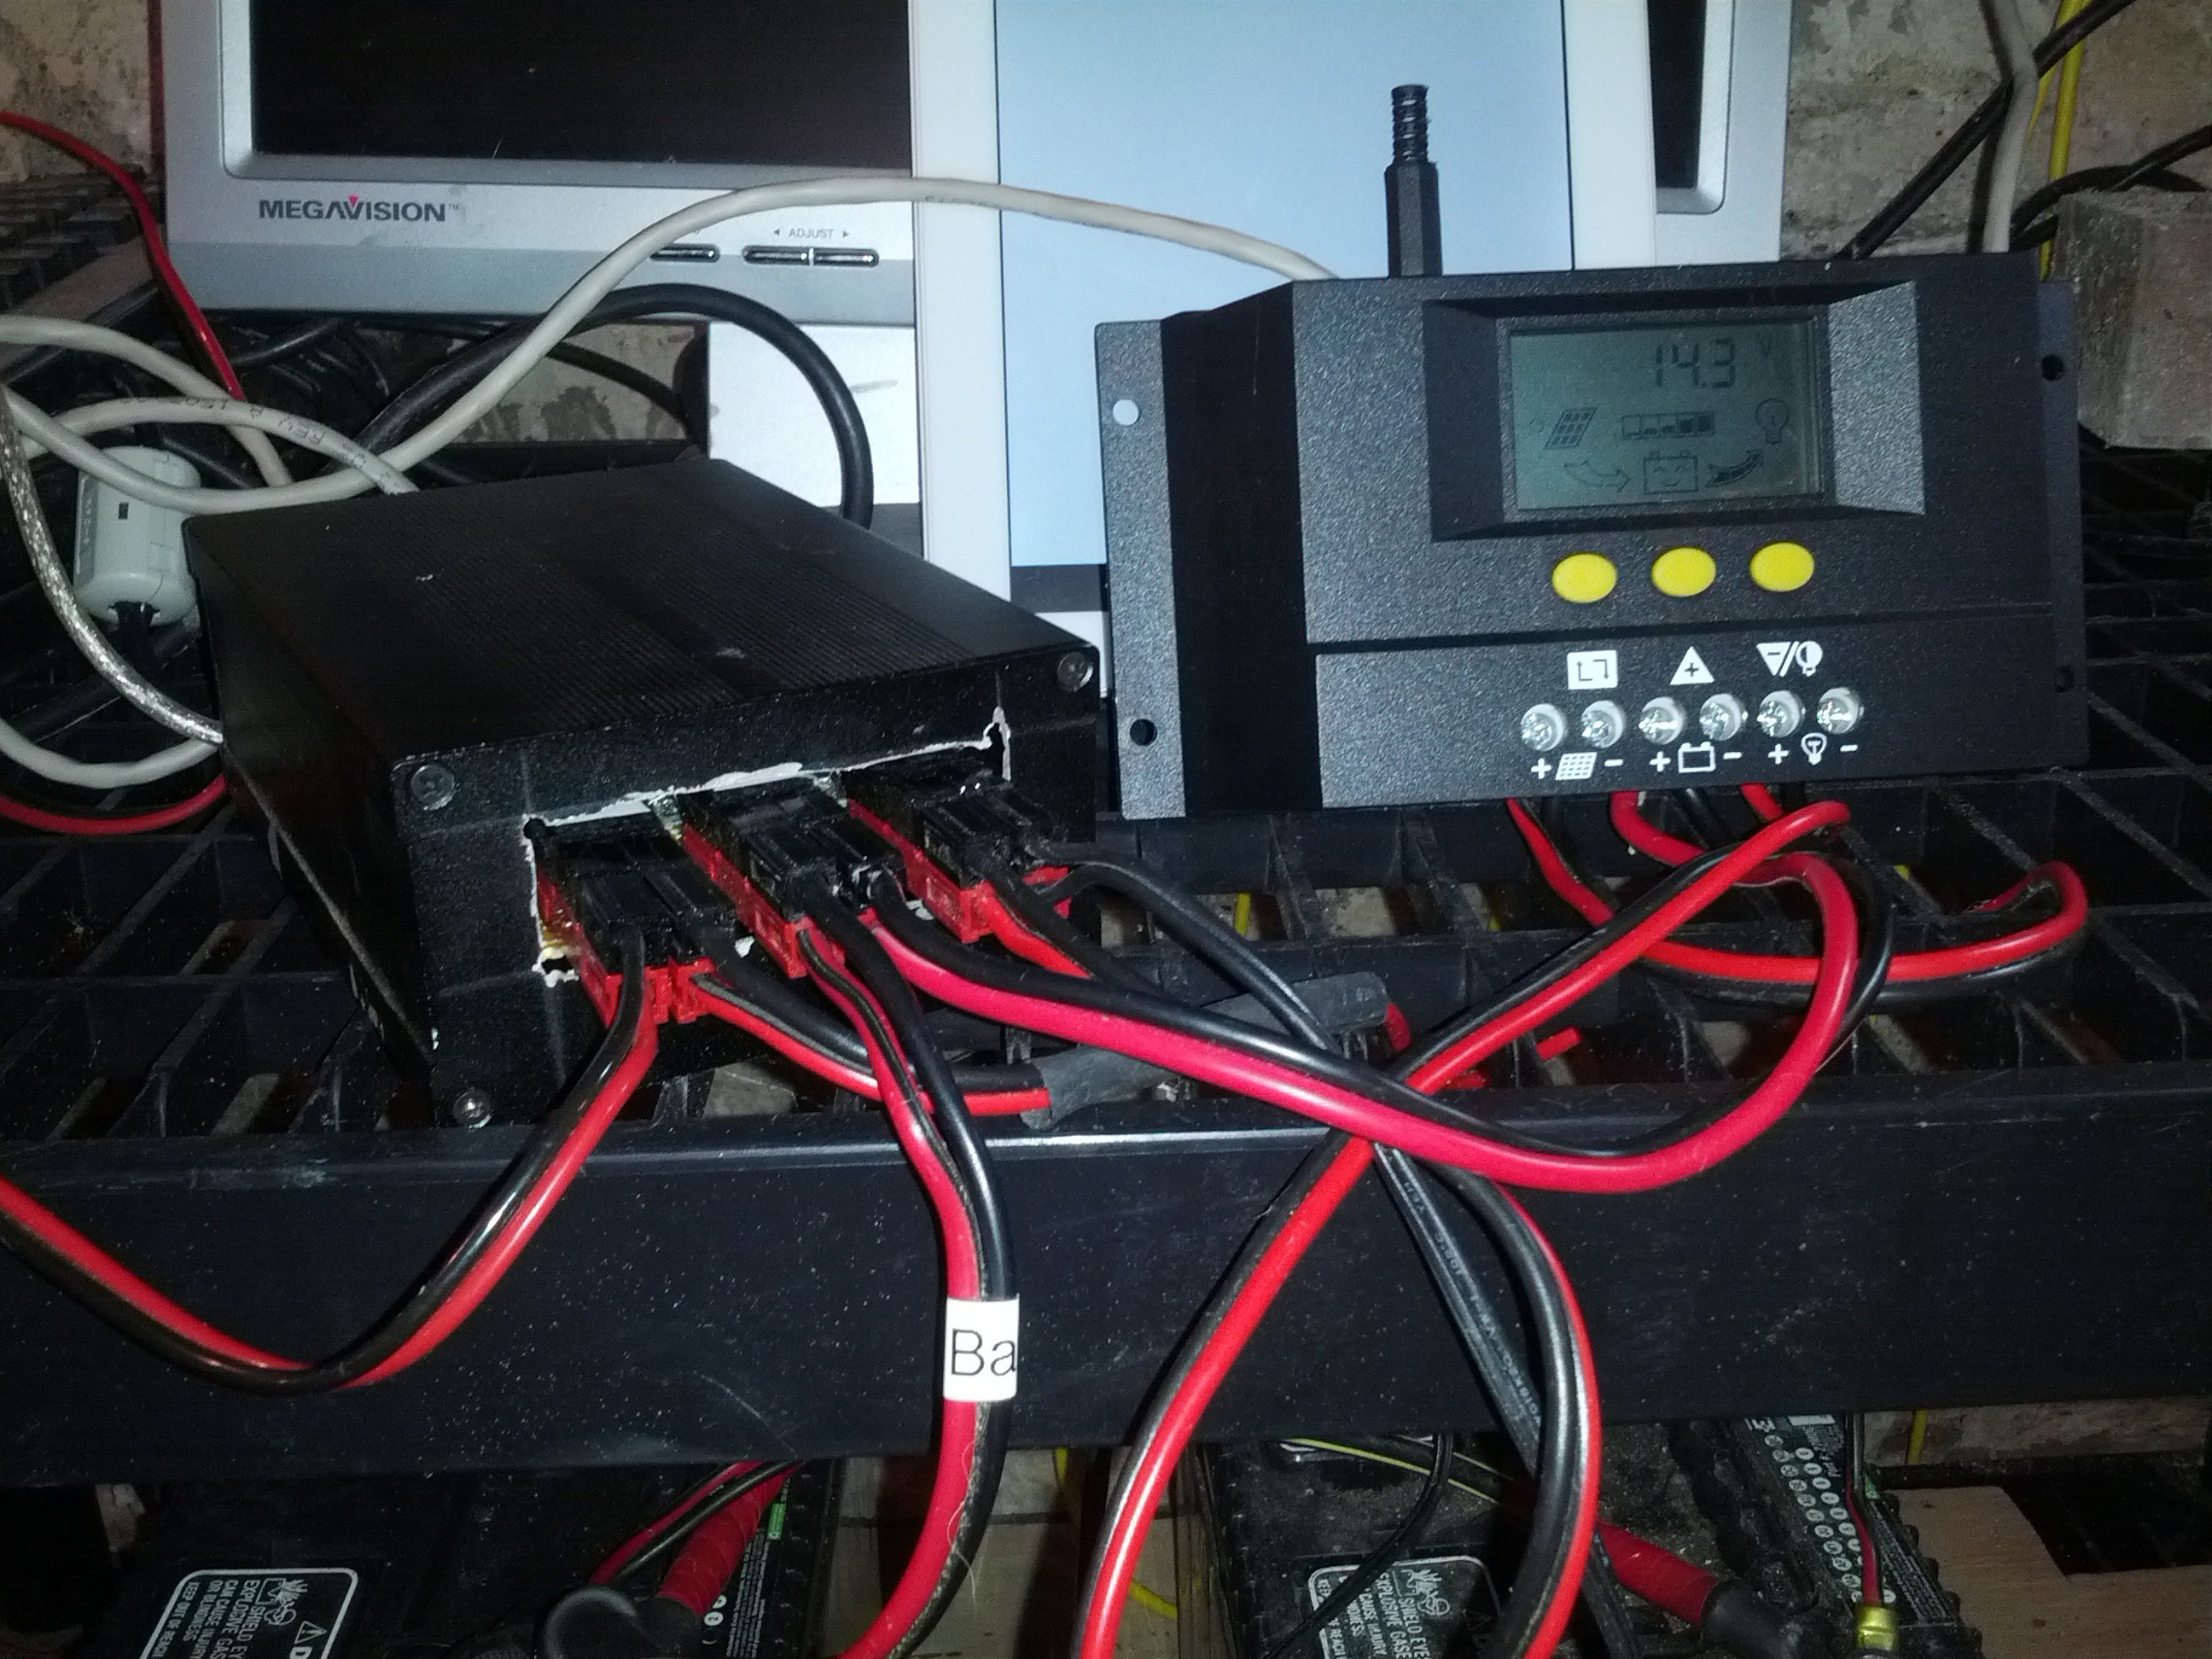
GaryBuild an Arduino powered and web enable voltage and current system to monitor power coming in from my solar panels, Power from the charge controller to the batteries and power from the battery to the load.
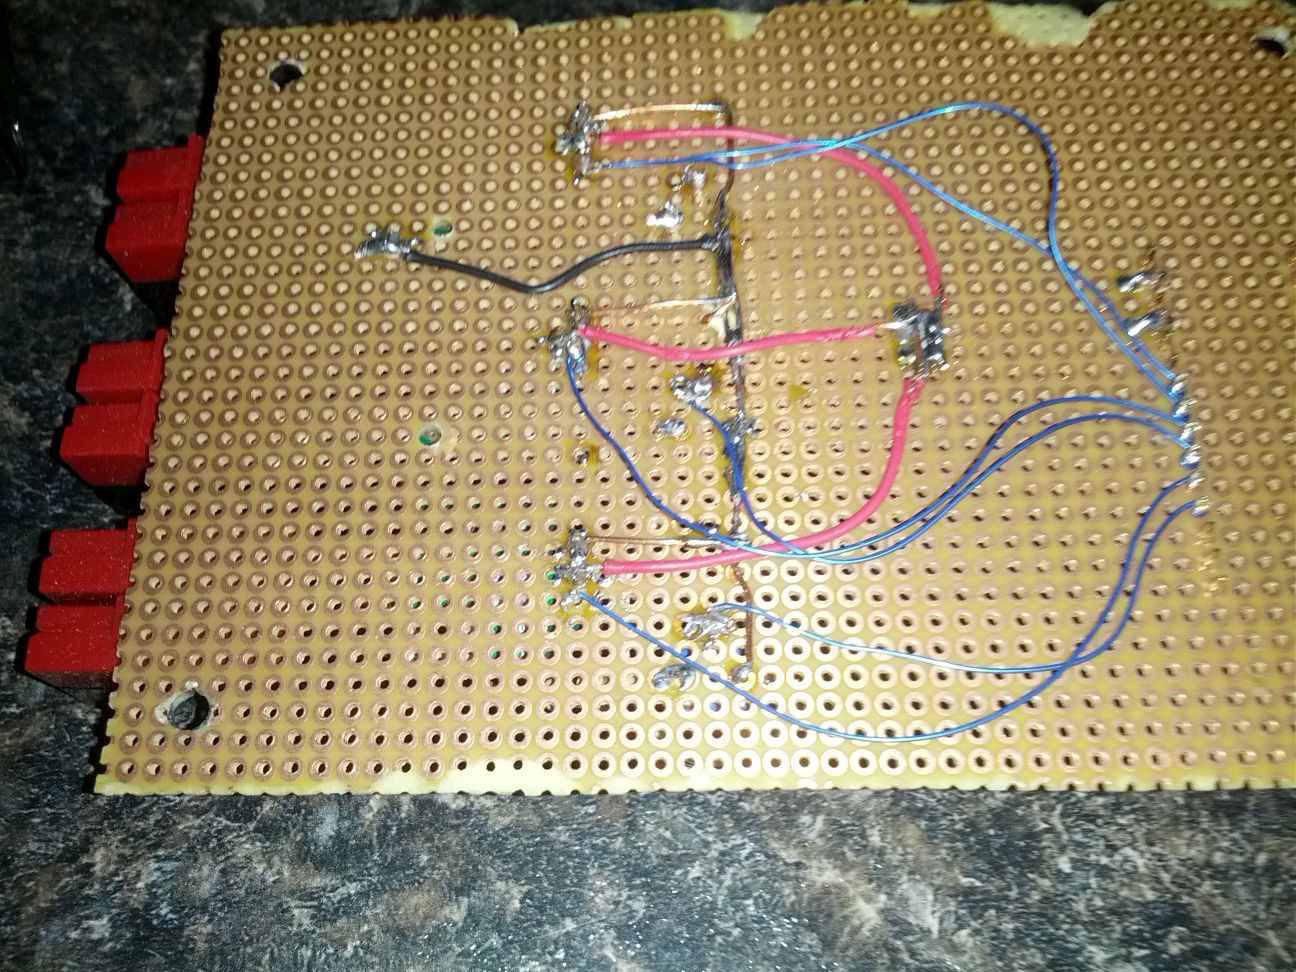
This project is built for 3 ports, but can split out to any number of ports needed for your project.


 Jakob Wulfkind
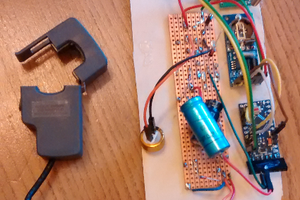

 andrew
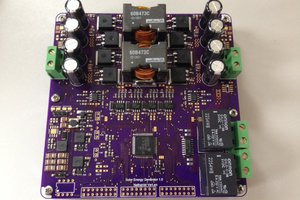
 Nathaniel VerLee
can I get the circuit diagram for this project