Not much to tell here, measure the connectors of the Banana Pi, test the bending capabilities of the Sata cable and design the case. The case was designed in QCAD under Linux Mint.
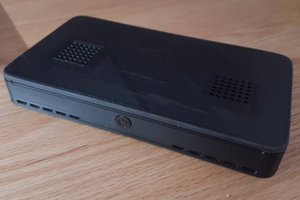
I tried to put as many connectors on the outside as possible, but with connectors on all sides I had to find another solution. The HDMI-Port and the Micro-USB Port need to be plugged in before assembling the casing. There are two holes in the side for the cables.
 Robert Jones
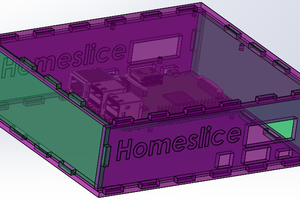
 Michael Moskie
 @DevelopTheWeb
I wish I knew how to make a custom case like that. It'd be very useful.
Very nice work!