 michaelalink
Bought a used Sony thermal dye-sub printer. Printer came with a ribbon and 5 inch wide paper for 5x7 prints which printed beautifully. I loaded the 6 inch paper and ribbon which had streaks about 1/2 inch from each edge (really bad streaks). The destructions from Sony say your supposed to use their cleaning ribbon to fix that ... which I don't have, and don't want to spend ~$100 on.
So off to the internet to find how to manually clean the print head. I followed this video to get to the print head (did not remove it)
Printer top removed:
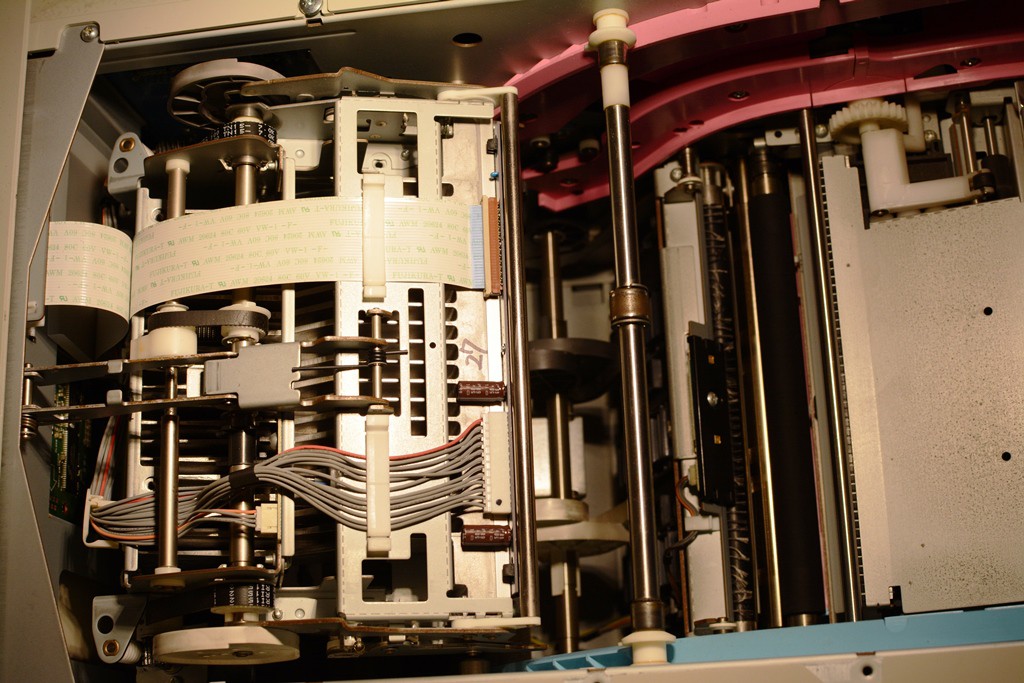
Printer print head lifted: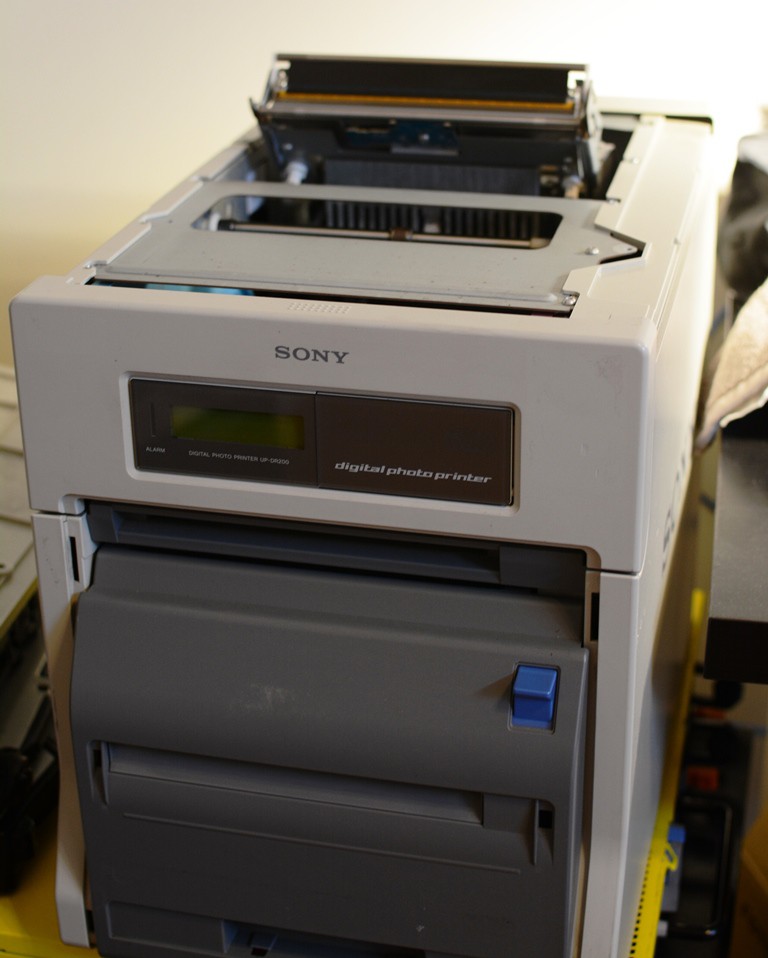
The actual print head:
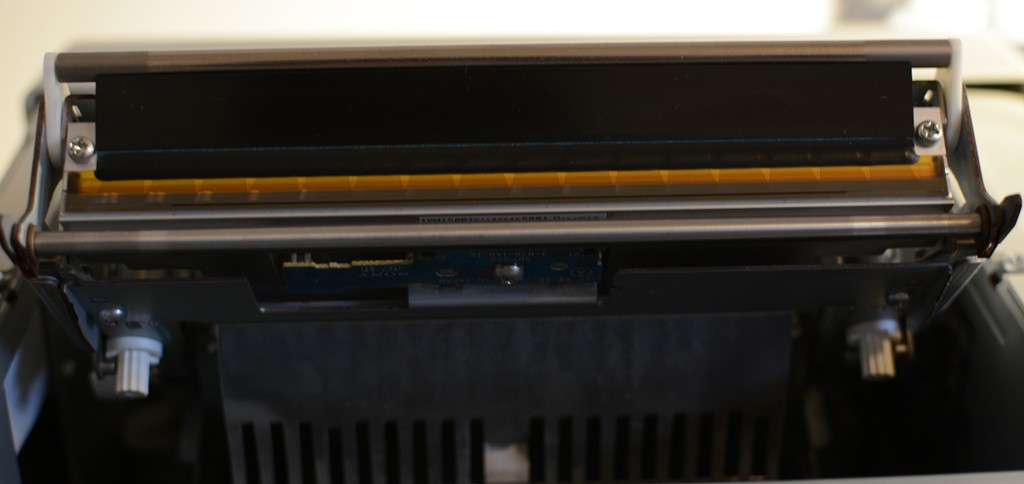
the actual printing part is the thin line below the brownish traces fanning out. The print head is a bit discolored where it looks like it was only ever used to print on 5 inch wide paper.
To clean it I used thermal printer cleaning pens I bought off amazon. They are marker full of Isopropyl Alcohol, they make it really easy to scrub on the head. I scrubbed the head for a little while with the cleaning pen, then wiped with a lint free tissue, I did this until the tissue stopped coming up dirty.
After I wiped down all of the rollers with alcohol.
The printer is now reassembled and working with no streaks, the first few prints had some spots and such on them from getting dust in the printer during cleaning, those went away after a few prints.
Discussions
Become a Hackaday.io Member
Create an account to leave a comment. Already have an account? Log In.