 Albert Latham
Purpose
The original purpose of this project was to use the biomat as a test bed for various types of 3D printing. That didn't happen on the timeline I had originally intended. The new, rebooted, more vigorous purpose for converting the biomat is to simply finish the project. Once the core functionality is there I will move to more interesting things.
Current State: Non-functional mess.
The biggest issue right now is the hot-end. The thermistor keeps falling out and the hotend keeps melting down. After that comes the non-existent hot-plate. I don't know what material I will use yet, but theres a good bet I'll use an aluminum base plate and then a thinner sheet of some sort of plastic (sort of like what 3D Systems does on their FDM machines).
To Do
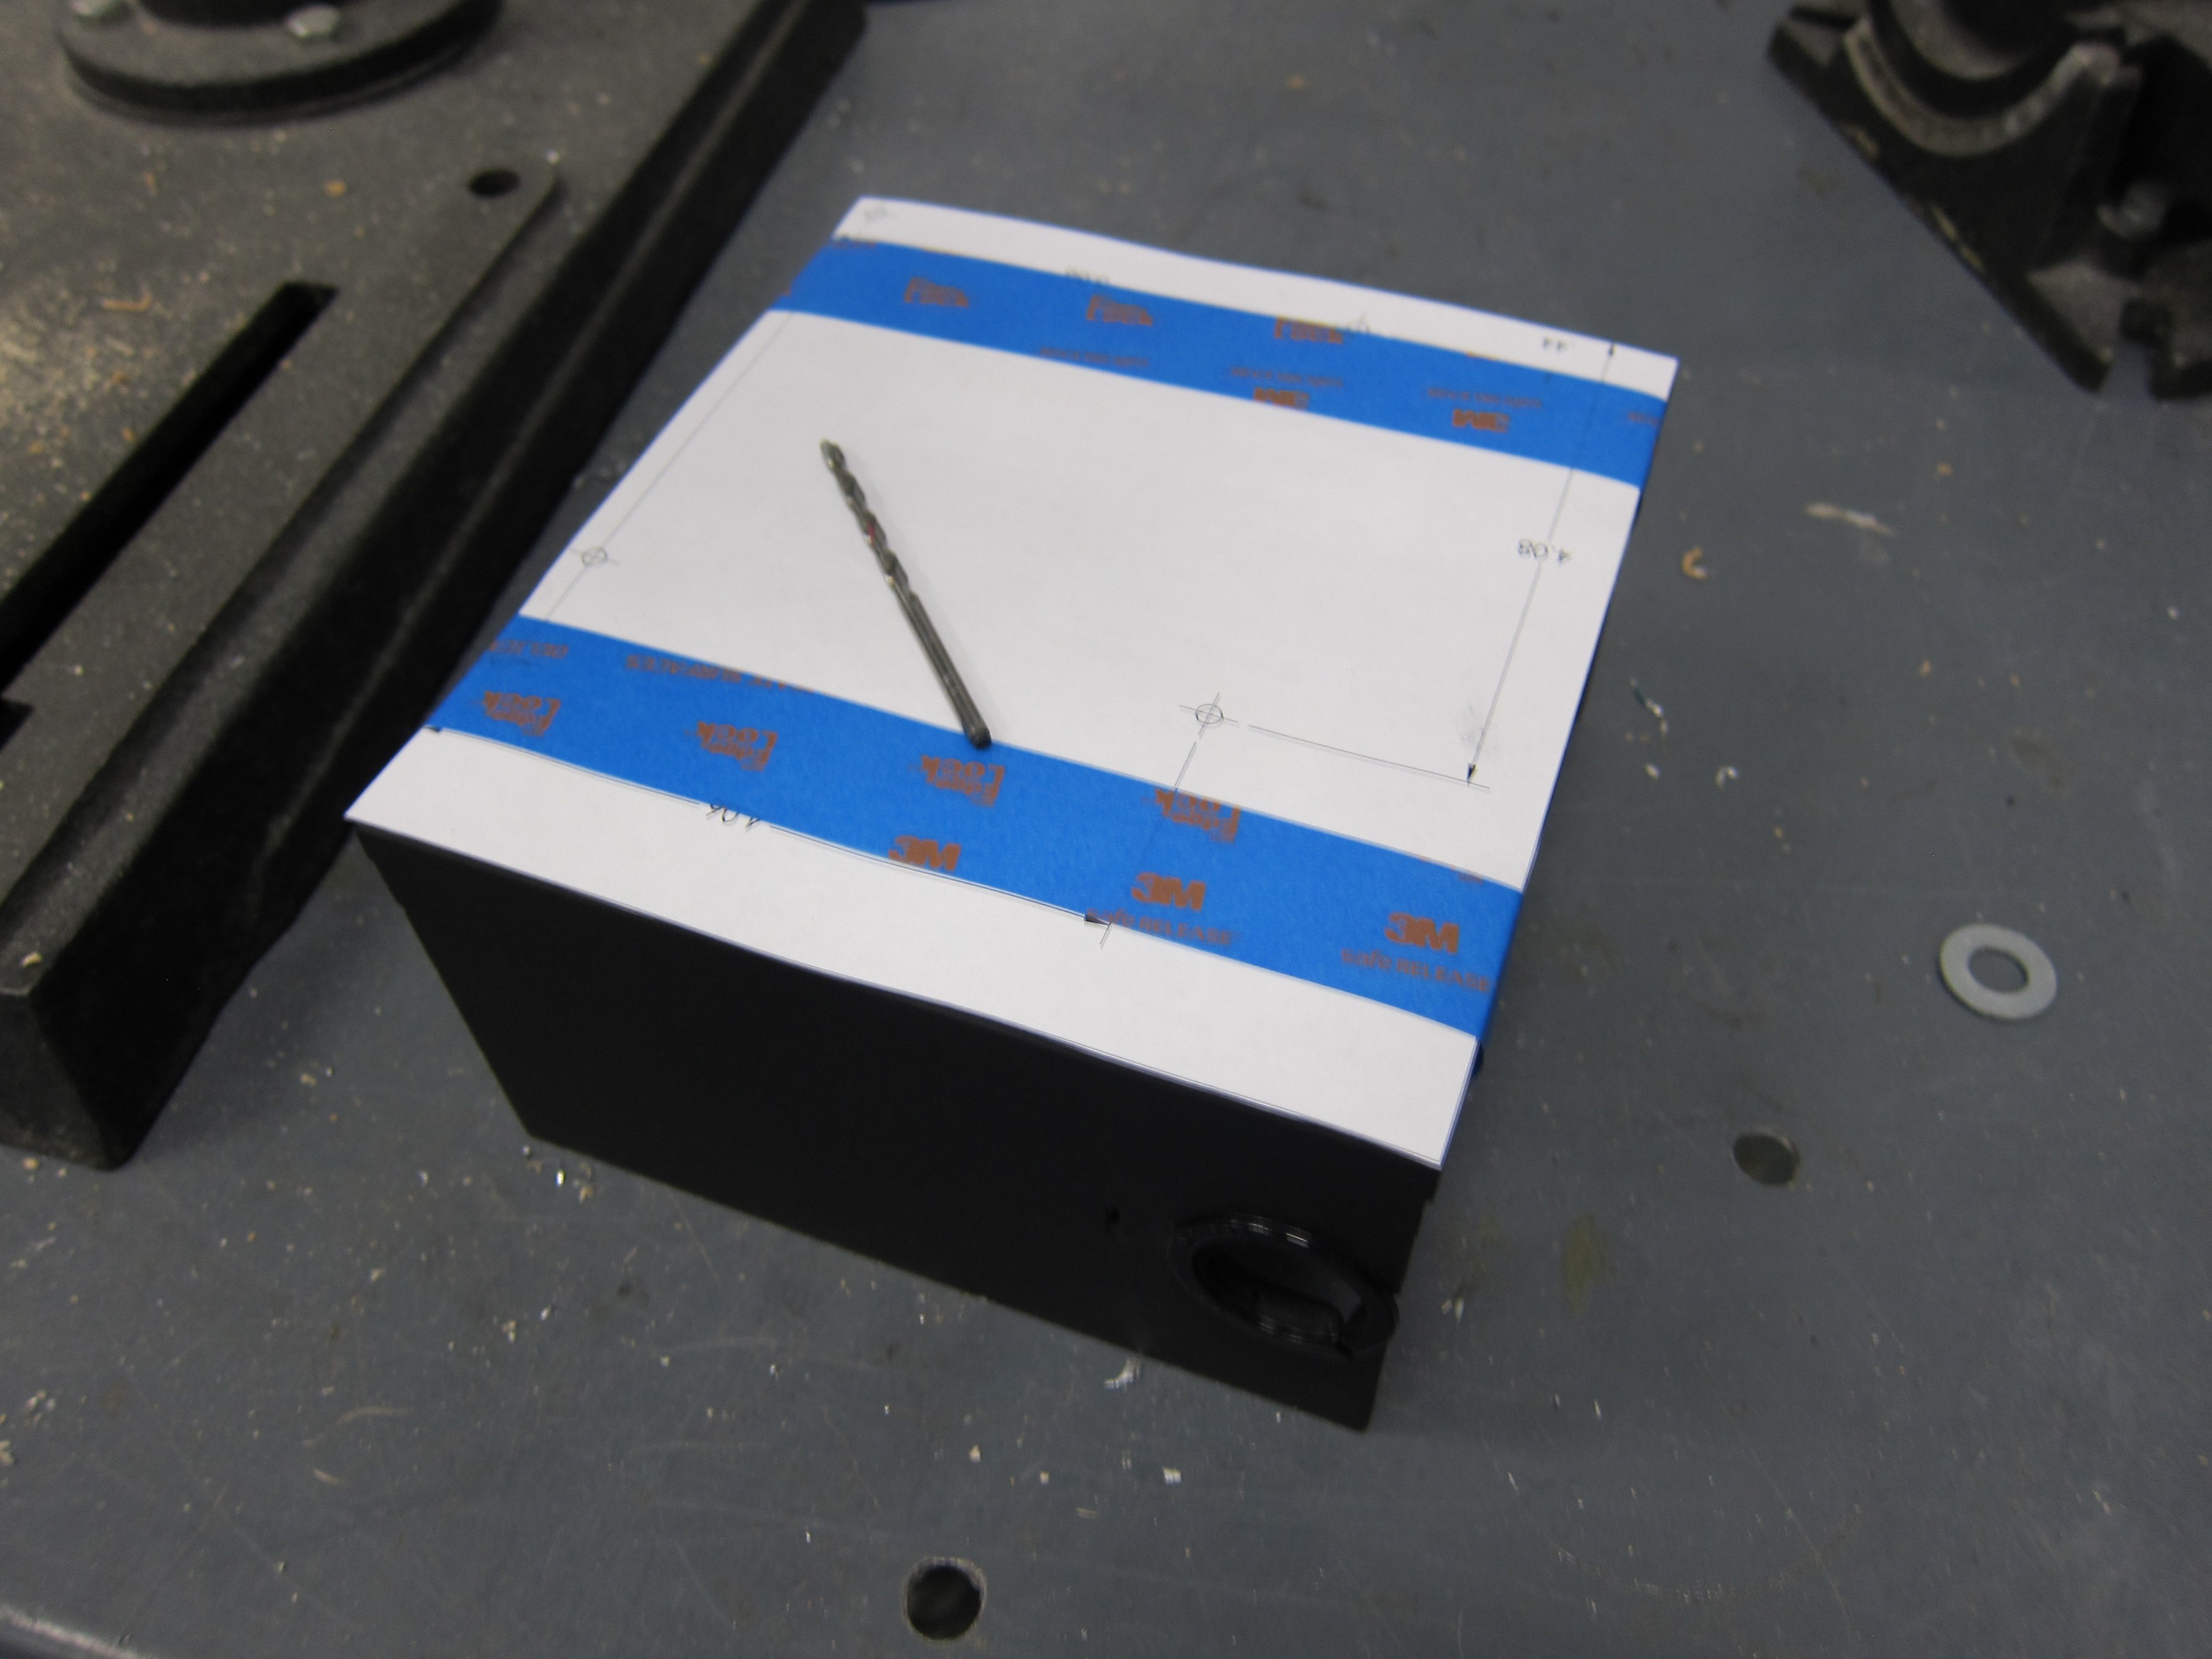
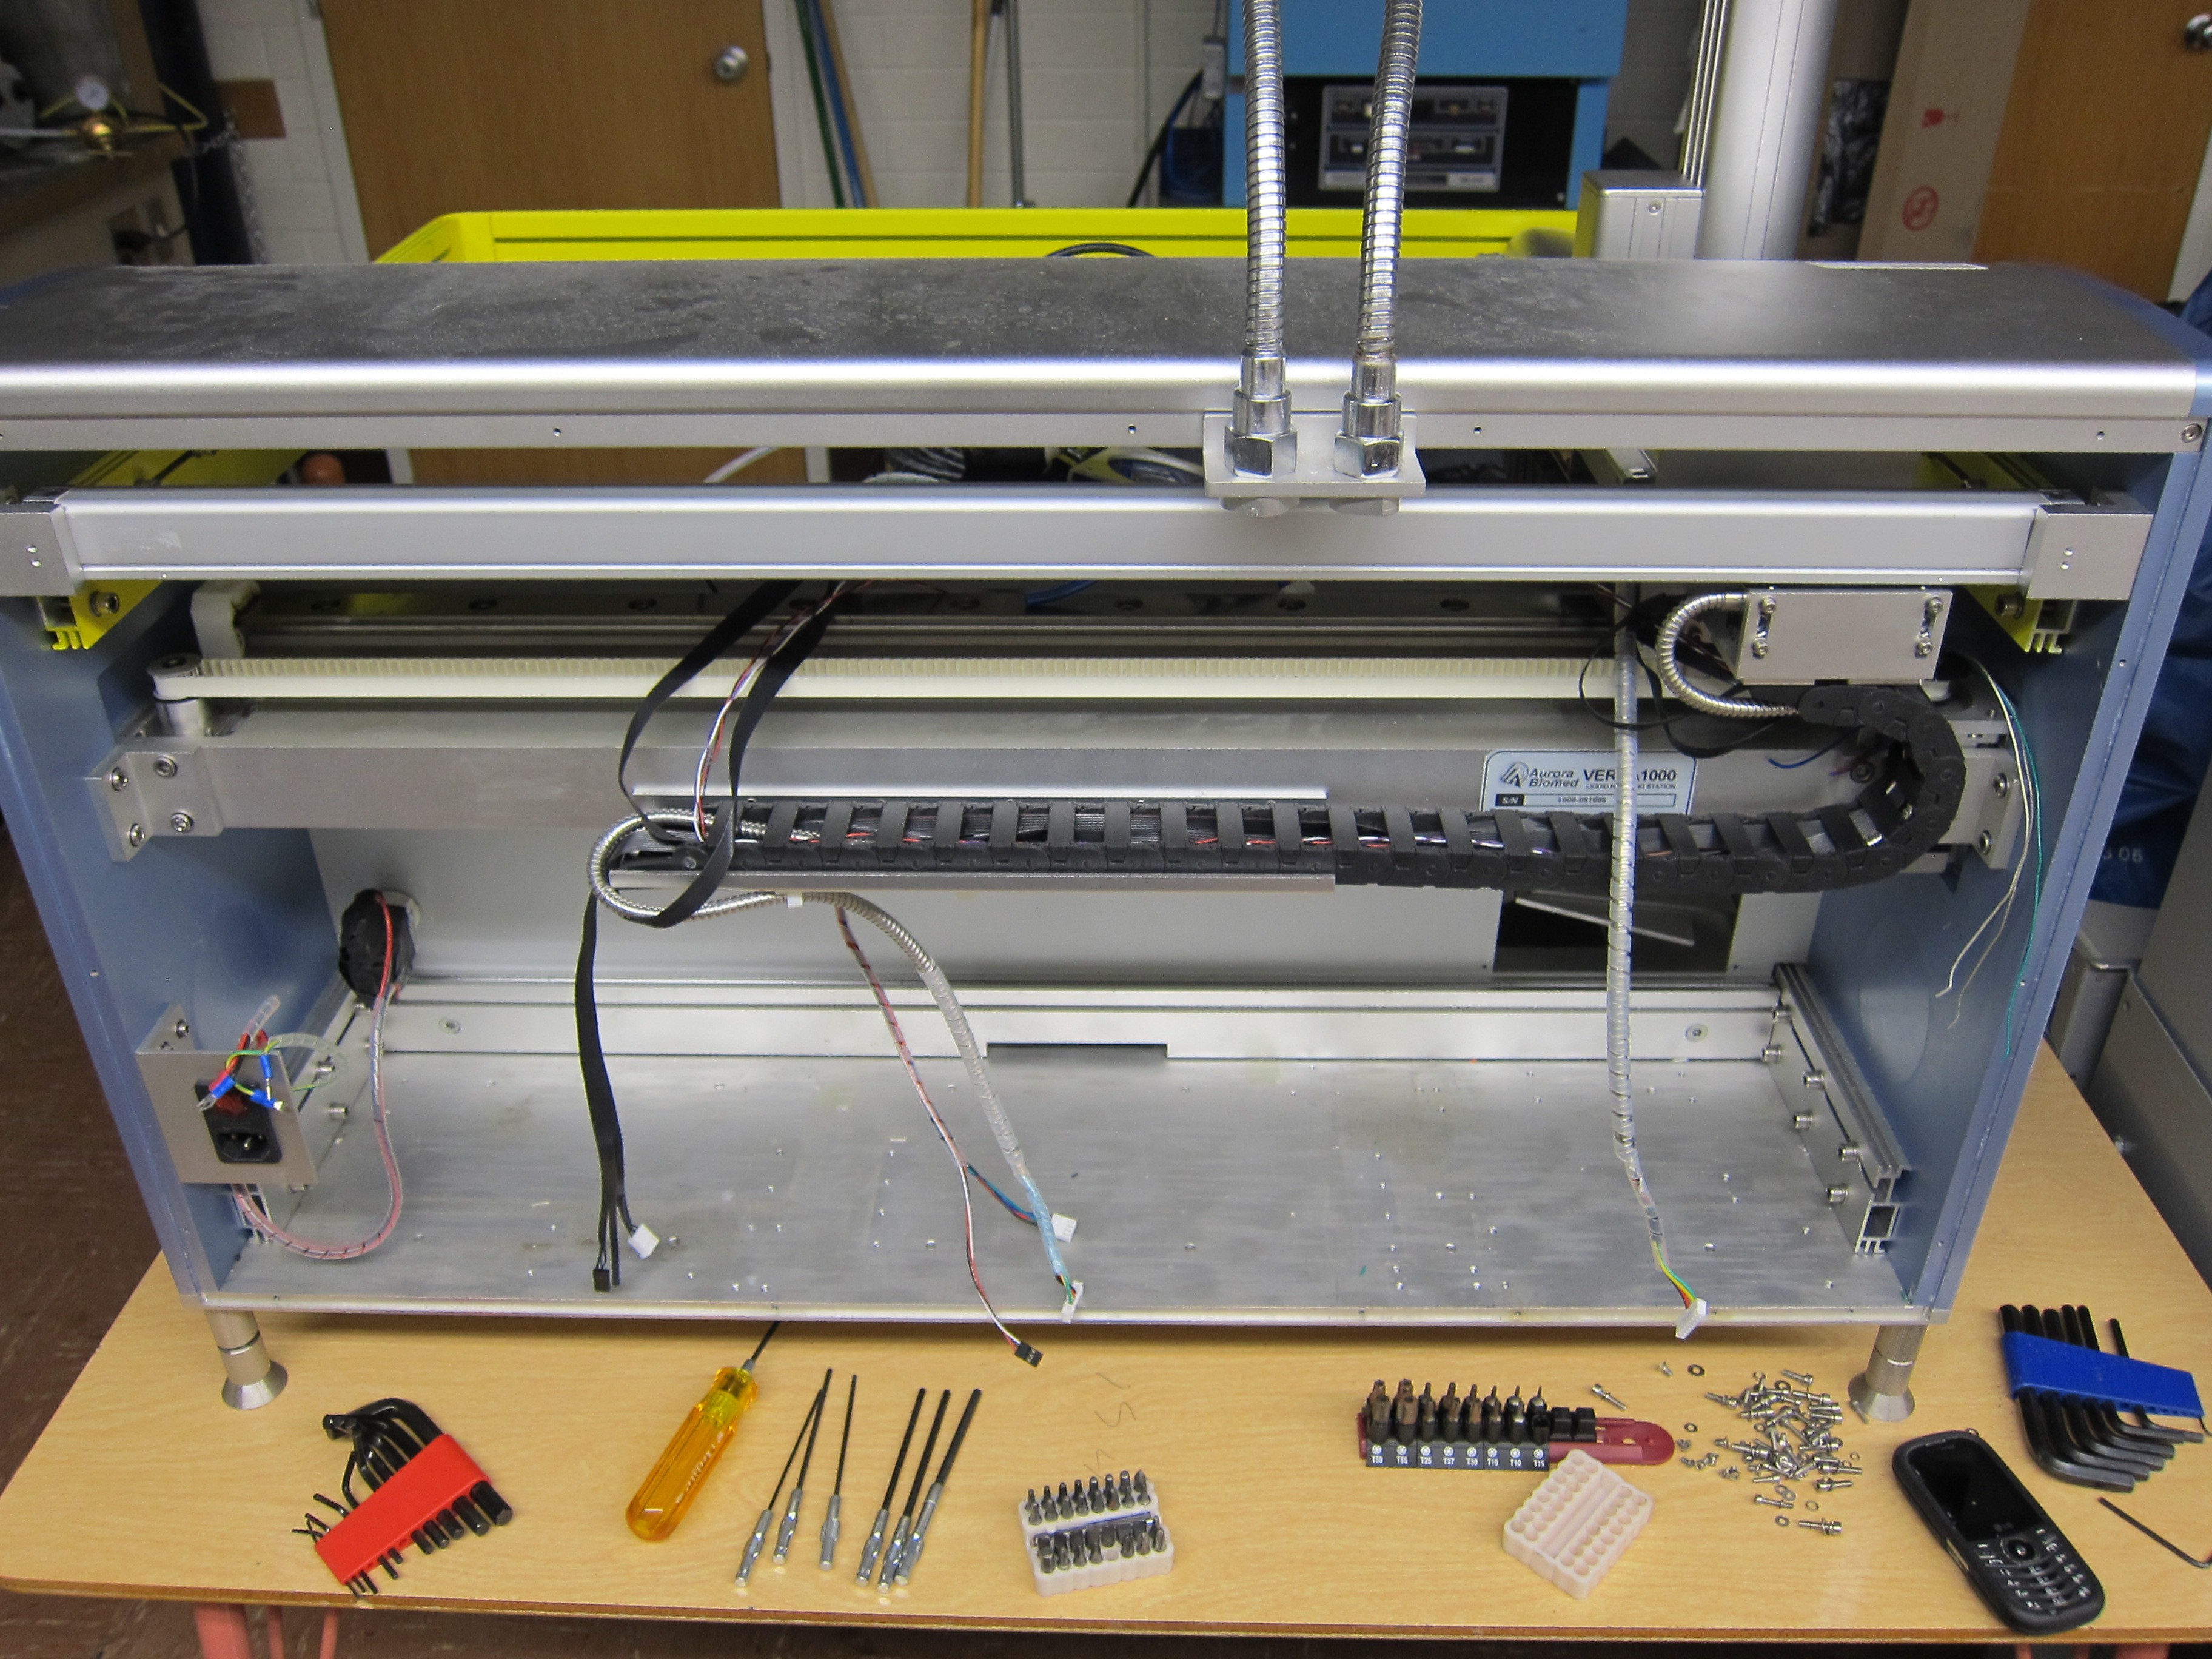
- G̶u̶t̶ ̶i̶n̶t̶e̶r̶i̶o̶r̶, measure, model, and test fit everything that has to go inside.
- Measure out and build wire-harness for bare essentials (steppers, endstops, e-stop, hotend, hot-plate).
- Research and build hot-plate. (maybe self leveling?)
- ???
- Profit.
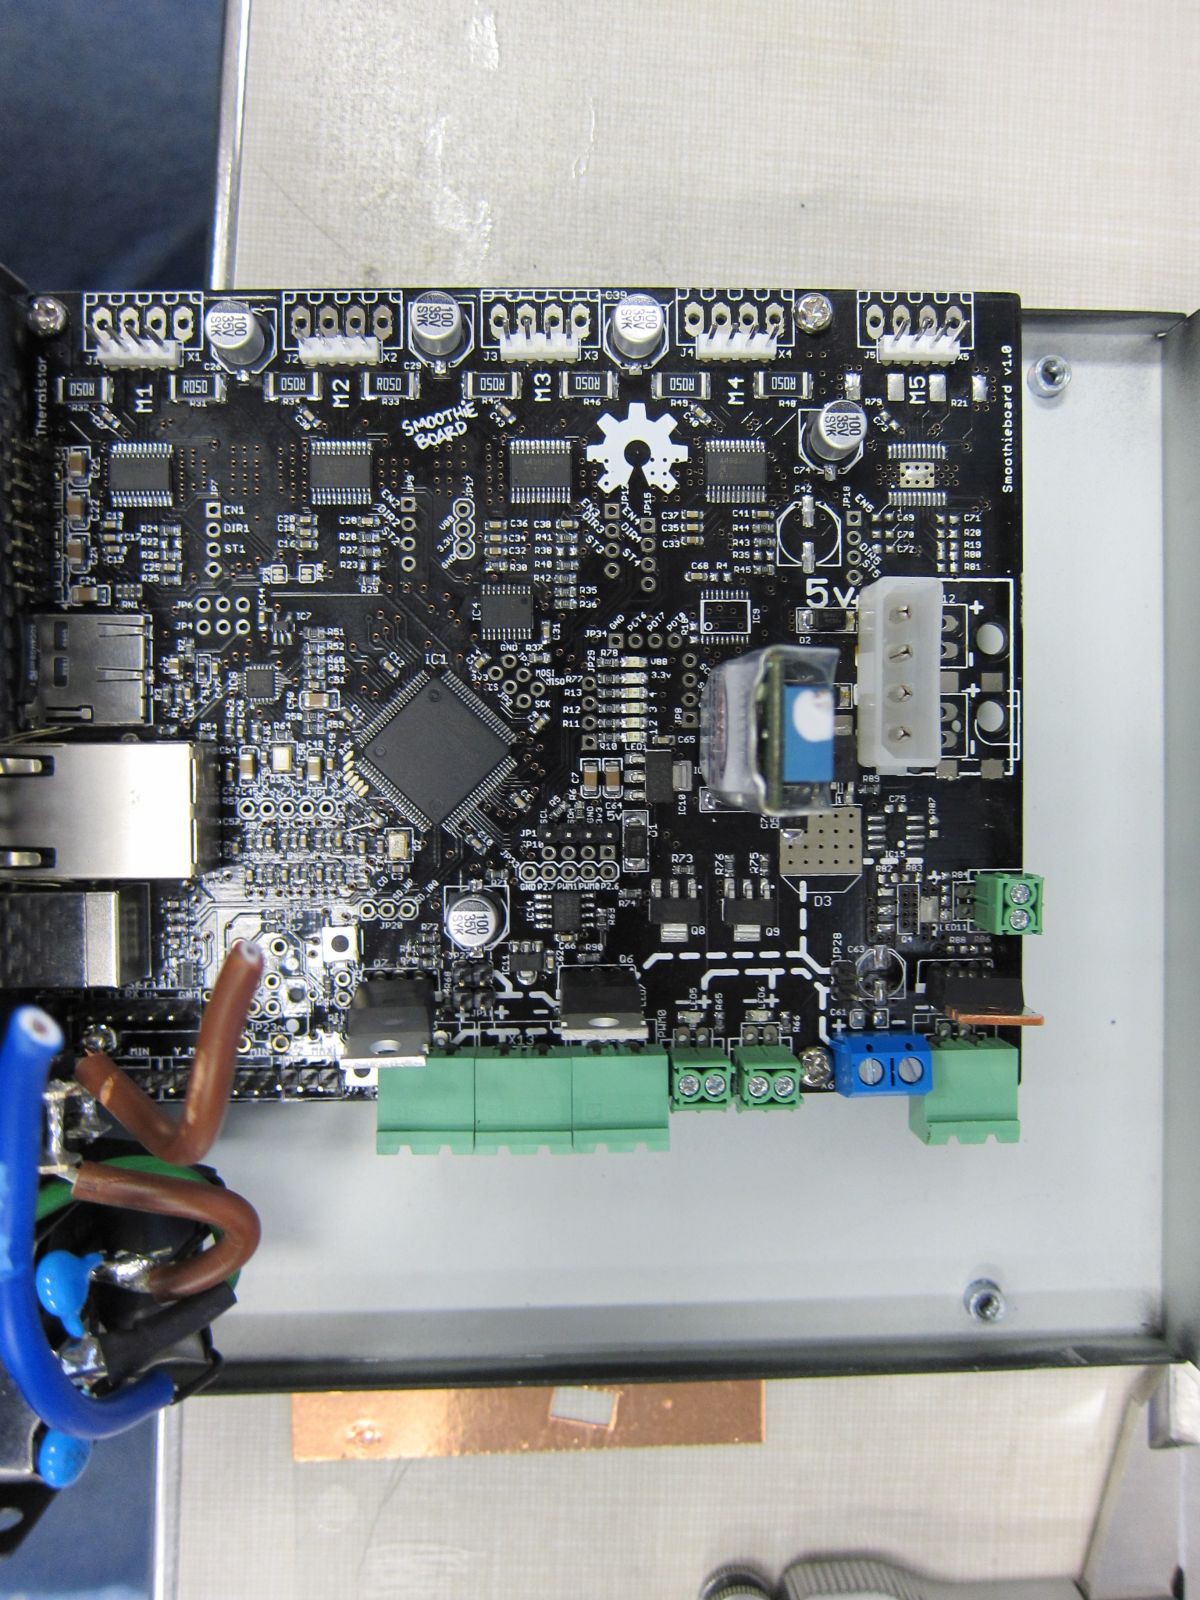
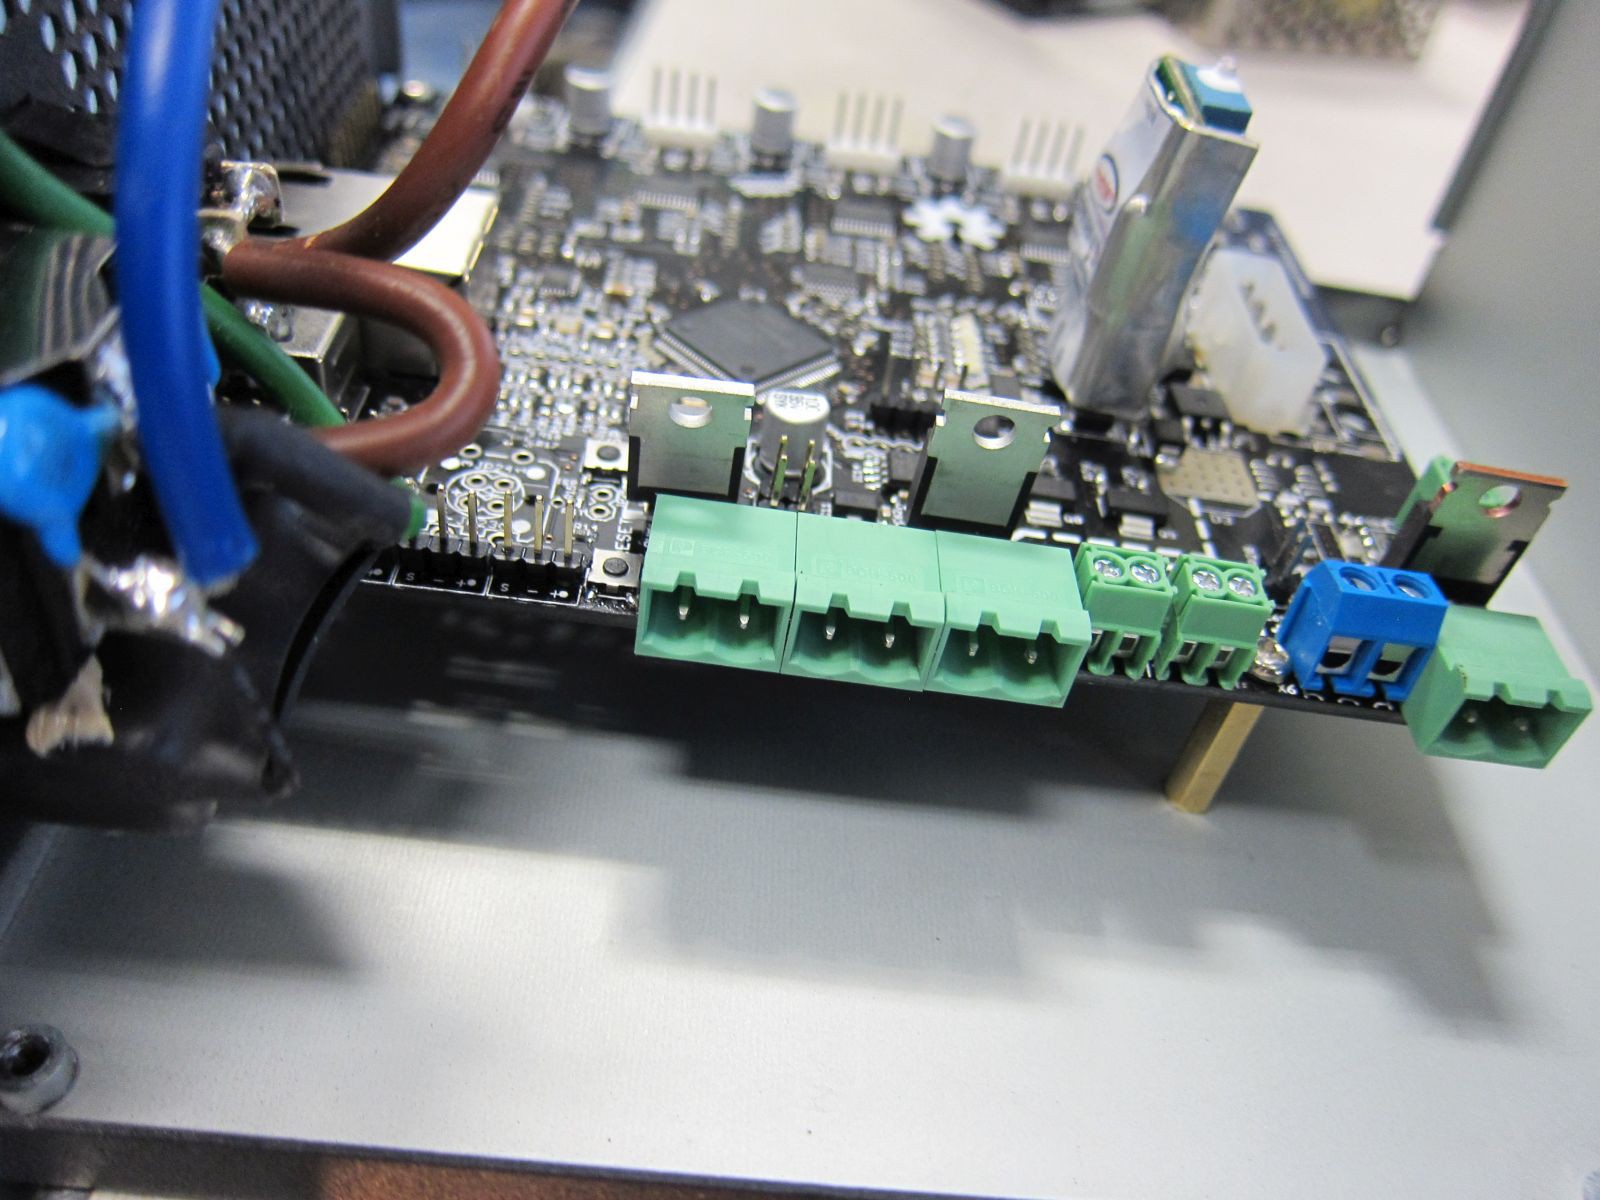
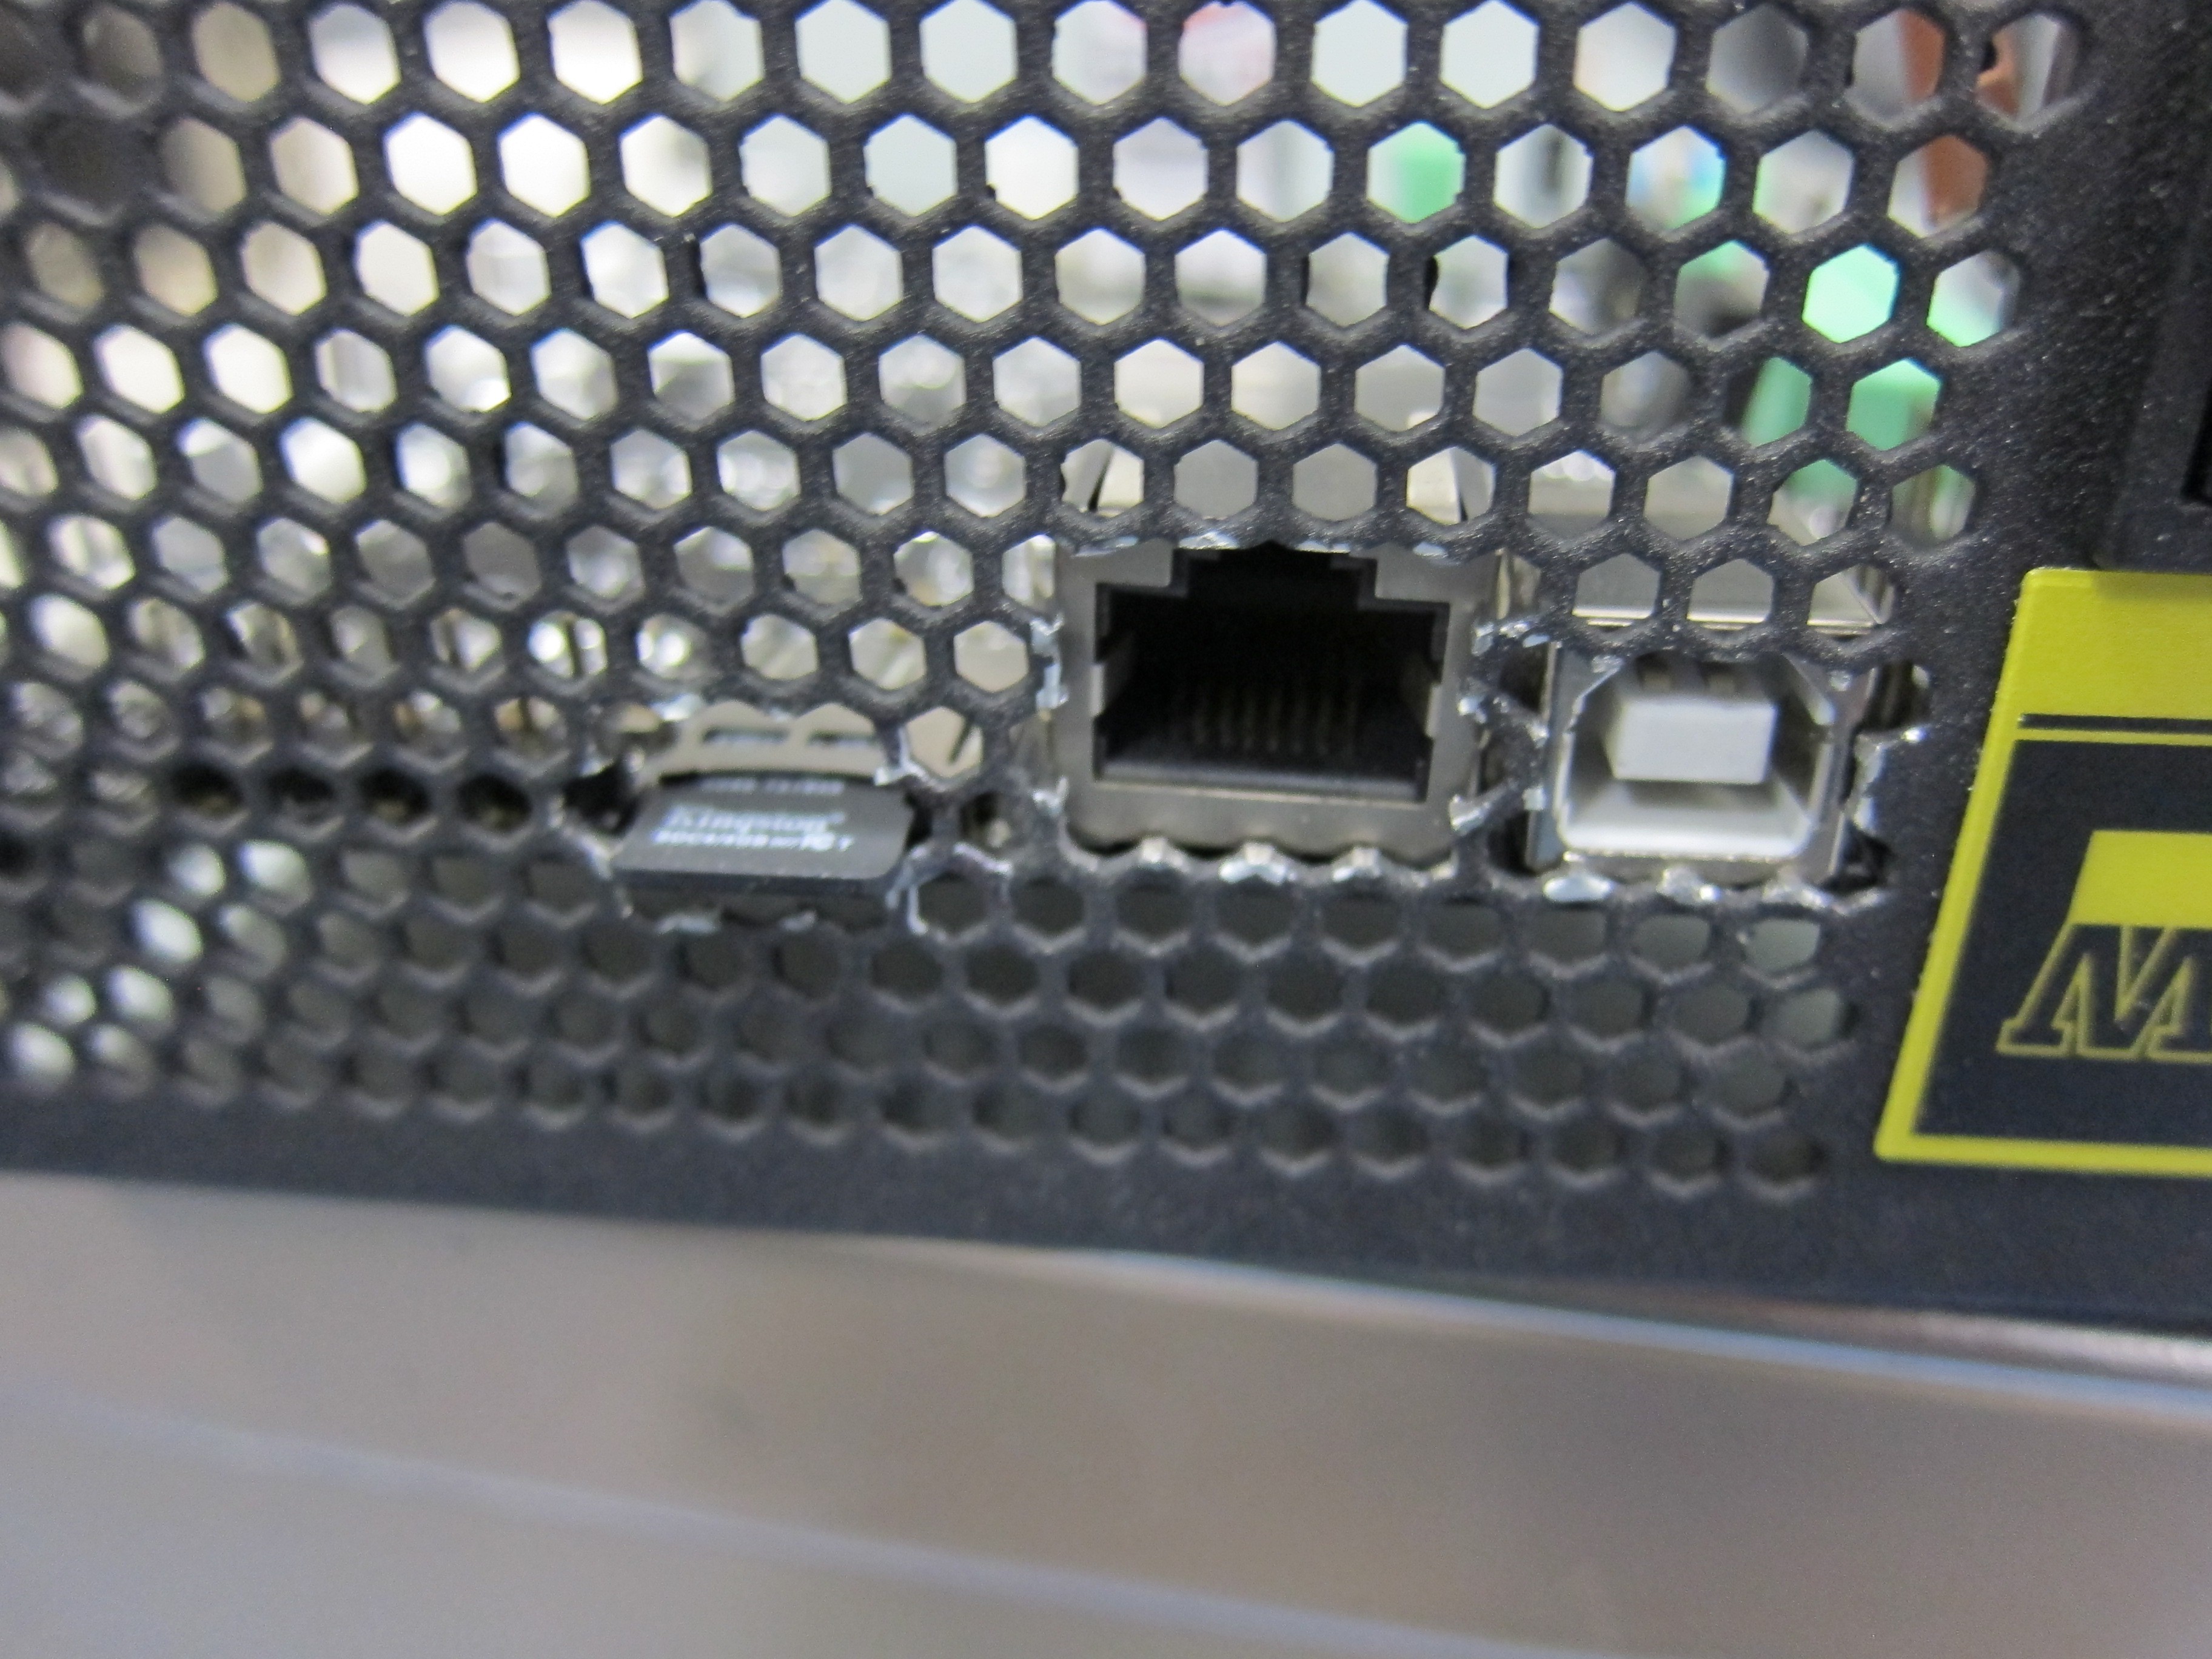
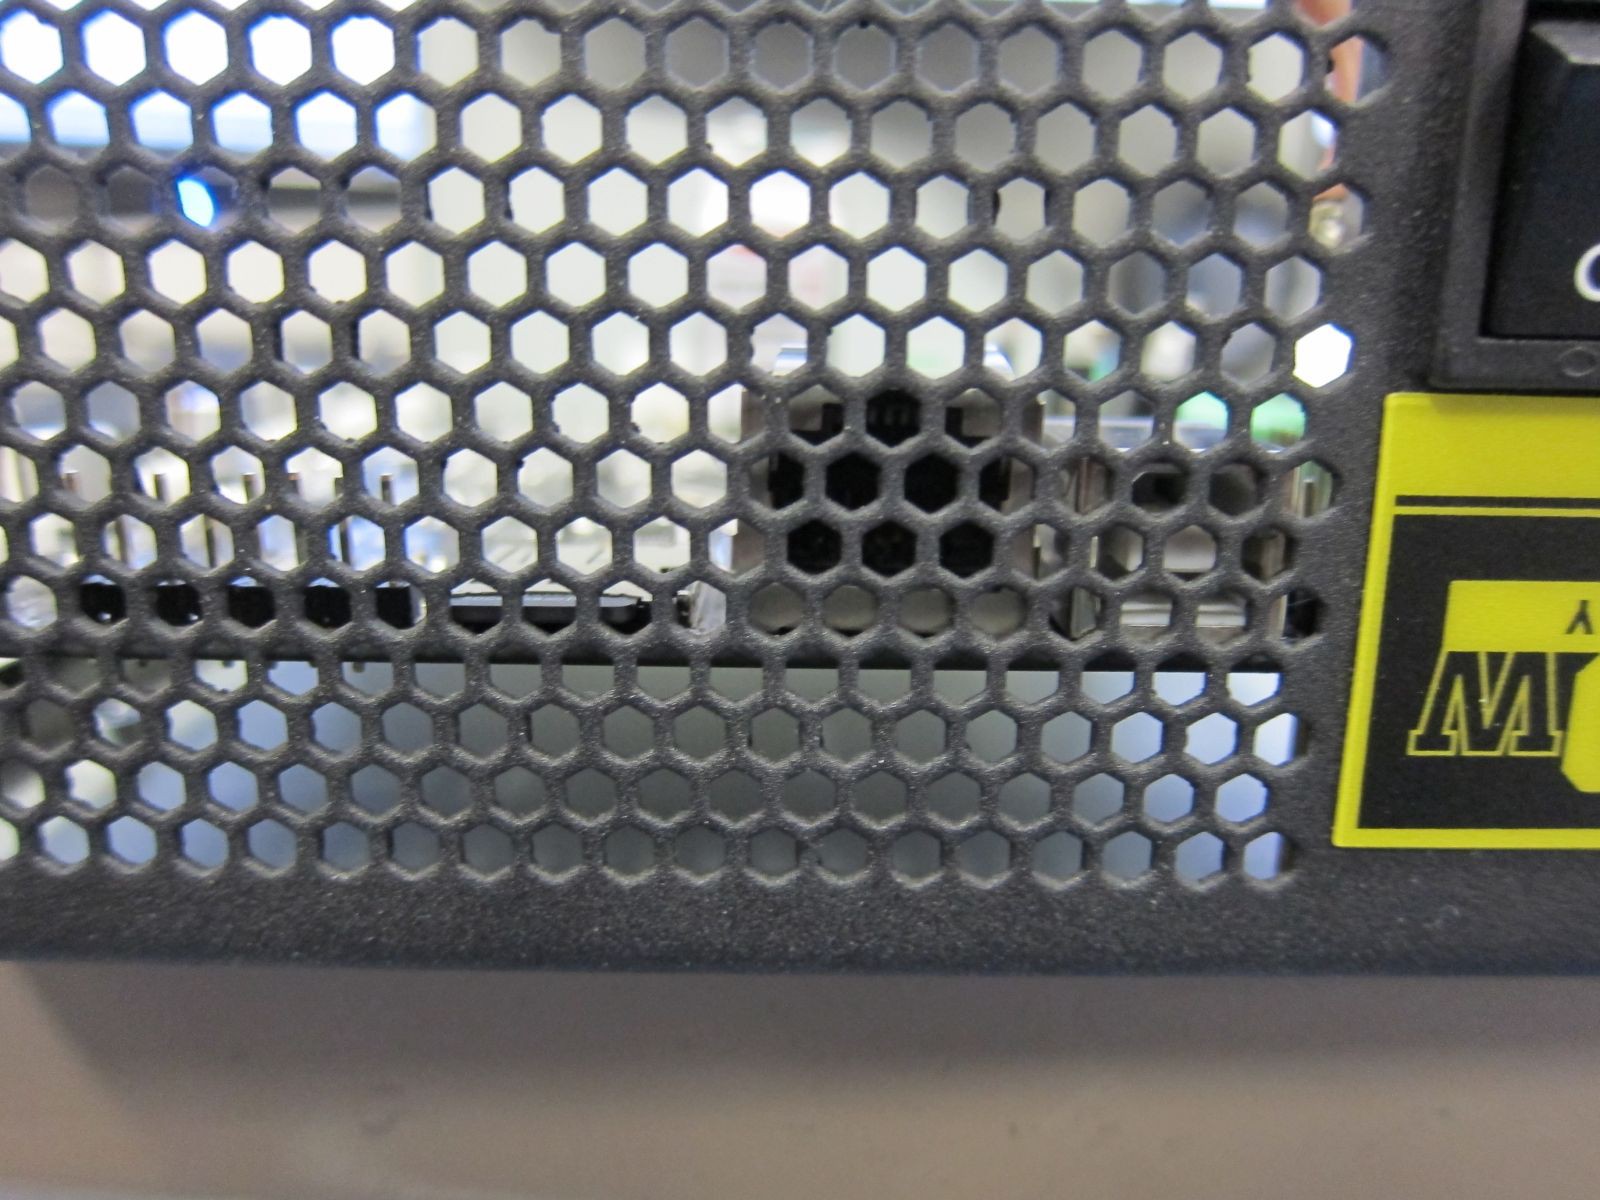 Having successfully installed the Smoothie I punched holes for the SD card, ethernet port, and the USB port. I did some other stuff, too, but I didn't take any pictures.
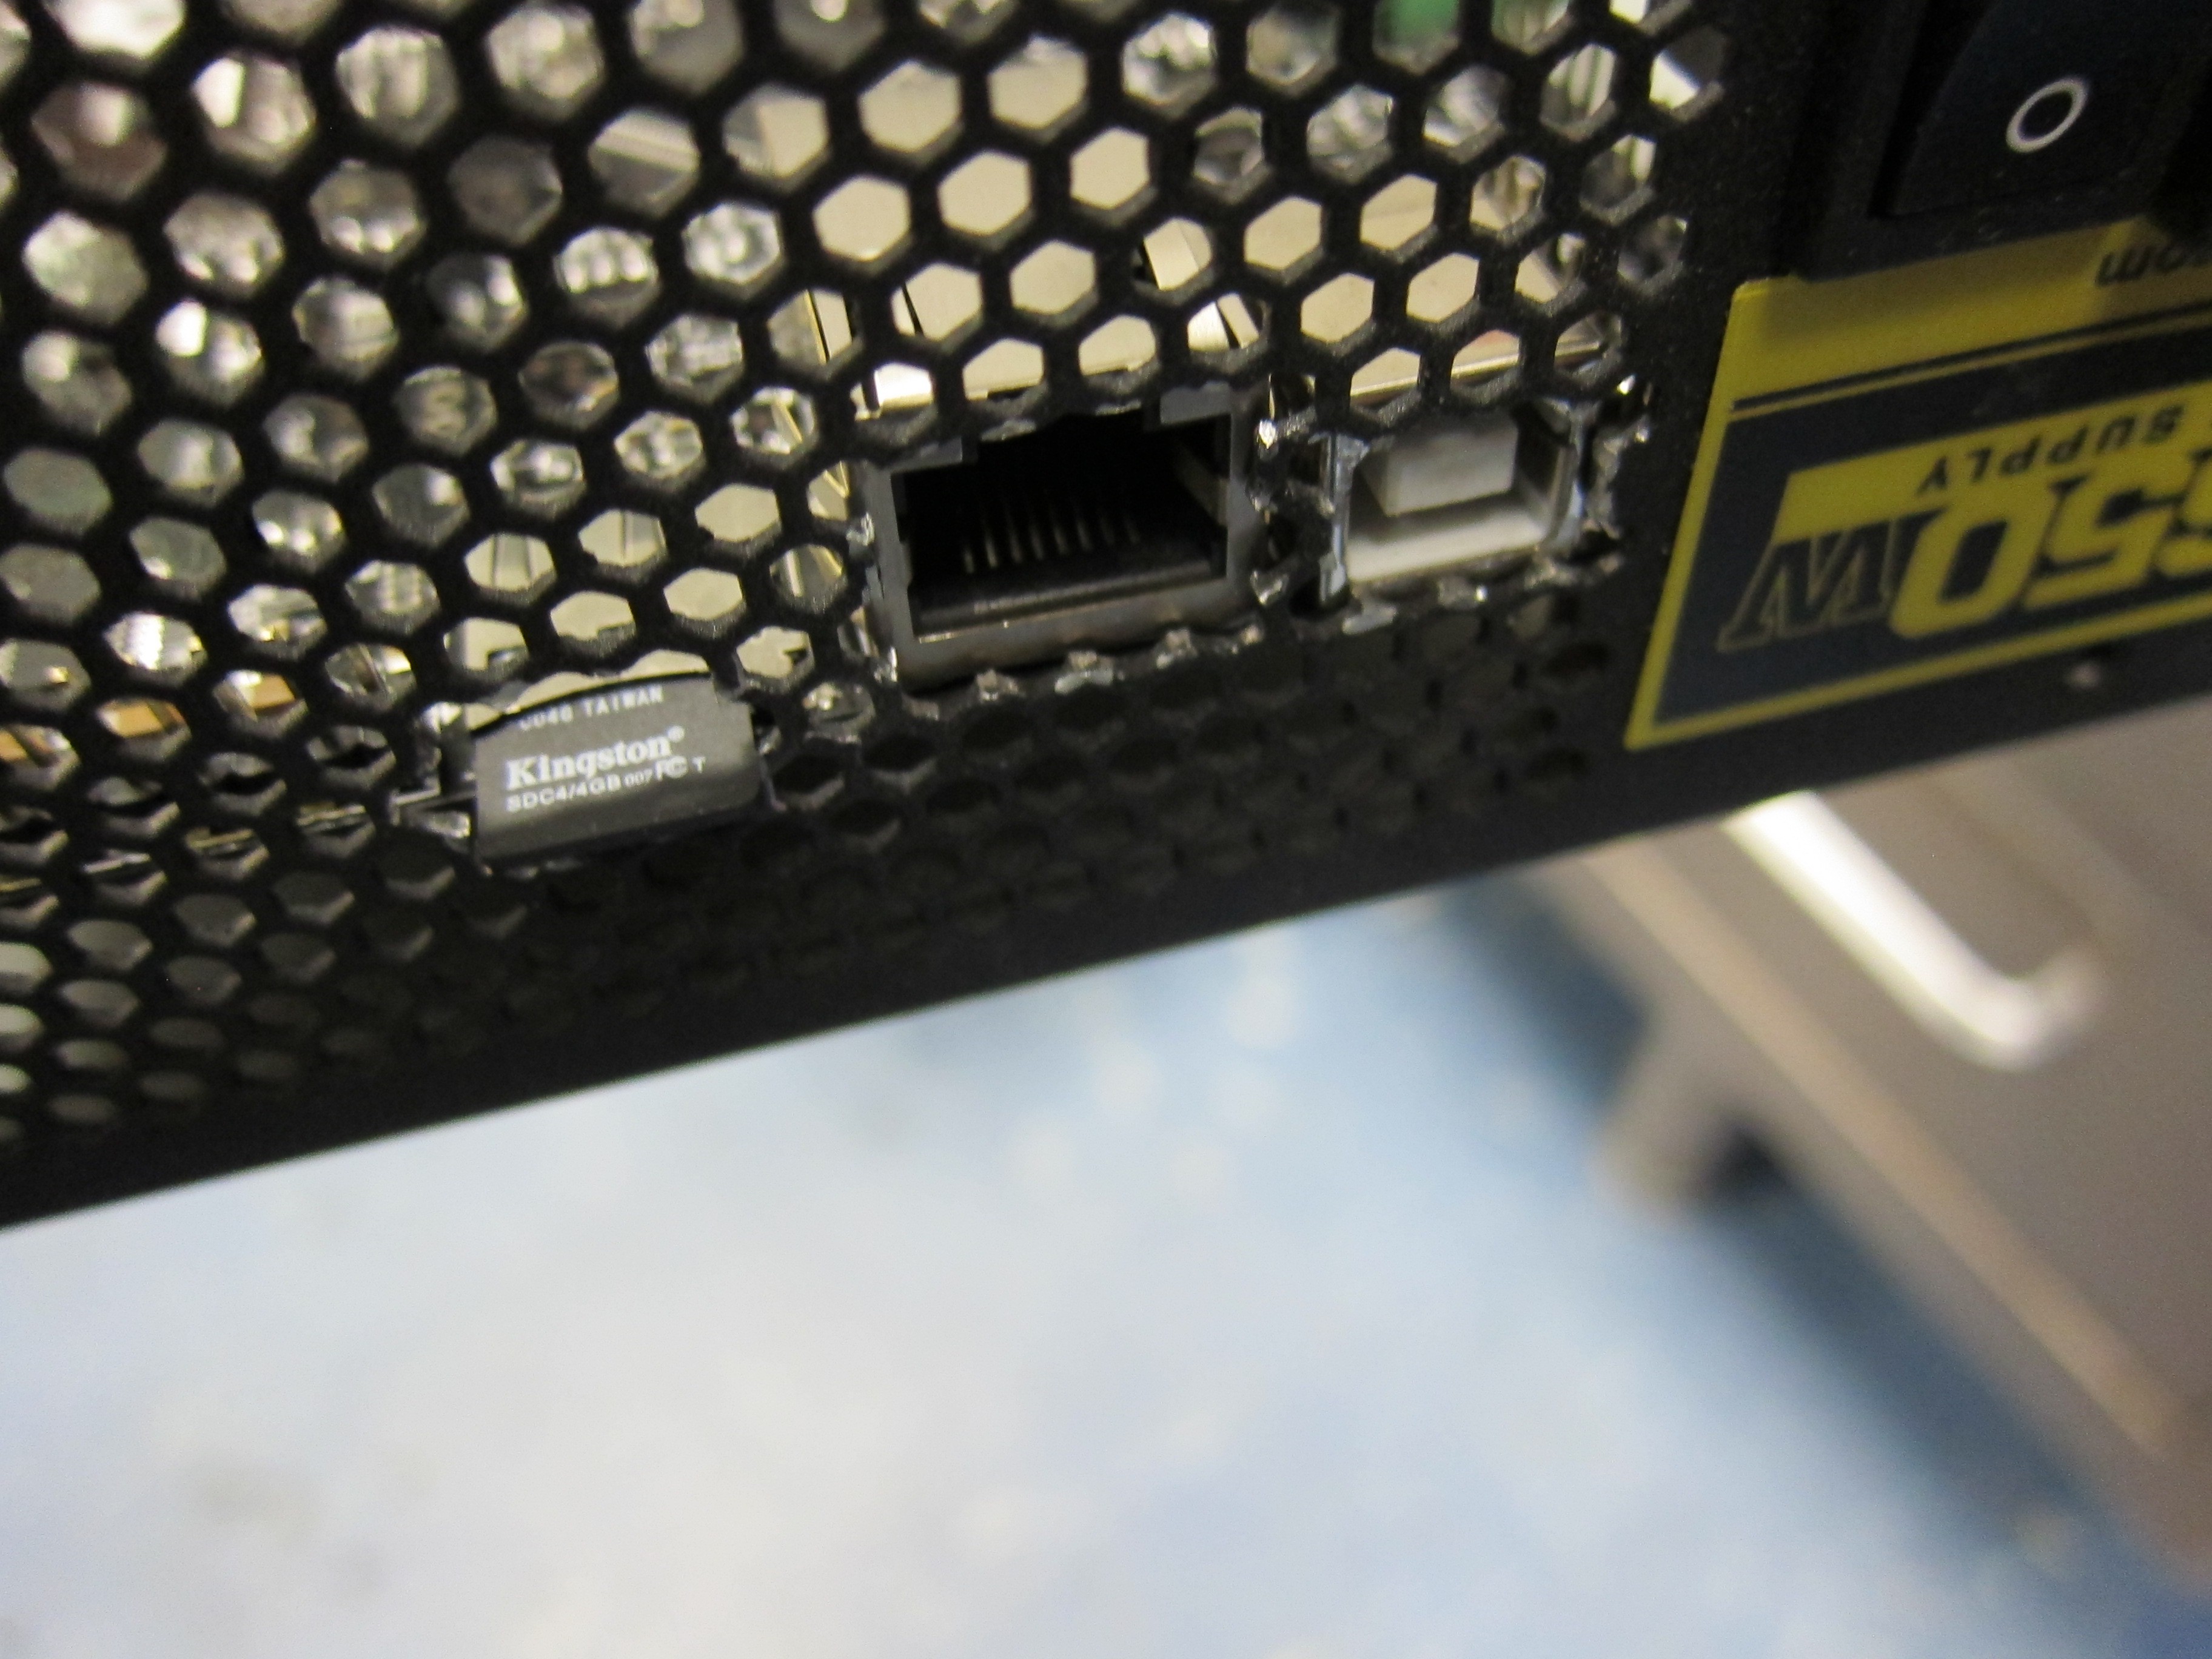
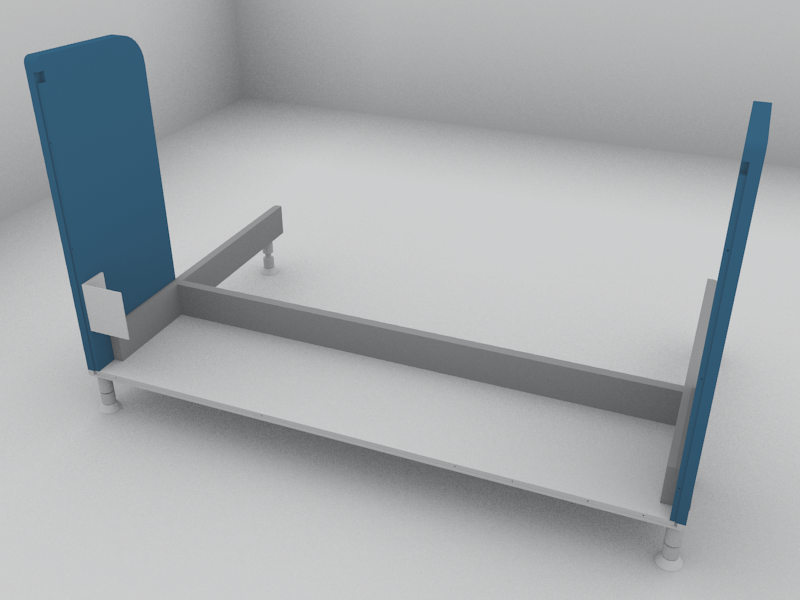 Why yes, that is Blender's ambient occlusion render setting yous see. I could have modeled this in solidworks, but that would have been no fun at all. I need to model all the components that go inside and get to test fitting them.
 balintechnologies
 The Lab Guy
 Patrick
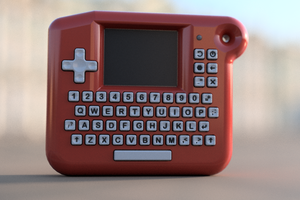
 T. B. Trzepacz