 Gary
GaryThe goal was to learn a little more about the esp8266 and while doing so found I left my guest WIFI port on.
Not wanting to give open access to my network I created this little project to warn me if there is an open port available.
Use an esp8266 to monitor for open wifi ports.
Already have an account? Log in.
To make the experience fit your profile, pick a username and tell us what interests you.
The goal was to learn a little more about the esp8266 and while doing so found I left my guest WIFI port on.
Not wanting to give open access to my network I created this little project to warn me if there is an open port available.
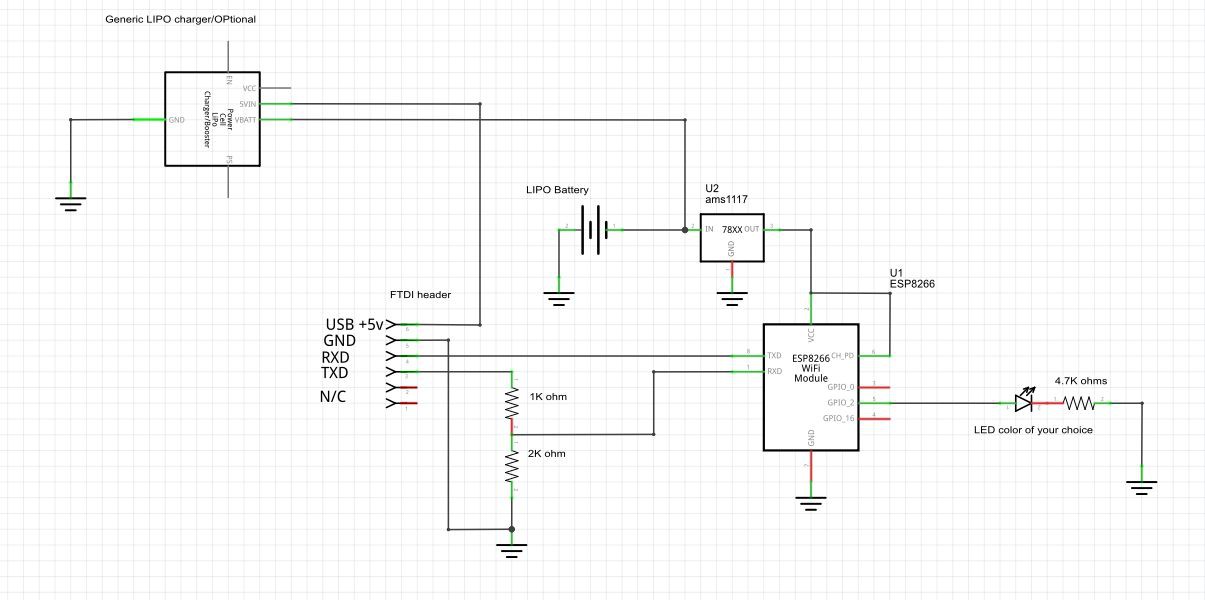
The only components needed for the actual project is the esp8266, LED, current limiting resistor and a 3.3v voltage source. To get the 3.3v I ended u sing a AM1117 3 terminal regulator feed from a 18650 LIPO battery. I also added an option lipo charger to the board and a header to allow me to program the esp8266 board from a USB FTDI ttl cable.
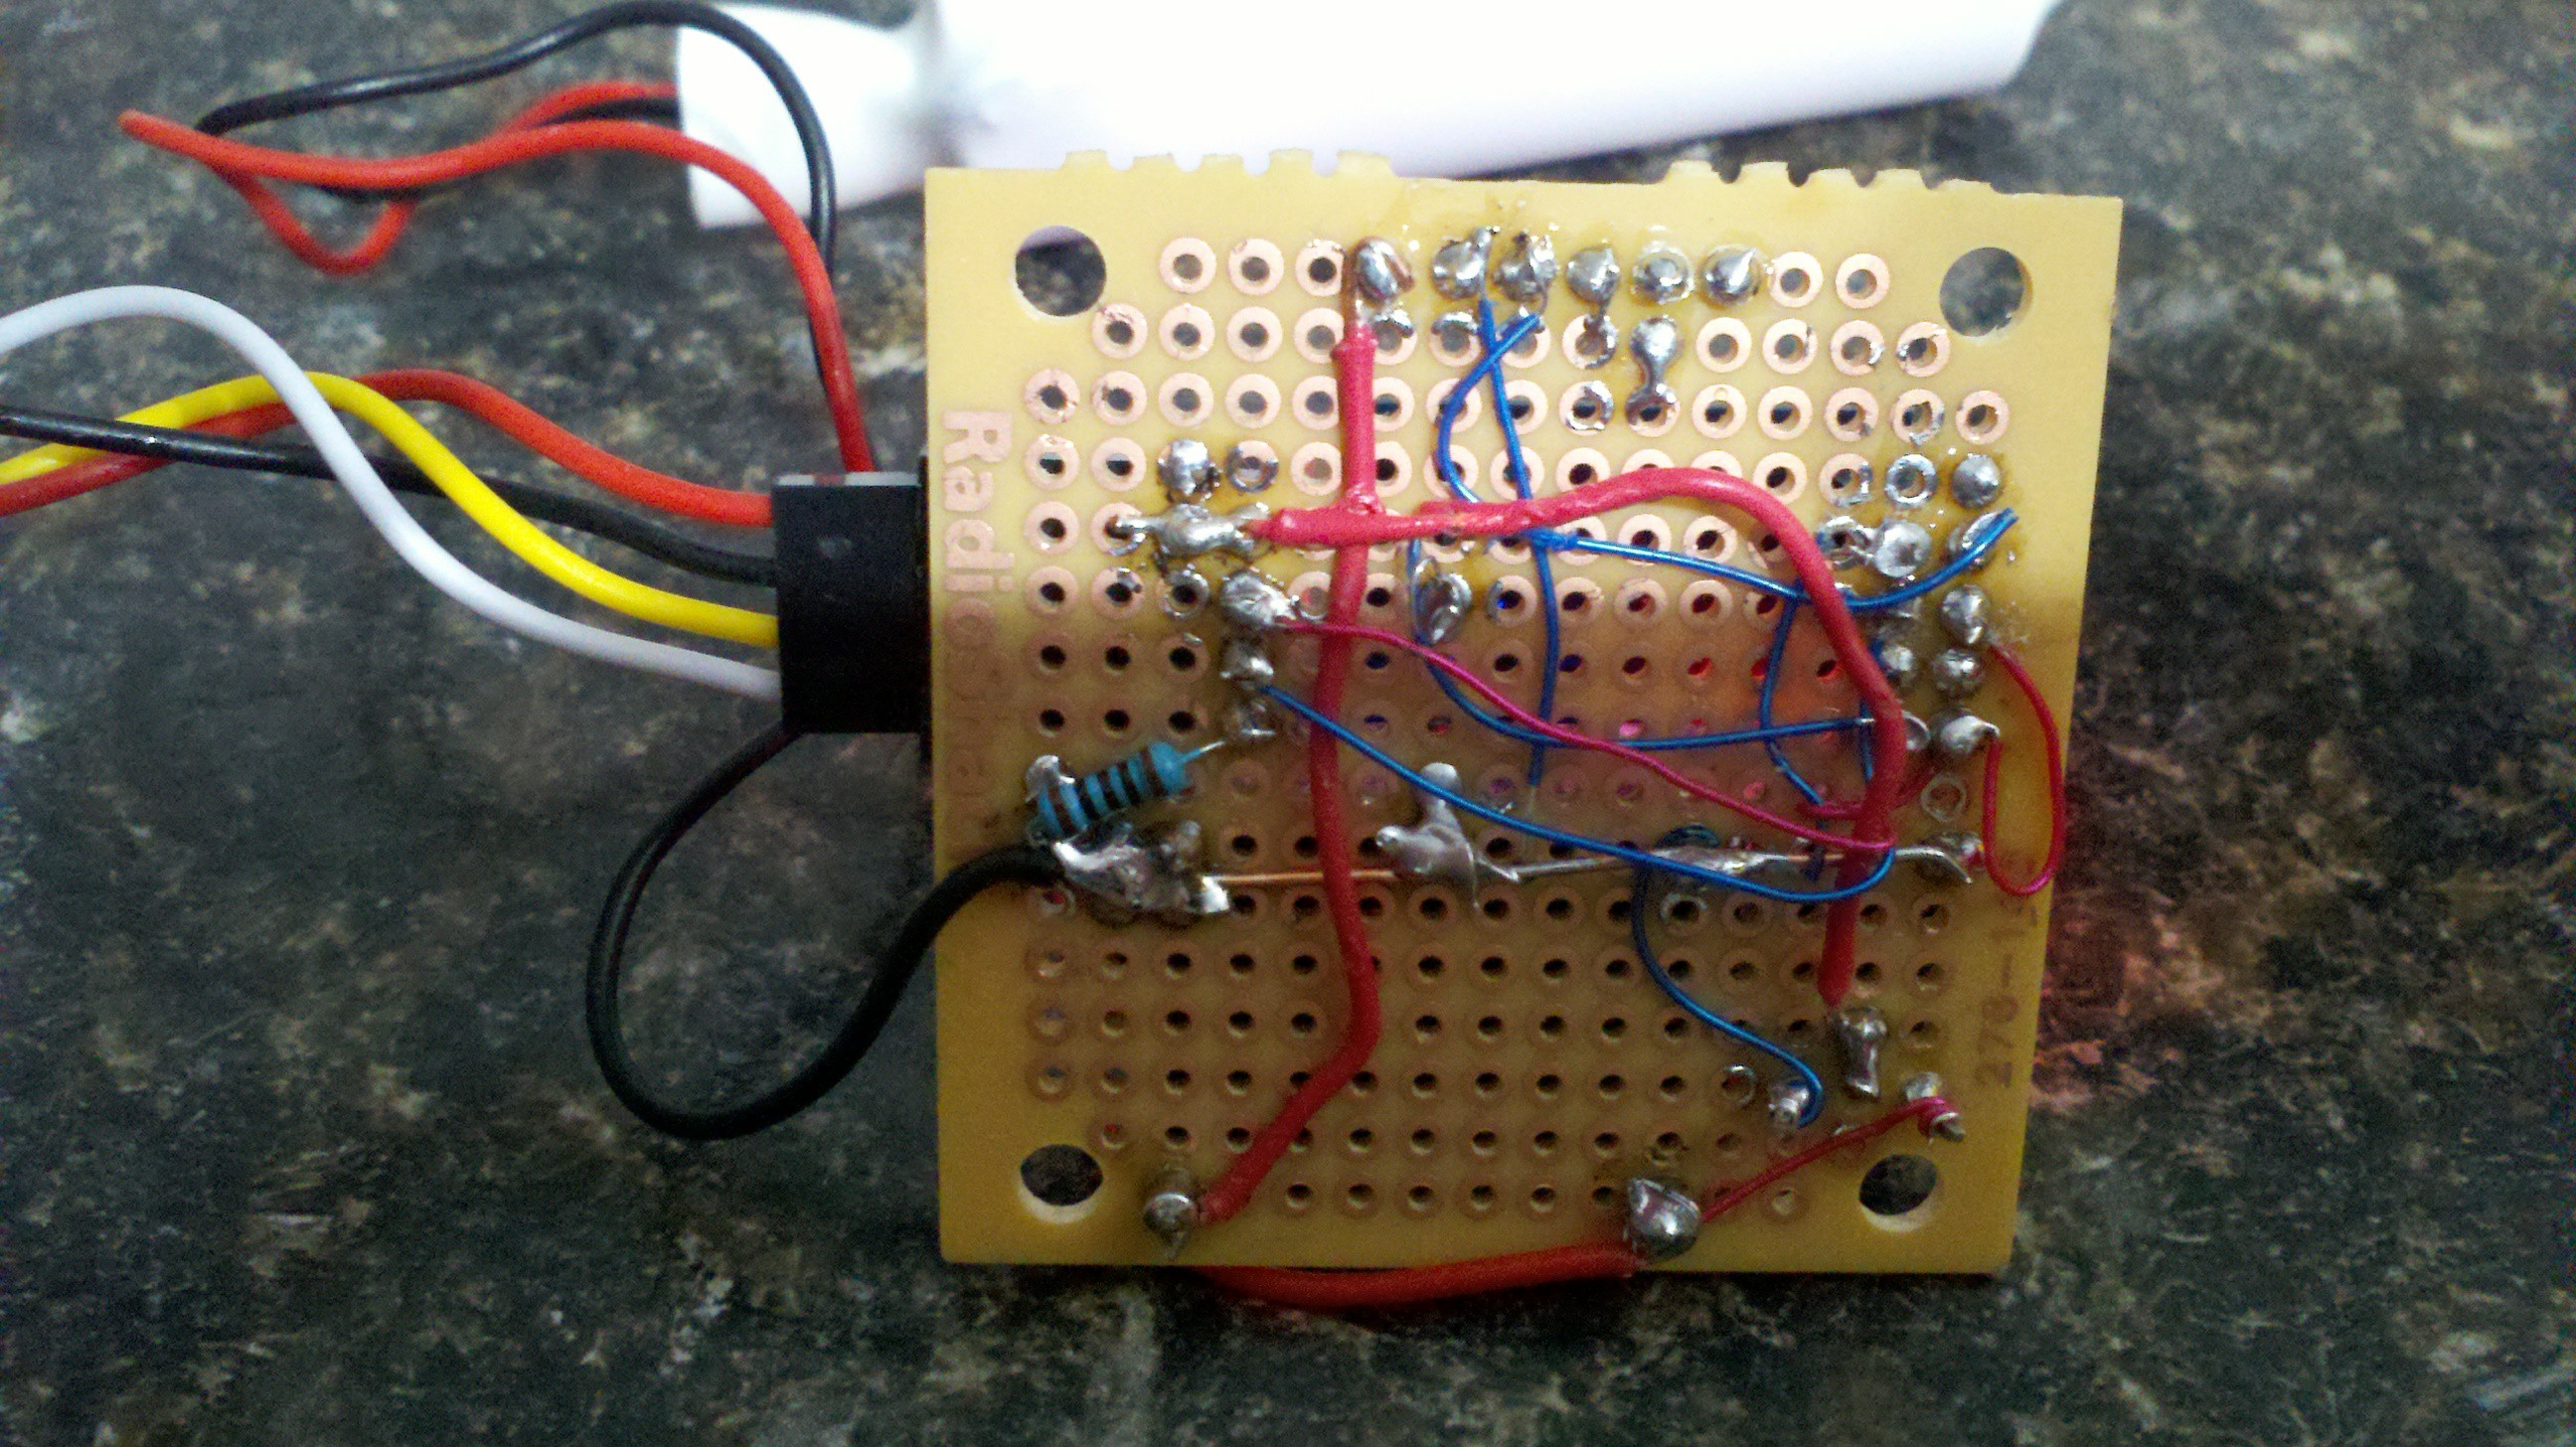
Wiring can be a simple proto board or wire on a bread board like I did. I used a mix of wire wrap wire and some proto cable I had handy.
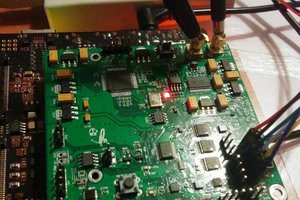
Here is the sloppy wiring.
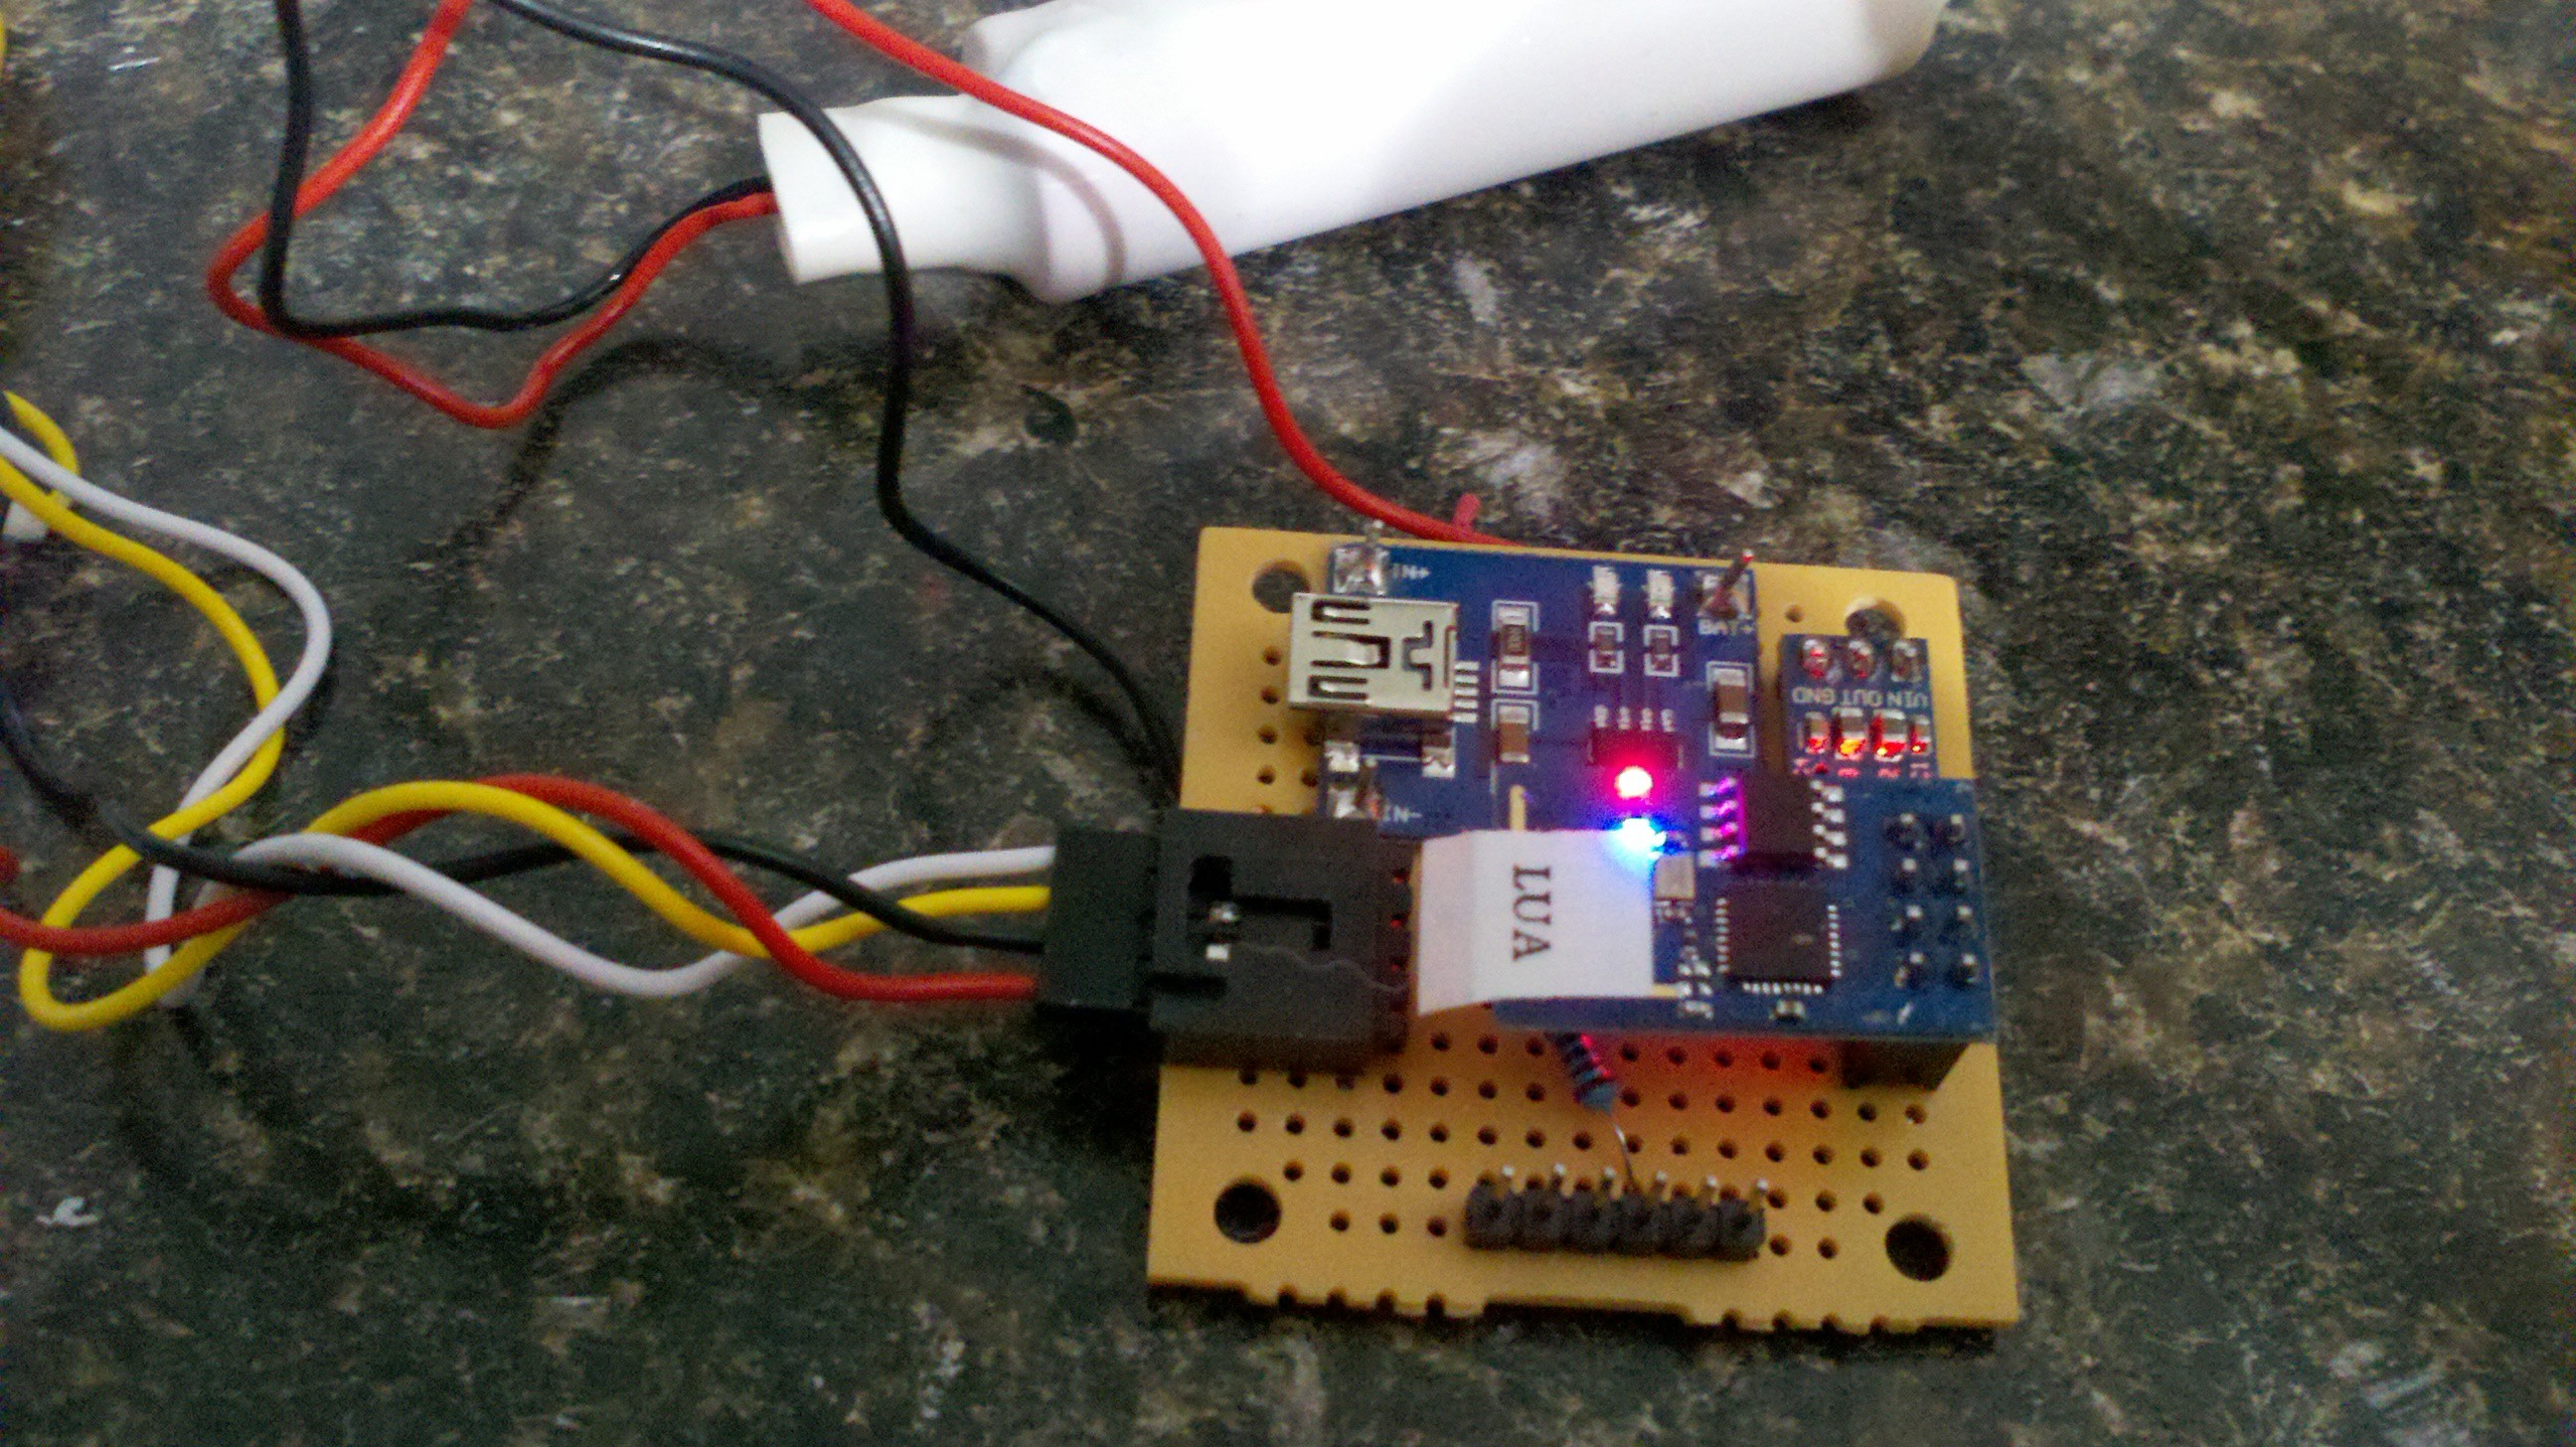
Here is the front side of the board.
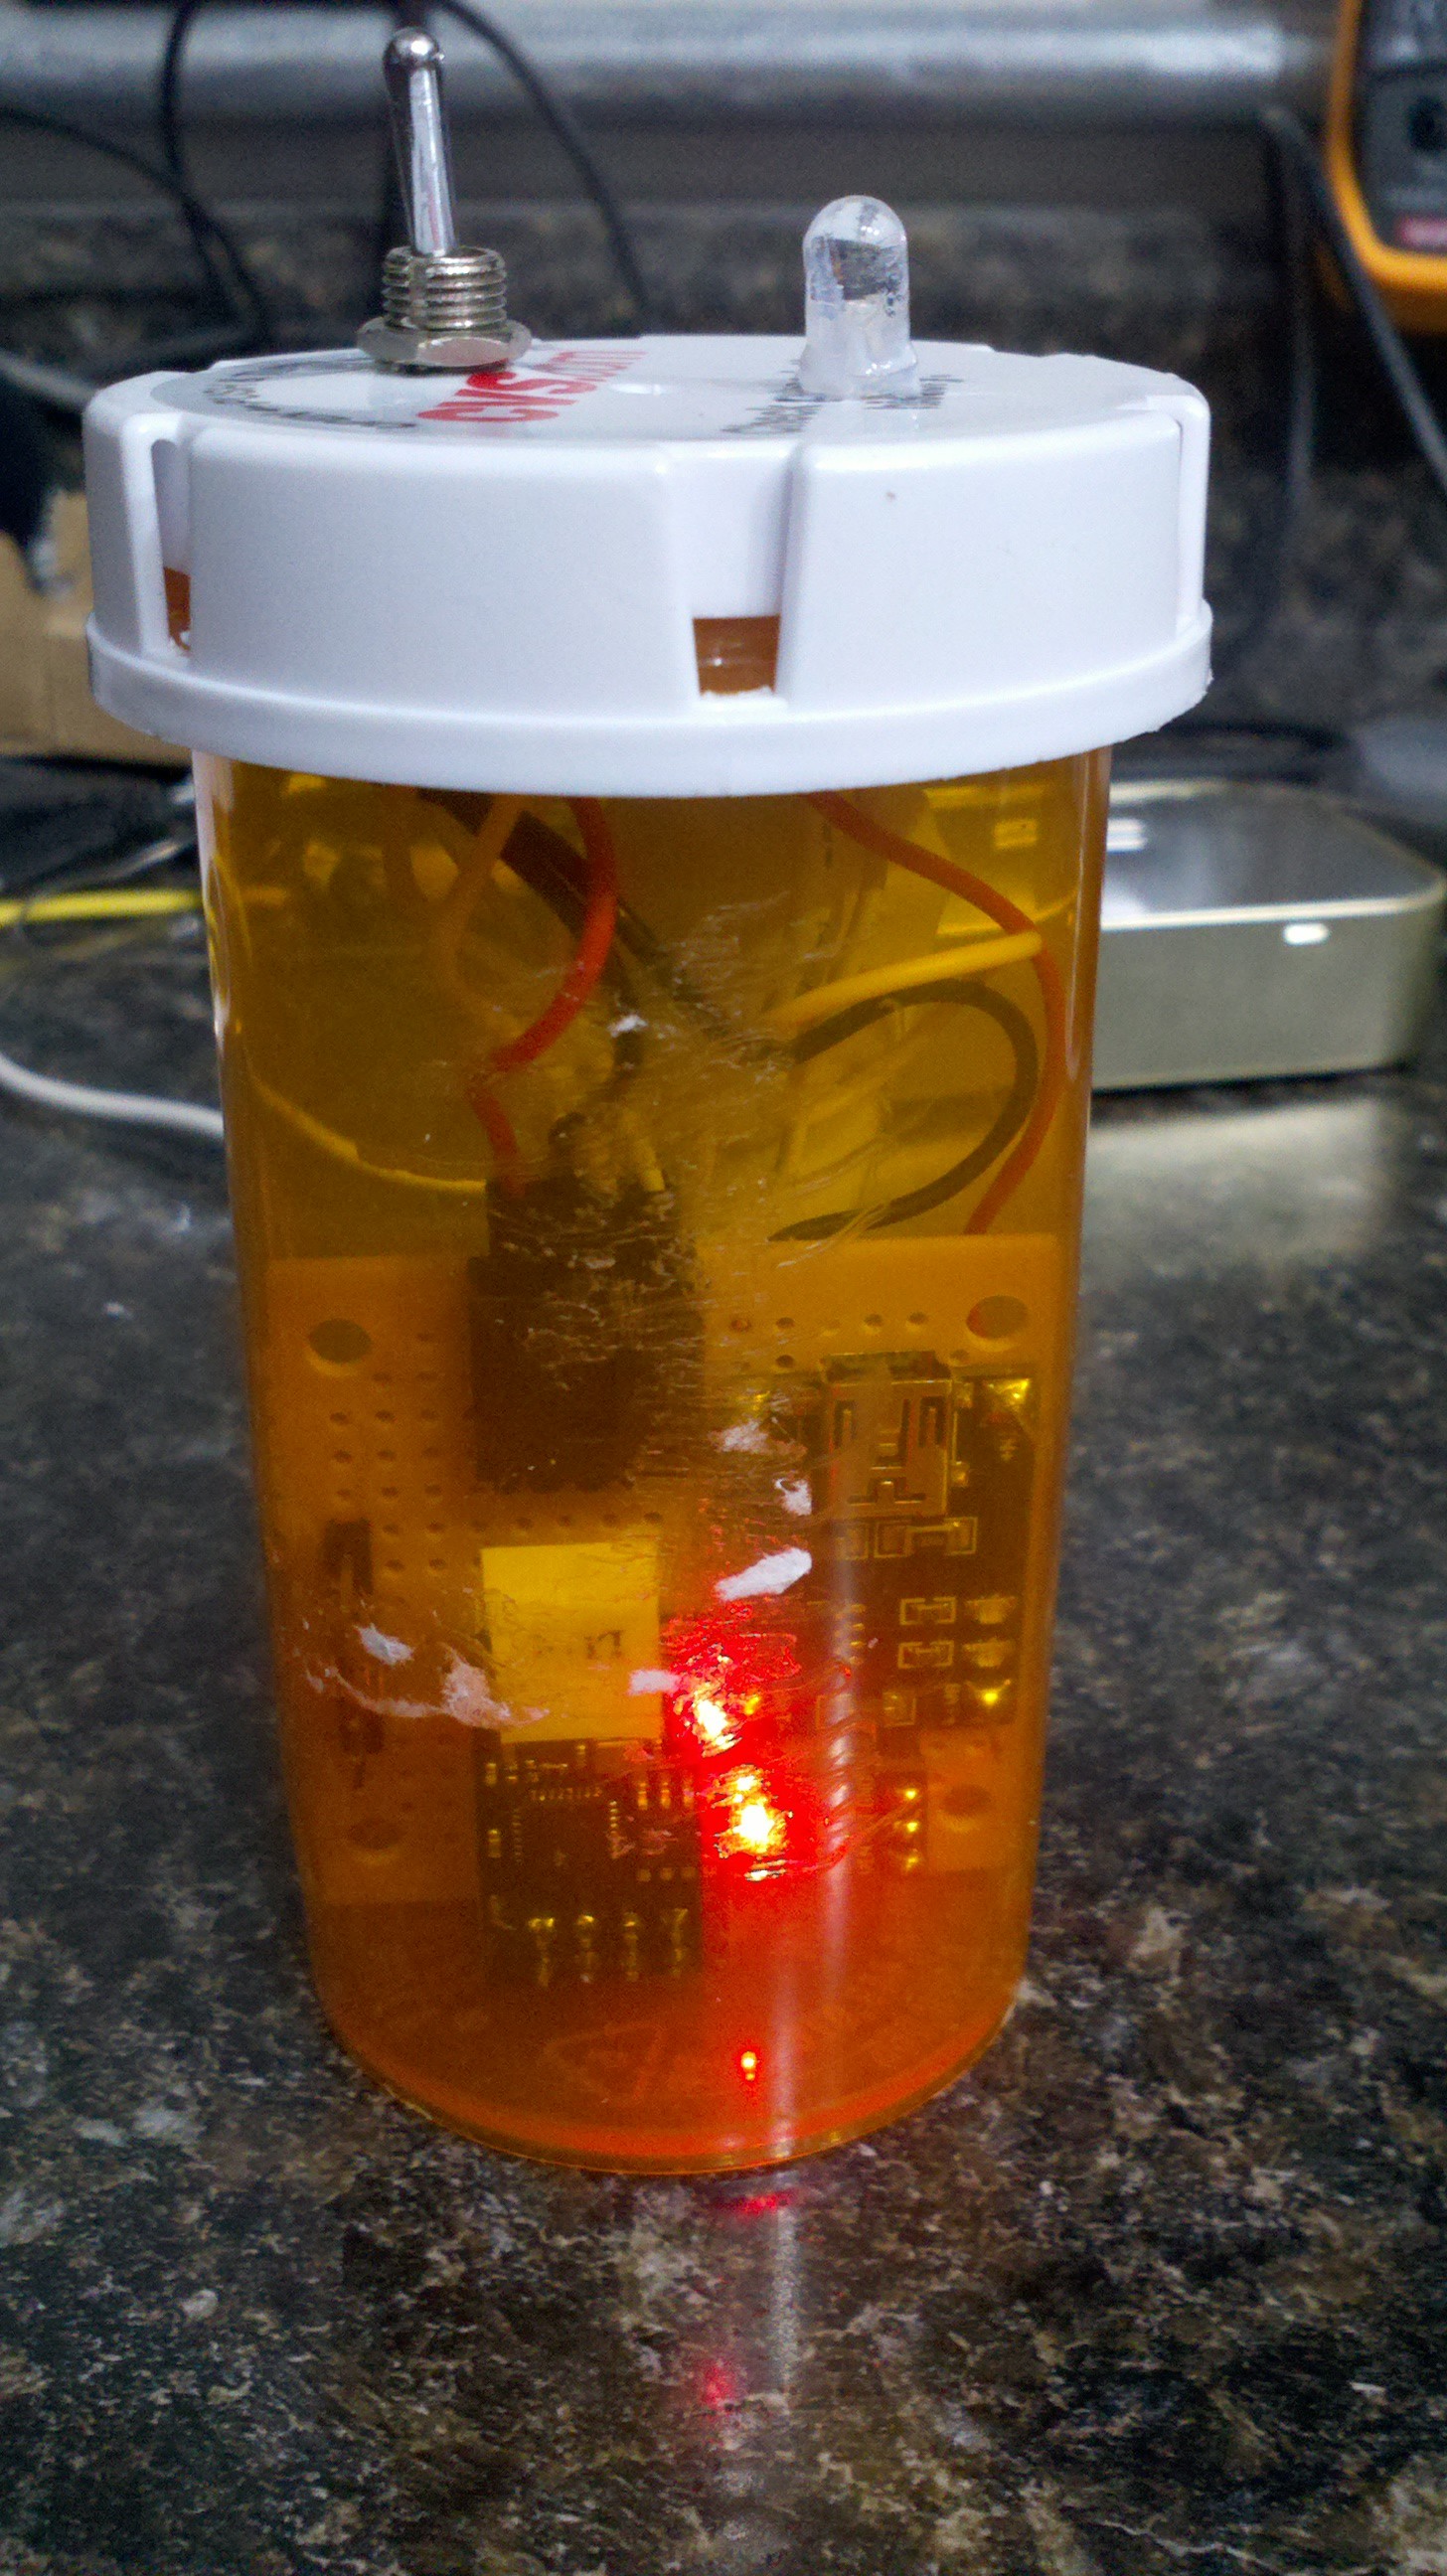
I was able to shoehorn the whole project into a large pill bottle.
WARNING.... WARNING... WARNING...WARNING...WARNING.... WARNING... WARNING...WARNING..
THE ESP 8266 is a 3.3v device. DONT connect VCC or any of the pins to a 5v source or it will damage the device.
WARNING.... WARNING... WARNING...WARNING...WARNING.... WARNING... WARNING...WARNING..
Before you can start building your project you will need some esp8266 tools and firmware. These tools are windows specific tools, but there are linux variants available.
You need to be able to flash new firmware to the chip., To do that I recommend espflasher available at https://github.com/nodemcu/nodemcu-firmware
For loading the actually wifi detection software onto the esp8266 wifi board I would recommend ESPlorer available from github. https://github.com/4refr0nt/ESPlorer
Here is the complete schematic. The ftdi and lipo charger are optional parts but included for completeness.
NOTE!!! I didnt have a good fritizing ams117 part so I used the more generic 78xx regulator. The schematic shows a single part but I used a ebay module, see parts list. again any 3.3v regulator will do.


More information on the LUA programming language can be found at http://www.lua.org/
Check out esp8266.com for lots of information about the esp8266.
Check out http://nodemcu.com for information about LUA on the esp8266.
 Mich Mich
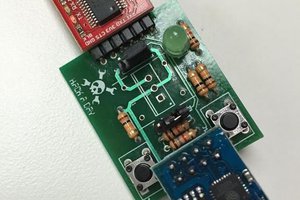
 technolomaniac
 Aitor Gómez García
 Luke Valenty
Would be a neat feature if it would also connect to the wifi and send the ssid to a webpage that registers the time, ssid and IP, so that with some IP adress magic you'd even get a close location.
Where you able to estimate the runtime of your battery or log the mA?