 ErikL
ErikLProject started with removing the internal combustion engine and related components. This took the better part of 2.5 hours. Luckily I had help from a fellow friend and maker, Kevin, on this.
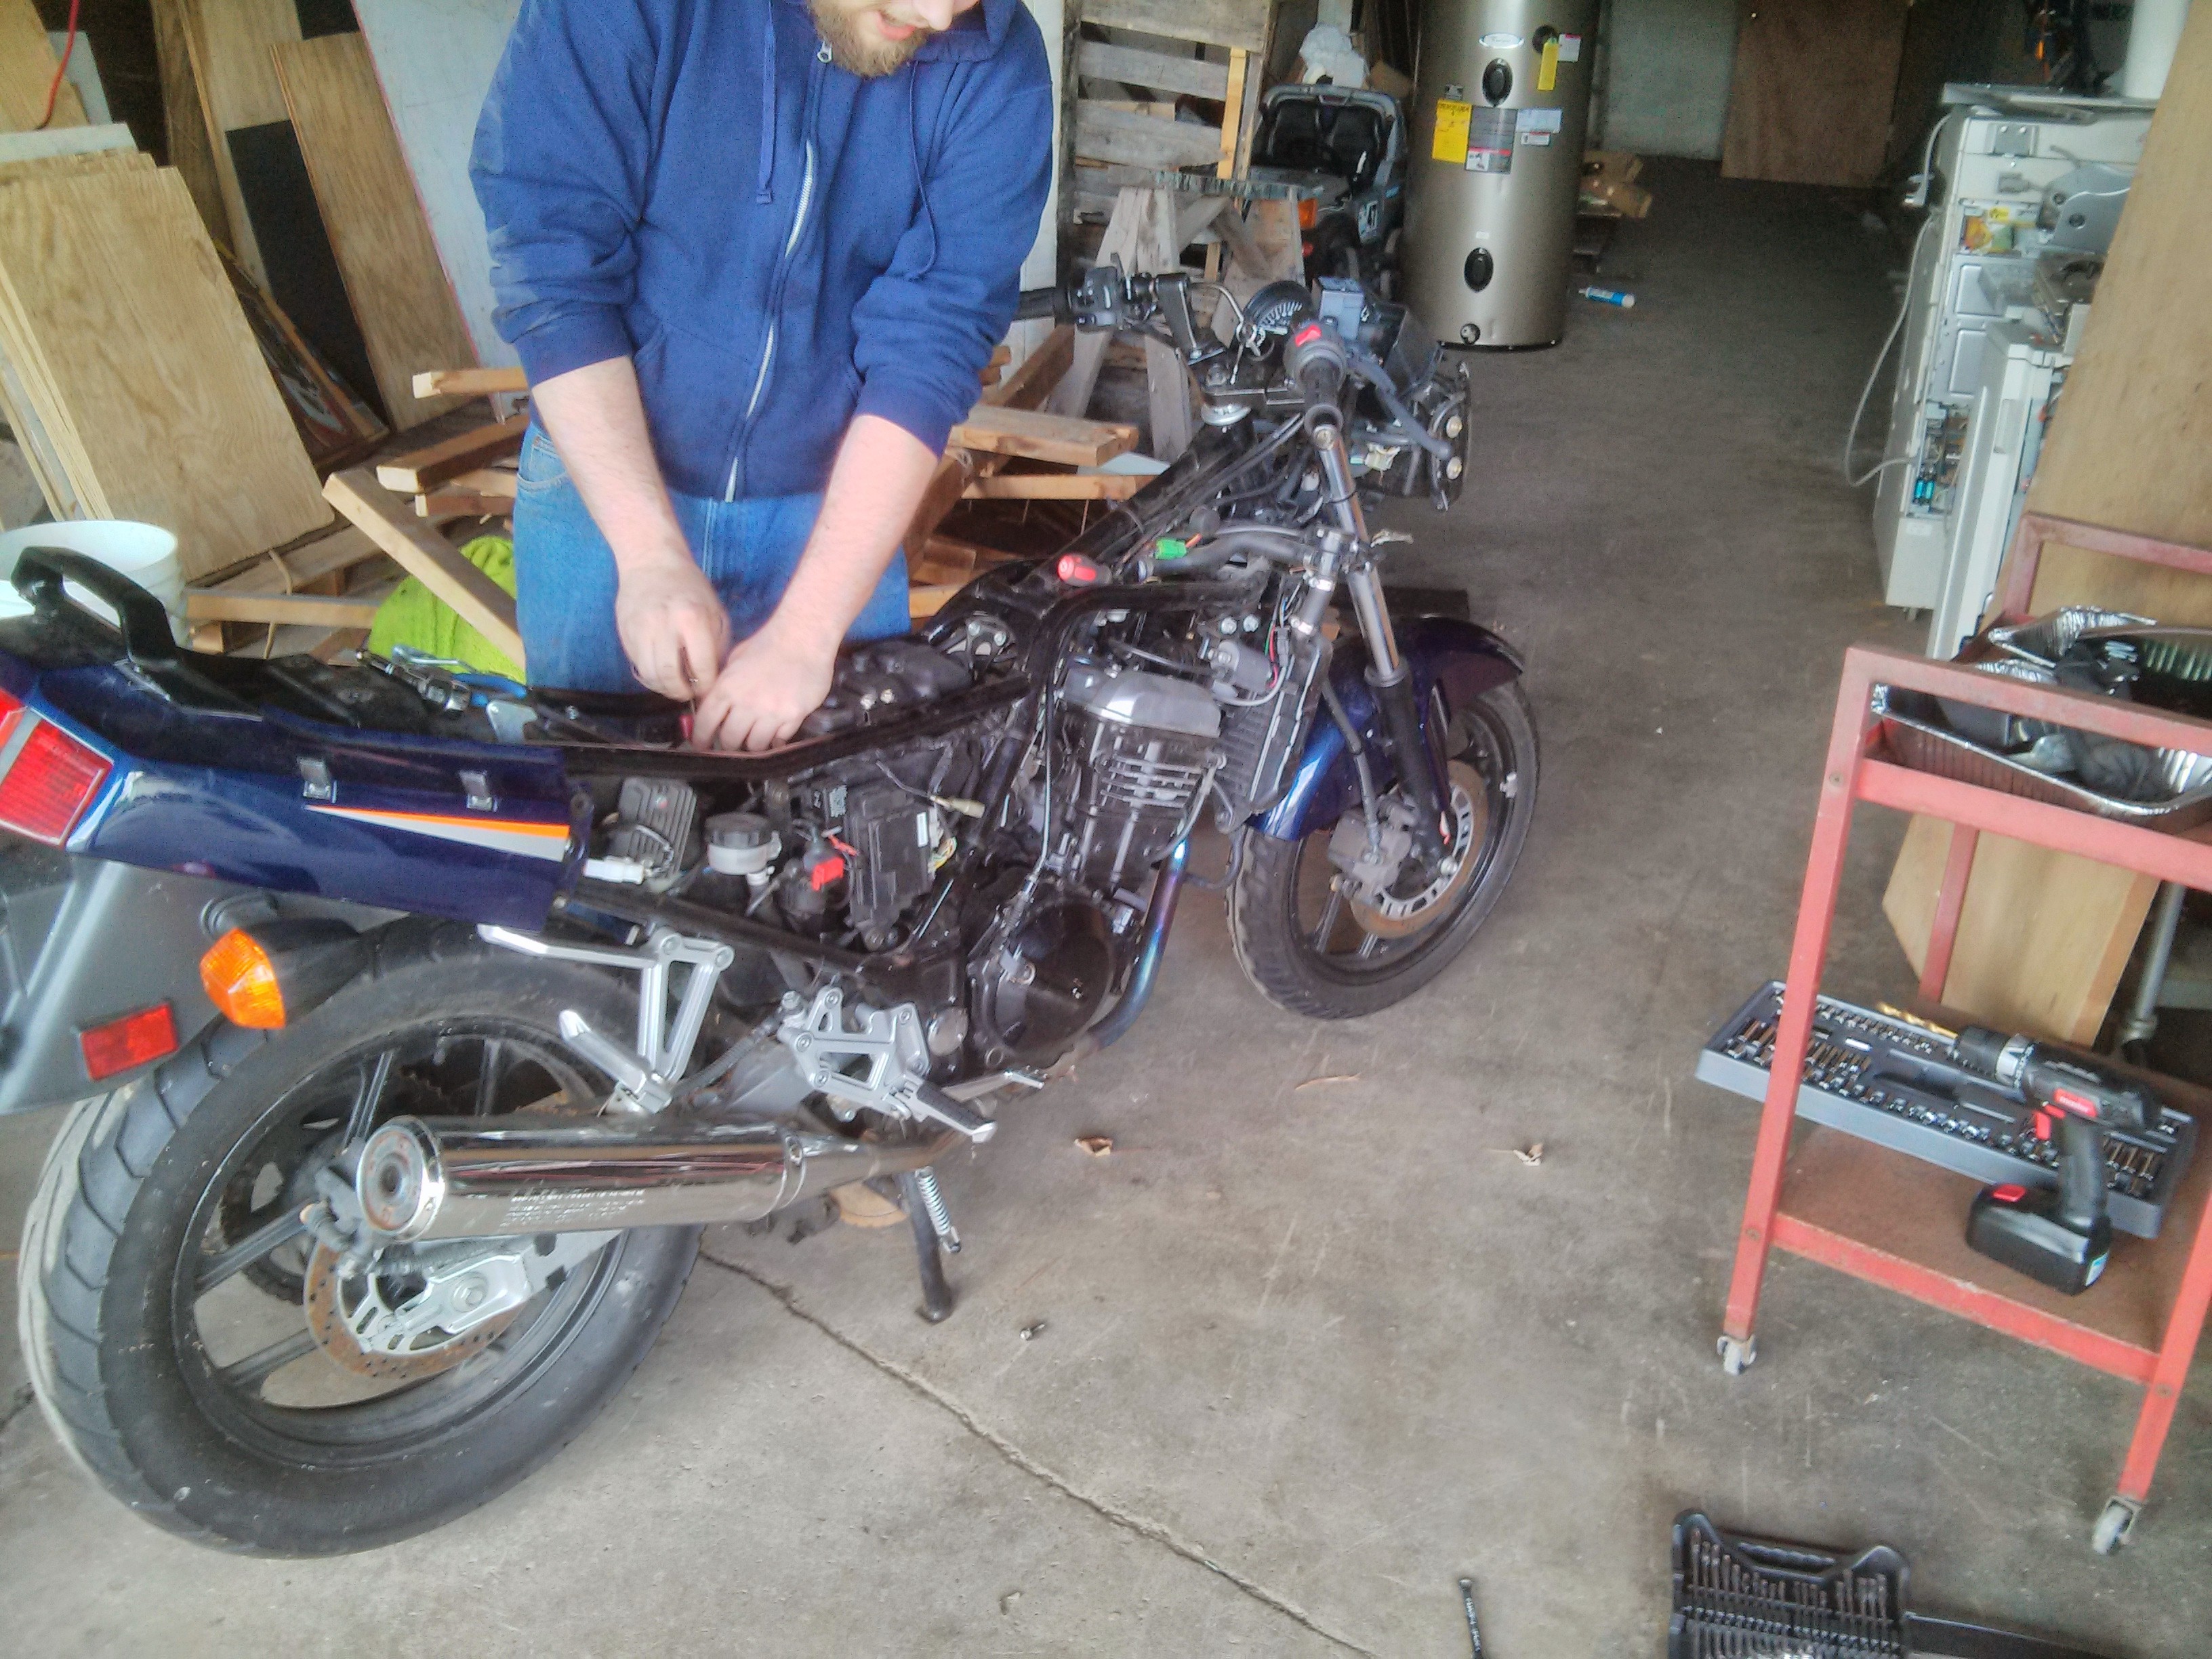
Started by removing the fairings, and large easy to get to pieces like the air box, exhaust. Then it was time for the gushy parts.
At this point we tried to make a battery tray that would use the existing hangers from the frame:
This looked cool, and fit well, but sadly didn't leave enough room for two more batteries and the motor.
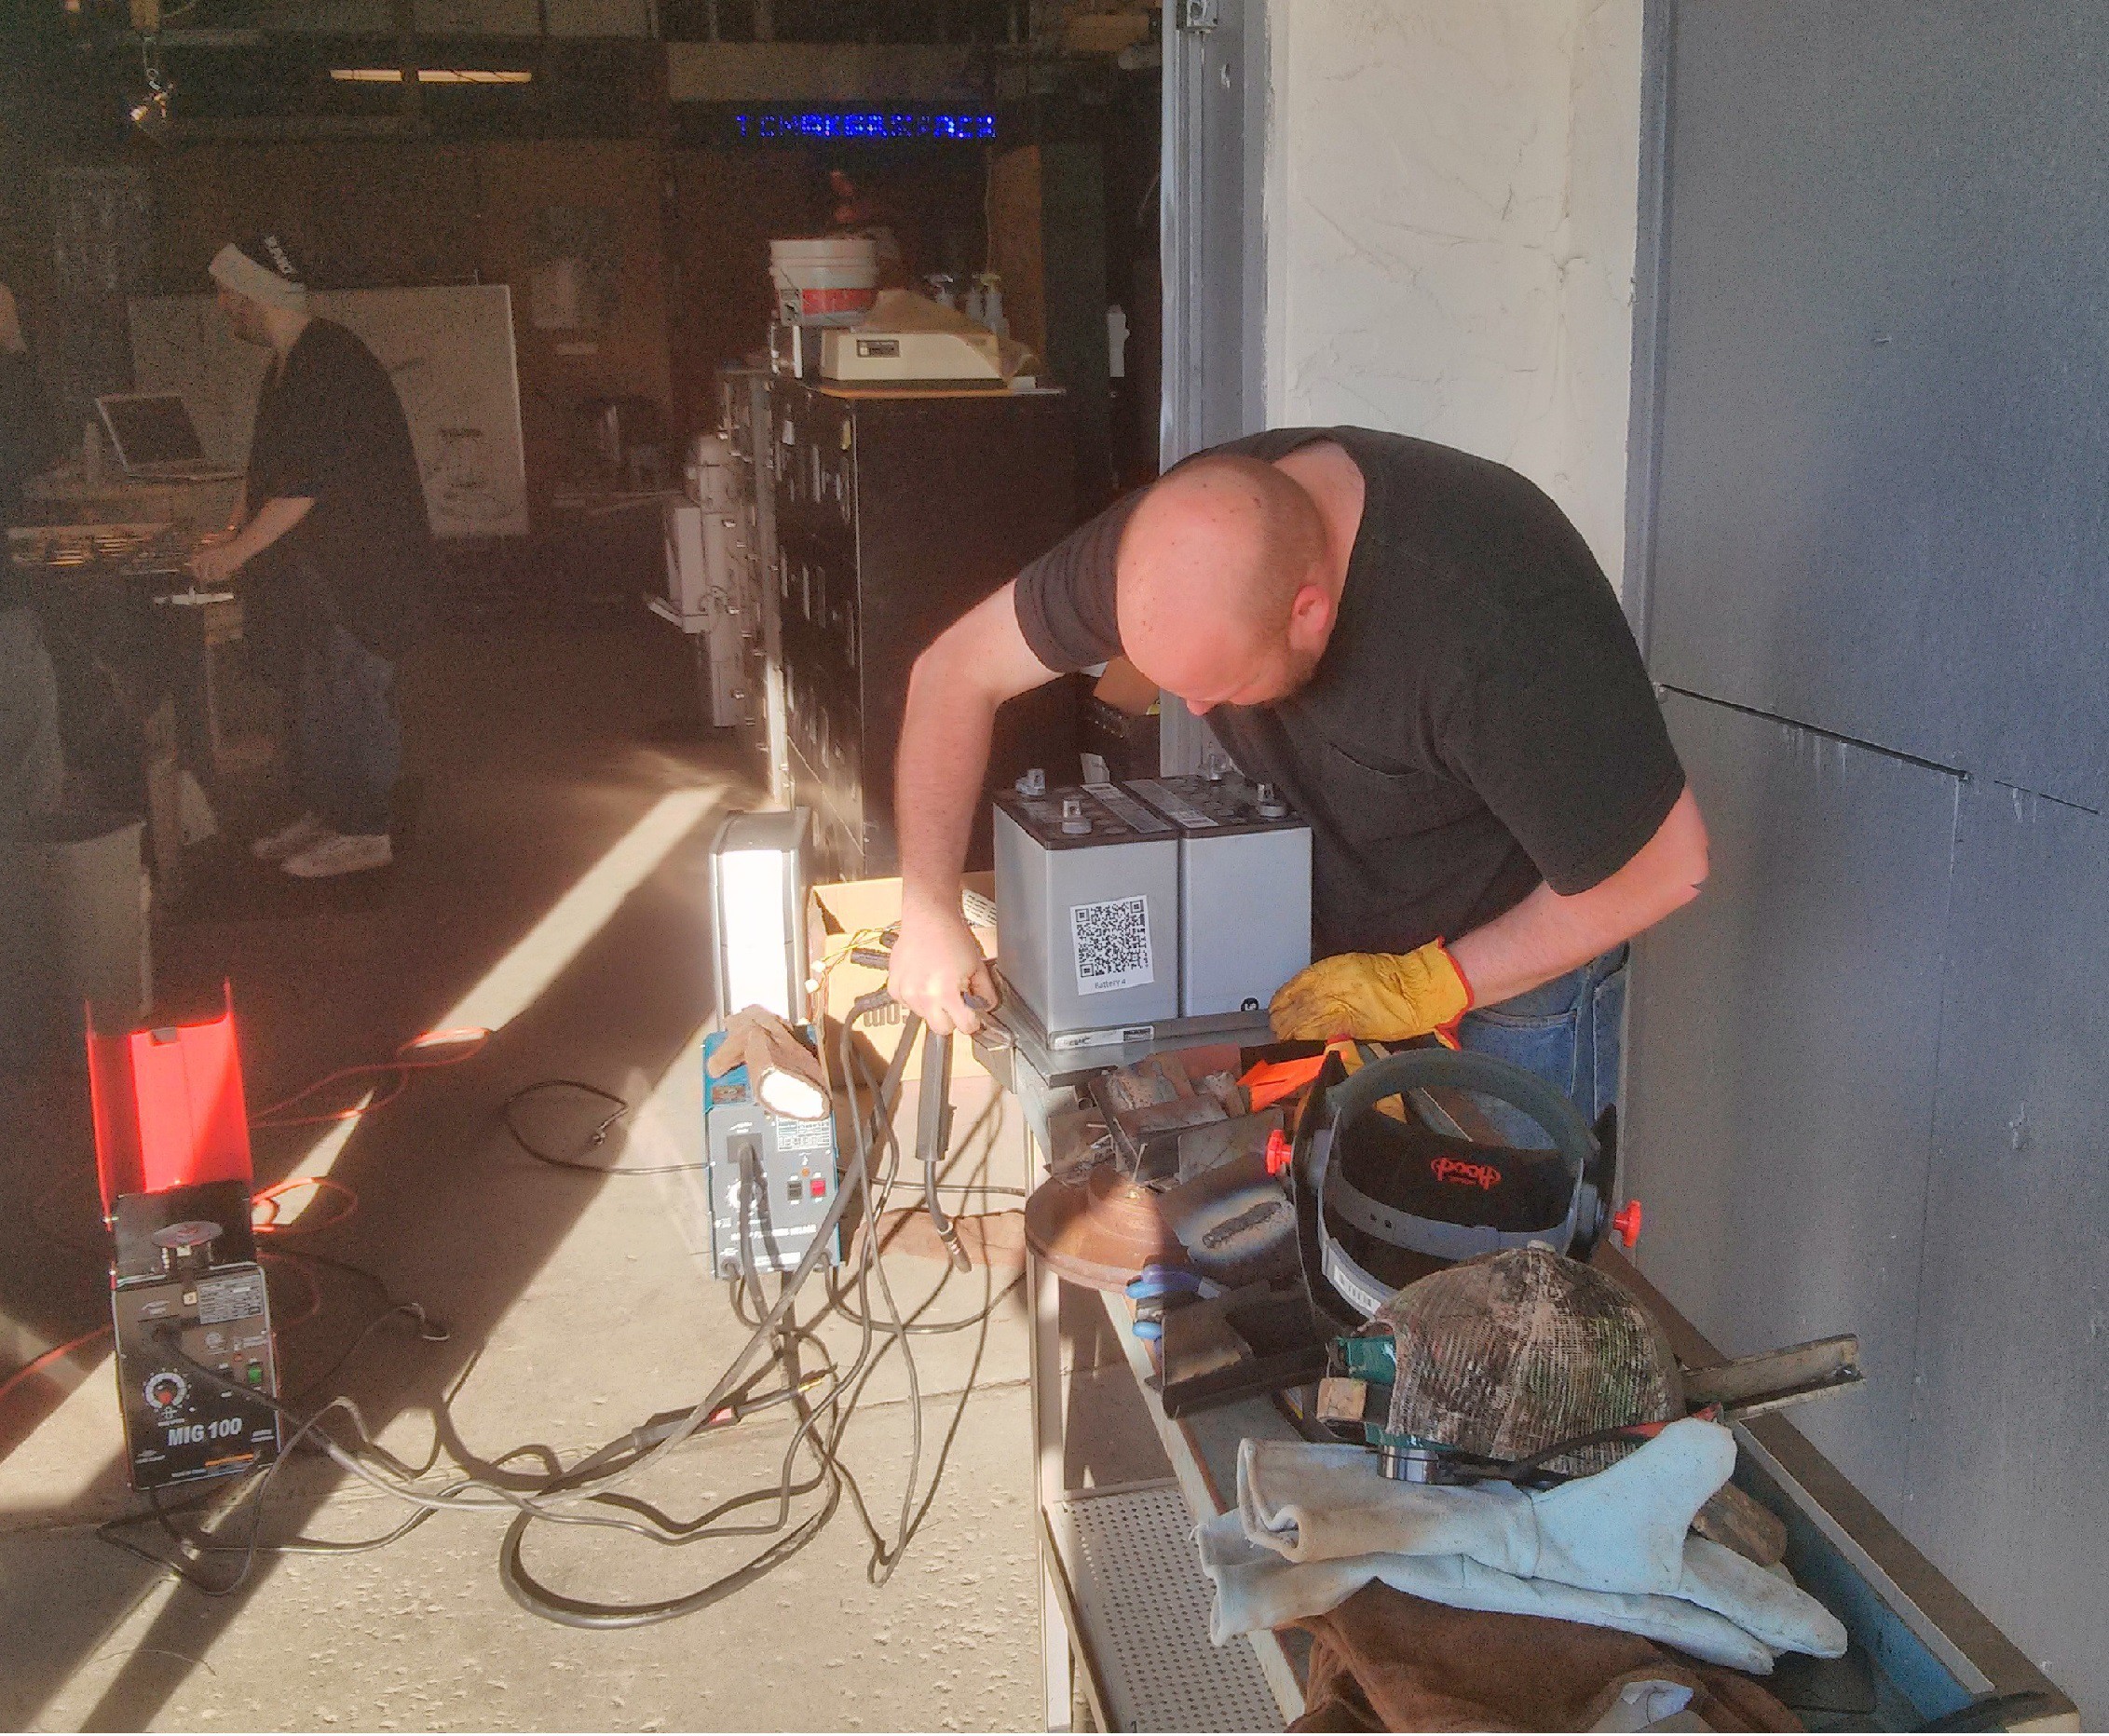
As I didn't have a way to machine a mounting plate, Kevin promised he would have one laser cut for me at his office, ah the perks of having machines that can precisely cut 1/4" steel.
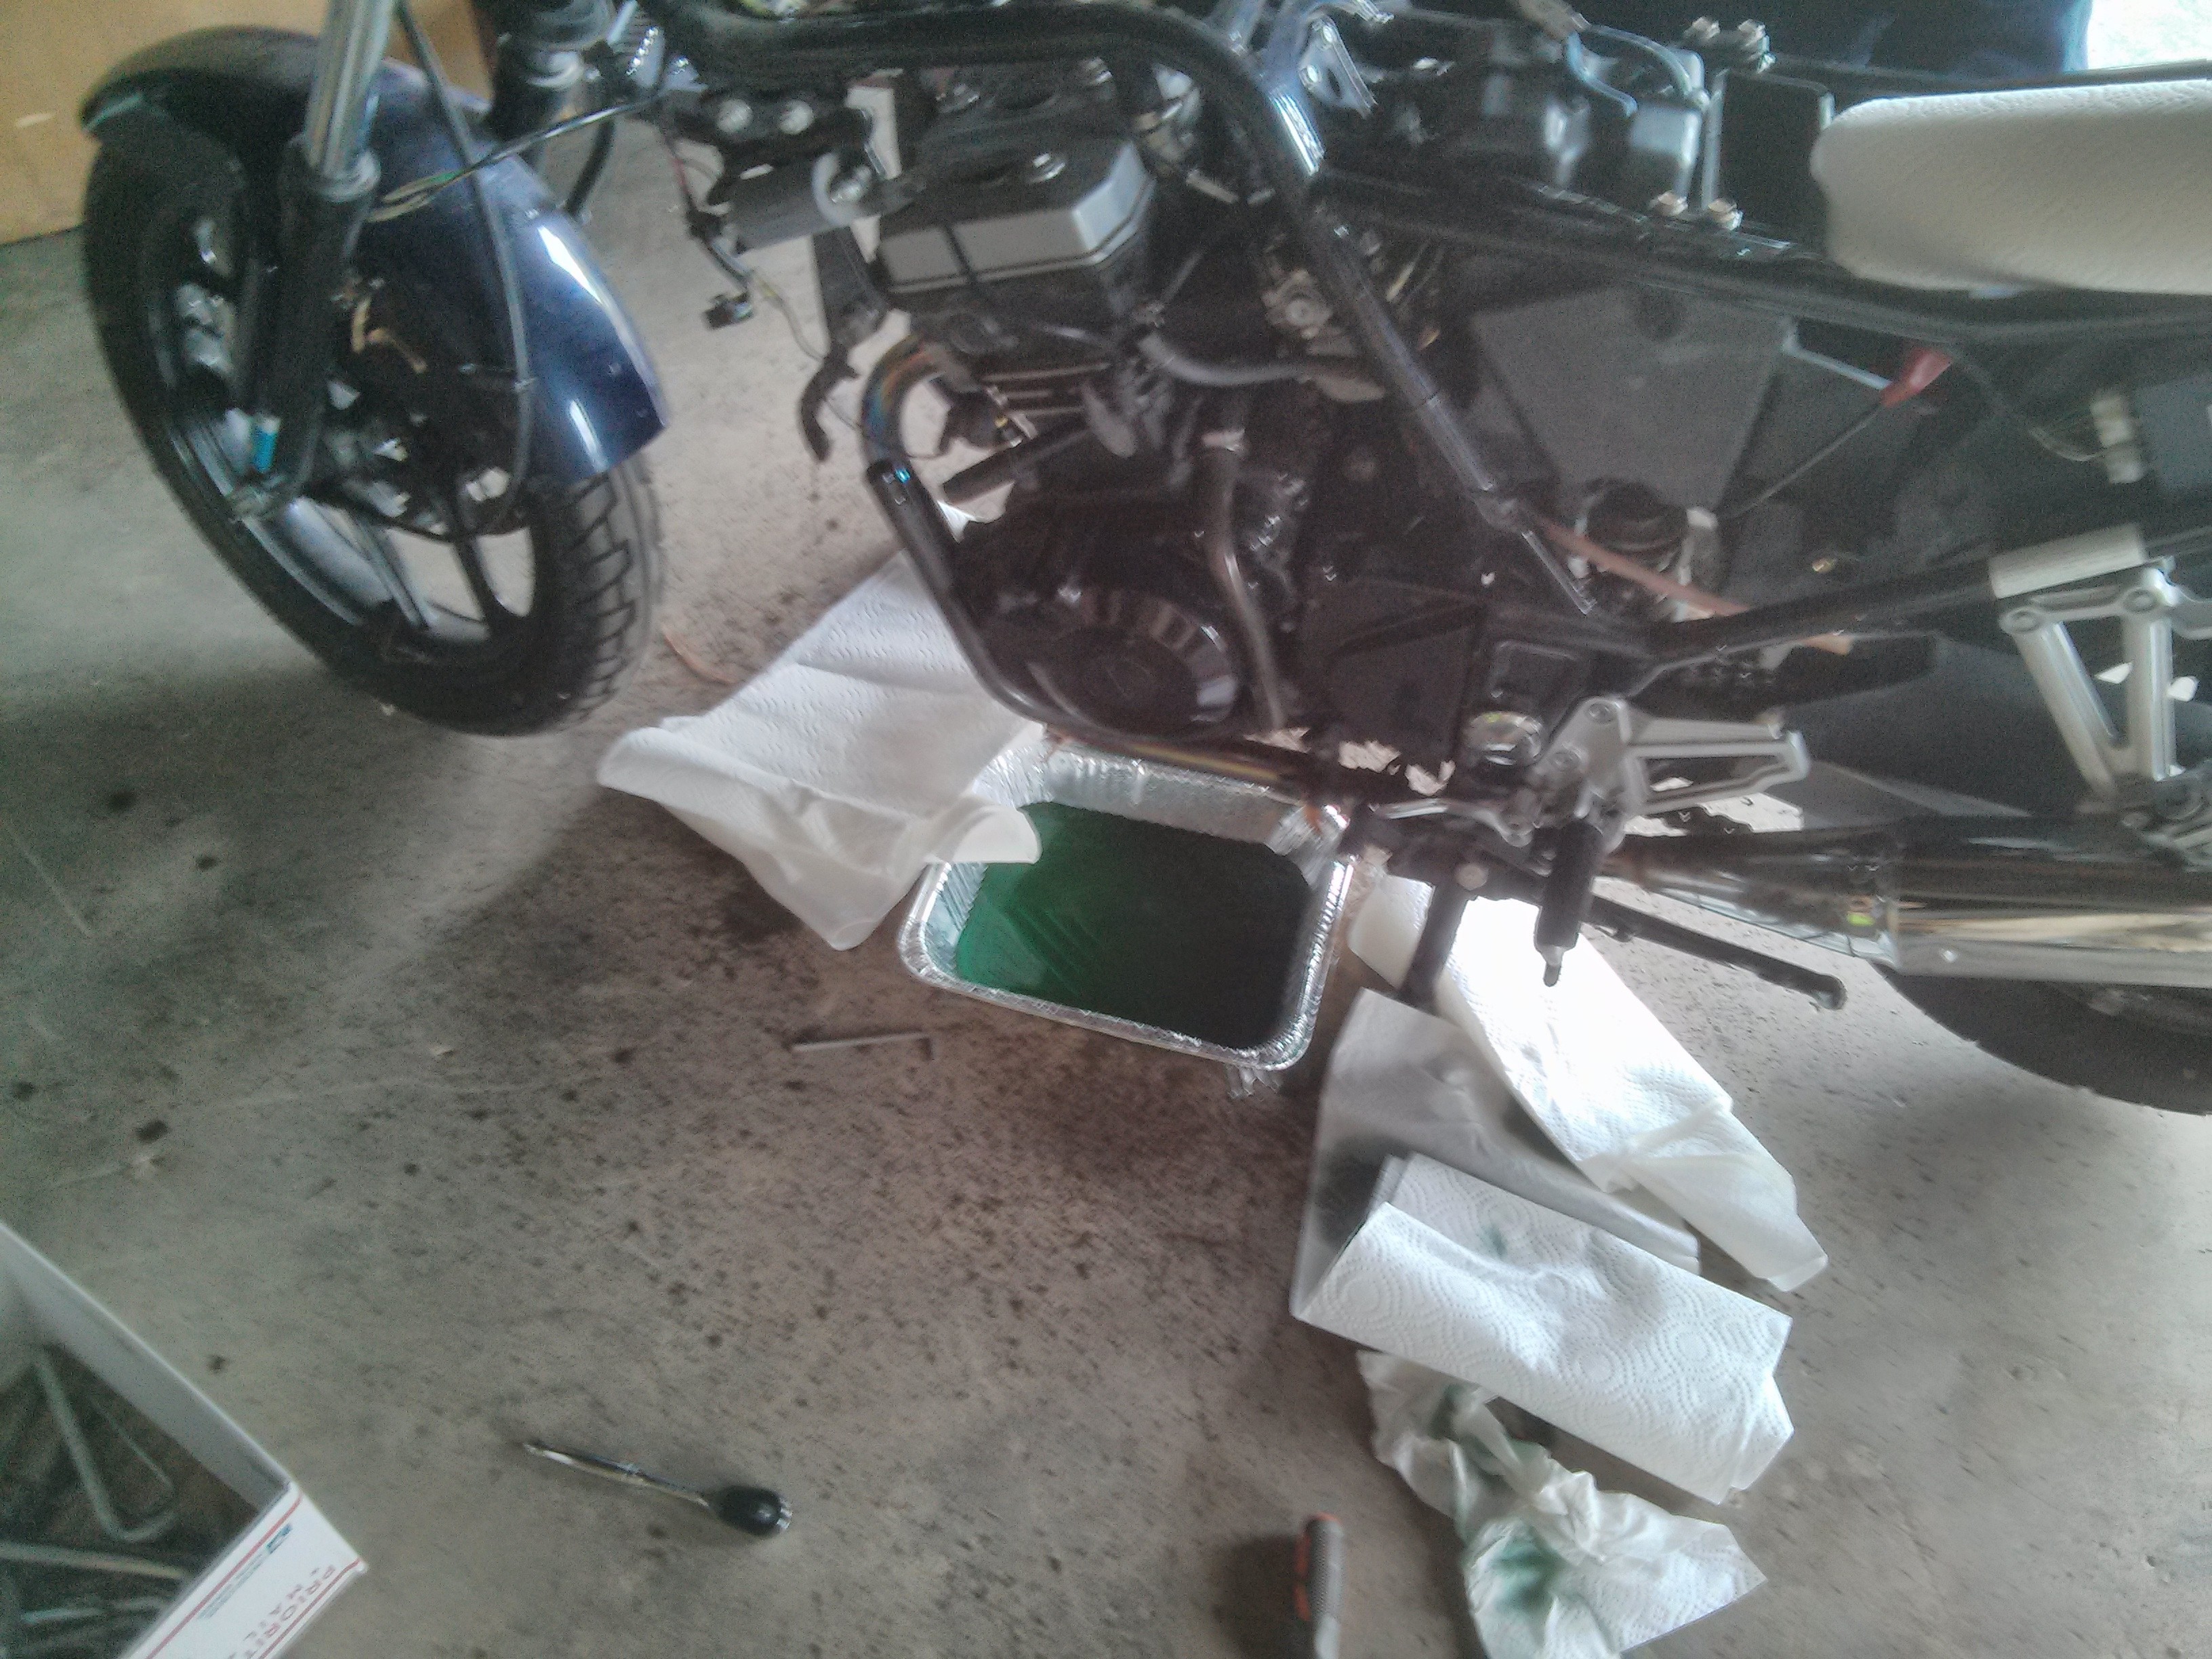
In the mean time I turned my attention to cleaning the bike, as it had accumulated a lot of grime and gunk from it's years of having a gas engine.

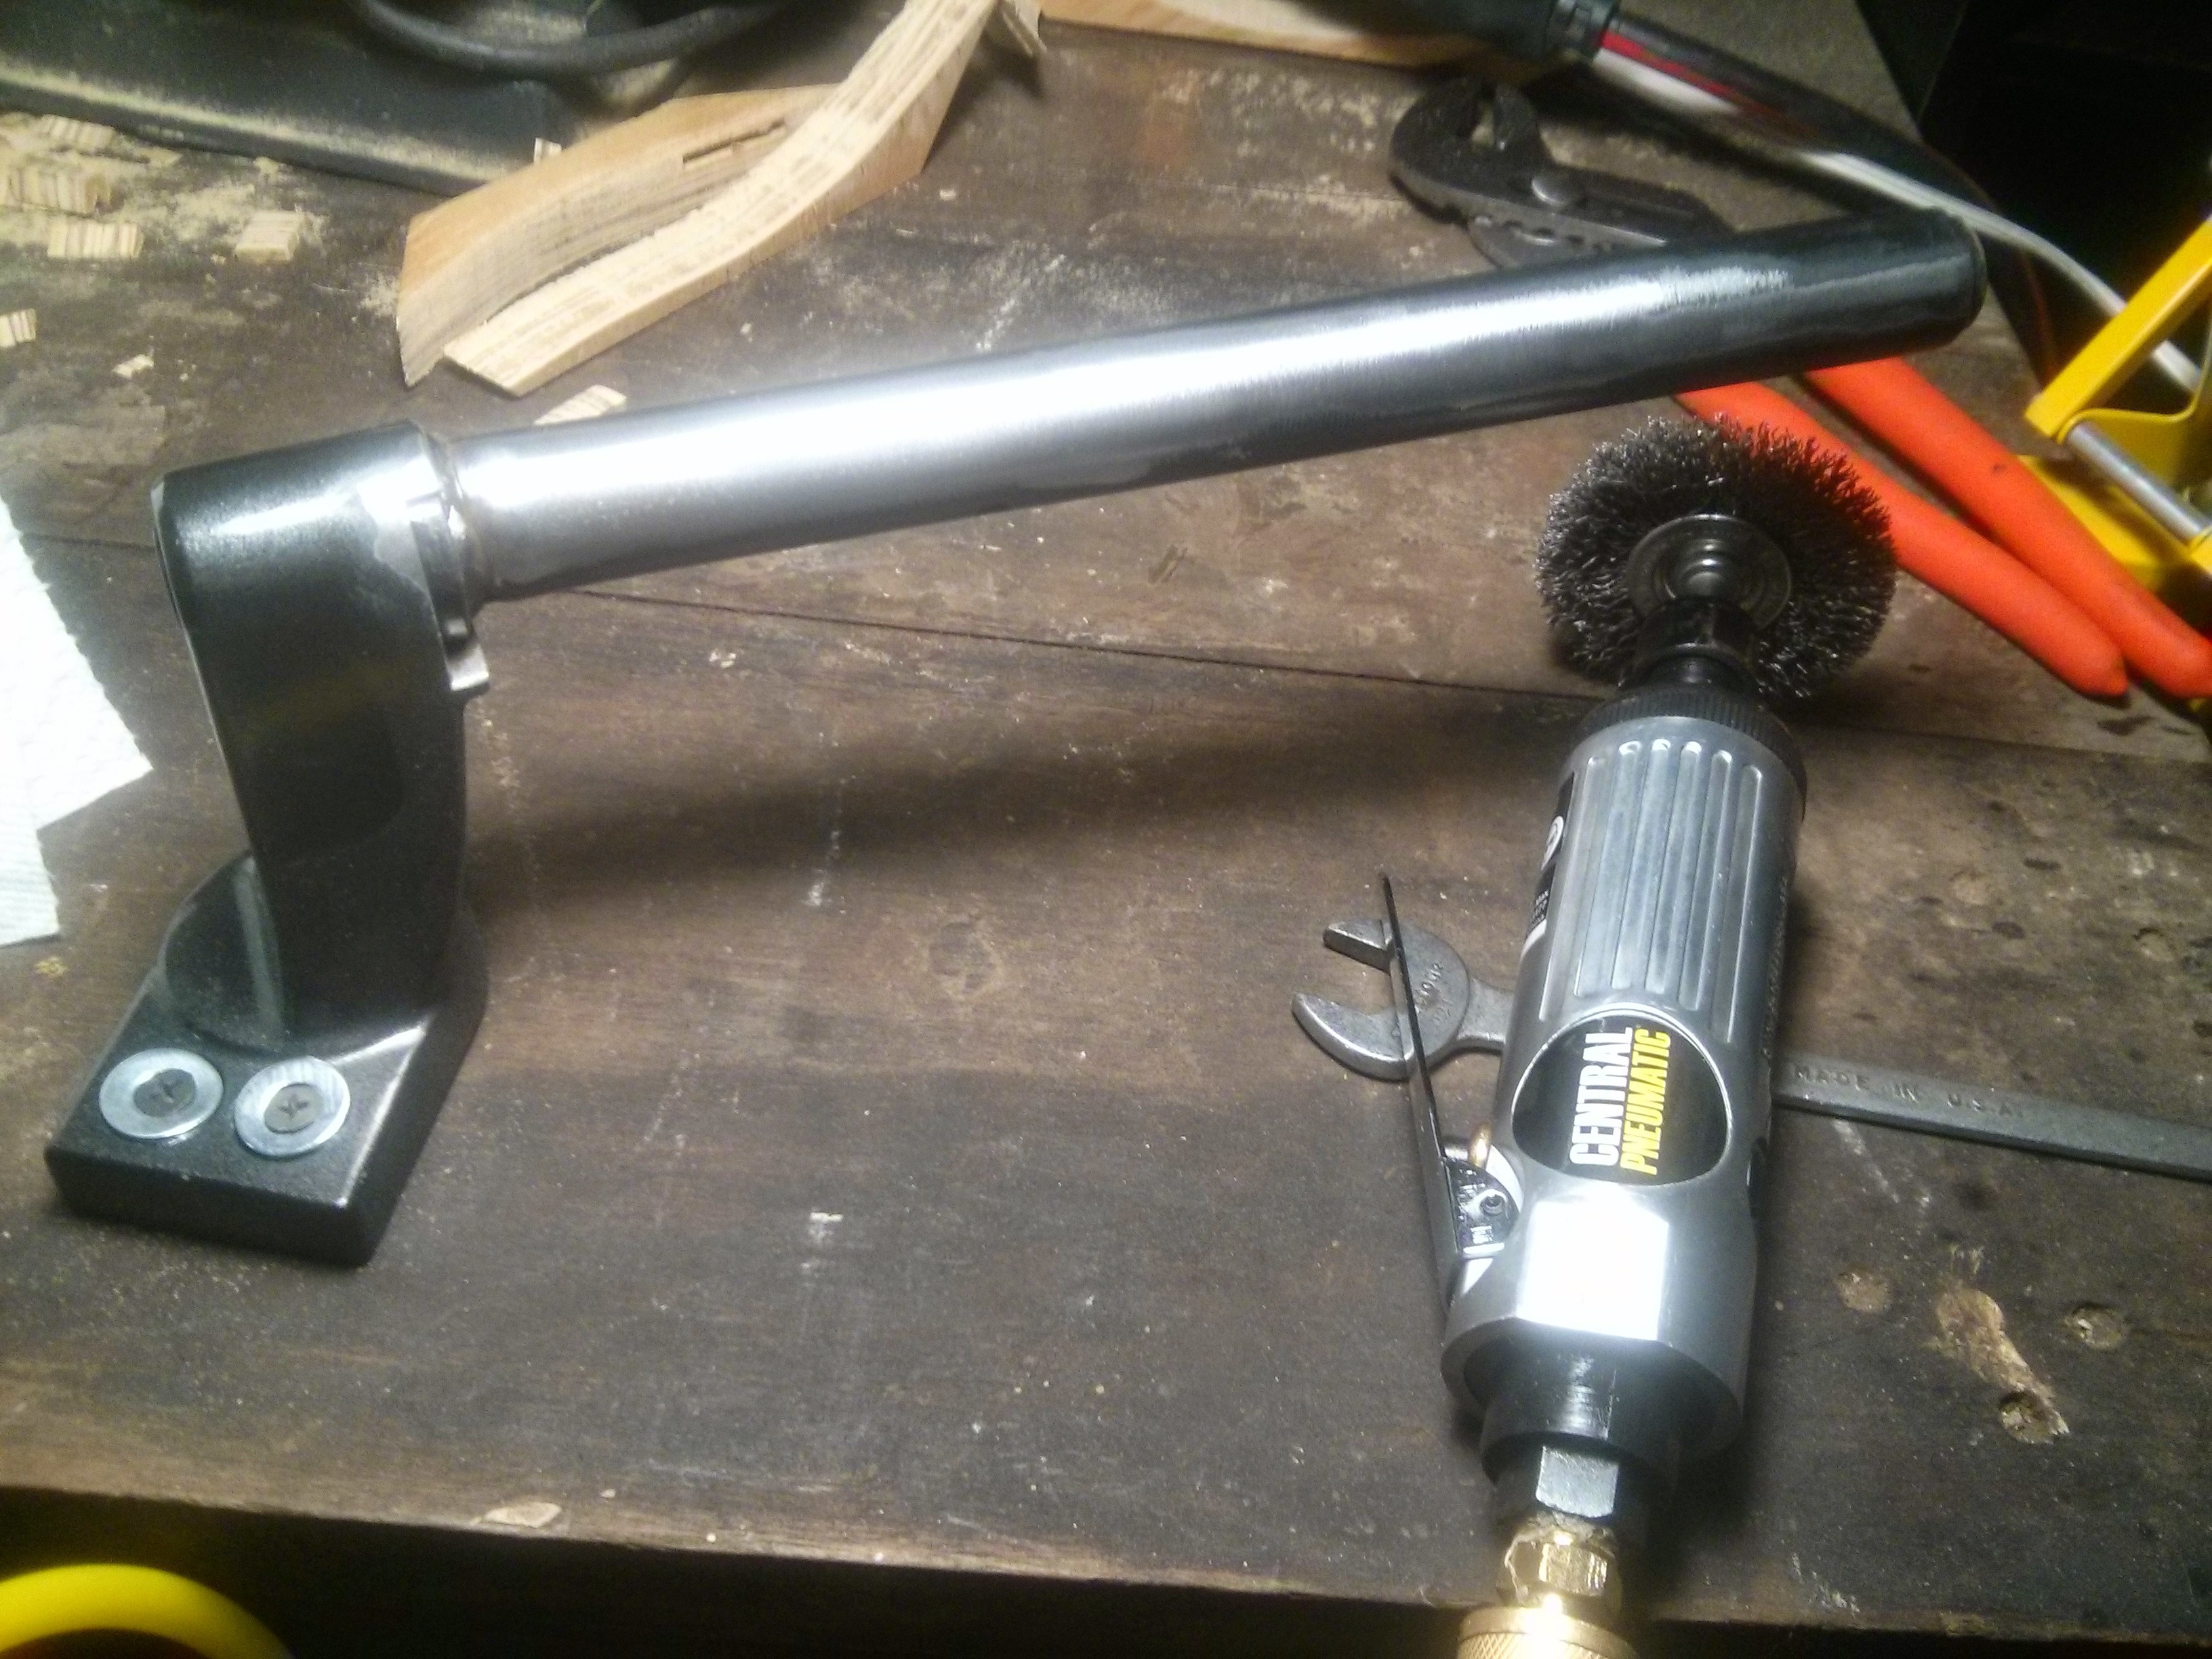
I also repainted the handlebar assemblies as they had started to flake paint. Wire wheel for steel:
Sandblaster for aluminum:
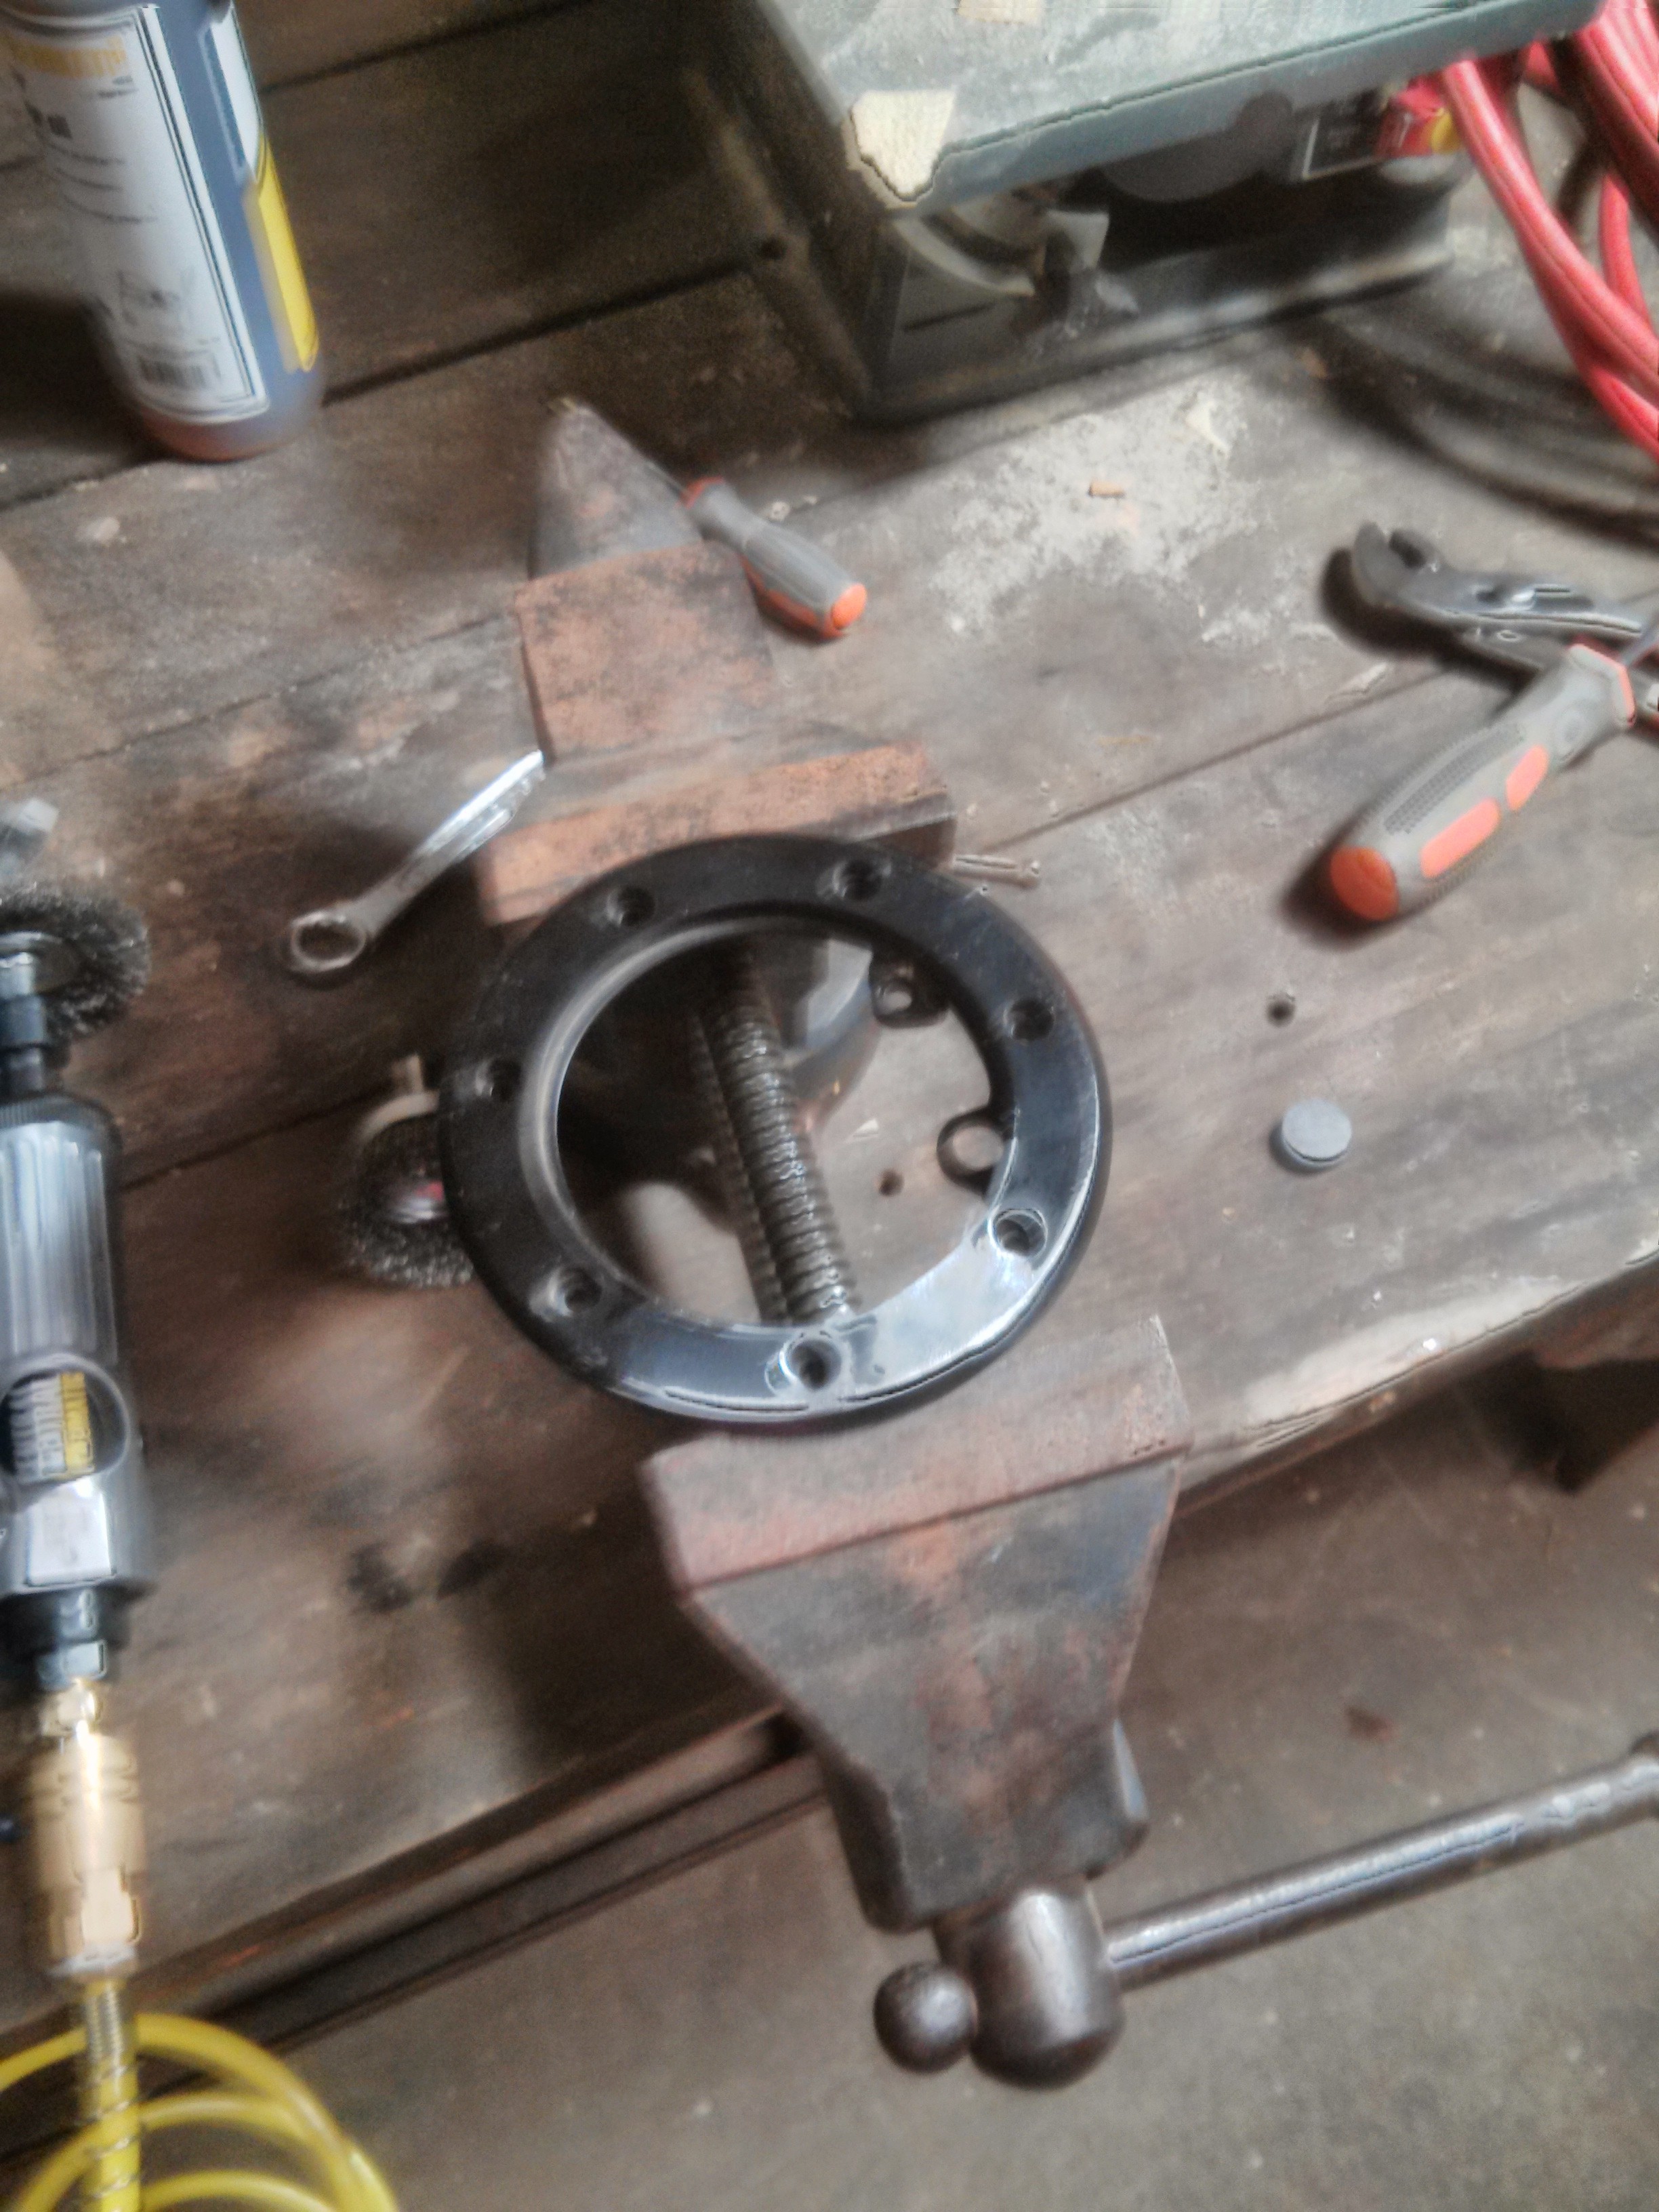
I had also decided that I wanted the gas tank inlet to be the new charging port. I removed the OEM gas cap which left me with a metal ring with an internal flange the exact depth of 1/4" polycarb.
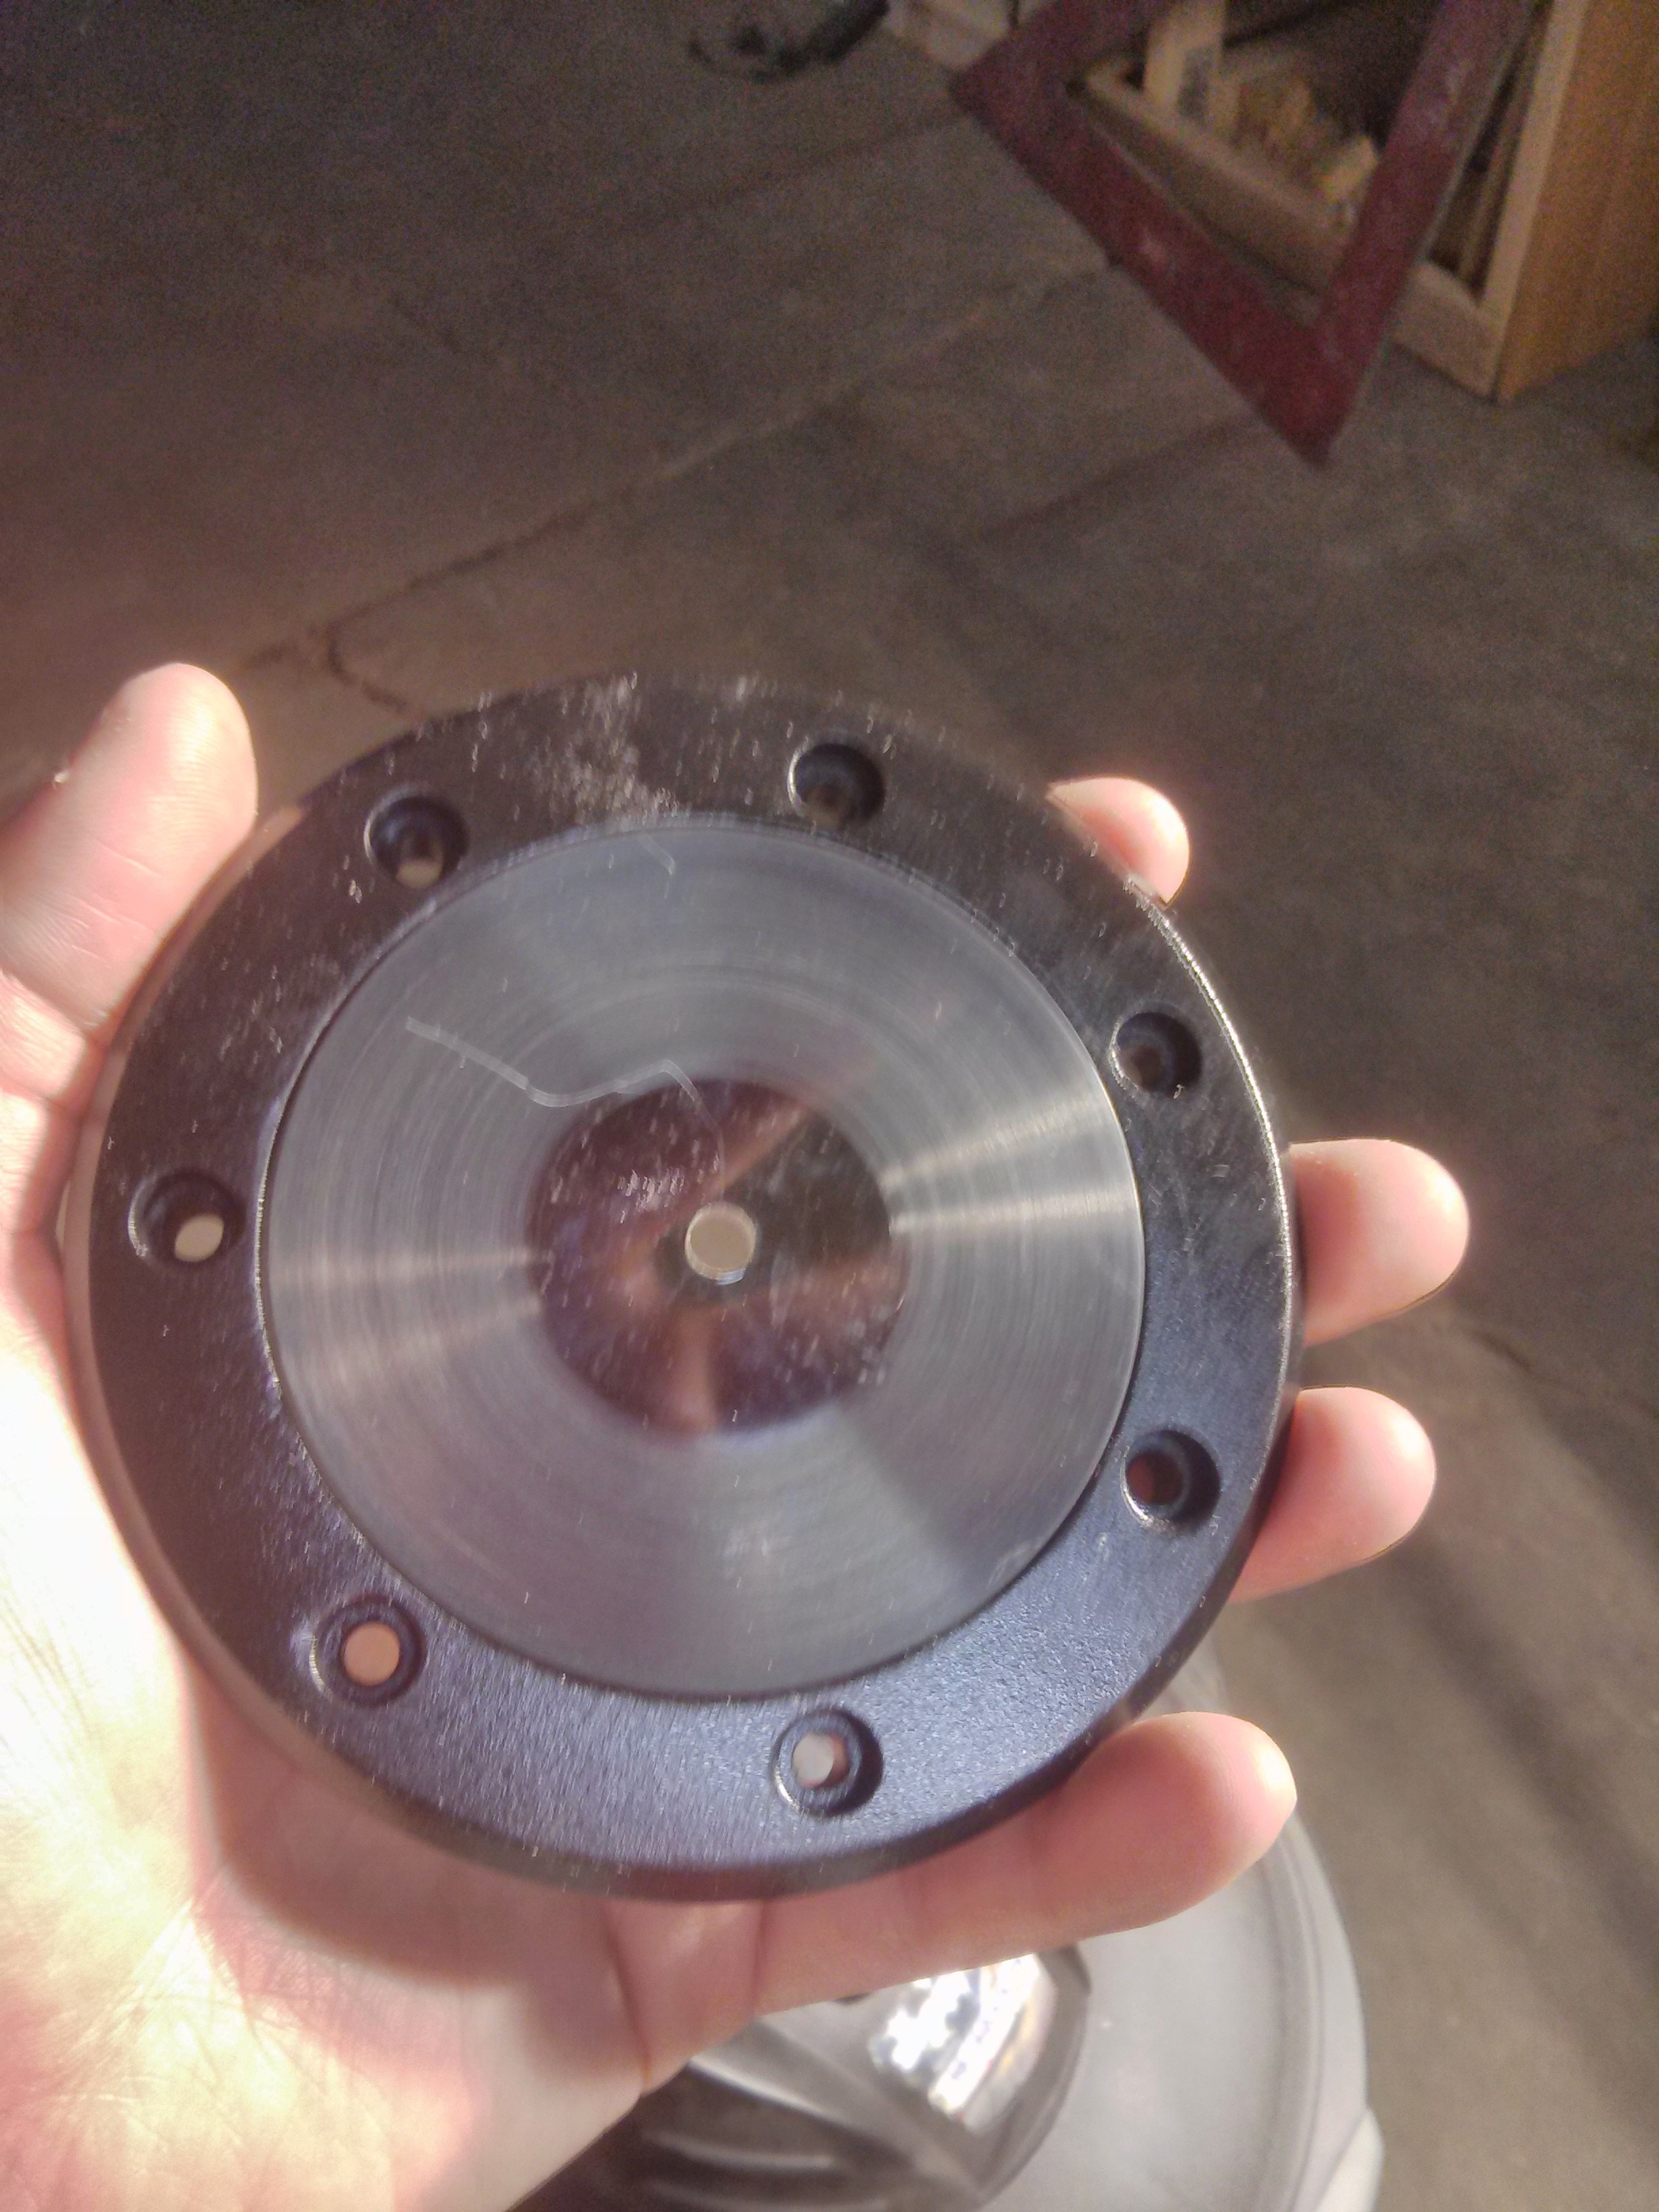
So I cut out a disk of smoked poly-carbonate and then sanded the outside dimensions to fit, and used a second hole saw and the original pilot hole to cut out the middle hole.
After a little sanding and polishing to clean it up, I added a marine AC charge port.
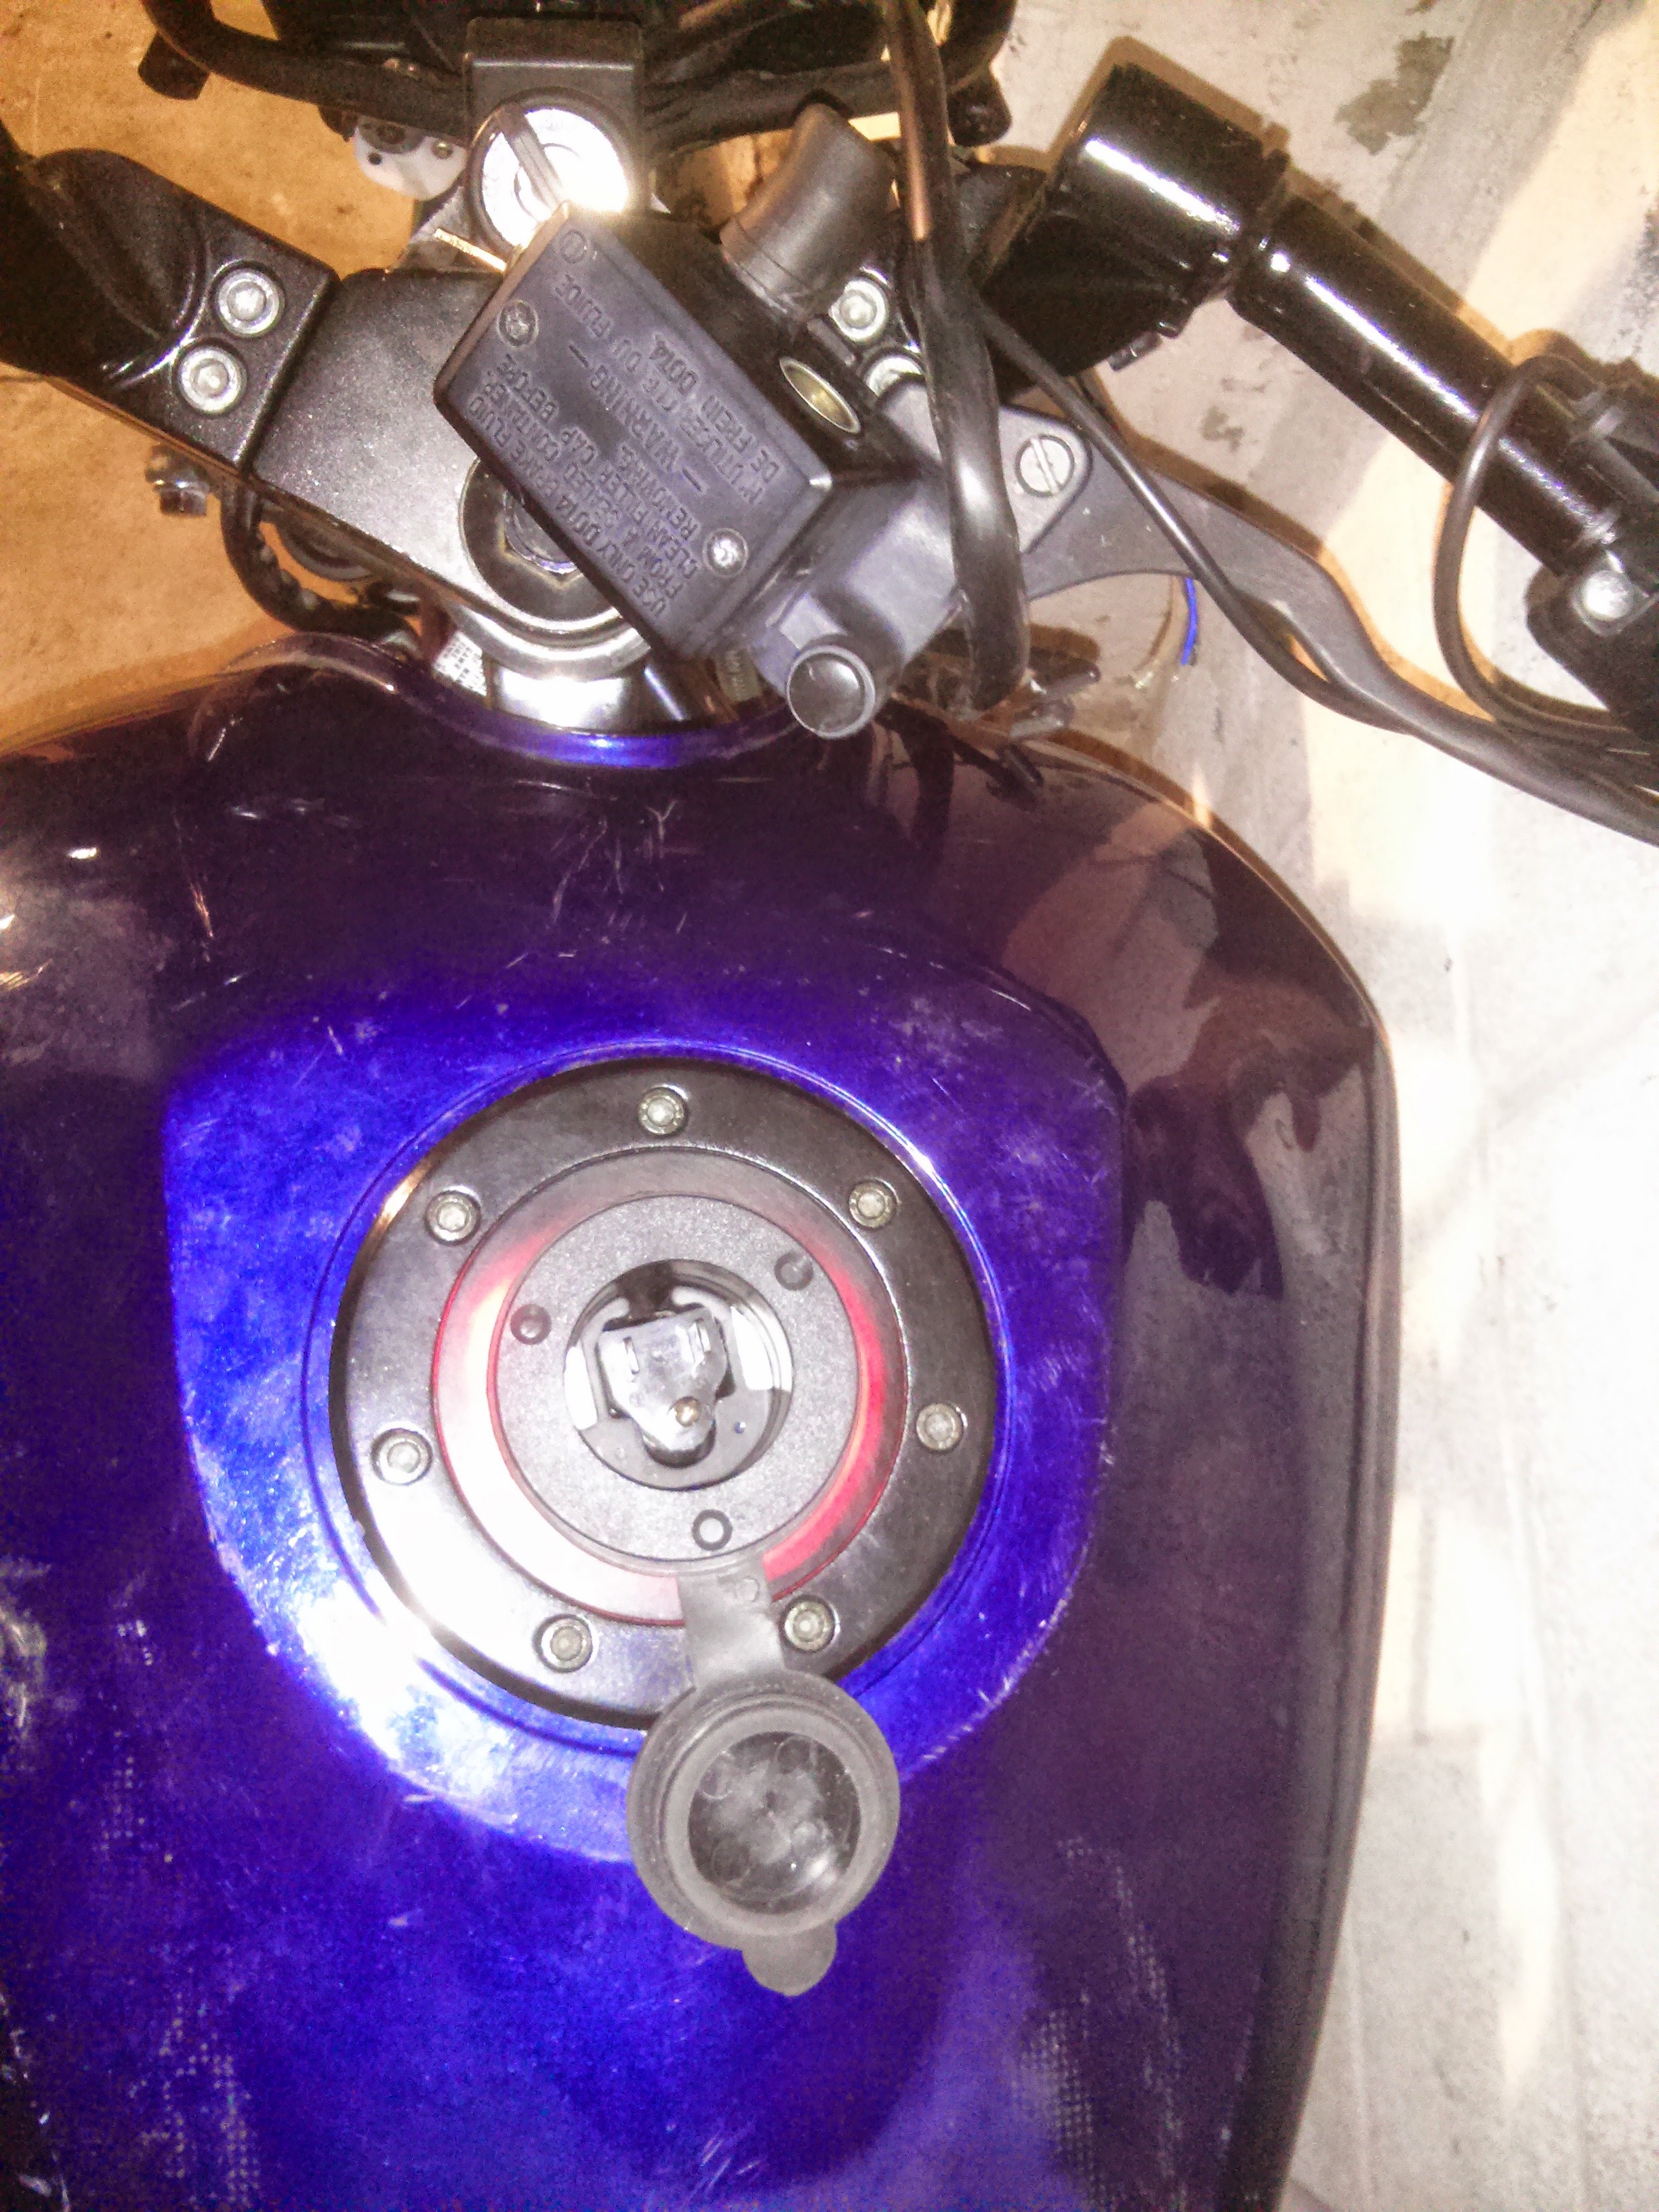
And what could make this pop more than a ring of Neopixels:
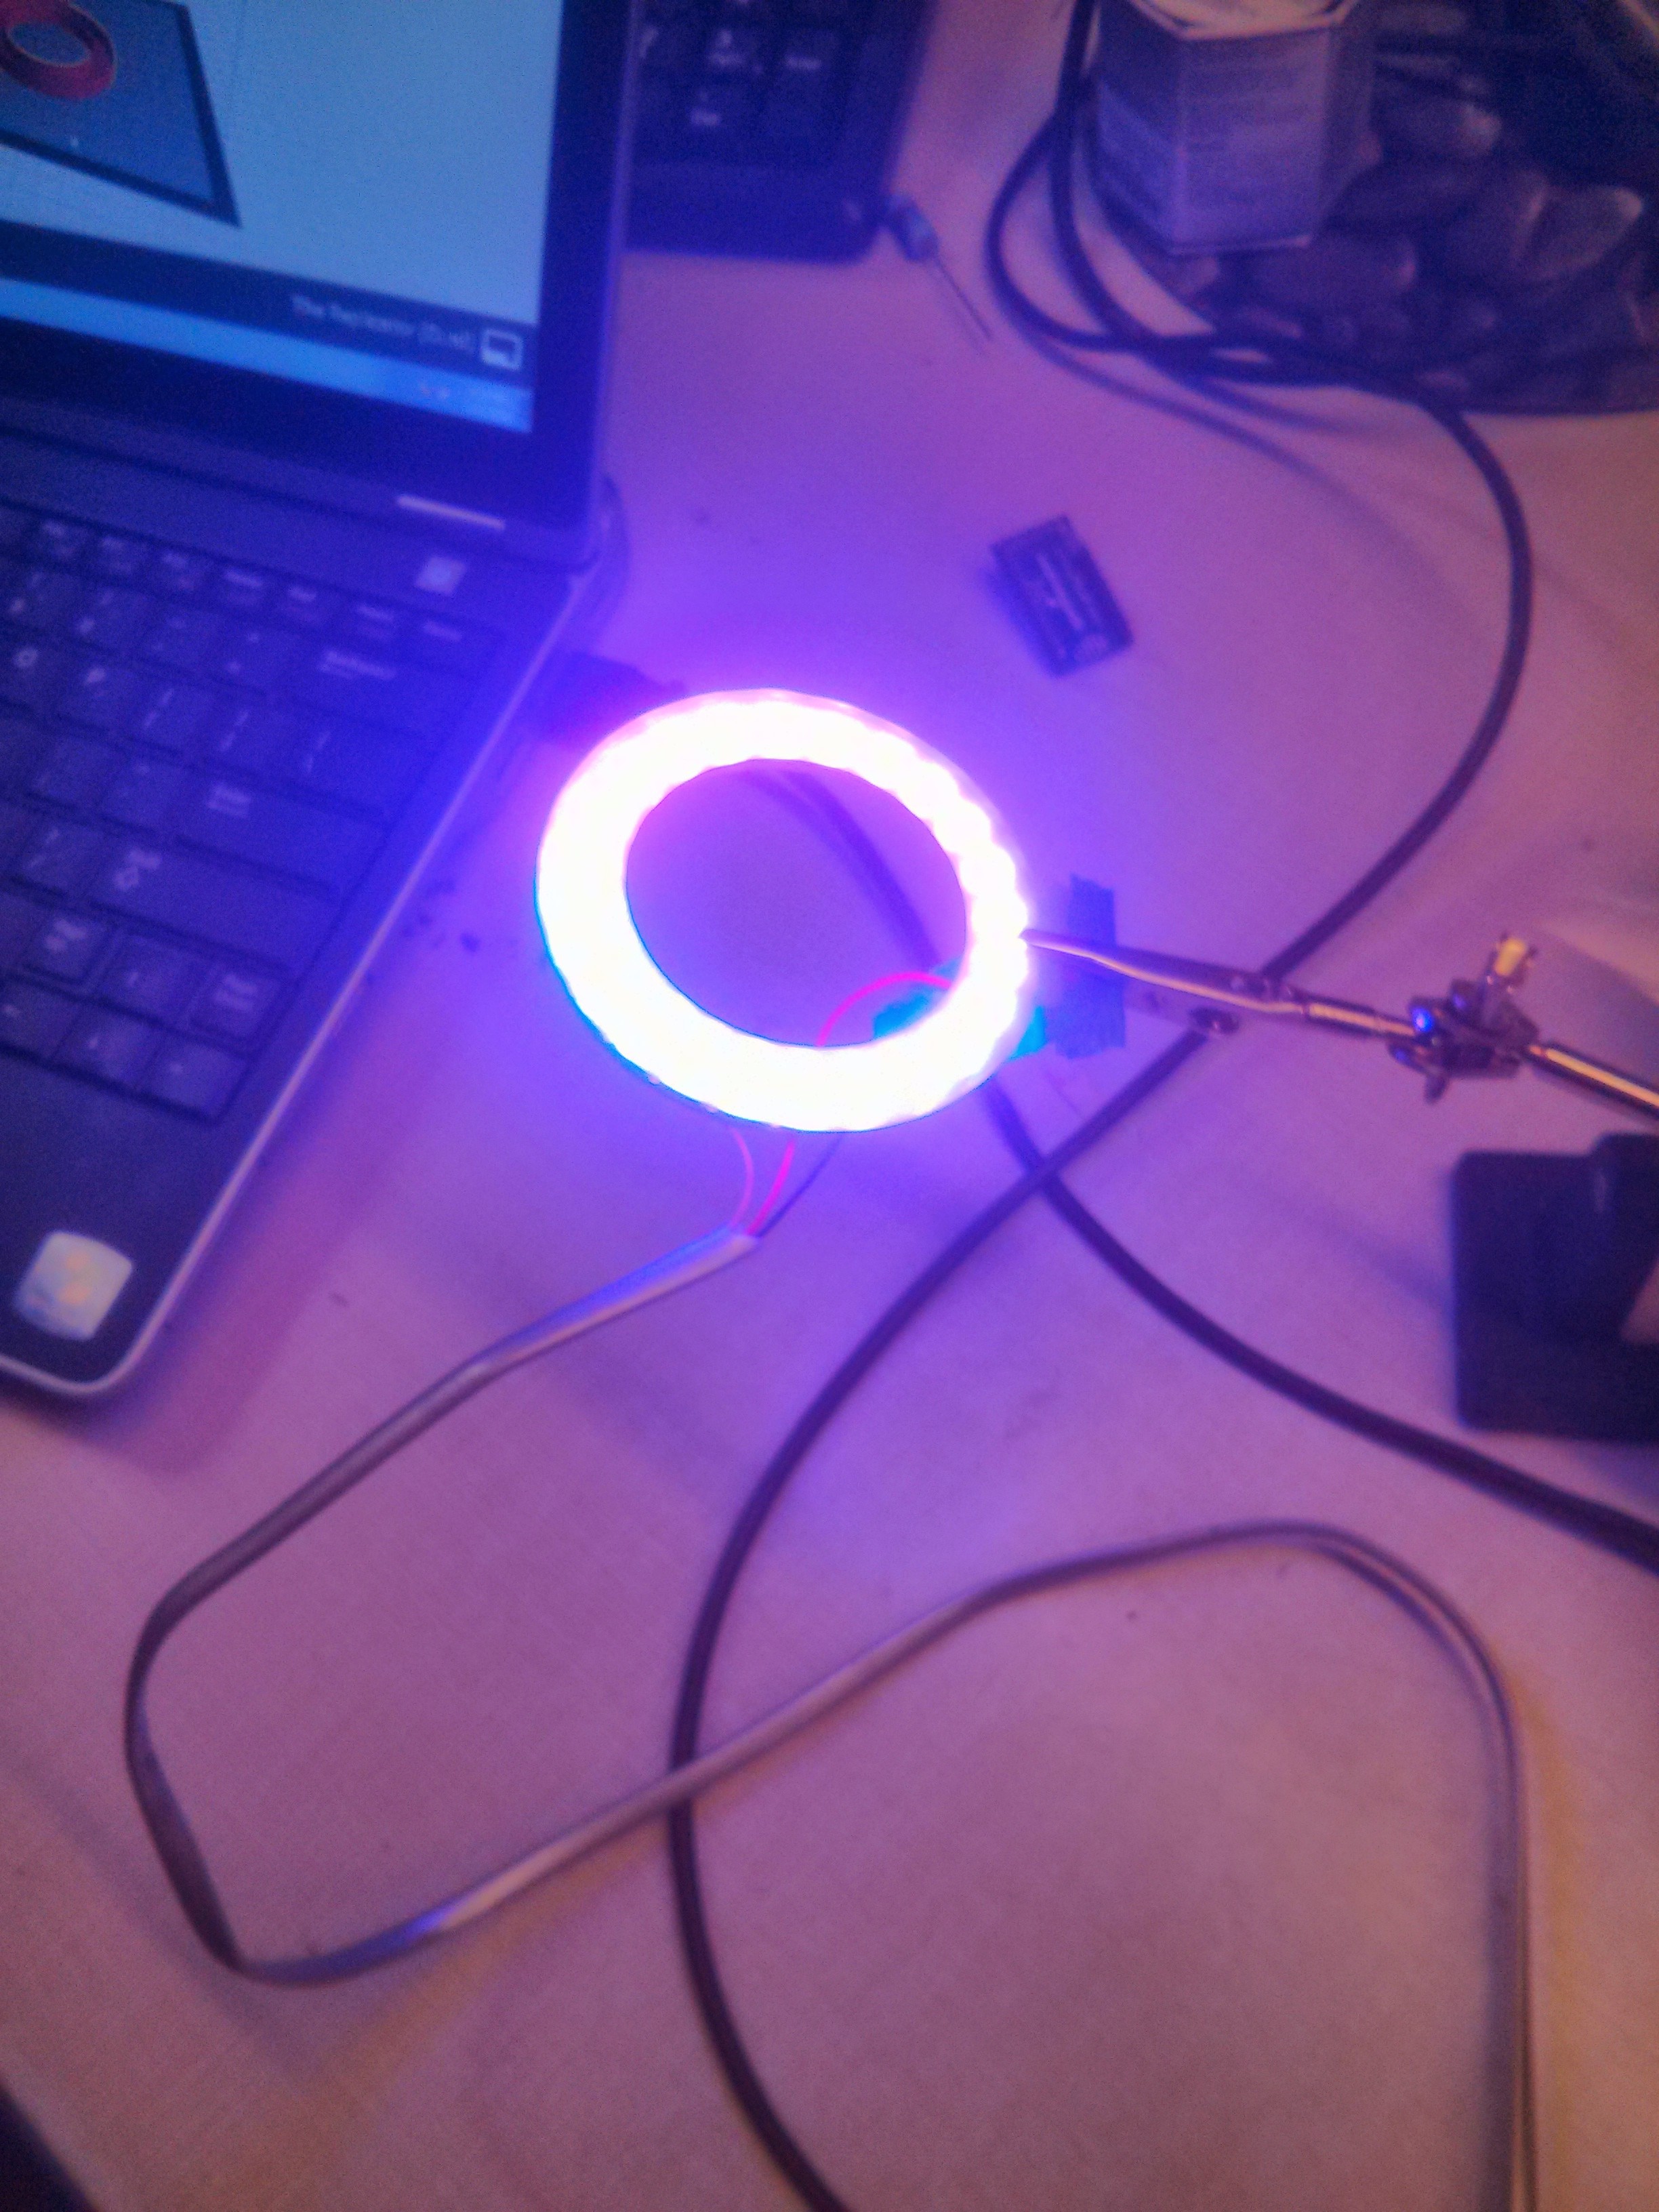
Installed below:
The LED's are controlled by an Arduino and reflect charge status.
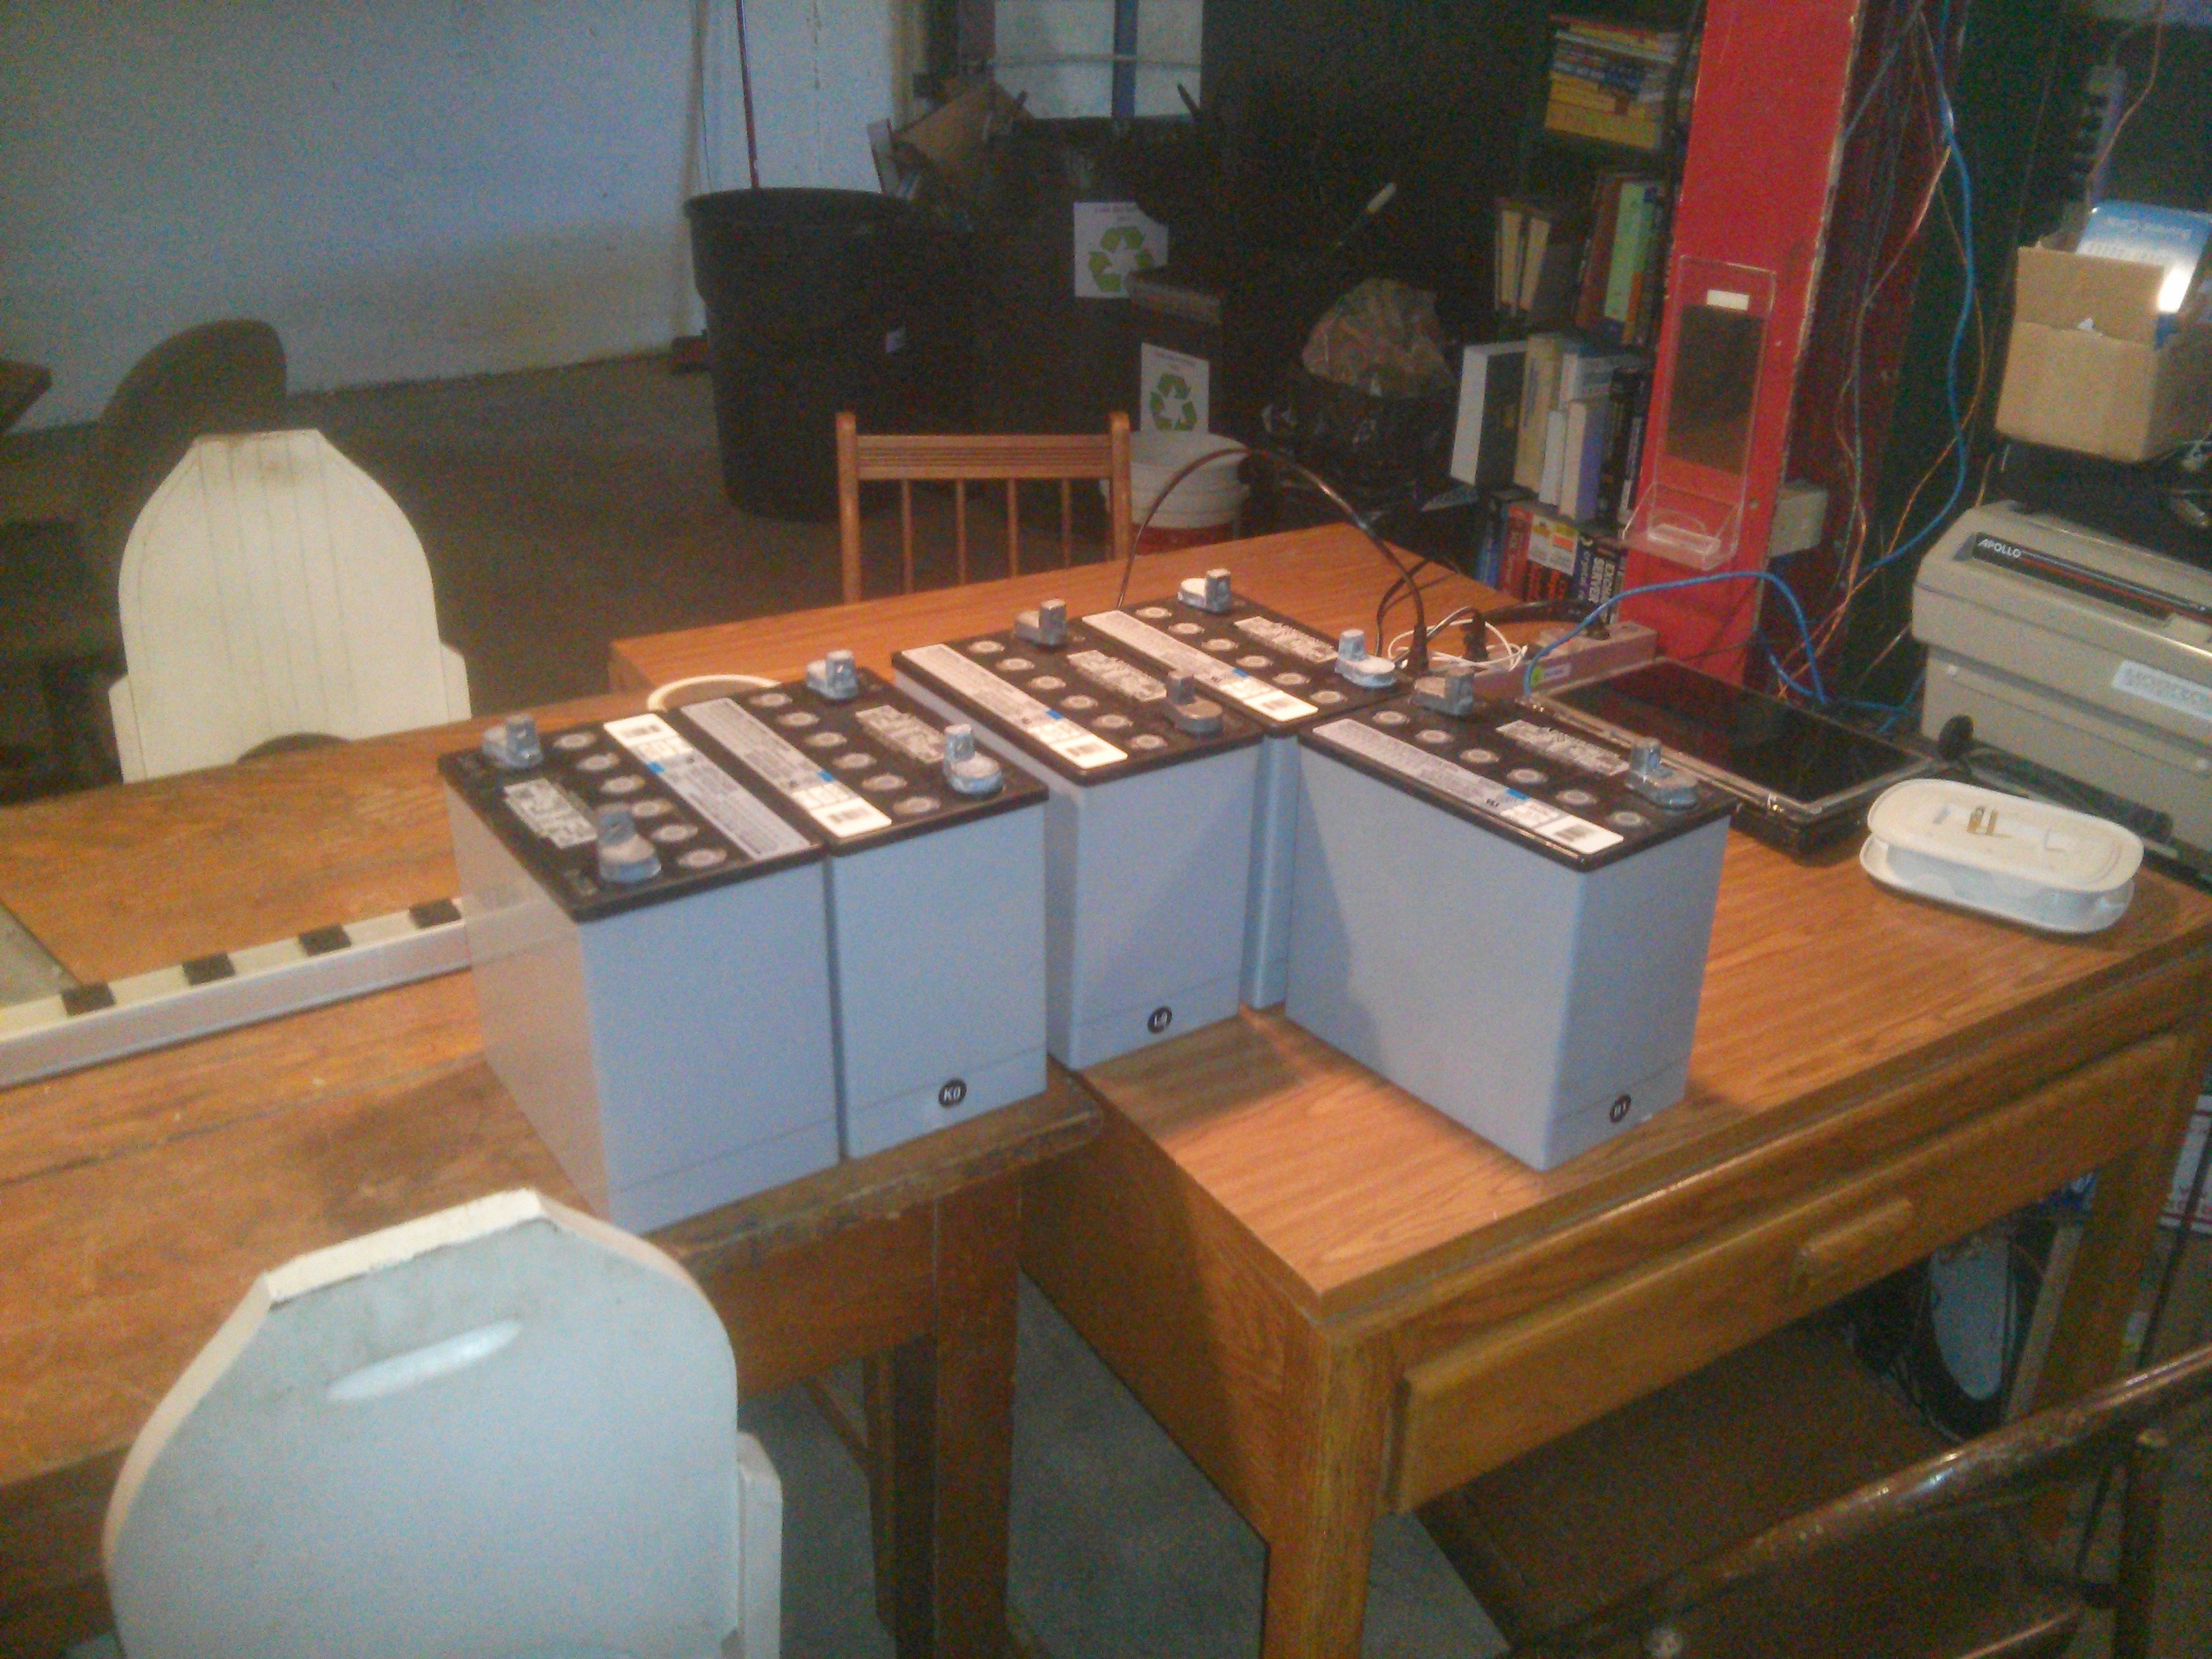
I had originally intended to use some smaller batteries that I bough new of Amazon, but after doing some more calculations I decided they were to small, and that the makerspace could use them for a Power Racing Series project that was already underway. Luckily I was able to score some used 55ah SLA's of Craigslist for about $50 a piece.
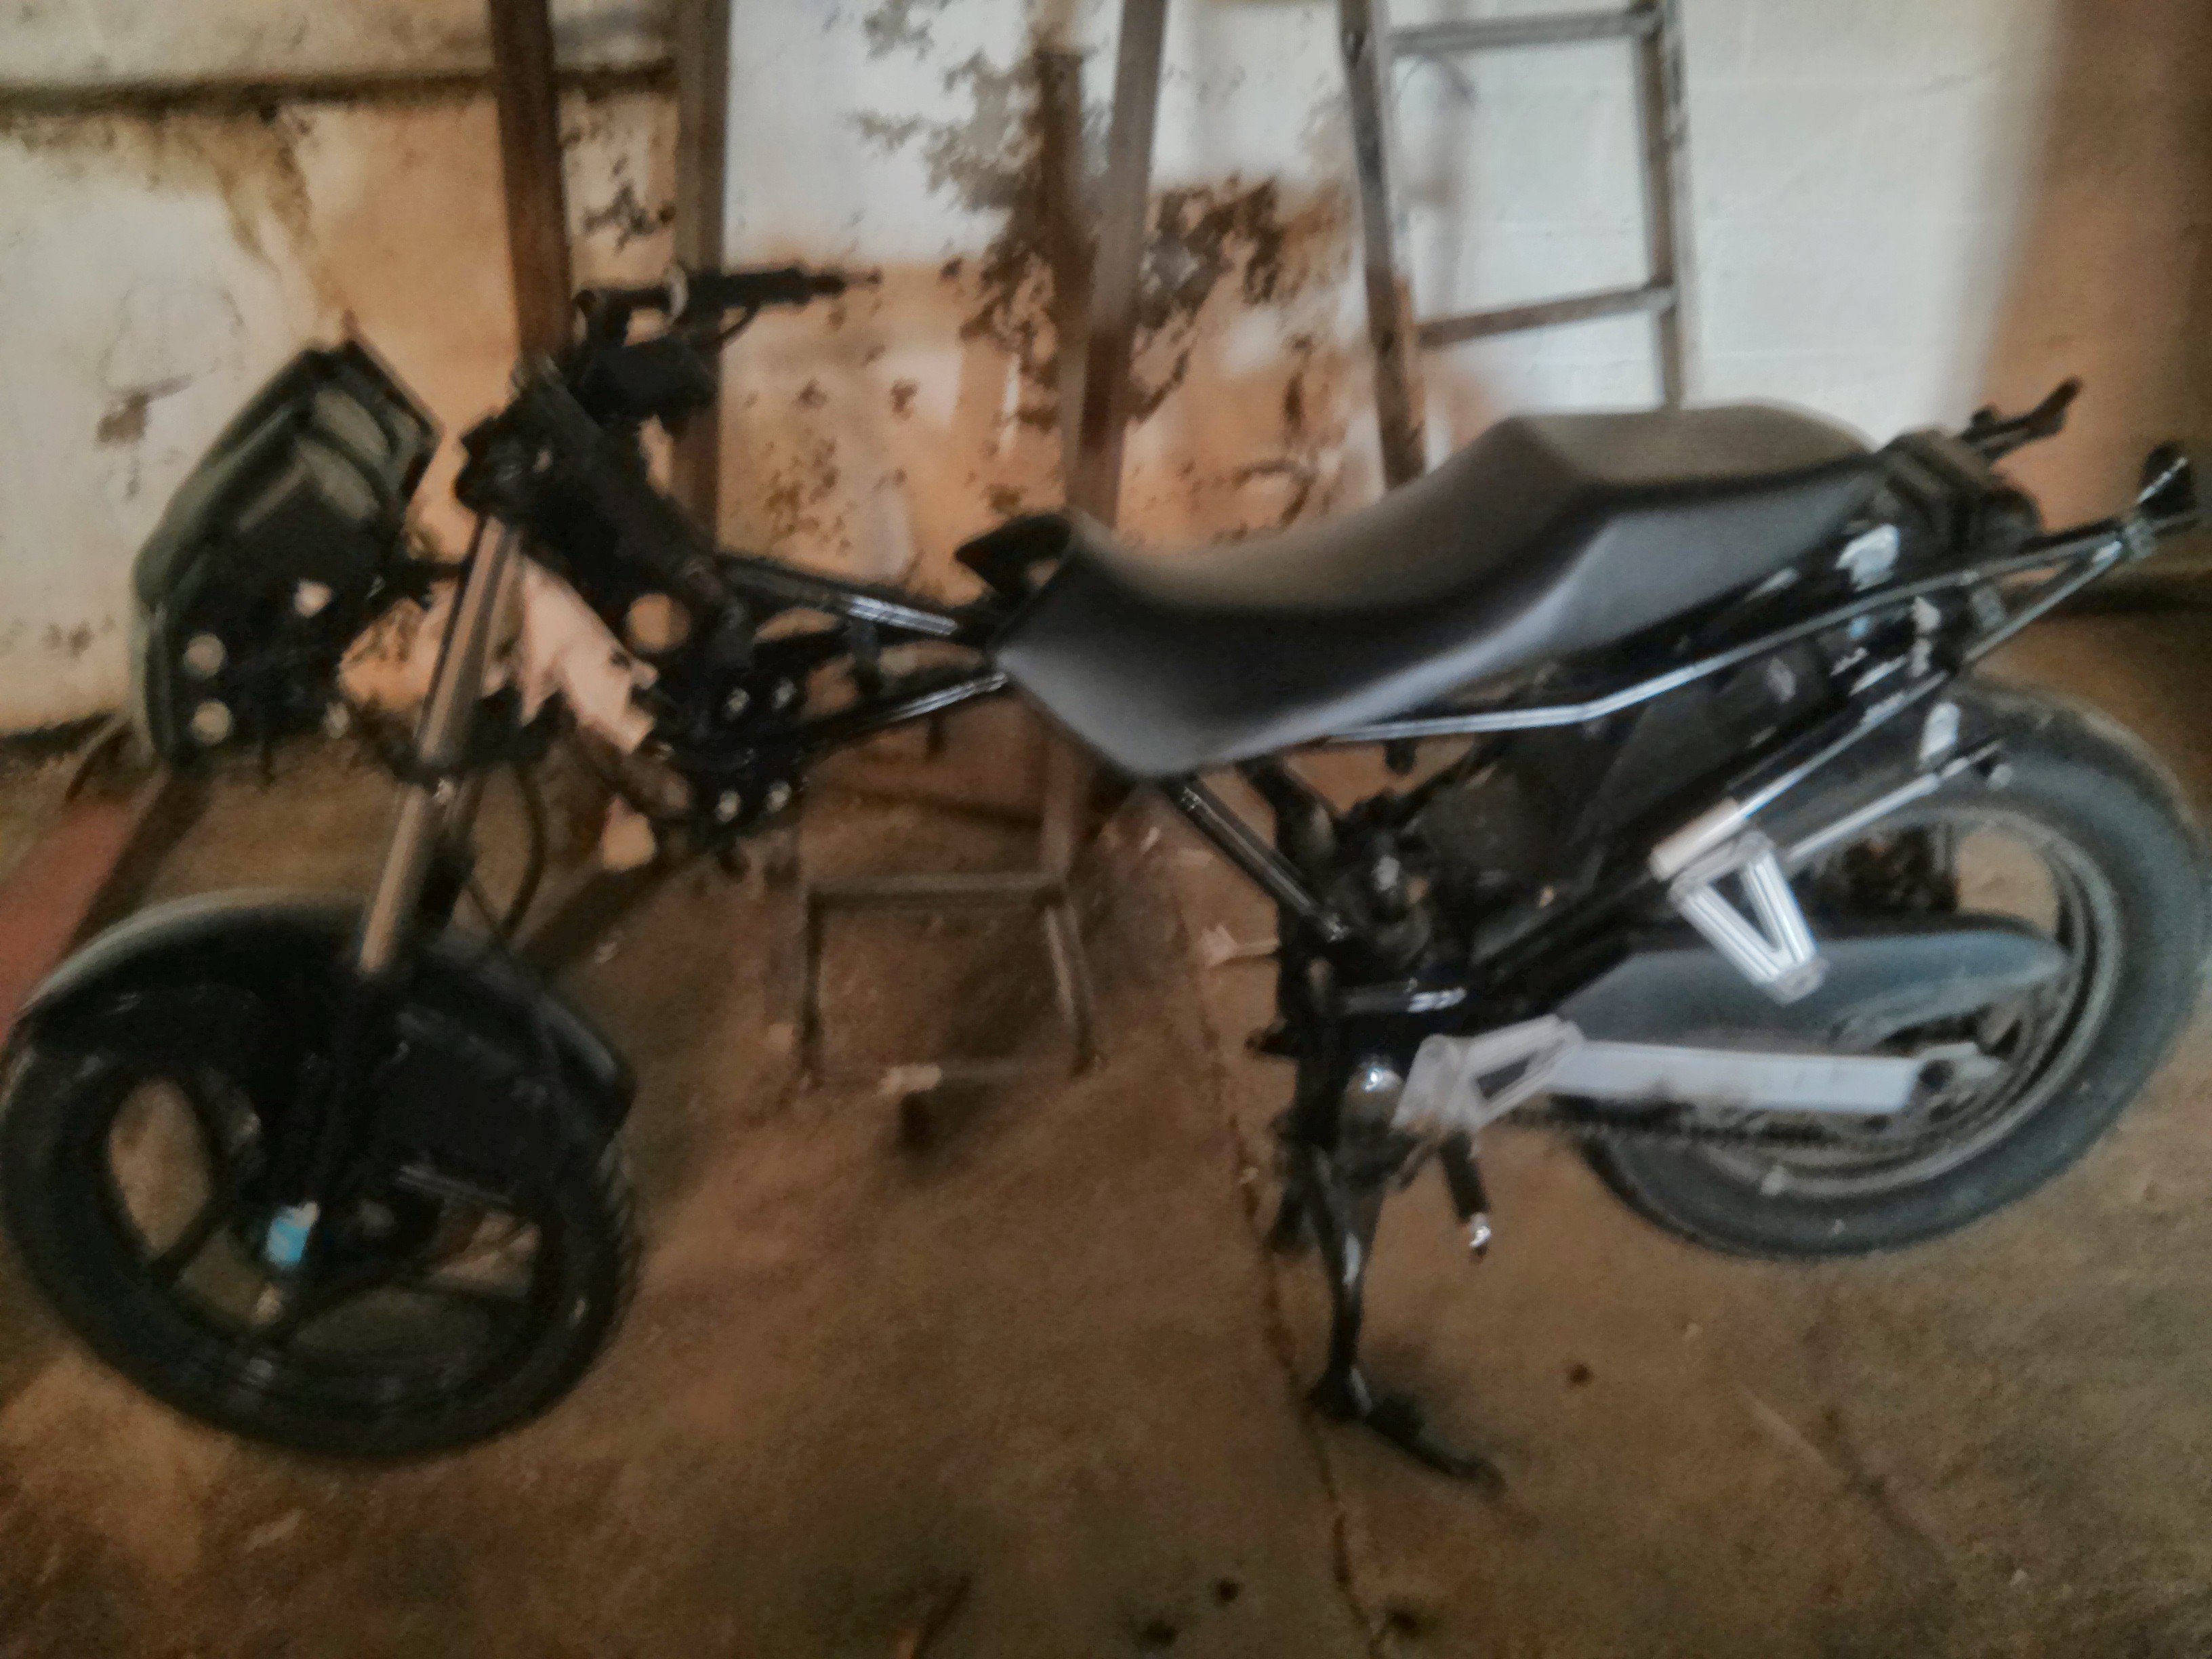
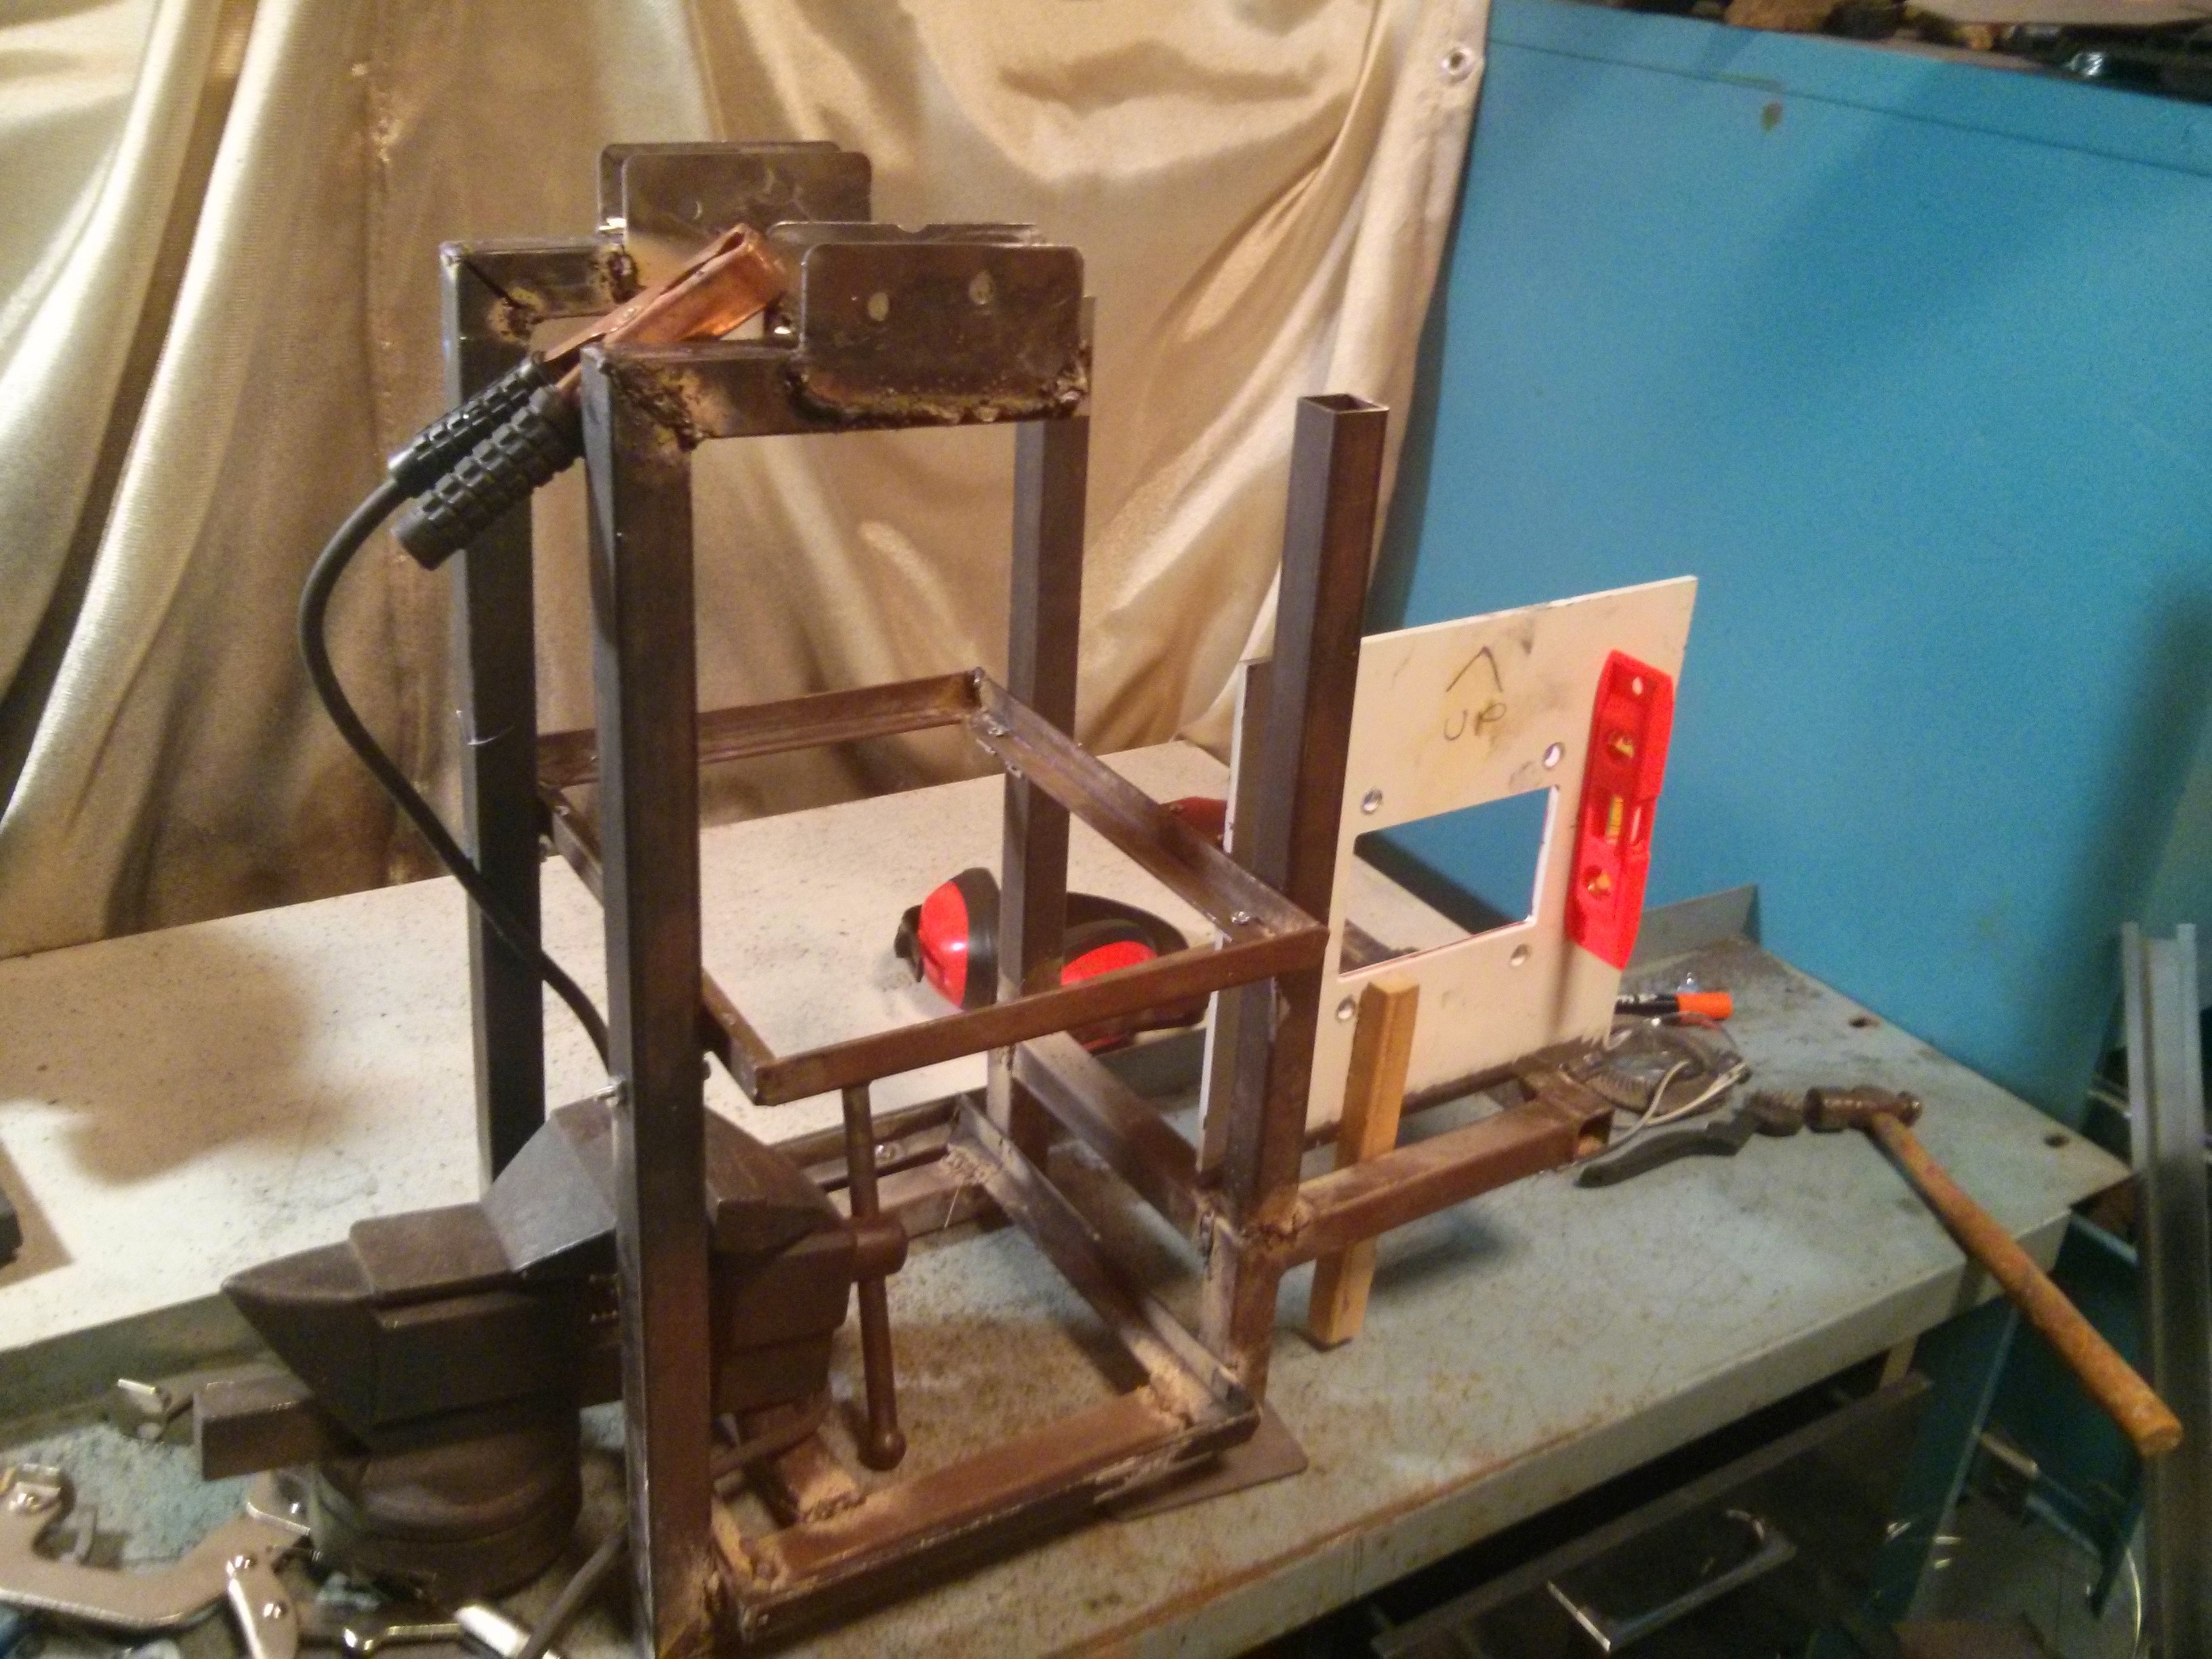
The frame was built out of 1" square stock, since it's easy to cut and weld and the seams are all long flat lines, which are perfect for beginning welders.
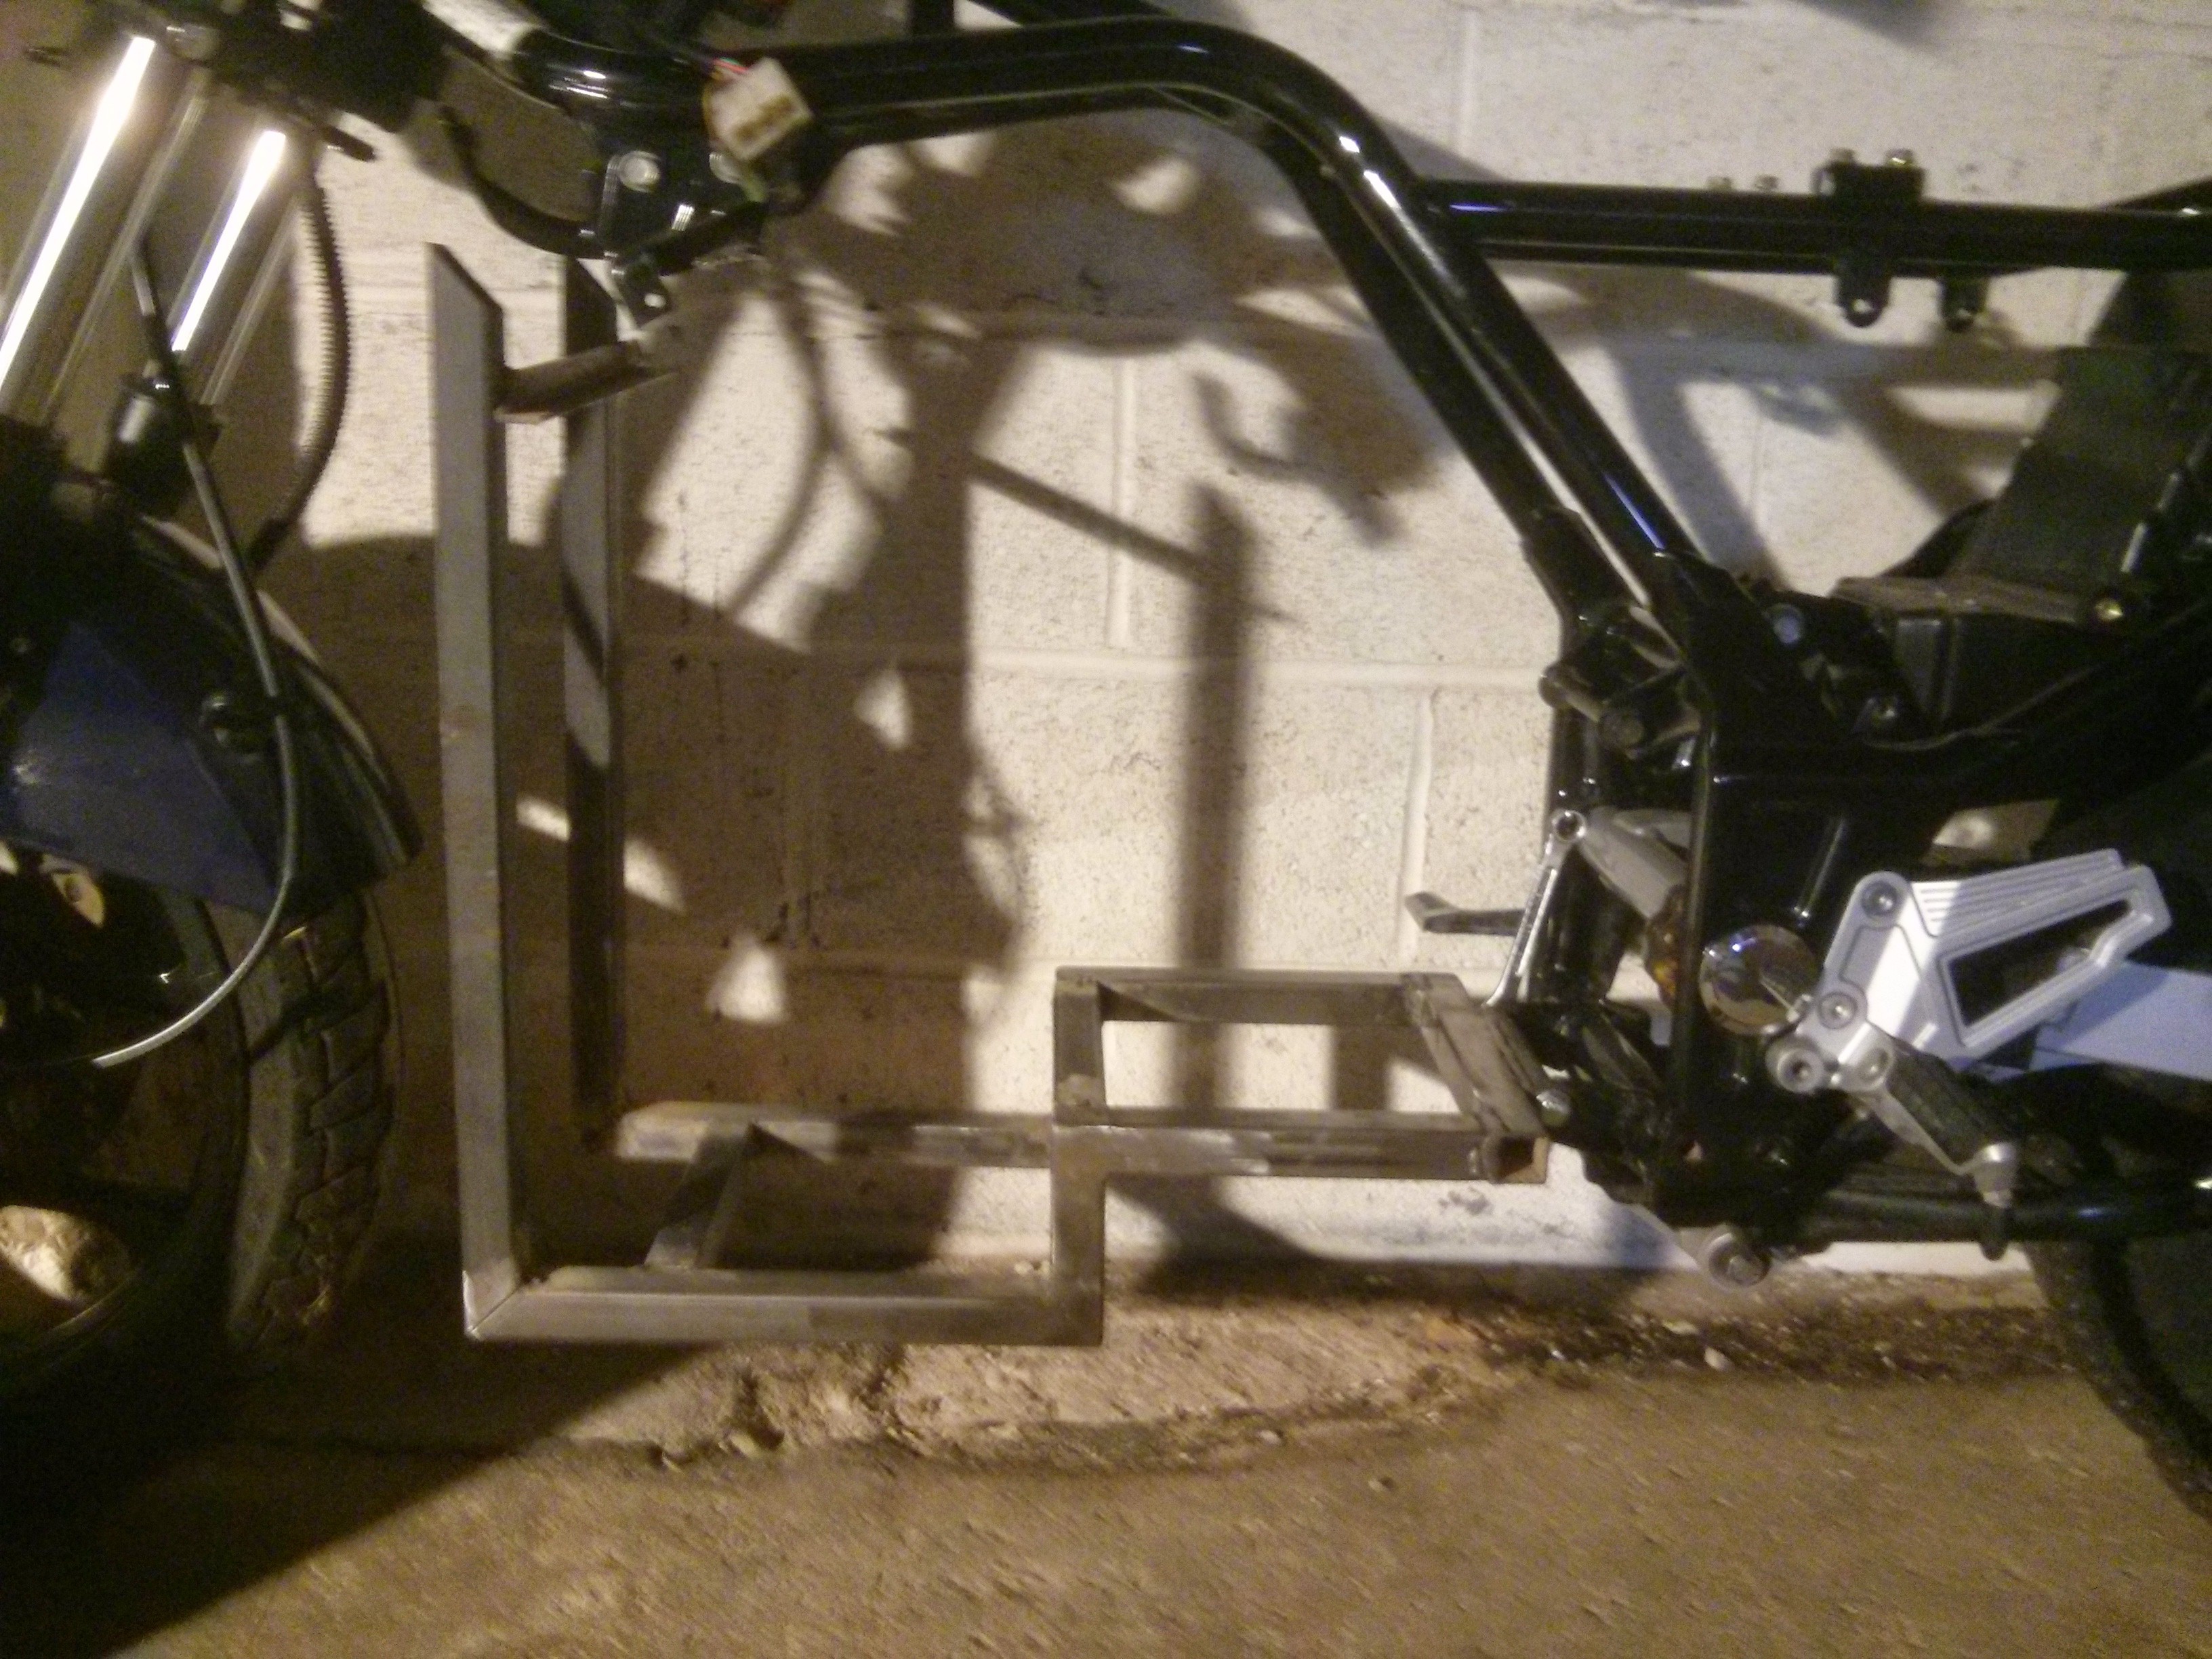
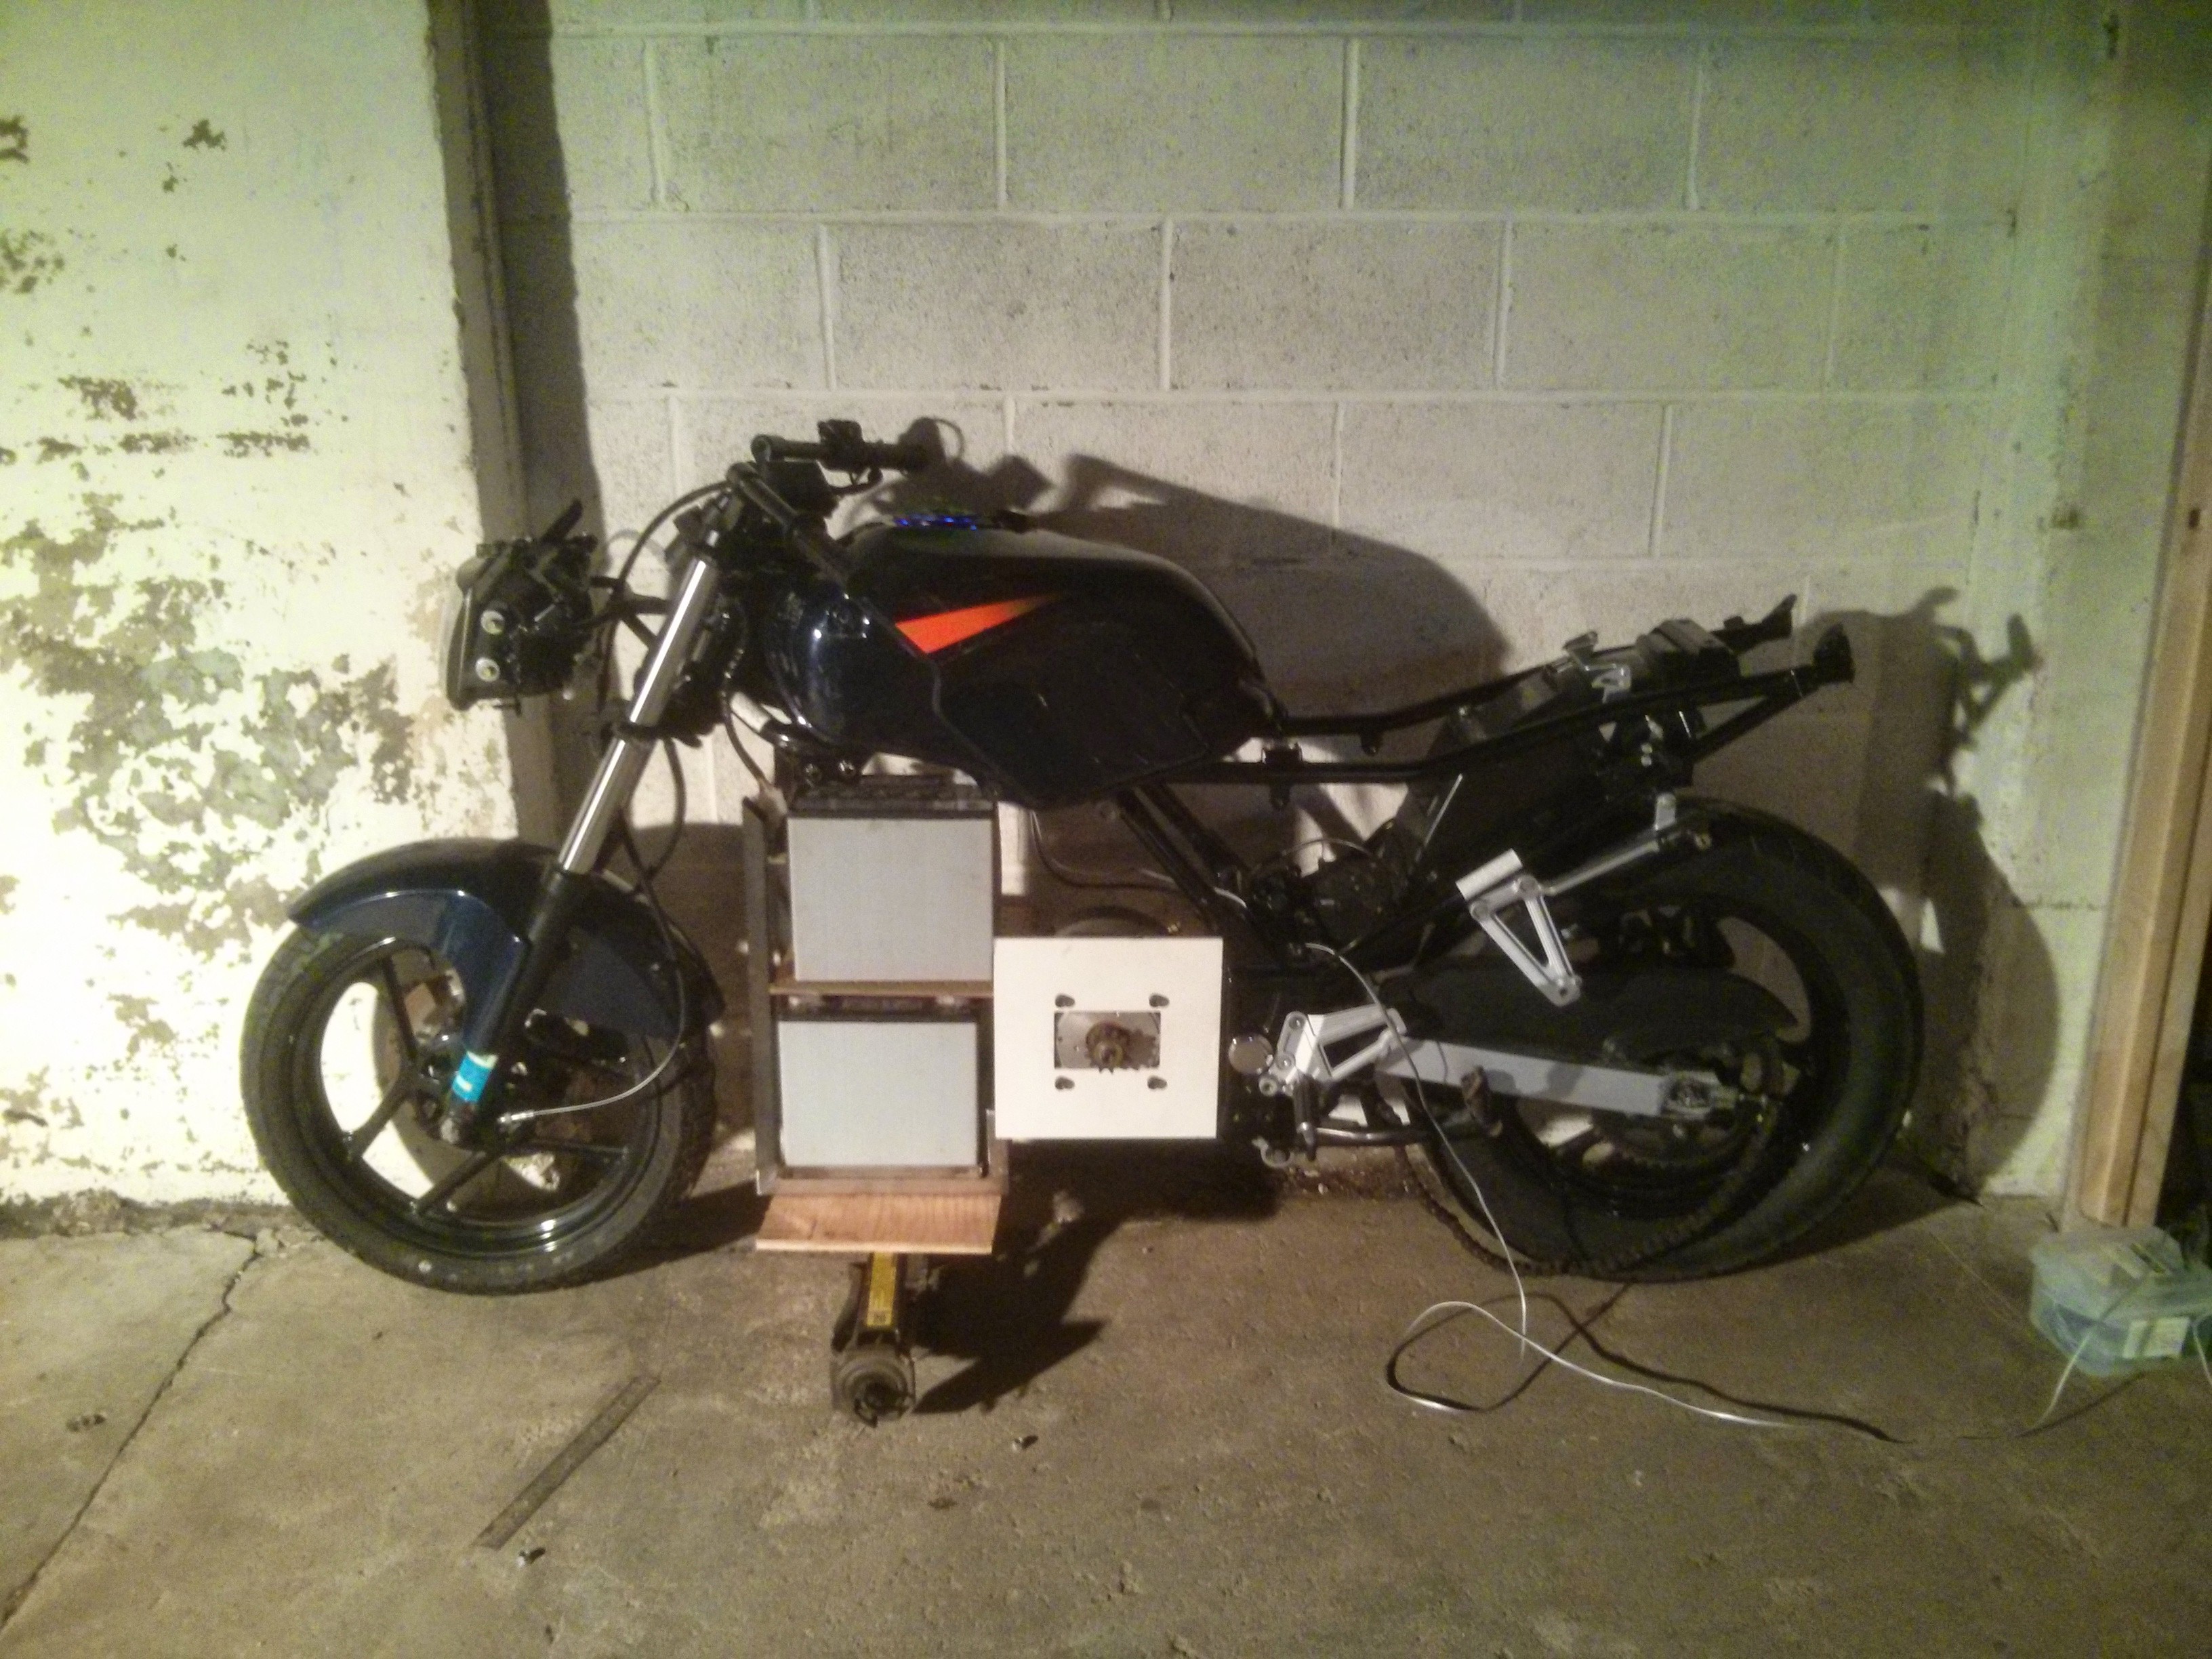
After a couple weeks of late nights and lots of test fits, the frame started to take shape. One great advantage to this design is that I have have to make zero changes to the existing frame, this design is literally a bolt in replacement.
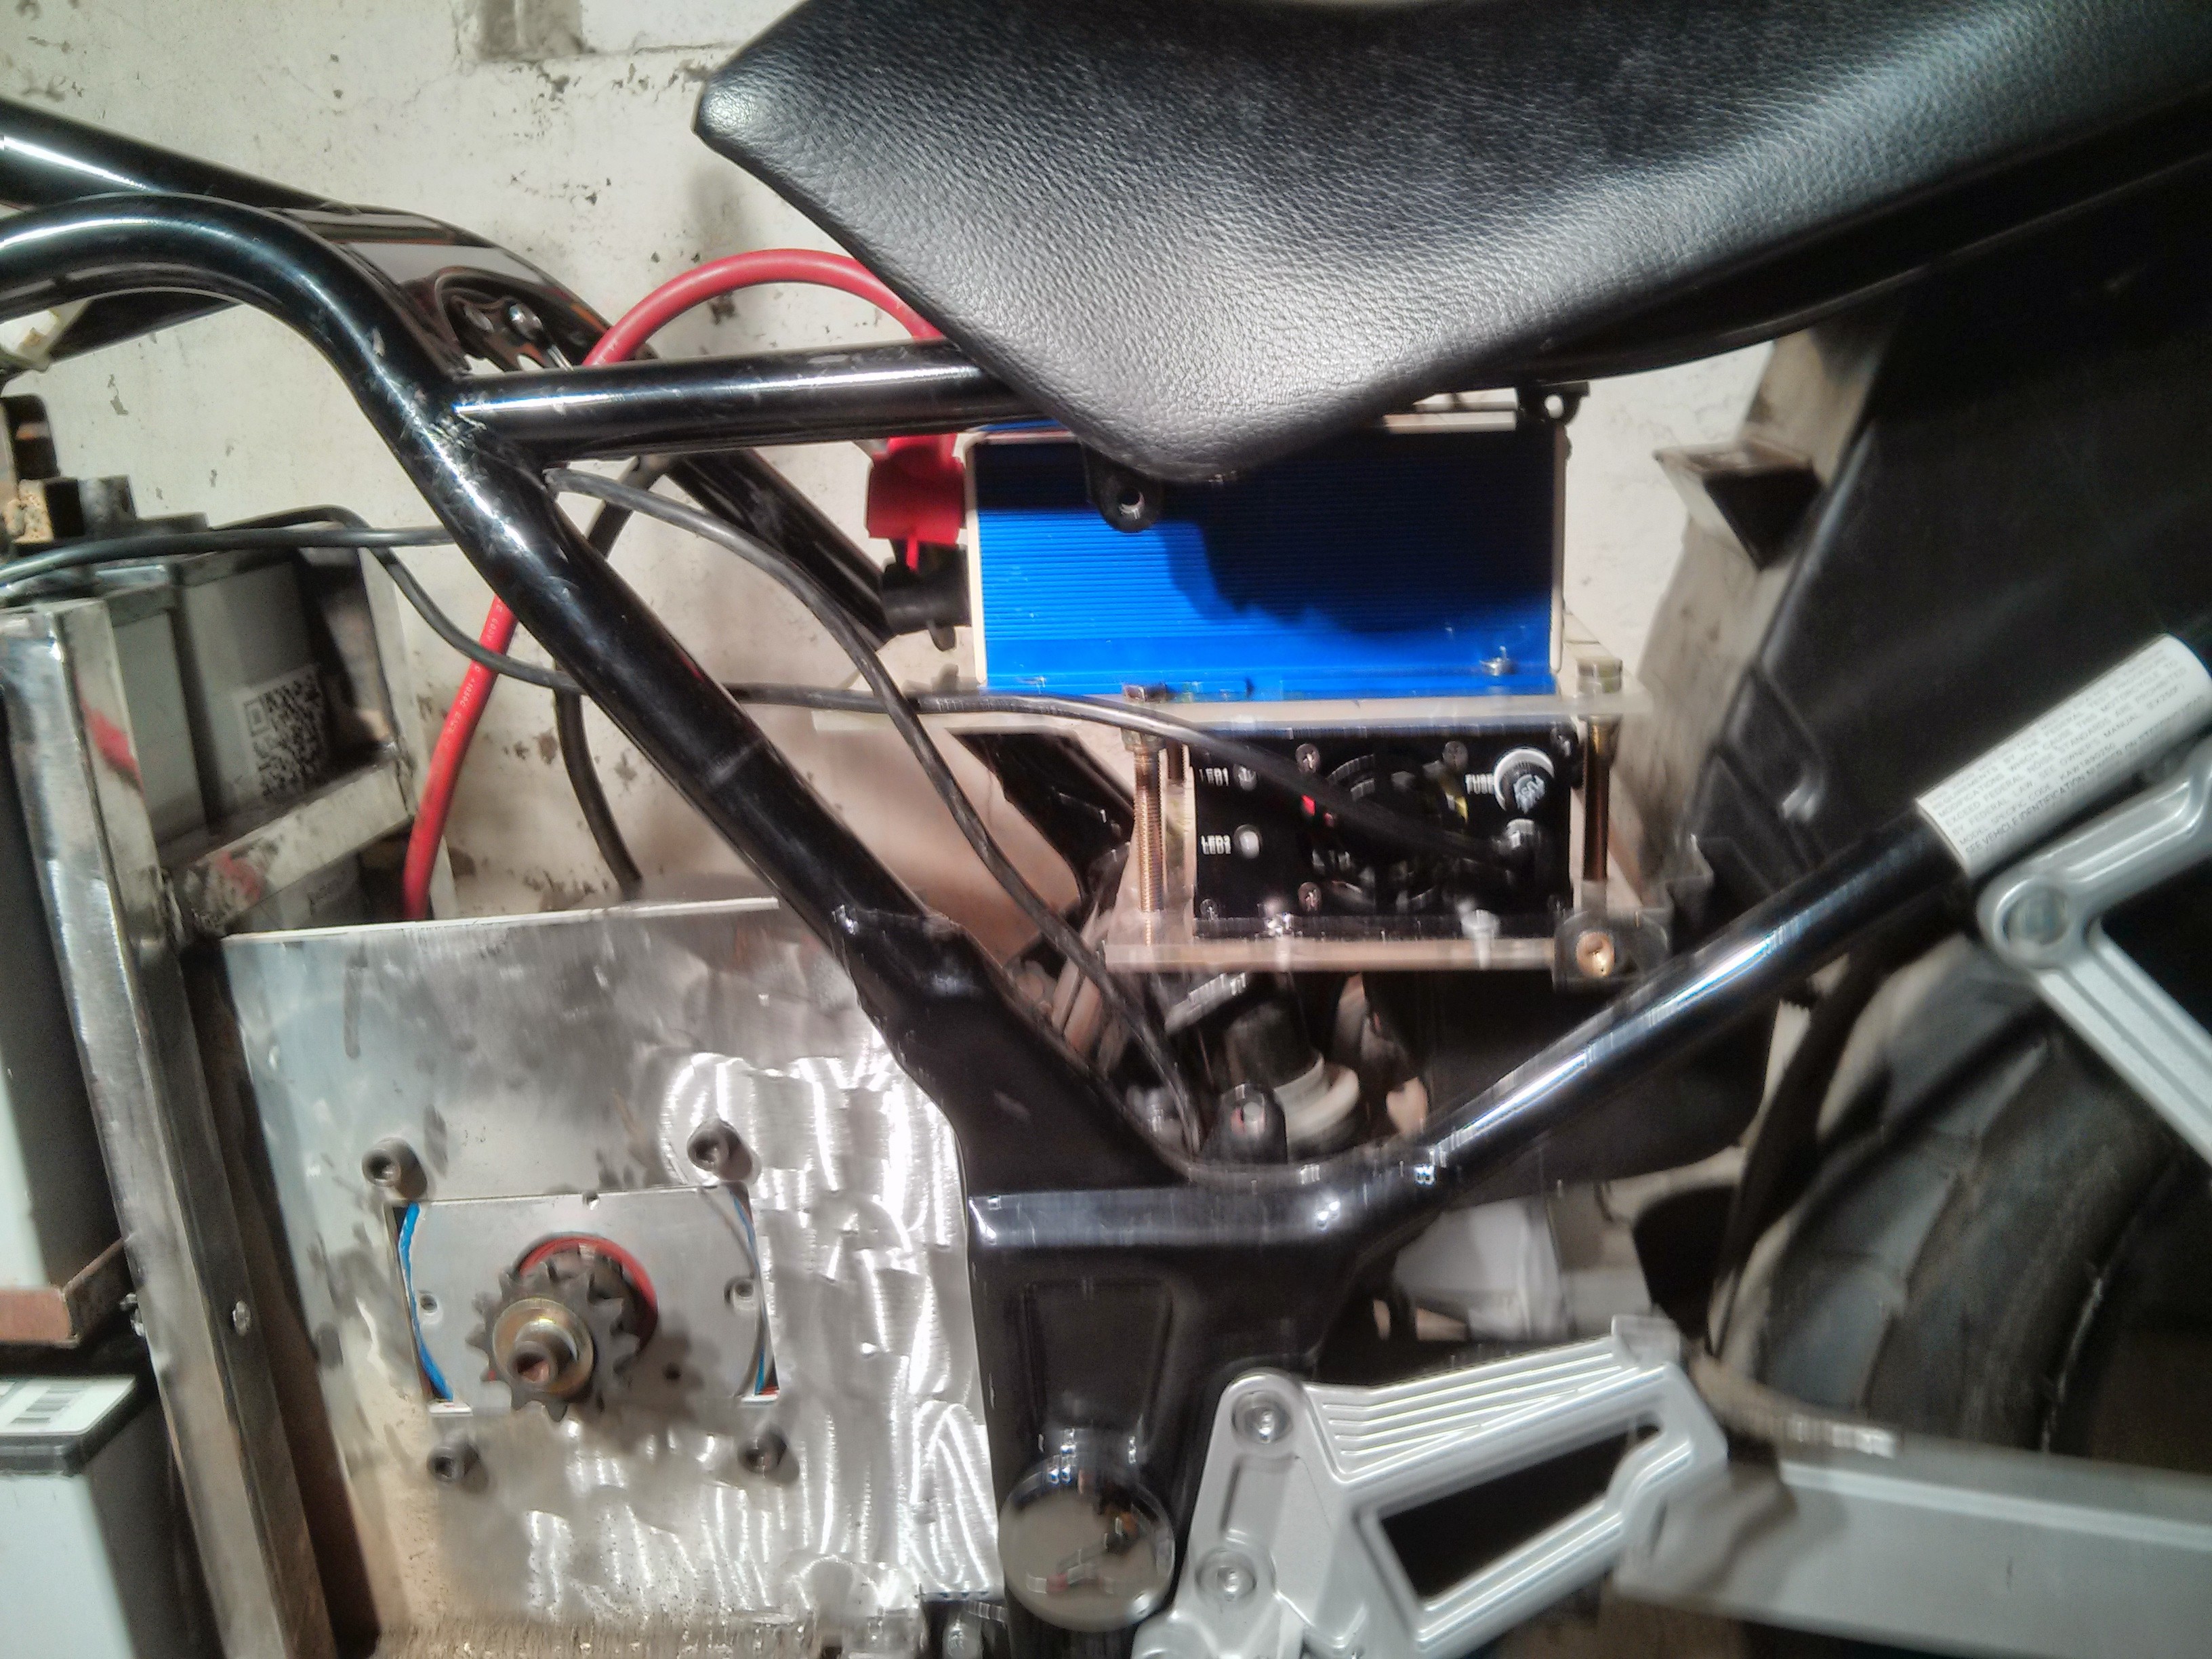
After a long day of running new wires and figuring out pinouts on existing switches, buttons, and levers, I decided to have a seat on the bike. Looking down I had one of those interesting perspective shifts on the project. It went something along the lines of, "Wow you really are a fool, you're going to take a pile of batteries, a big permanent magnet motor and some Arduino code and you are going to sit on it, and then ride it on public roads." Yup, that's the plan!
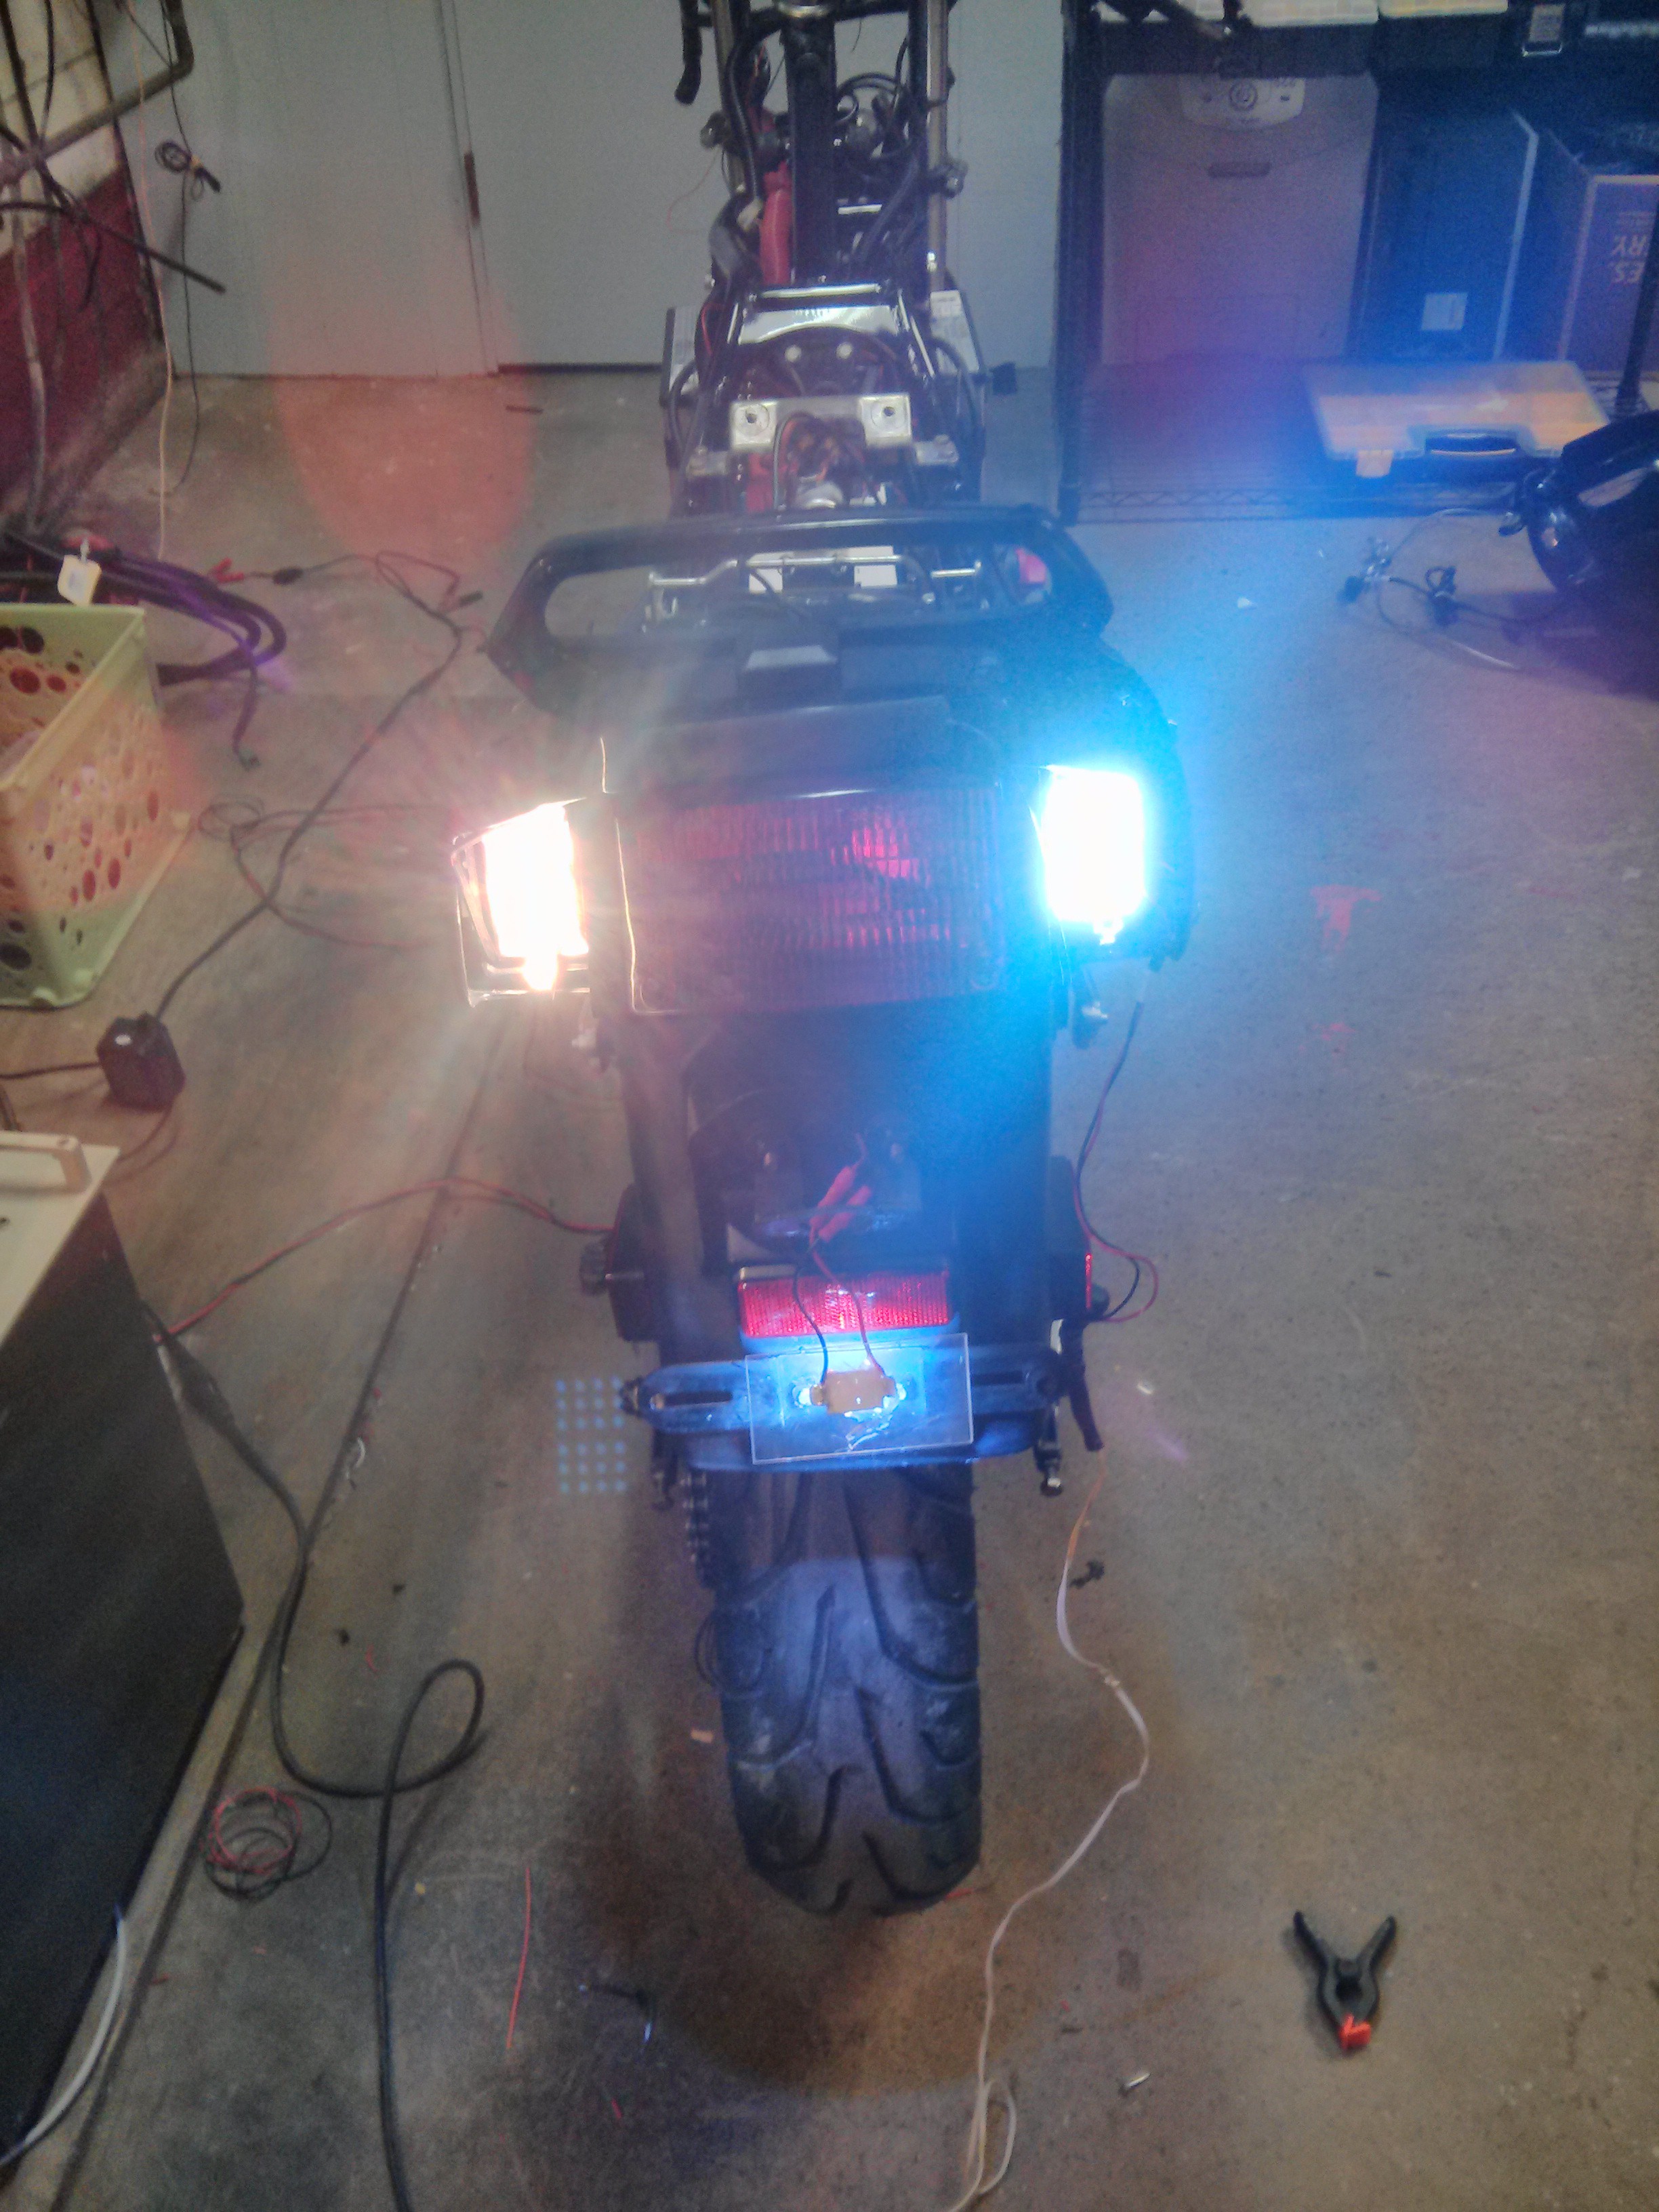
While I was wiring up the 12 volt lights I took the opportunity to replace a large amount of them with small LED arrays. These were purchased off eBay from China for about $1.50 a pop, they are designed as dome light replacements but are small PCB's with a array of white LED's that run of 12 volt, couldn't have made a better drop in replacement if I tried and certainly not for $1.50 shipped. On the left you can see the incandescent bulb and on the right you can see the LED.
The only mechanical part left is getting a new sprocket. This ended up being a bigger pain than I expected. Industrial electric motors is turns out are designed to take roller chain sprocket, motorcycles however do not use this. After a couple weeks of searching for a motorcycle sprocket that would fit my motor I ended up finding a company that would custom make one for $80. Frustrated and feeling that the money was worth less than my continuing frustration I acquiesced and ordered the sprocket.
Discussions
Become a Hackaday.io Member
Create an account to leave a comment. Already have an account? Log In.