Close
0%
0%

The Long Legged Drill

Mix-mash of an old battery case and and 3d printed part gued together to get a cheap Parkside Drill to serve again

npnNPN
Similar projects worth following
In this project I will show you how I resurrected my drill the cheapest way using a 3D printer and what's available in my garage.

As every enthusiast DIYer working with power tools knows "buy cheap, buy twice" or cry twice. But not this time !

With cheap tools the Quality is rarely there, which is ok for me 'caus they are also very affordable. The annoying thing is the after sales service...

My thoughts on the brand :

Parkside tools are available at Lidl supermarket in Europe and on their website. I realy like these tools because they are very affordable and quite robust. They take the beating ! I collected some Parkside tools over the years and I was impressed almost every time over the robustness.

Motivation :

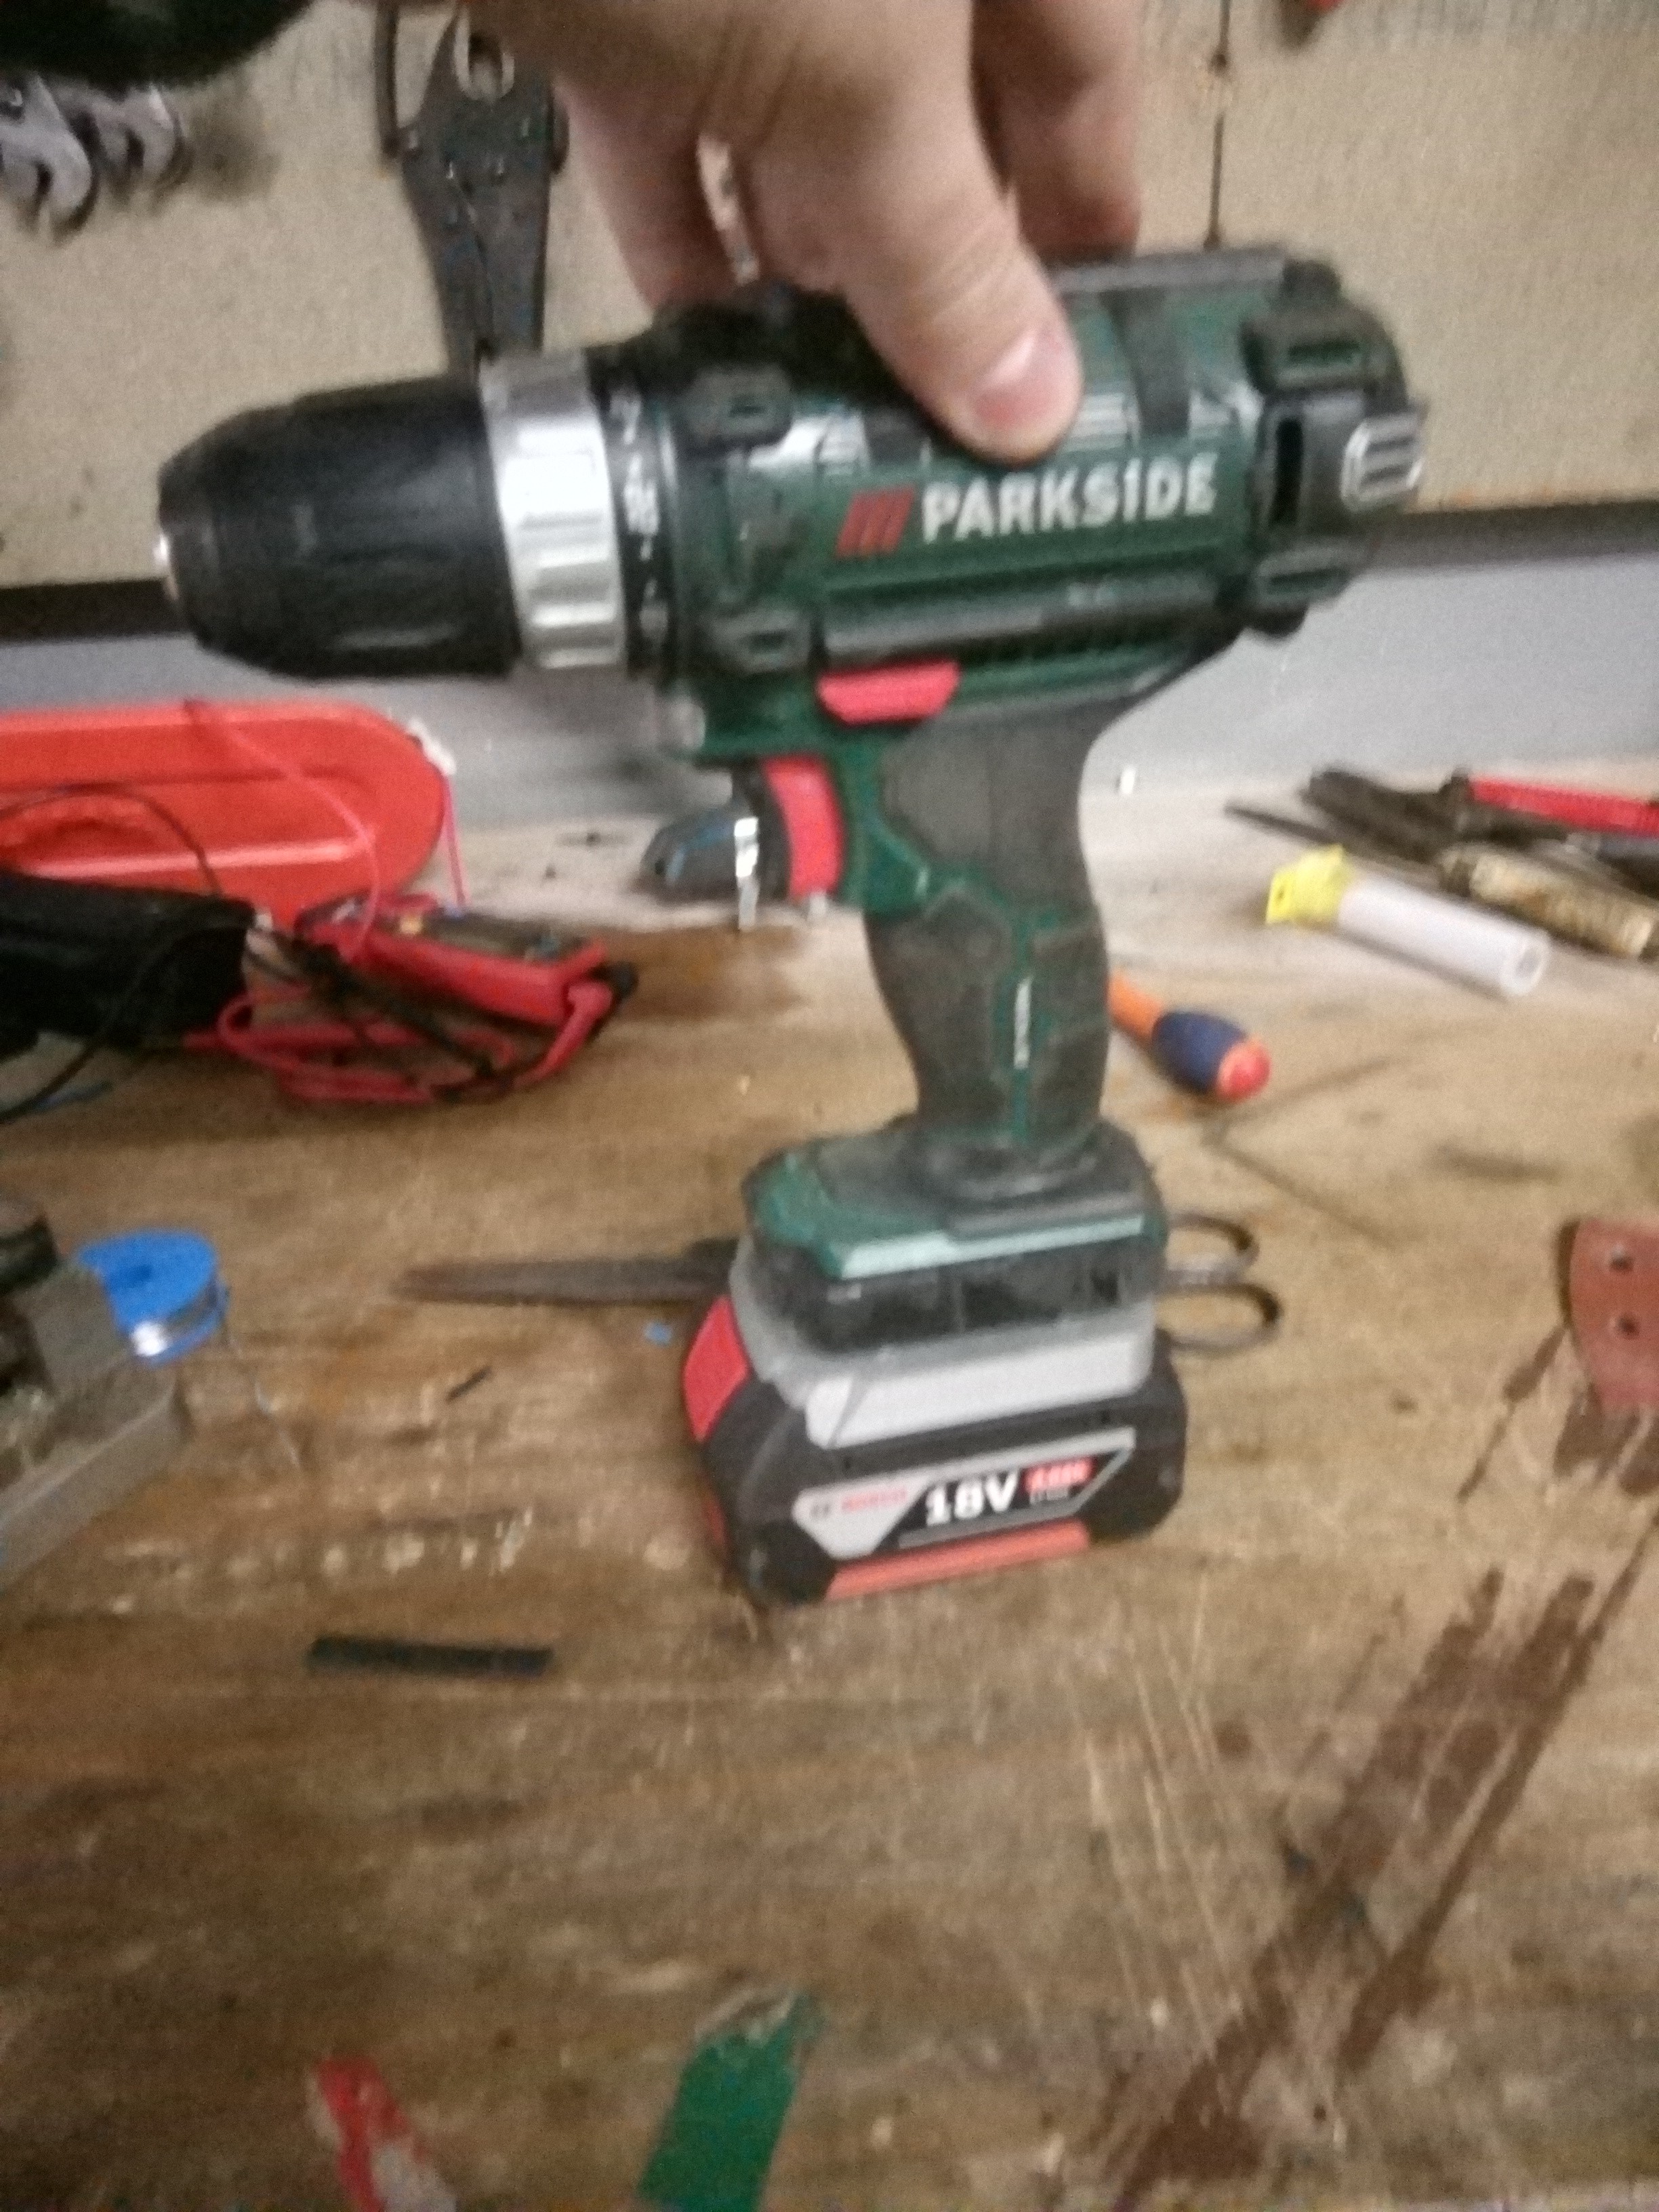
The drill cost me 49€ incl. charger and a 18V 2Ah battery. I had it for almost 2 years. The battery ran really weak so I looked up to buy a new one but after 2 years they launched a new line of cordless tools, and of course they also changed the battery. This means you can't buy a new one, not even those Ebay knockoffs.

I give it to them, they chosed a better battery design this time (now the socket resembles to what the other brands are doing).

Theory : 

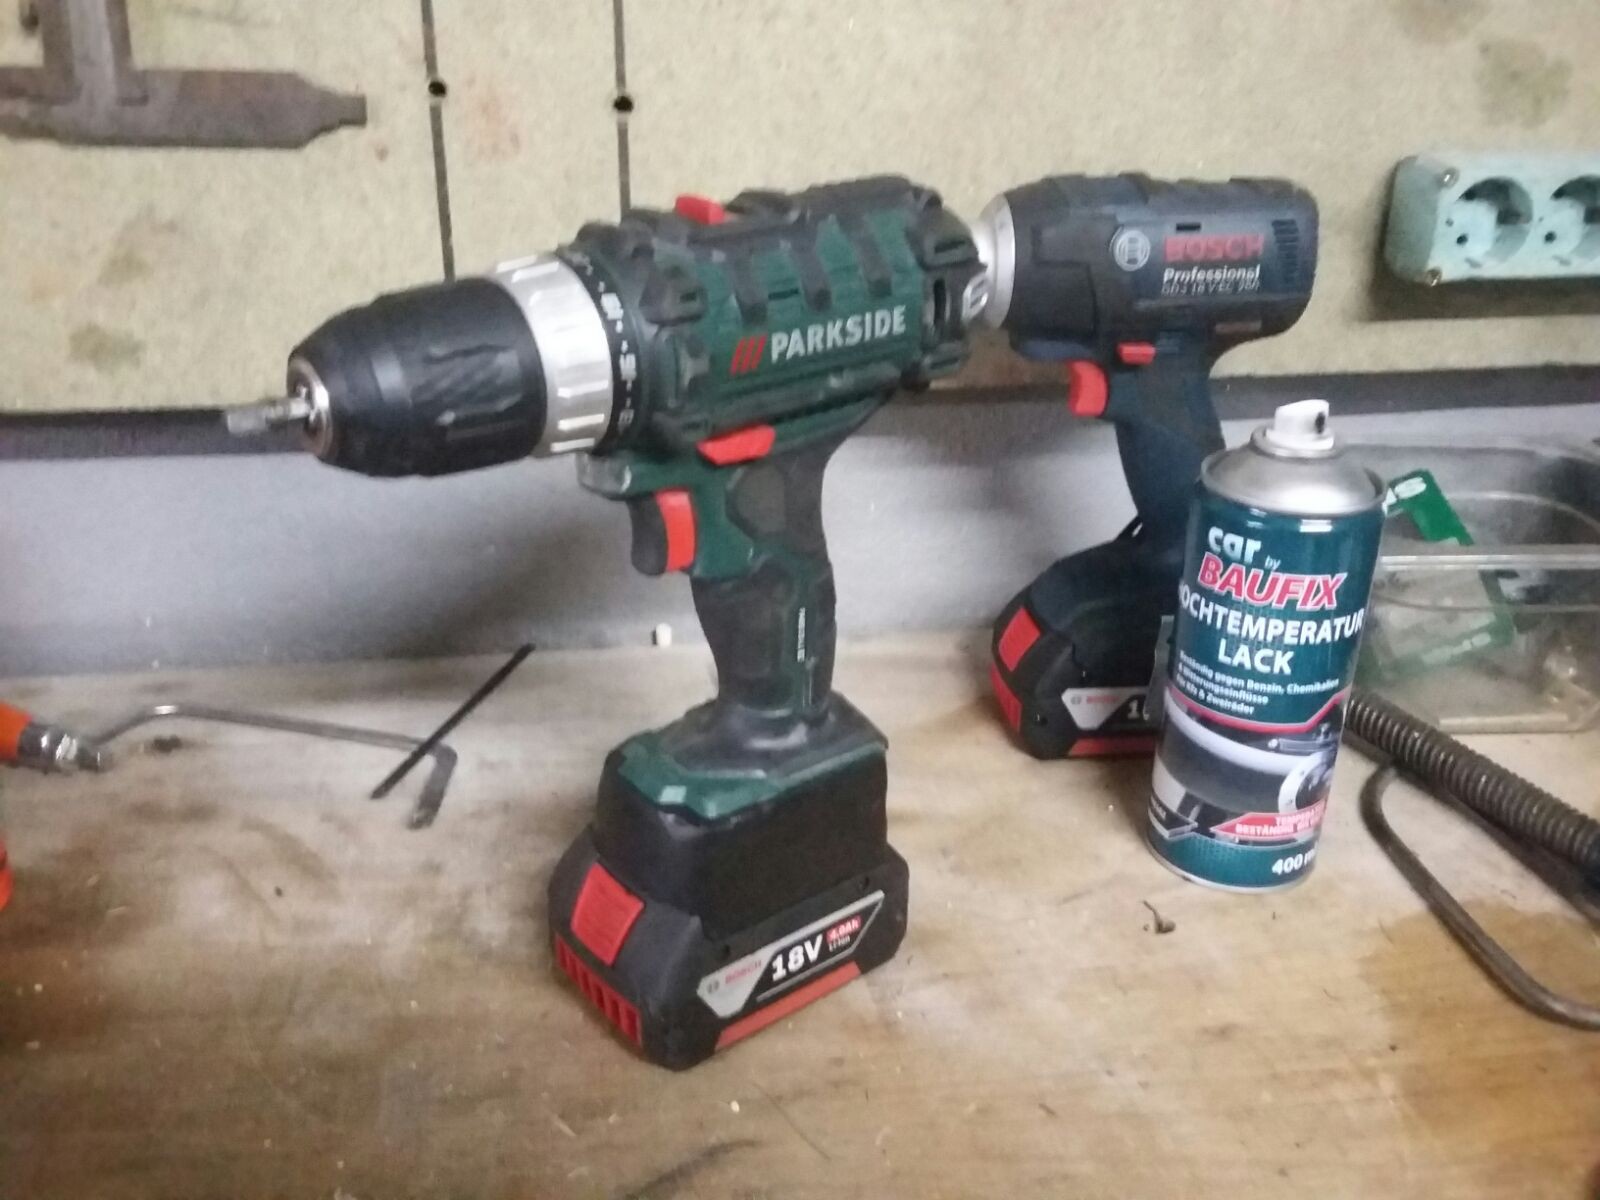
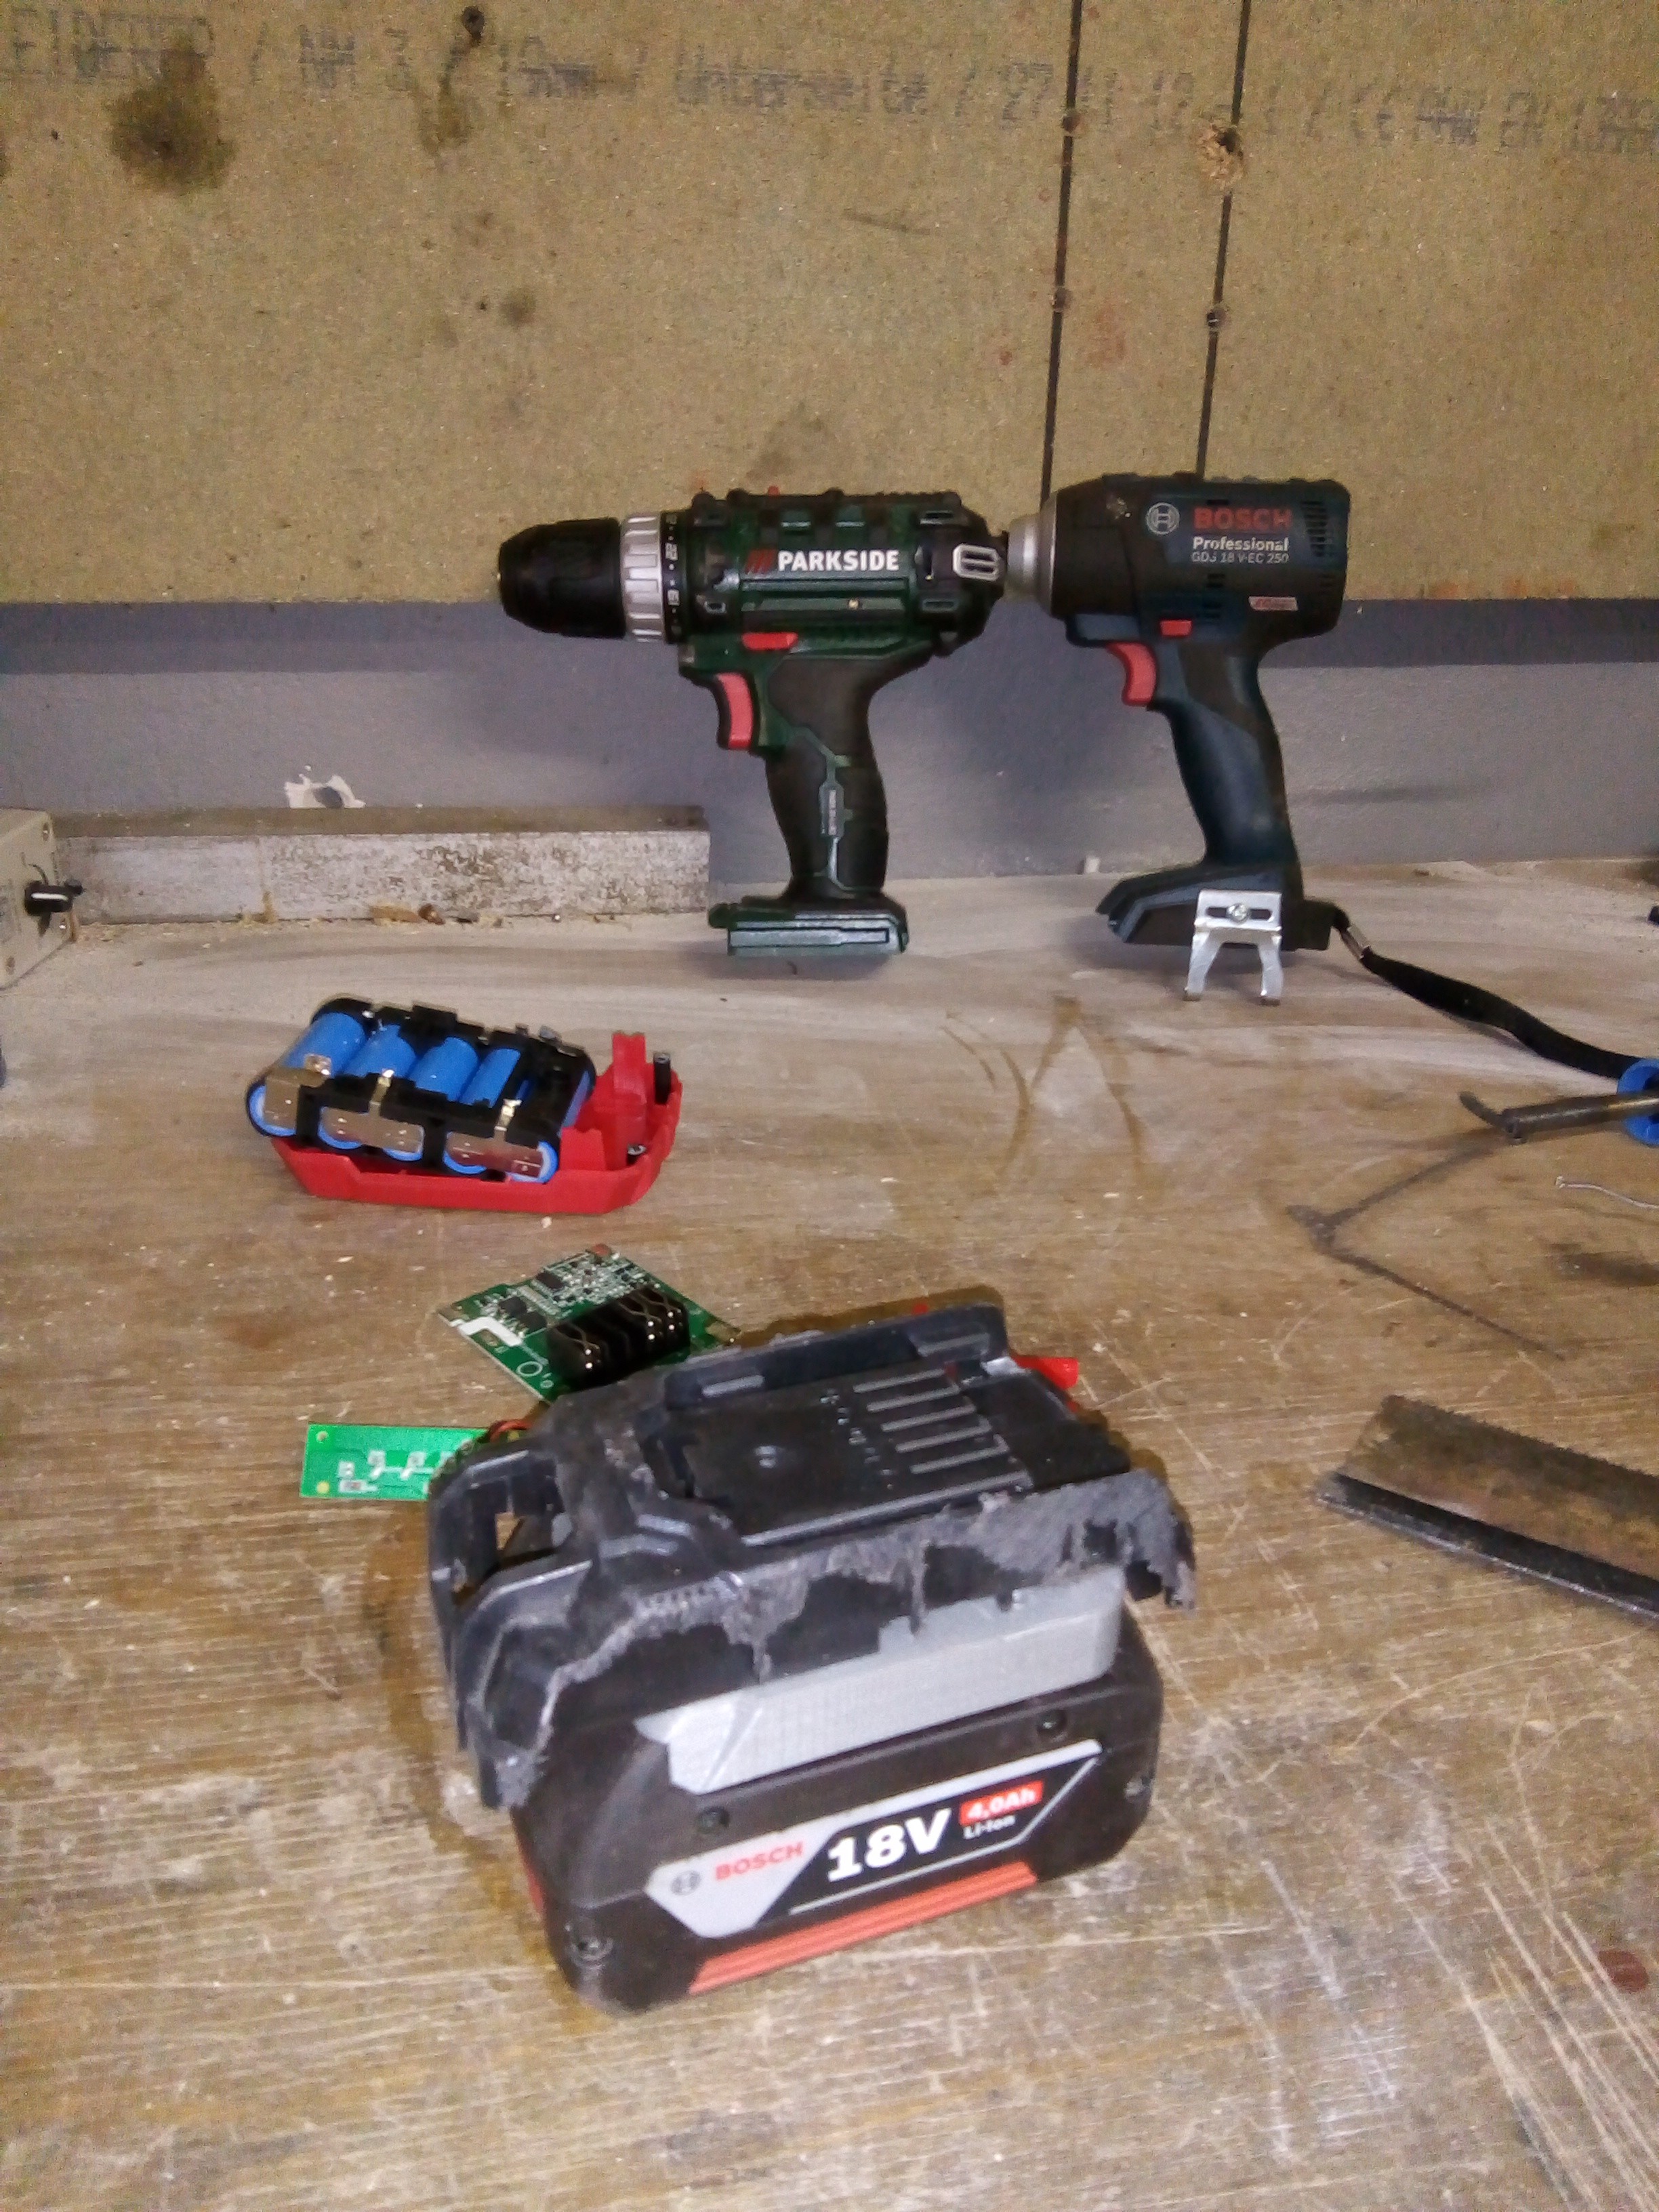
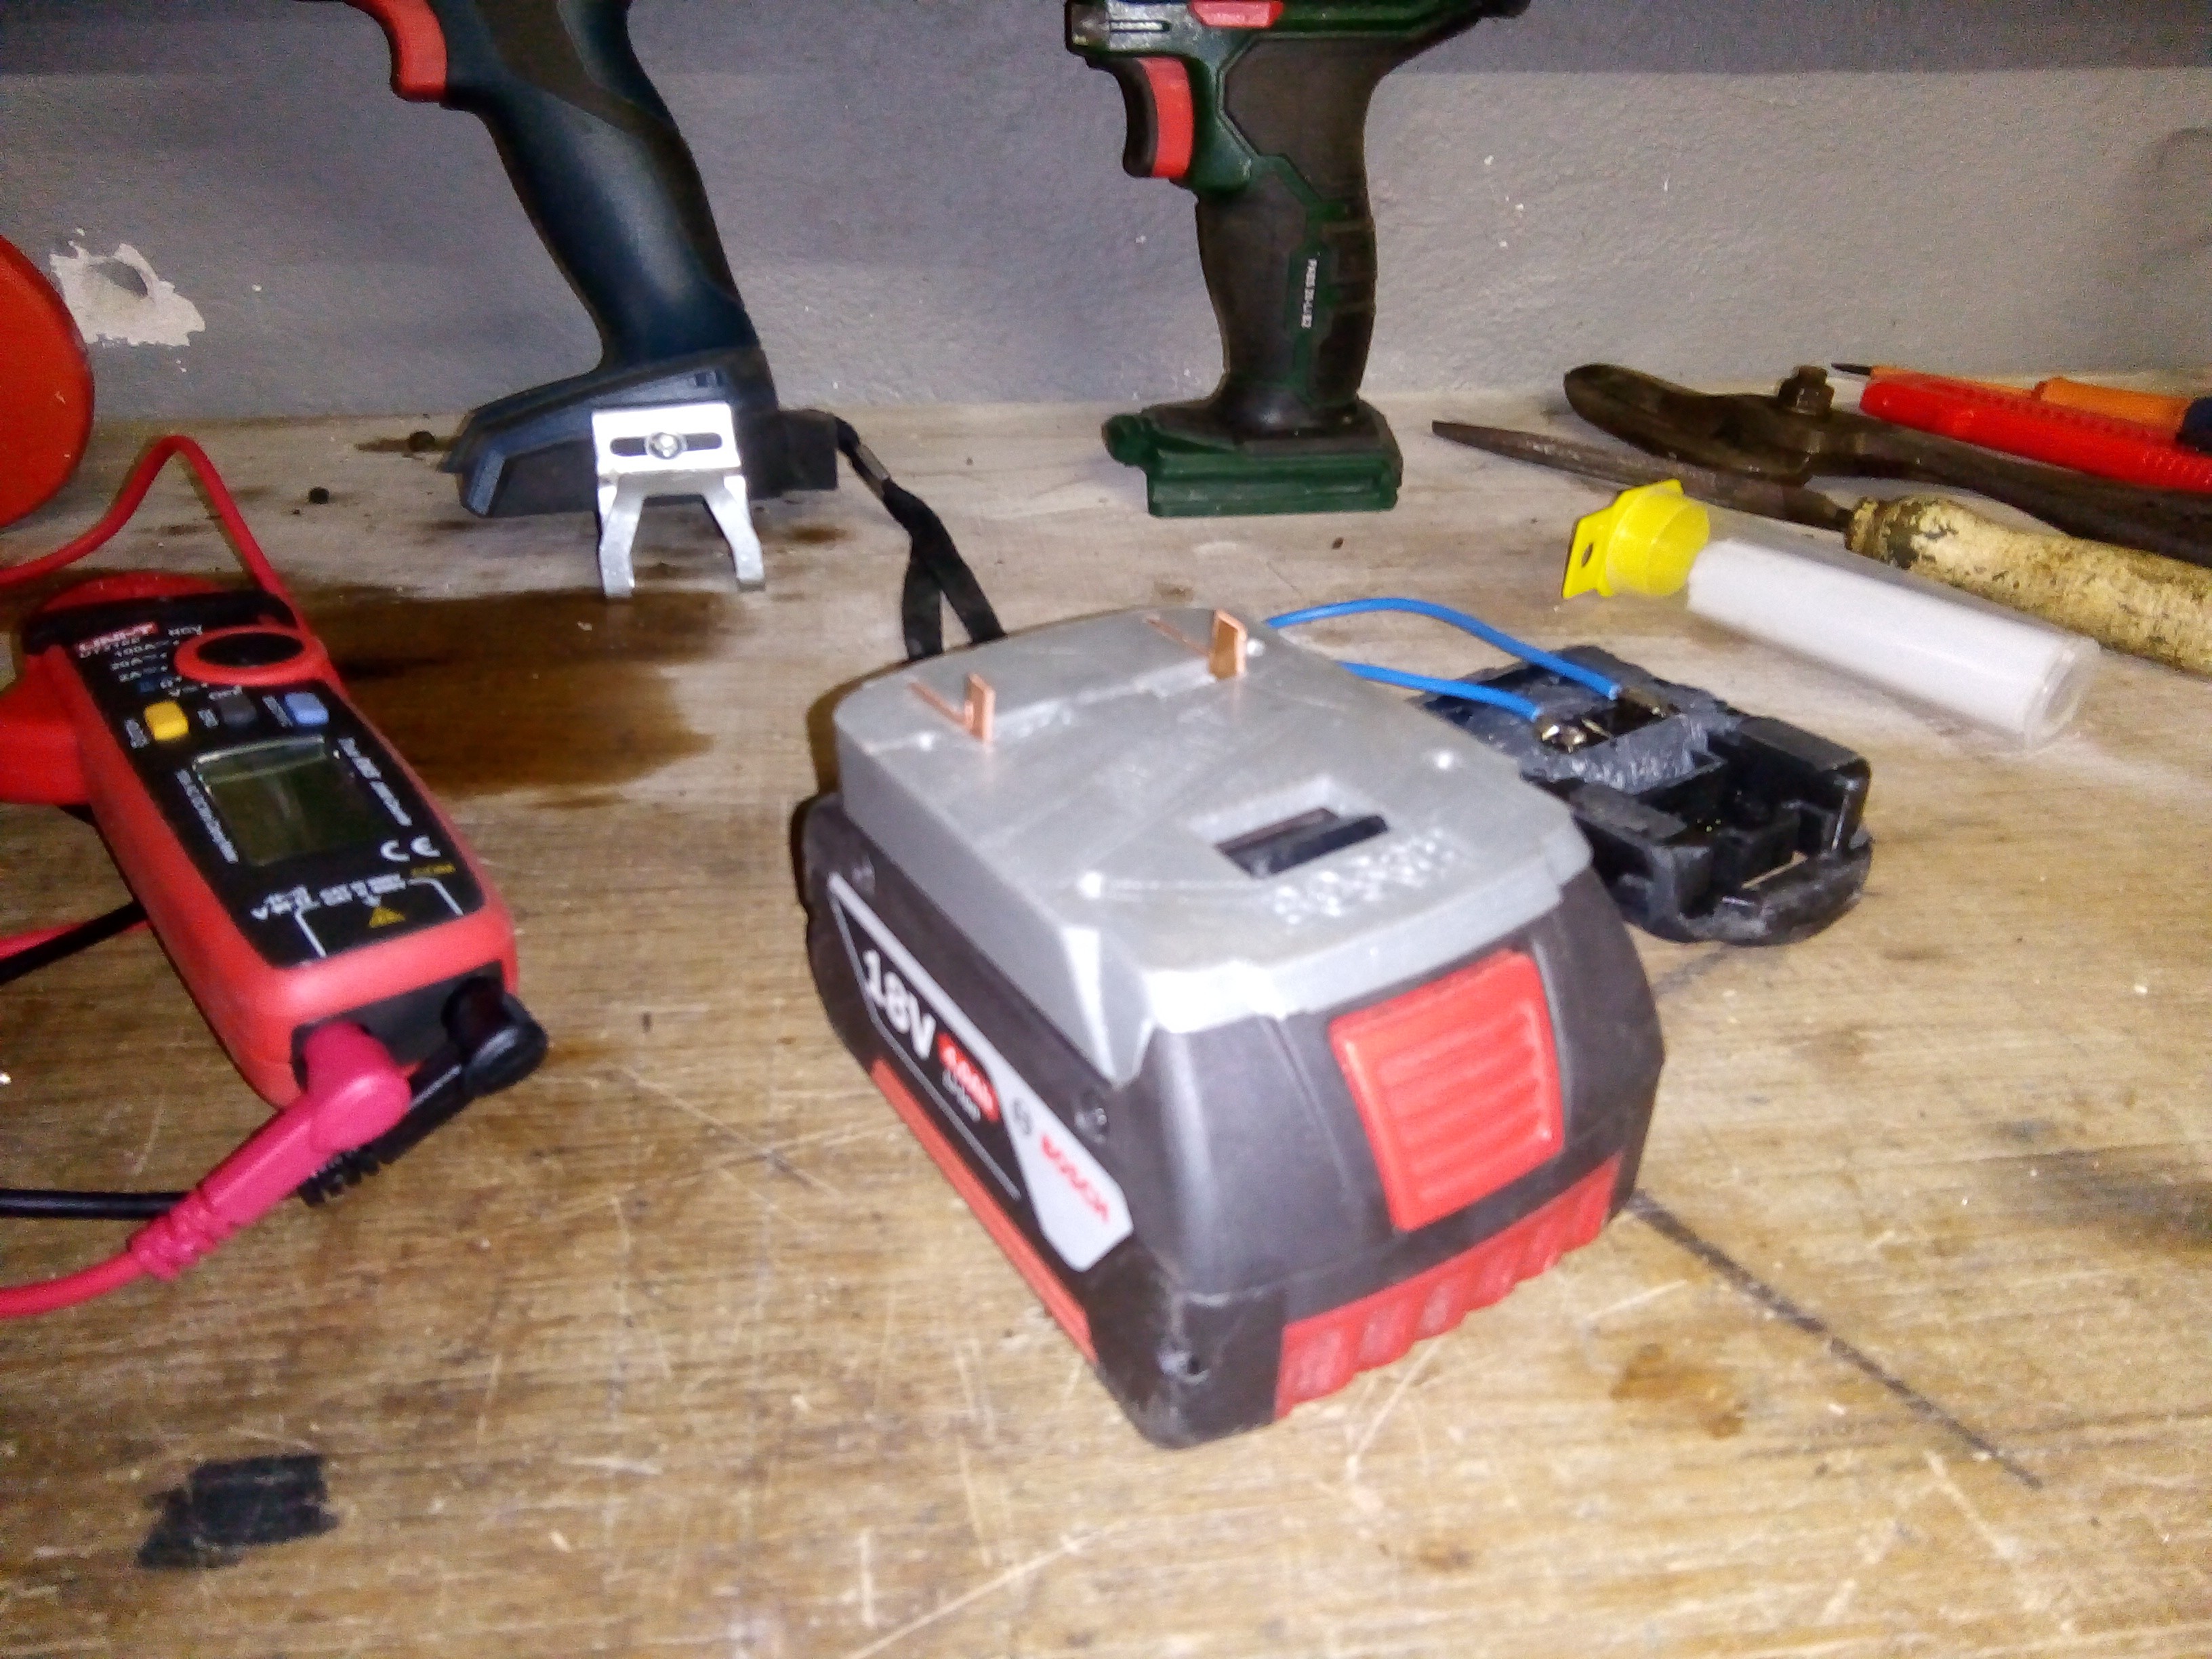
Because I also use Bosch Pro. 18v tools I could make an adapter.

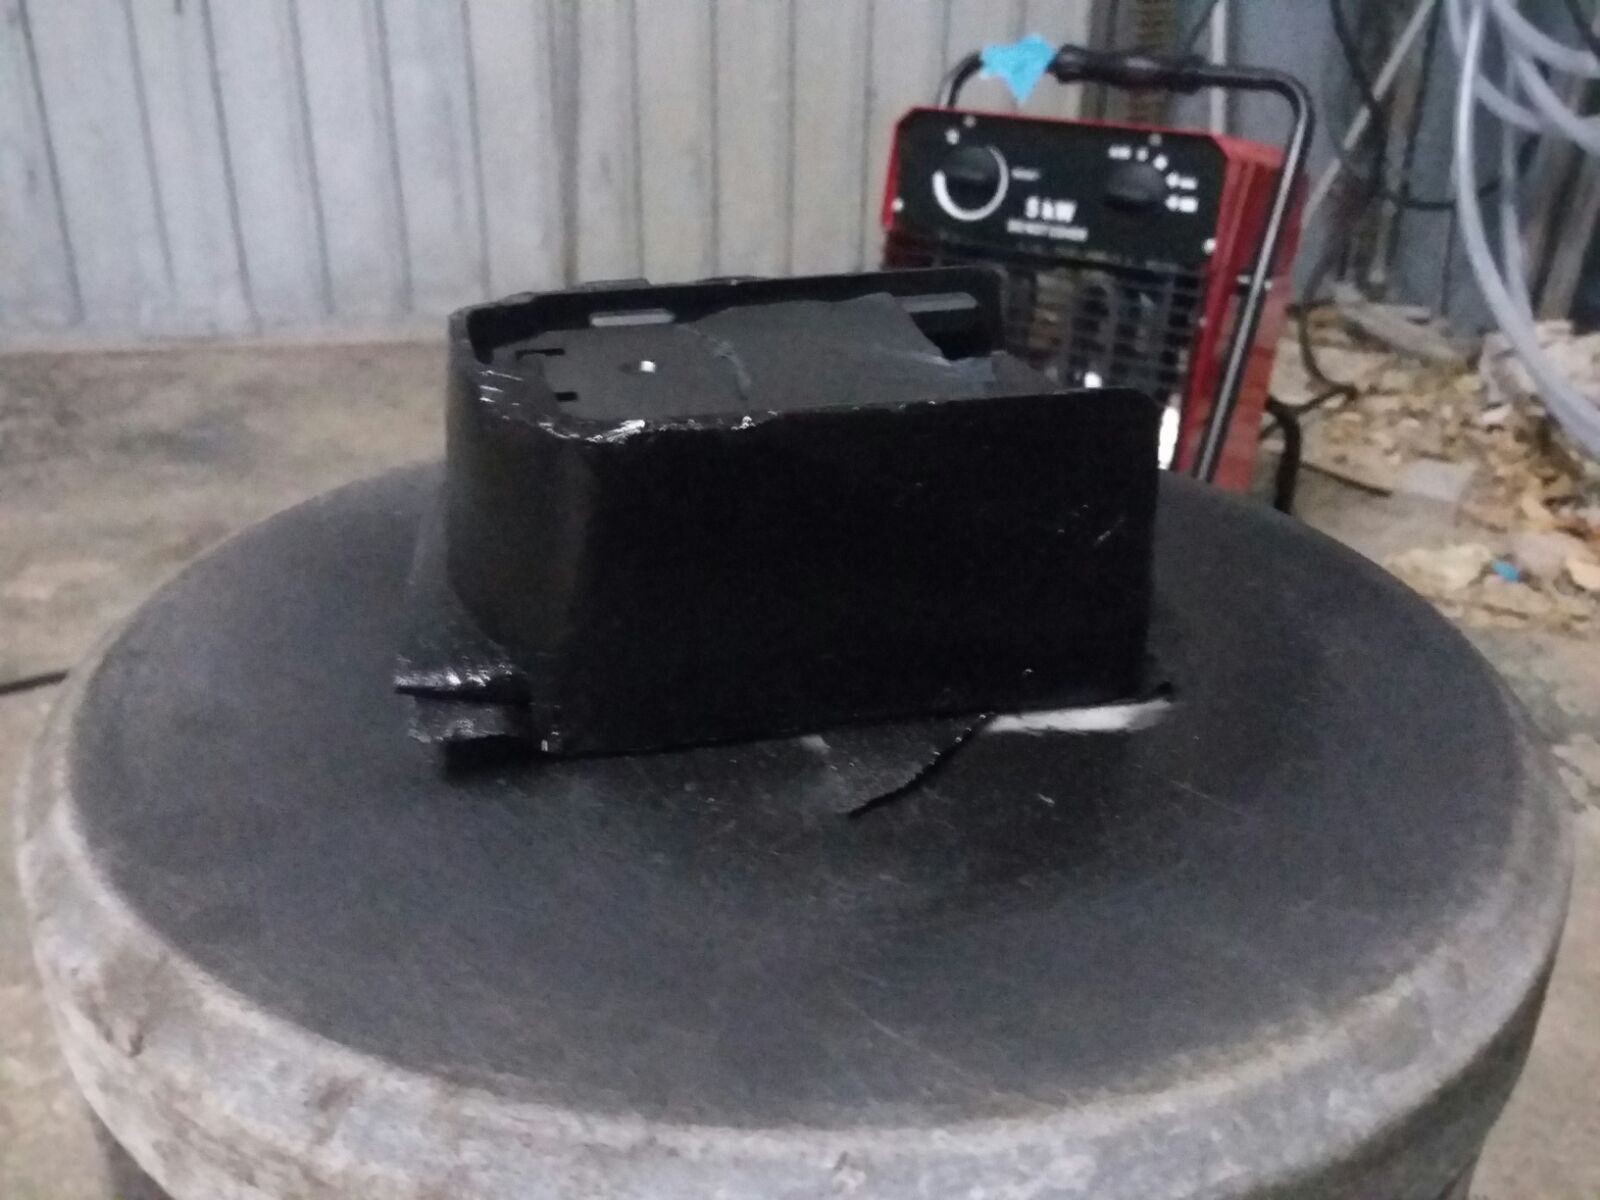
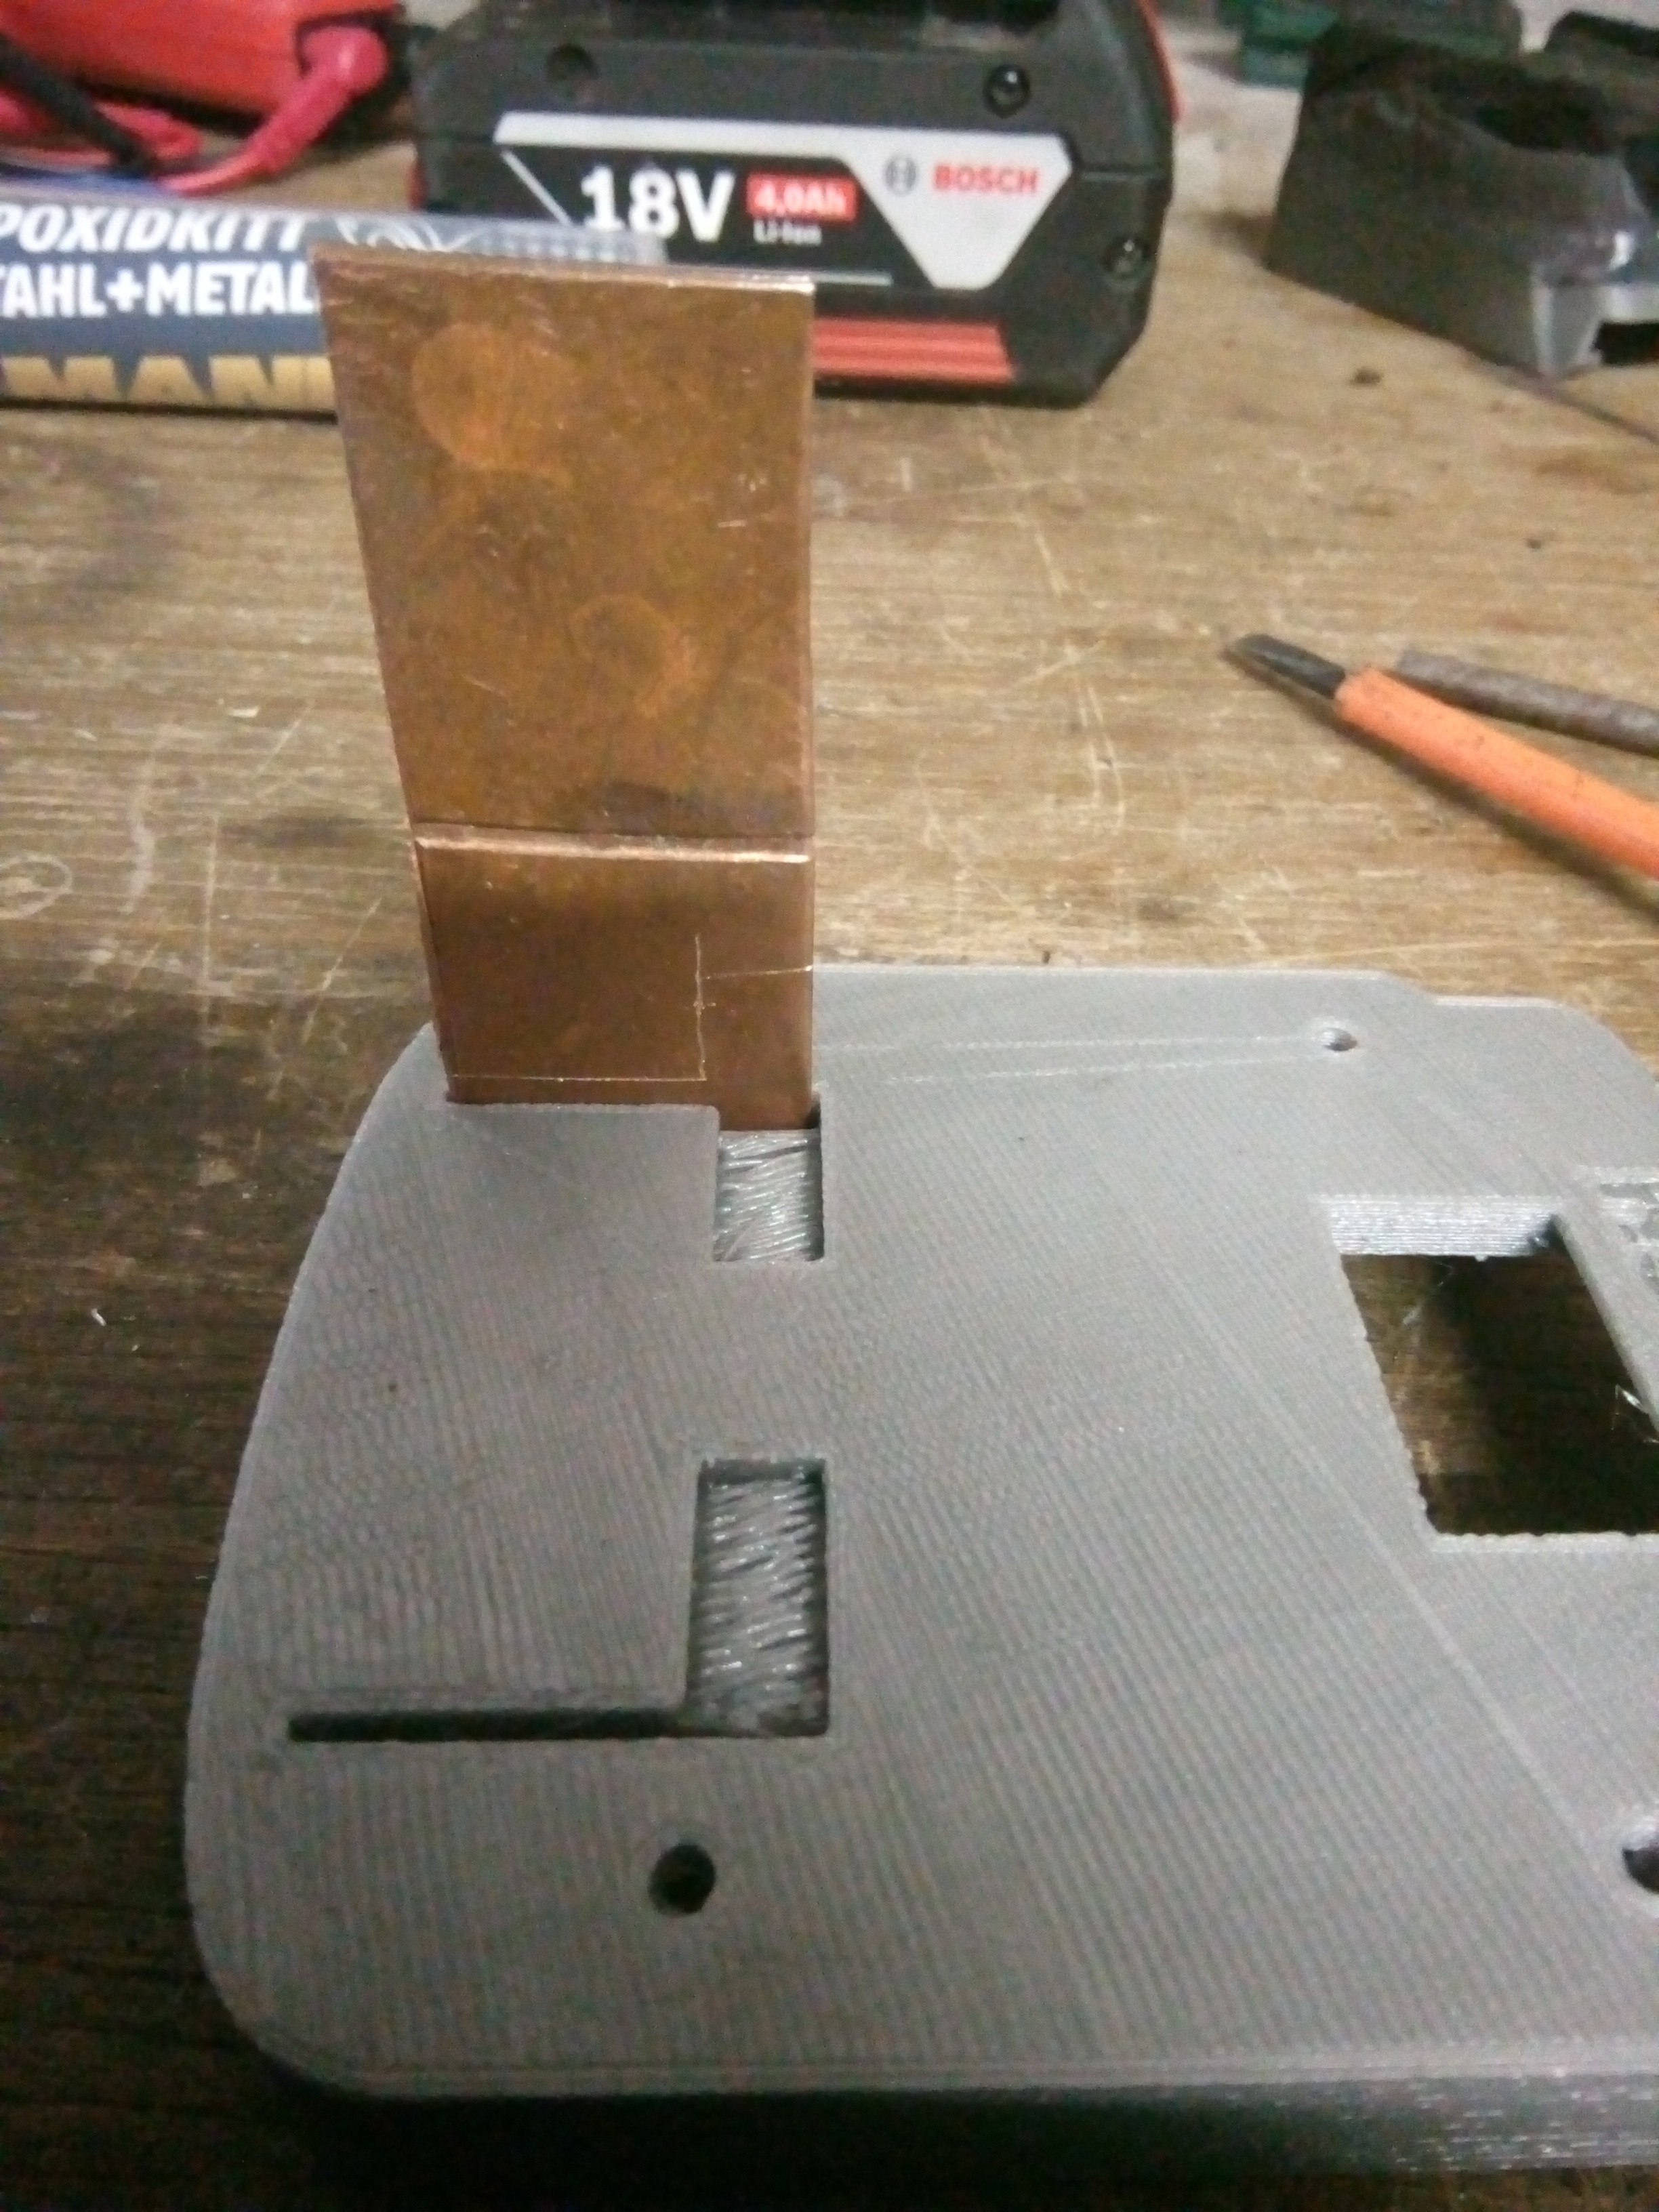
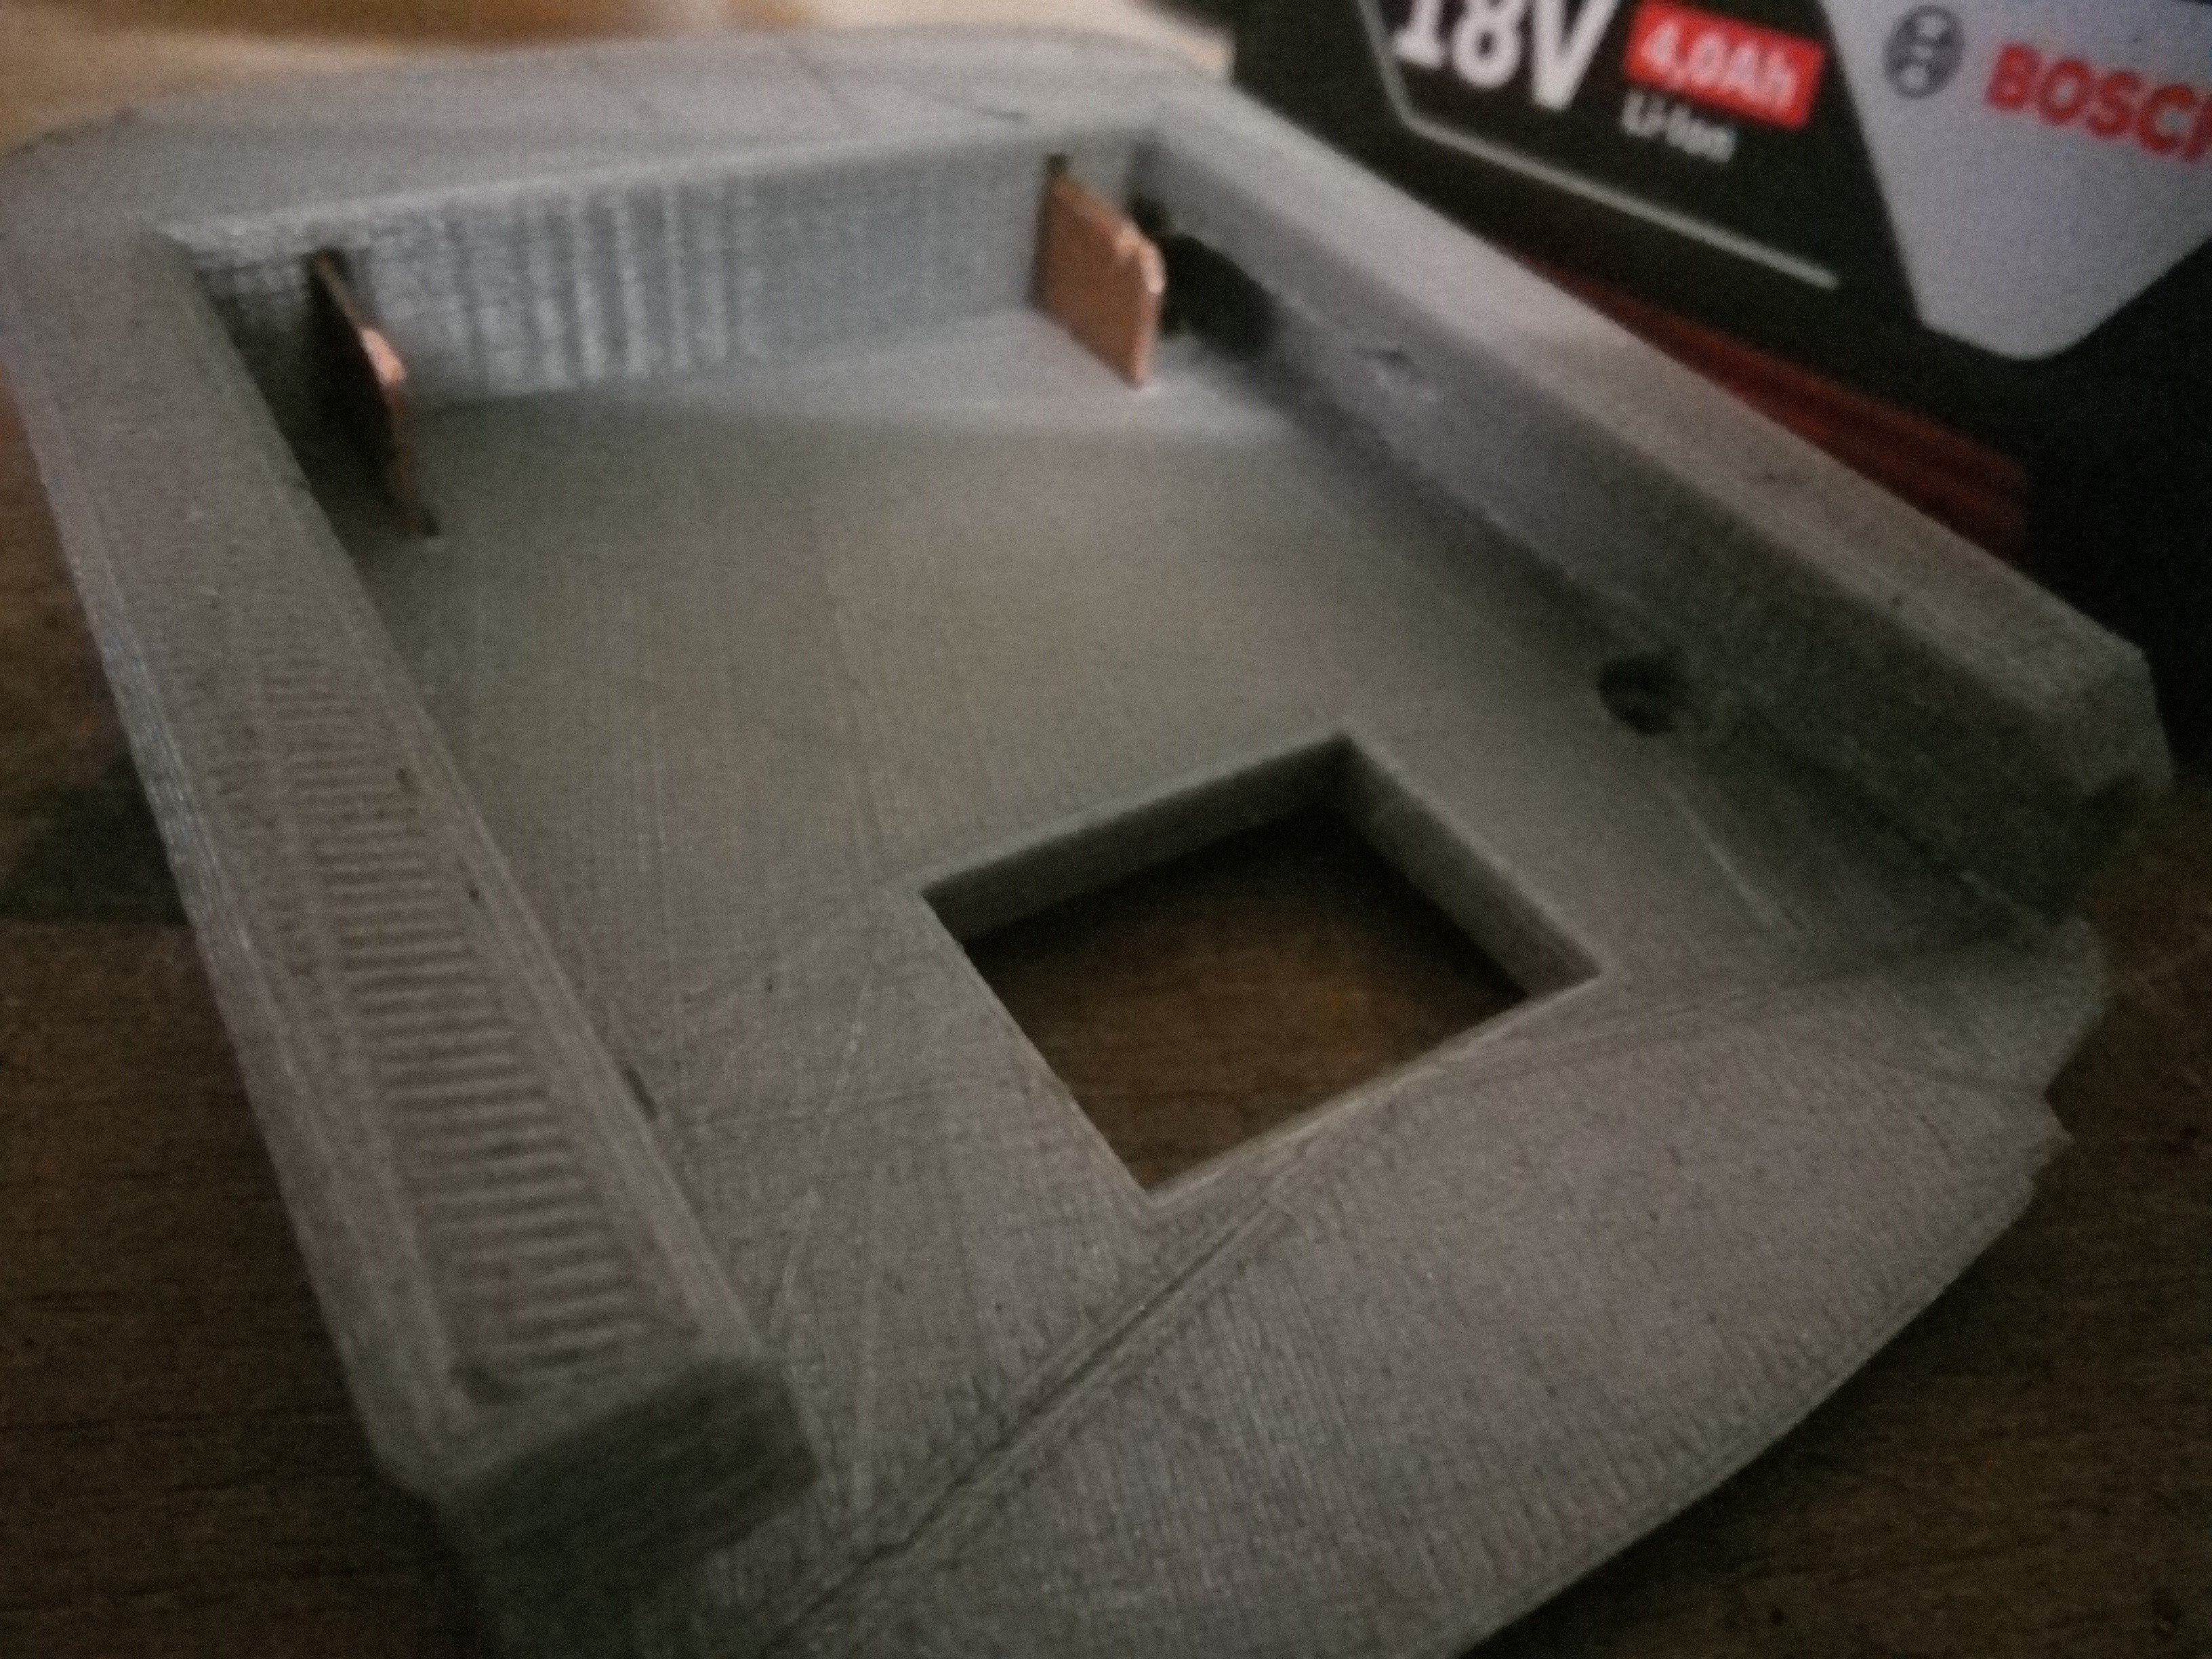
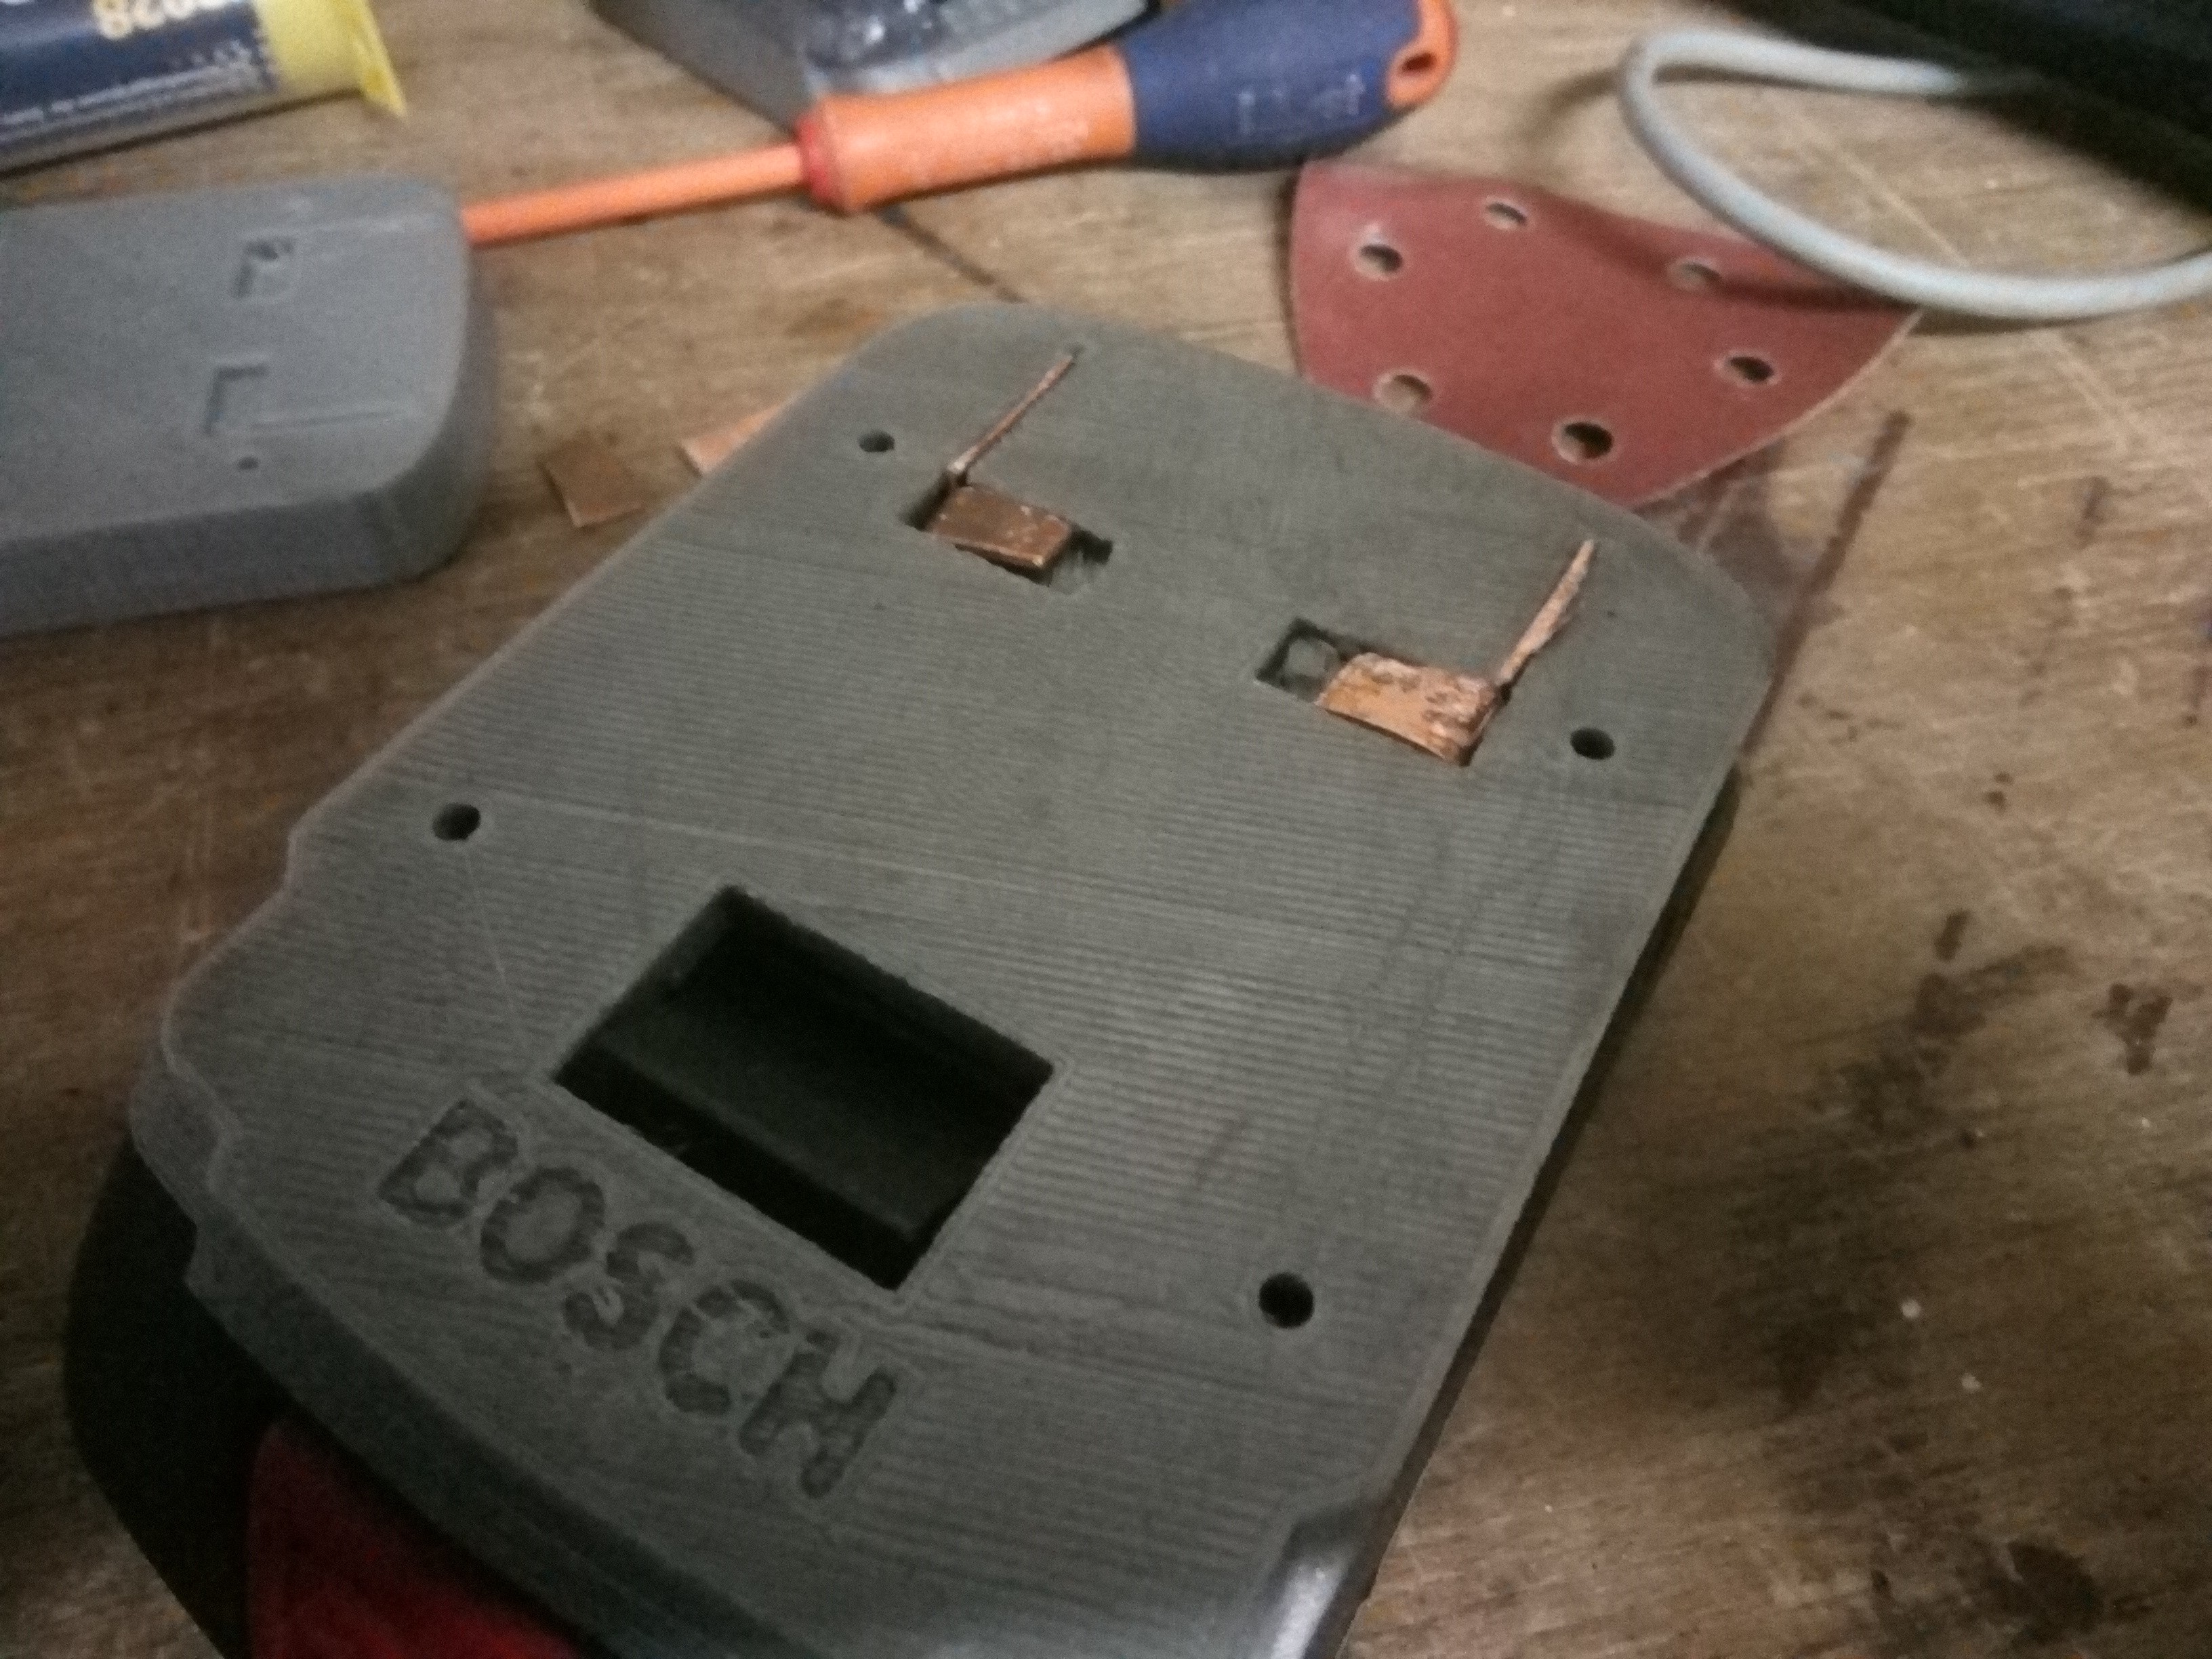
Simhopp's project is to make adapters for the most used drills to interchange batteries. Unfortunately no Parkside model in his library but I found Bosch Pro. 18v batteries socket 3d model. For efficiency matter, I decided to cut the old battery case and glue it to 3d printed part.

Now, Just do it !!!

  • Conclusion

    NPN01/28/2018 at 00:54 0 comments

    Finishing

    I used fiber glass mat and epoxy to make a clean surface. I don't know how the glue will hold up. So over engineer it !

    I sanded it :

    I painted it in black with paint laying around :

    Conclusion :

    My drill is working great, has a bit more torque as far as I remember, and use the same battery as the other tools. It's really great !

    If I had designed the 3D from scratch I could have used just one 3D printed piece, but less work is better.

    Quid of the project 4€ for the glue, the rest was laying around in the workshop.

  • Meeting in the middle

    NPN01/28/2018 at 00:38 0 comments

    This time we'll assemble both parts.

    Before soldering check the polarity ! 

    In my case reversed from Bosch to Parkside : (see the wires crossed)

    If the polarities are not on the same side it will need some electrical insulation :

    Place glue and let it cure :

    First test : 

    it's a WIN !

  • The Parkside side

    NPN01/28/2018 at 00:27 0 comments

    It's time to release your anger ! 

    Open the old battery (I had screws). ACT WITH CARE : the battery, even weak, has some energy left and could arc with a watch, ring, bracelet ... and burn you.


    Fit test :

    Hack it up! : 

    I cut the edges keeping the electrical connector interface.

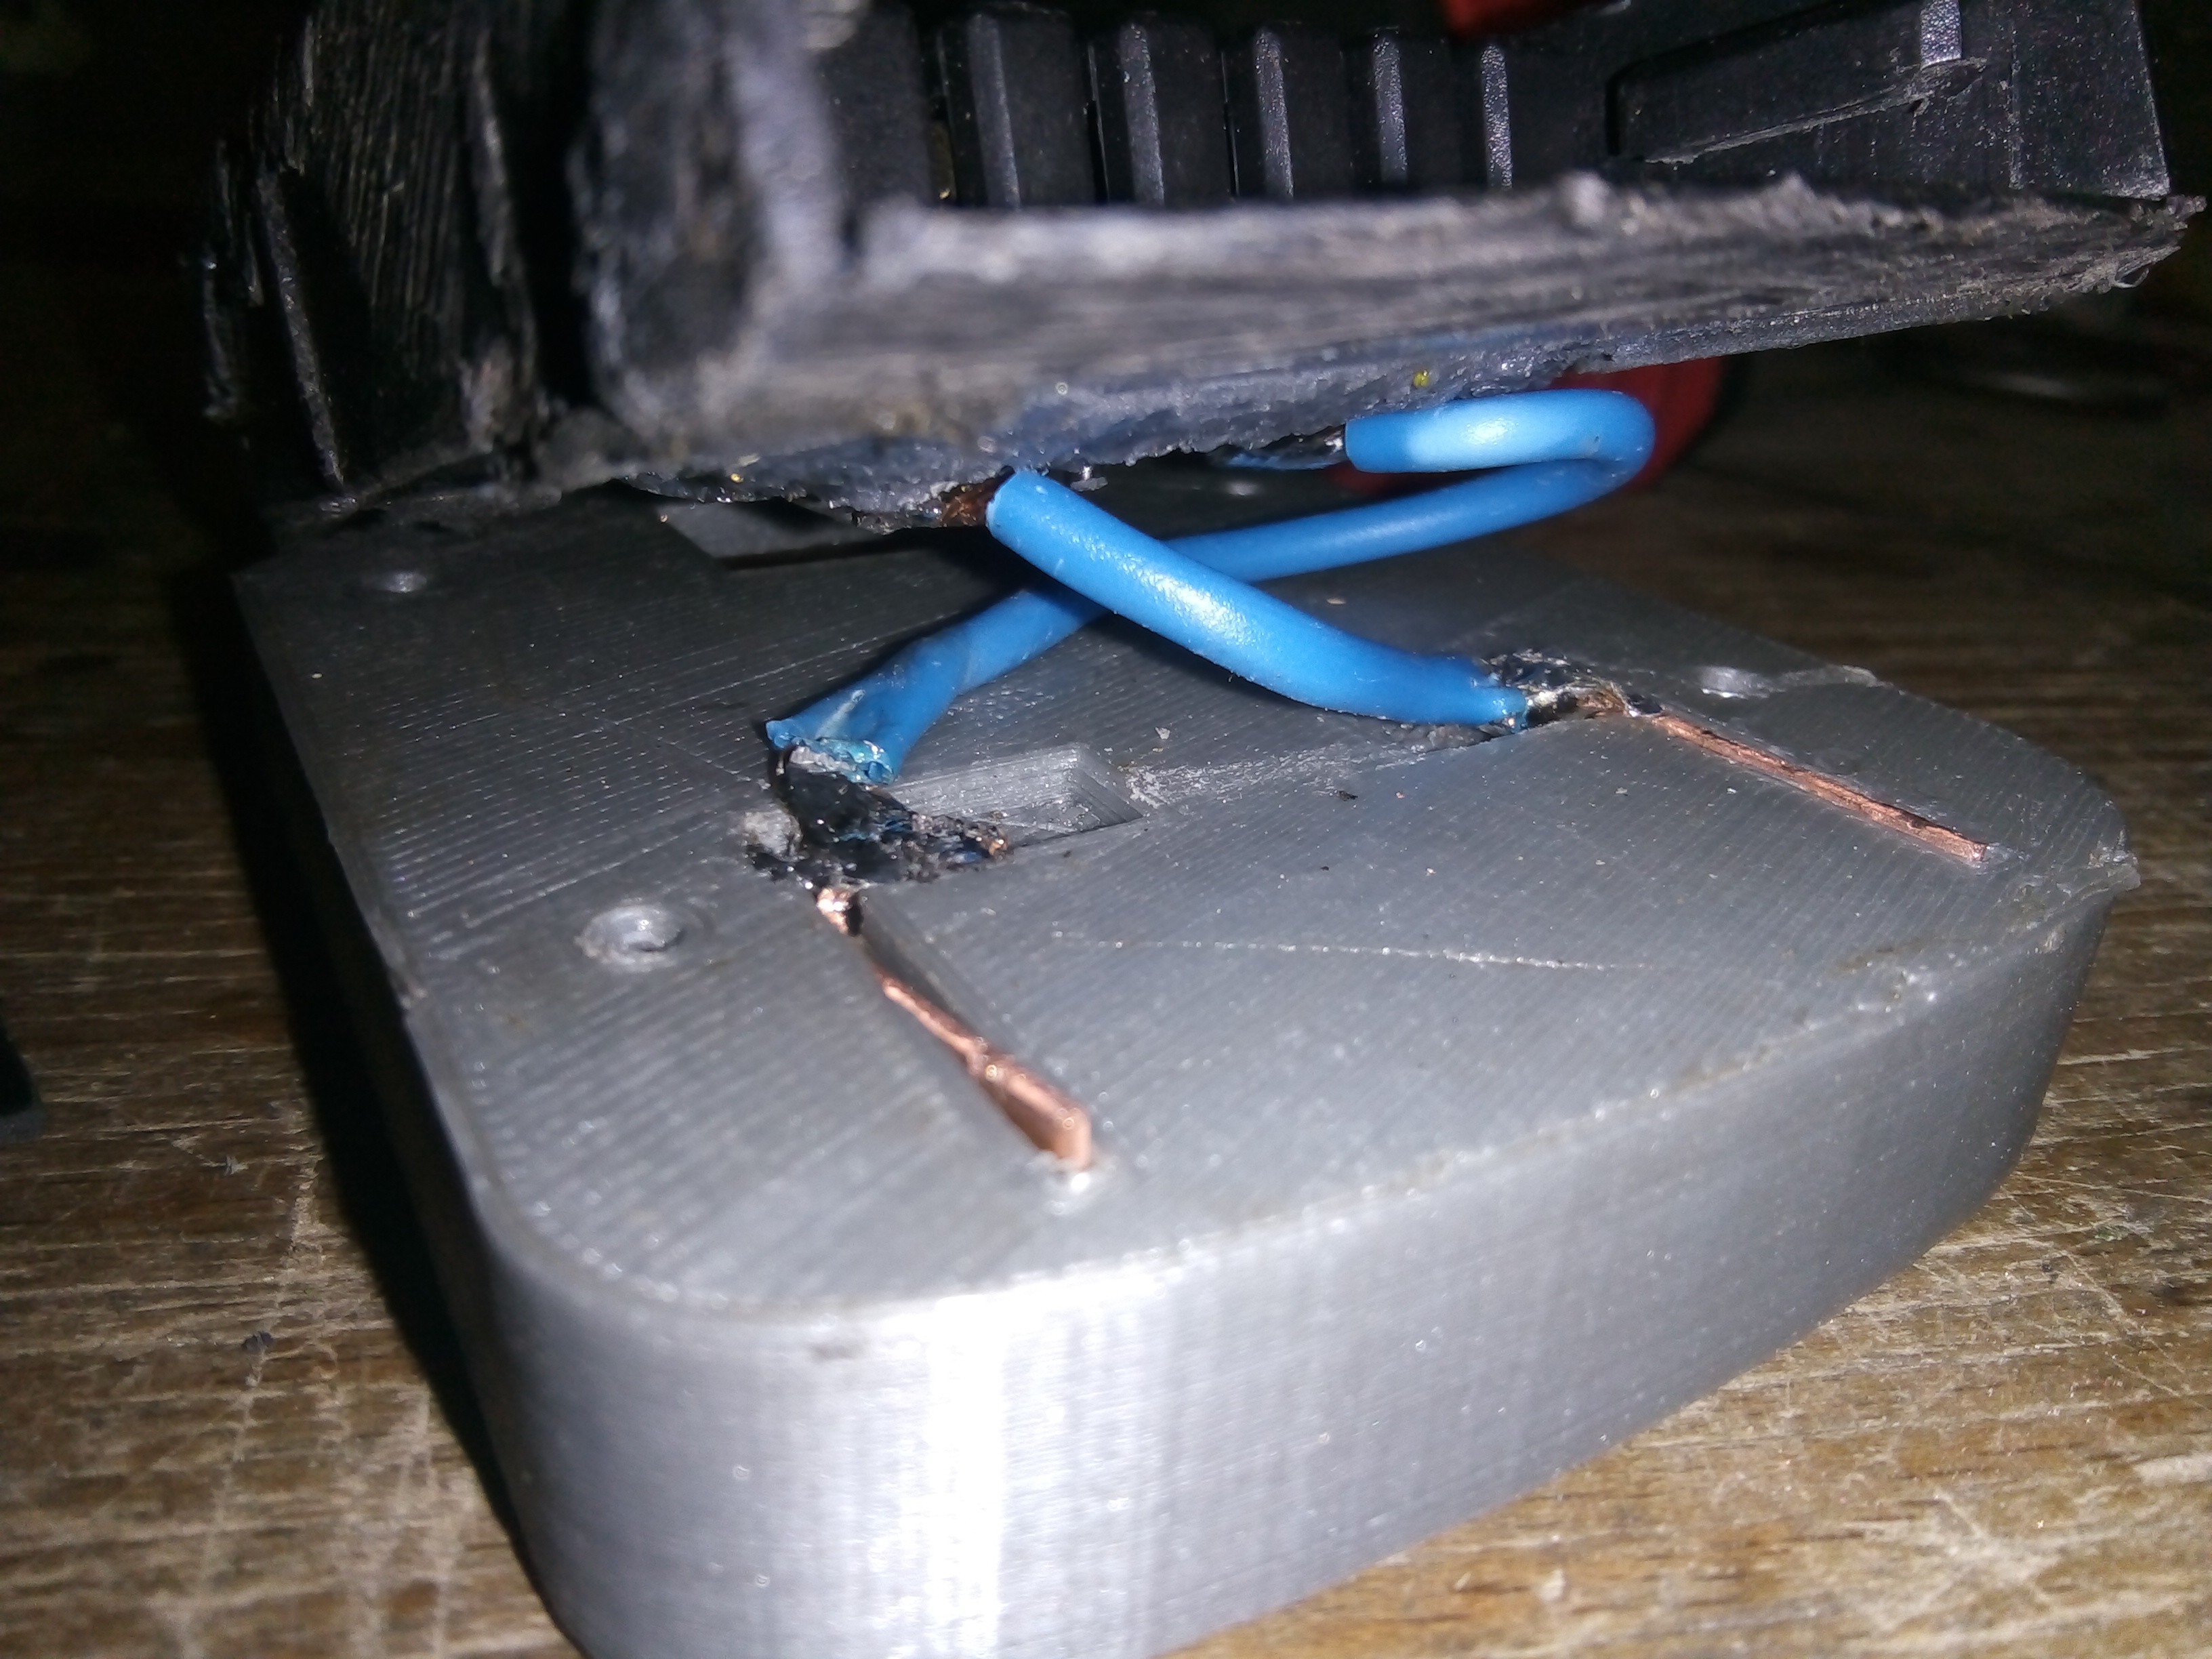
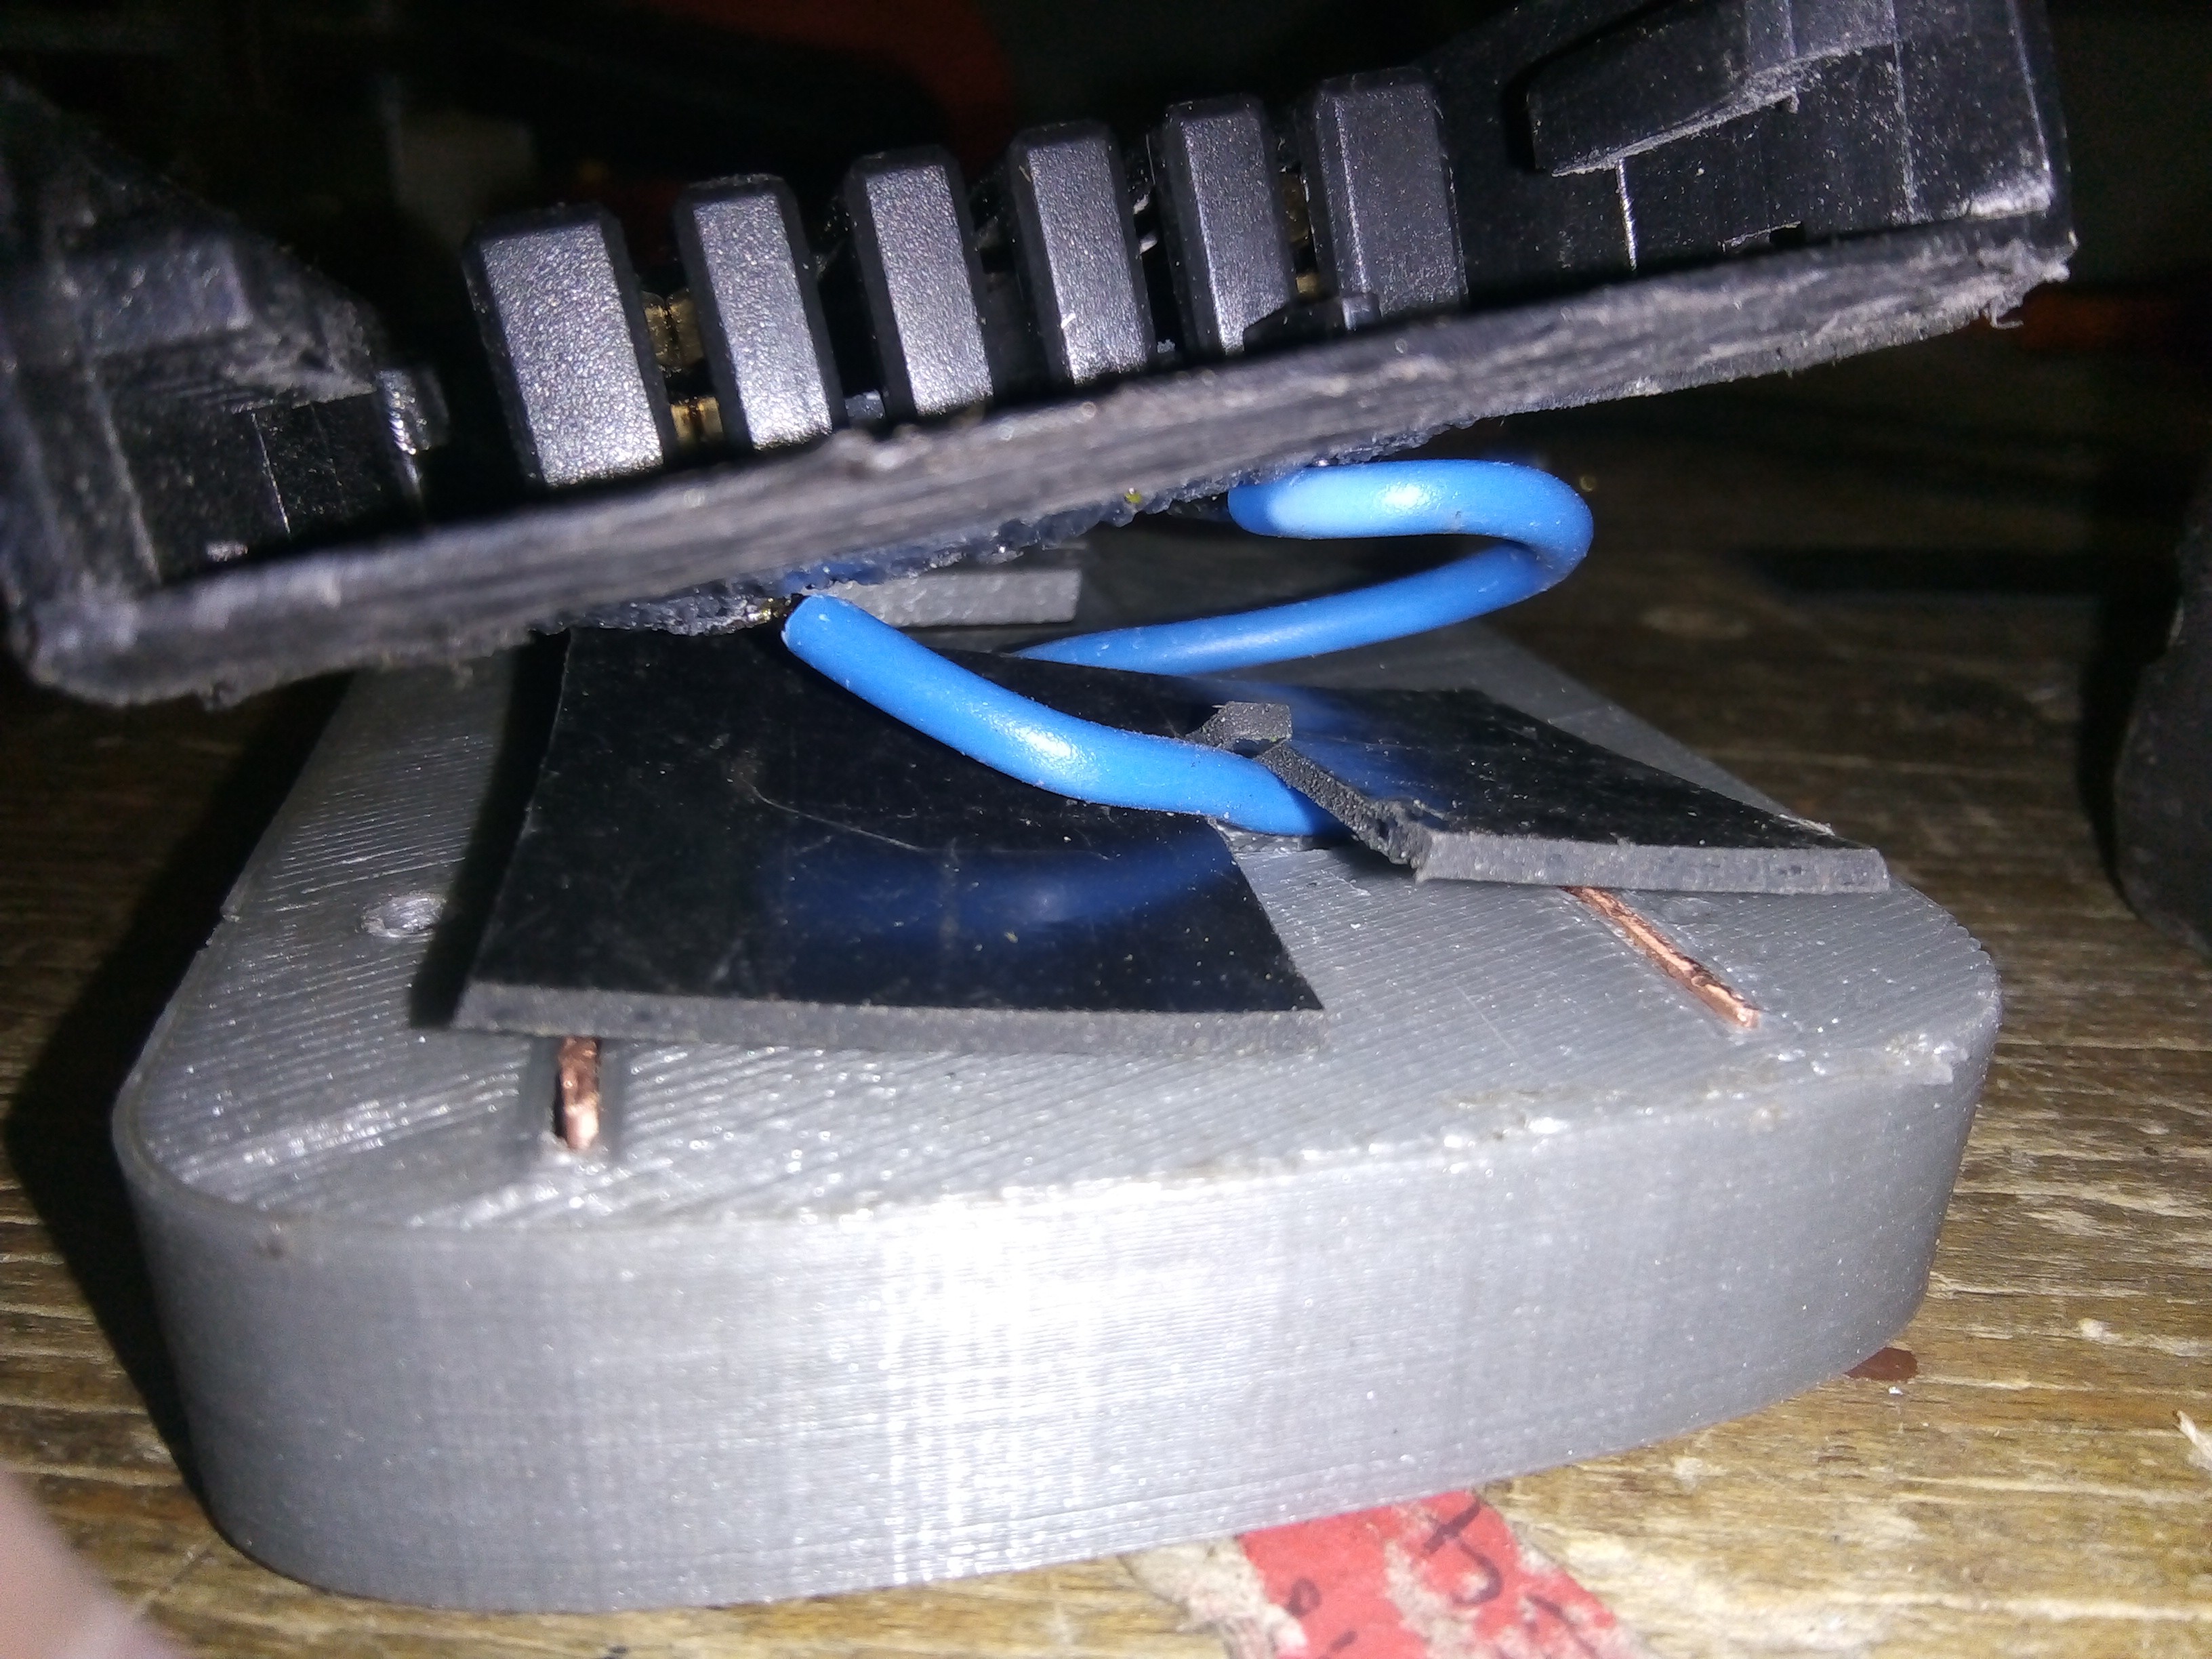
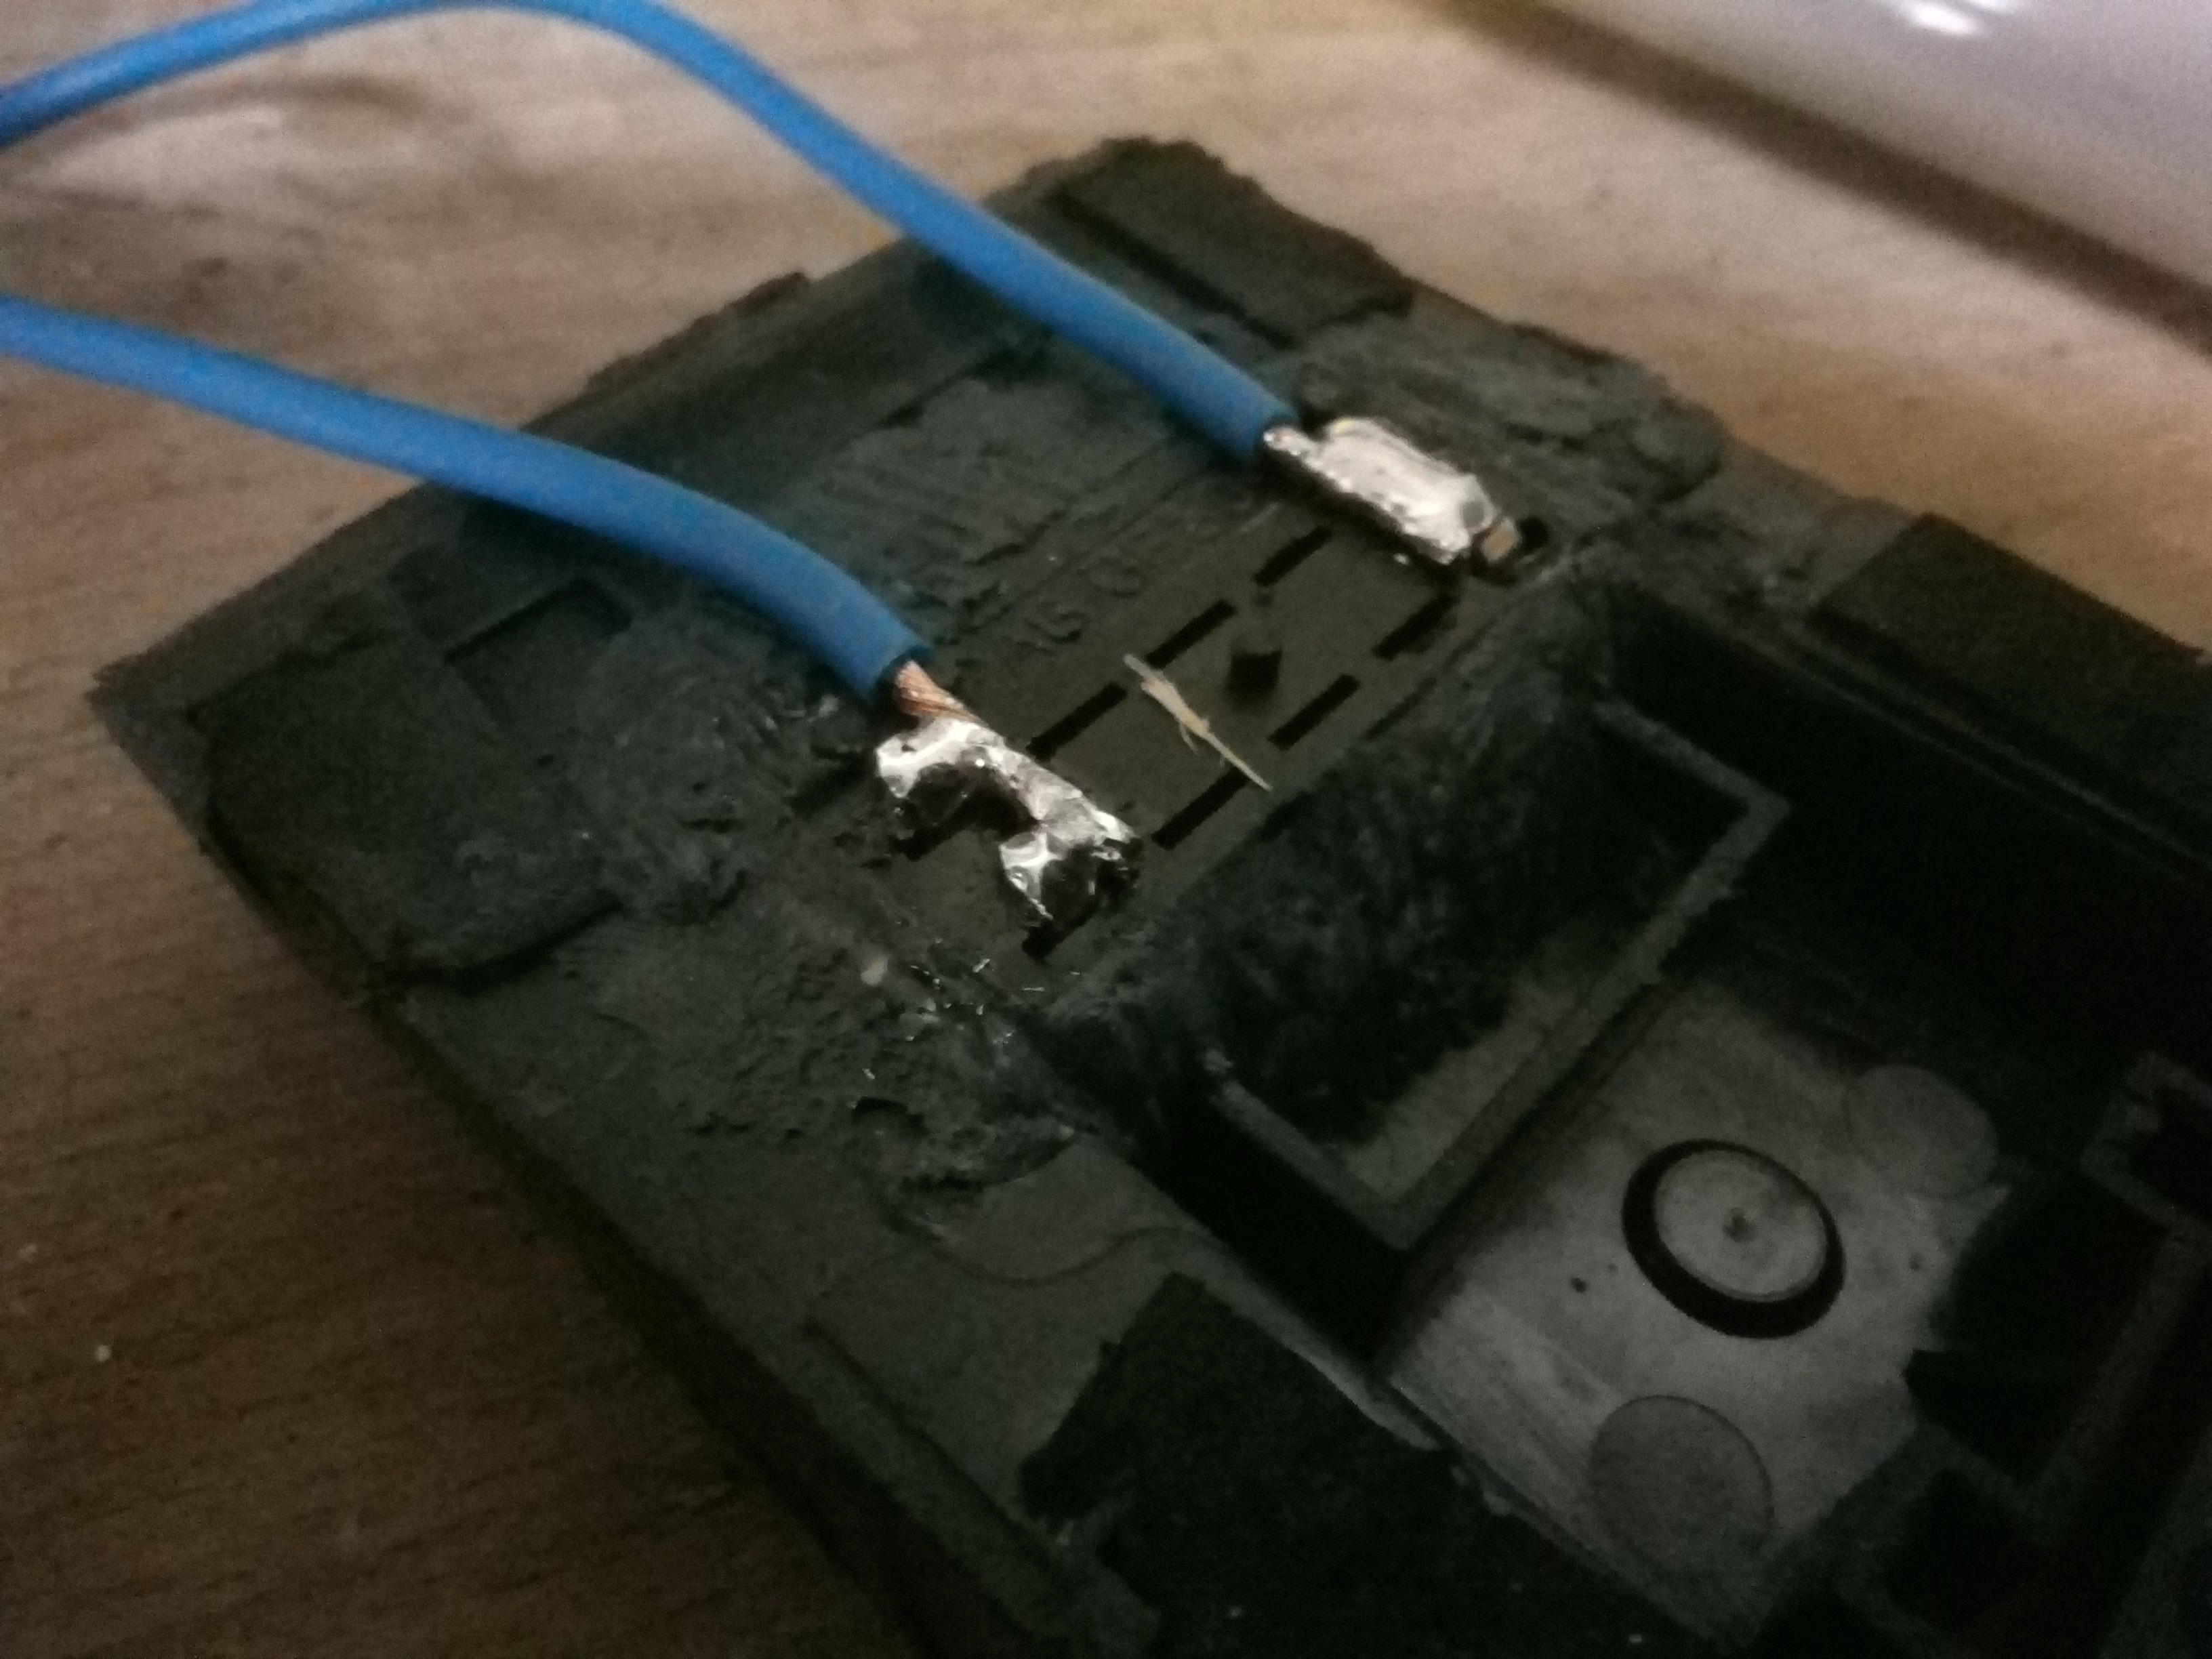
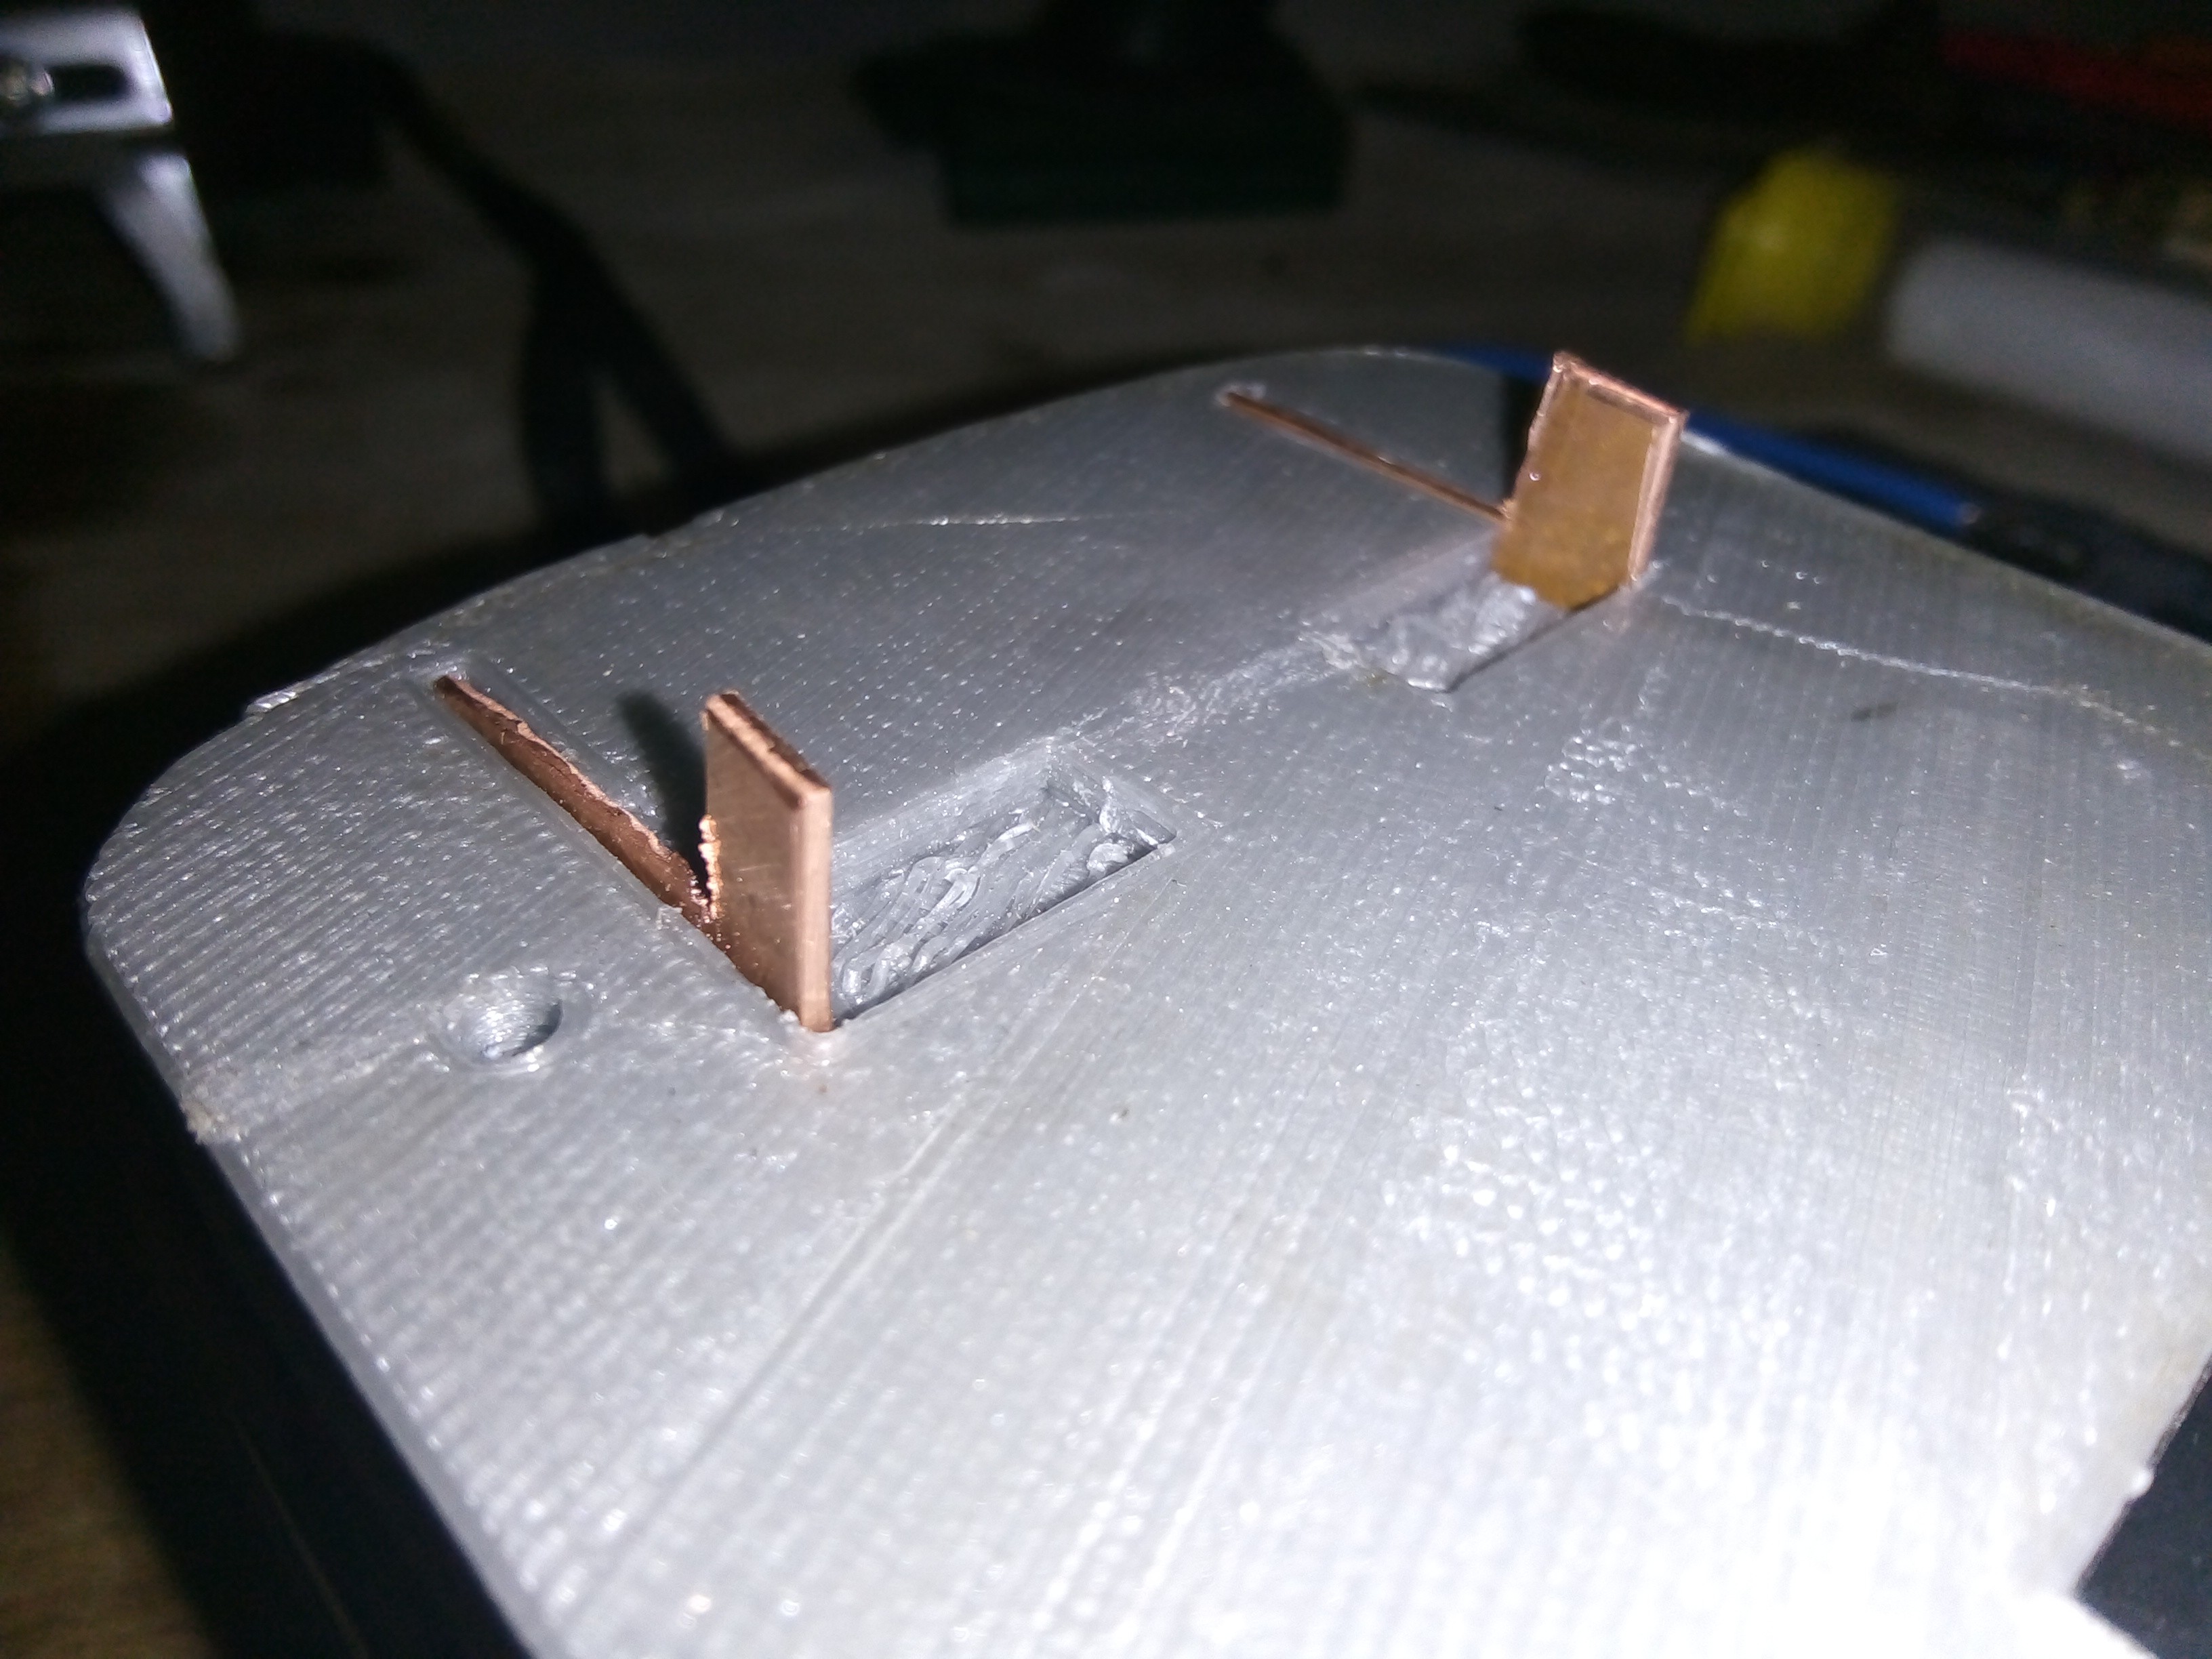
    In my case the connector was soldered to the board (the black piece on the PCB), so I de-soldered the board from the cells and then de-soldered the connector from the board's underside :
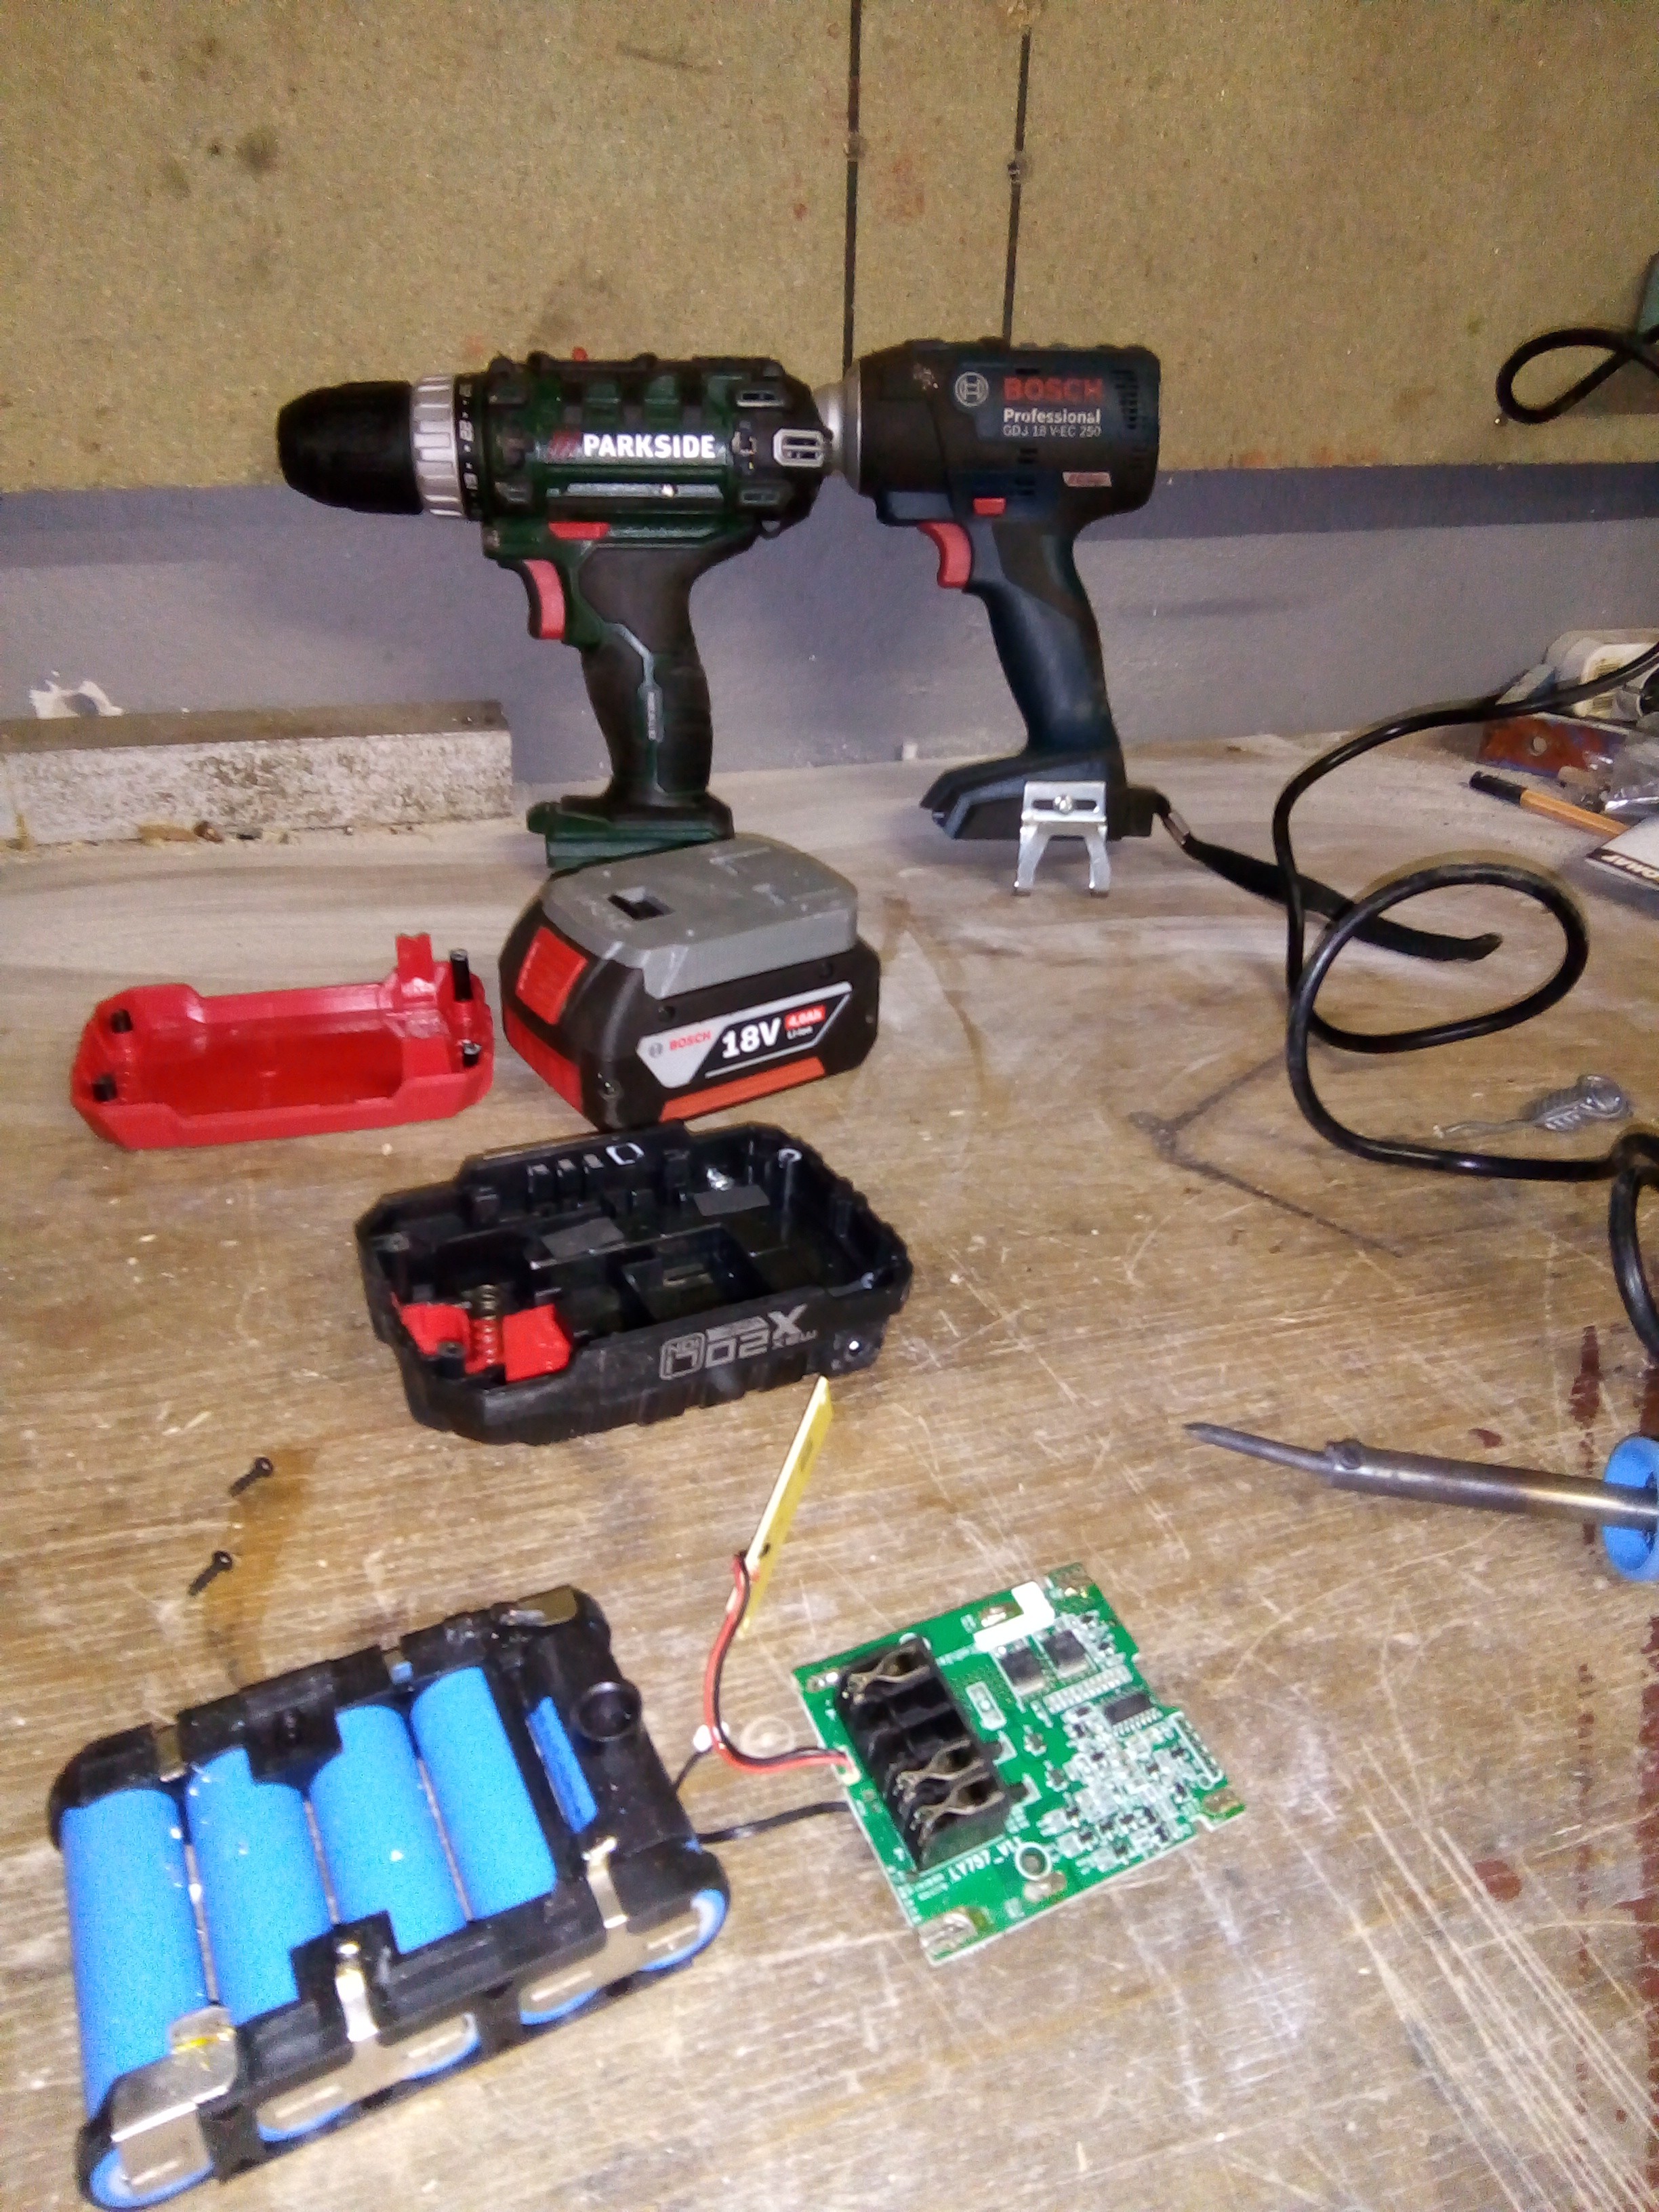
    Glue the connector to the case and solder wires ;

    We are done here ! Next comes the assembly.

  • The Bosch side

    NPN01/28/2018 at 00:01 0 comments

    Thanks to Simhopp : https://www.thingiverse.com/thing:1815758.

    I printed the Bosch Pro 18v battery socket with my RepRap Emotion µDelta.

    Printing parameters : 95% infill at 50mm/s, 0.2mm layer height and support.

    Then make the electrical connection : 

    The pads are made from a flattened copper plumbing tube with a thickness of 2mm. It will most certainly corrode so remember to later use electrical grease on the pads.

    Cut a piece that will fit tightly in the gap then mark the piece with the line you need to cut :

    Cut following the lines (hacksaw would also work) :

    Install them in the groove :

    Test the voltage between connectors with a voltmeter :

    Bend the tabs flush :

    Electrical connectors are in place, socket is ready for soldering.

View all 4 project logs

  • 1
    3D print

    PLA 0.2mm layer height. Infill 95%.

    https://www.thingiverse.com/thing:1815758

  • 2
    Socket pads

    Shape the pads and install them in the battery socket.

  • 3
    Battery connector

    Glue the battery connector to the battery case.

View all 7 instructions

Enjoy this project?

Share

Discussions

Similar Projects

Does this project spark your interest?

Become a member to follow this project and never miss any updates