The first step was finding some pictures of a computer to know how the keys should look. One of the best places to look for MSX stuff is MSX.org where I could find some pictures of the PV-16.
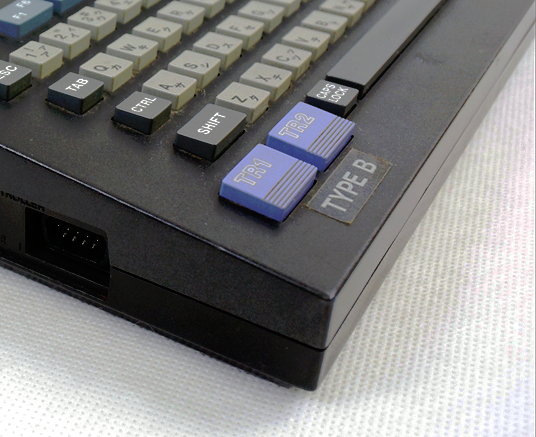
Knowing how the keys should look I took some measurements and designed the keys using sketchup
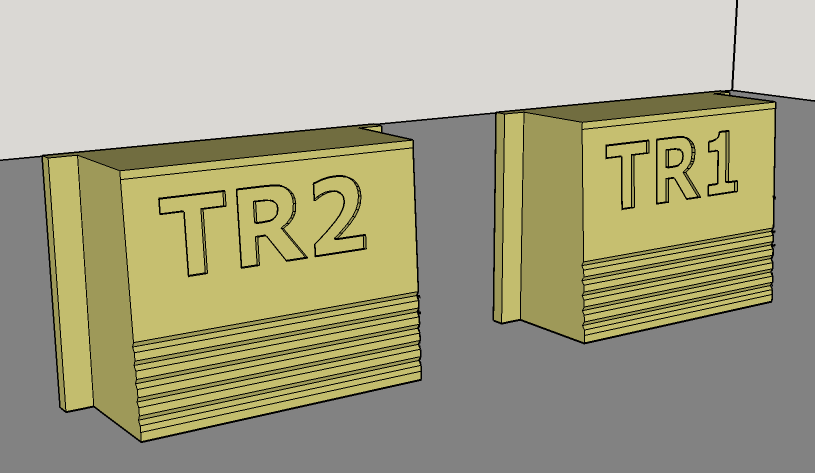
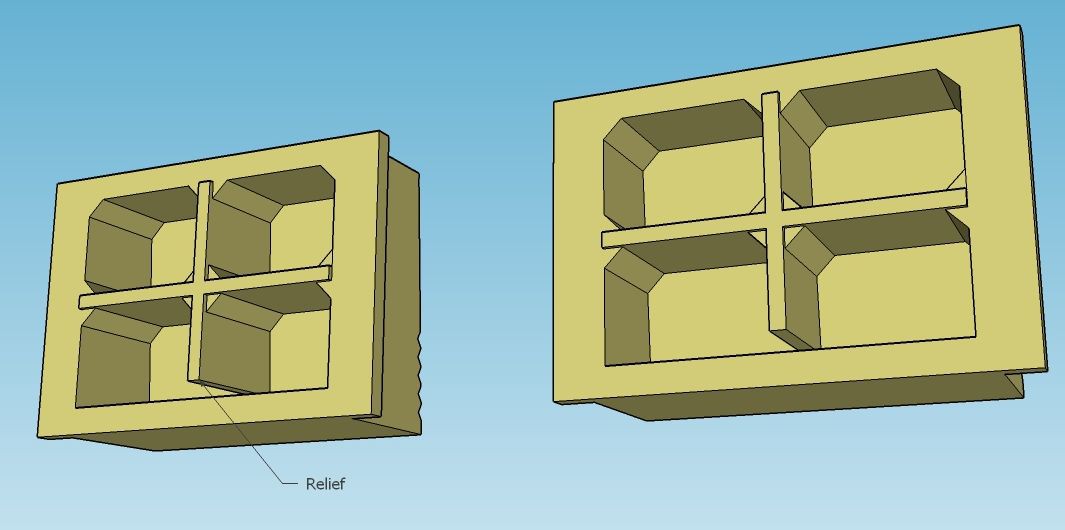
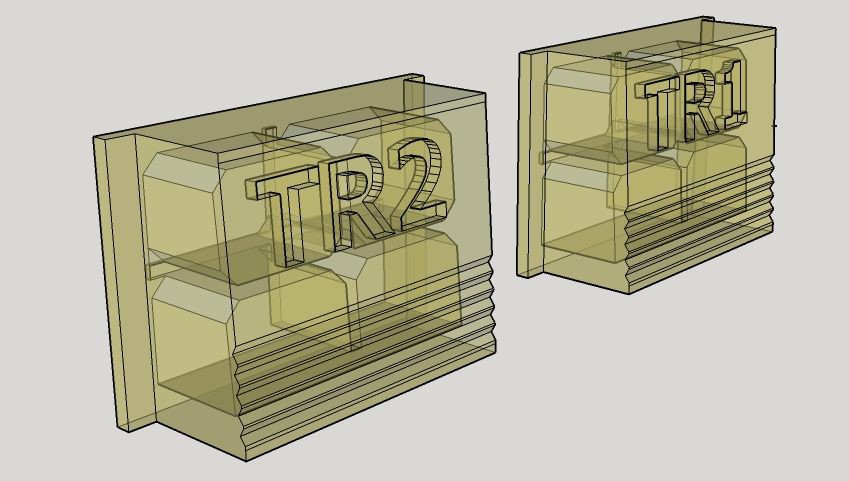
The Keys have been modelled taking the other keys as a reference, with a cross pattern to activate the rubber button underneath and a relief on the lower side
My friend Flames has a 3d printer and printed the first experimental keys
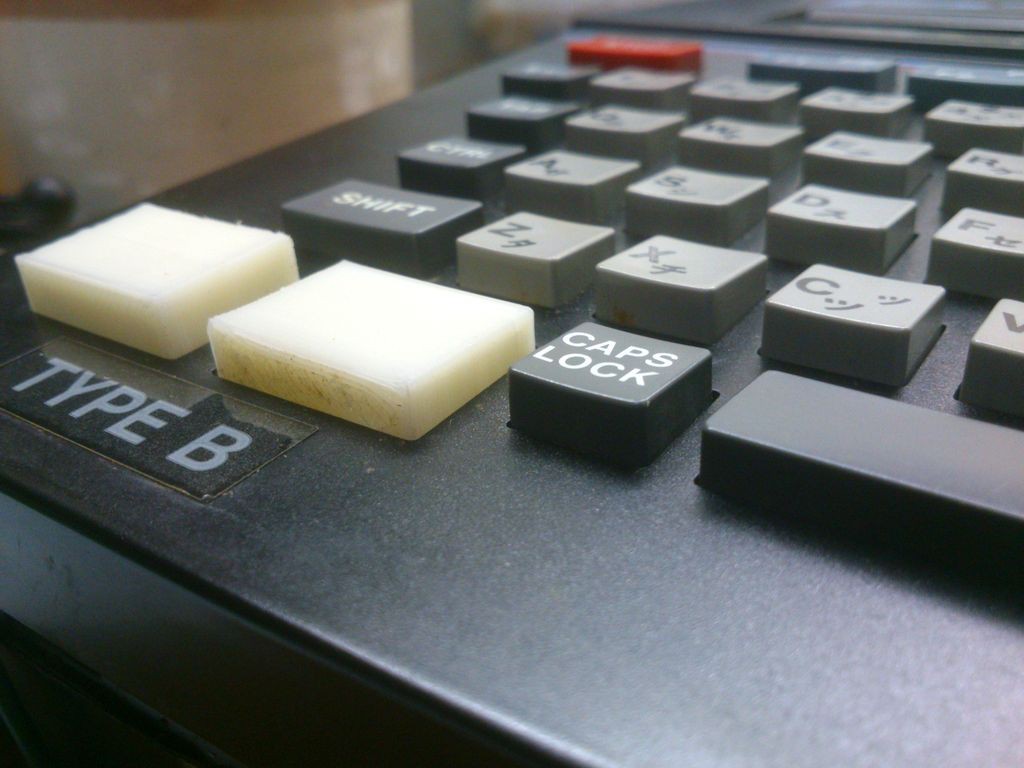
as it can be seen on the photo the surface of the keys was not very smooth and it sometimes prevented the keys to be pressed properly and often got stuck.
The 3d model of the keys have been enlarged in both width and height so they could have the correct measurements after being sanded and hence smoothed. Another pair of keys have been printed then.
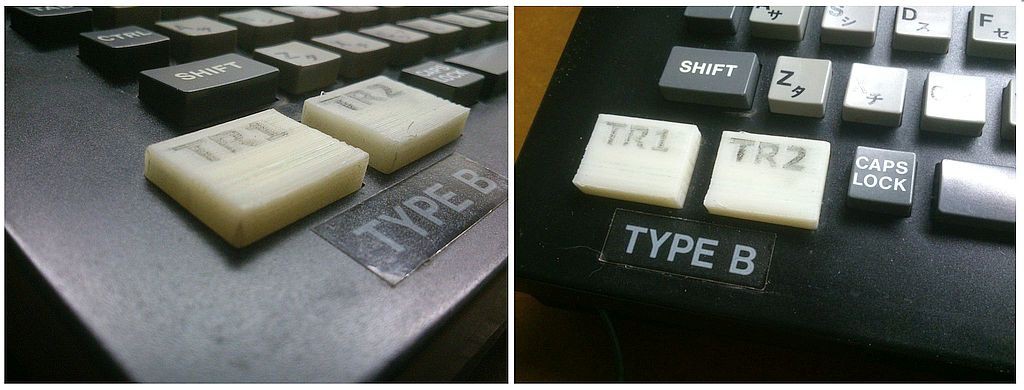
The results now were very closer to the desired. A minor improvement was to increase the depth of the low relief details and then print the keys in an eye catching color.
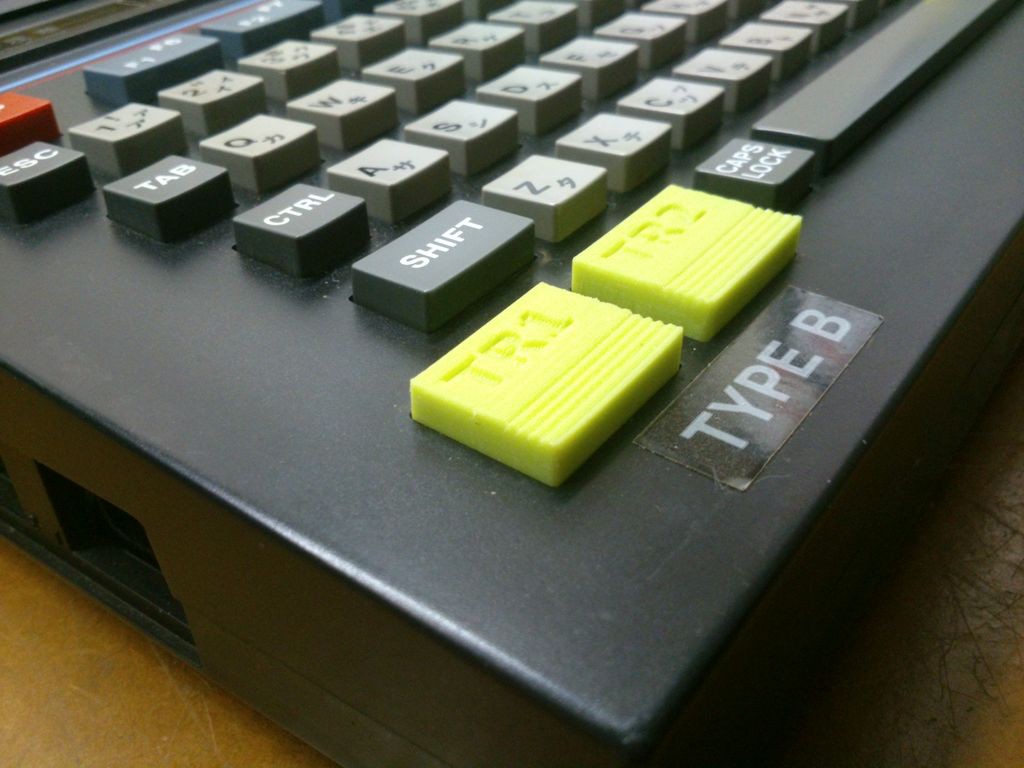
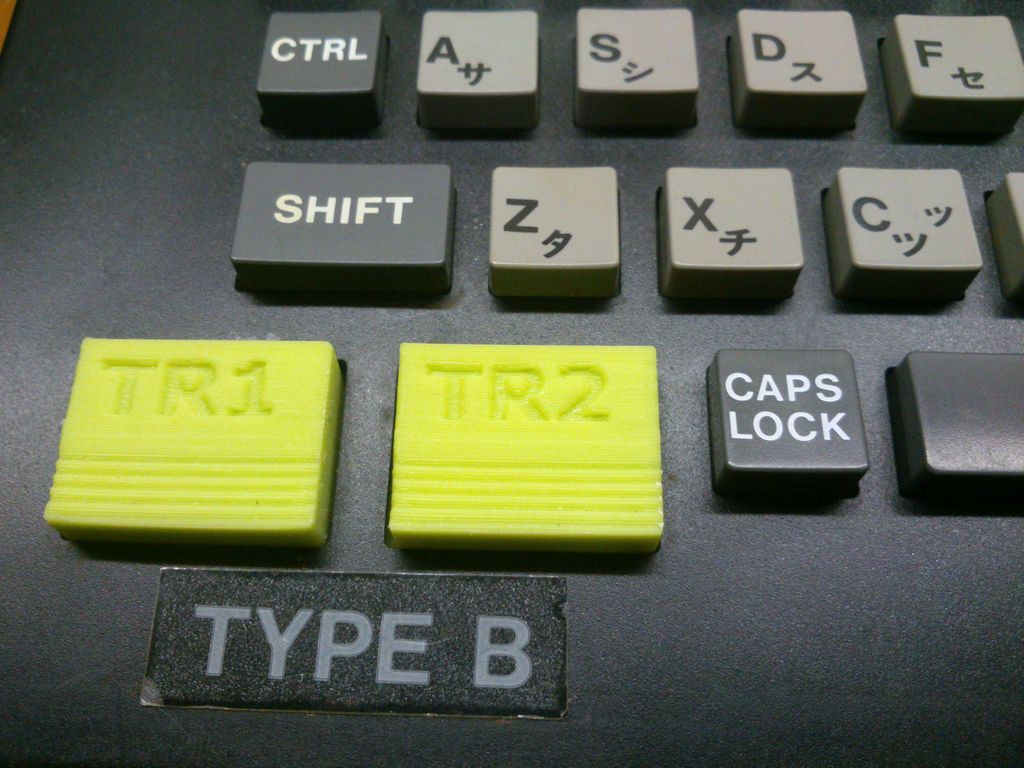
And at last a general view of the computer with the new keyboard
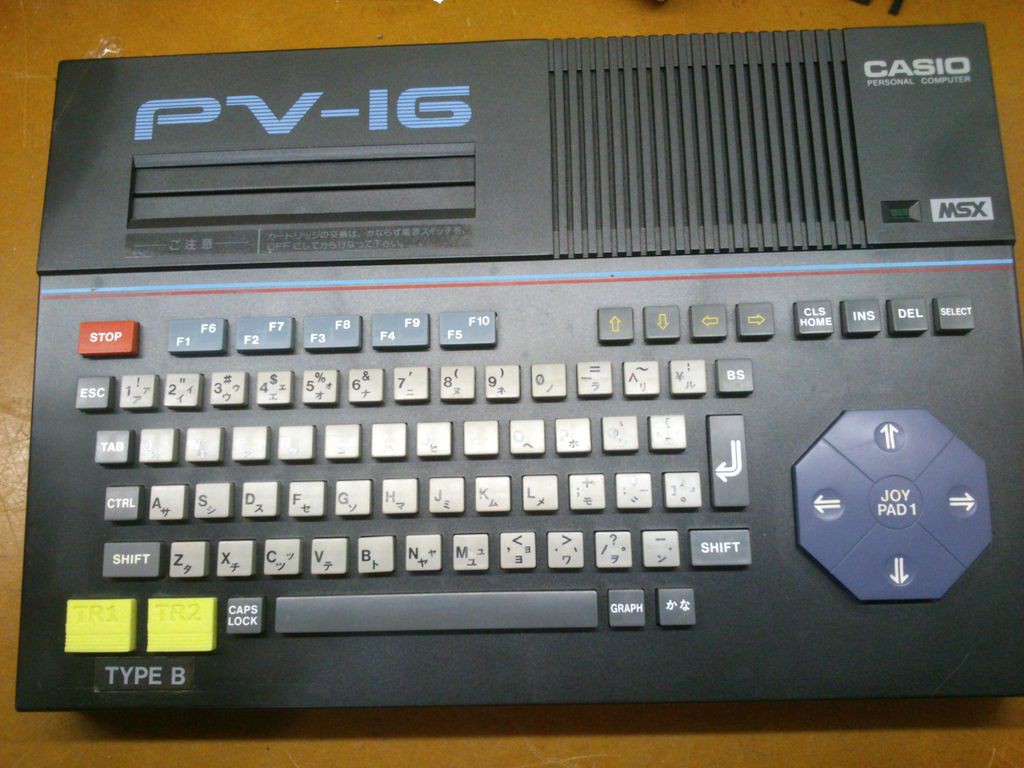
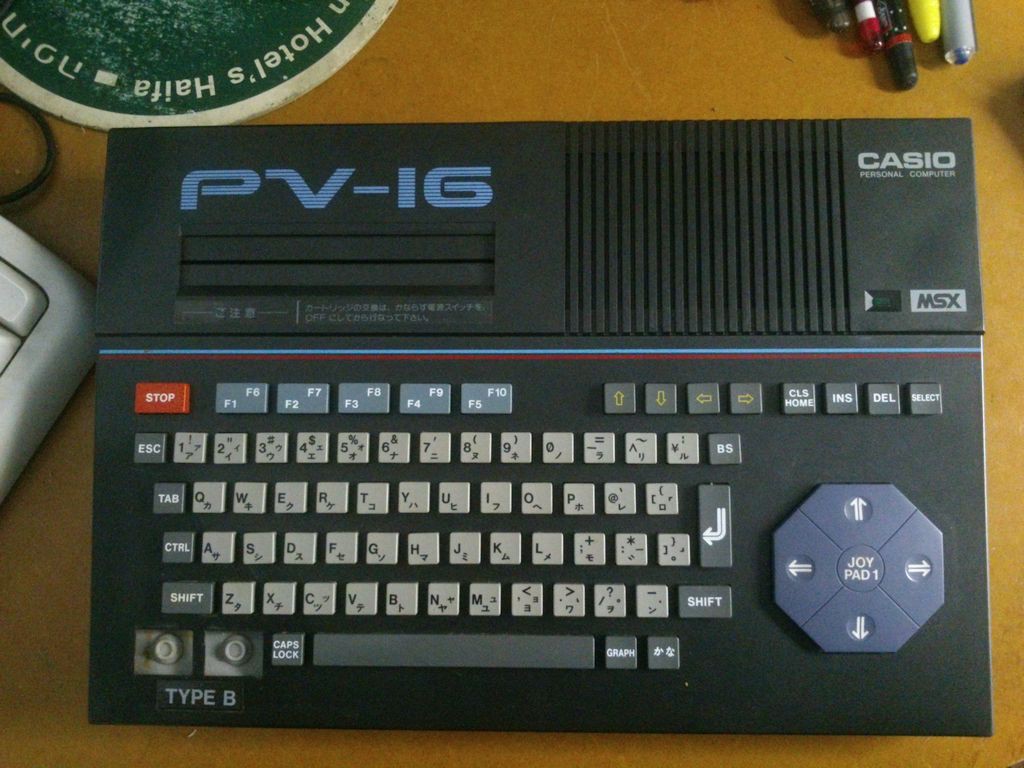
and a picture of before
 danjovic
 teru
teru
 Sergei Silnov
 Andrey Kalmatskiy
 Neal D Corbett
Hello and congratulations on your projects. I have seen that you have designed in 3d the key of the Casio PV-16. I have another key damaged (tab), I don't know if you have it designed too, thanks