 David Shamblin
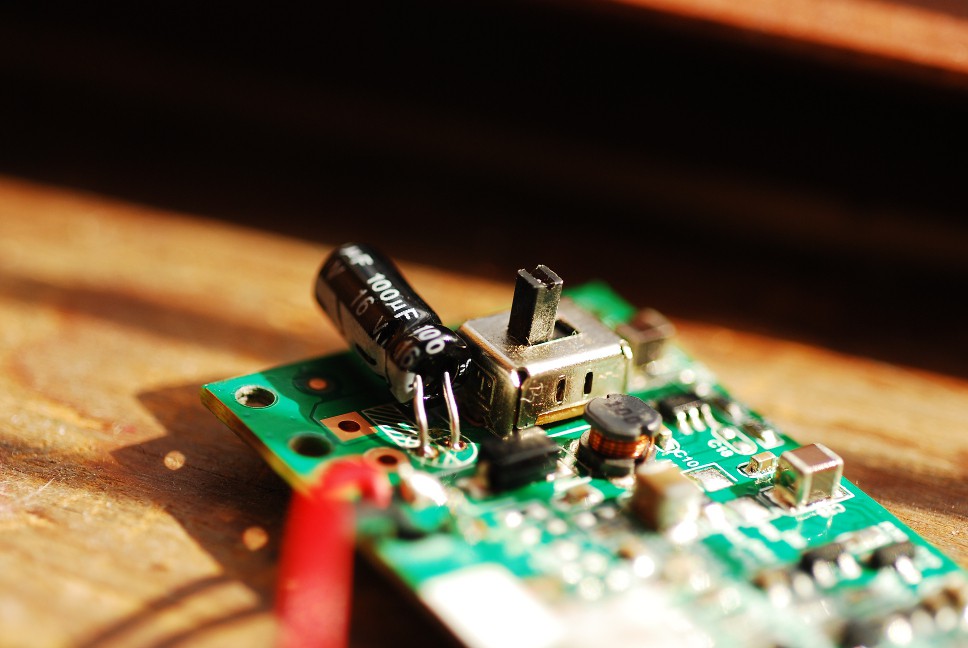
Got the new capacitor in. I also learned that I could've safely used a capacitor with the the same capacitance but higher Voltage. That would've saved me a lot of time and I'll definitely keep that in mind for next time.
Once everything was together, I put the screen and speaker on the face plate. In my junk pile, there were some nylon spacers and screws that worked perfectly for this.
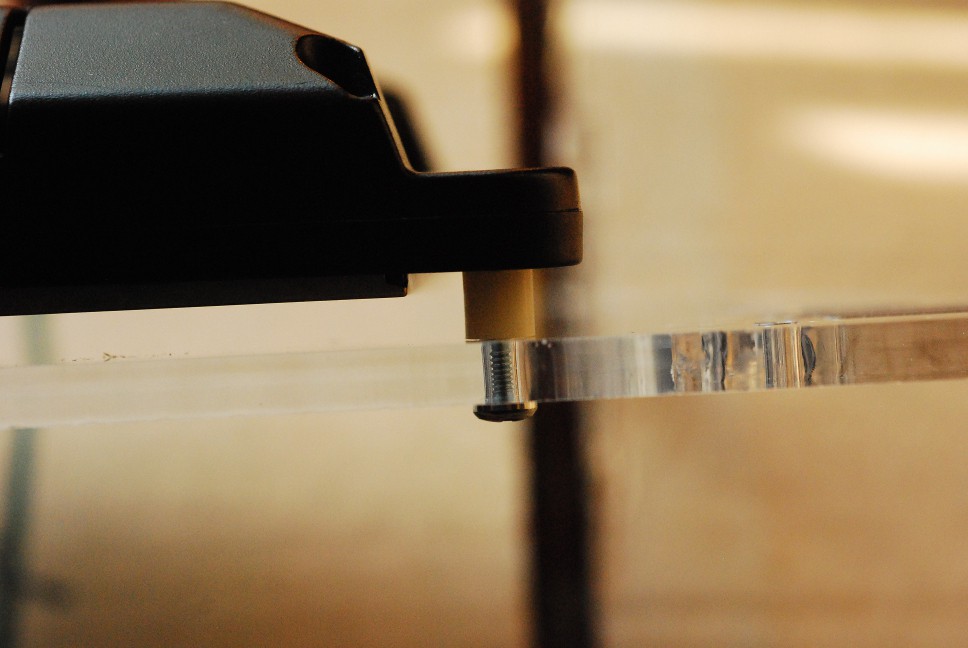
Originally, I was going to cut a screen-sized hole out of the acrylic. Considering my poor measuring skills, it's for the best that I didn't. Plus, I realized I didn't actually want the LCD exposed, especially around kids. My original idea for adjusting the bracket in the back changed also. I had some knobs I was going to use with a nut, but it turns out that it was most likely not going to be reliable enough. So I went with male and female threaded knobs and a rubber washer in between the contacting pieces.
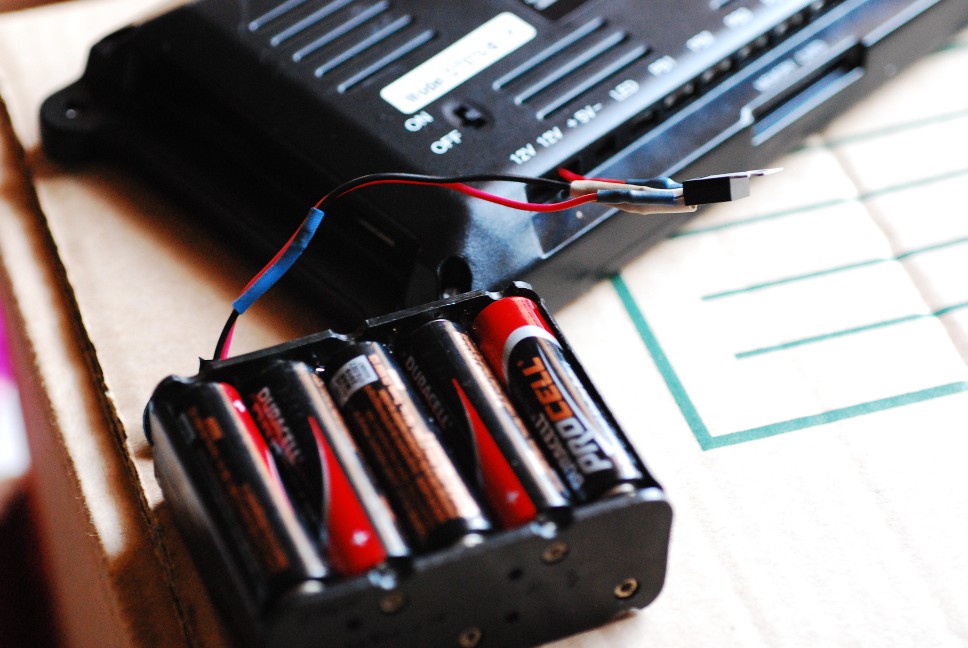
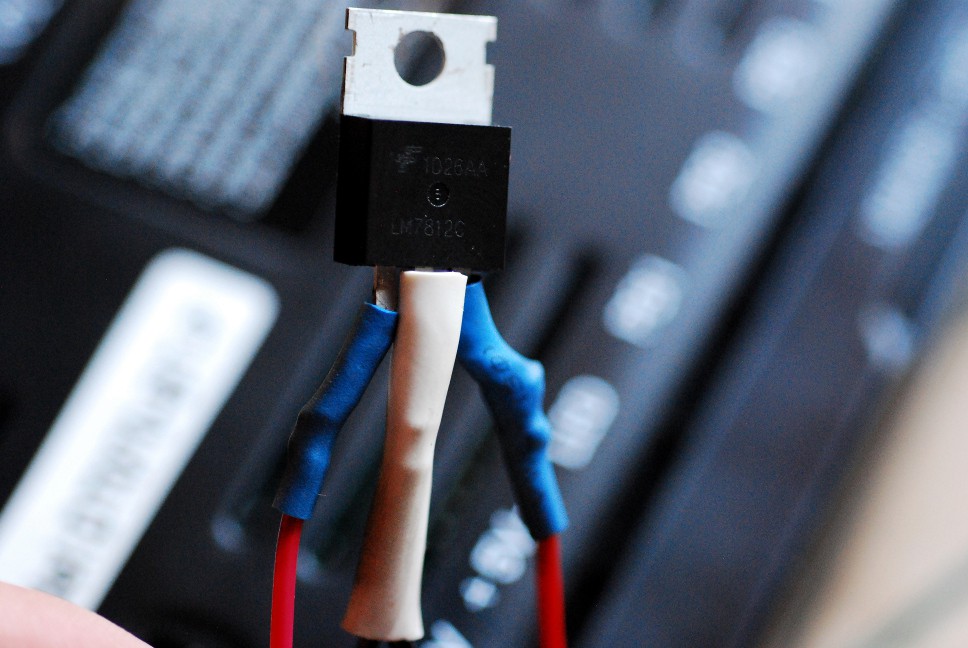
Since the screen decided that I would be using a battery pack instead of a wall plug, I had to find my battery pack. I know I have a 12 V AA pack somewhere, but I couldn't find it and went with this 10 AA, 15 V pack. I just put a 12 V regulator (LM7812C) on it so I didn't have anymore blown capacitors.
After that, it was just a matter of figuring out video compression, audio format, and frame rates to get what I wanted on the screen (this actually took more time than I expected). But when it was all together, the video loaded, and it worked perfectly.
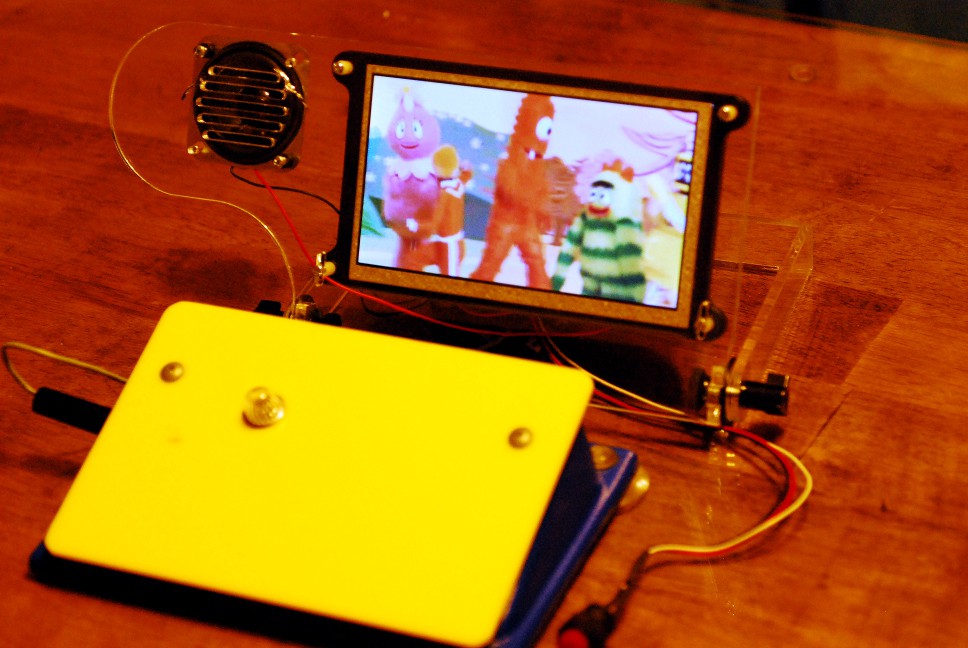
The red button to the right of the big yellow one is to stop the video. When the kid presses that yellow button, his favorite show will play.
There could still be some polishing and refinement that go into the design. And because of the flexibility of this platform, there are many more possibilities for this device.
Thanks everyone for looking.
Discussions
Become a Hackaday.io Member
Create an account to leave a comment. Already have an account? Log In.