First you should know, that I started this project some time (one and a half year ago). I have continued modifying things but without a good documentation. I will try to describe the main steps but there is a goo chance that I will miss something or will confuse you by describe the second step before the fist one. But hopefully in the end it will be well rounded. Every idea is under CC-Licence, so free to use by everyone.
 First let me tell you that this is a highly experimental project, if you have the idea to try things out you are independent and responsible and you have to take care against any damage or hurt any human. Selfmade 3d printers might be dangerous and could get in a uncertain state.
If you like to build your own prusa i3 please refer to other sources in the internet. I can recommend nextdayreprap and reprap.org.
- All printed parts are from a prusa i3 boxed standard kit.
- It uses Gregs wade extruder (older version).
- Nozzle size is 0,35mm
- Filament diameter is 1,75mm
- It uses a toothed belts and aluminium pulleys with T2,5
- It uses Arduino Mega 2560 and ramps 1.4
- Non heated bed 600mm times 300mm Dibond plate 3mm
- 2x DC Voltage adaptors from my old laptops 16V at about 4,5A
Following the instruction on mentioned links I did some principal changes:
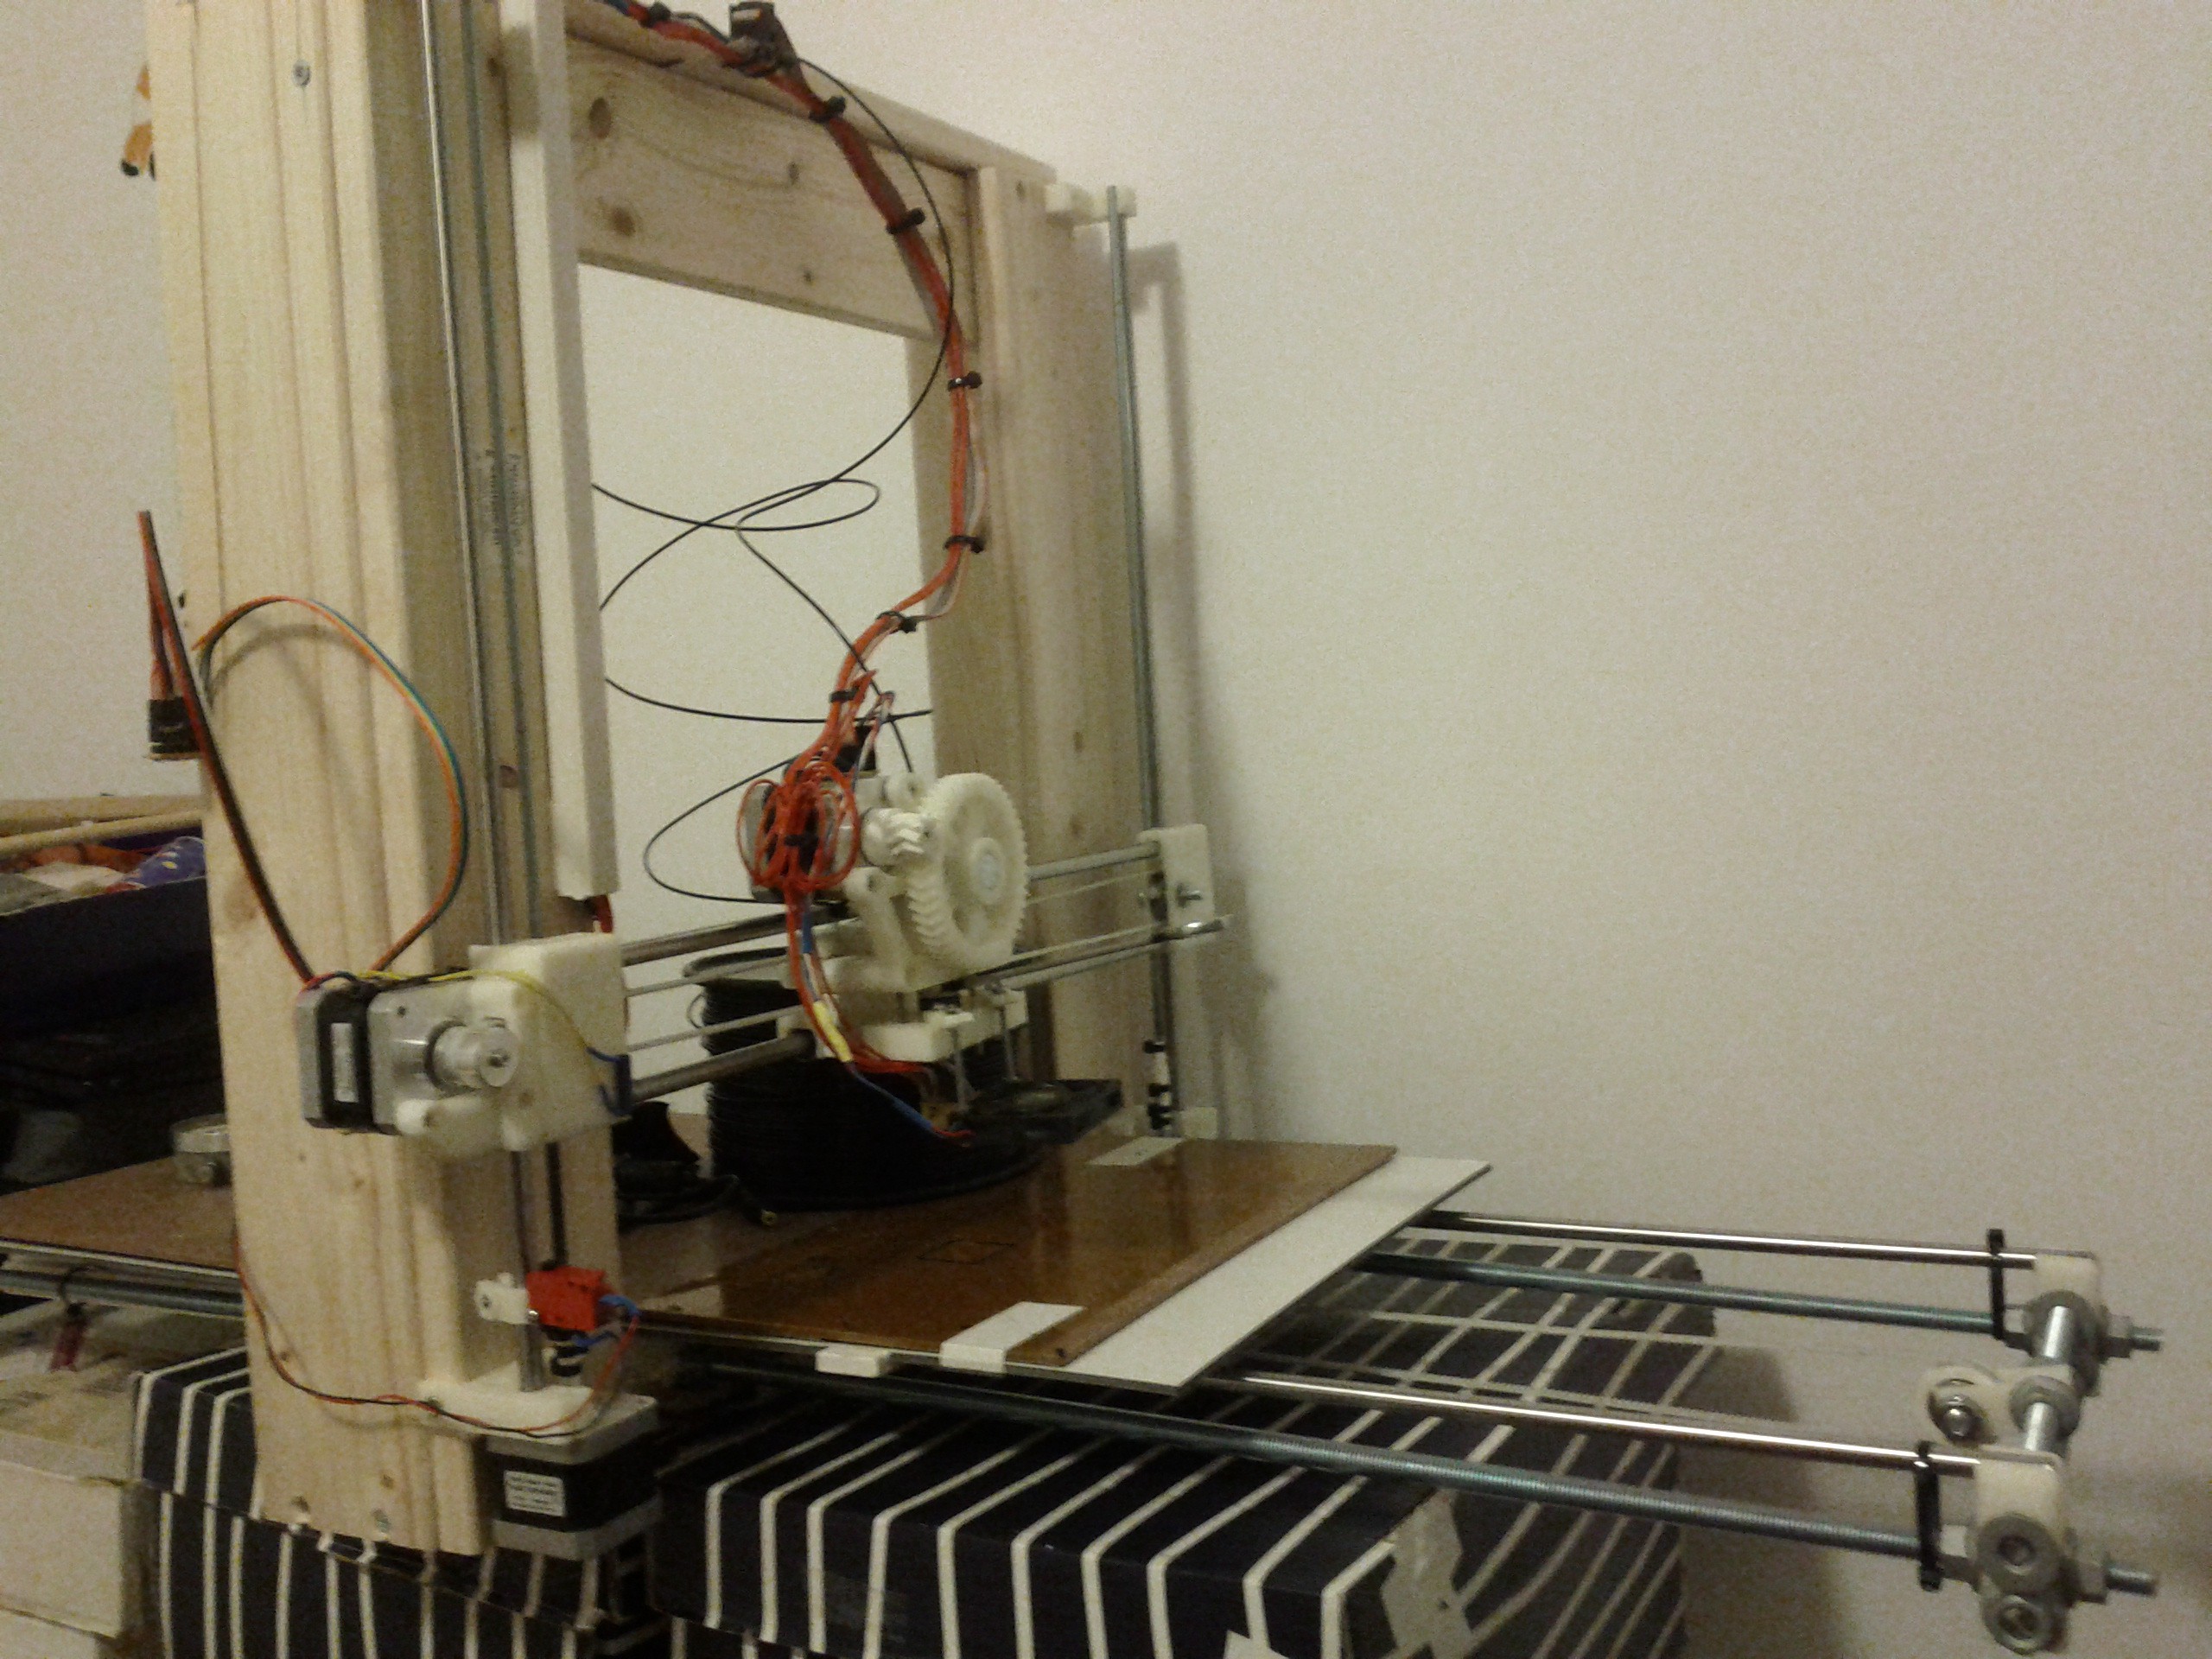
- Y rods have a length of 980mm. The usable build length is 600mm rather than usual 200mm
- X rod have a length of 420mm. The usable build length is 300mm rather than usual 200mm
- Z rods hava length of 420mm. The usable build length is 320mm rather than usual 200mm
- The long Y rods (8mm) are to too weak for the weight. If I press with one or two fingers one the print bed it goes about 5mm down (minor problem).
- It was not possible to buy a cheap heat plate with the size 600mm times 300mm. Typically they are sold at 200mm times 200mm. Therefore banaring or wrapping is a really big issue for bigger prints.
- The printer is a bit to slow (like always), but for a big printer it will take hours or days to print big things. This is not acceptable, because It is not a good idea to let it print unmonitored.
So at this point I stated my development. The most annoying thing is the wrapping, because only small things can be printed (no sense for my big printer). I think the problem is that the fresh printed layers cool down to fast below the thermoplastic solidification temperature. ABS plastic at 60-80°C is very flexible. No thermal stress like in chewing gum. One great idea is to build a heated chamber, this is done in professional printers. But I don't like this quite big box in my case.
Another solution is to attach three of this Standard heated beds side by side. But this is rather expensive and needs a lot of power. The weight on the Y Axis is not good and costs print performance.
As you can see on the video I have tested another solution. Instead of cooling the melted plastic with a simple fan like see in a lot prusas on youtube I use a hot air flow for cooling. I used the ramps heat bed connectors (power and sensor) to serve a controlled hot air flow at 80°C just beside the hotend (the copper box). The hot air keeps the plastic weak and the result is that the wrapping is gone for medium sized prints.

 Eric (Jadoo)
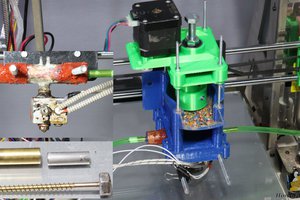
 Norbert Heinz
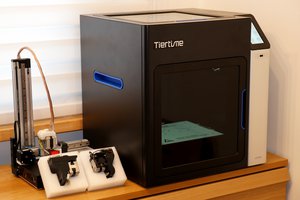
 megahercas6
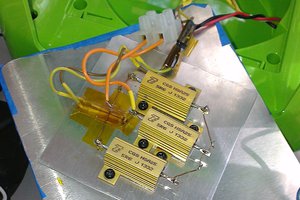
 Gorky
Gorky