 fl@C@
fl@C@So, here are some experiments I've done with etching the aluminum negative for the glass plate.... I've converted over 100% to chilipeppr.com since it turns out to be awesome... I've been using the Eagle .brd import feature....with the following settings...
Inflate Milling Path By:
	0

Advanced Inflating
	Inflate SMDs By
		checked -0.12
	Clip wires
		unchecked
	Remove Undefined SMDs
		unchecked
	Inflate Pads By
		checked -0.1
	Inflate Vias By
		unchecked 0

Depth of Milling Traces
	0
Feedrate for Milling Traces
	400
Feedrate for Plunge into Copper
	800

Clearance for Z Axis Moves
	0

Depth of Cutting Out Dimensions
	0
Step Down for Cutting Dimensions
	0
Feedrate for Cutting Dimensions
	400
I skip the send gcode to workspace step... copy the gcode from the textbox... I then paste that gcode into a text file...I use a .tap extension... And run a overly simple python script on it to insert my M3 and M5 commands to turn the laser on and off instead of moving the Z Axis.... Here's that code.....it's not great....
import os

os.remove ('new.tap')
outFile = open('new.tap', 'a')
with open("mcu_panel.top.etch.tap") as f:
    for line in f:
        if line.find( 'Z-' ) != -1:
            outFile.write("M3"  + chr(13) + chr(10))
            print ('M3')
        if line.find( 'Z0' ) != -1:
            outFile.write("M5"  + chr(13) + chr(10))
            print ('M5')
        outFile.write(line)
        print (line)
outFile.close()
I then take the new.tap gcode file it creates (I also remove the dimensions section since I haven't added that to the code yet) and drop it back into chilipeppr.... Hopefully this can be streamlined later...but it certainly works for now...This is a TQFP32 for an atMega328.. This is the glass plate with a layer of aluminum tape and a layer of adhesive vinyl on top of that...then cut with a 1w 445nm laser at 400mm/sec... A panel of these goes in about 5-10minutes...
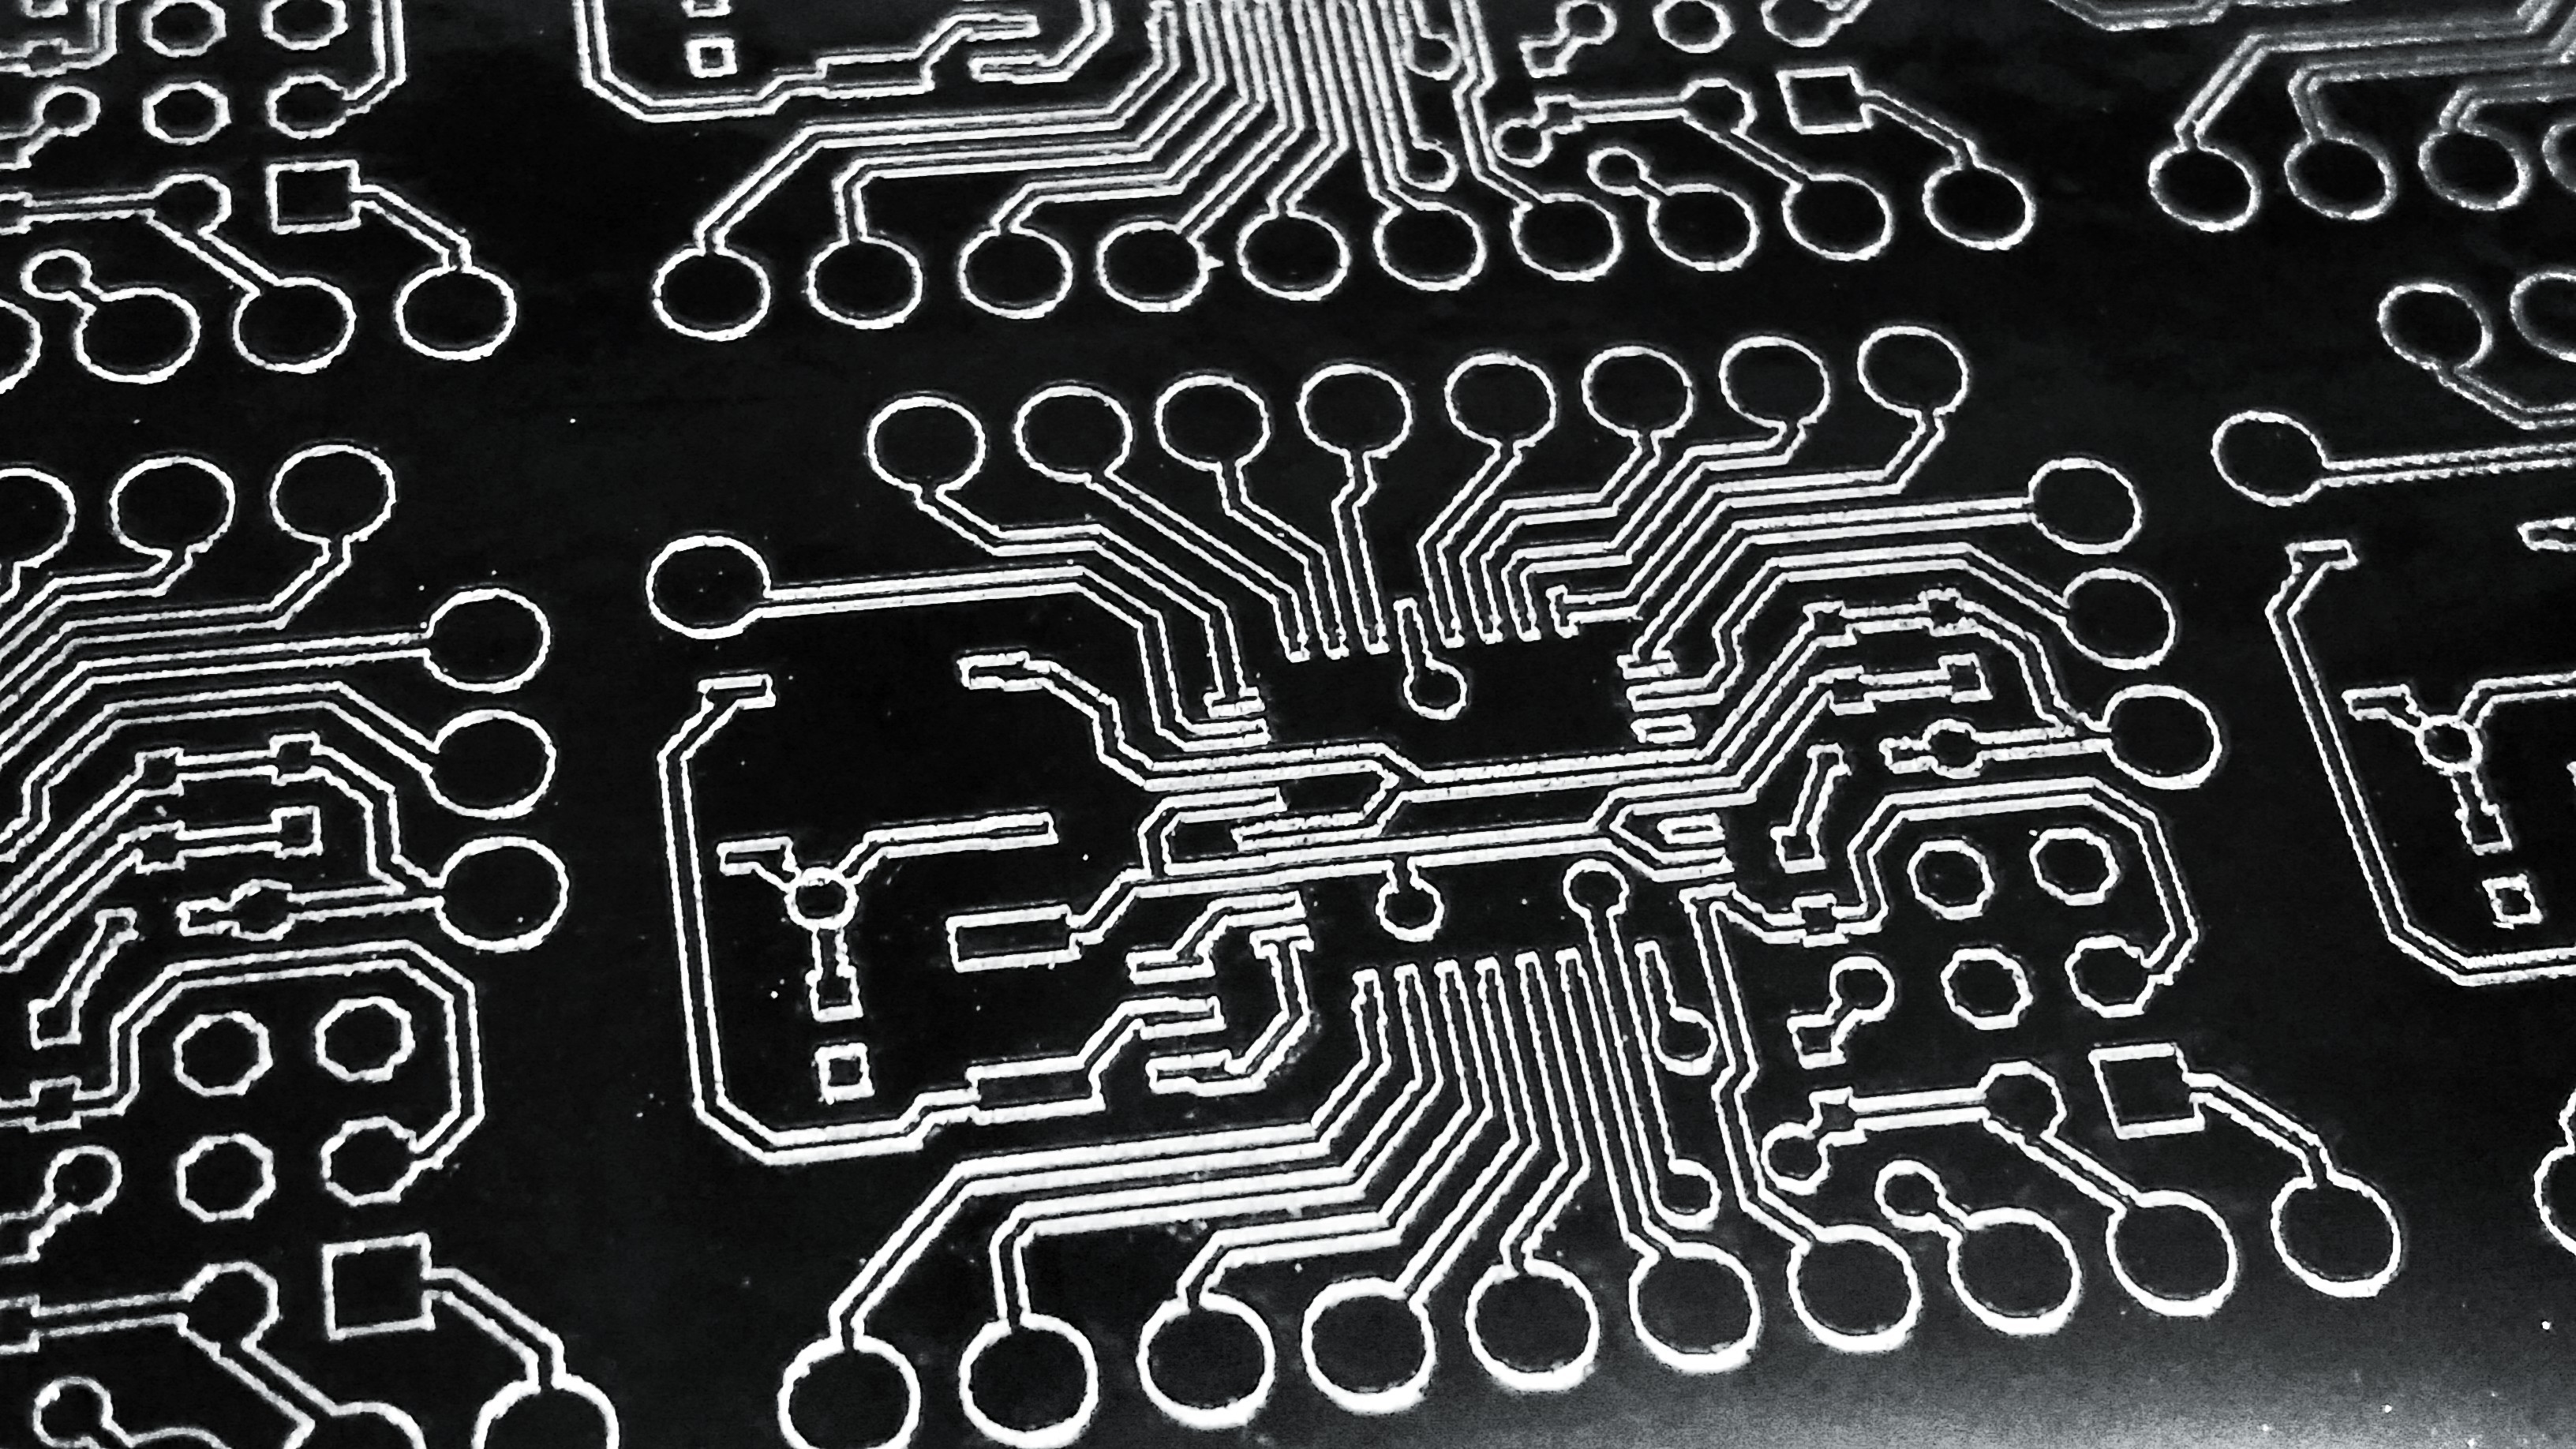
Here is the same board with the vinyl removed... Take note that this step only has to be done ONCE... After you've done this, then etched the aluminum you'll have a template that can be used indefinitely... Treat it right and you'll never replace it..having used it over and over again...
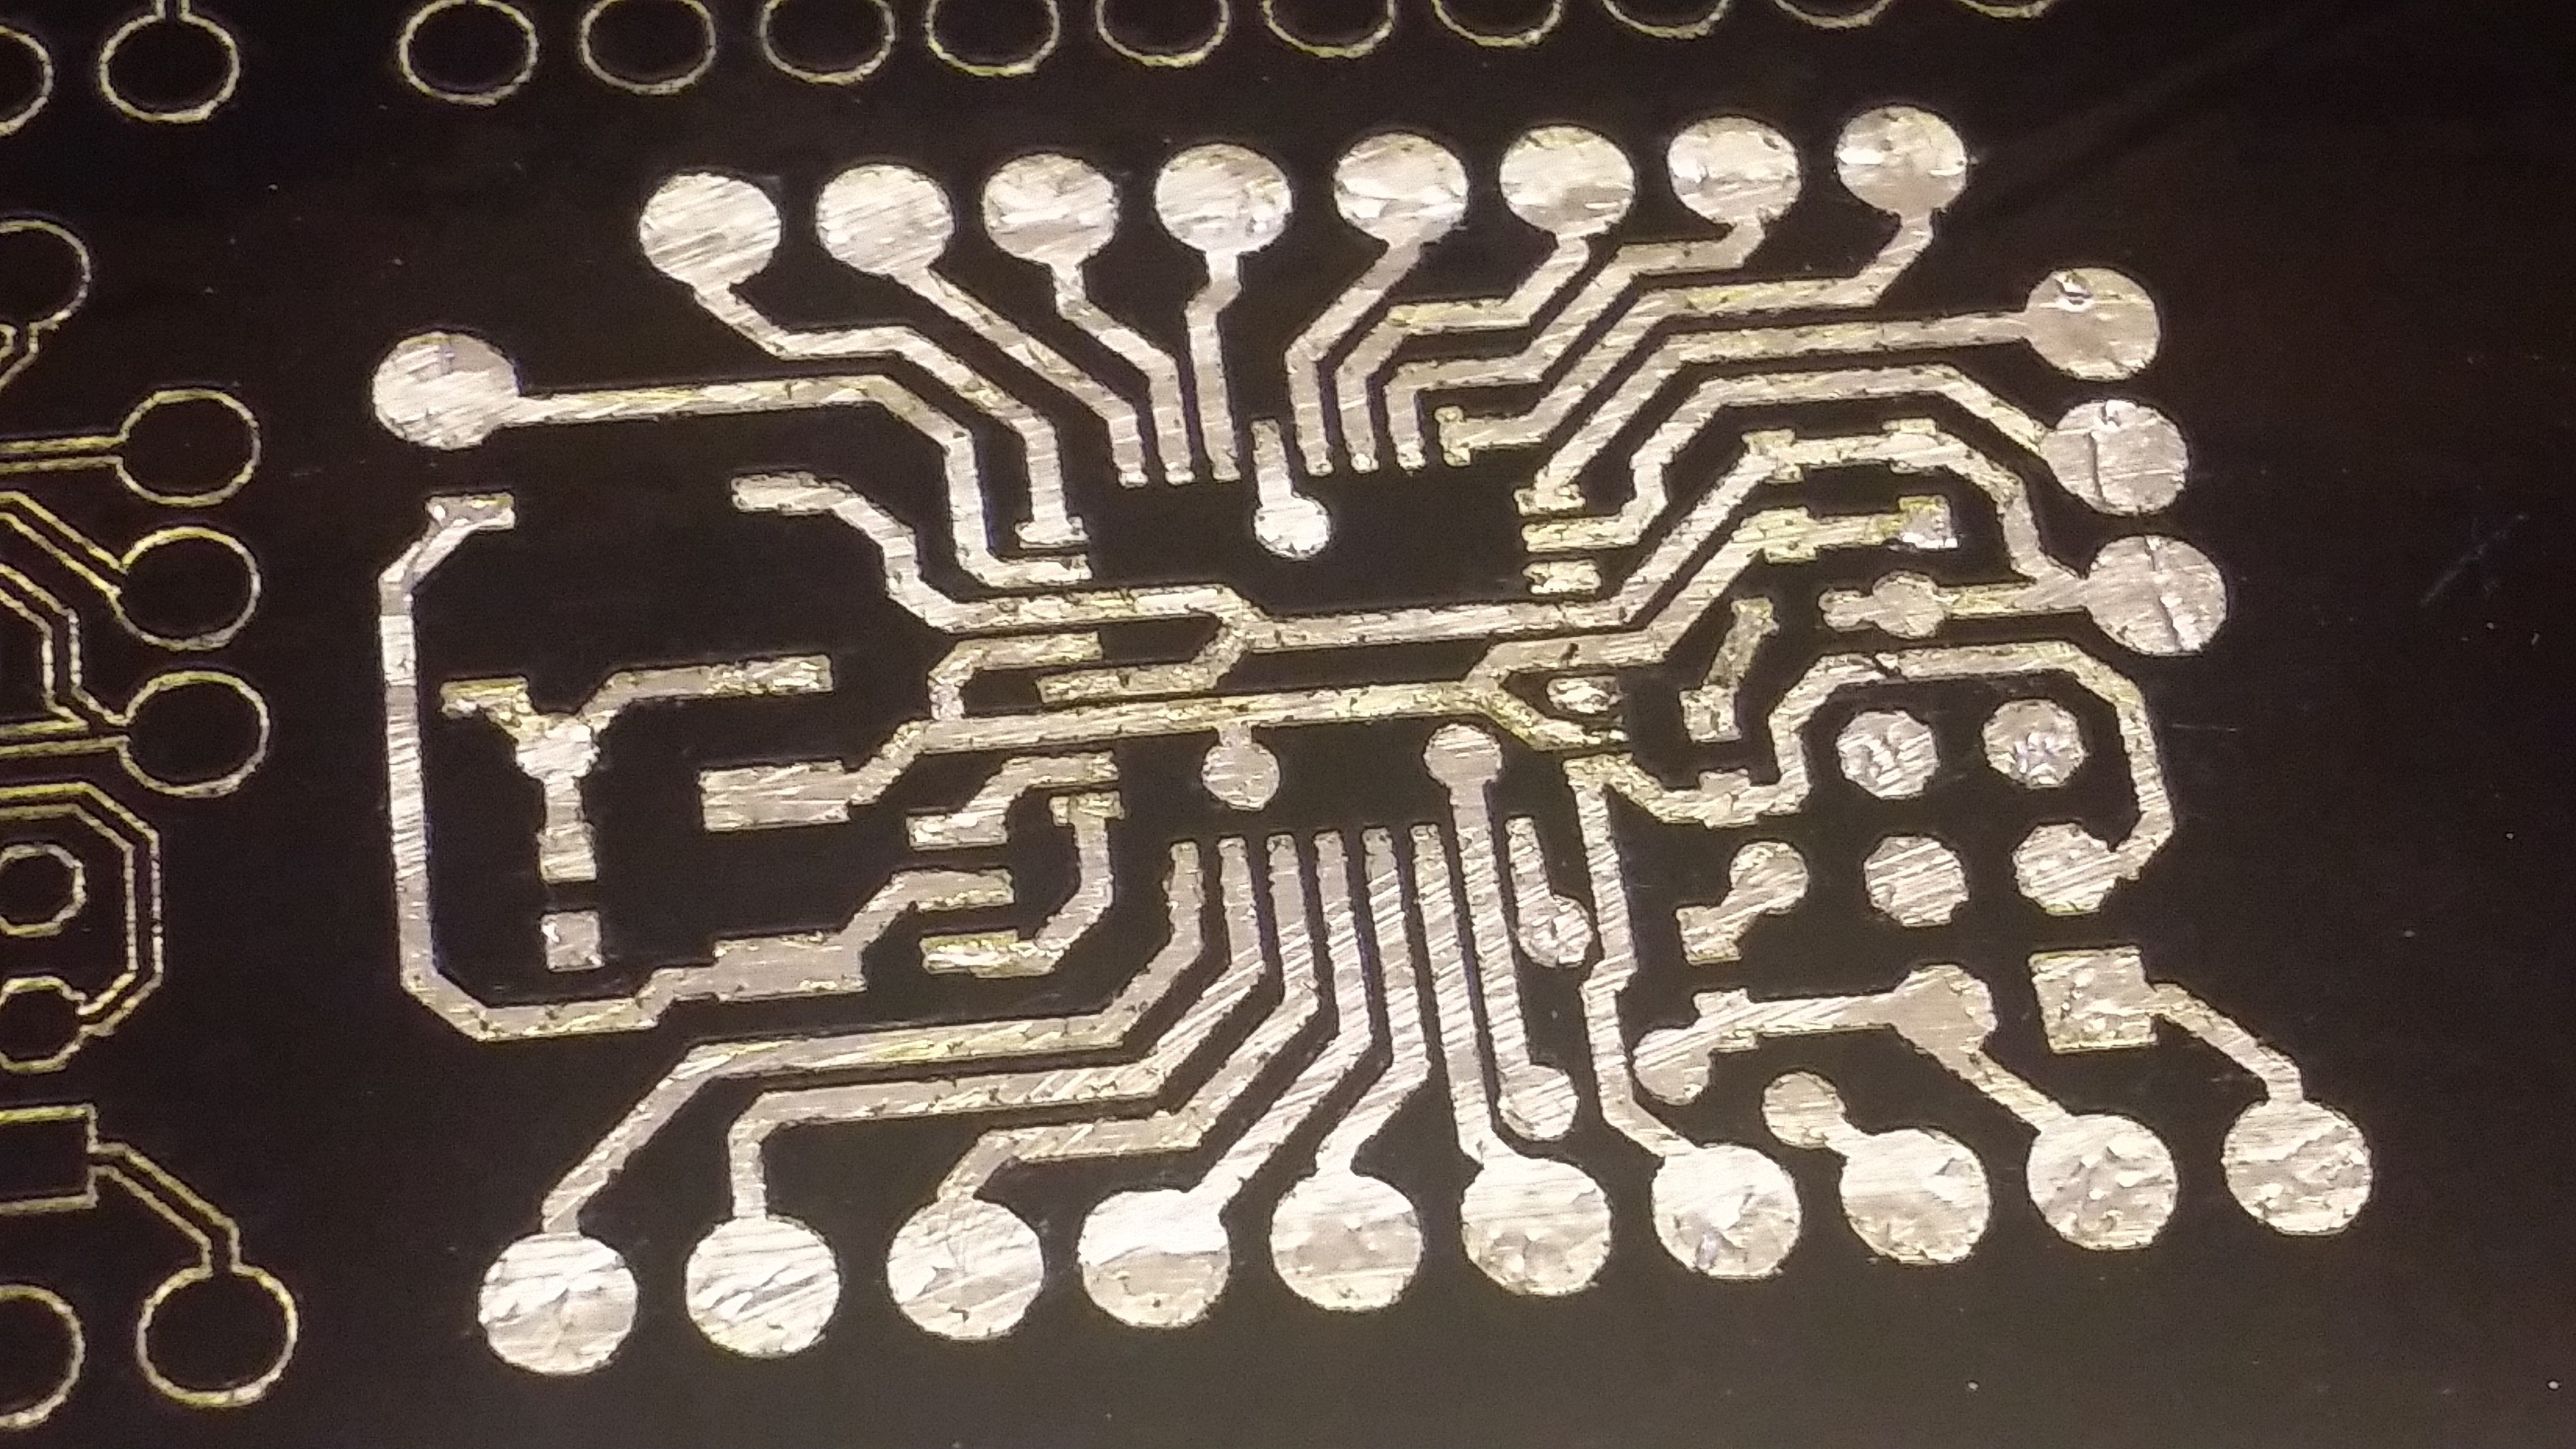
A little closer....
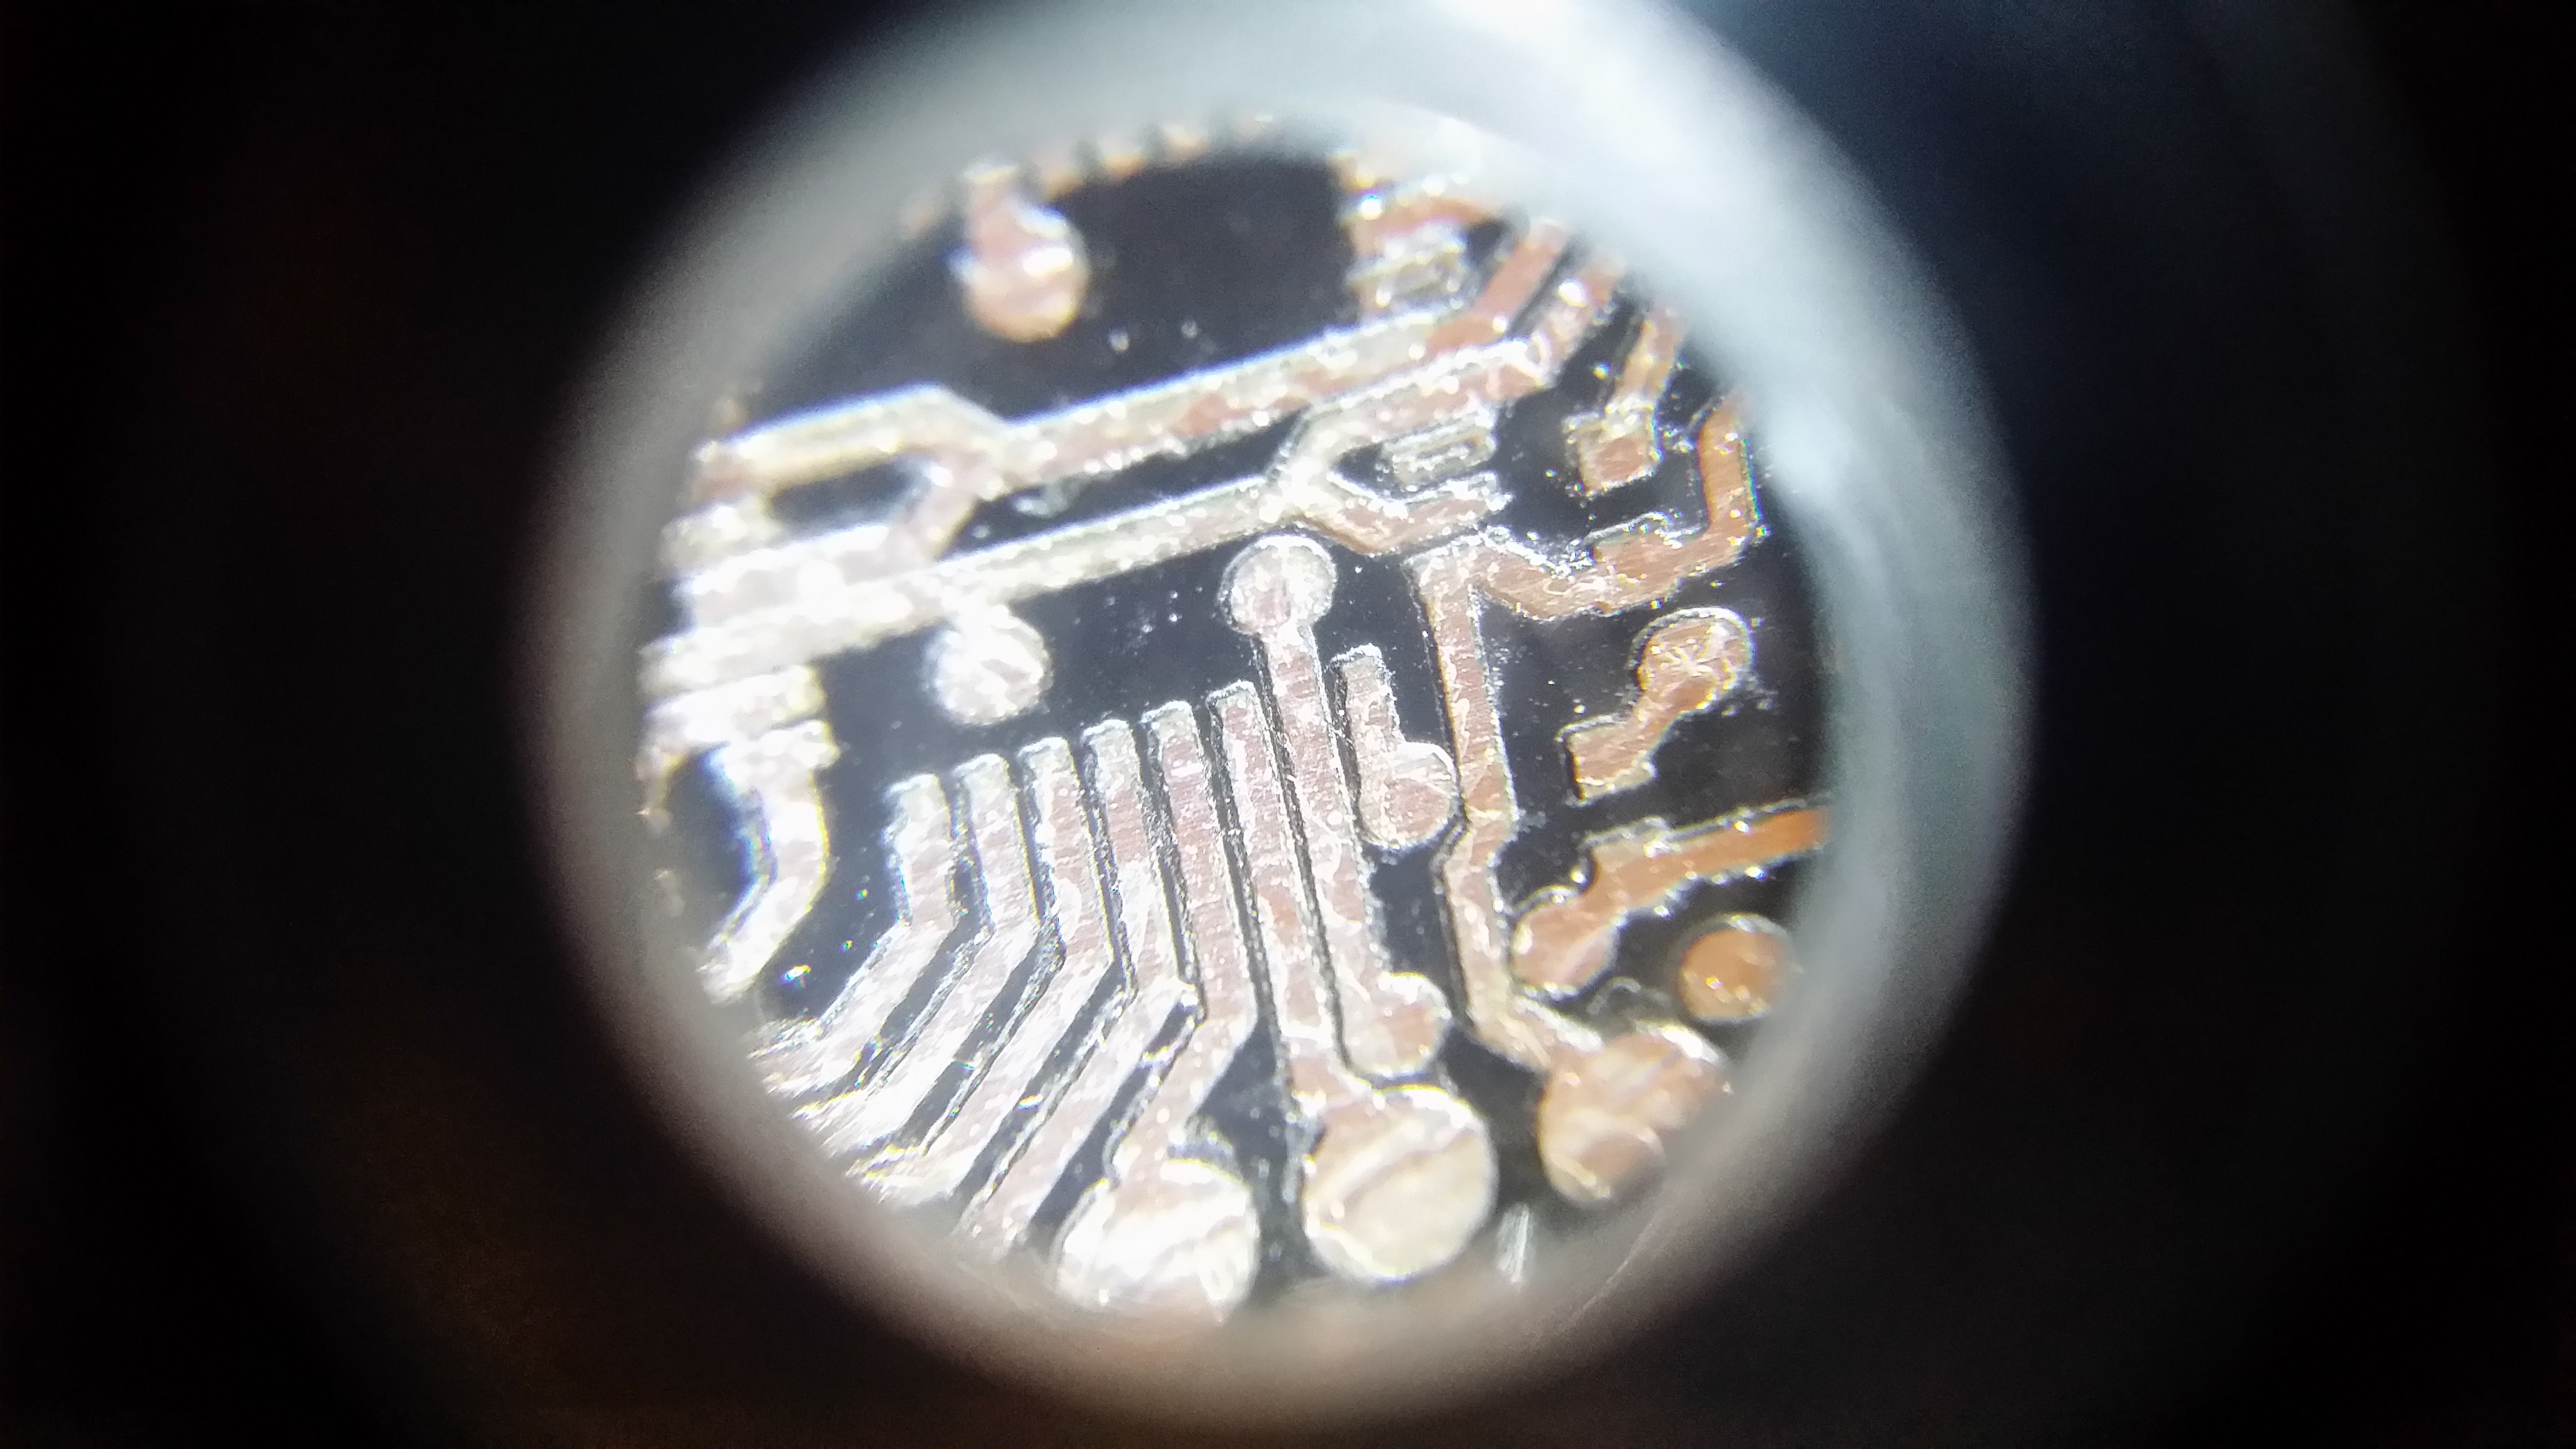
And there you go for now.. I've started the etching experiments... More on that later, but I am using a HCl + H2O2 mixture... It seems a little weak at a 2 part H2O2 and 1 part HCl... Straight HCl is too aggressive... so I'm trying to find a good balance... with the 2to1 ratio, it worked just a little slow. And keep in mind this will also be an automated process with the desktop etching machine I am designing... yay..
Discussions
Become a Hackaday.io Member
Create an account to leave a comment. Already have an account? Log In.