 Benchoff
The launch of the Hackaday Prize demands a video, and a video demands a prop. We decided to build a GX-8 moisture vaporator from Uncle Owen and Aunt Beru's farm.
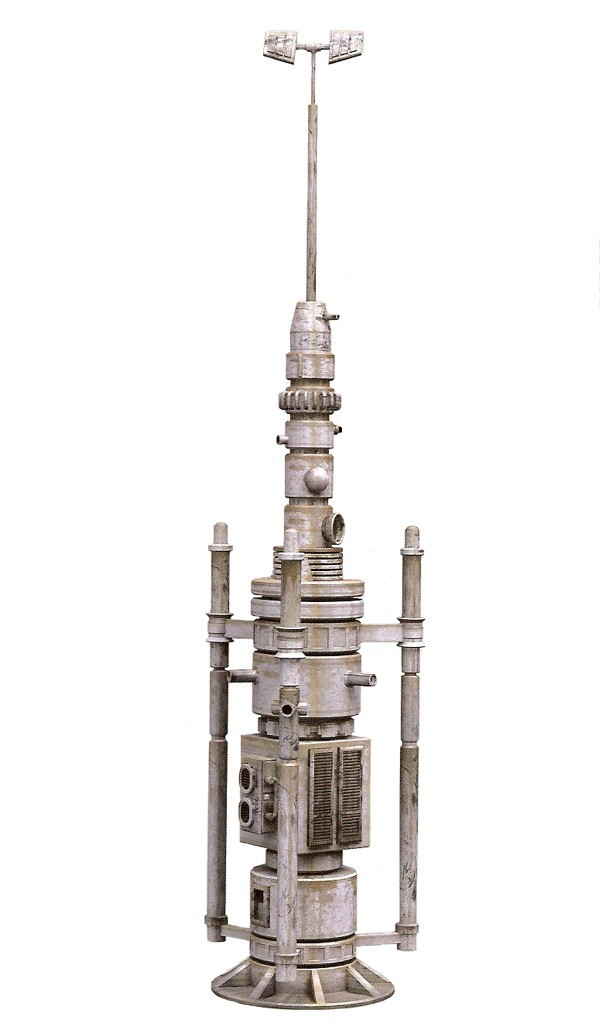
What does a moisture vaporator look like?
What did we end up building?
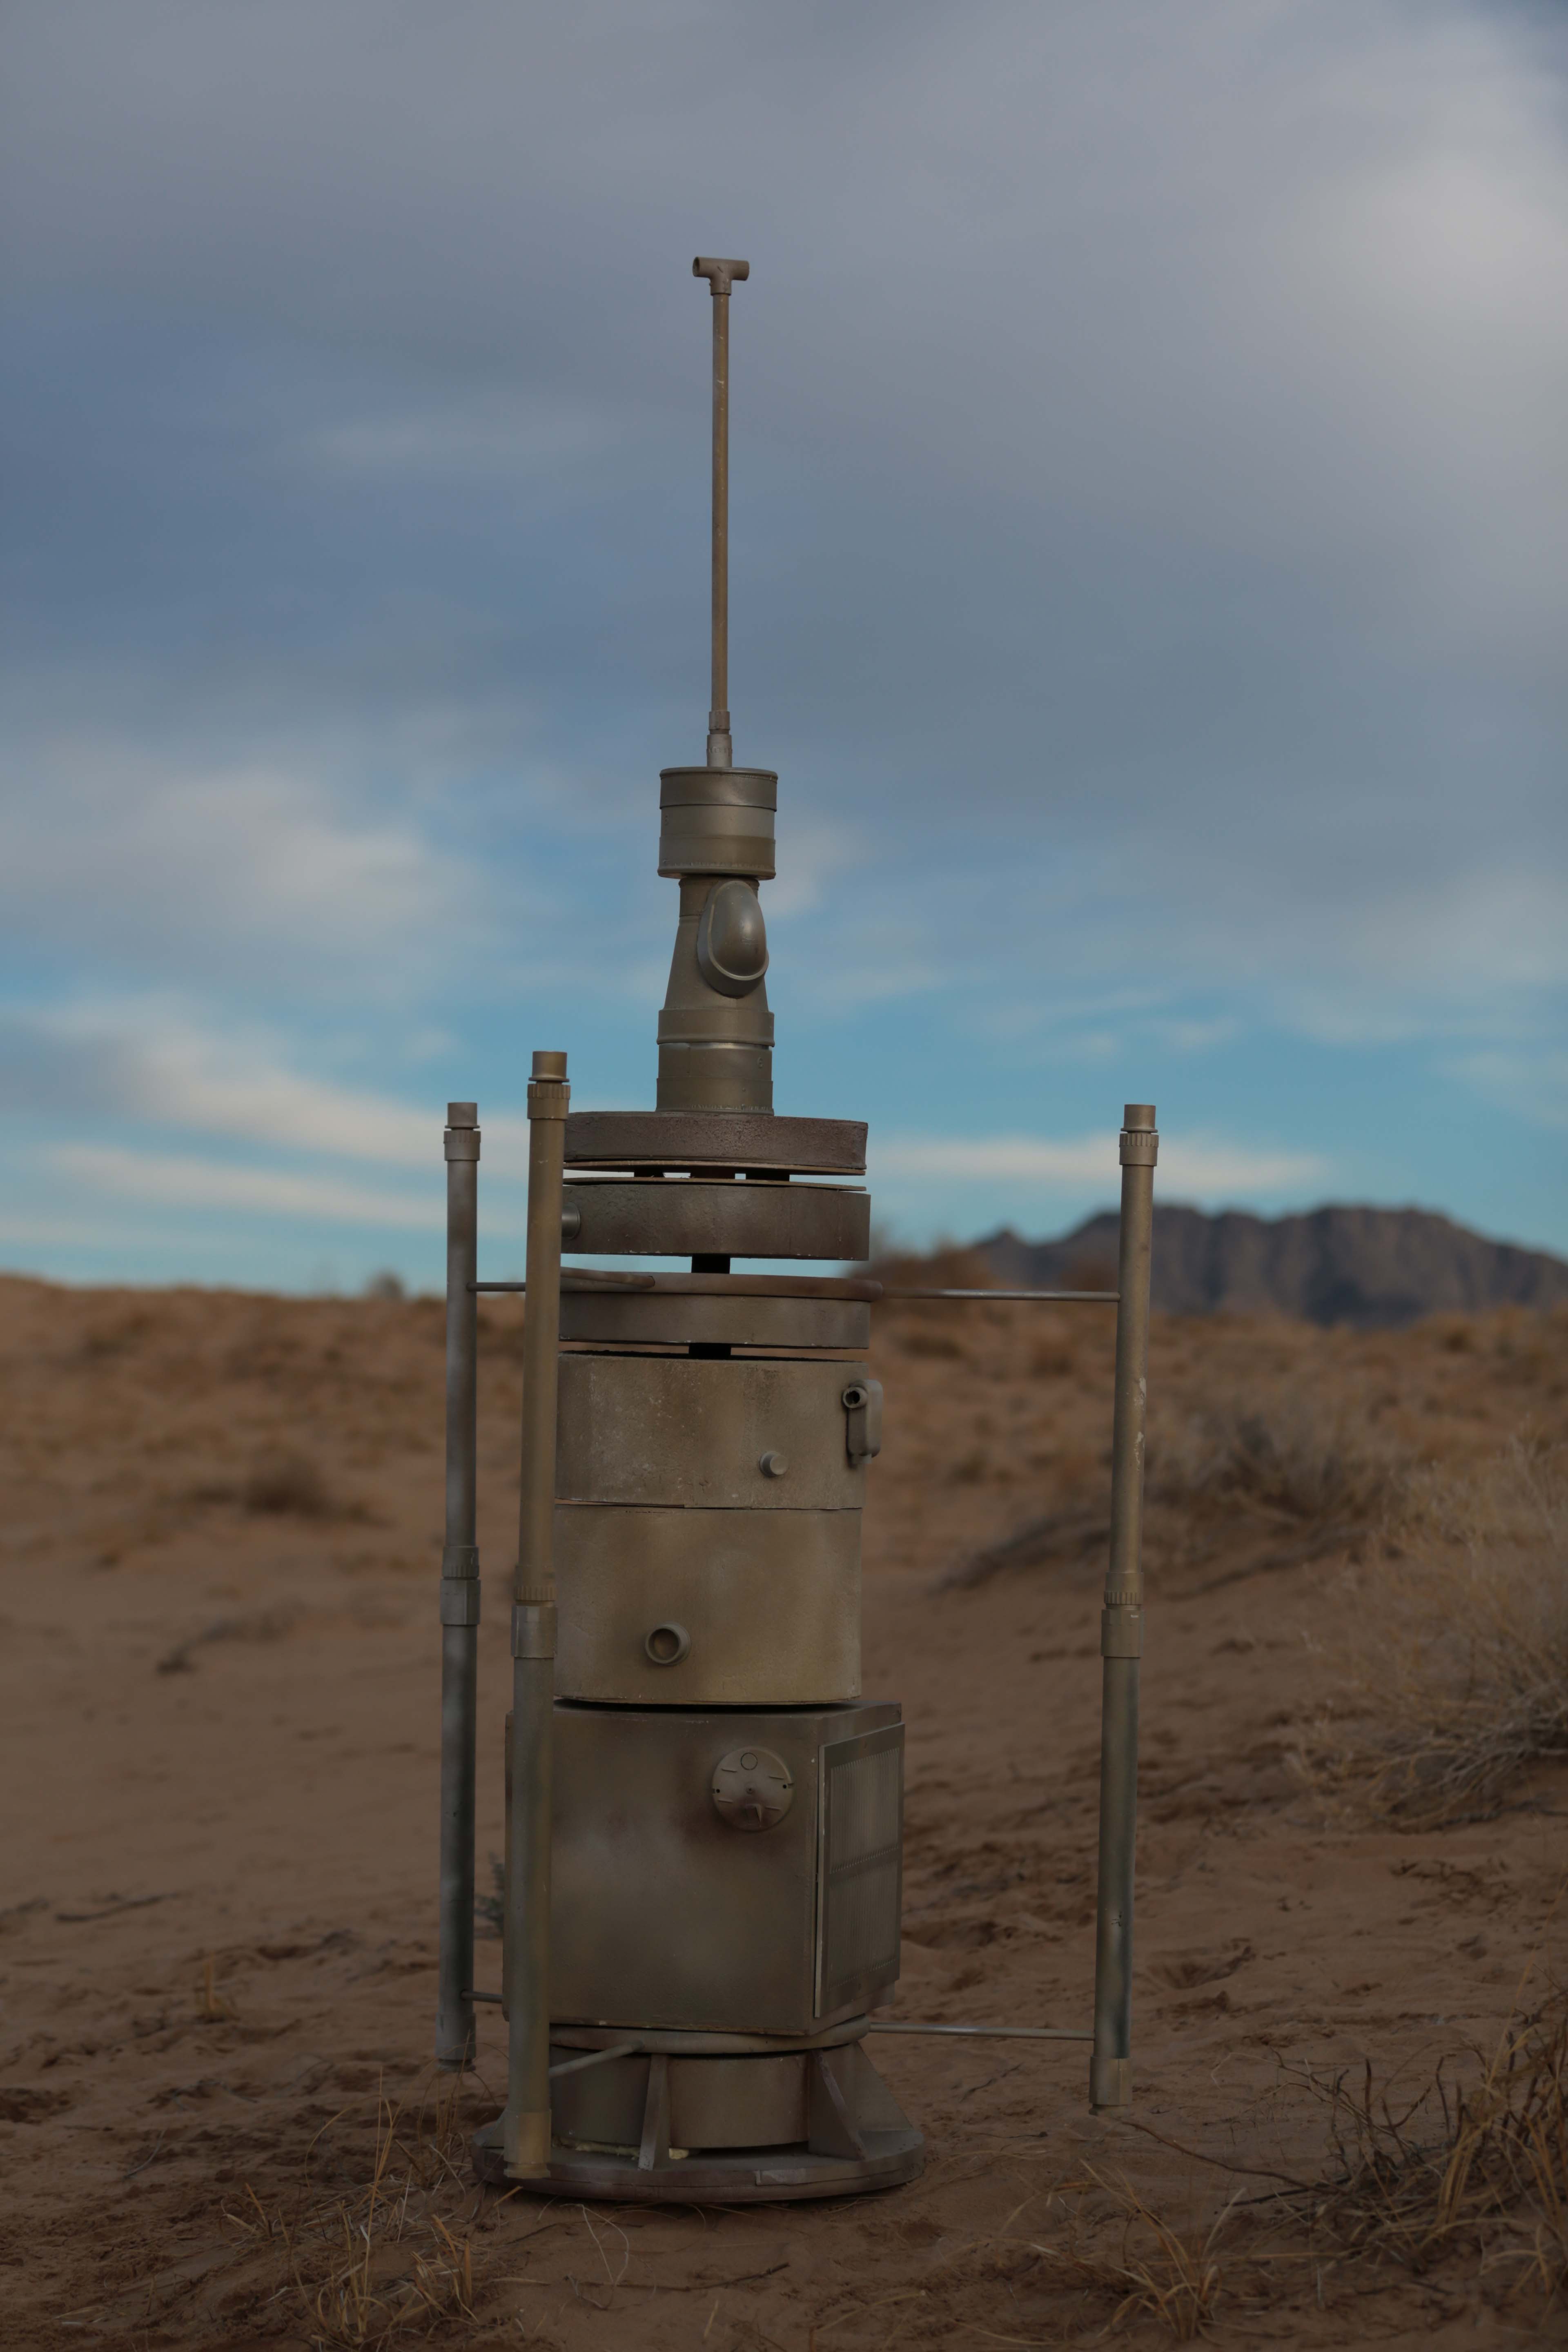
Not as good as the Star Wars prop that was never seen in the original trilogy up close, but I think we did alright for about 10 hours of build time.
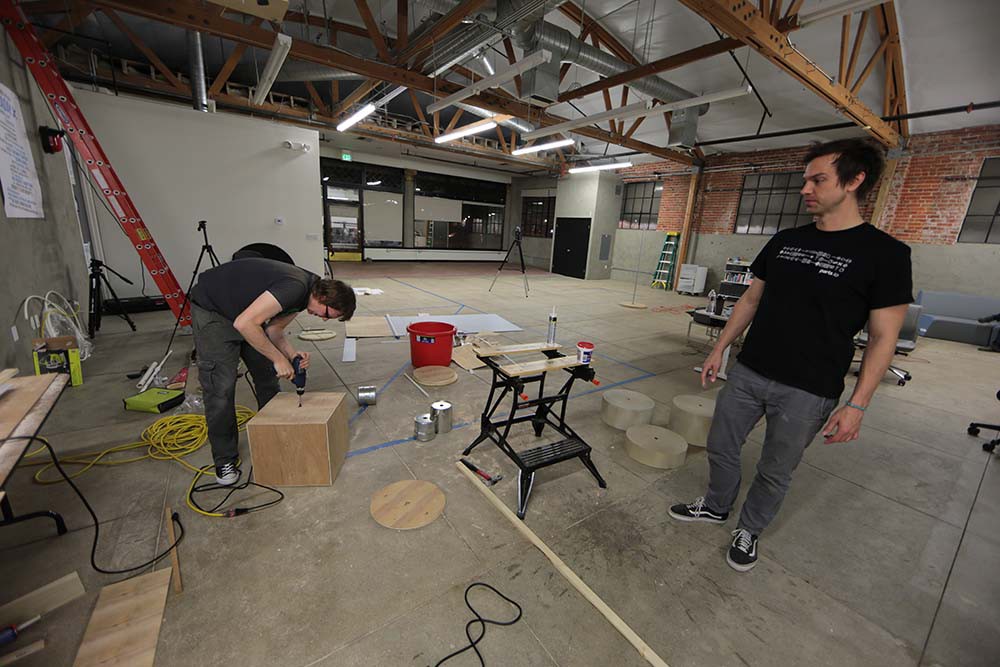 That was built out of a 1x3 frame screwed together with the fucking awesome

 W. Jason Altice
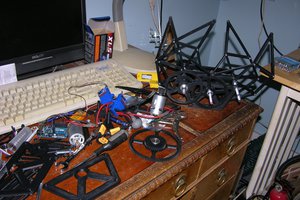
 Douglas Miller
I immediately knew its a water evaporator like those from uncle owens farm ^^
Nice Video, the Making of is also nice, but the music is psyched. ;-)
Btw. really beautyful landscape there ;)
Best regards, Stefan