What started as a hack so simple and obvious, uncovered a serendipitous solution that might inspire similar hacks. As those of us who deal with clearing paths thru snow for any length of time know, a snow shovel eventually wears out. Modern inexpensive shovels are made of light weight plastic with a metal wear bar at the bottom edge. Without the sharp metal edge of the wear bar, a plastic snow shovel does a very poor job of pushing snow off the pavement. And of course to encourage new purchases, no snow shovel maker or hardware store provides a replacement wear bar.
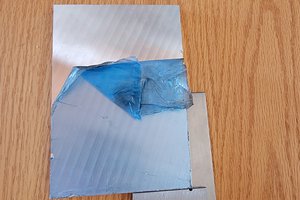
No respectable Hack-a-day Reader could throw away such a tool with good conscience, without attempting to hack up a replacement wear bar. Without a machine shop or source of light weight metal stock, finding a metal source is the problem. Snow shovels originally come with a galvanized steel edge that is riveted with steel rivets. Some hardware stores had various heavy pieces of steel stock that would have required a massive effort to cut to size. Repeated scrounging around at scrap metal piles was unsuccessful. Finally, while re-measuring the shovel with a metal yardstick I realized that such a yardstick would make a perfect wear bar. I didn't want to sacrifice my favorite straight edge, so I went out to get another less expensive one ($2.99) made of aluminum alloy. While cutting it to size, I intended to hide the gradations so only the blank side would show. But here is where the serendipity part comes in; what is the first question everyone asks when faced with fresh snow fall? "How deep is the snow?" A perfect solution would be to have a shovel with a built in ruler, so of course the gradations should be visible!
Cutting the ruler to size and riveting it in place is pretty straightforward (pun intended). I used older style rivets that were hammered down over a vise without bending the edge too much. A concern was that the aluminum edge would wear much quicker than the steel, but after a season of heavy use, it seems as if it will last at least a couple more years.
 johnxvt
 Quinn
Quinn
 Joseph Eoff
 Daniel Grace
 matthewkleinmann