Possible further modifications:
1. More types of hooks, to replicate the wide range available (done).
2. Make the channel longer, in order to have a longer piece of steel wire that will reinforce it even better(done).
Things I learned modeling this hook:
- You can glue 2 parts together with acetone, if they are printed with ABS plastic
- You can print two halves of a part if you want to make a steel/metal insertion
- Complicated parts with many features are easier to design if you make a mental plan before starting to work.
Here are the pieces you can print:
Note: I decided to keep the "pegboard hook" name, even if some say they are slatwall hooks, because in the Hackaday.com project page they mentioned them as "pegboard hooks".
1. Pegboard Clamp (named pegboardhook_clamp_mk1):

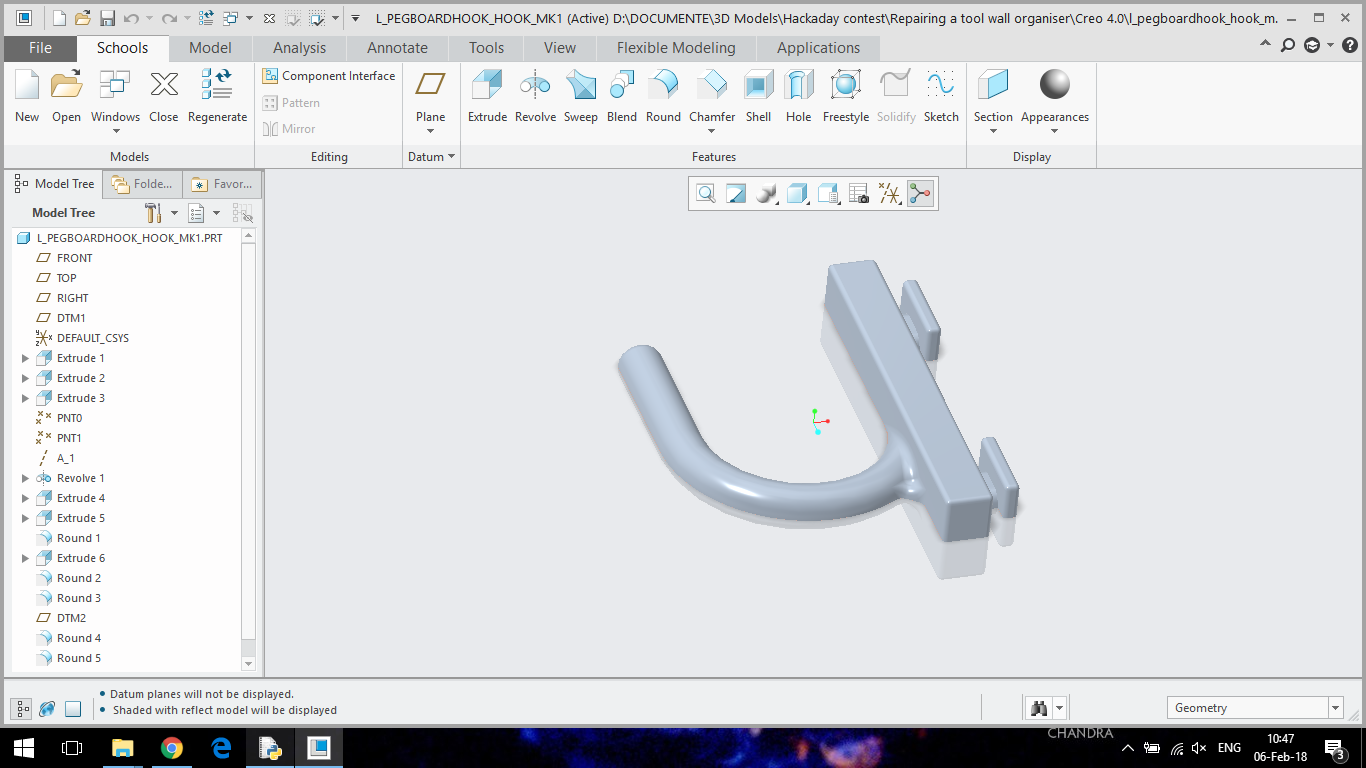
2.Pegboard hook (named pegboardhook_hook_mk1):
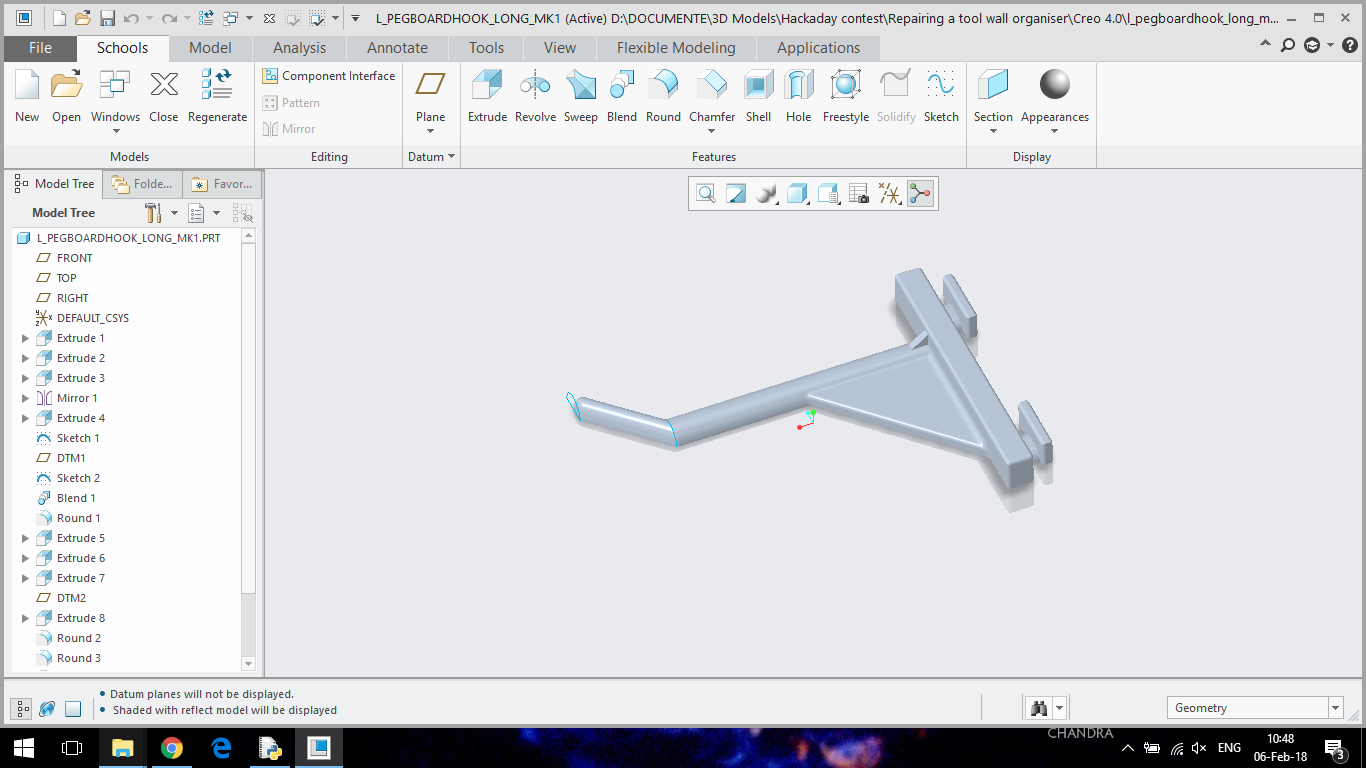
3. Pegboard hanger long (named pegboardhook_long_mk1):
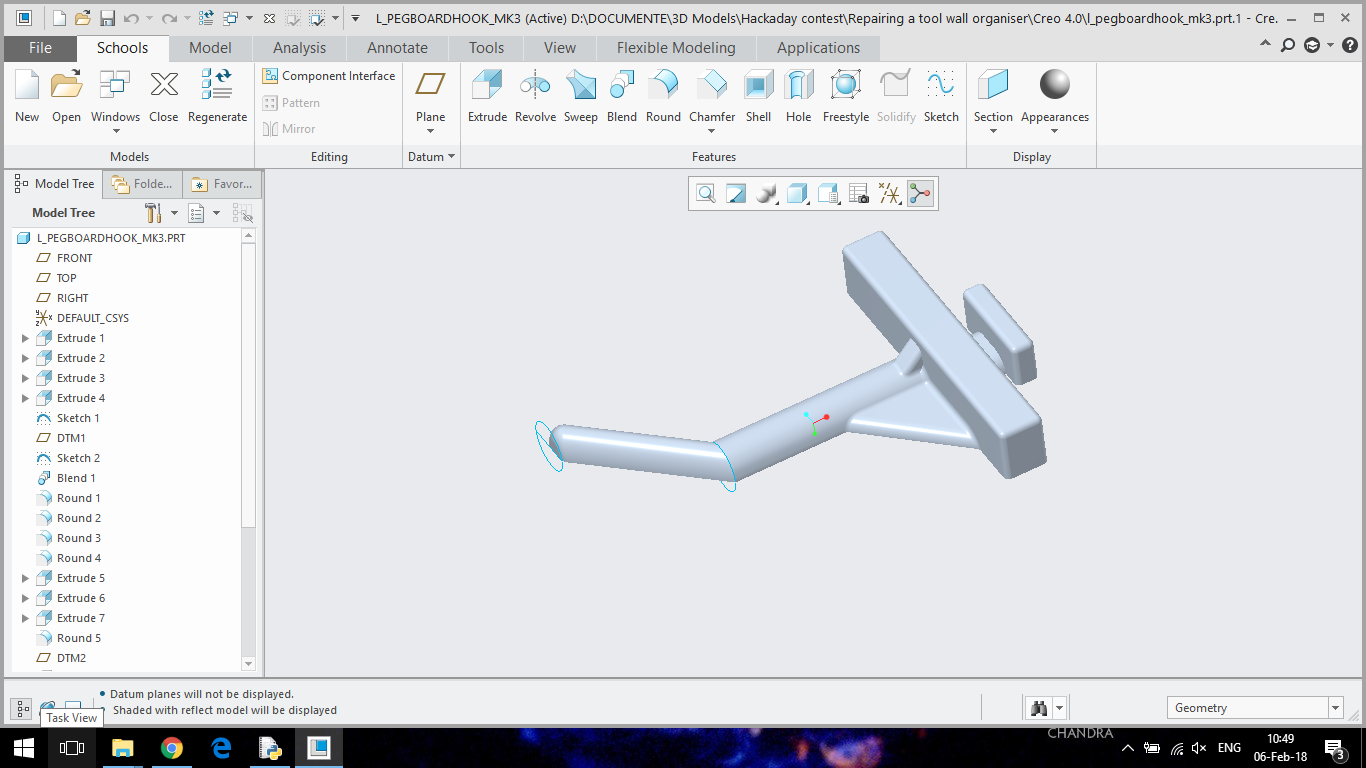
4. Pegboard hanger shor(named pegboardhook_mk3):
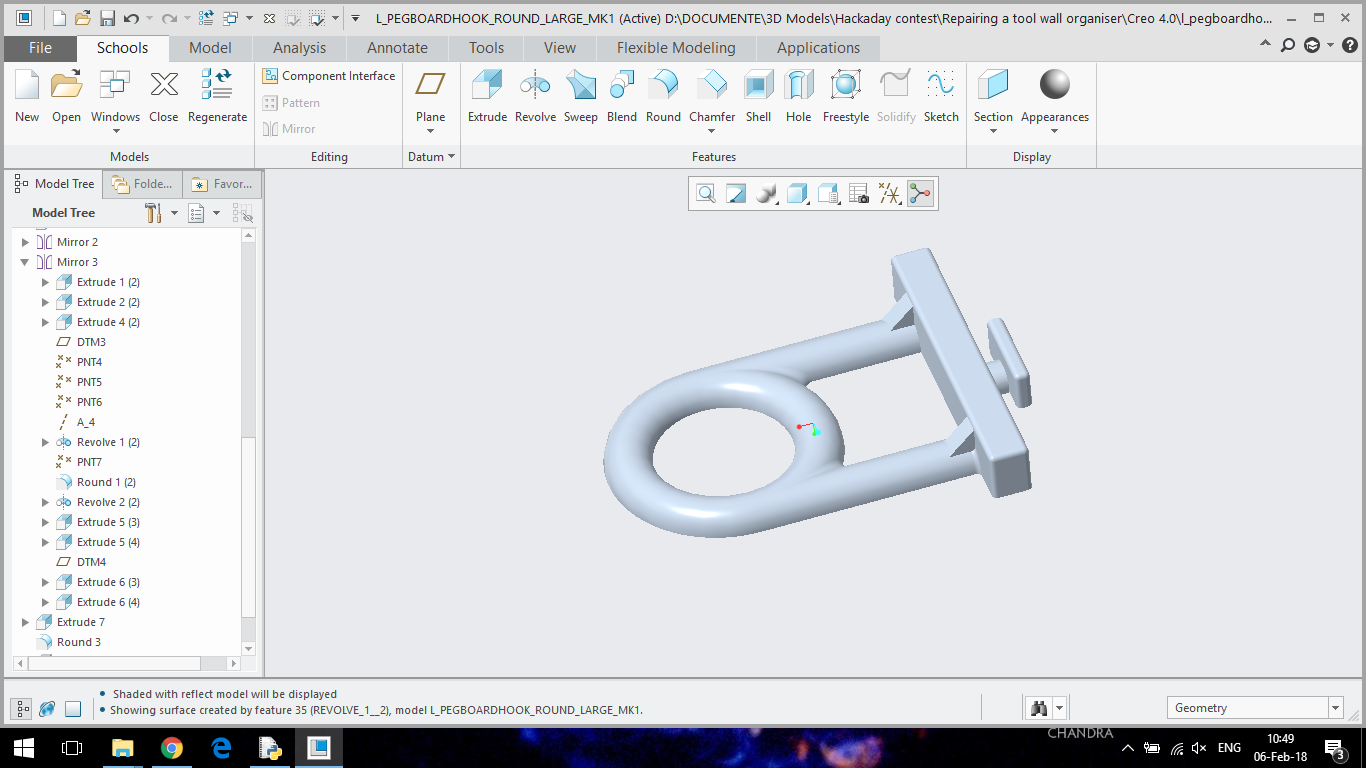
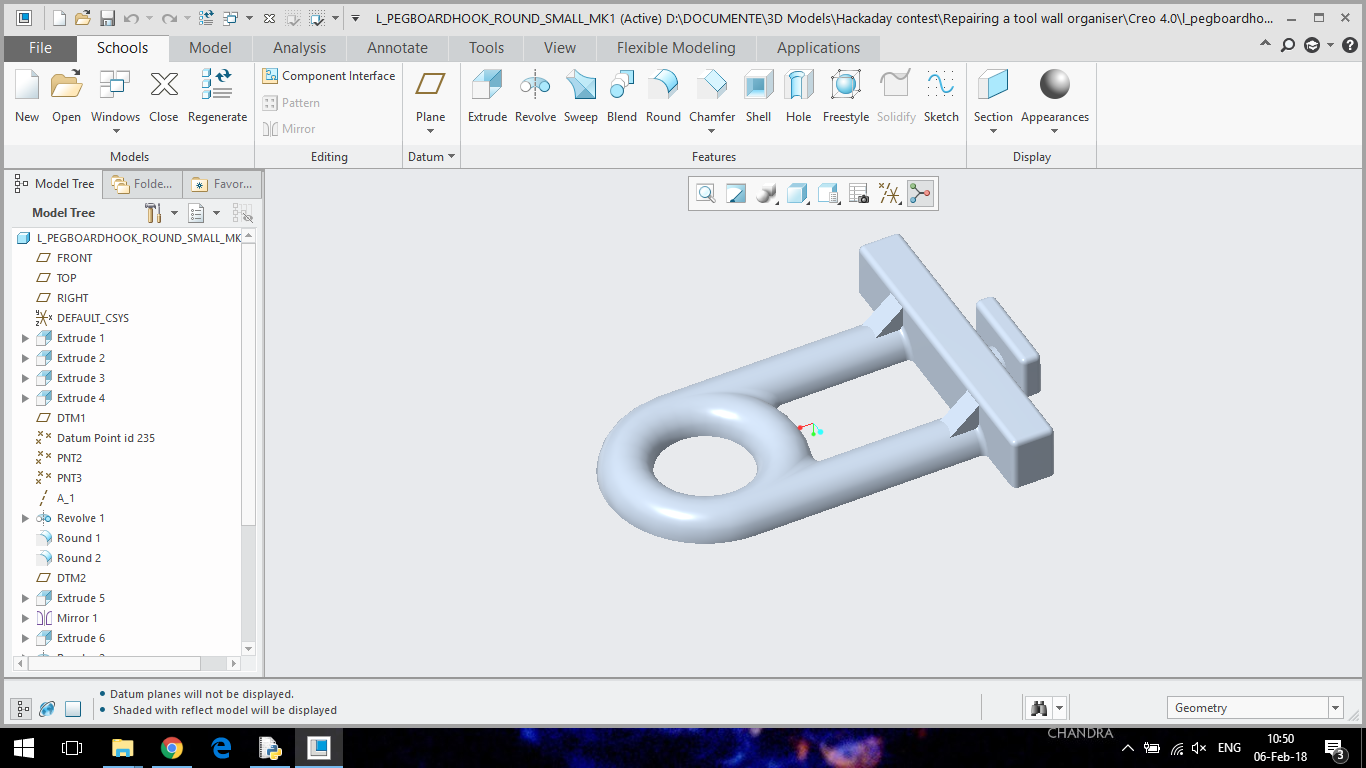
5. Pegboard circle large (named pegboardhook_round_large_mk1):
6. Pegboard circle small(named pegboardhook_round_small_mk1):
How I designed those parts:
Even if those parts are different, the designing process was pretty simple and easy to do. I used 3 main tools, and 2 secondary tools:
- Main tools:
- The "Extrude" tool: used to extrude a 3D from a 2D drawing, liniary(used mainly for making cuboids, cubes, prisms).
- The "Revolve" tool: used to extrude a 3D shape by revolving a 2D drawing around an axis(used for toroides, speres, cones).
- The "Blend" tool: used to extrude a 3D shape by "blending" some sketches toghether.
- Secondary tools:
- The "Round" tool: used to round sharp corners.
- The "Sketch" tool: used to draw the sketches(2D drawings simillar to those from "Extrude" or "Revolve") used by the "Blend" tool.
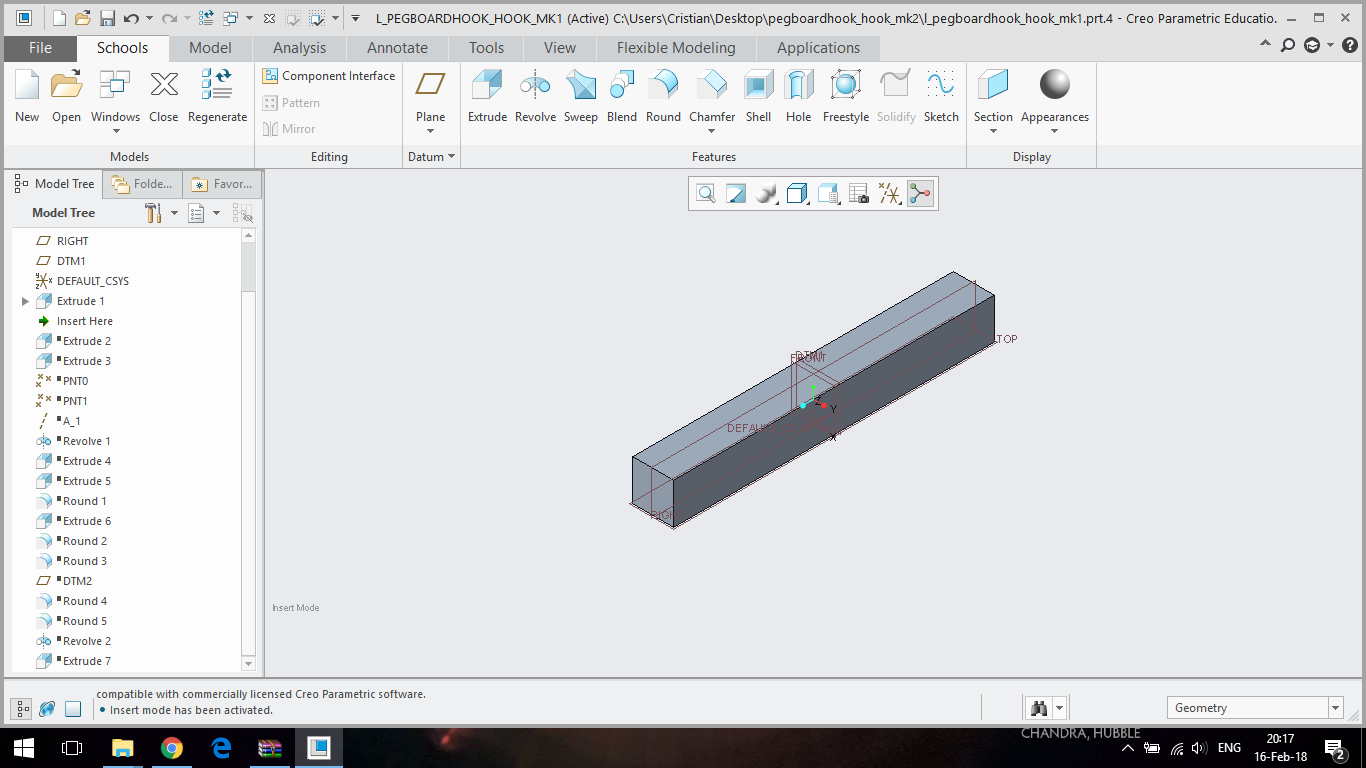
To exemplify, i will explain how I made one half of a hook (named pegboard hook in my project).
All those steps took me 30 minutes for the initial part, and another 10 minutes for the "upgrade". So, let's begin making the part:
- I extruded a cuboid with the exact dimensions (I used the calliper many times in this project) on the "TOP" plane:
![]()
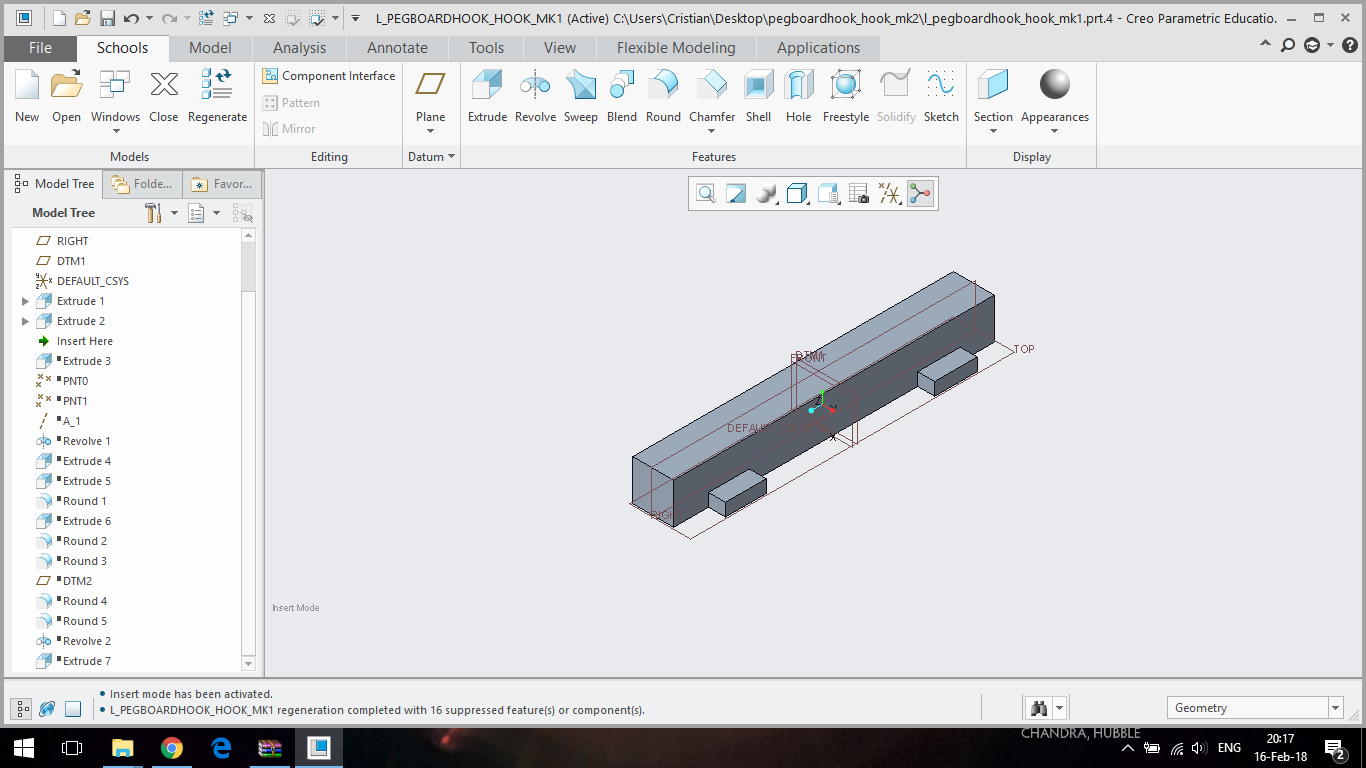
I extruded 2 small "feet" (another 2 cuboids) on the side of the first extrude:
![]()
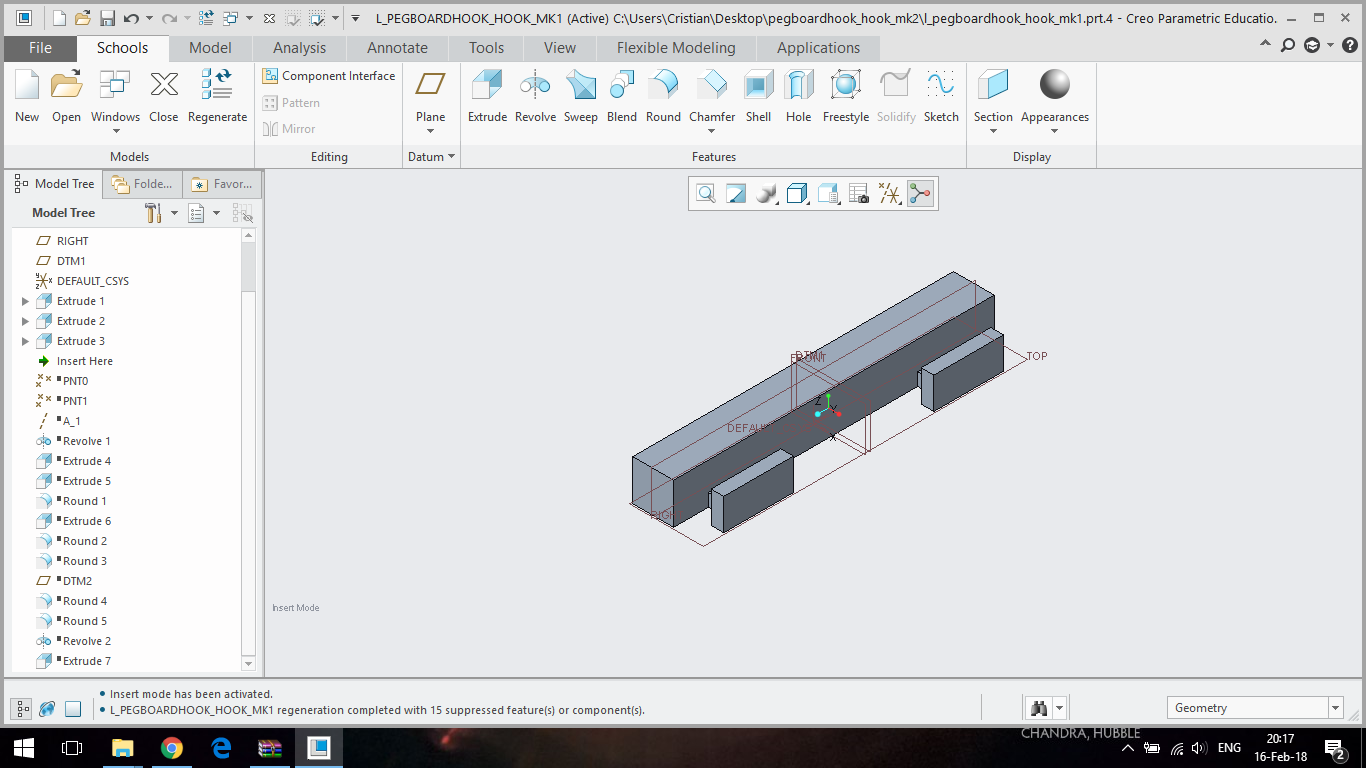
I extruded 2 stoppers on the second extrude:
![]()
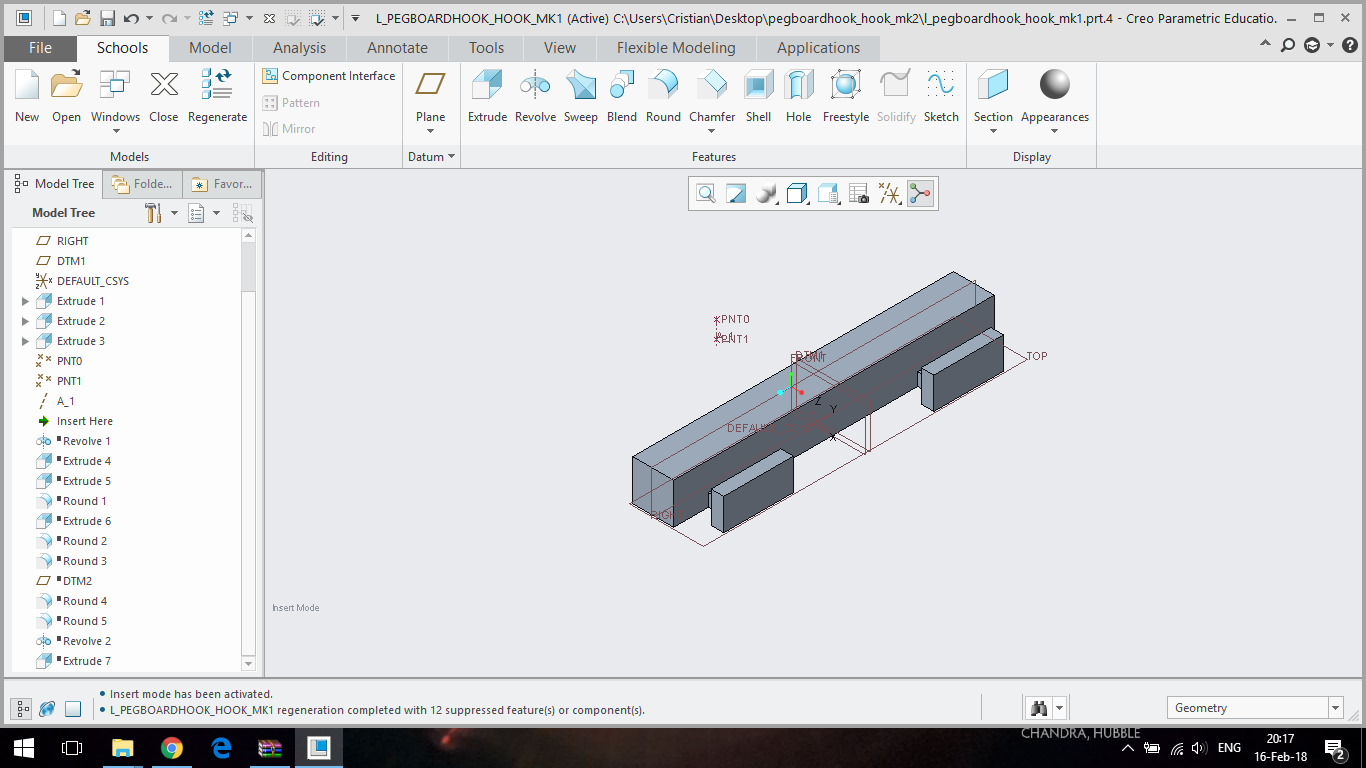
I defined 2 points and an axis between those 2 points (this will be the axis for my "revolves"):
![]()
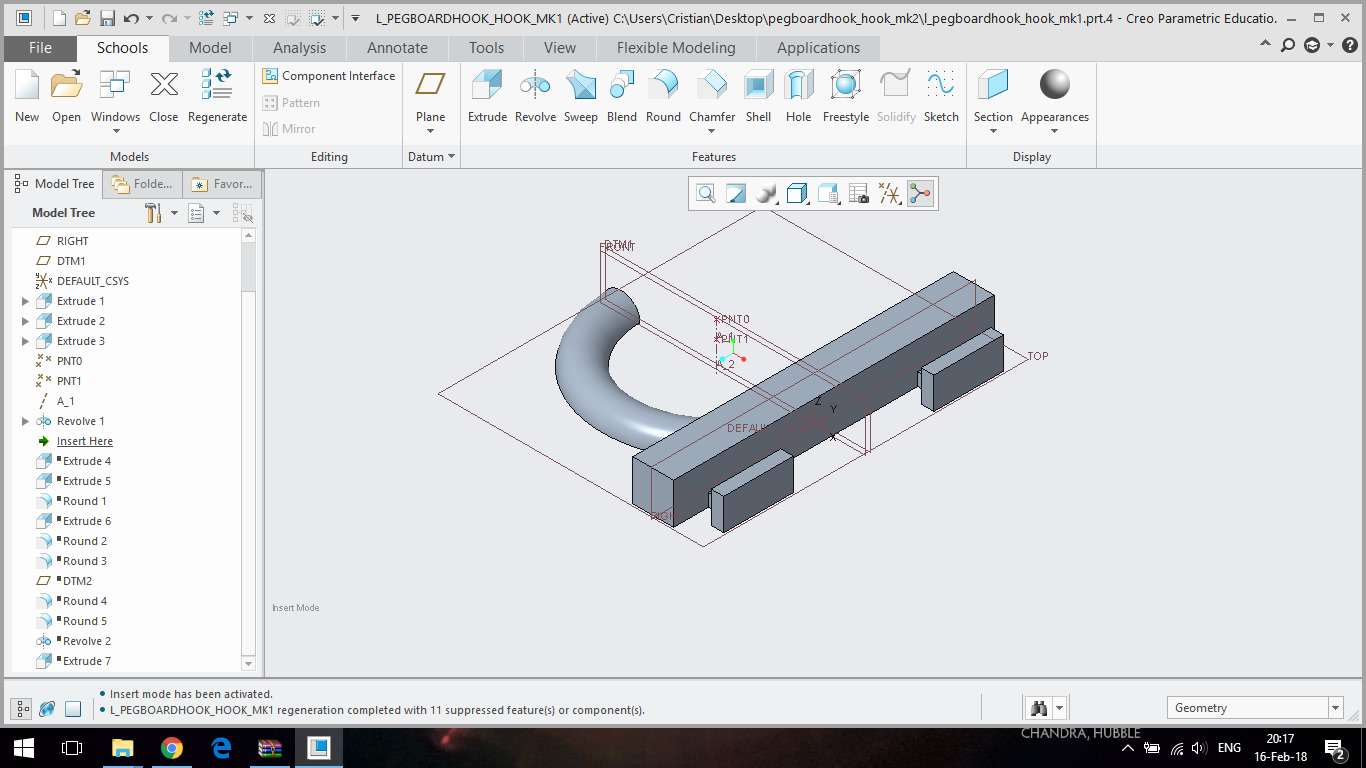
I made the first "Revolve", used for the round part of the hook:
![]() I switched to the bottom side of the part for better understanding of the 3D model (the channel was made in the same revolve also):
I switched to the bottom side of the part for better understanding of the 3D model (the channel was made in the same revolve also):![]()
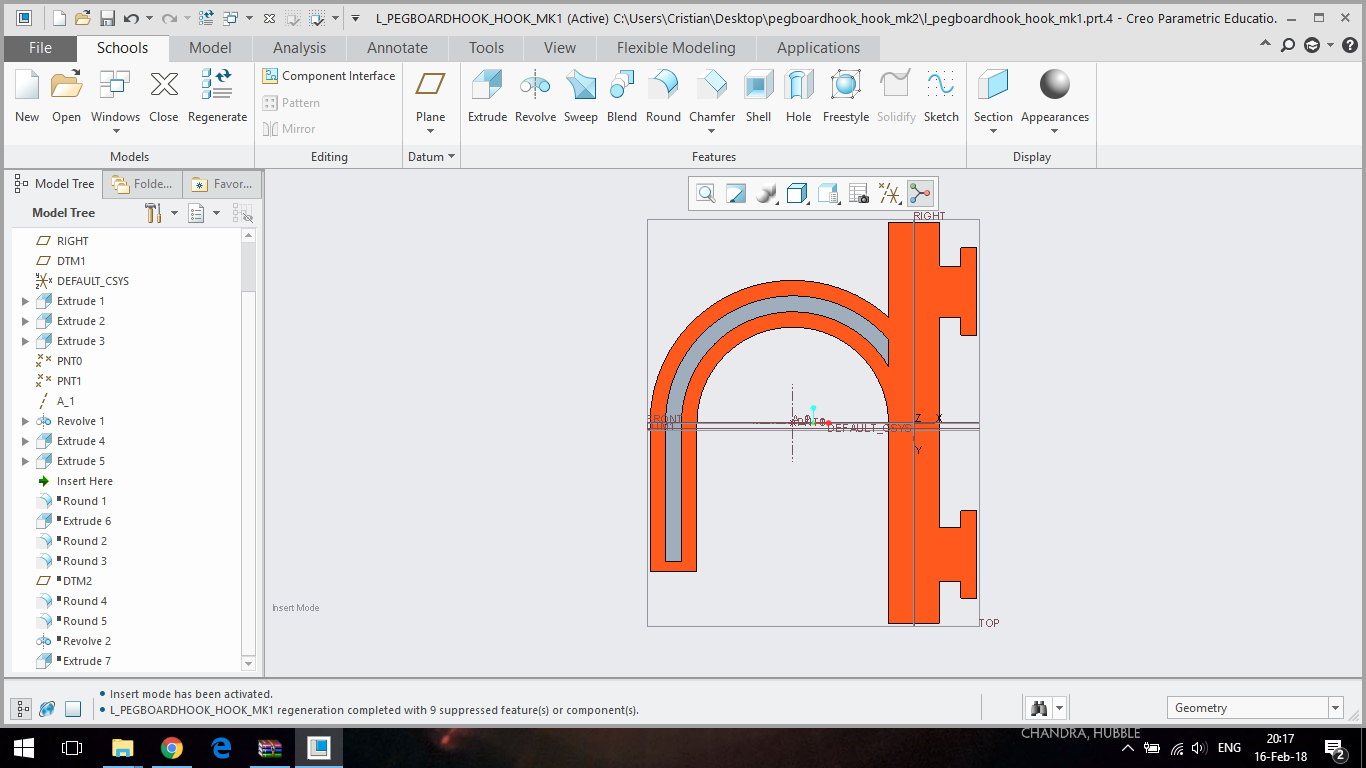
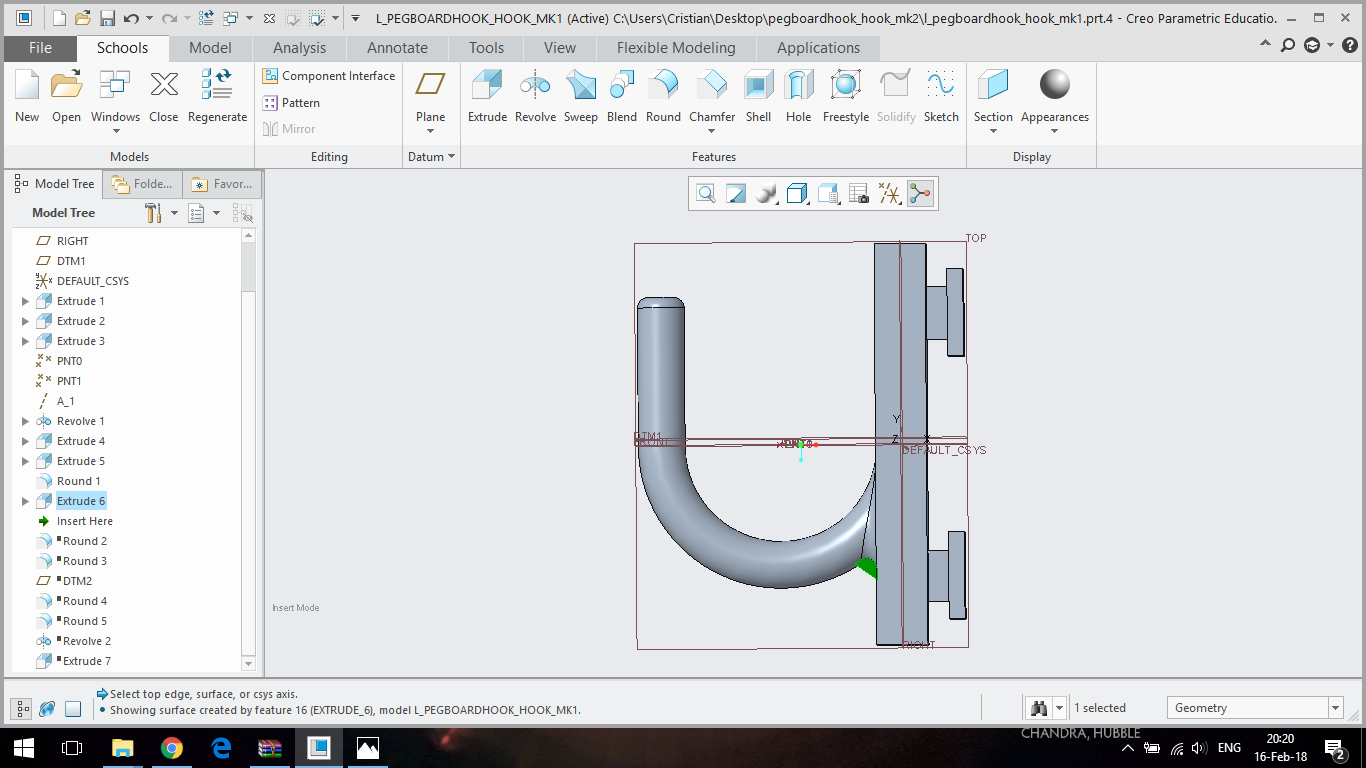
I extruded an extension to the "Revolve", using the same shape:
![]()
I extruded a tiny little cap (I will use it for rounding the end of the hook):
![]()
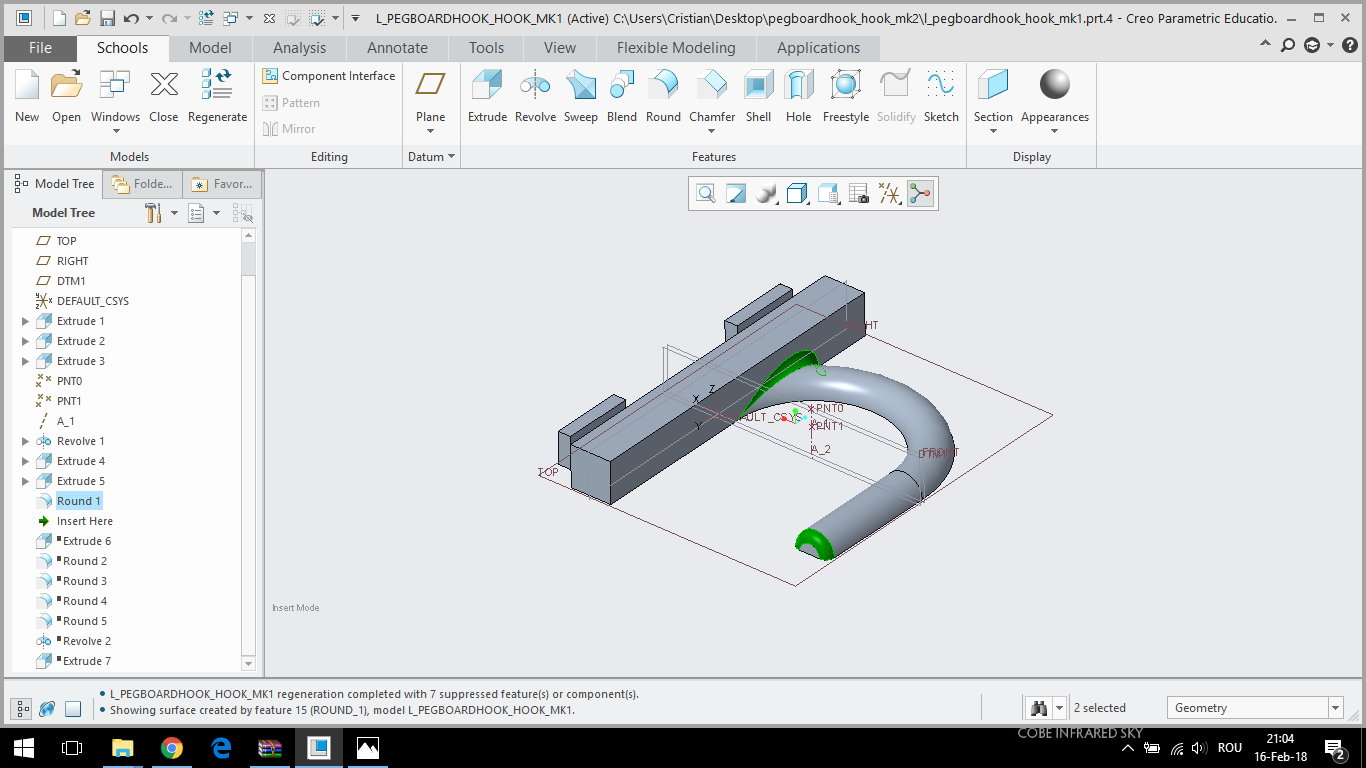
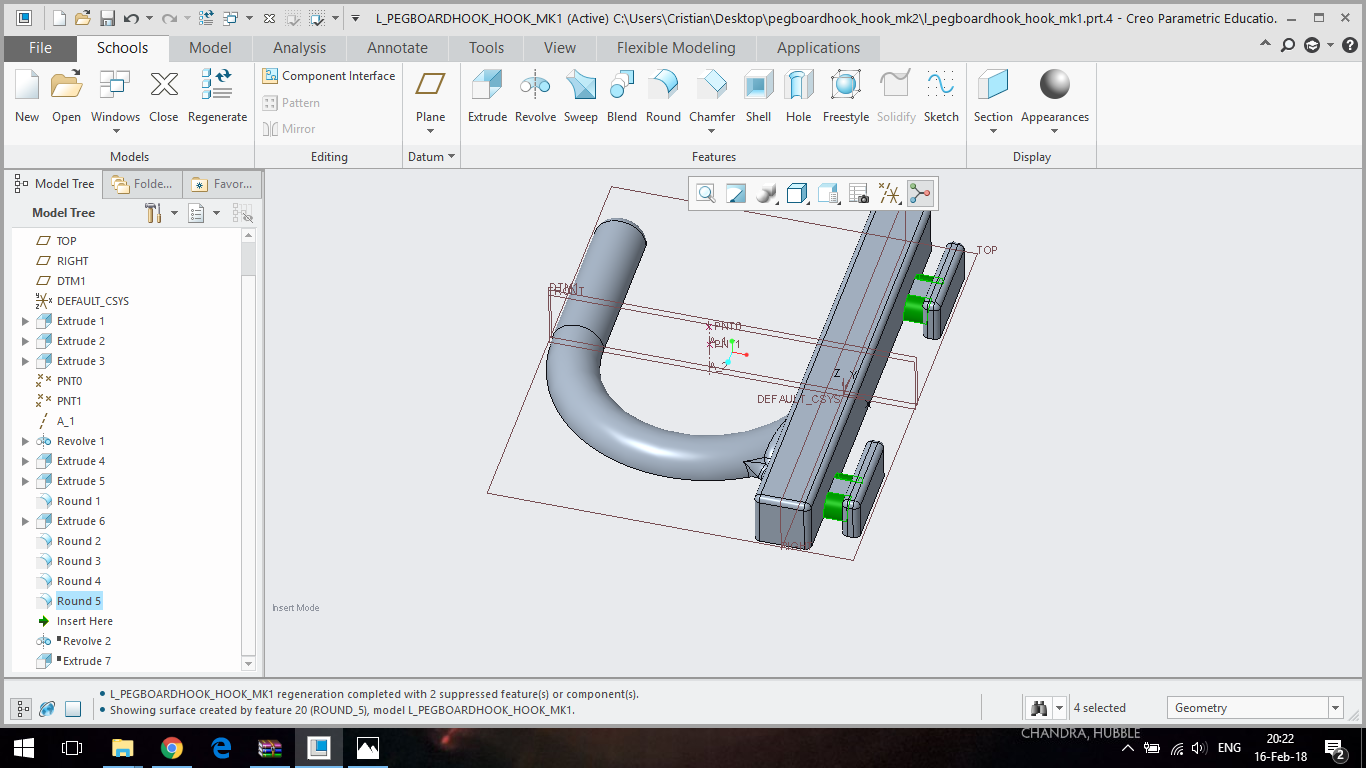
I rounded the end of the hook, and also rounded the edge between the body of the hook and the hook (highlighted in the next screenshot):
![]()
I extruded a small support (also highlighted):
![]()
I rounded the support:
![]()
I rounded the support even more:
![]()
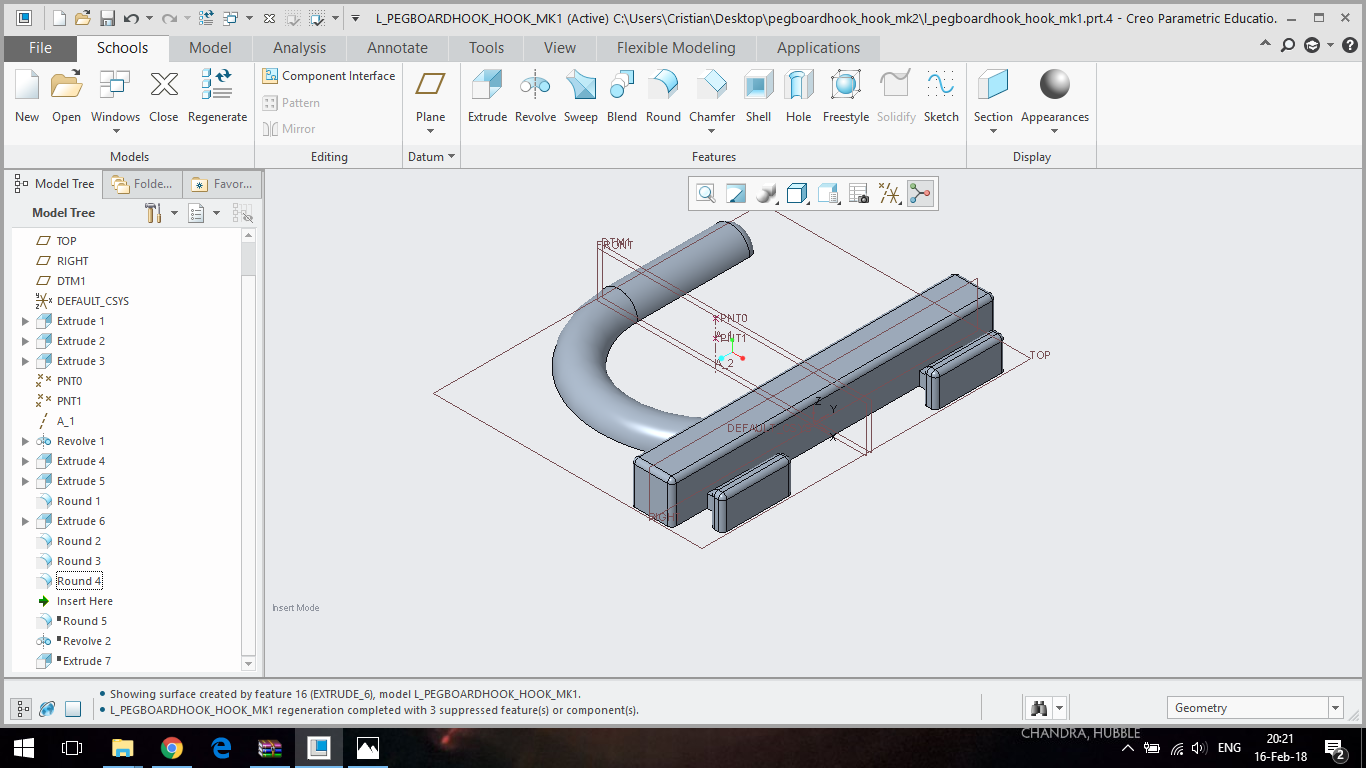
I rounded all the part edges and vertices:
![]()
I rounded the part's "feet" in order to fit better in the slatwall (highlighted):
![]() Note: this is the finished mk1 part. The mk2 part upgrades are presented below.
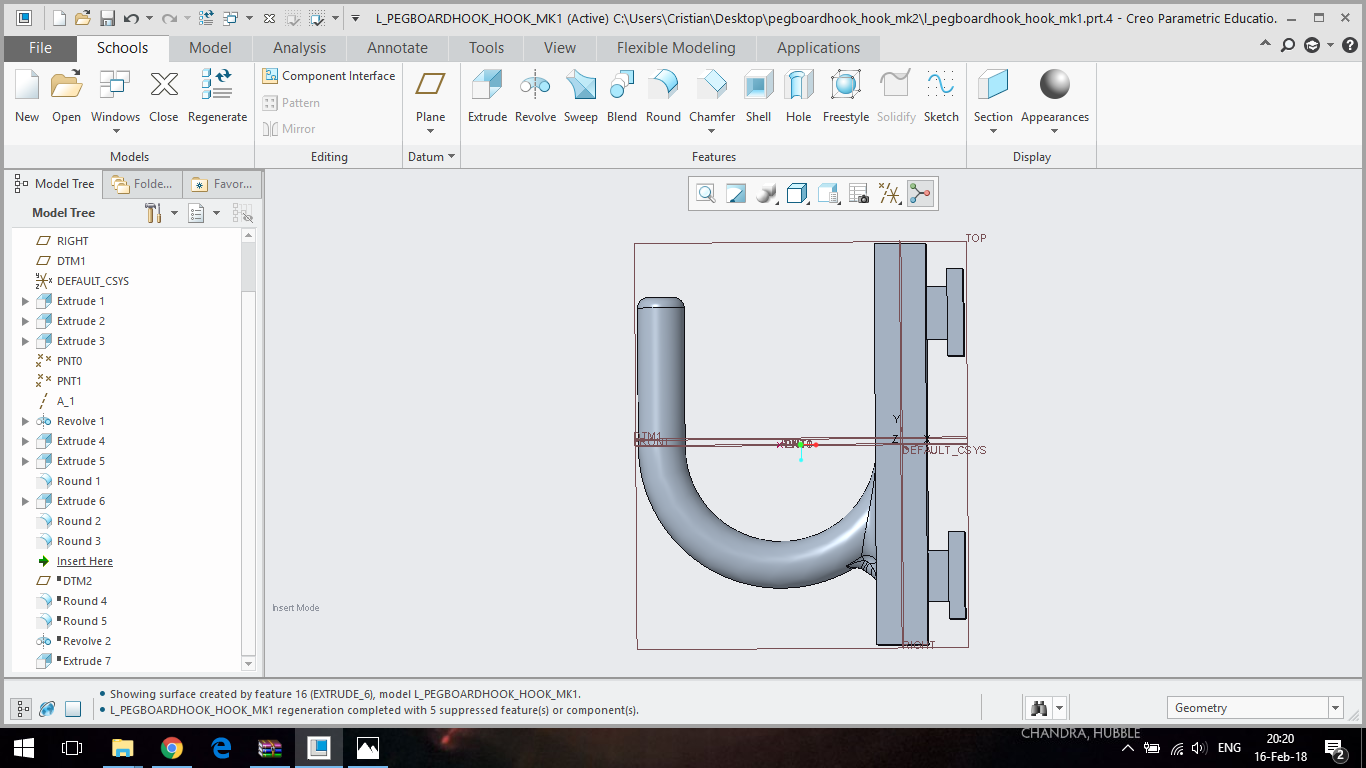
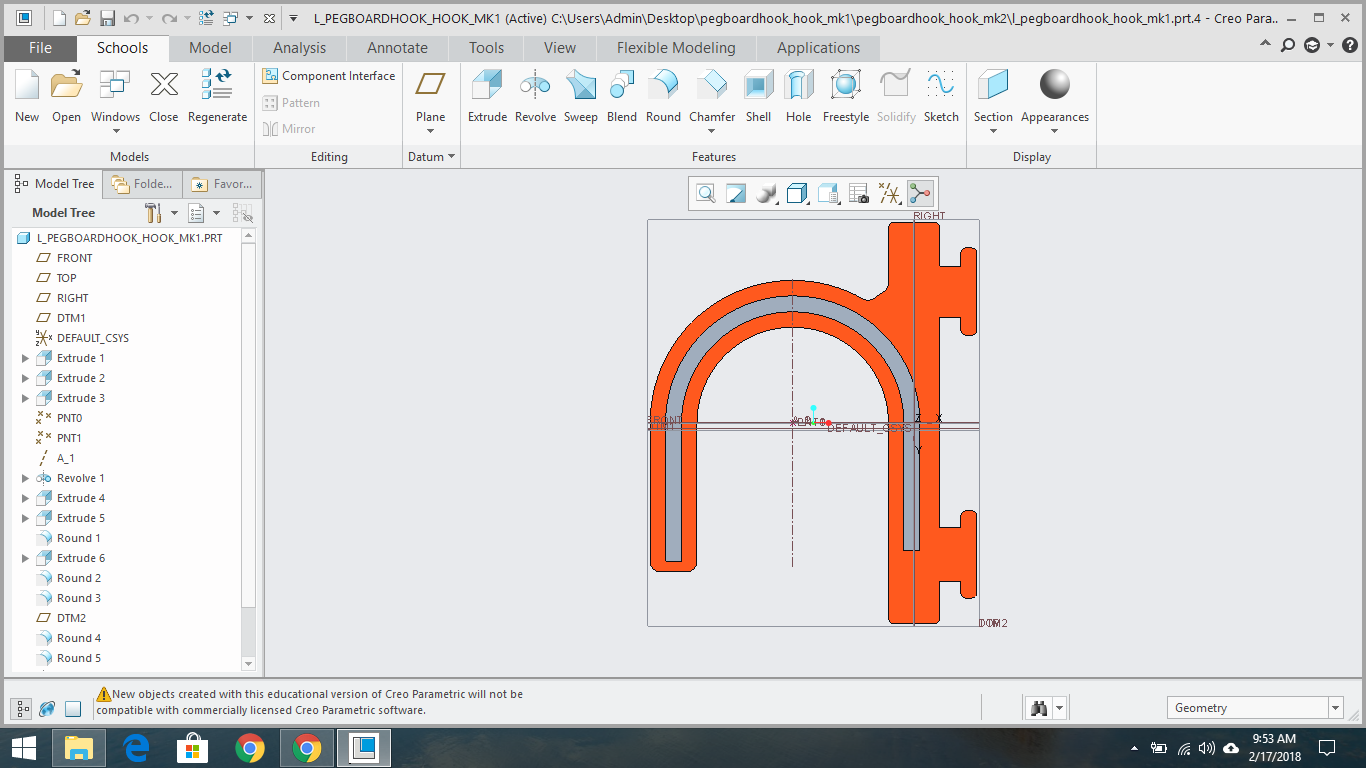
Note: this is the finished mk1 part. The mk2 part upgrades are presented below.I made the channel longer with another "revolve" around the same axis from step 4:
![]()
I made the channel longer with another extrude:
![]()
The finished parts looks the same as the part from step 13, but it has even more strength.
 I switched to the bottom side of the part for better understanding of the 3D model (the channel was made in the same revolve also):
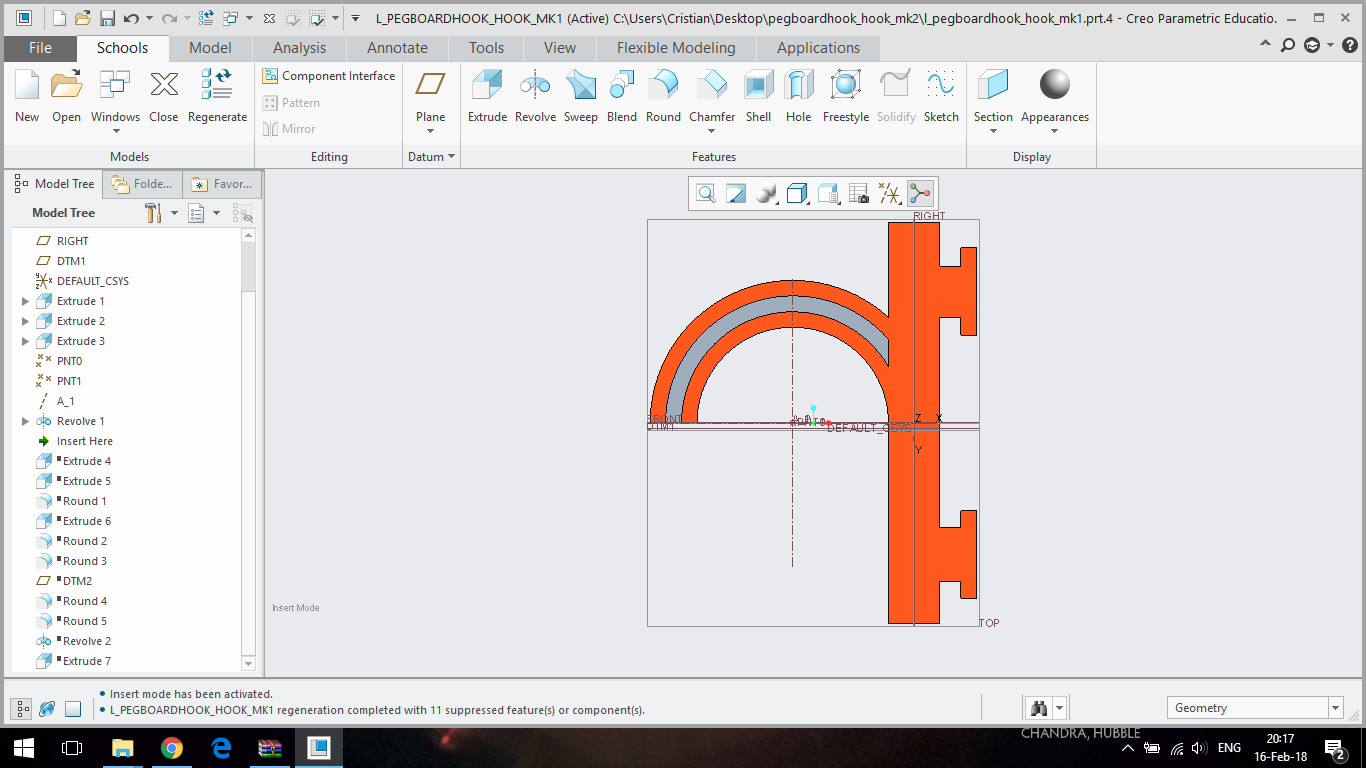


 Note: this is the finished mk1 part. The mk2 part upgrades are presented below.
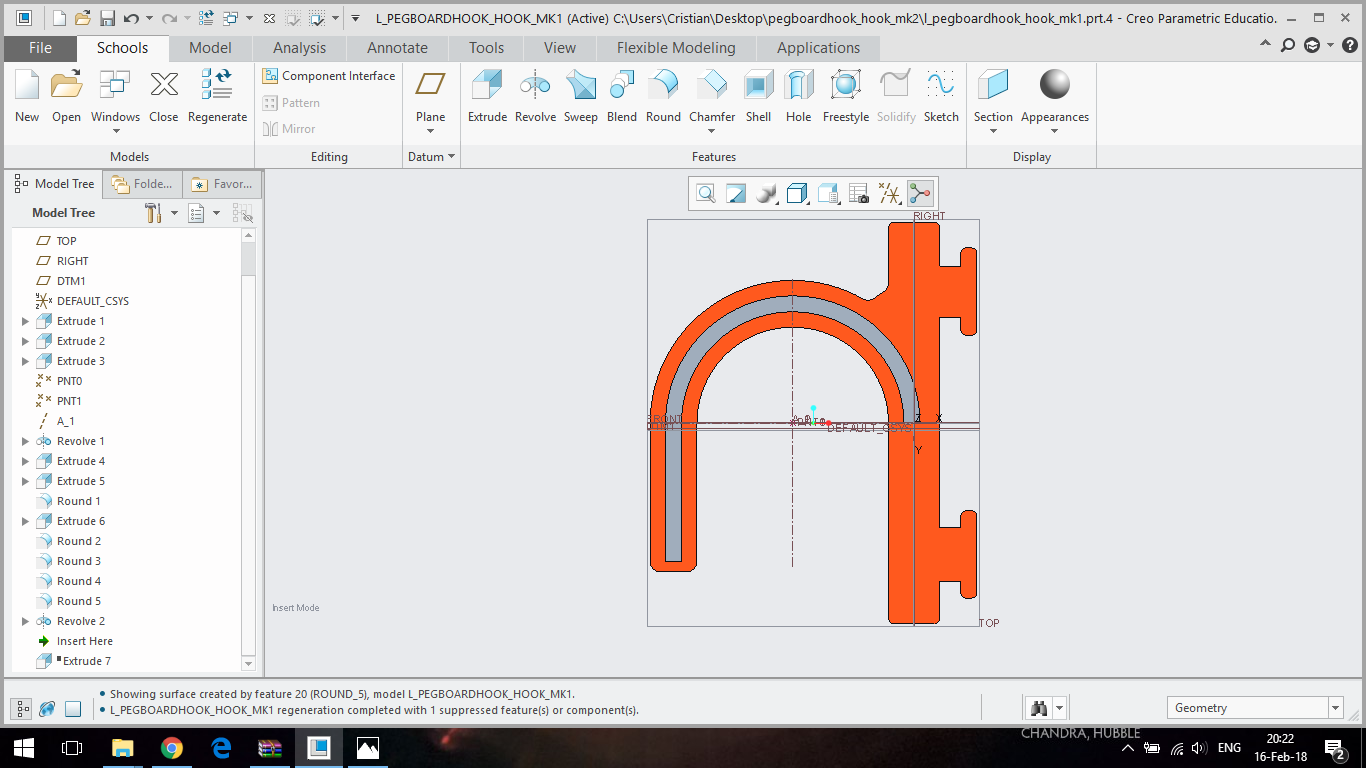


 Timo Hyvönen
 rawe
rawe
Totally missed this project because the title / picture is mundane. Showcase the steel reinforcement idea in your title, that's the interesting part of this hack!
I want to try this now, does just sandwiching those thin hooks around a paperclip really work, or are they still pretty fragile? I could see making like a grid of tracks in many directions to lay stainless steel wire in to create a mini "rebar" structure for a print. Would be a cool way to print something thin that would be deceptively strong / stiff.