 extremerockets
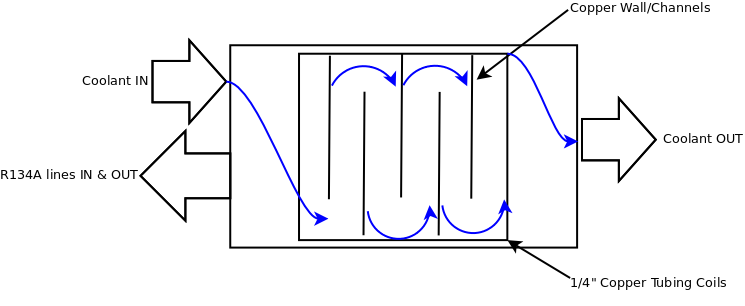
Here is how I made my Heat Exchanger, which basically has three parts: evaporator, chamber for evaporator and coolant liquid to mix, and a way to seal the chamber that will allow tubing and refrigeration connections. Below is a very basic diagram showing how the Heat Exchanger works. The evaporator coil gets cold when the refrigeration system is running. Inside, the chamber is filled with liquid coolant. The coolant is pumped through the chamber that contains the cold evaporator which mixes the coolant through the evaporator channels cooling the liquid as it is pumped out of the chamber. The evaporator coil is built so that the coolant can't just flow straight past the coil. This would be inefficient and give the coolant inadequate contact time with the evaporator coils.
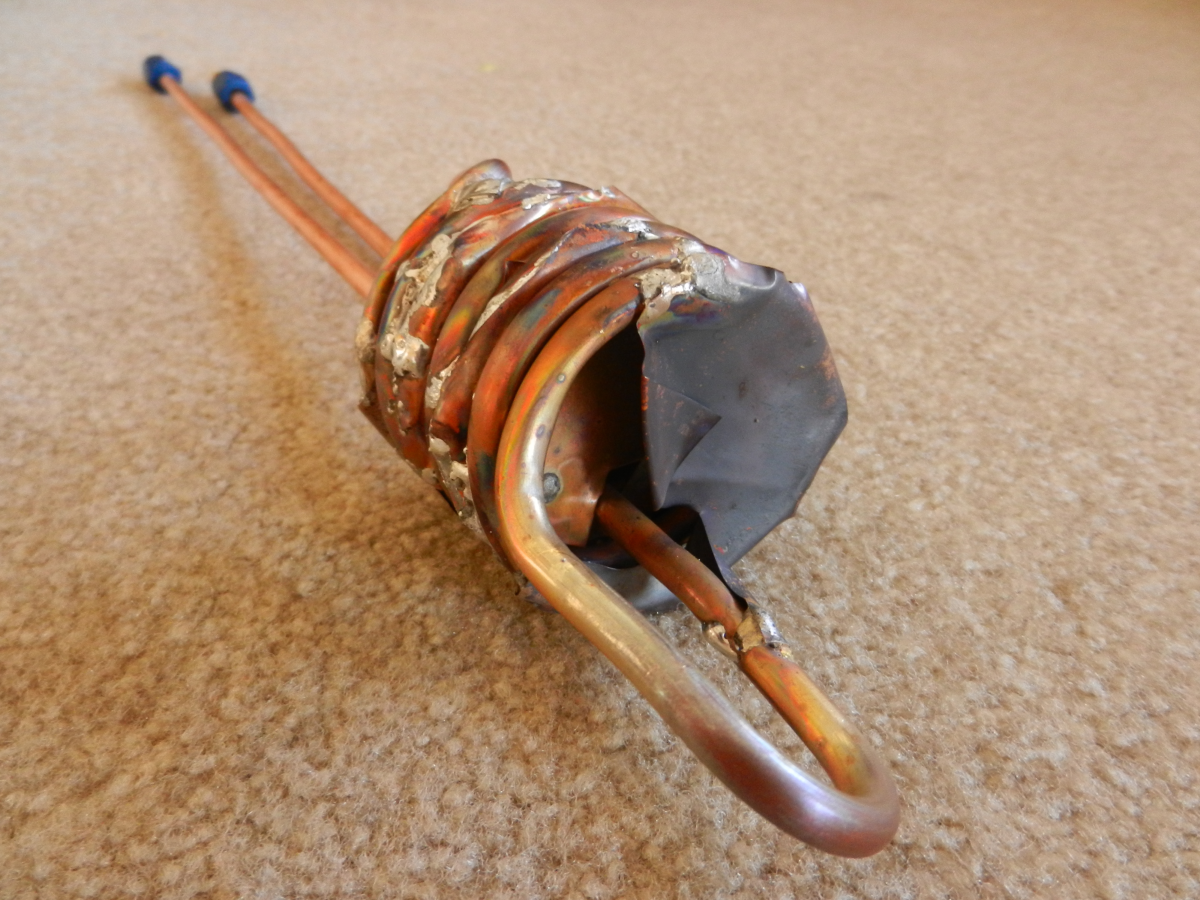
The photo series below shows how I made the evaporator coil and then soldered in the 5mil copper sheets to make coolant channels that allow the coolant to flow through the evaporator coil. This gives the coolant adequate time to cool down since it is now in contact with the coils longer.
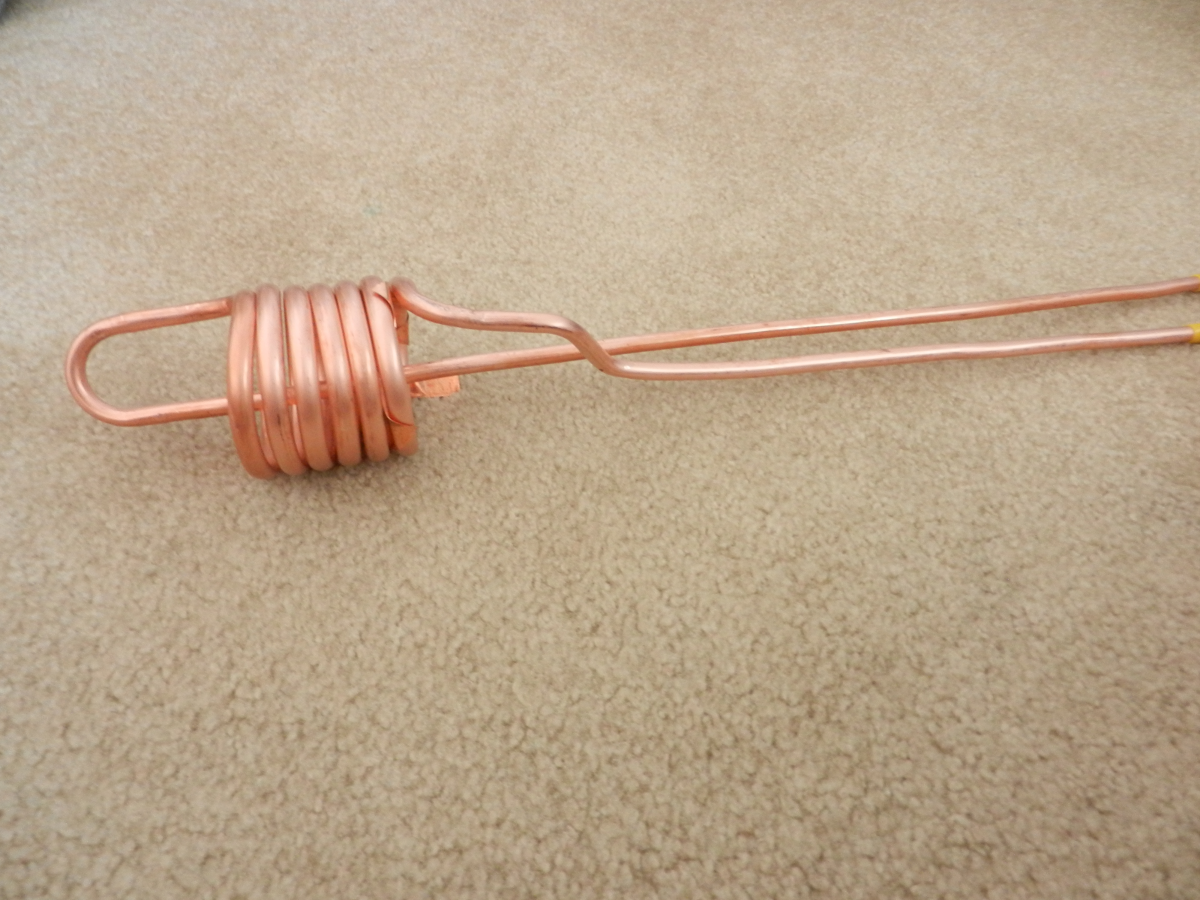
Above is the overview of the evaporator coil.
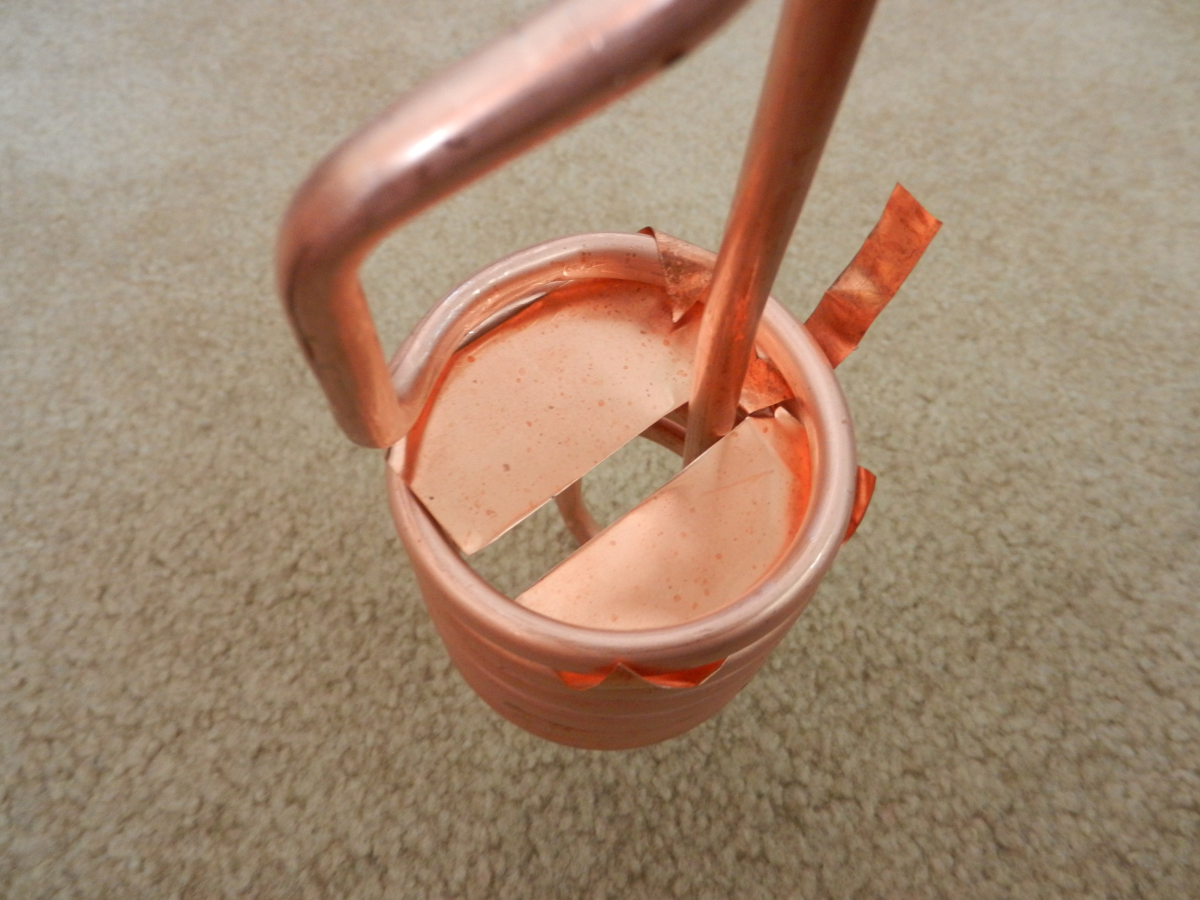
First copper plate to make the coolant channels
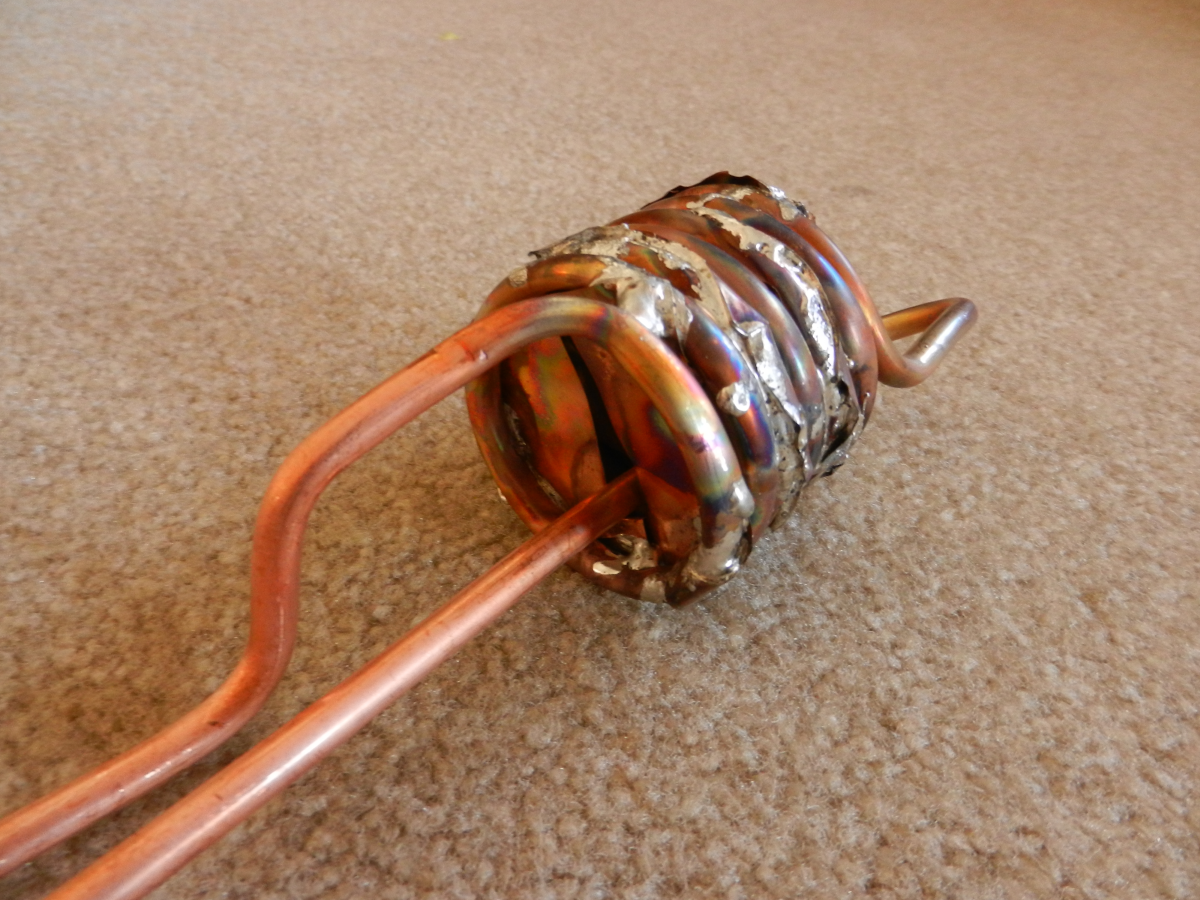
Coolant channel soldered in place.
Other end of the coolant channel.
Next, I used my 3D printer and made a set of end caps.
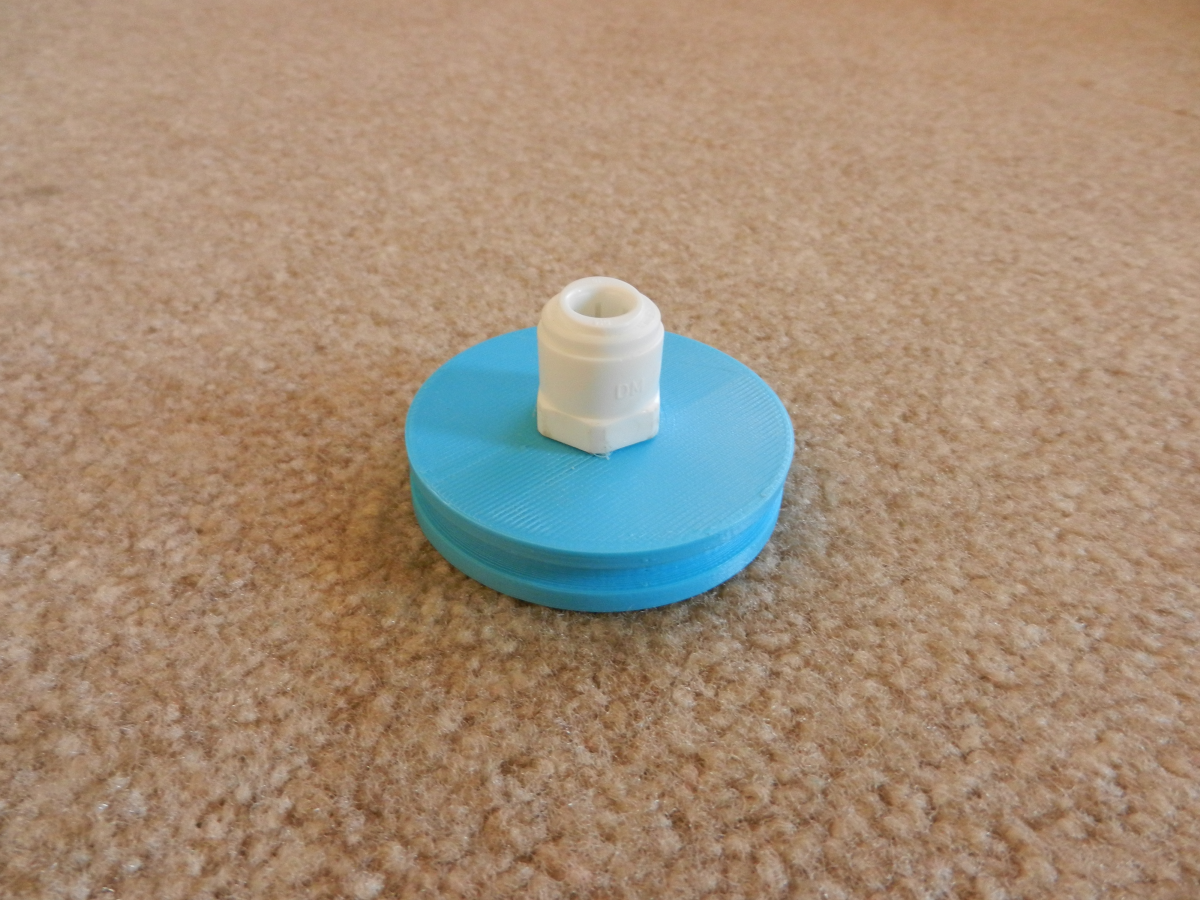
End cap with coolant port only.
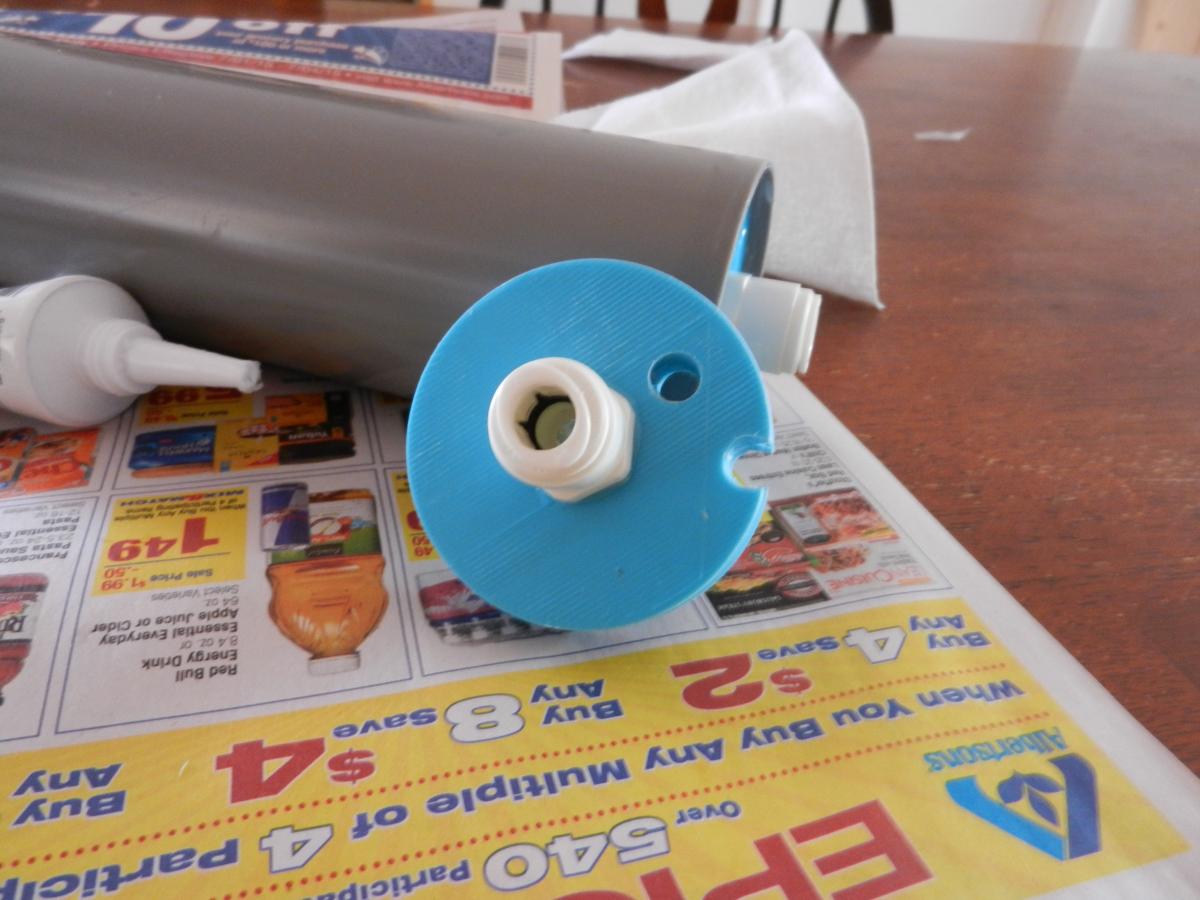
Other end with coolant port and two openings for the refrigeration lines.
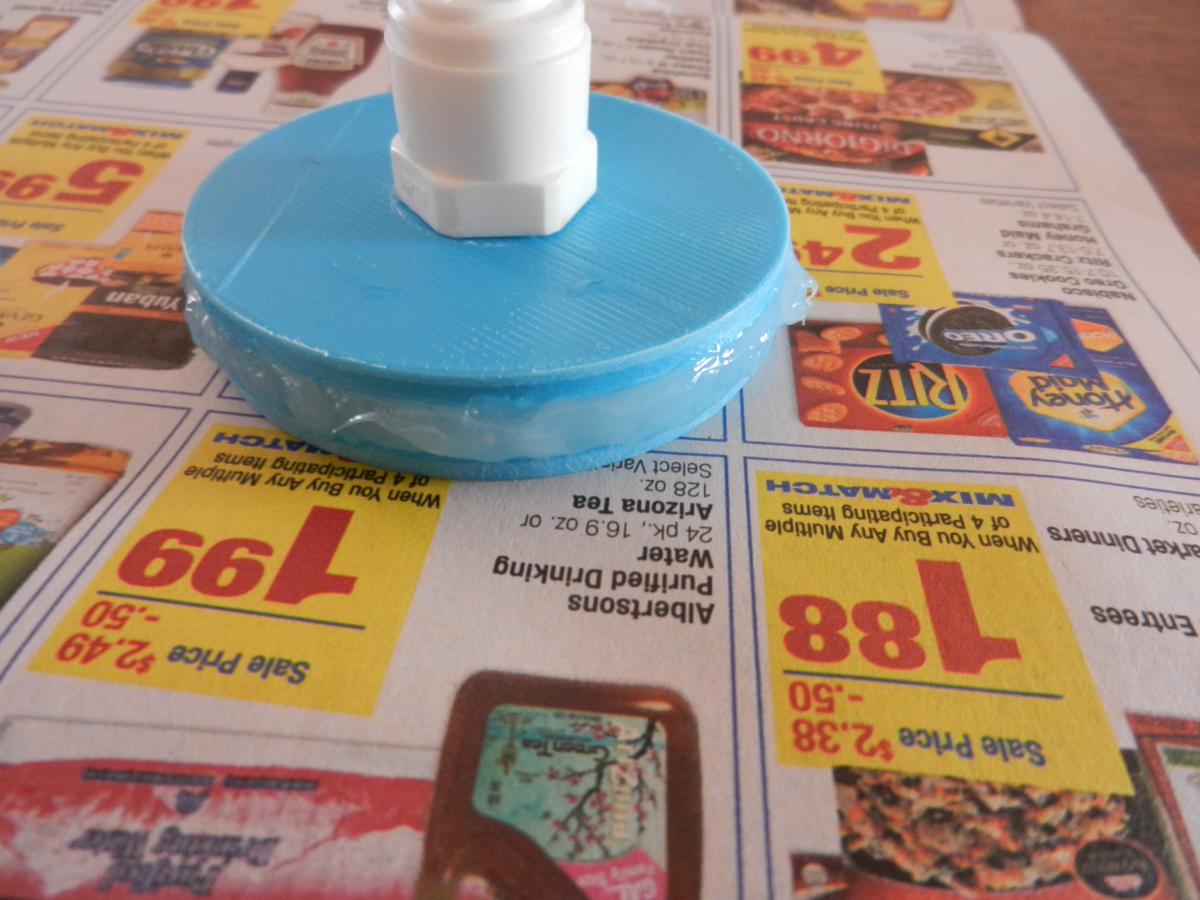
Put 100% silicone around the gasket groove to seal everything up.
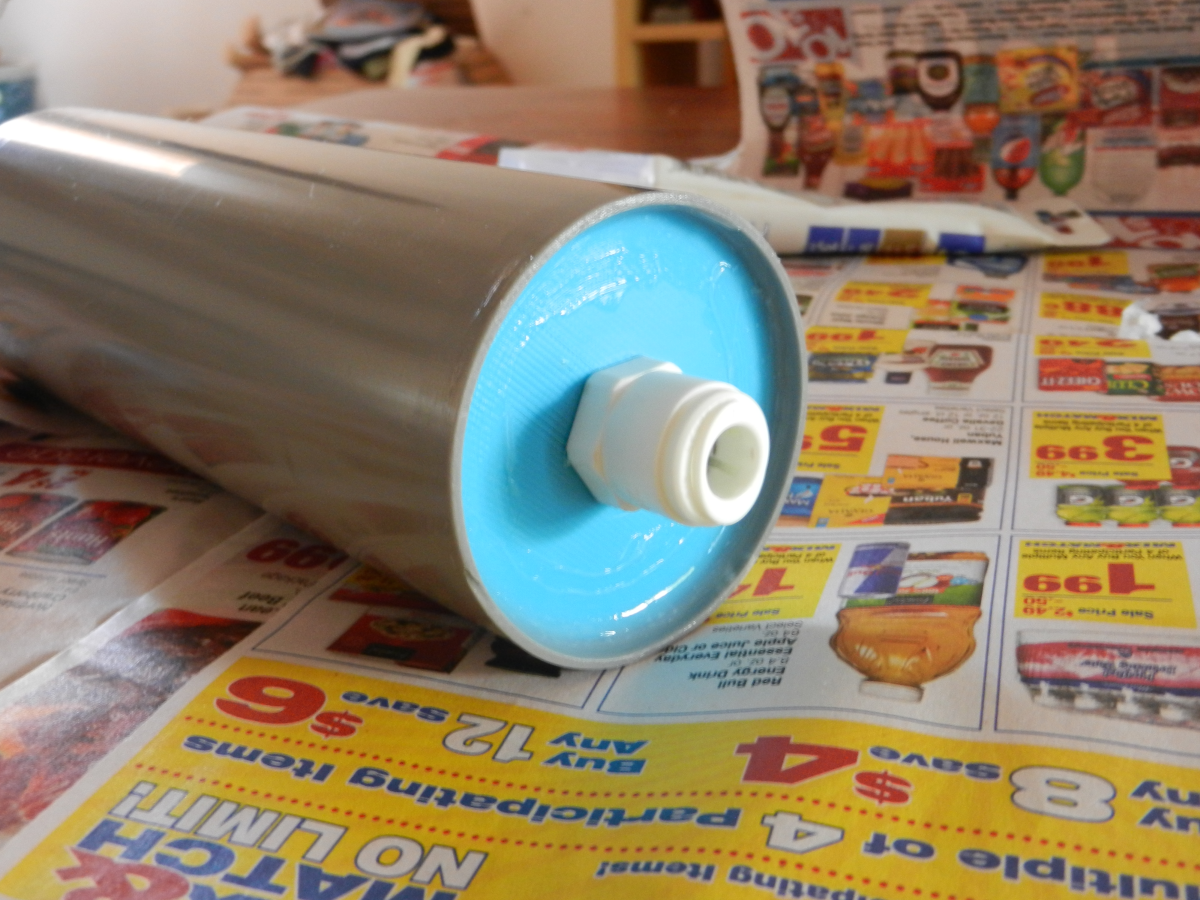
End part installed and sealed with silicone.
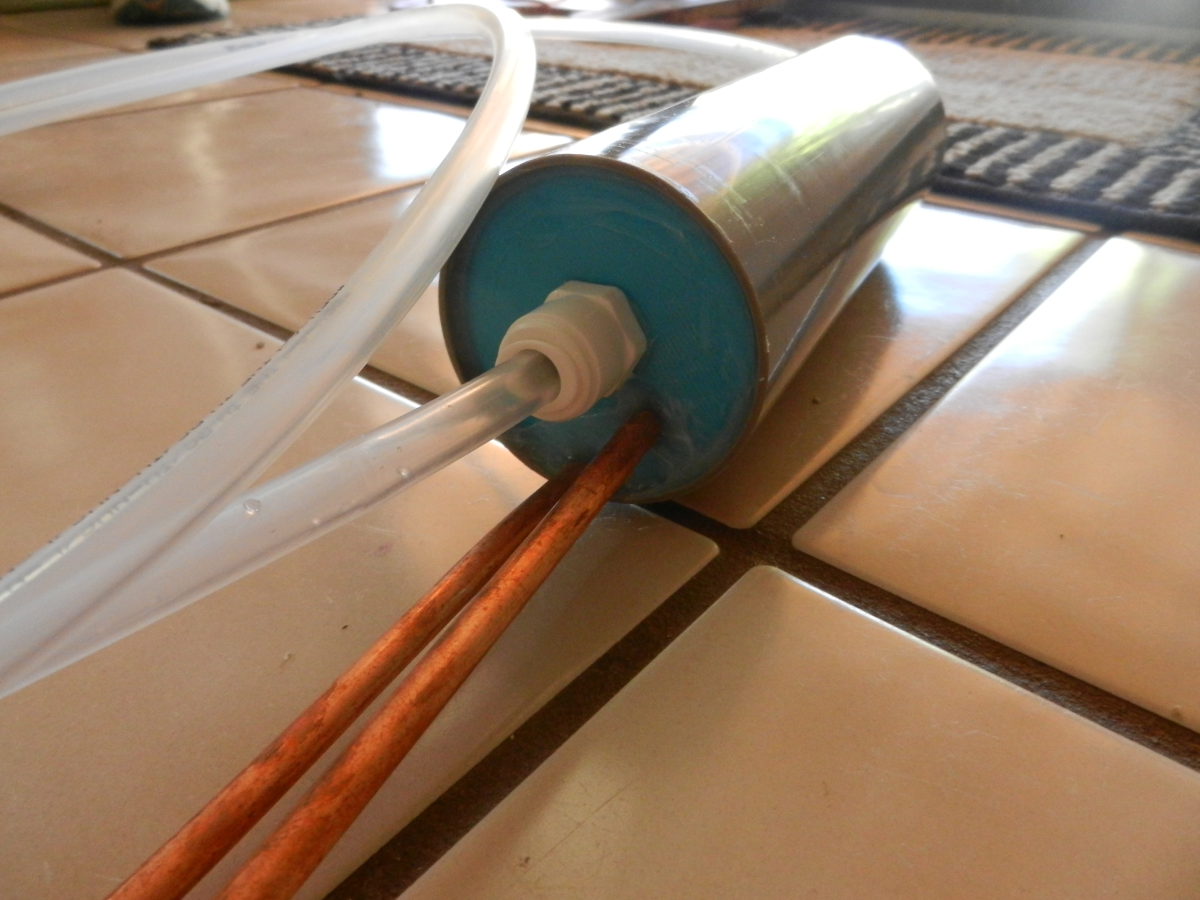
Other end sealed with silicone.
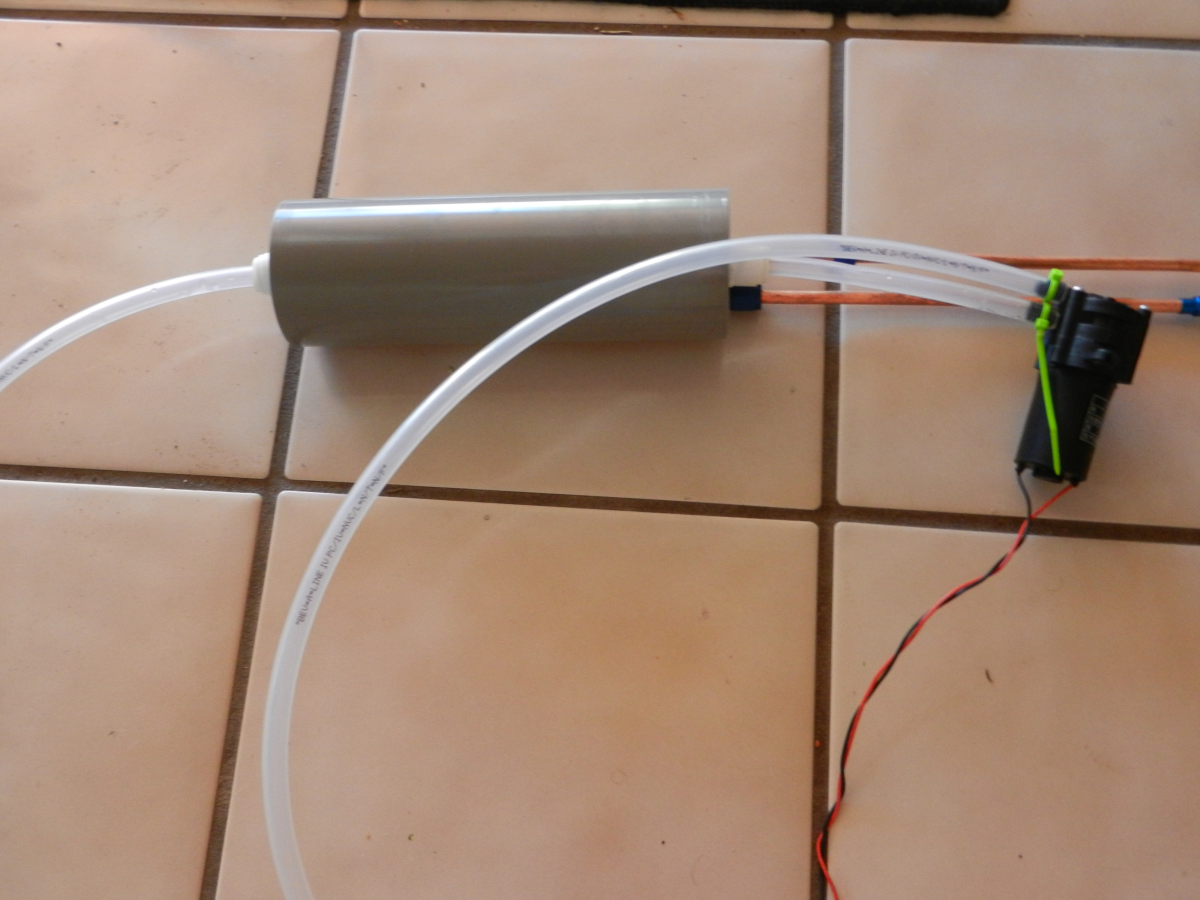
An overview of the whole system.
The chamber is just a G-10 high powered rocket body tube from Public Missile.
Discussions
Become a Hackaday.io Member
Create an account to leave a comment. Already have an account? Log In.