 extremerockets
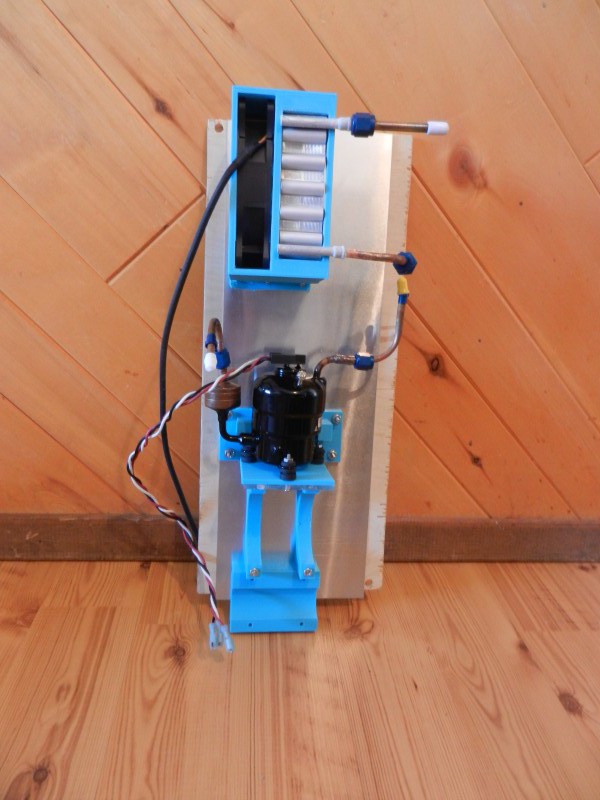
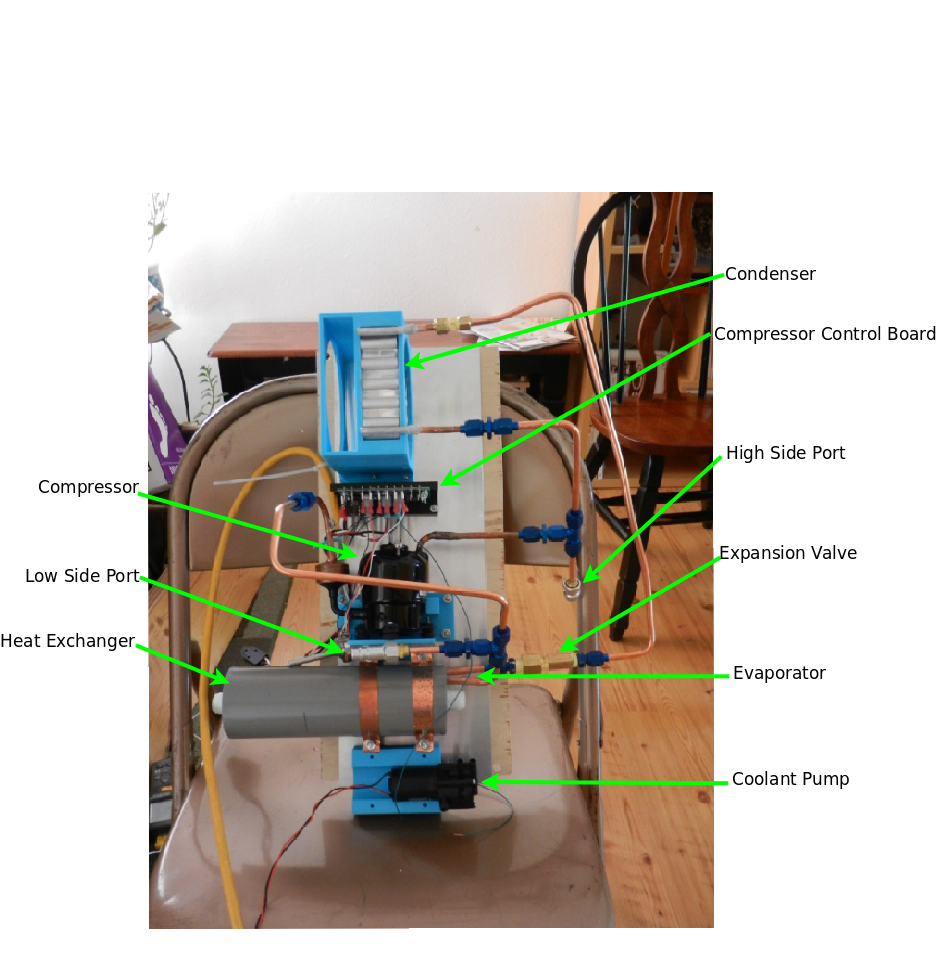
This part of the project turned out to be quite a challenge! In my past project logs I have said that I am going to be using refrigeration to cool the liquid flowing through the shirt. The refrigeration system has only four main parts: the compressor and control board, condenser, evaporator, and expansion valve. The picture below is the version that worked. My first attempt failed to hold a vacuum and was very leaky. I will show the failed system later in the log.
Above: Working second version of the refrigeration system.
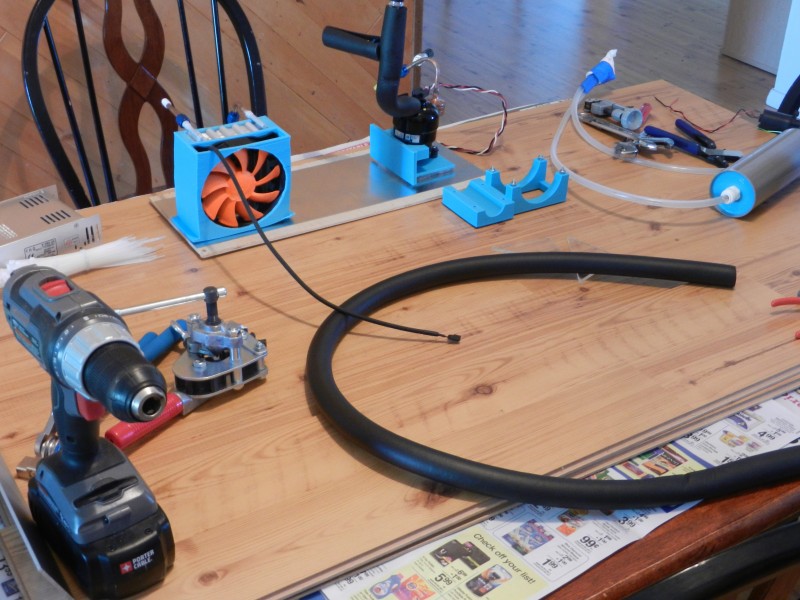
I used my 3D printer to make the mounting parts for the compressor, condenser and fan, and the heat exchanger and coolant pump.
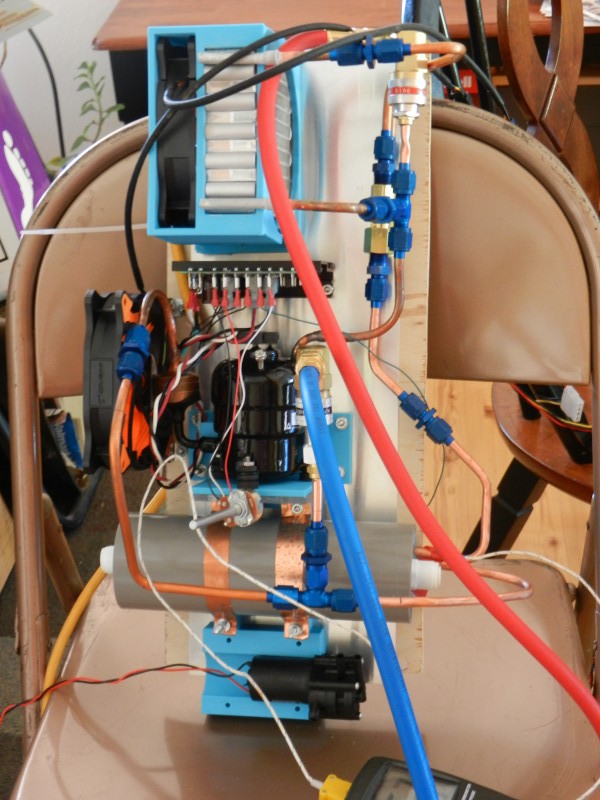
Above: Shows my 3D printed mounting hardware bolted onto the start of my prototype backpack frame.
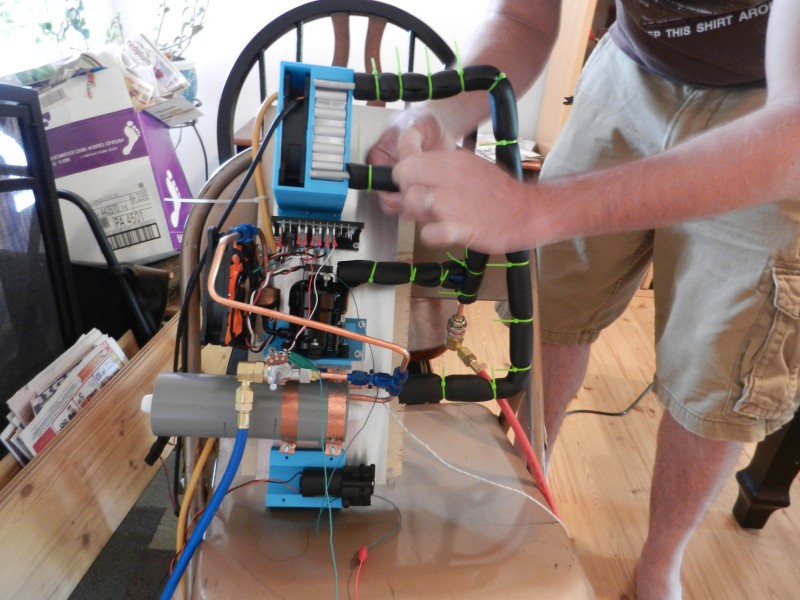
Here pictured above is my first failed attempt. I used AN fittings with flared copper tubing. I learned two things from this first attempt. First, I learned that you can over tighten AN fittings. Second, my problem was that I did not correctly make the 37 degree flares for the AN fittings. My flares were too small and did not correctly mate up with the aluminum AN fitting. As a result the whole system leaked like crazy.
Above is the second attempt at connecting the system. I made the copper tubing flares much bigger so that the copper tube and the AN fittings mated up correctly. I also minimized the amount of connections as much as possible. Then I moved the expansion port to be right in front of the evaporator coil. I was able to get my vacuum pump to pull a vacuum on my system. Now, off to charge the system with R134A and see if the heat exchanger gets cold.
A quick note on the compressor control board. The board came with the compressor when I ordered it from Aspen Compressor. I don't have any schematics on it since it's proprietary to Aspen. I plan on building my own driver board later on down the road, but for now I am using Aspen's control board for testing and prototyping purposes.
Discussions
Become a Hackaday.io Member
Create an account to leave a comment. Already have an account? Log In.