0%
0%
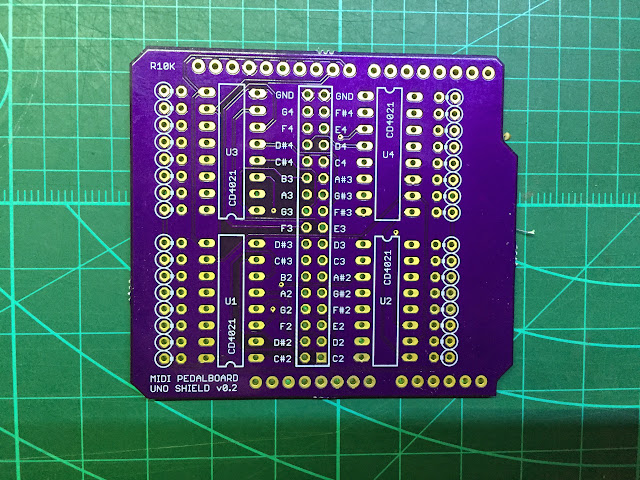
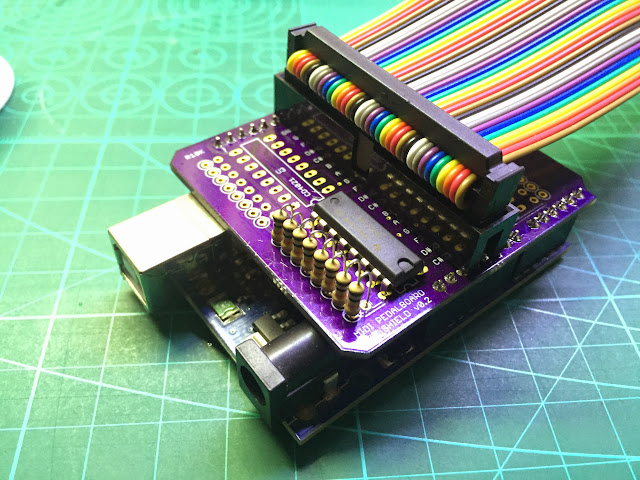
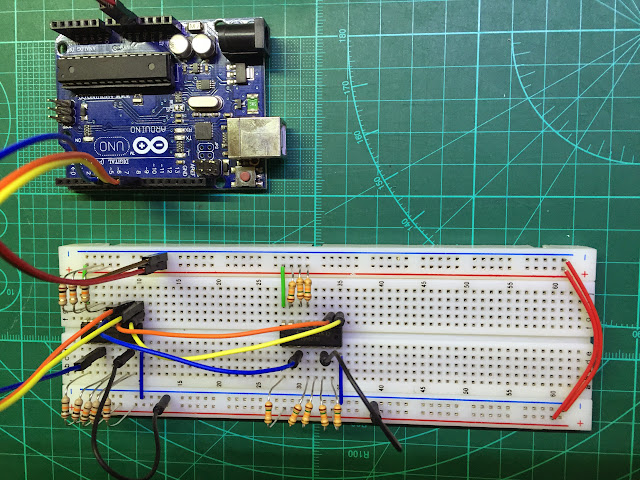
Organ Pedalboard MIDI Conversion
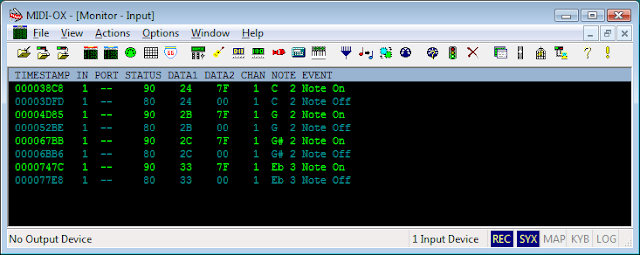
Arduino Uno shield & sketch to convert the input from 32 switches to MIDI notes via Hiduino firmware
 Johan Cronje
Become a Hackaday.io member
Already have an account? Log in.
Just one more thing
To make the experience fit your profile, pick a username and tell us what interests you.
Pick an awesome username
hackaday.io/
Your profile's URL: hackaday.io/username. Max 25 alphanumeric characters.
Pick a few interests
Projects that share your interests
People that share your interests


 David Scholten
 Juan M. Casillas
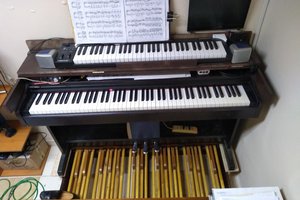
 SalvatoreScalia
Hello, is there any possibility to get a PCB for this? I'm so sad I'm so late to discovering this great DIY Pedalboard converter - I had one, but the company is out of business and the configuration software is no longer available - and I deeply need to get my organ setup again with my computer to practicing during this friggin pandemic! Help! Thank you! Scott in Illinois, USA!