 Jack Black
First you need to mark out a suitable area on the back of the guitar for the battery compartment measure it's dimensions in height and width. There's always a lip on battery boxes to cover the router cut on the guitar body so measure the inside dimension of the battery box, this needs to be as accurate as possible for when you make your cut. Measure twice cut once!
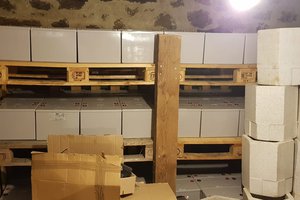
Make sure you have access to the control cavity from where you're going to mount the battery box. The customers guitar pictured had little space to mount the battery pack so I had to mount it on the other side of the body causing some elaborate cable runs which normally you wouldn't have to do.
1. Tape off the area that's to be cut out with masking tape as base of the router will scratch any painted surface.
2. Make sure the guitar is securely clamped down to a clean padded surface and is as level as possible, this is for ease of cutting and to make sure the guitar doesn't move or get damaged when cutting.
3. Using verniers measure the depth of the control box then add 1mm to the measurement.
4. Using electrical tape, mark on a drill bit larger than the intended router bit the measurement.
5. Select a router bit for your router or Dremel that matches the radius of the corners of the battery box, for perfect fit.
6. Drill the centre of the marked out area with the marked drill bit to it's marked depth.
7. Using a router or a Dremel with router attachment cut out one third of total depth beginning from the hole just drilled ensure you have clamped a stop or piece of wood to each of the four edges of your marked area so you don't overrun.
8. Proceed with all your passes until you reach desired depth.
9. Once reached, place the battery box inside and mark and drill the 4 screw holes.
10. Drill a route to your control cavity if one isn't present.
11. For a full wiring diagram send us an email and I'll send you a PDF over if you're not that confident to do it yourself my shop will do it for you www.jackanthony.co.uk www.hwcustom.co.uk
 Nathann

 deʃhipu
 Lucas Rangit MAGASWERAN