 Eno423
The Malyan/Monoprice/<insert Chinese company name here> is a fine little & very capable 32 bit controller 3d printer with built in wifi.
I had the mini about 2 weeks before I started to modify it.
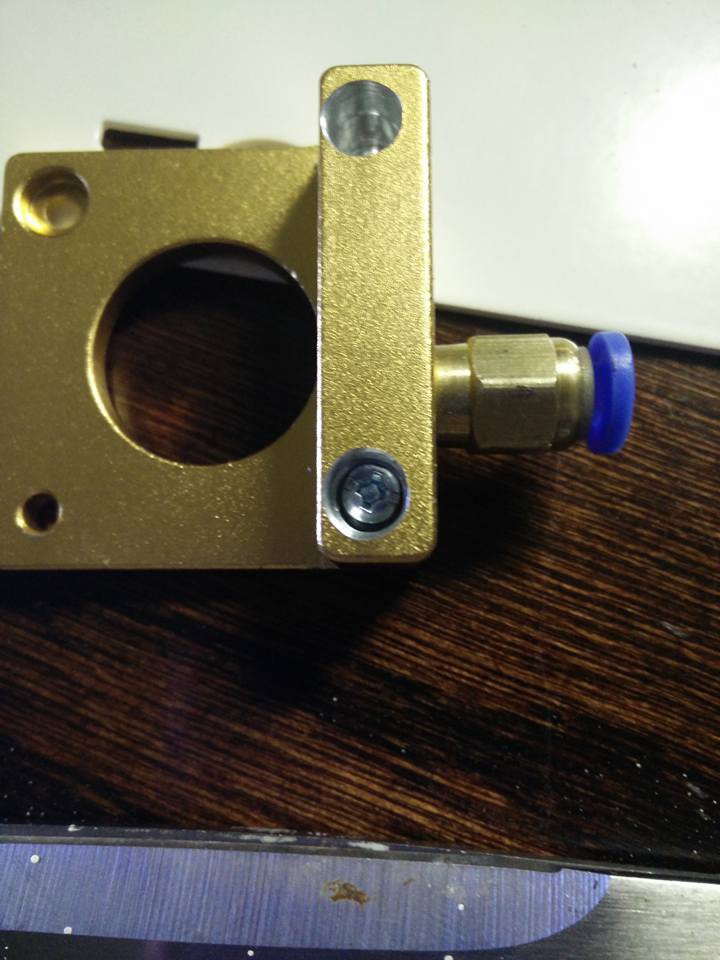
1 of the first things I HAD to do was replace the stock plastic extruder assembly.
However there were issues with it. the supplied screws did not fit at all in the holes, were to short, etc. So I threw it on my drill press & opened the holes a bit
I after a little bit of time printing with the new extruder I began having some odd under-extrusion. I didnt notice, but the filament began cutting through the aluminium on the extruder housing as well as wearing/cutting into the frame
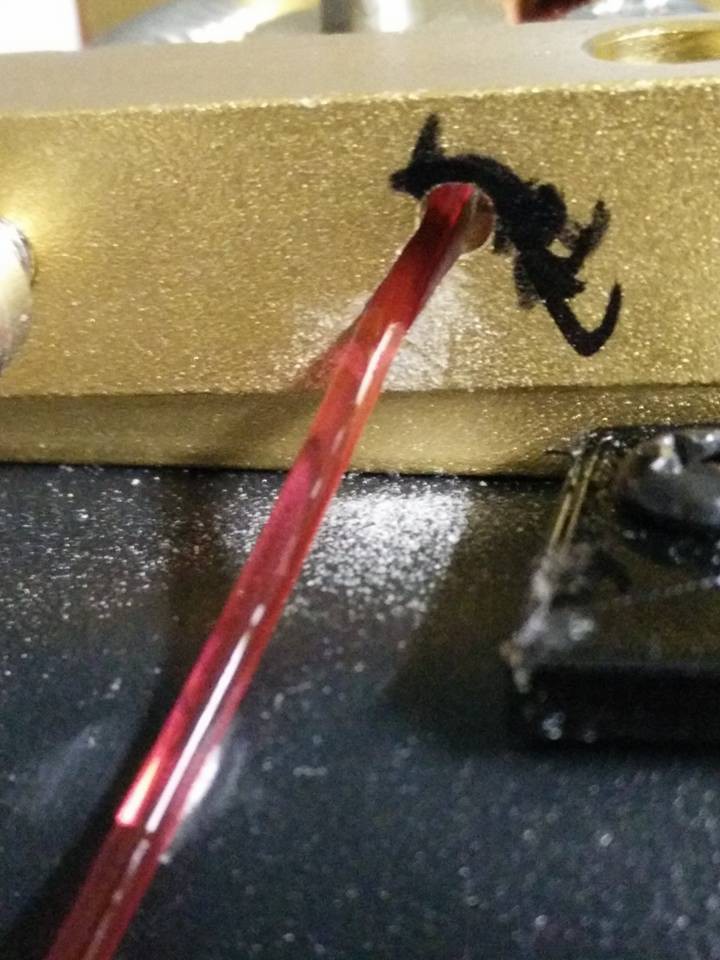
So i Drilled & tapped that end of the housing & placed another push fitting in & a small piece of PTFE. this worked much better, & is still setup like it today
The next thing to tackle was the Bed.. I went through & tried everything that people were doing at the time....glues stick, tape, hairspray...etc all junk. I then came across 1 of the first articles on PEI & decided to give it a try. At first I bought a small sheet from mcmaster carr, & some 3m adhesive & applied it directly to the minis Stock alum bed. However after some time, my printer started to develop the common bow in the build plate. So I then purchased a Borosilicate glass piece, had it cut & then installed a piece of PEI on it...It turned out to be one of the best moves I made. (however the first time I printer PETG & had good squish...it didn't come off so easily & had to buy a new piece of PEI as I screwed up the other piece

so as time went on I purchased more things...next up was a E3d v6 hotend
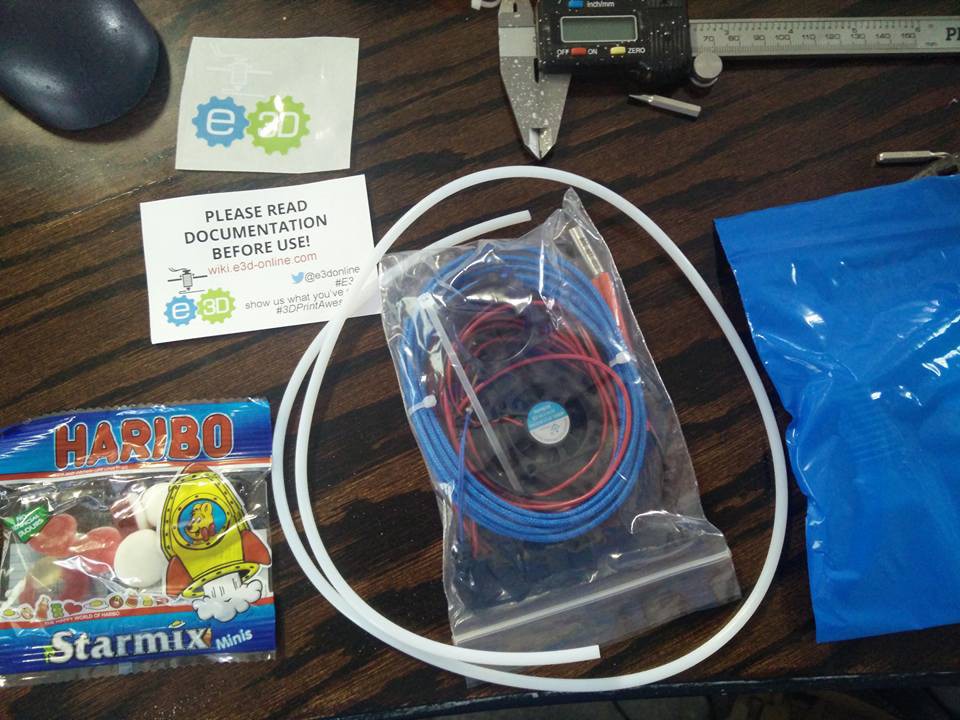
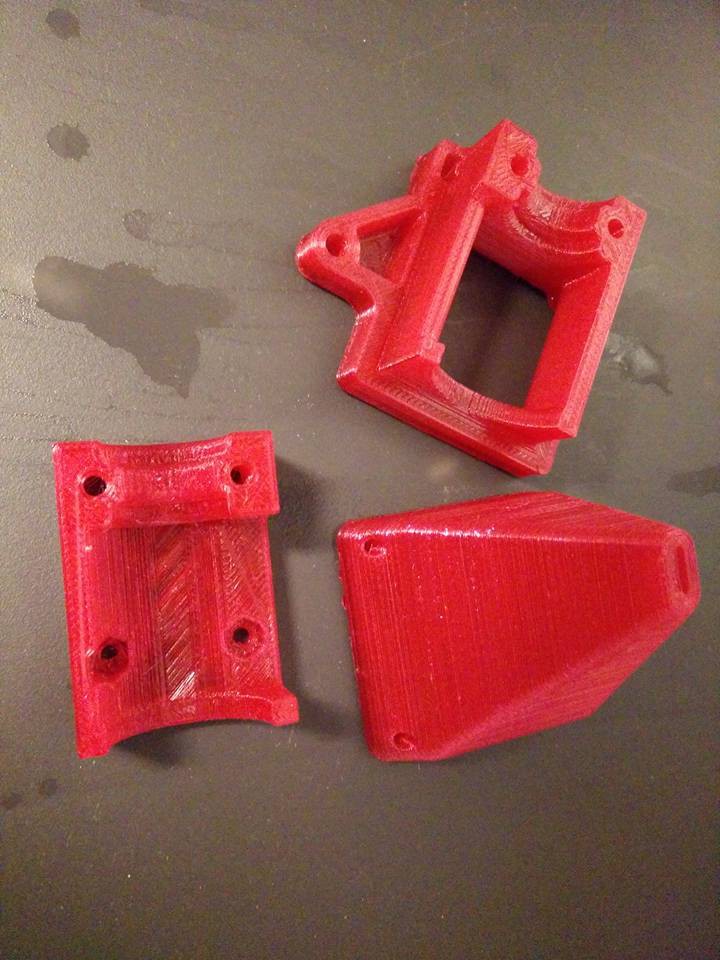
Which of course needed a new mount setup. I went through so many different version to finally find someone who had a close sit to what I wanted. I modified their files & printer this out in some PETG
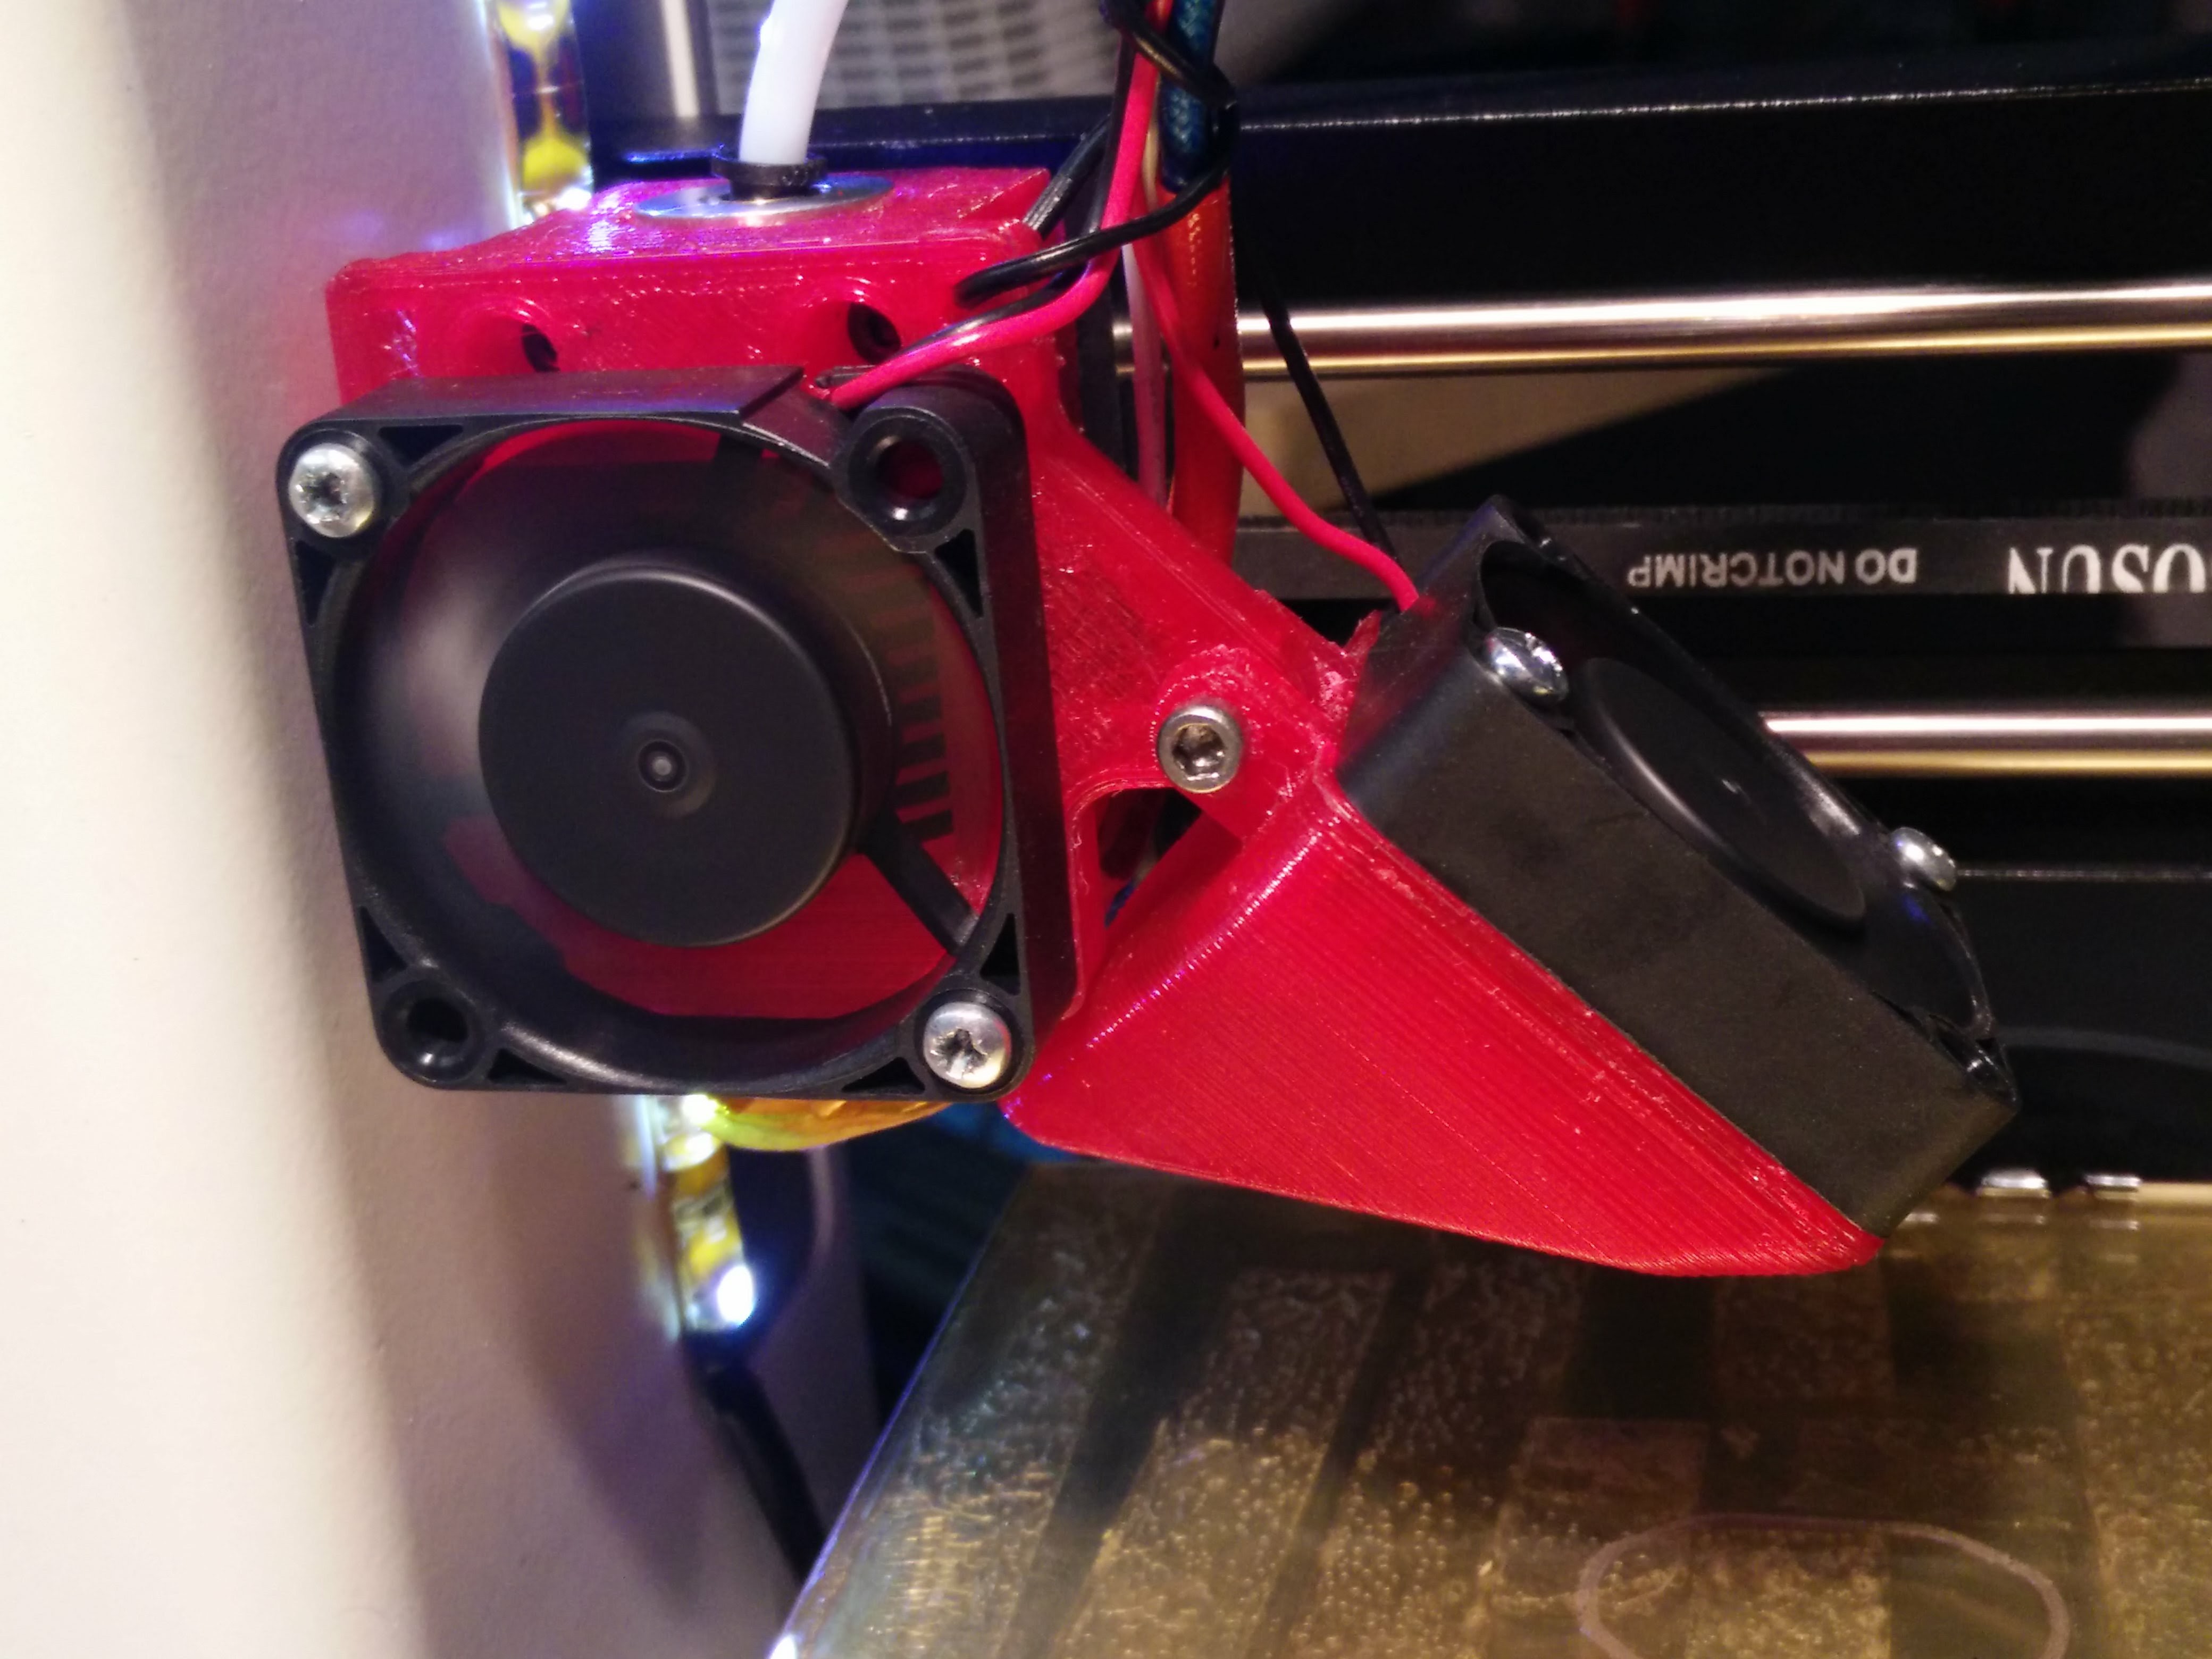
As I started doing larger prints, I noticed I would have weird issues. Thanks to the FB group & community, we were able to determine that there was little/no airflow to actually cool the heat sync on the steppers & when it started heating up, LCD would have issues, printer would under extrude, etc.. So a few fans (1 at each opposing end) wen in the frame bottom, & some holes cut in the one side panel to allow the air to escape
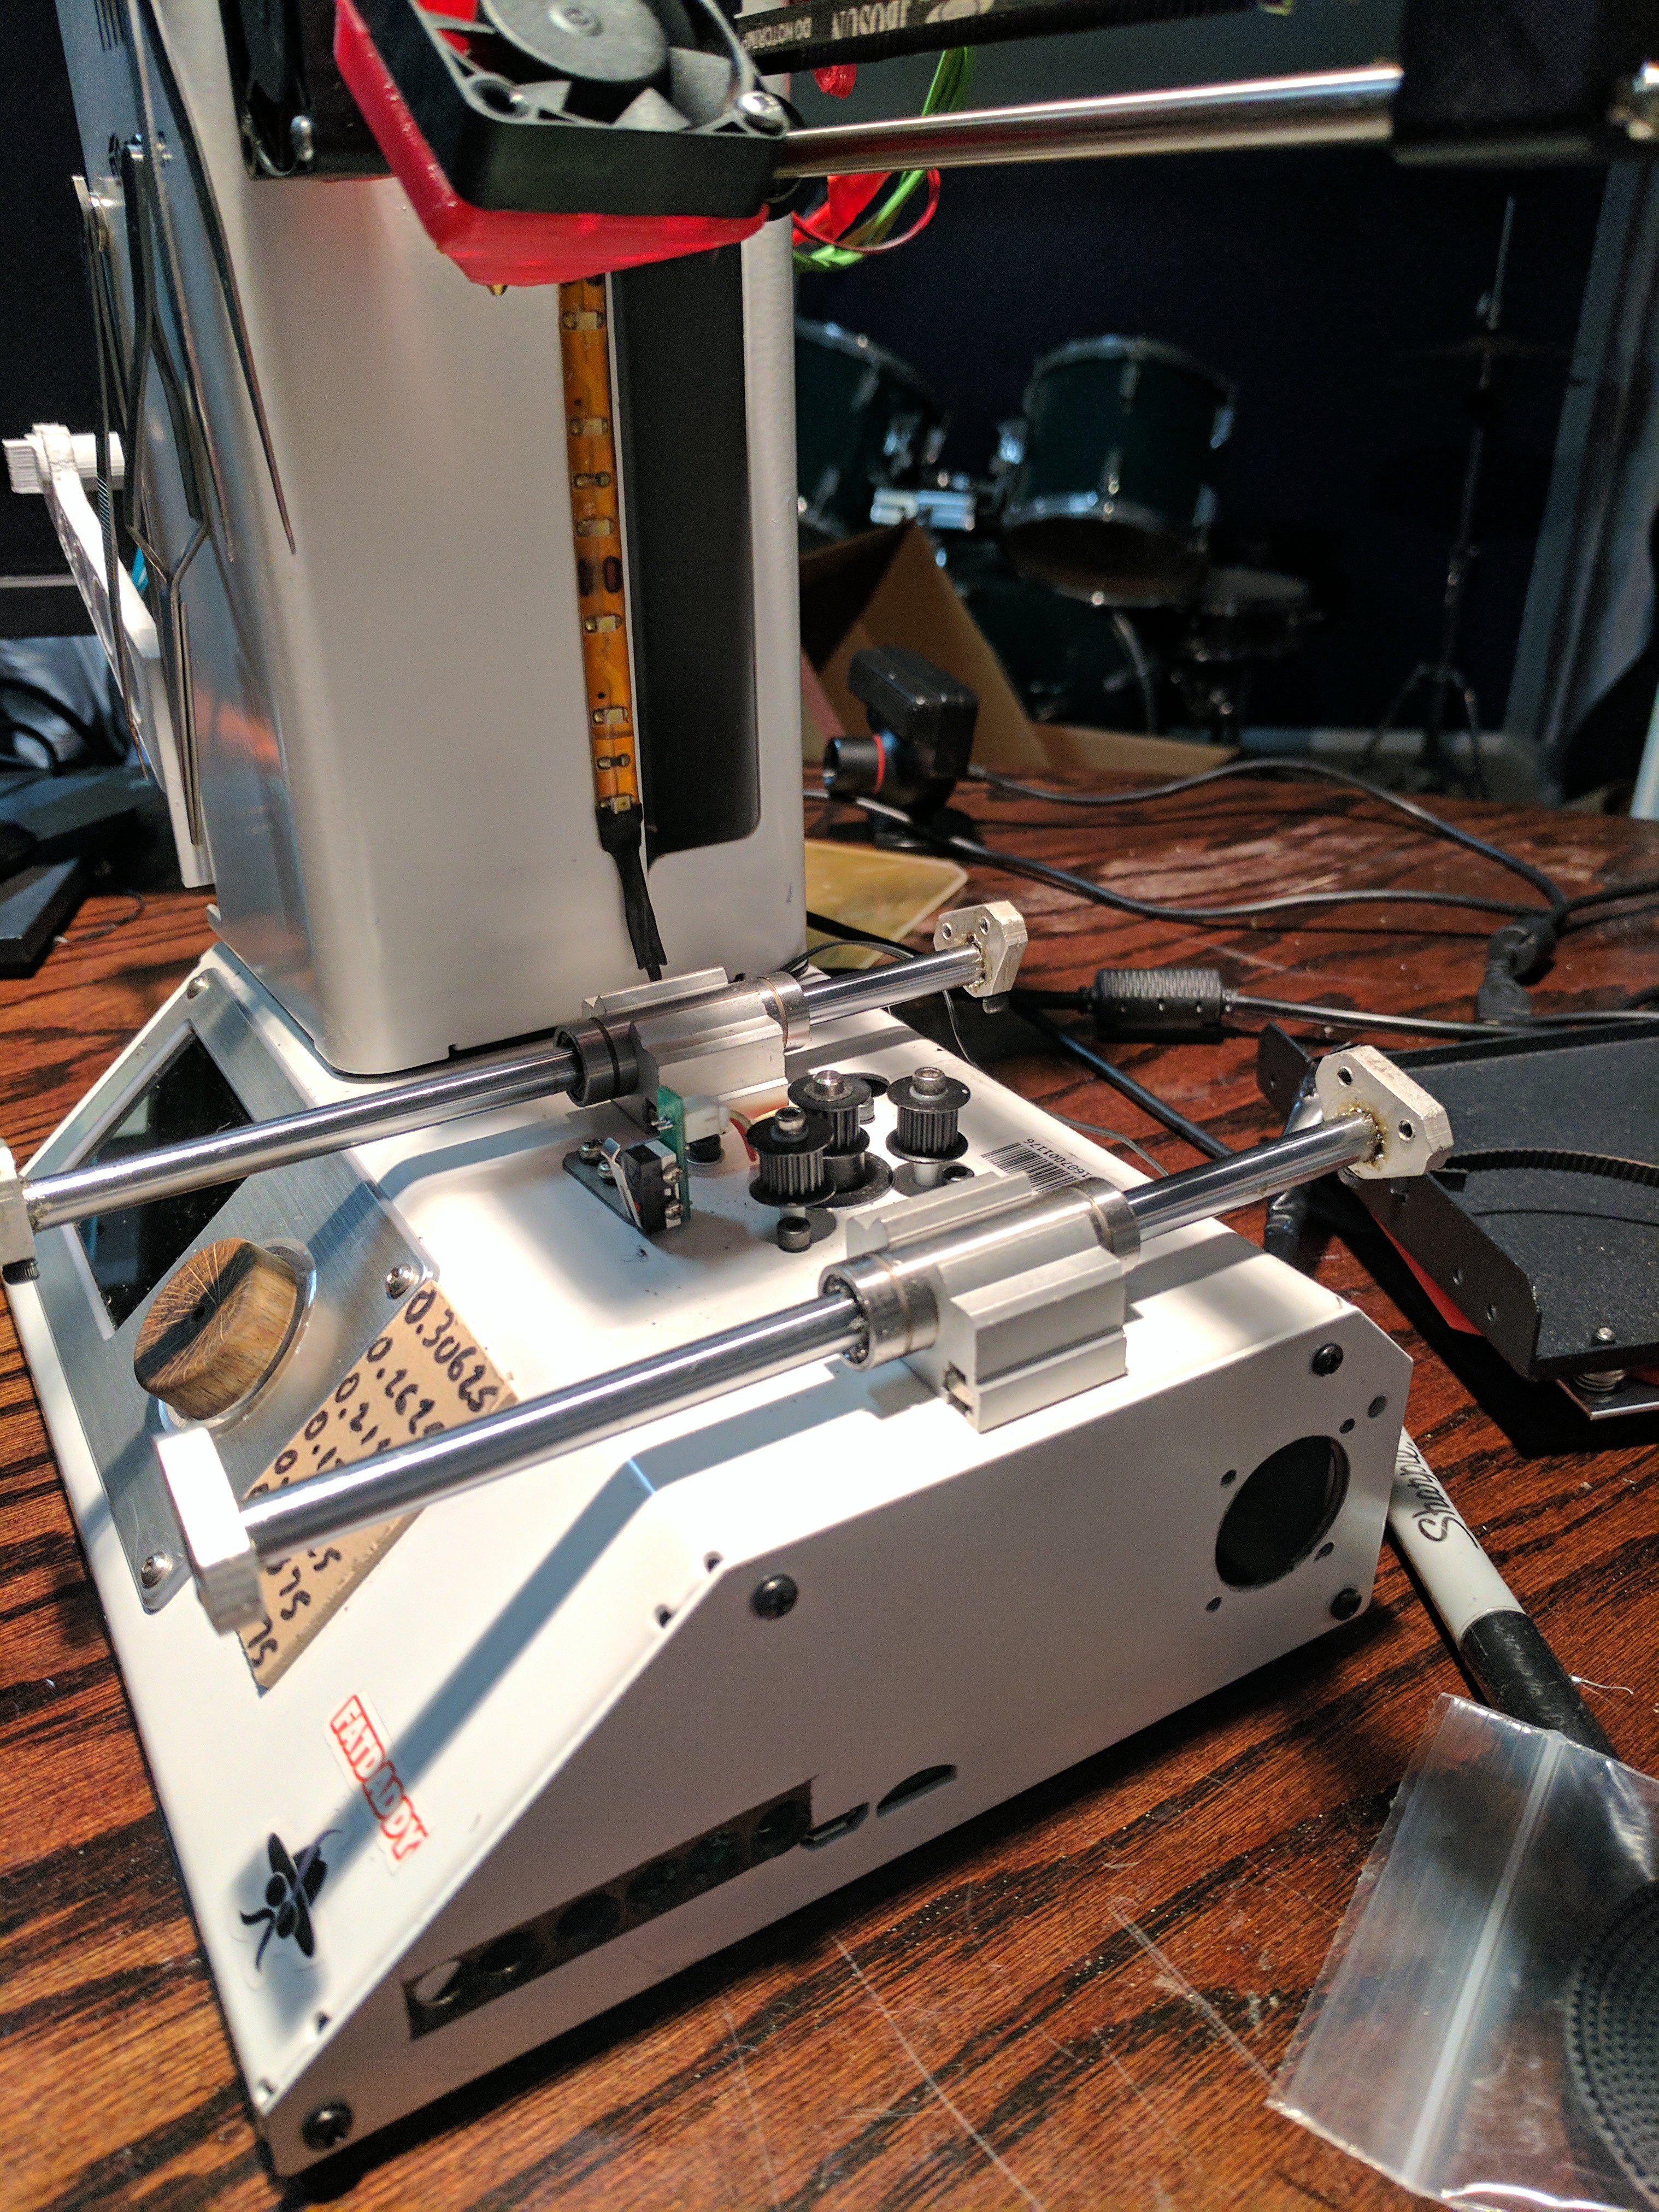
During this tear down/rebuild, all plastic pulleys were replaced with metal & GT2 belts, A LED strip that was wired into the 12v of the power-supply was added as well to light up the bed better.
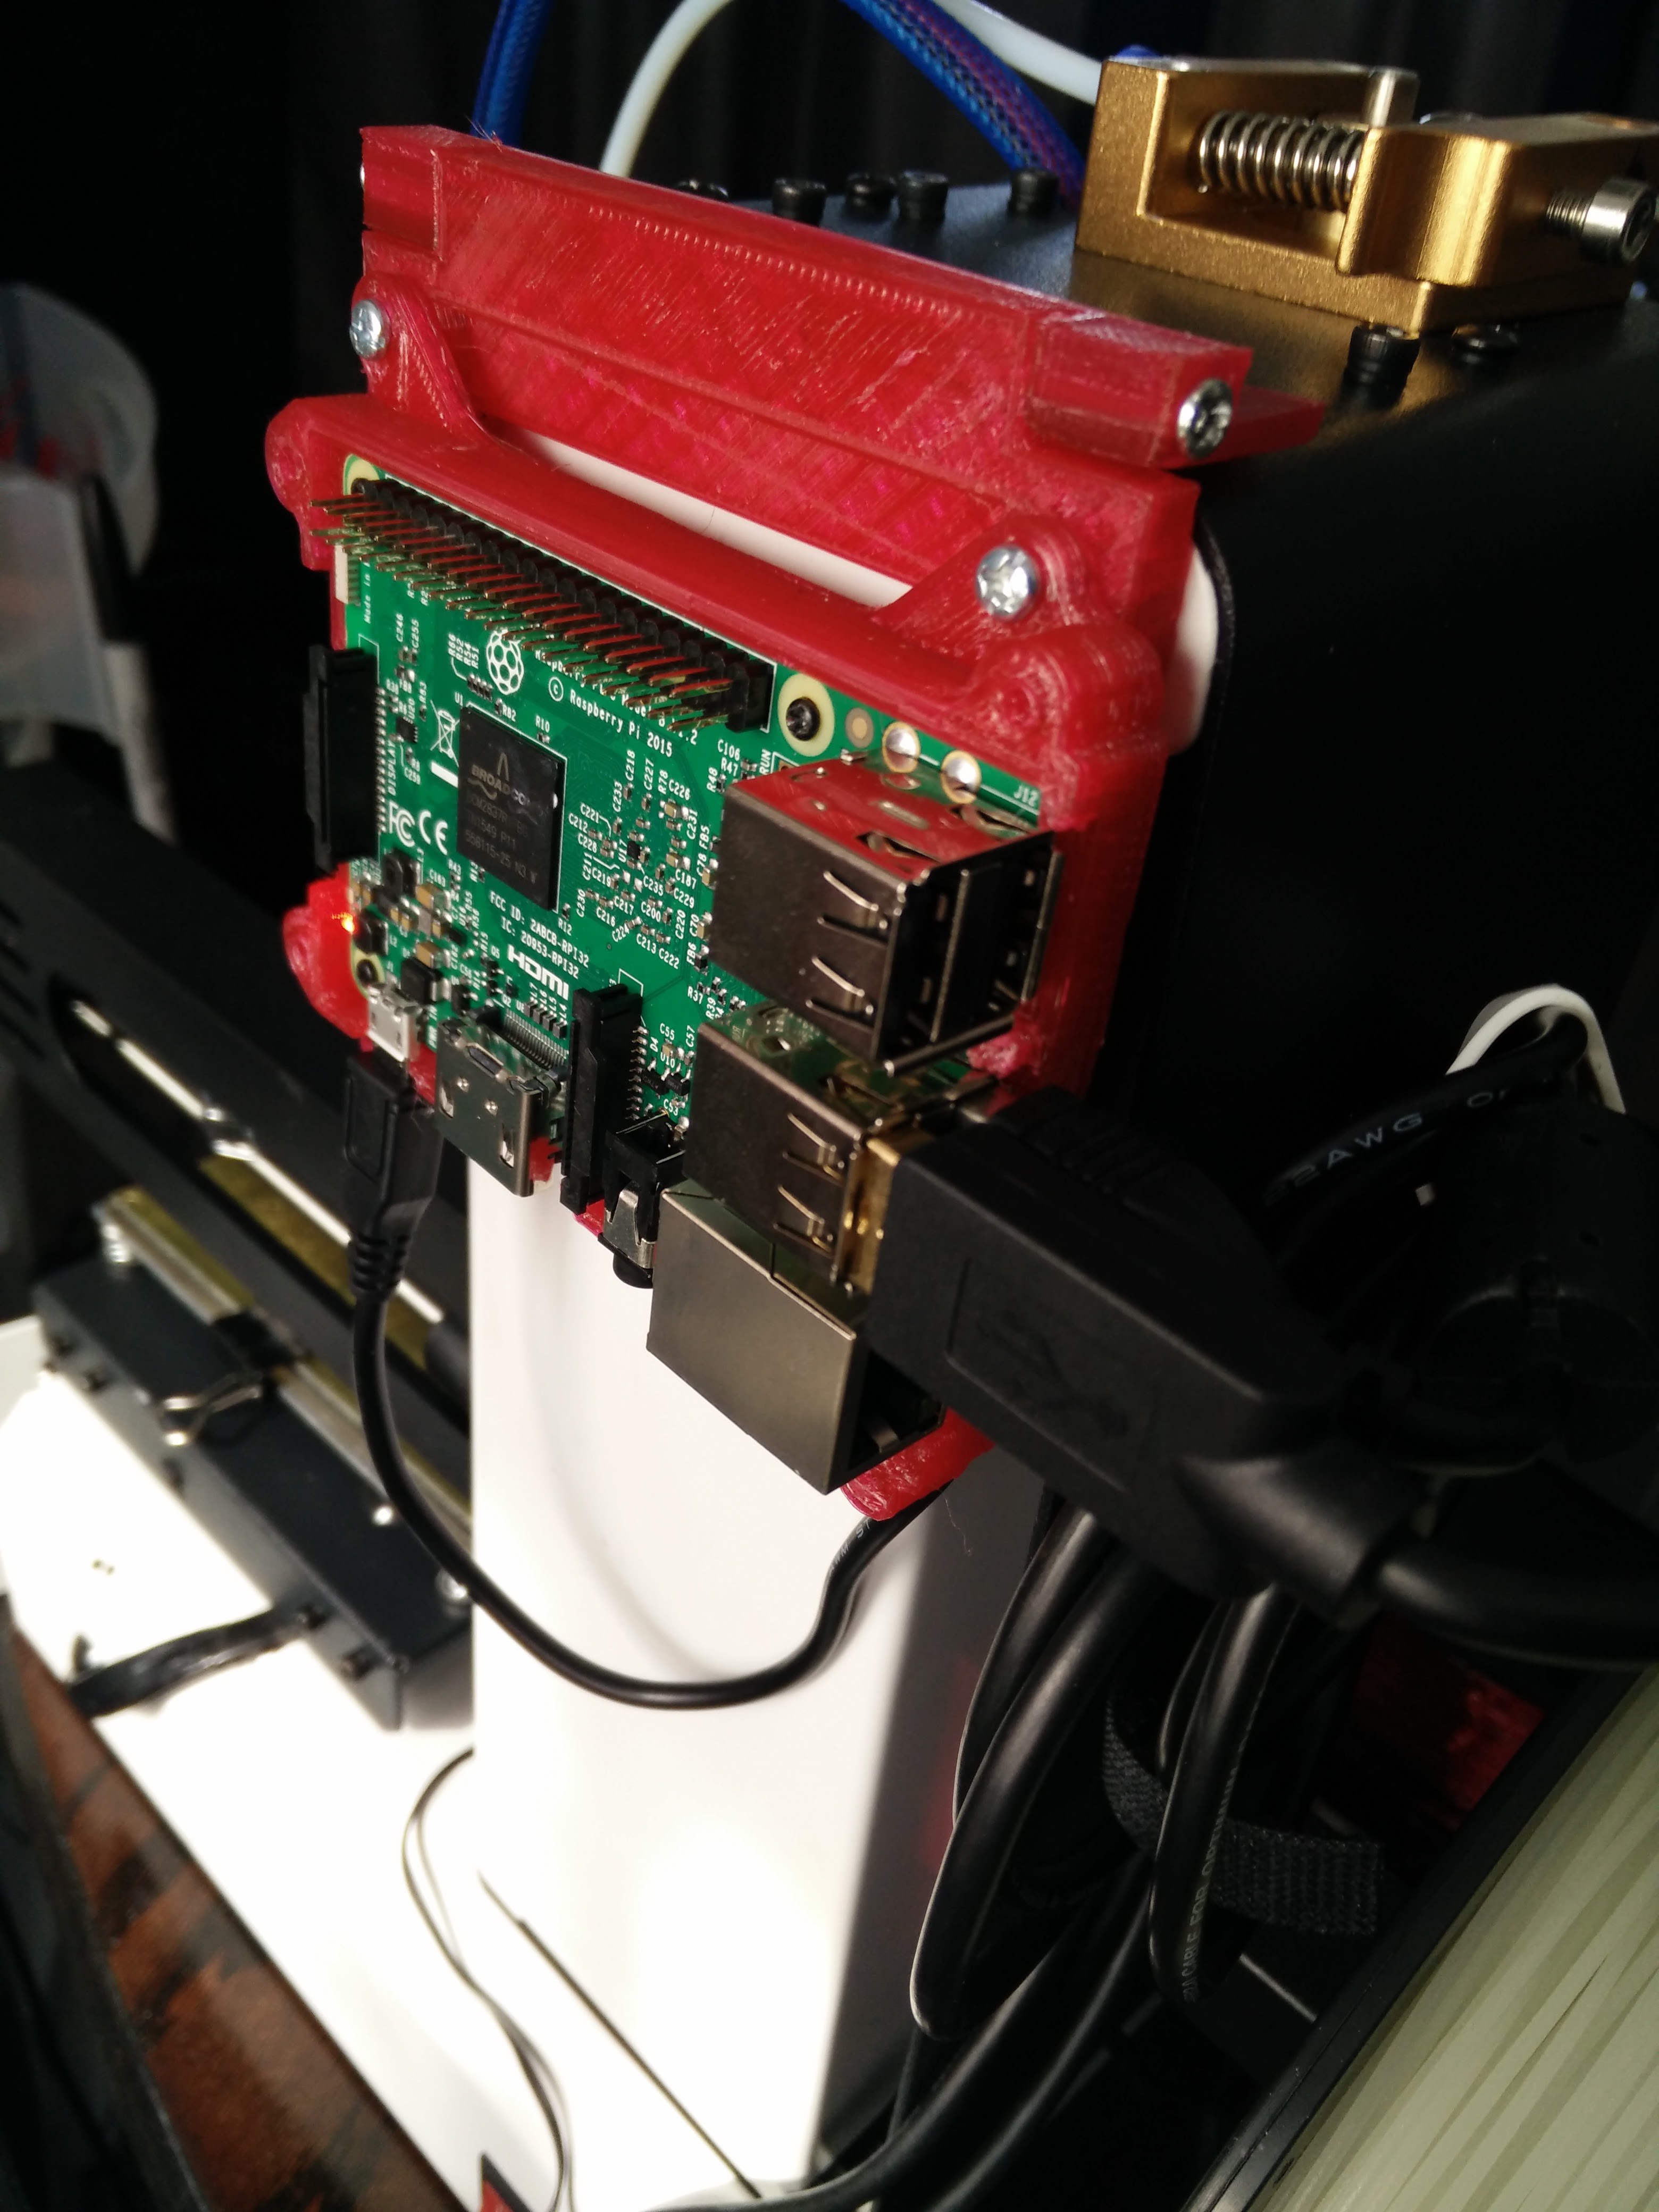
I took my Raspberry pi, printer a case & started using Octoprint
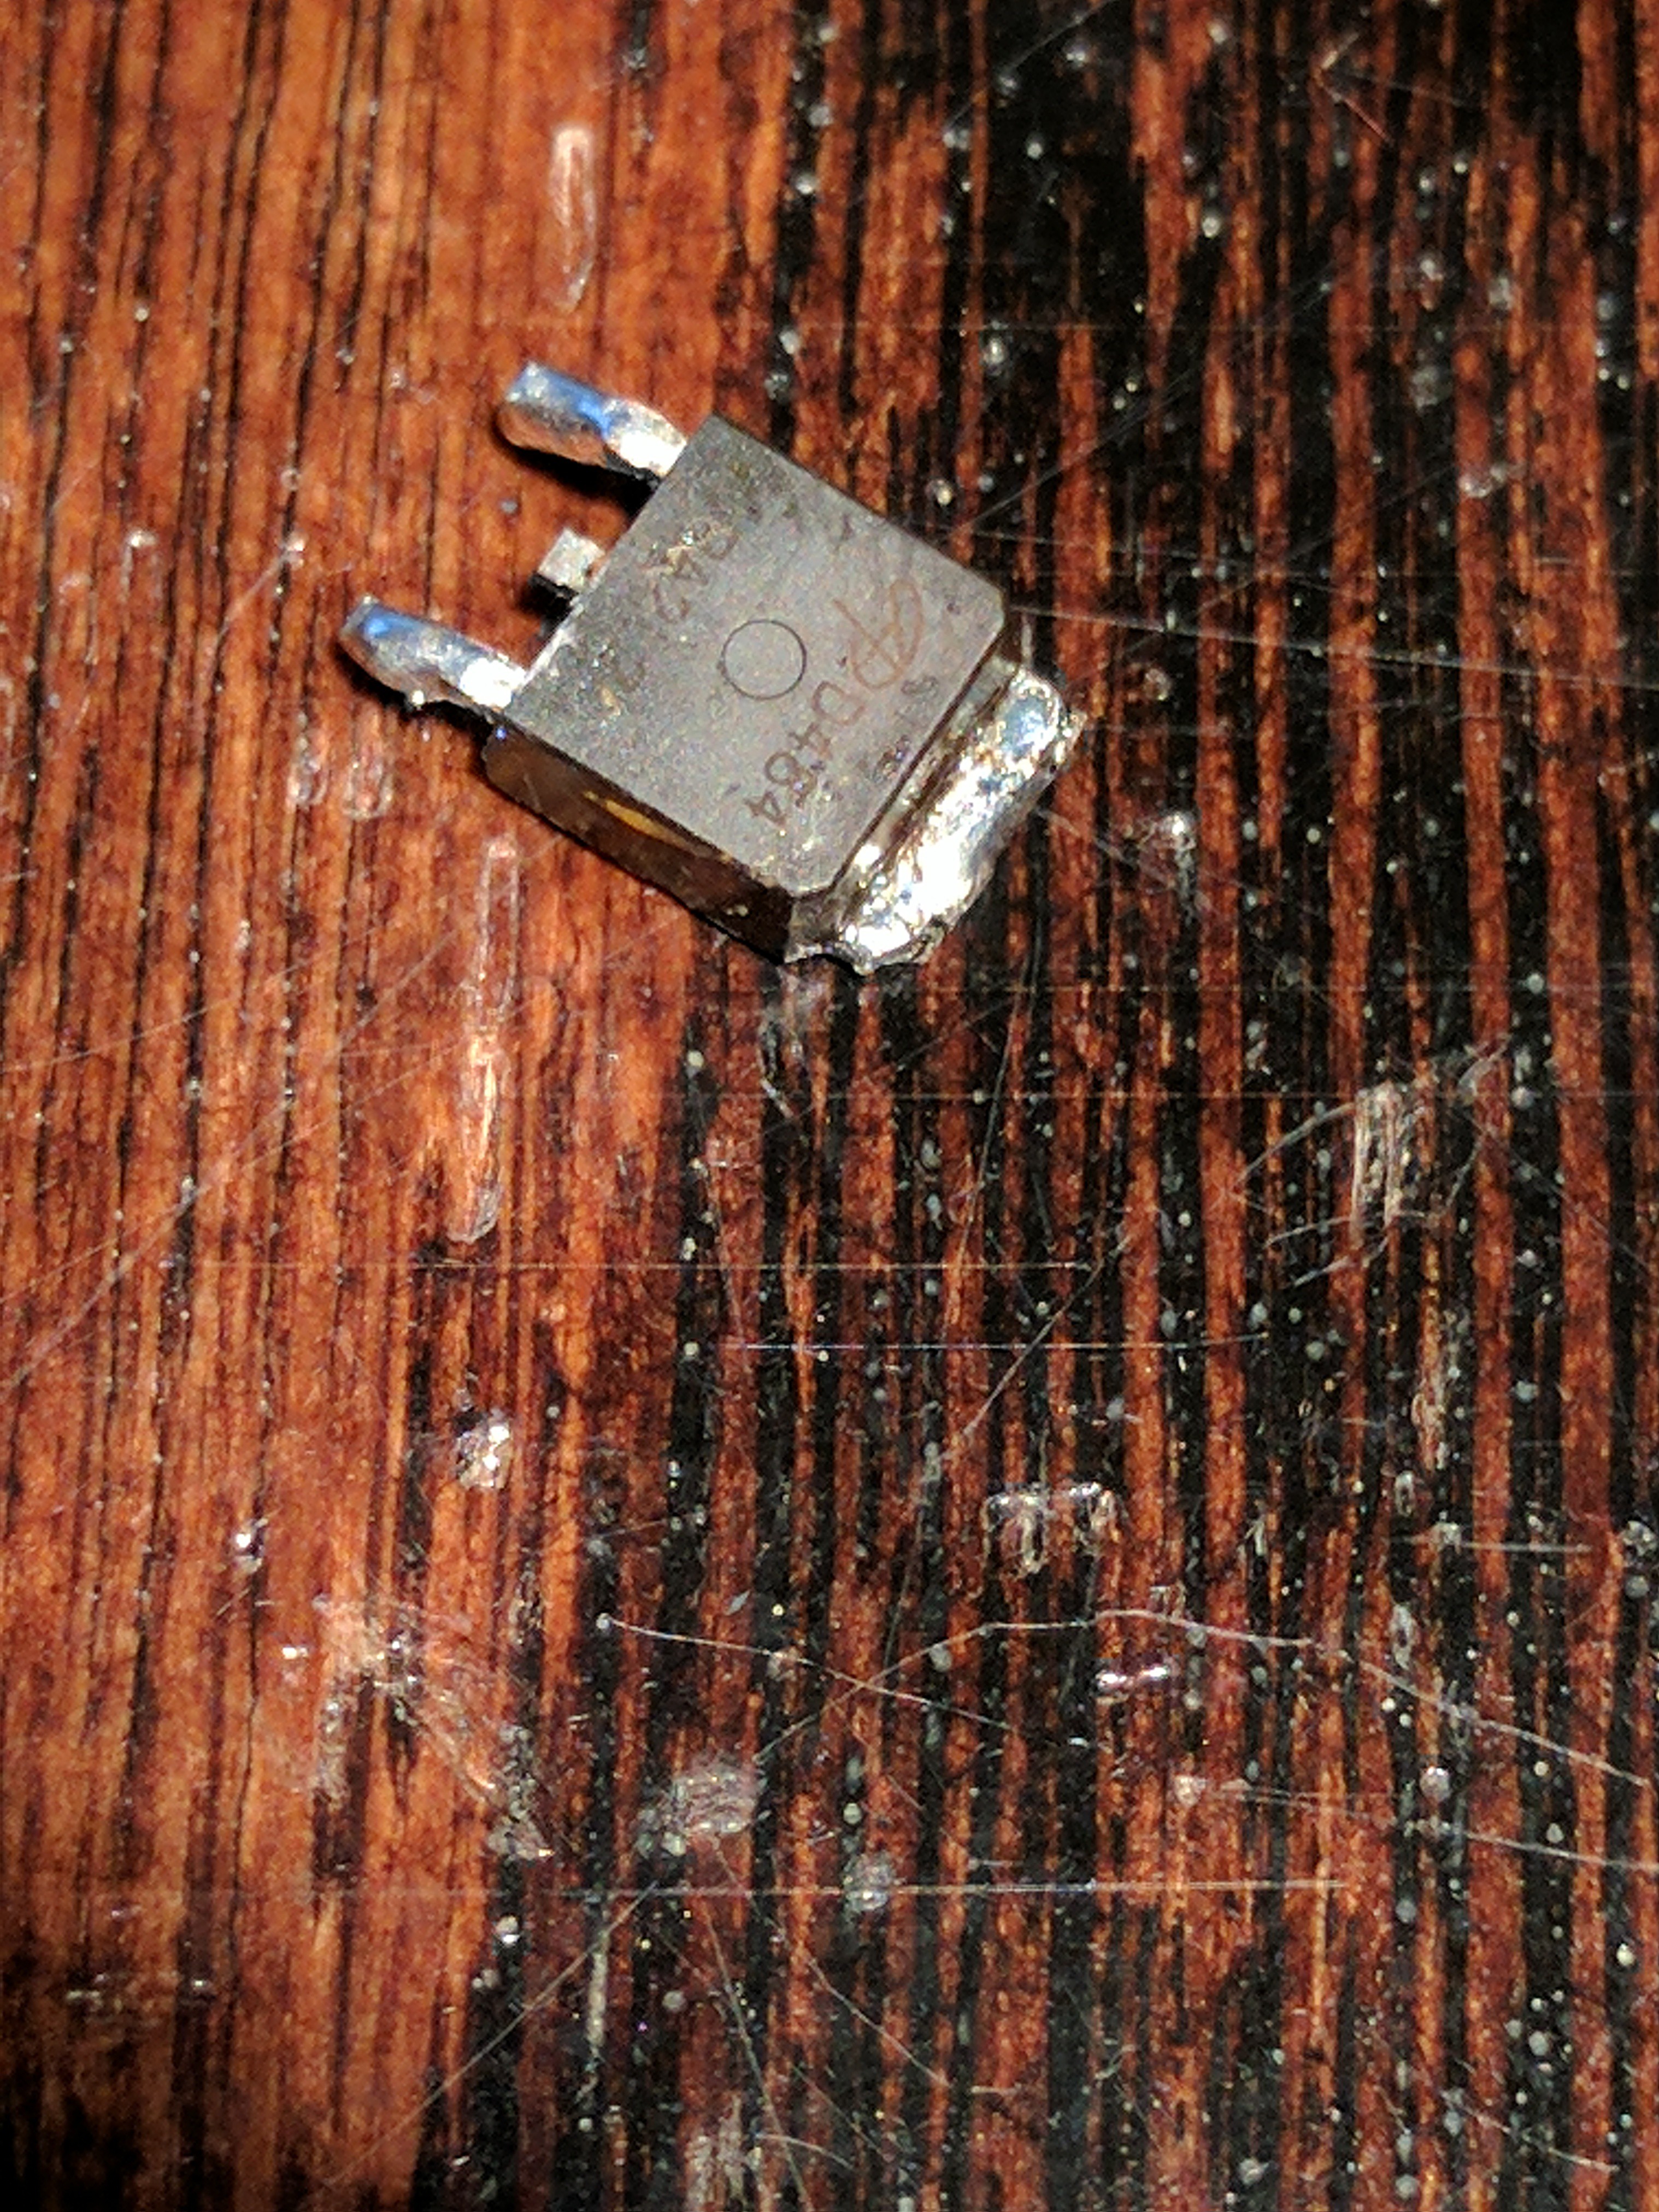
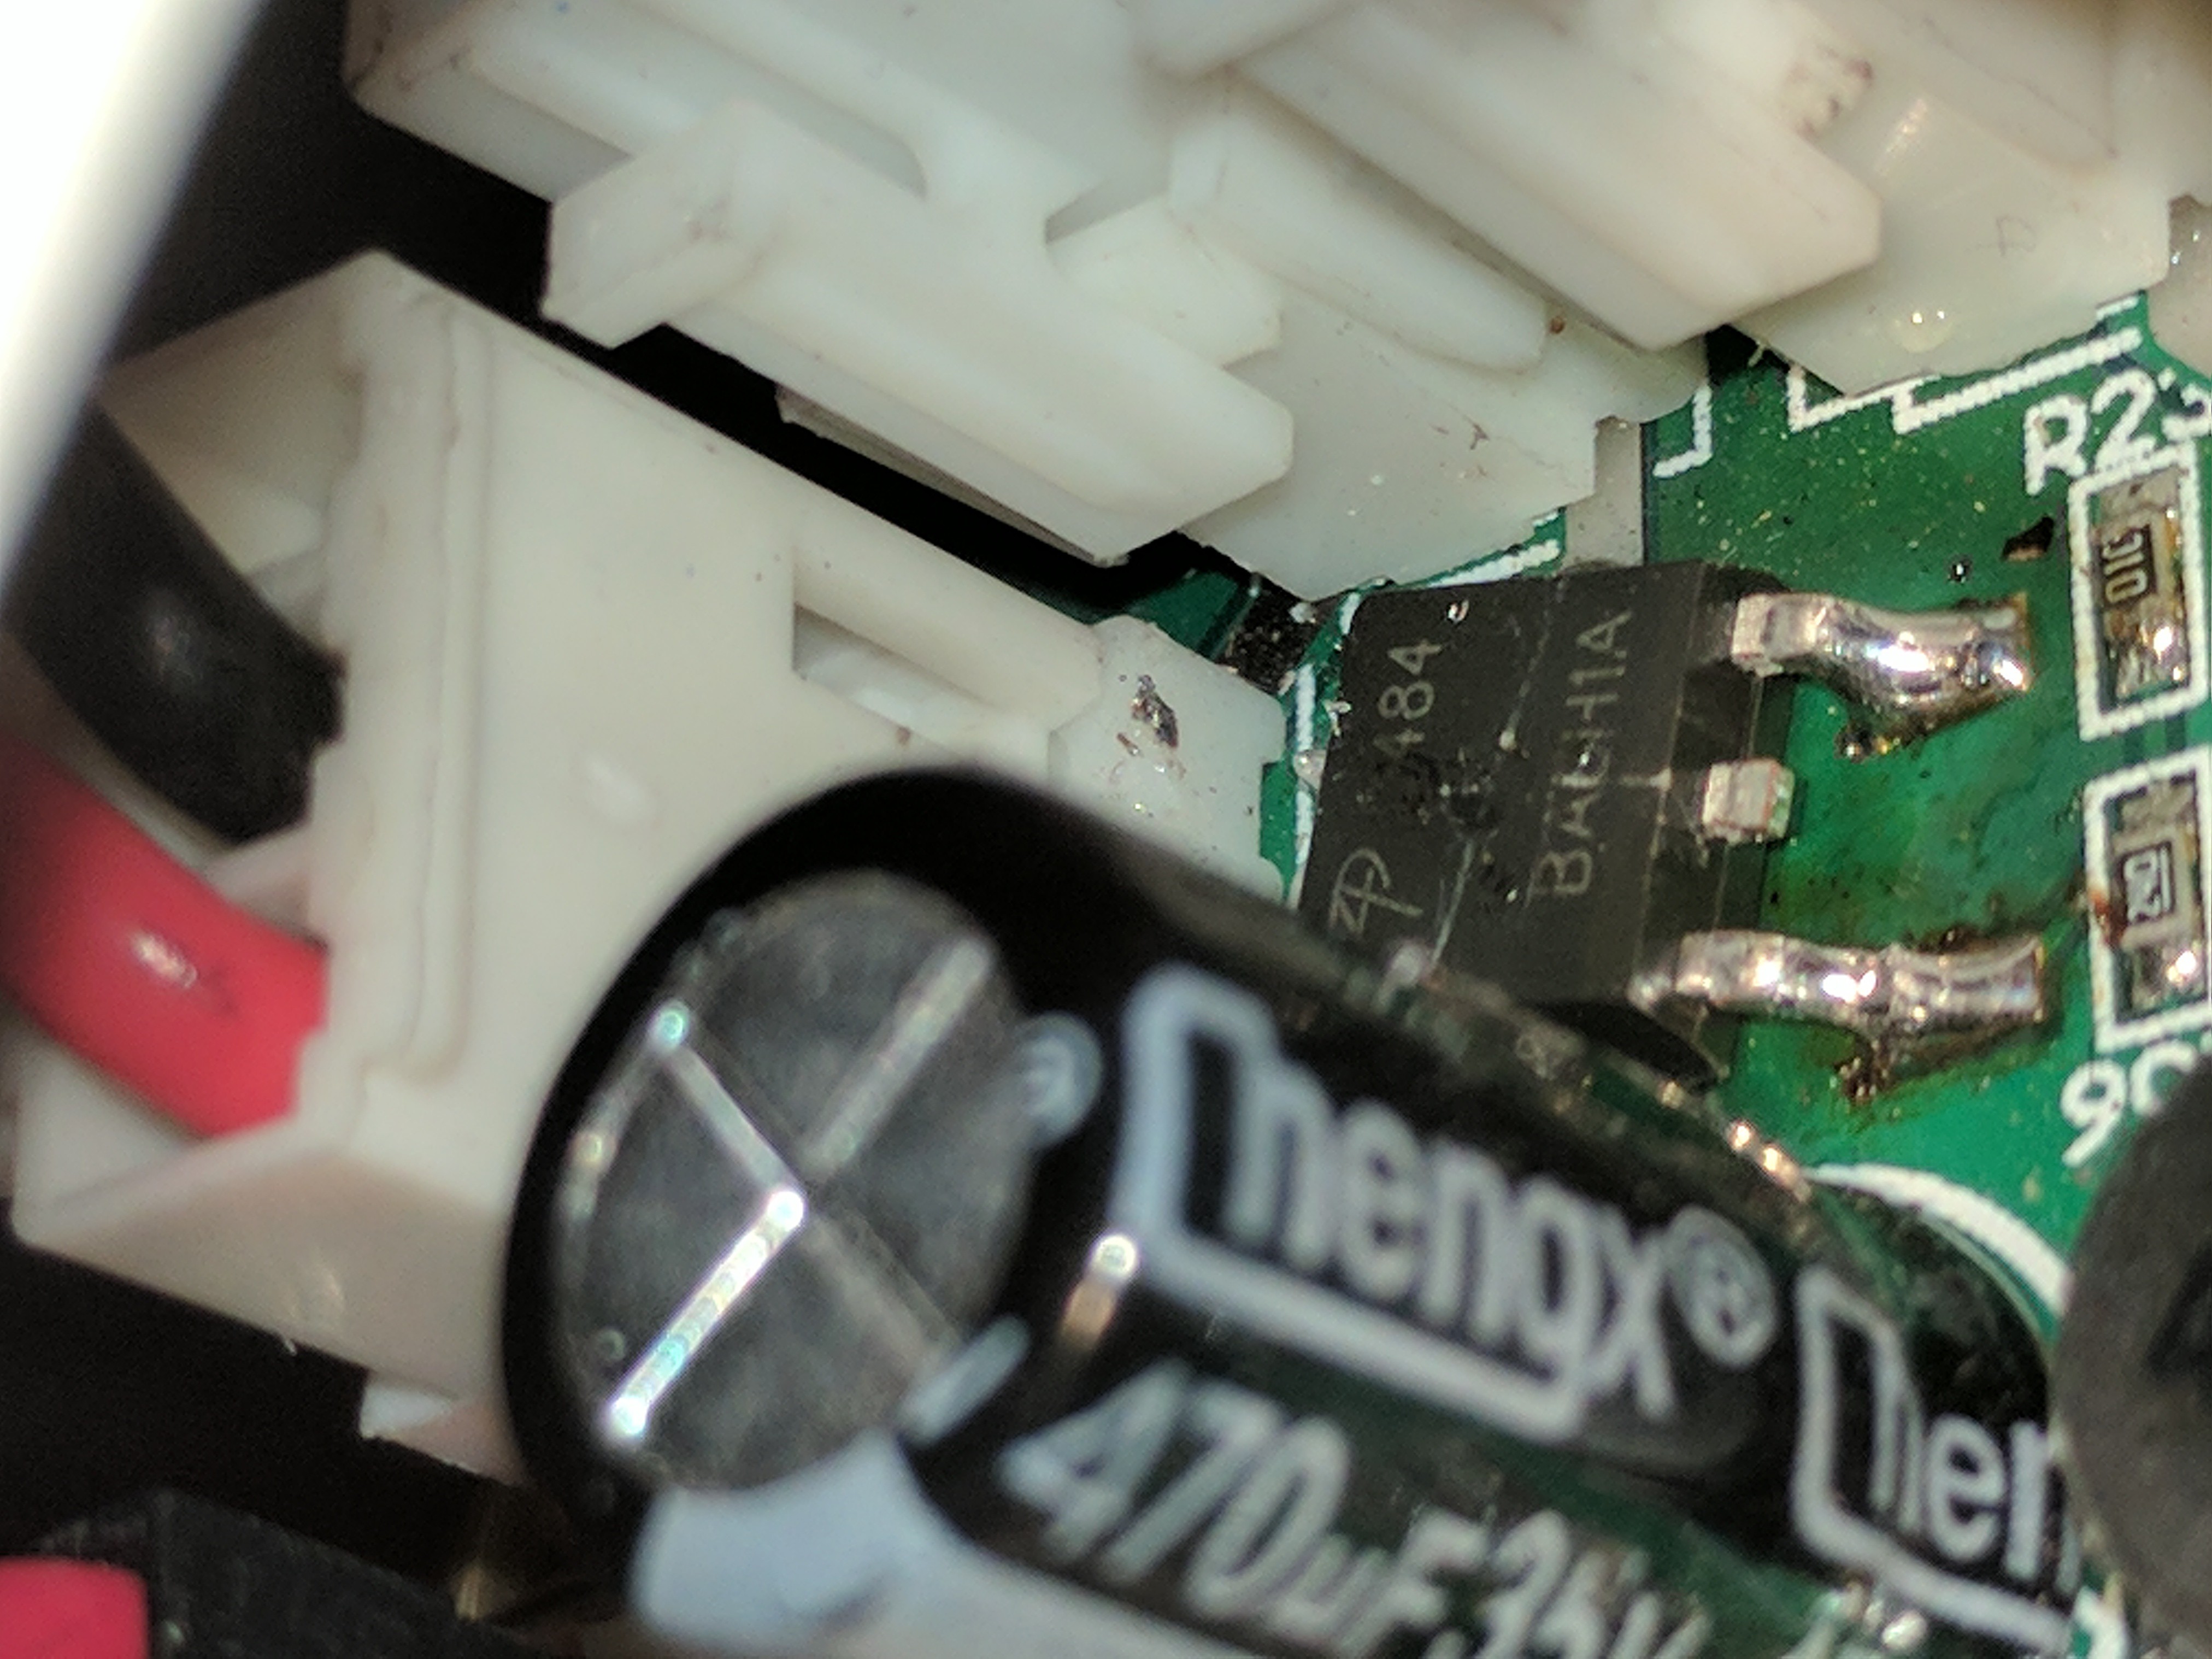
At some point in my modding, my ham fist knocked a binder clip onto the damn controller, thus shorting out 1 of the FETs on the board. I had to de-solder it (which if you don't have the proper tools & have large fingers like mine,,,getting to this cleanly was a pain. I managed to remove part of the trace, however there was still enough left for me to solder the new fet, though I had to do it crooked due to space, & where the pad was still left....also I don't have ANY surface mount/hot-air re-flow stuff, & just used my (at the time) only Radio shack Super large very unbalanced soldering iron
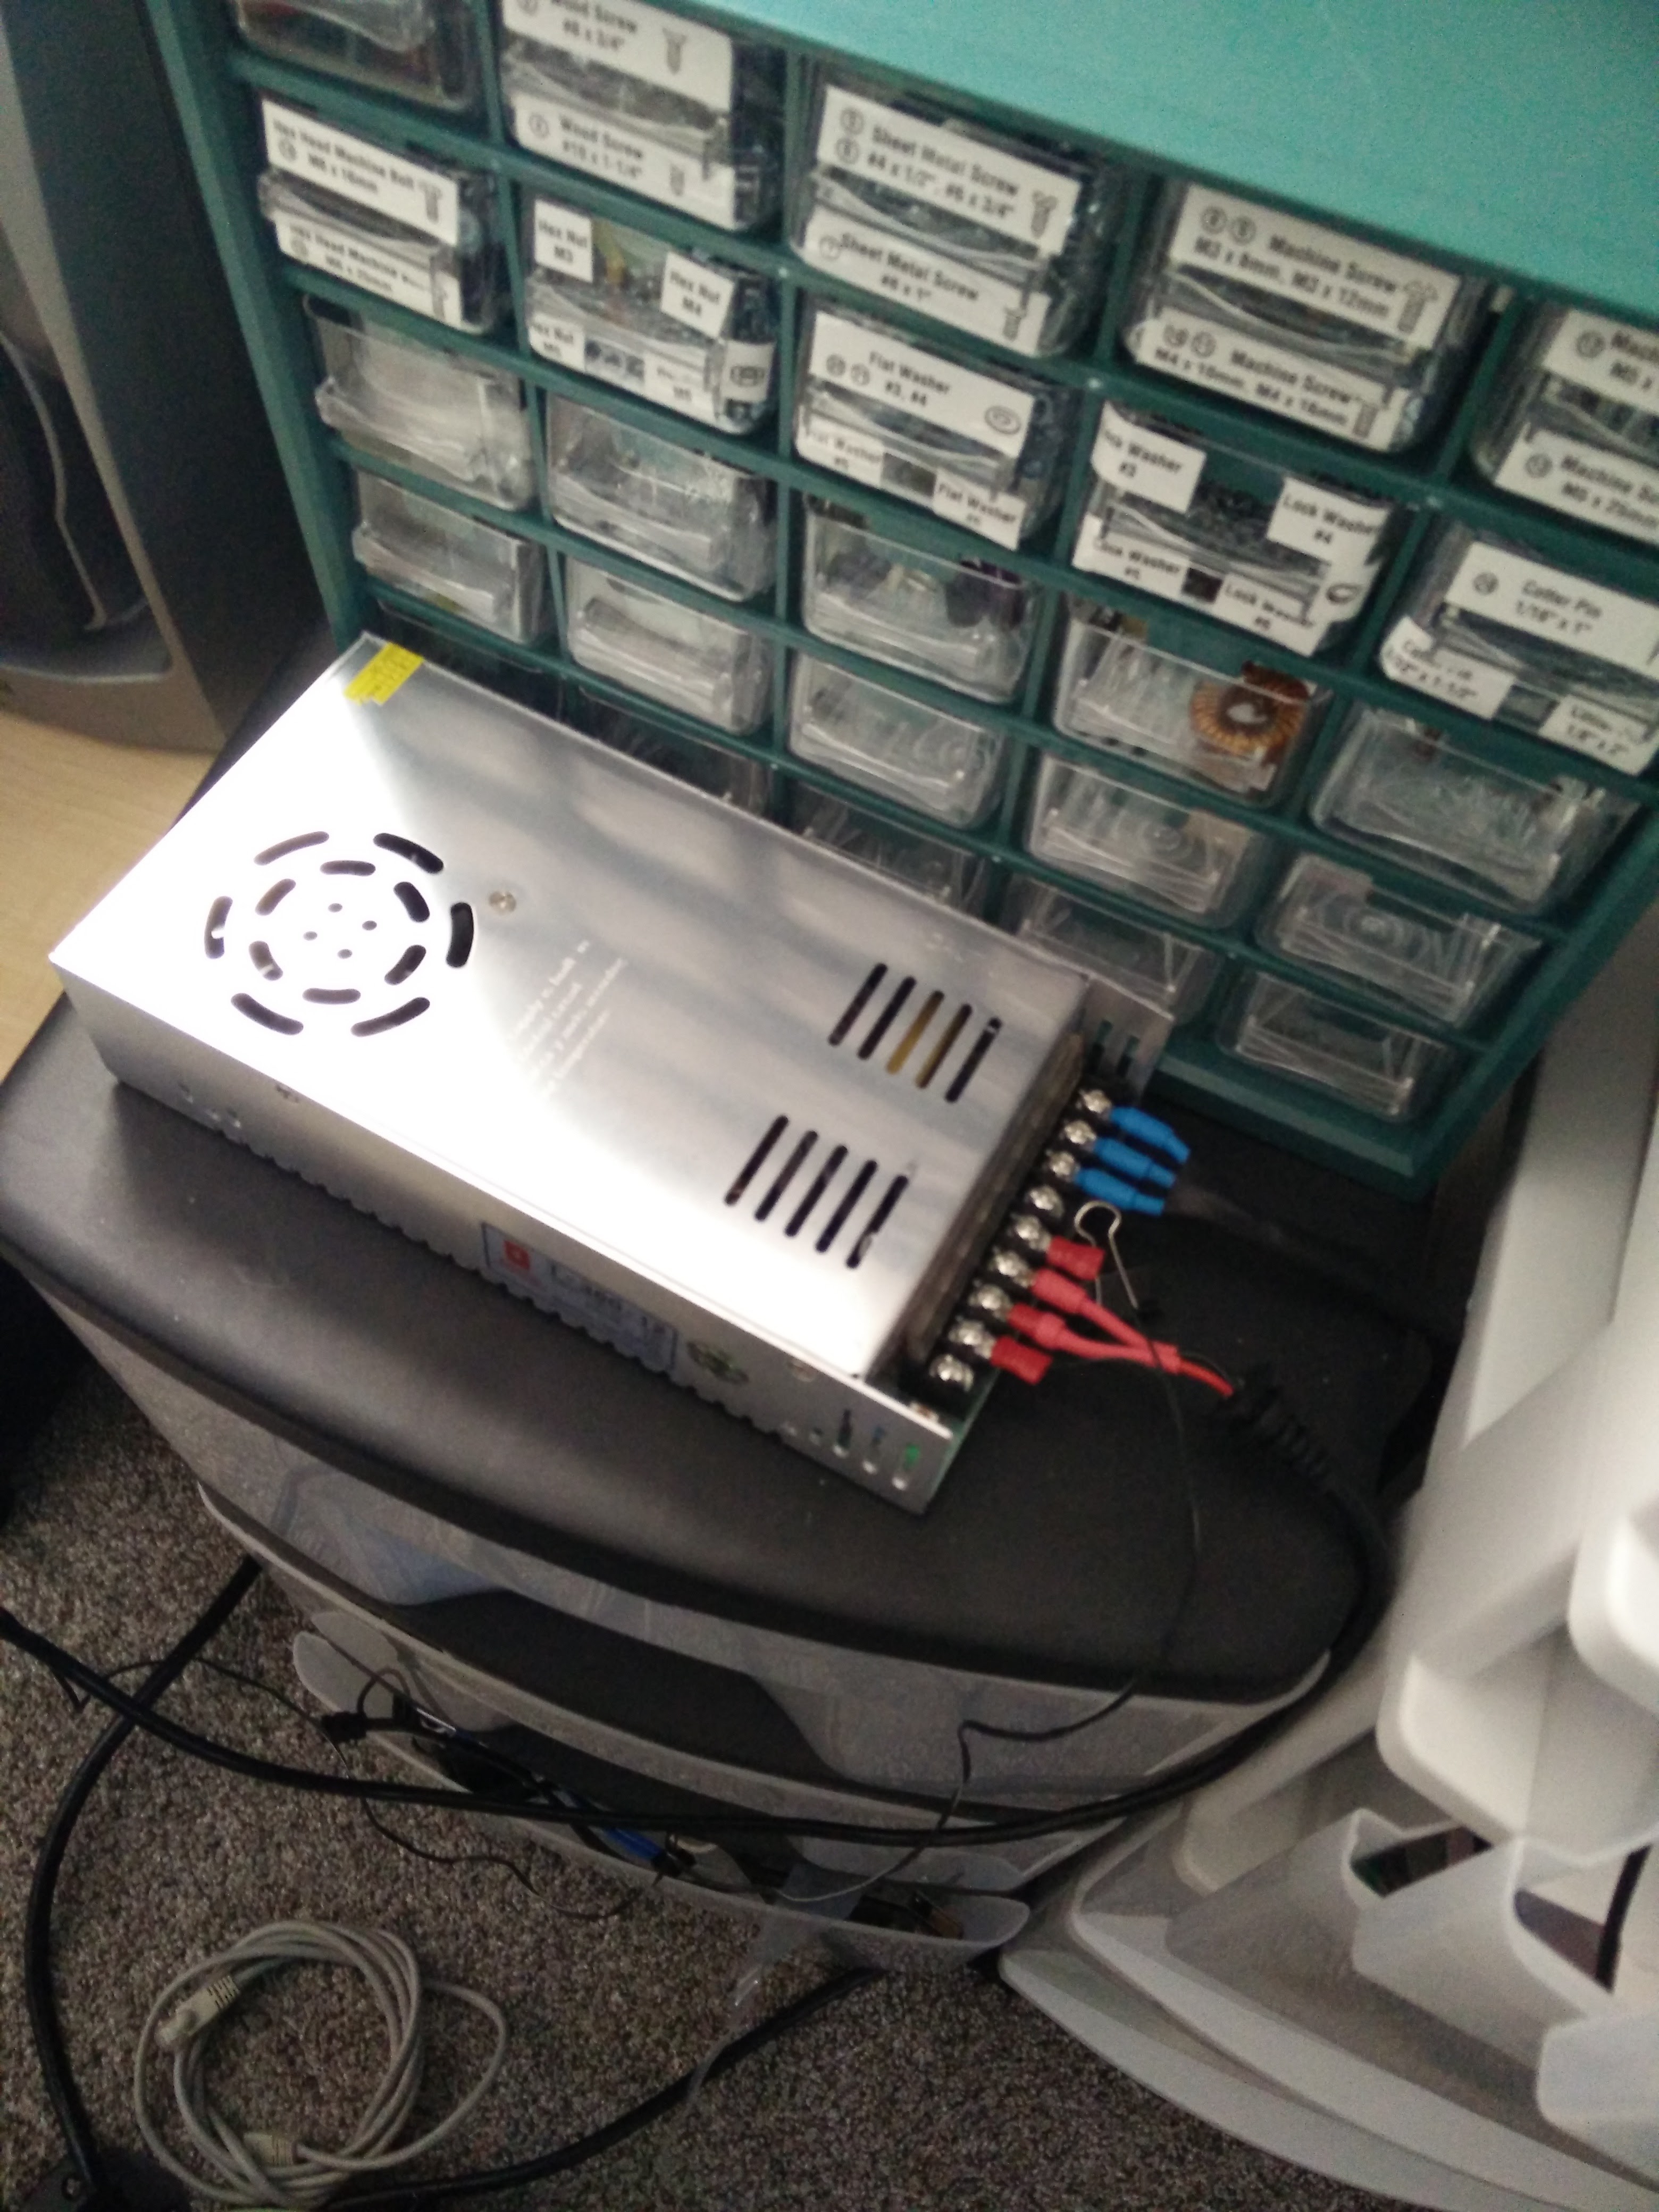
Around this time, I started getting the itch to expand the bed a bit...first thing I did to prep was purchase a better power-supply, as the brick it came with started having issues as well
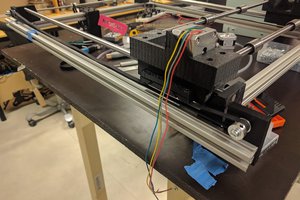
I purchased a Rep-rap champion Bed carriage & a 200x200 PCB heater
the first bed I got was severely warped & when laid flat on the table was about 1/4-1/2 high in the middle vs the ends & the new piece of boro I ordered was cracked in half. After emailing rep-rap champion, they were AWESOME & sent me a new bed & piece of glass, though this piece did come with a slight chip, I didn't care this time
... Read more »
 Nikolai Ovesen
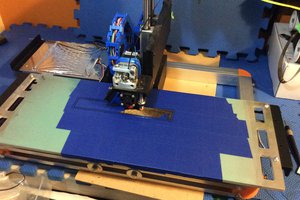
 ken.do
 Cedric Anné
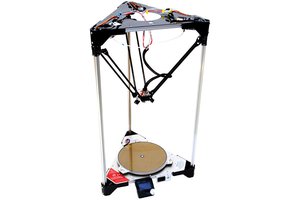
 Nyles
Nyles
A few people mentioned that the build looks incomplete. Please click "view all details" to see the entire build