 Mark Langford
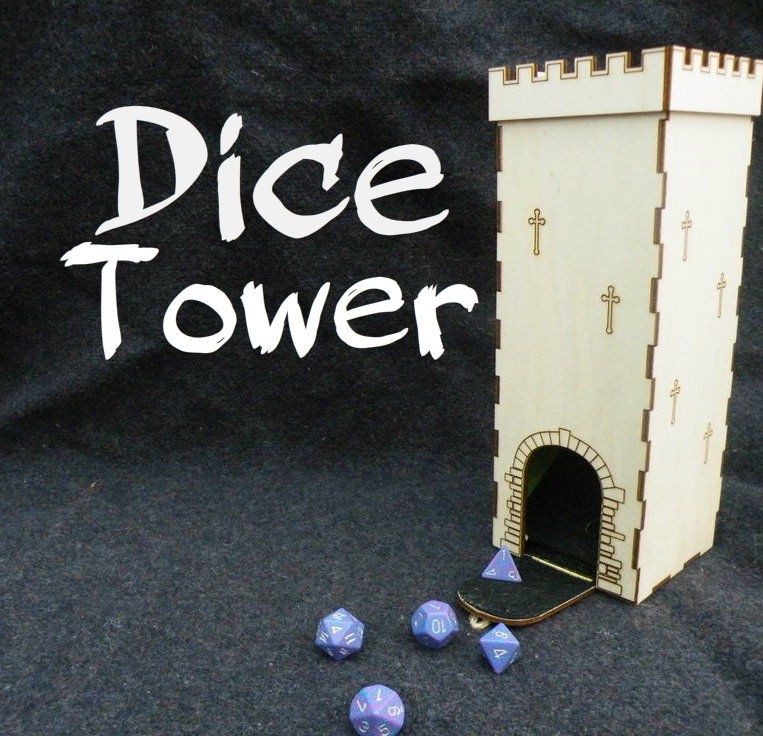
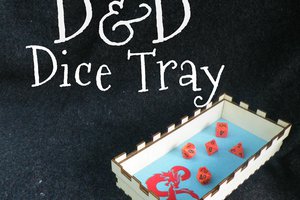
Every role-player needs dice.
Dice need rolling.
Rolling dice need a dice-tower.
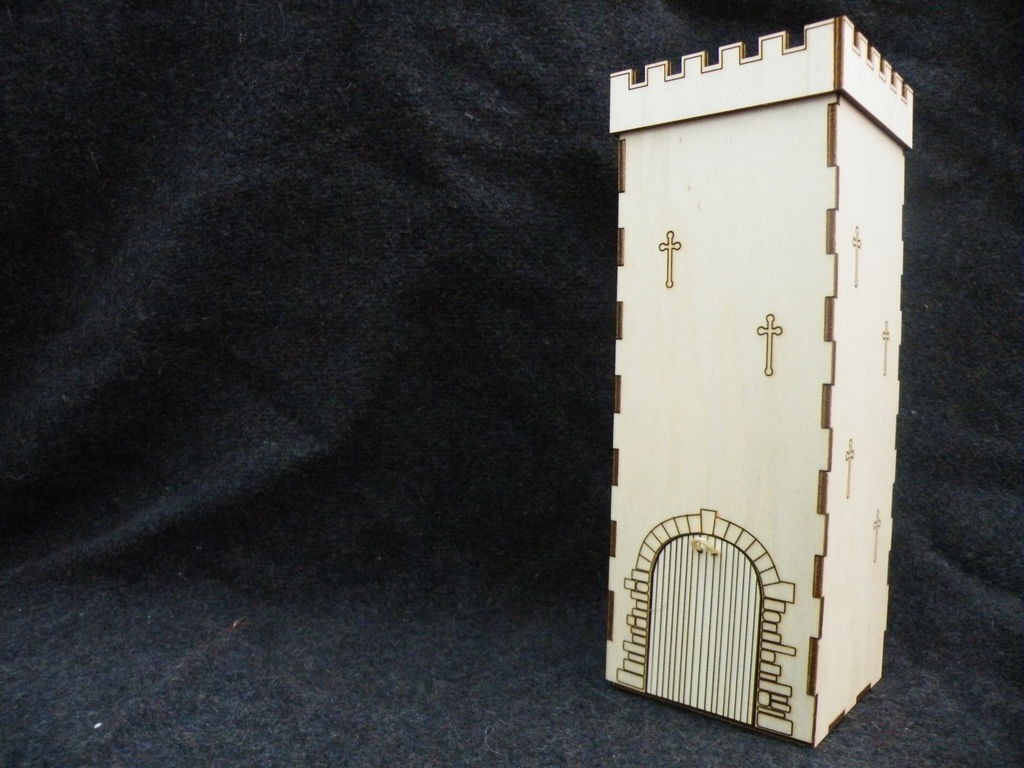
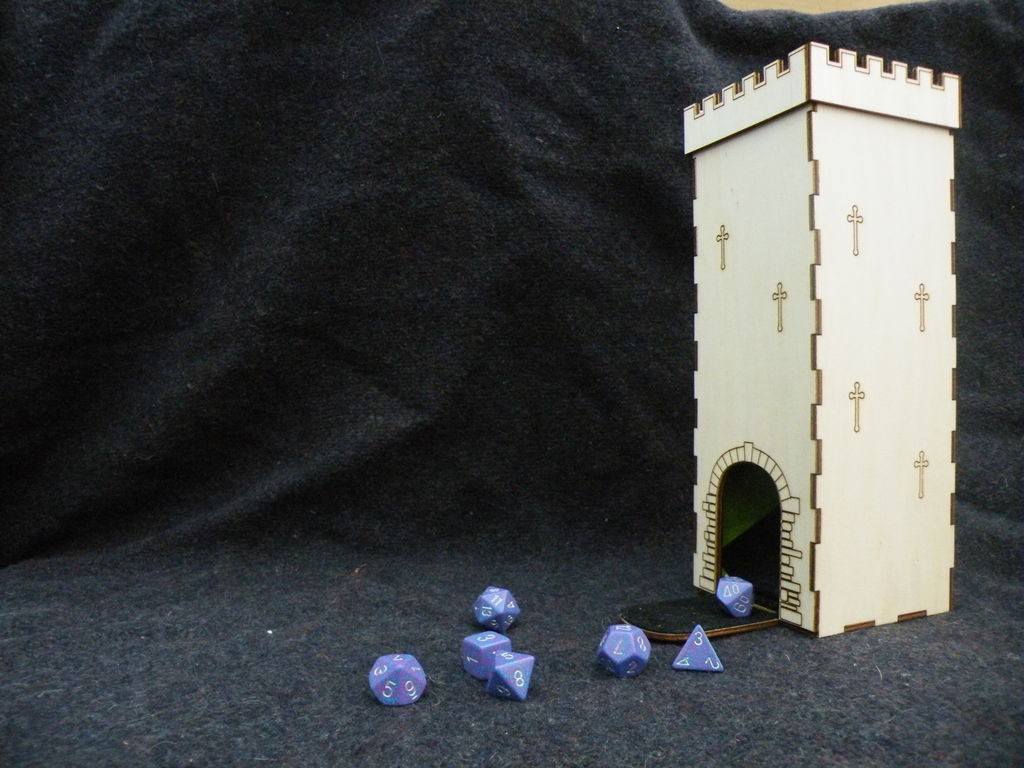
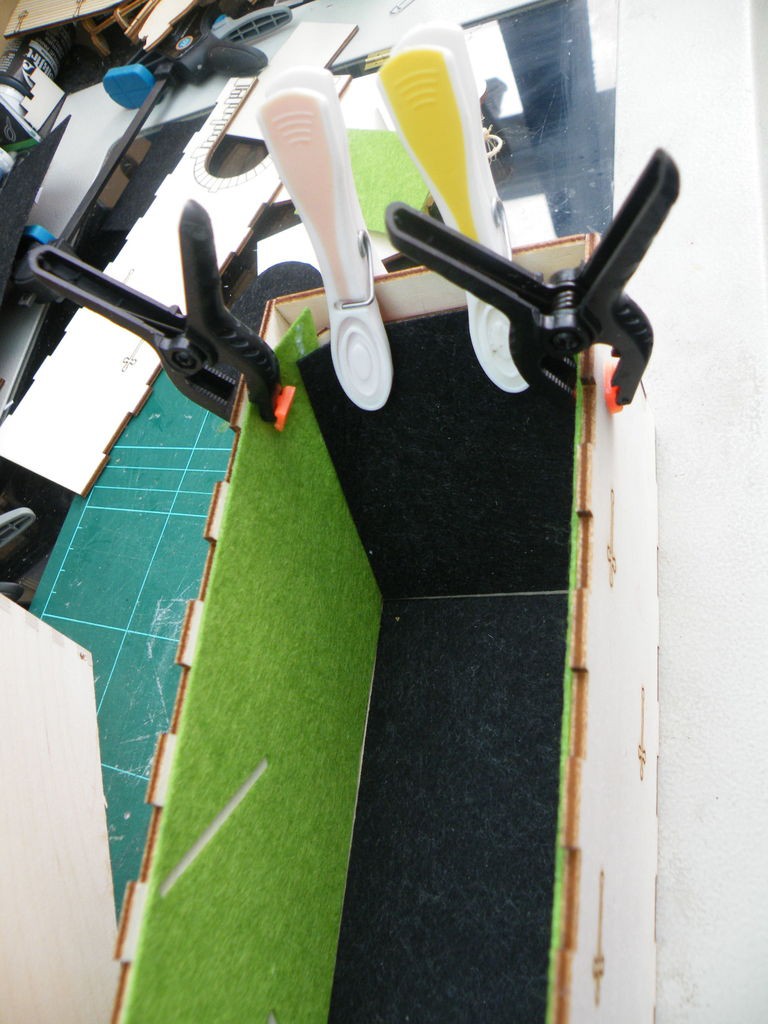
This is the tower I made for my eldest - it's fully lined to reduce the clatter of the dice, and has a magnetic closure.
(Big shout-out to Jayefuu for letting me use his very cool door design - sorry I didn't leave the hinges on, dude!)
Step 1: Needful Things
As well as the (A2) files attached to this step, you will need:
- 3mm plywood.
- Felt (mine came from the craft section of a local "pound" store).
- A small strong magnet (I used a 5mm cubic neodymium magnet from my stash).
- A paper clip.
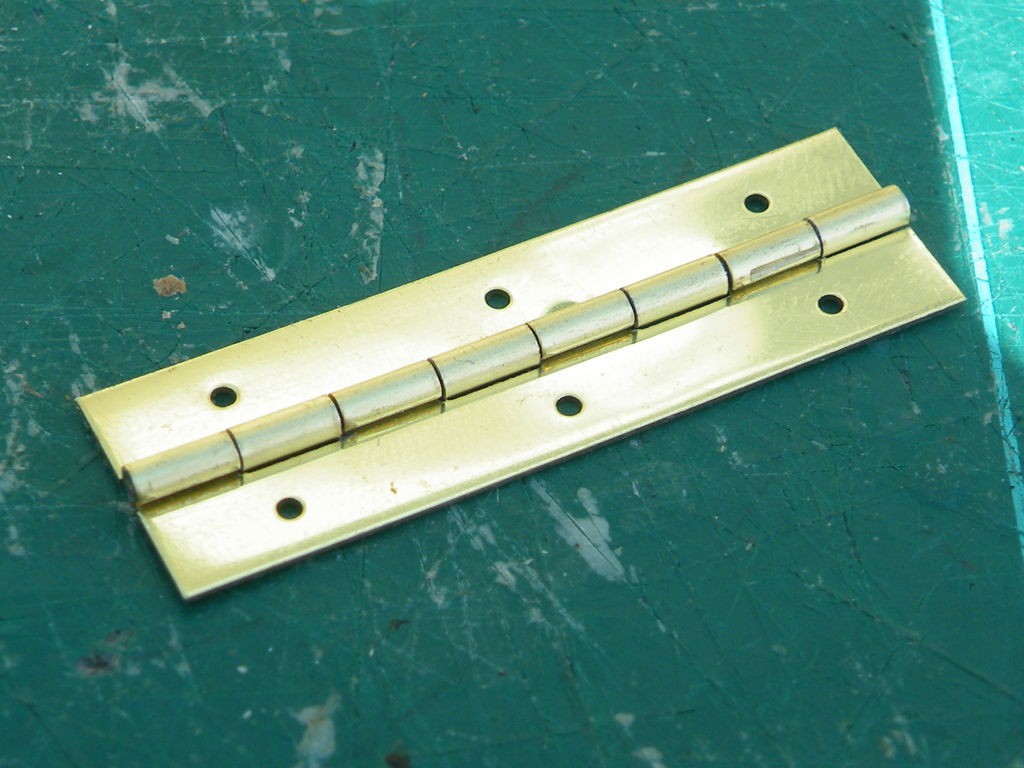
- A small hinge (mine came from a local specialist hobby store).
- String.
- Glue - wood-glue and super glue.
- A pencil
- Clamps
- Time - you will need to give the tower regular pauses to dry. On a warm, dry day, with plenty of ventilation, this will take at least an afternoon to assemble.
If you don’t have your own cutter, you can use one of the online laser cutting services to get your parts cut (it should cost you around $47, but you can cut the cost by cutting your felt by hand with a pair of scissors), then jump ahead to step 3.
Download Dice Tower 3mm 24 x12 Ponoko Ready.svg
Download Dice Tower 3mm Felt lining P2 Ponoko Ready.svg
Download Dice Tower.dxf
Download Dice Tower.pdf
Download DiceTow1.ecp
Download Dice Tower.svg
Download Dice Tower A2.pdf
Download Dice Tower A2.svg
Step 2: Cutting
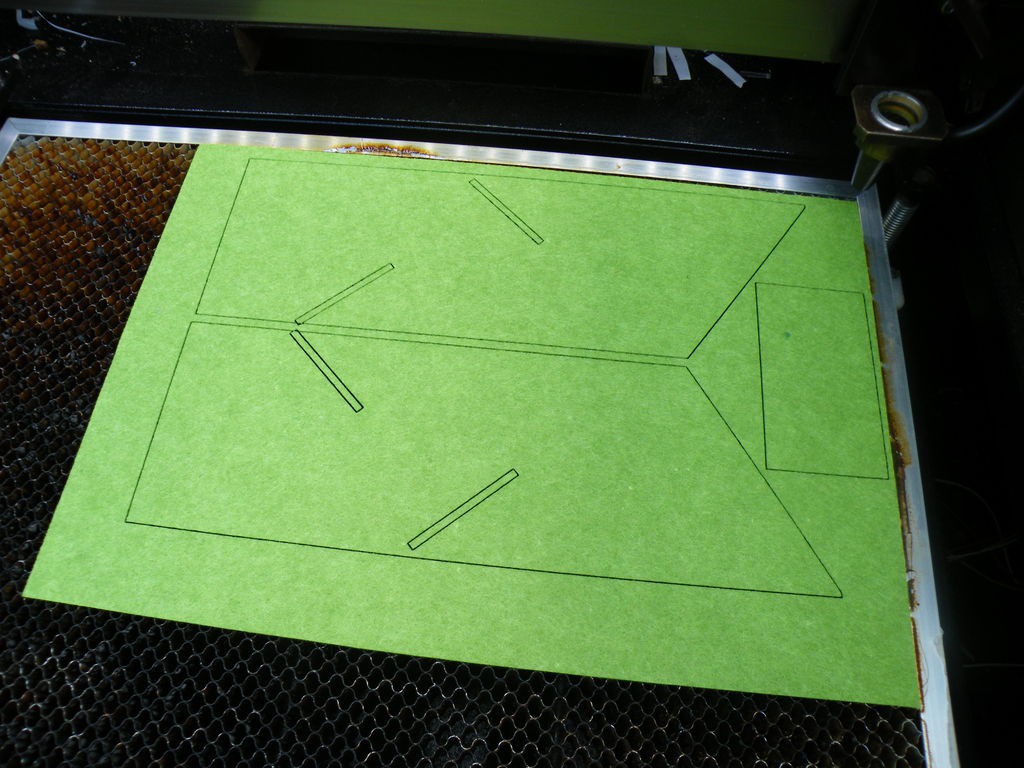
The files as given in the previous step have all the parts - wood and felt - in the same cut. You will need to edit the layout of the pieces and the power-settings to suit your cutter.
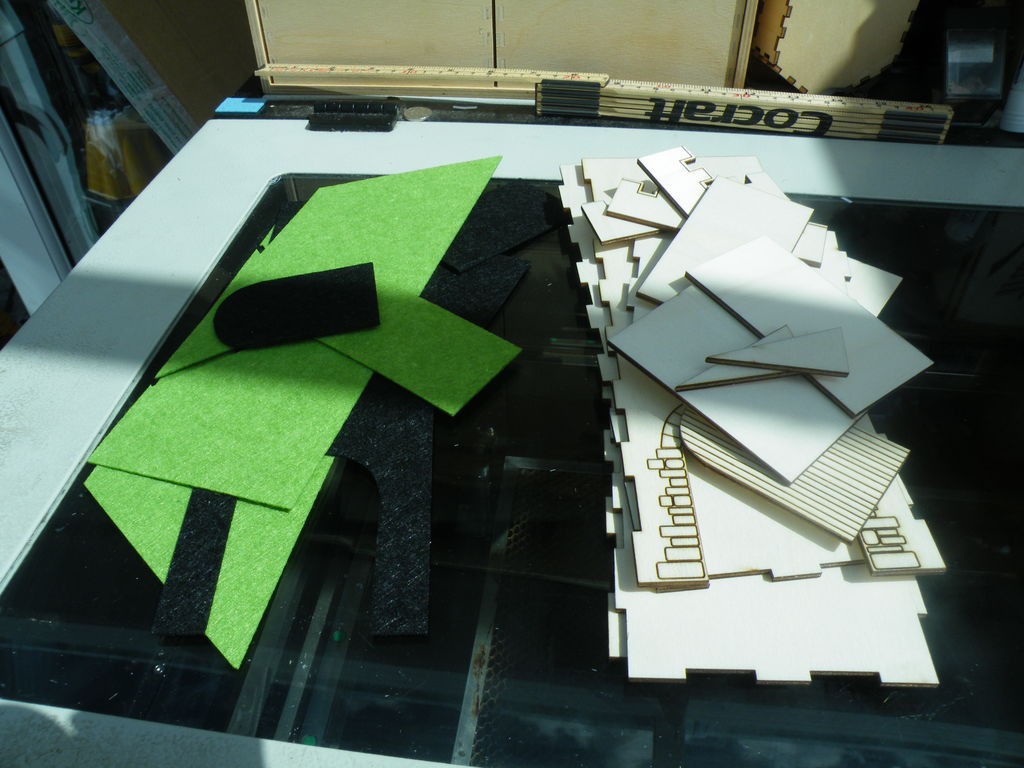
Because I chose cheap felt, the pack had only one sheet of each colour, so the lining had to be two colours - my eldest chose a combination of green and black.
Step 3: Marking the Tower

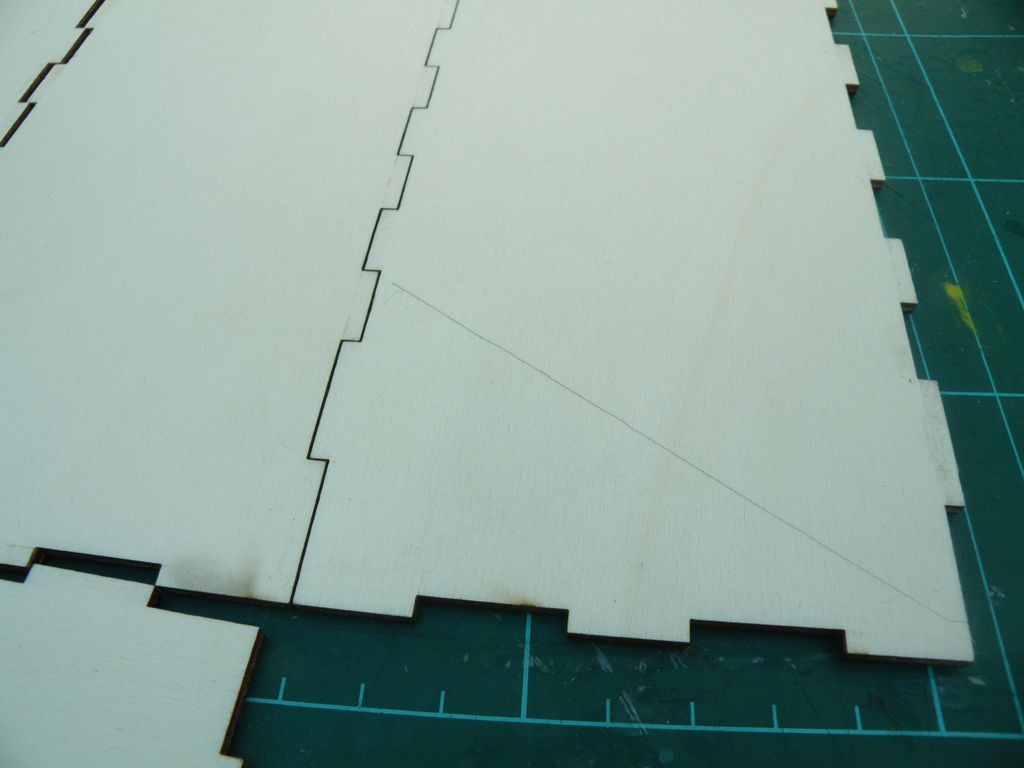
Lay out the back and sides of the tower, and lay the angled side parts of the felt lining in place on the side sections.
Using a pencil, mark where the diagonal of the felt falls on the plywood - this is where one of the tumbling slopes will be fitted.
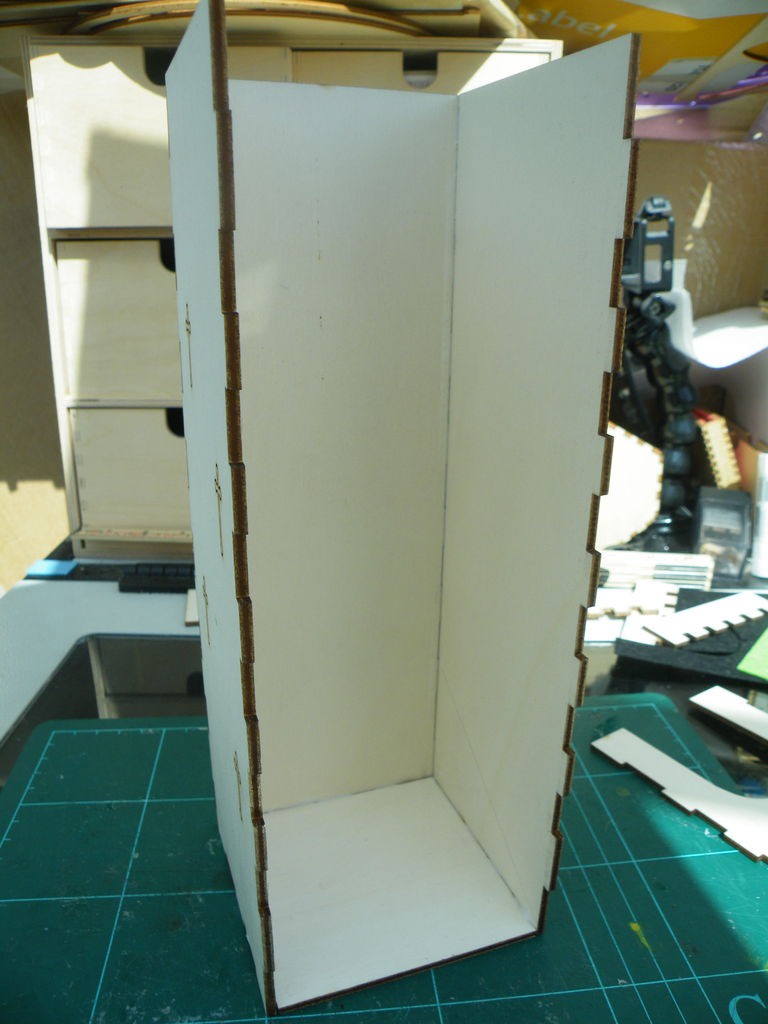
Step 4: Starting the Tower Shell.
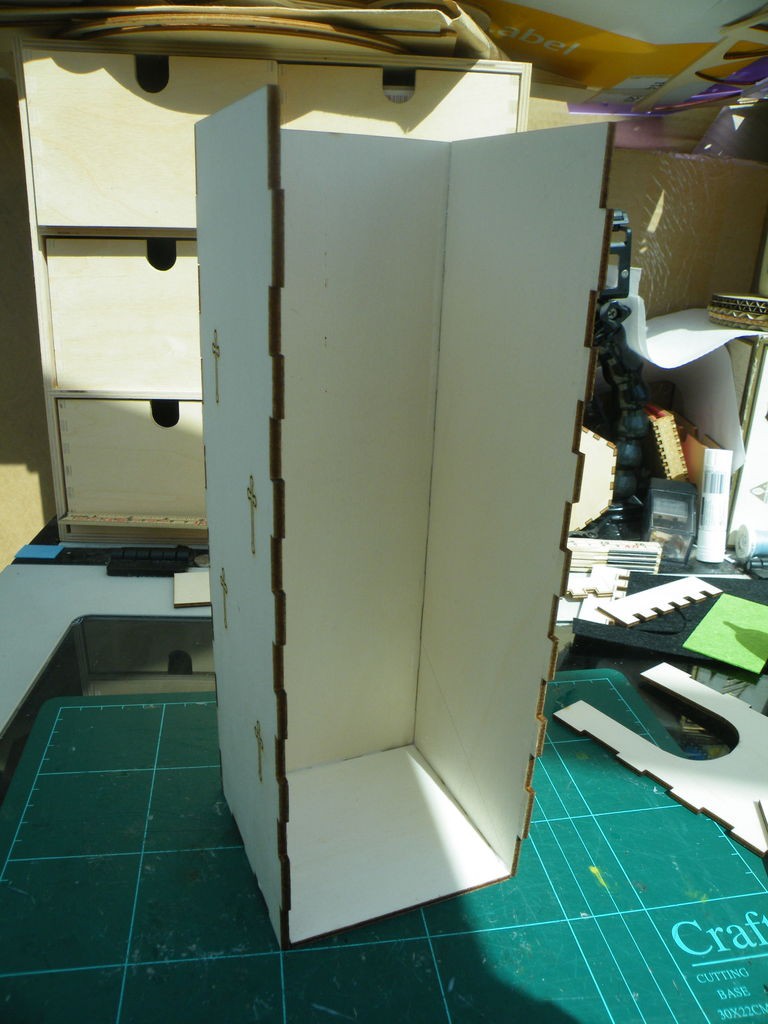

You need to assemble the parts of the tower in a certain order, or you will find yourself unable to fit some parts.
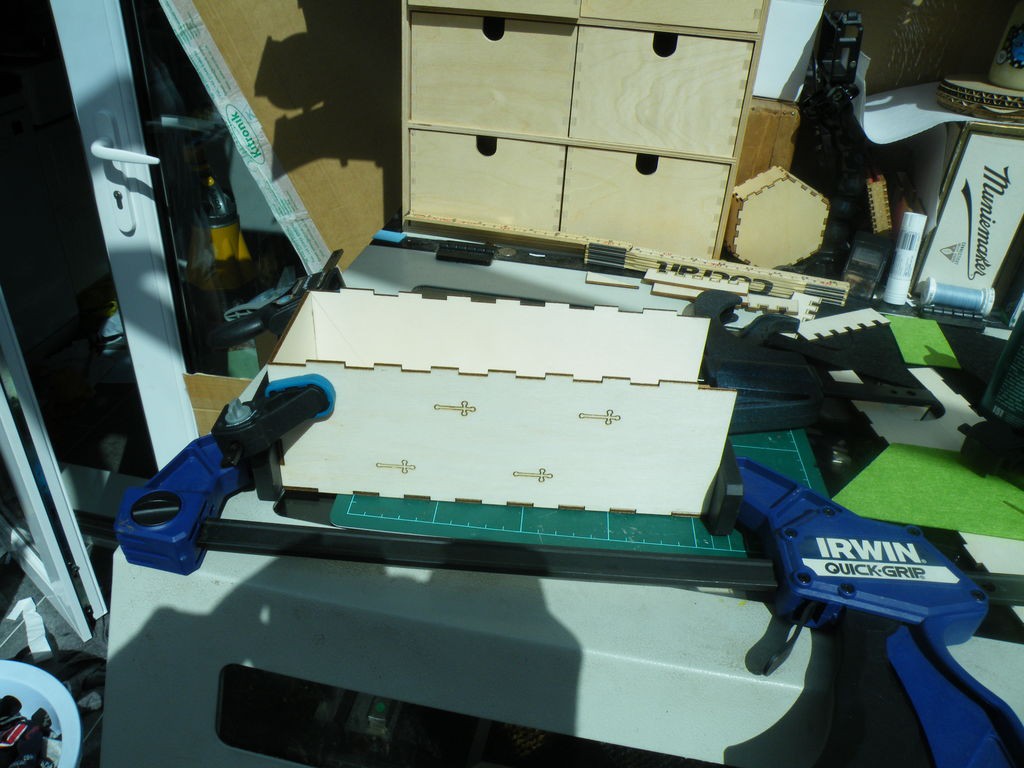
Start with the back, sides and base of the tower - glue the joints, assemble and clamp.
A trick with gluing finer-joints; if you lay them out flat, you can "draw" a line of glue along the joint - when you put the joint together, the glue lines will disappear inside the fingers.
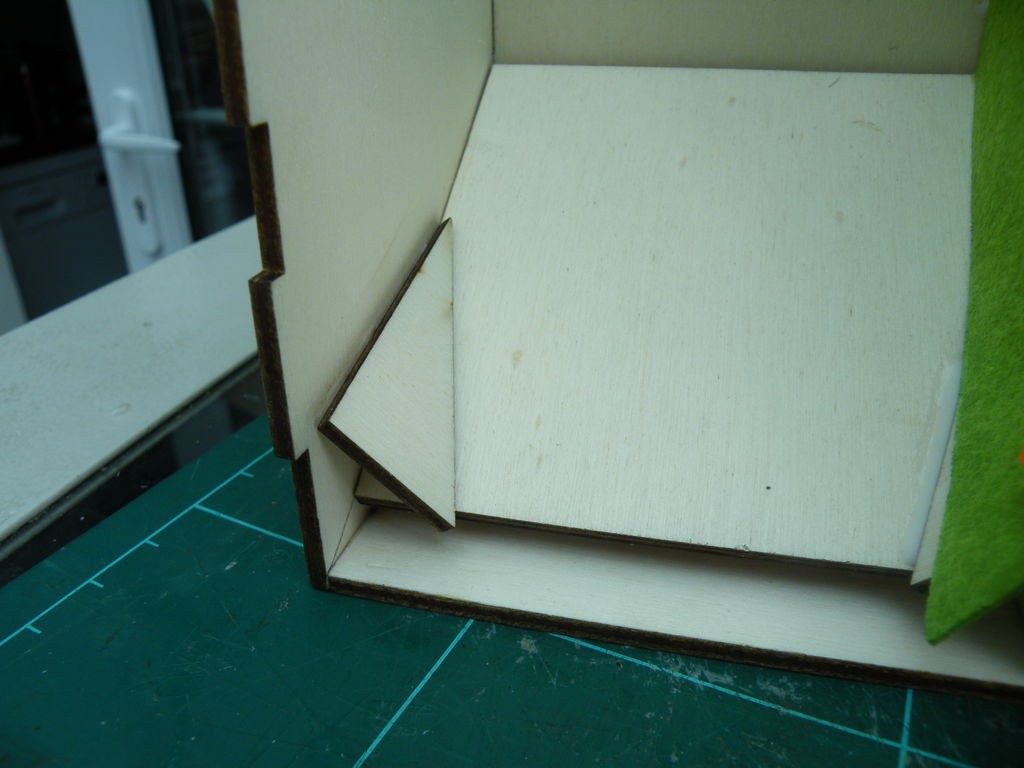
Step 5: Insert the Bottom Slope

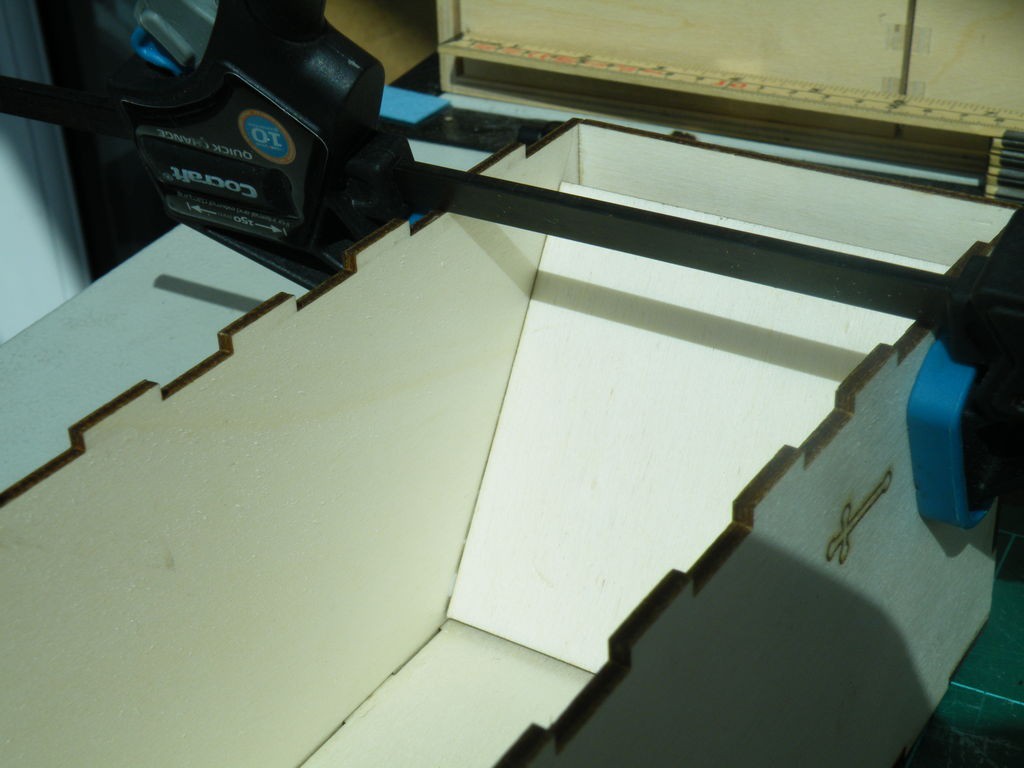

The key parts of a dice tower are the slopes that cause the tumble.
We are going to be fitting the bottom slope first.
Test-fit the bottom slope before you add any glue, to make sure you get it the right way round.
Draw a line of glue along the pencil lines you drew in the previous step, and re-fit the slope in place.
Gently clamp the sides of the tower, and the squeeze will keep the ramp in place while the glue dries.
Step 6: Add the Guide Slopes

We don't want the dice to get trapped in the bottom of the tower.
The two triangular parts prevent this.
The parts do not meet at right angles, so use generous amounts of wood-glue to fill the joint and hold it until at least you add the linings.
Step 7: Start the Lining
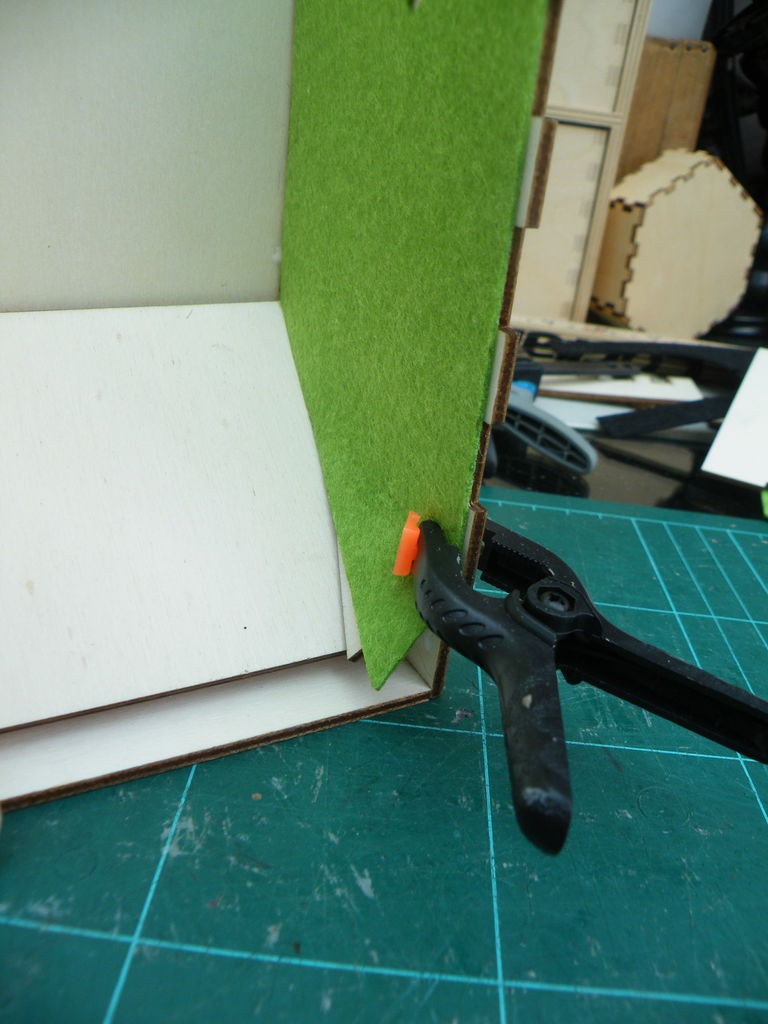
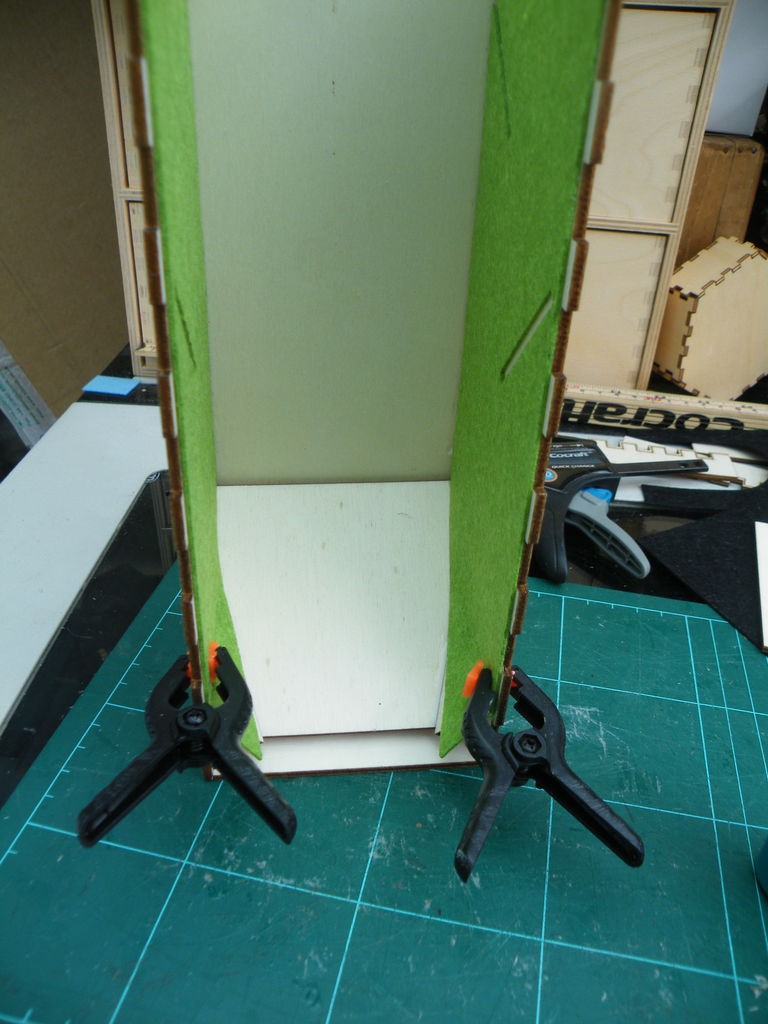
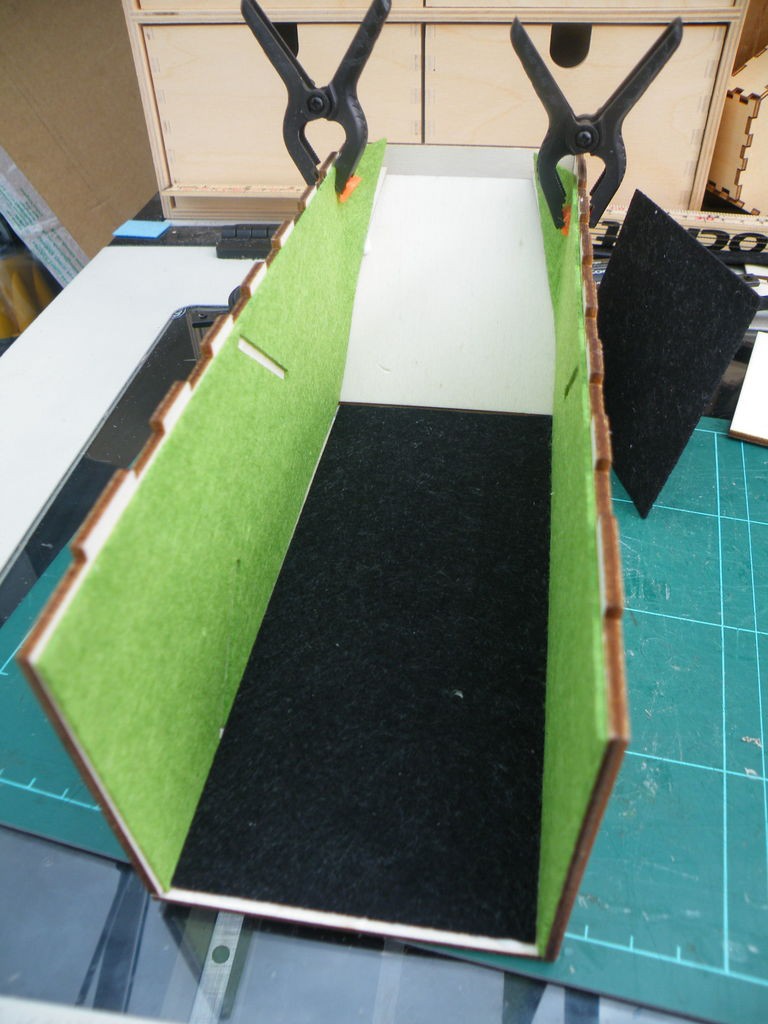
Now it is time to add the lining.
You can leave the lining out of your tower if you wish, but the dice will be a lot noisier as the tumble, and it will be fiddly adding the top two tumble-slopes, as their locations are marked by the cut felt.
Smear wood-glue all over the inside of one side of the tower. You don't need a lot of glue, but make sure you get it to...
Read more »