 foamyguy
3D Object
First step was designing the plate. This was my first experience with Open SCAD, I think it went rather well. I had 3 different revisions of the plate. The first one was a more bulky and more "subtractive". After this initial design I looked back at my original inspiration and decided I like a few of the choices they made better so I changed it up to be a bit more like theirs. Rev 2 was more conservative. A thinner plate with snap holes tucked in tighter, and "additive" this time. Rev 3 (final) was a minor change to lower the plate thickness and make a bigger cutout for the USB/Battery plugs.
Assembly
At first I was thinking I would use wires and solder. I got 2 pins done then went to bed. After sleeping on it I decided the stiff wires were going to make it harder to get every thing glued to the plate. So in the morning I de-soldered those 2 and switched to using conductive thread to tie the snaps onto the Gemma. After running the thread through each of the holes on the snaps a few times I put a dab of hot glue on the underside to hold down the thread. Then I tied the other end to each pad on the Gemma. After I got them tied on I finished it off with a dab of conductive glue on the knot for strength and a better connection. A bit of hot glue holds down the Gemma and all of the snaps to the plate.
 The Big One
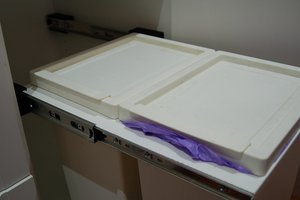
 Myles Eftos
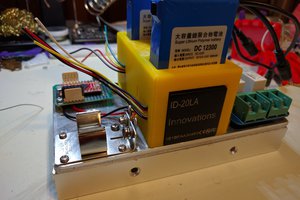
 Brandon Hart
 Morning.Star