At first, we tried to buy a part. The local percussion shop told us that Pearl doesn’t make the stands anymore. An employee (who happened to use the drums when he was in high school) described what we were looking for and suggested eBay (no luck there), two rings vertically parallel to each other, with a screw on the back for stability. I had no idea what it looked like besides the description and his hand demonstration ("It looks like this").
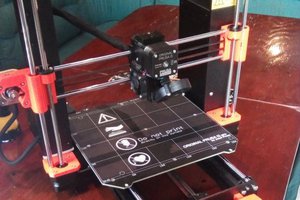
My Dad and Grandad had recently purchased a 3D printer and I had yet to play with it. I had been scared of the printer and the modeling software because I thought it would be difficult and I was too lazy to bother learning. My Dad thought this would be an easy piece to model and print (he wanted all of us to use the printer).
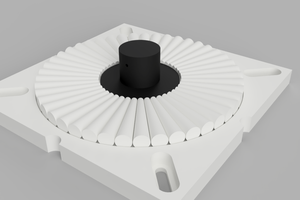
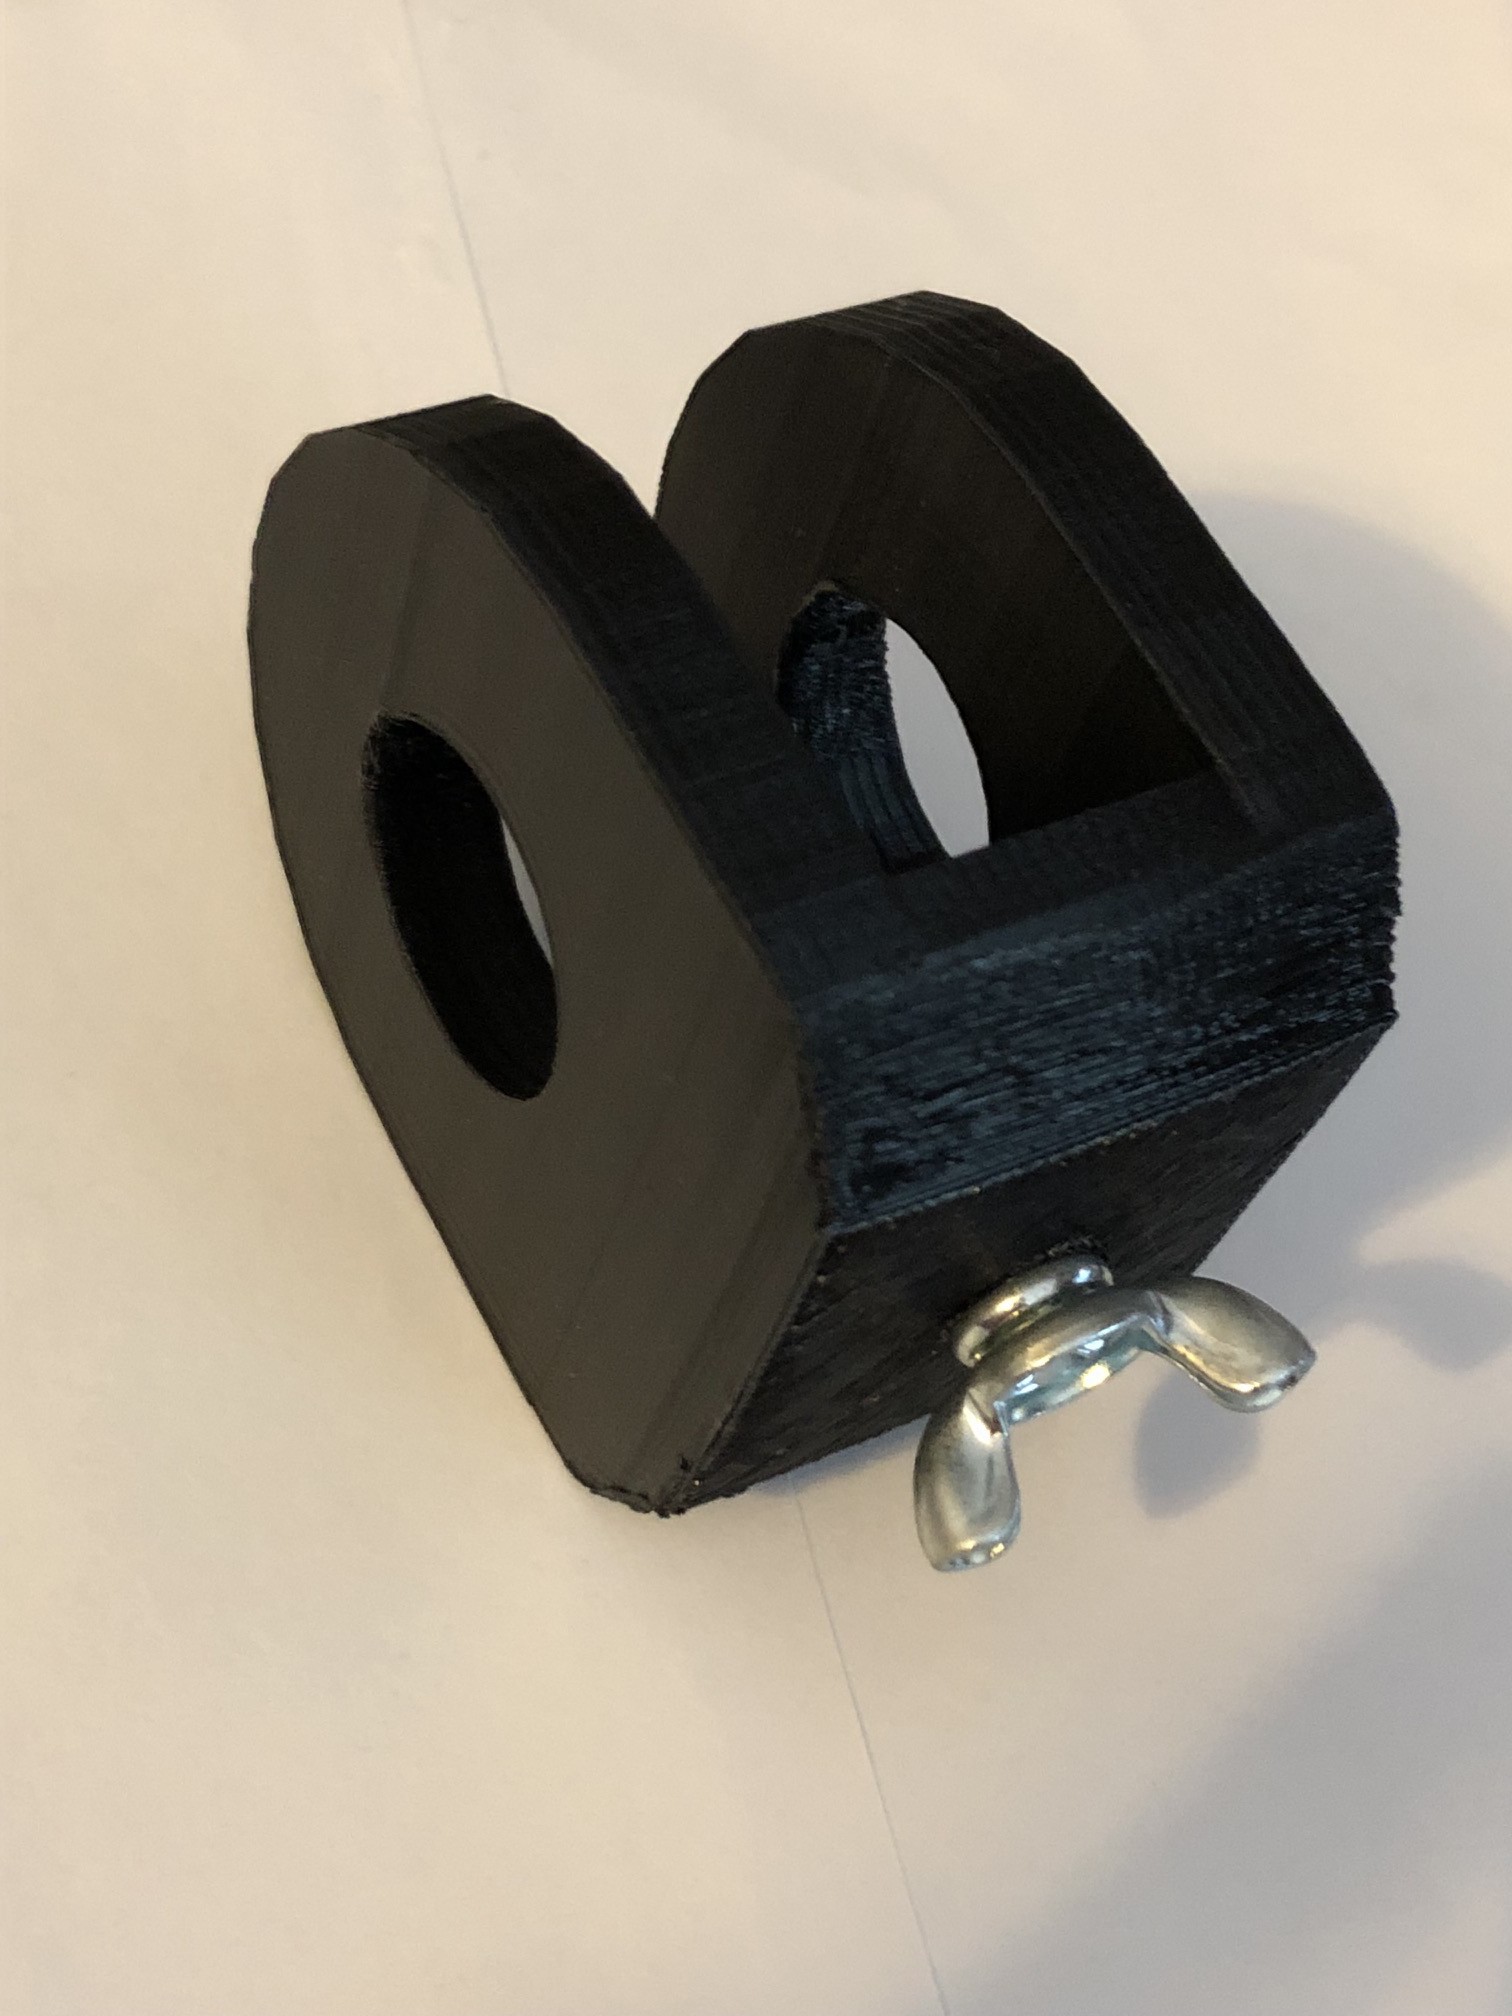
I measured the stand and hooks, and put the correct numbers into Sketchup. I started with a basic cube, and put a hole in the back for the screw and nut to go into. I made the spot for the hooks to go and the hole for the stand. Next I rounded the corners and edges to make it look pretty and shiny (insert oohs and ahs here). It looked slightly bulky, but nonetheless efficient and well curved.
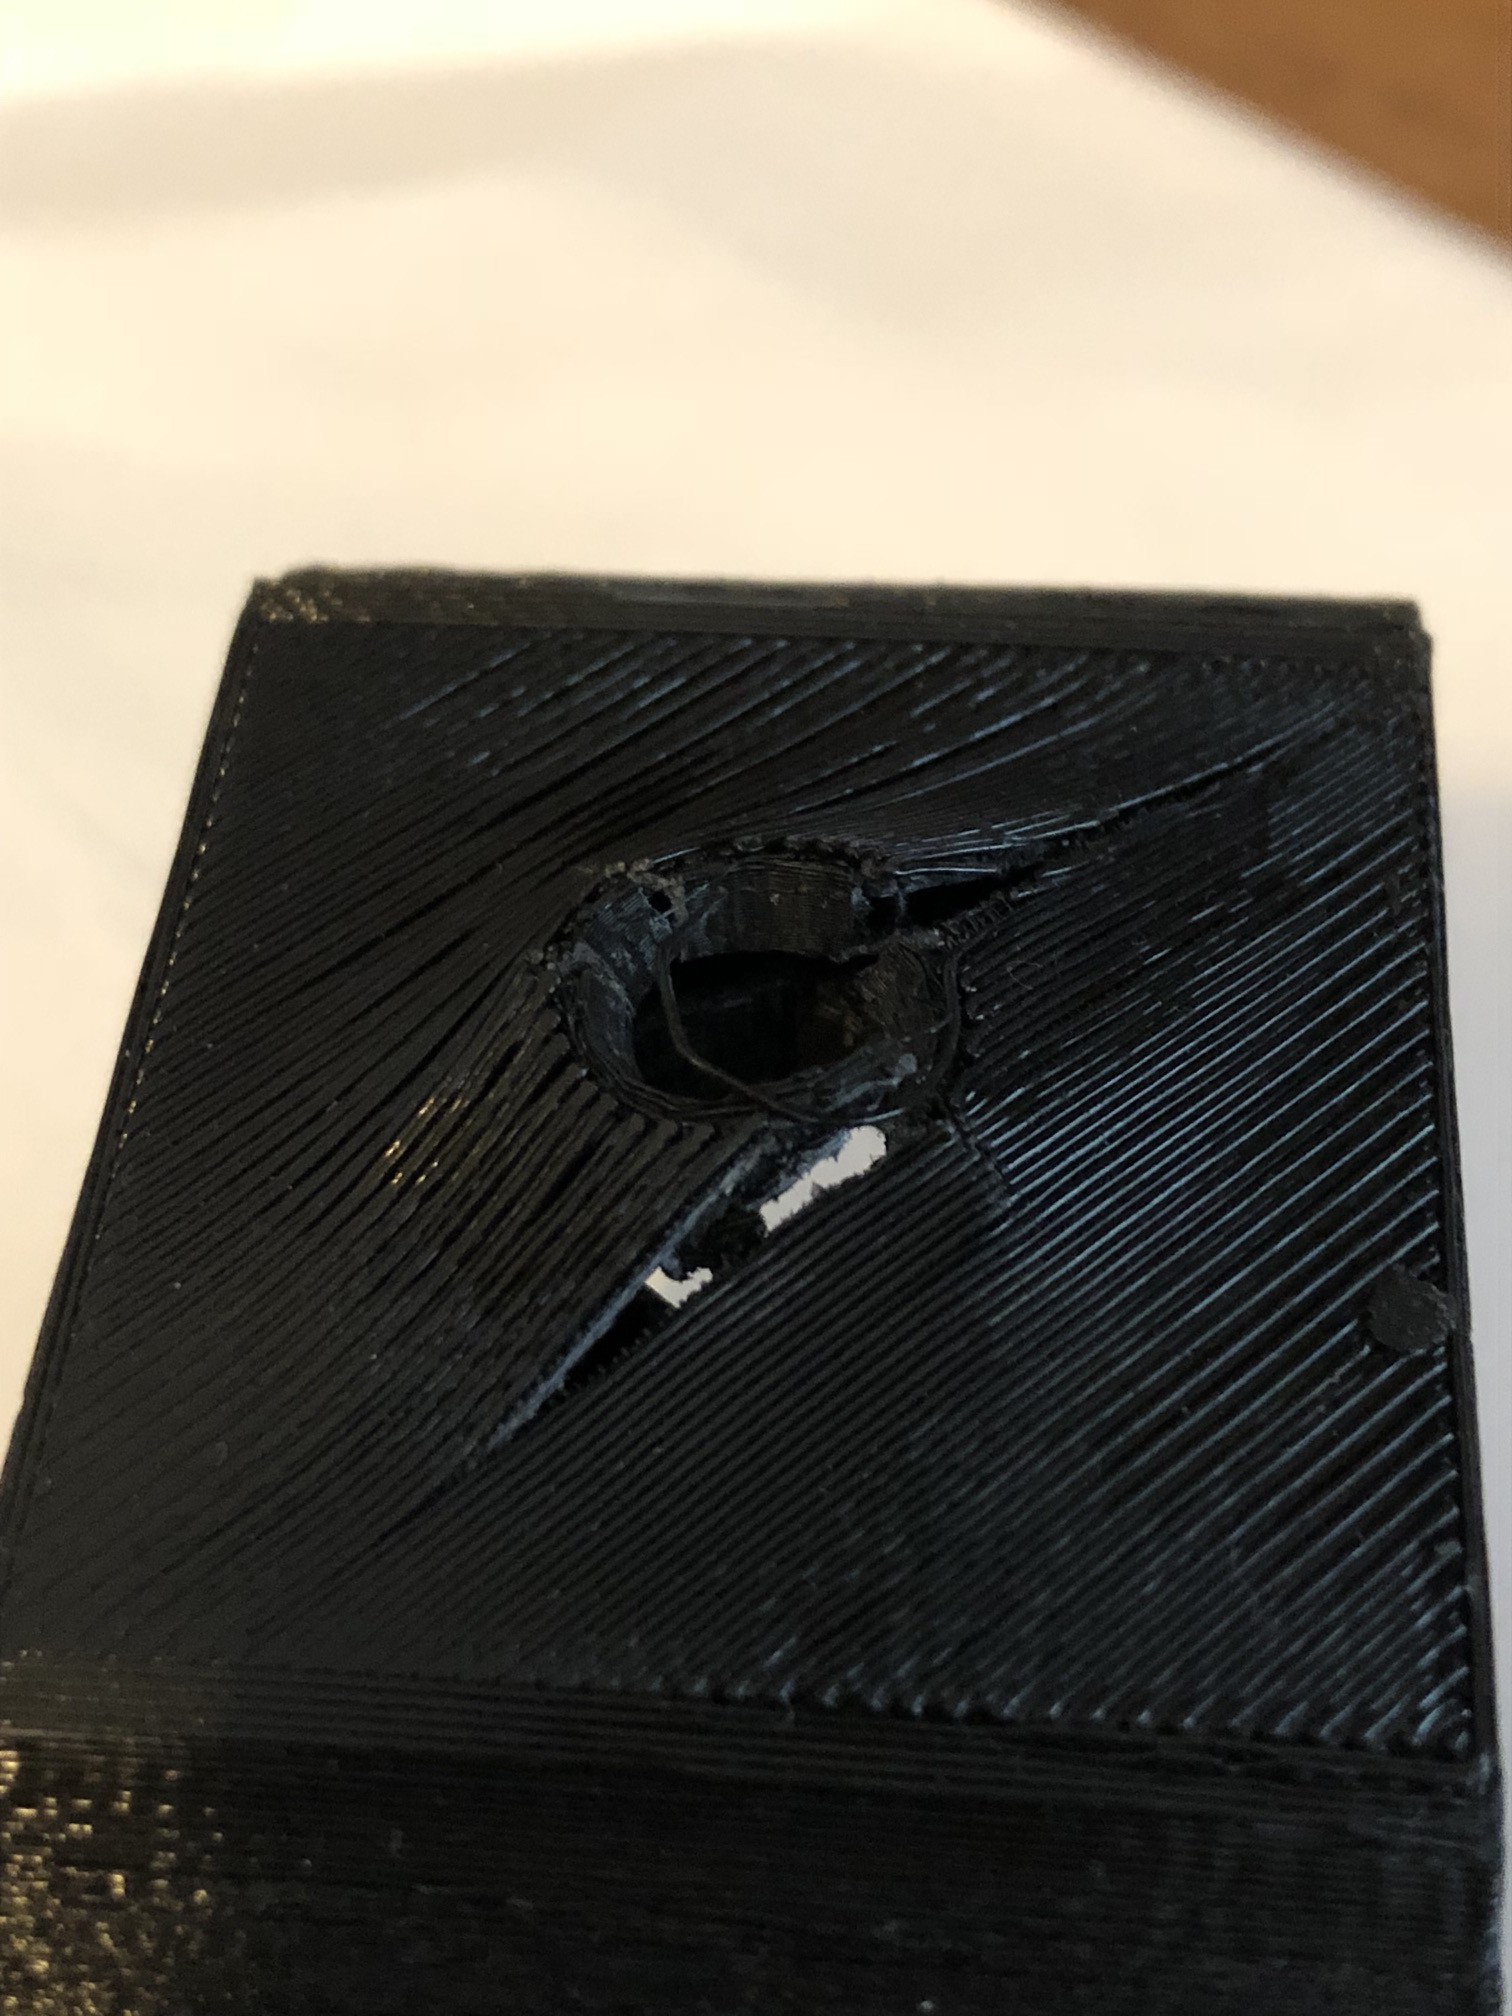
I put the model into Cura, and to my relief, it required no supports (another reason, I need to win this contest: dual extruders!!) There would be one minor issue in the printing process: the nut. The nut needed to be embedded within the model, so we would be inserting it mid-print. While the first print, unfortunately failed, the second time using Octoprint, we easily monitored the process, and were able to insert the nut with little to no problem. Time to test - With the embedded in the plastic, the plastic was too thin and it cracked as soon as I started to tighten the screw.
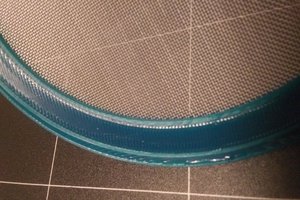
Back to Sketchup, I redesigned the model a bit with a hex opening for the nut, but not embedded. The hook of the stand would prevent the nut from getting lost. Now another print. When it was finished, it was a bit rough, so to add to the pretty and shiny, I sanded the ring a bit. Time to test it out! It’s Football Marching season (using a stand during marching season? Yes, I know it’s disgraceful).
At the game, I set up my stand by putting the hooks bar in the slot in the ring. I slid both onto the stand, and screwed it tight. I mounted the quads onto the hooks and heard a crack. The back of the ring was not strong enough. While it was fine for the rest of the game, it would soon perish (hopefully not with the bass drummer under it).
Soon after, I edited the model to make the back thicker, and made the infill density higher. I then went through the printing process again. This time, it went without a hitch, it was strong enough to support the drums, and printing was a breeze (that might have been because of the fans on the extruder).
Eventually, the director found the original ring for the stand. I use the original now due to its understandably better nature, but the 3D printed piece worked extremely well for the majority of marching season.

The surprising part was despite my amateur-ness in both percussion and 3D printing, we were able to replicate the part almost exactly. This project ultimately got me into 3D printing, and I have enjoyed experimenting and making since.
 Patrick