 Forum Shah
-
1Step-by-Step Instructions
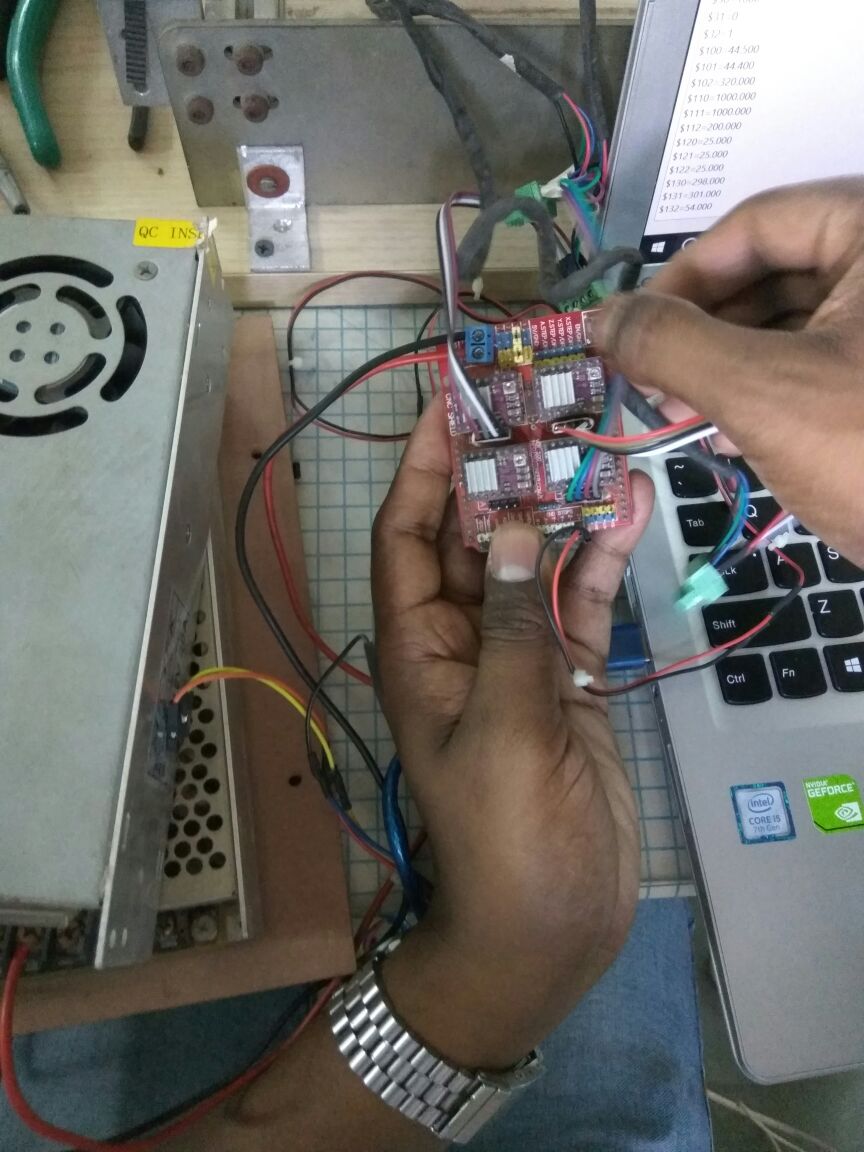
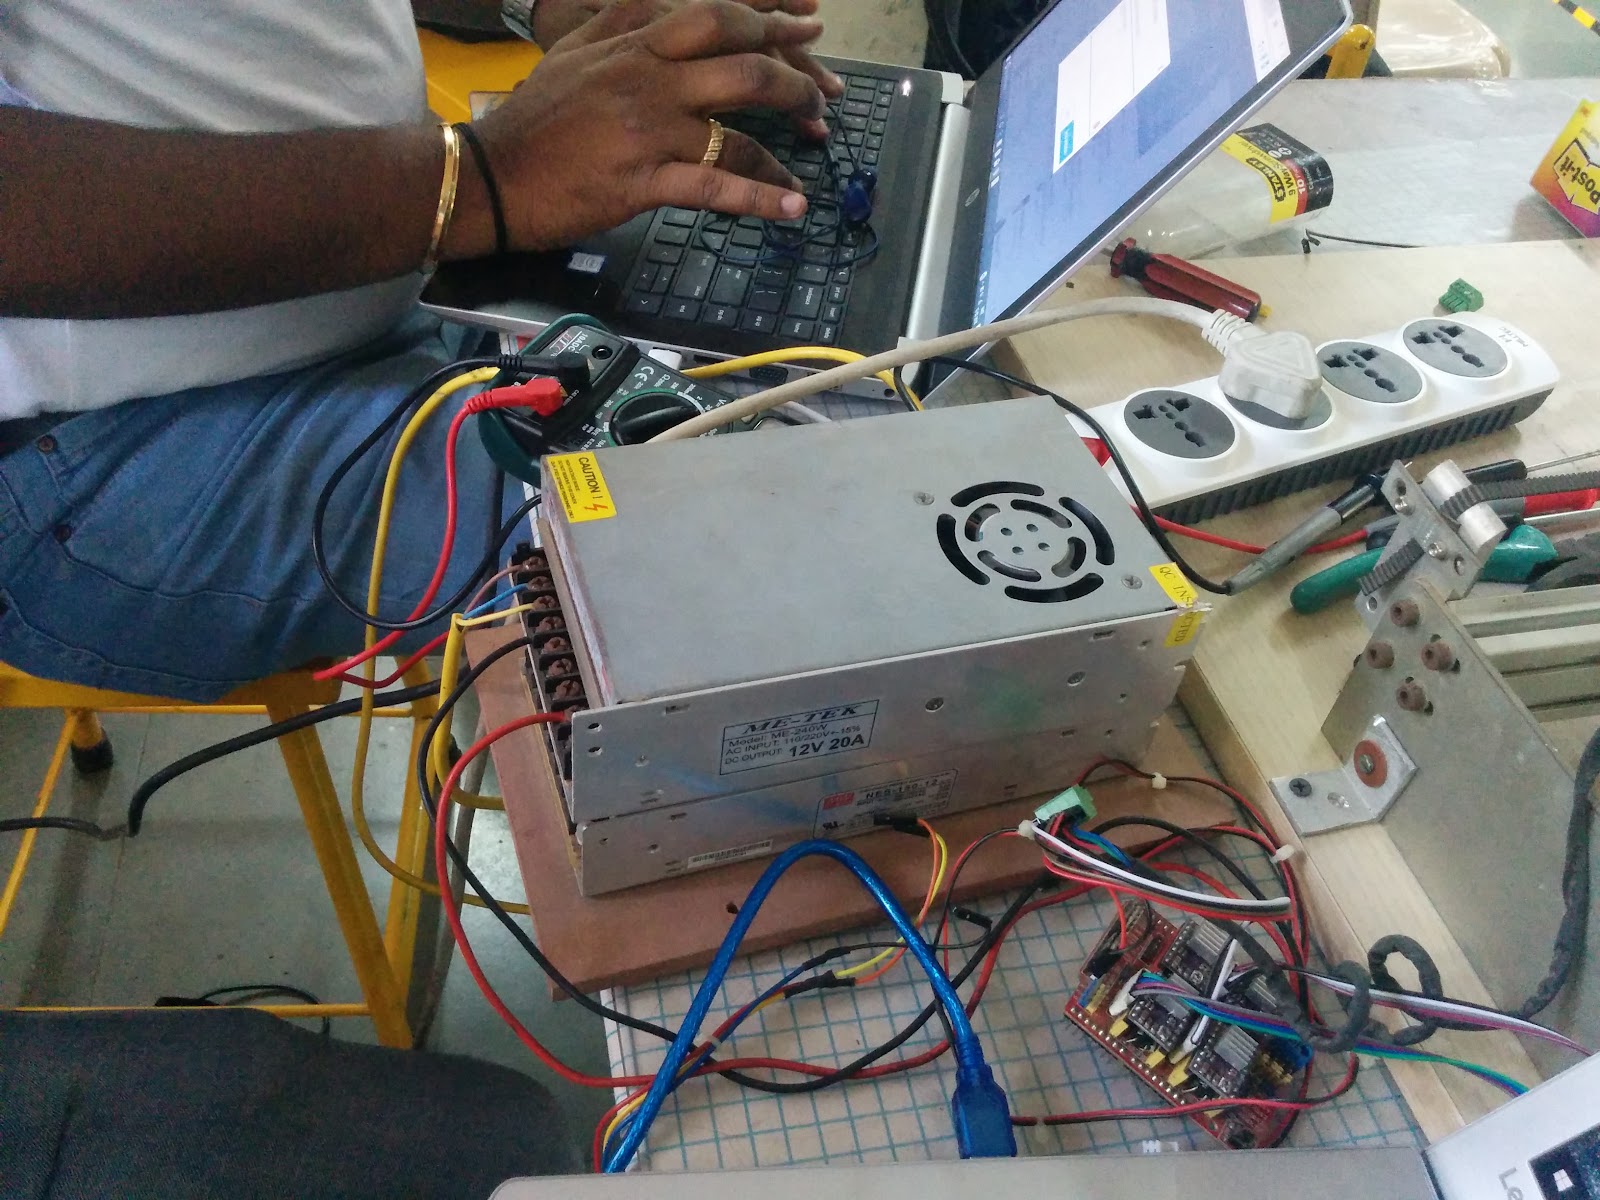
1. Access and make an existing CNC Router work by making all the appropriate connections of Arduino UNO, CNC Shield with the CNC router machine and laptop; and controlling the CNC operations using a universal GRBL controller.
-
2Step 2
2. Modify the spindle of the CNC router with a nail that will be used to make braille character impressions on different materials like paper, plastic, etc.
This includes,
- sourcing a nail of suitable size and diameter that fits at the bottom end of the CNC router spindle.
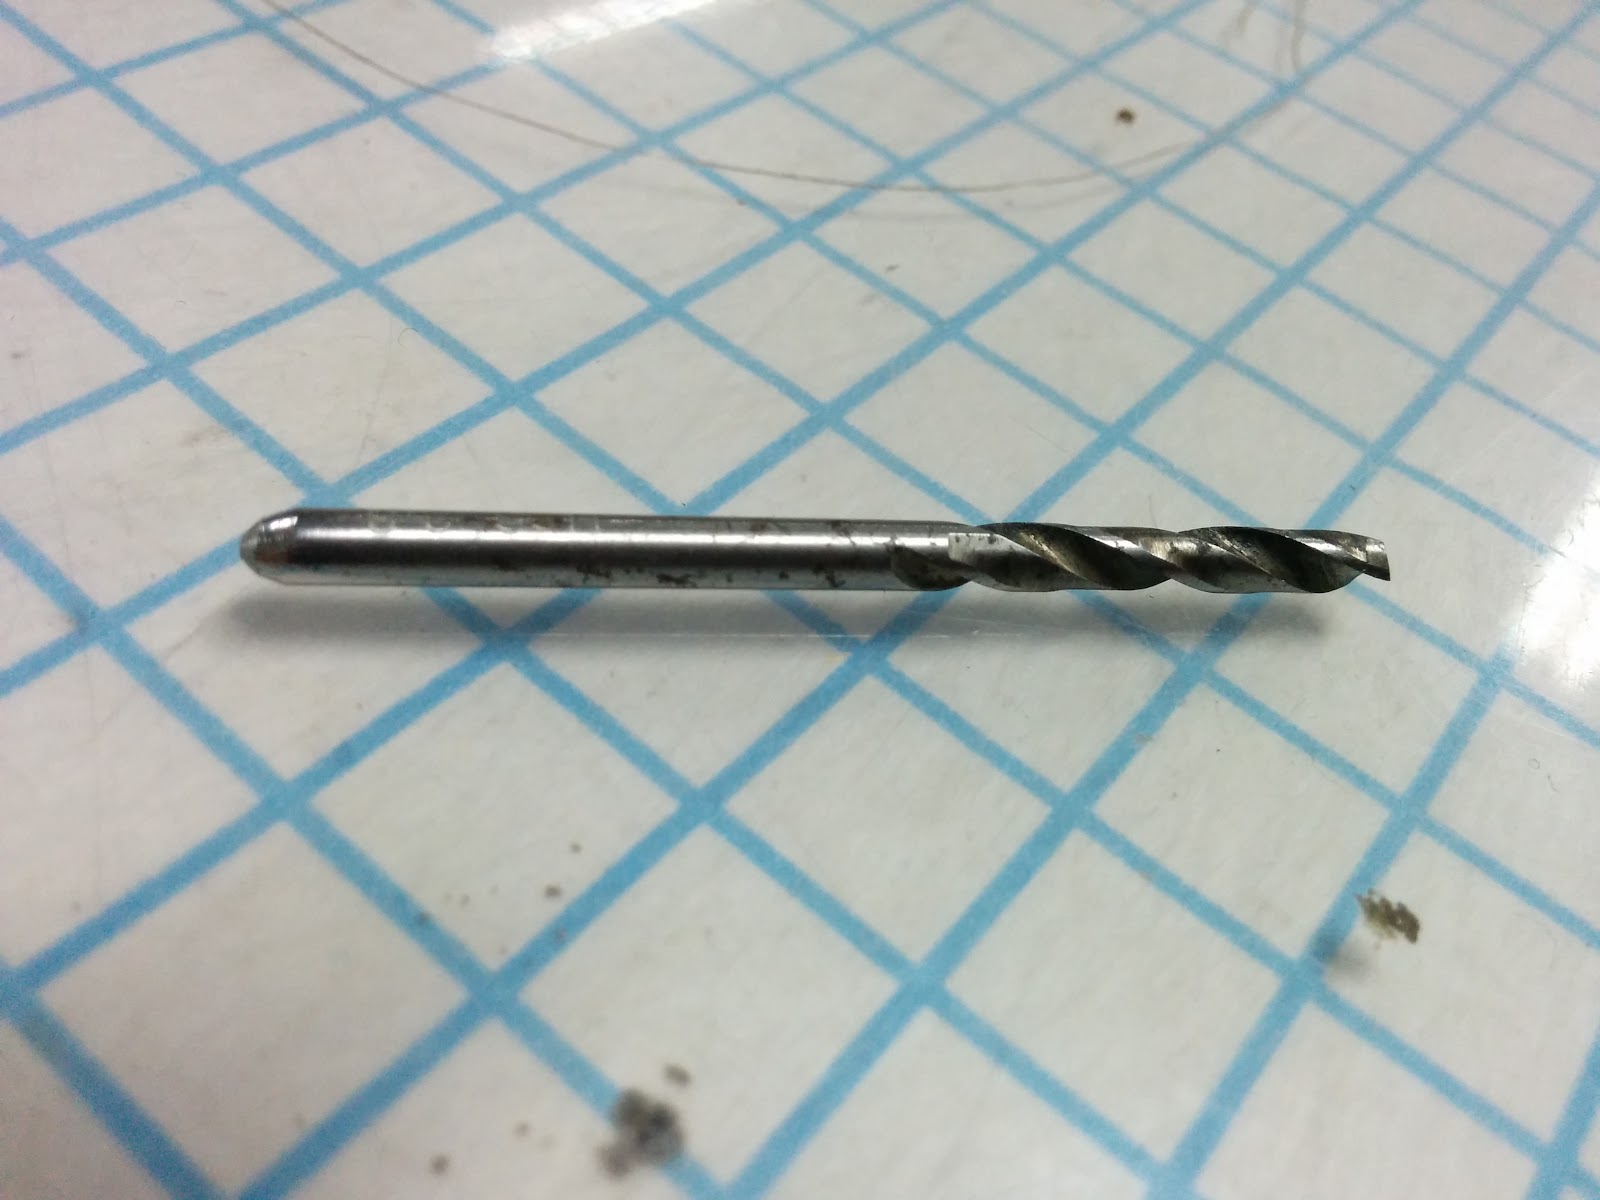
- cutting the nail to appropriate length using a metal cutter, and making its tip blunt using a Bench grinder for grinding and buffing.
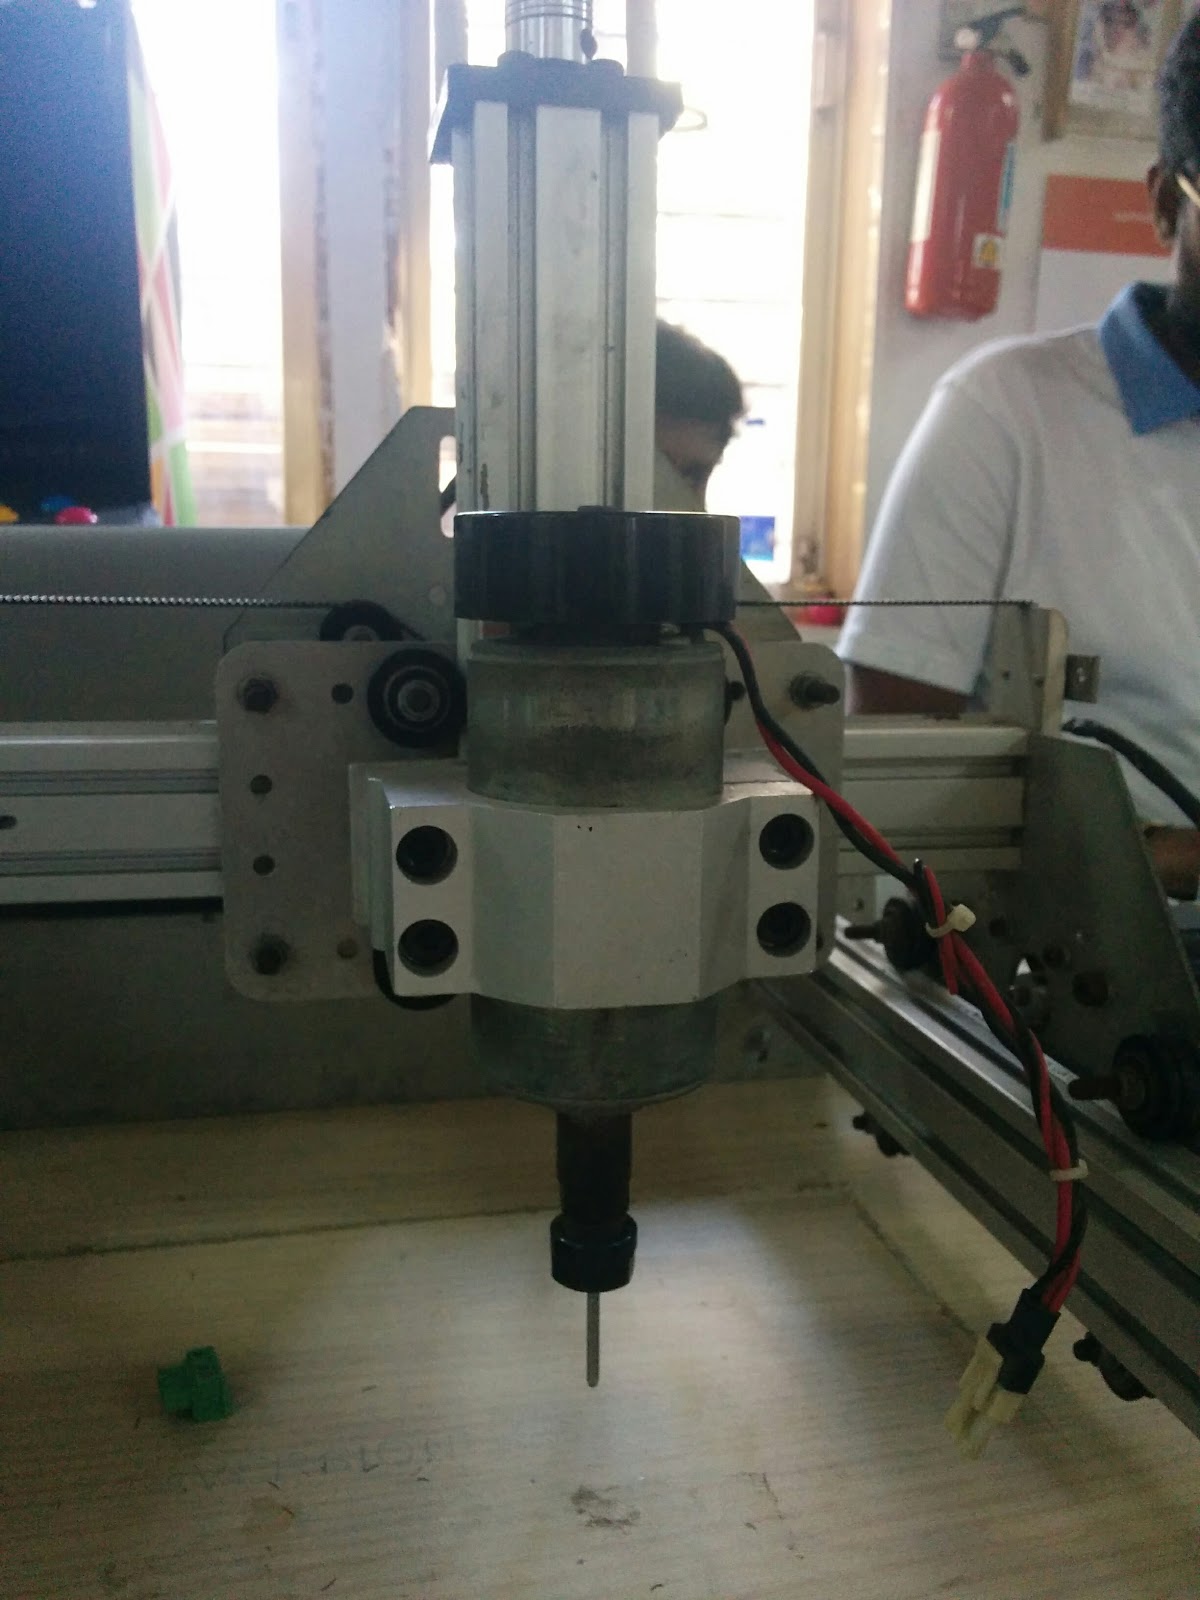
- Attaching the needle to the end of the CNC router spindle.
We used a drilling machine nail of diameter 3 mm and cut it to a length of 45 mm.
-
3Step 3
3. Fix the material on which you wish to print braille on an MDF wood sheet with a tape and place it under the nail.
We’ve used a 180 GSM drawing paper of dimensions 200 X 200 mm.
-
4Step 4
4. Access the Braille Rap UI on GitHub https://arthursw.github.io/BrailleRap/.
Set up the parameters as shown in the figures below:
The concept of Braille printing is that you print mirror impressions of Braille characters from right to left, so that after printing, you can read the words in Braille embossed from left to right on the backside of the paper.
-
5Step 5
5. Type the text you wish to print in Braille in the text box. We printed name of our teammate ‘Satyam’. You will see its corresponding braille script below the text box. Select the ‘Save the gcode’ option and save the file at a desired location.
You will see its corresponding braille script below the text box. Select the ‘Save the gcode’ option and save the file at a desired location.
-
6Step 6
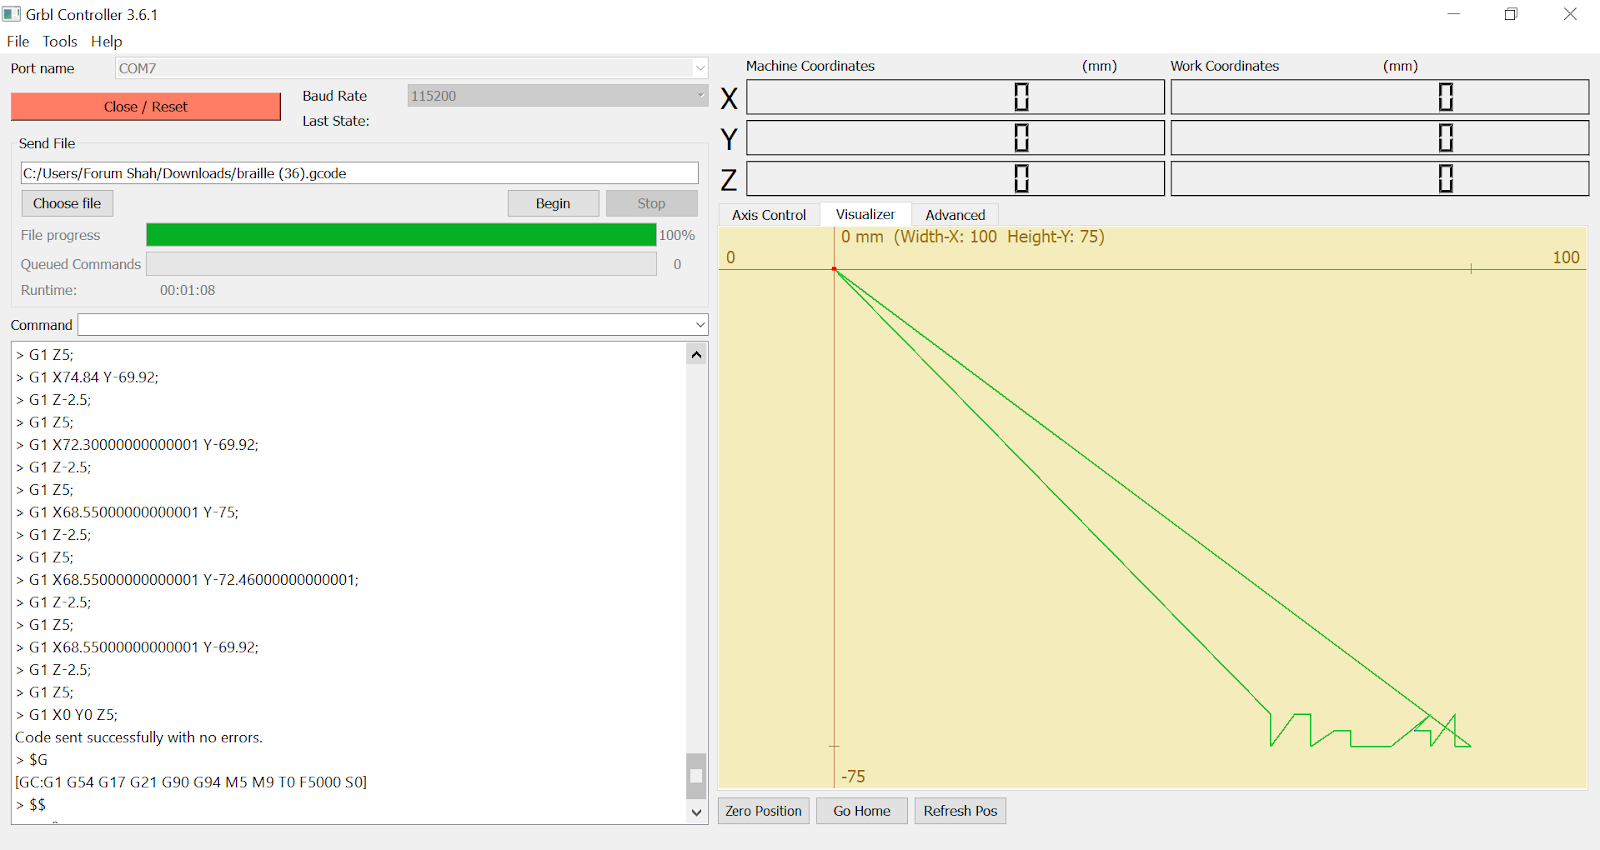
6. Download and Access the GRBL Controller 3.6.1. Use the settings as shown in the picture below:
-
7Step 7
7. Set the initial position of the CNC spindle nail over the paper by changing the coordinates on X and Y axis. Ensure the coordinates of the Z axis is 0, meaning the tip of the nail just touches the paper.
To ensure this, you can type “G92 Z0” in the Command section and press enter.
-
8Step 8
8. Choose the G-code file you’d saved from the Braille Rap UI, and select ‘Begin’. This sends the G-code to the CNC router that then begins to make the braille character impressions on the paper underneath.
-
9Step 9
9. After the print, flip the page and read the words in Braille. Below is a picture of our text ‘Satyam’ in Braille.
-
10Step 10
10. After embossing braille on paper successfully, we experimented using a metallic sheet as the material upon which we desired to print braille. For the same, we selected used but untampered two RedBull cans, washed them thoroughly and cut them open using a cutter.
Fix the Can’s metallic sheet to the MDF sheet as shown in Step 3.
We set up the parameters on Braille Rap UI GitHub link (given in step 4) as shown below:
Repeat steps 5-8, you will get the finest impression of Braille script on the metallic sheet.
BrailleRap STEAM CNC
Modifications to the CNC for replicating BrailleRap


Discussions
Become a Hackaday.io Member
Create an account to leave a comment. Already have an account? Log In.