0%
0%
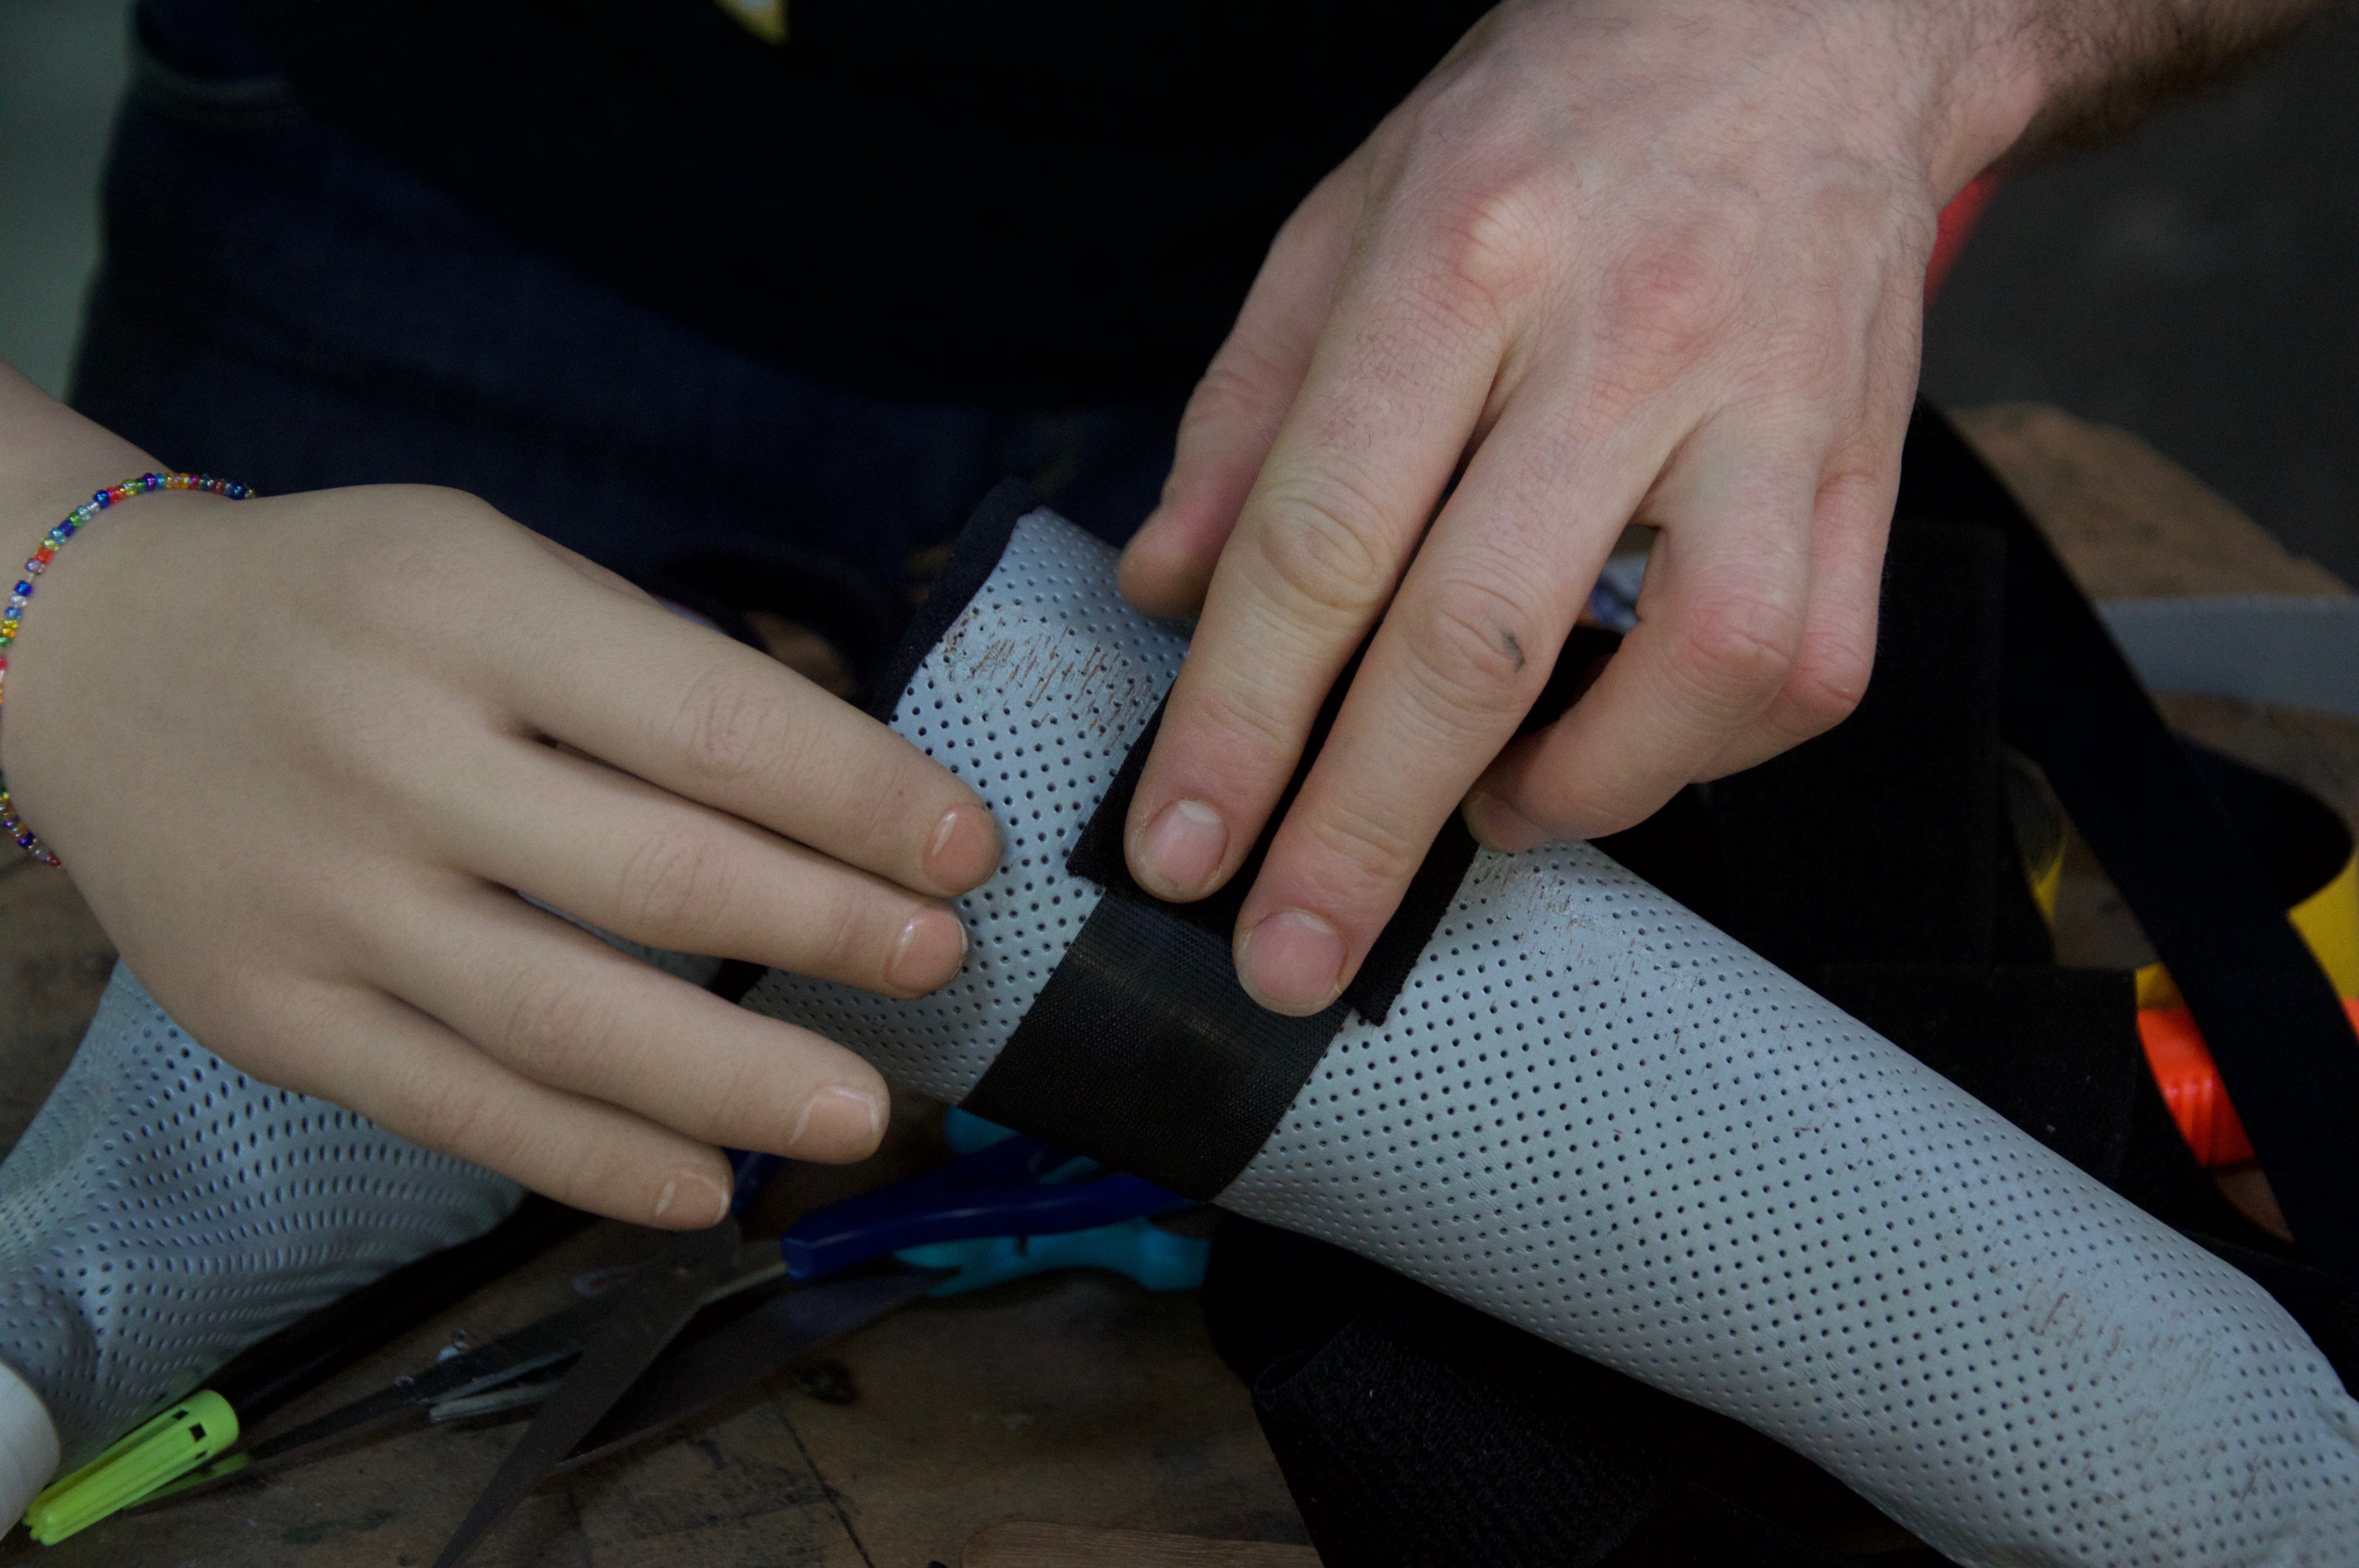
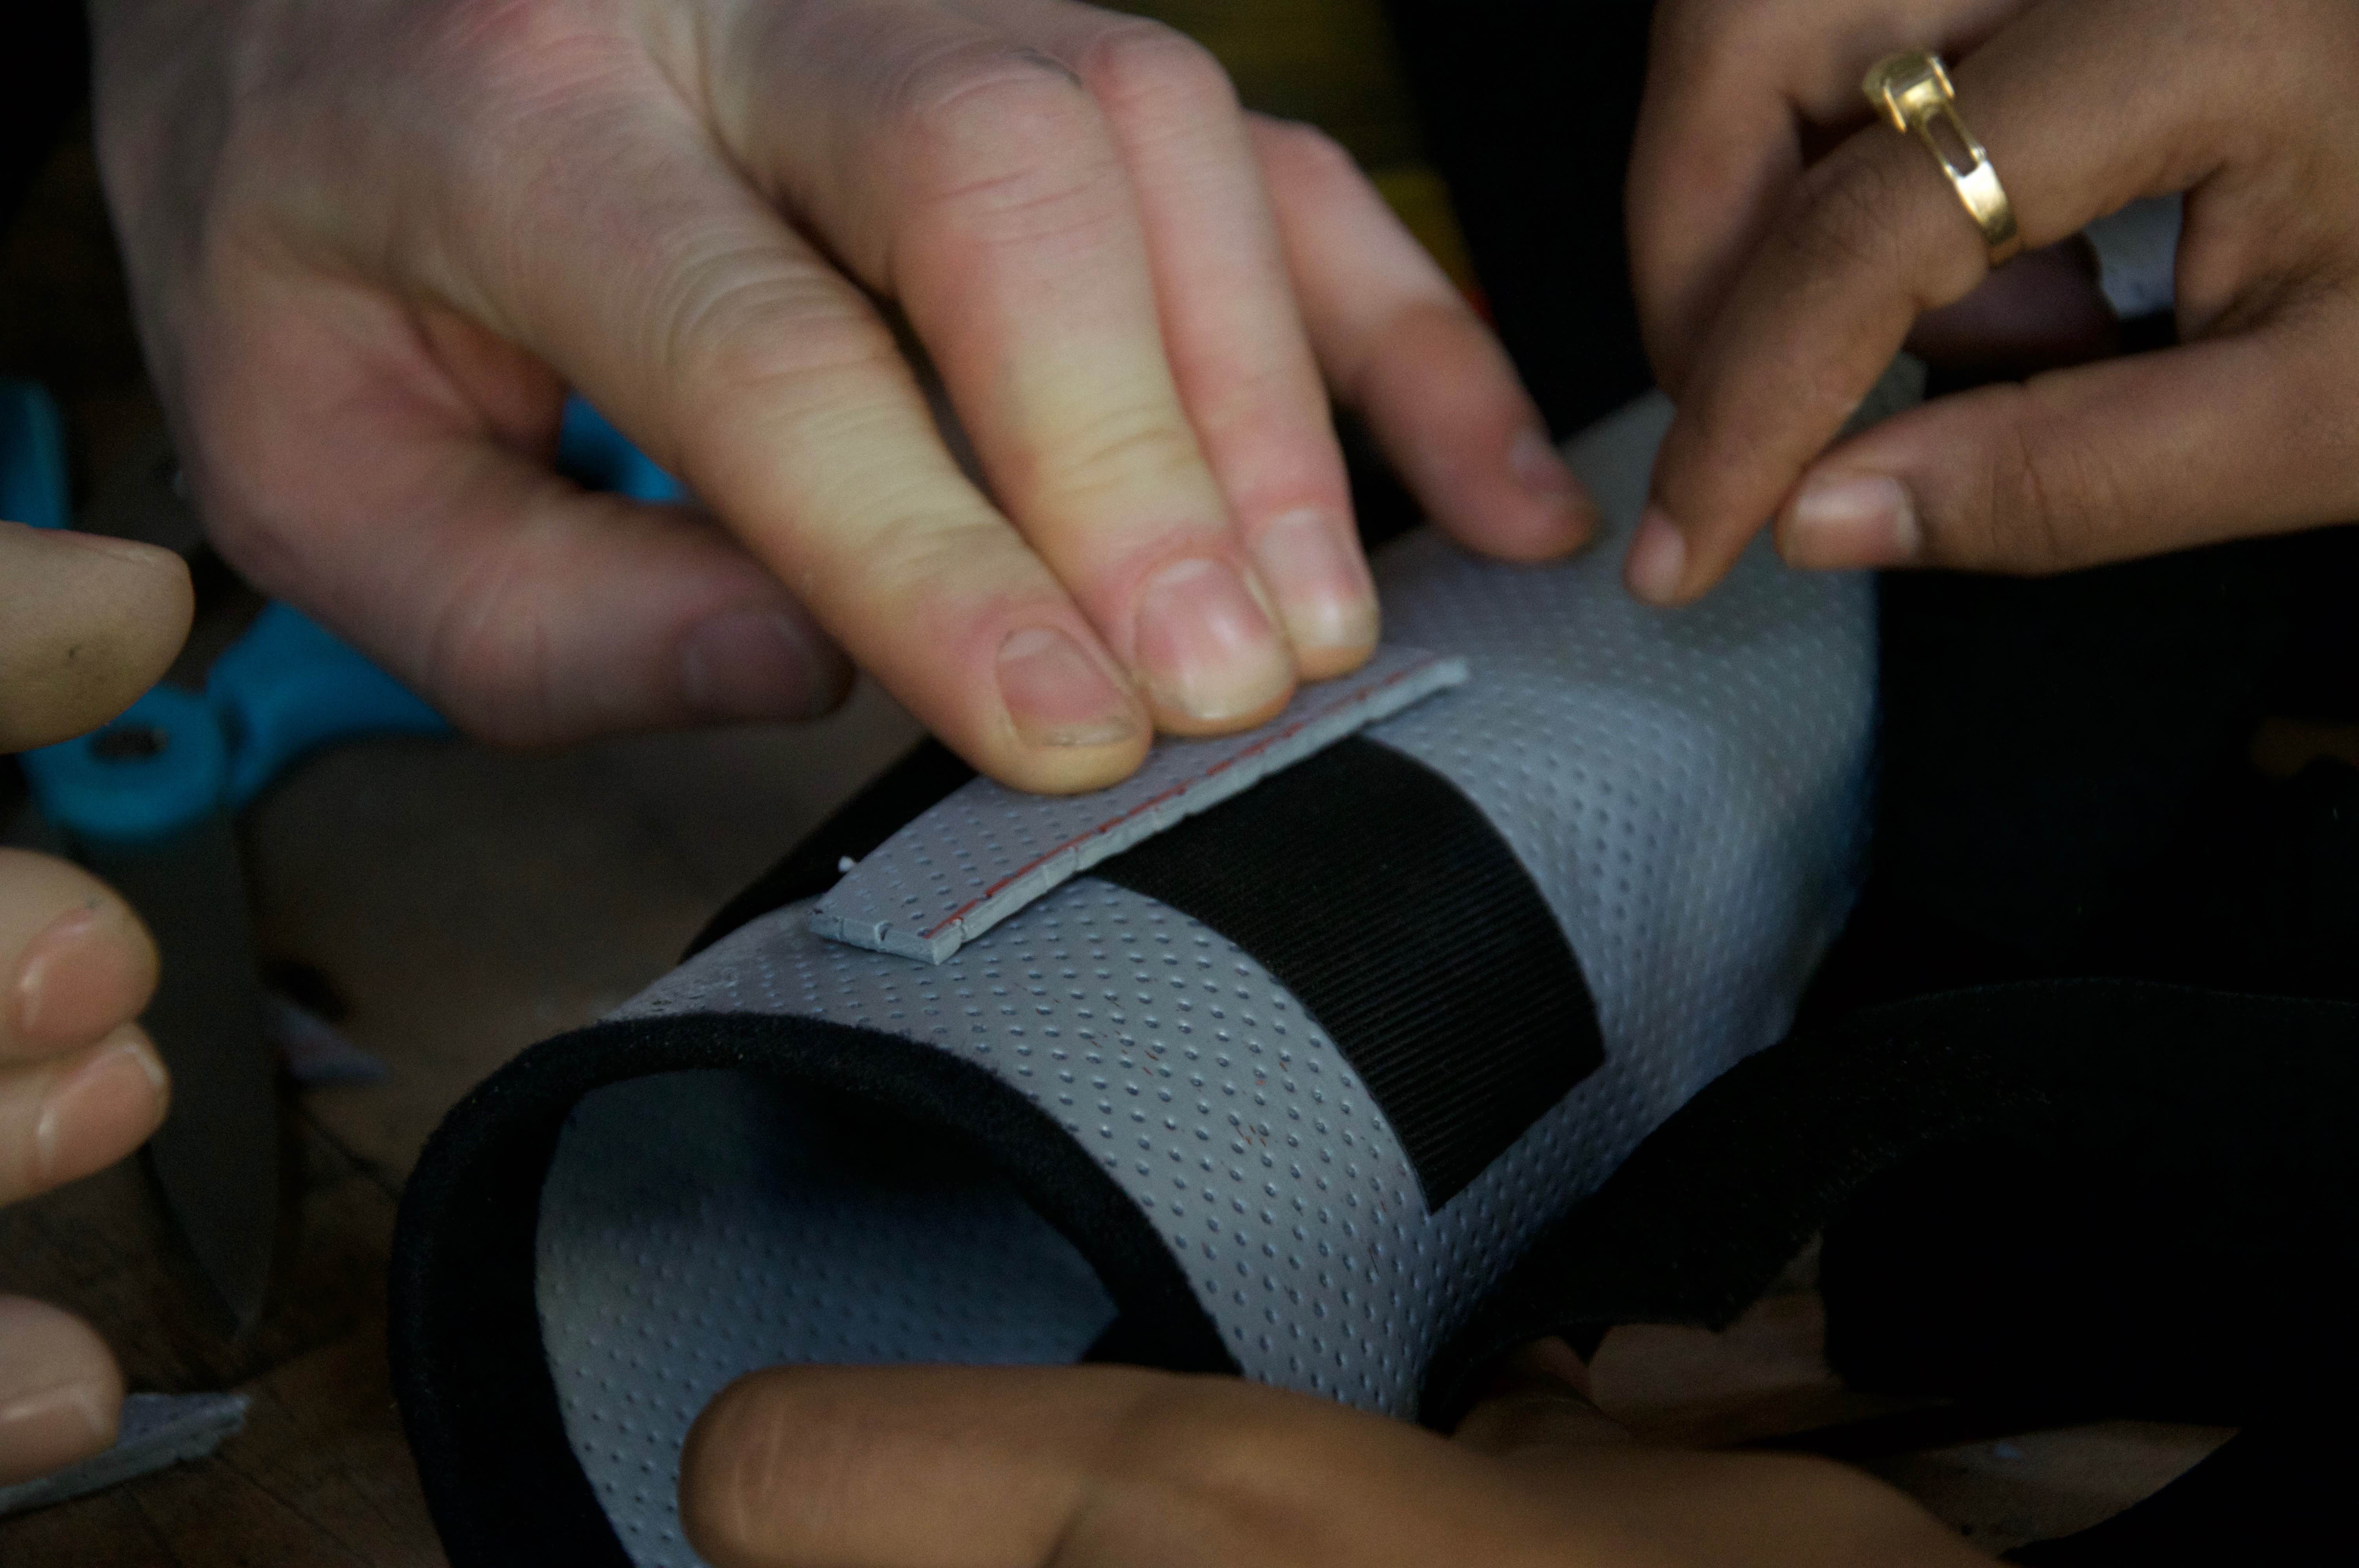
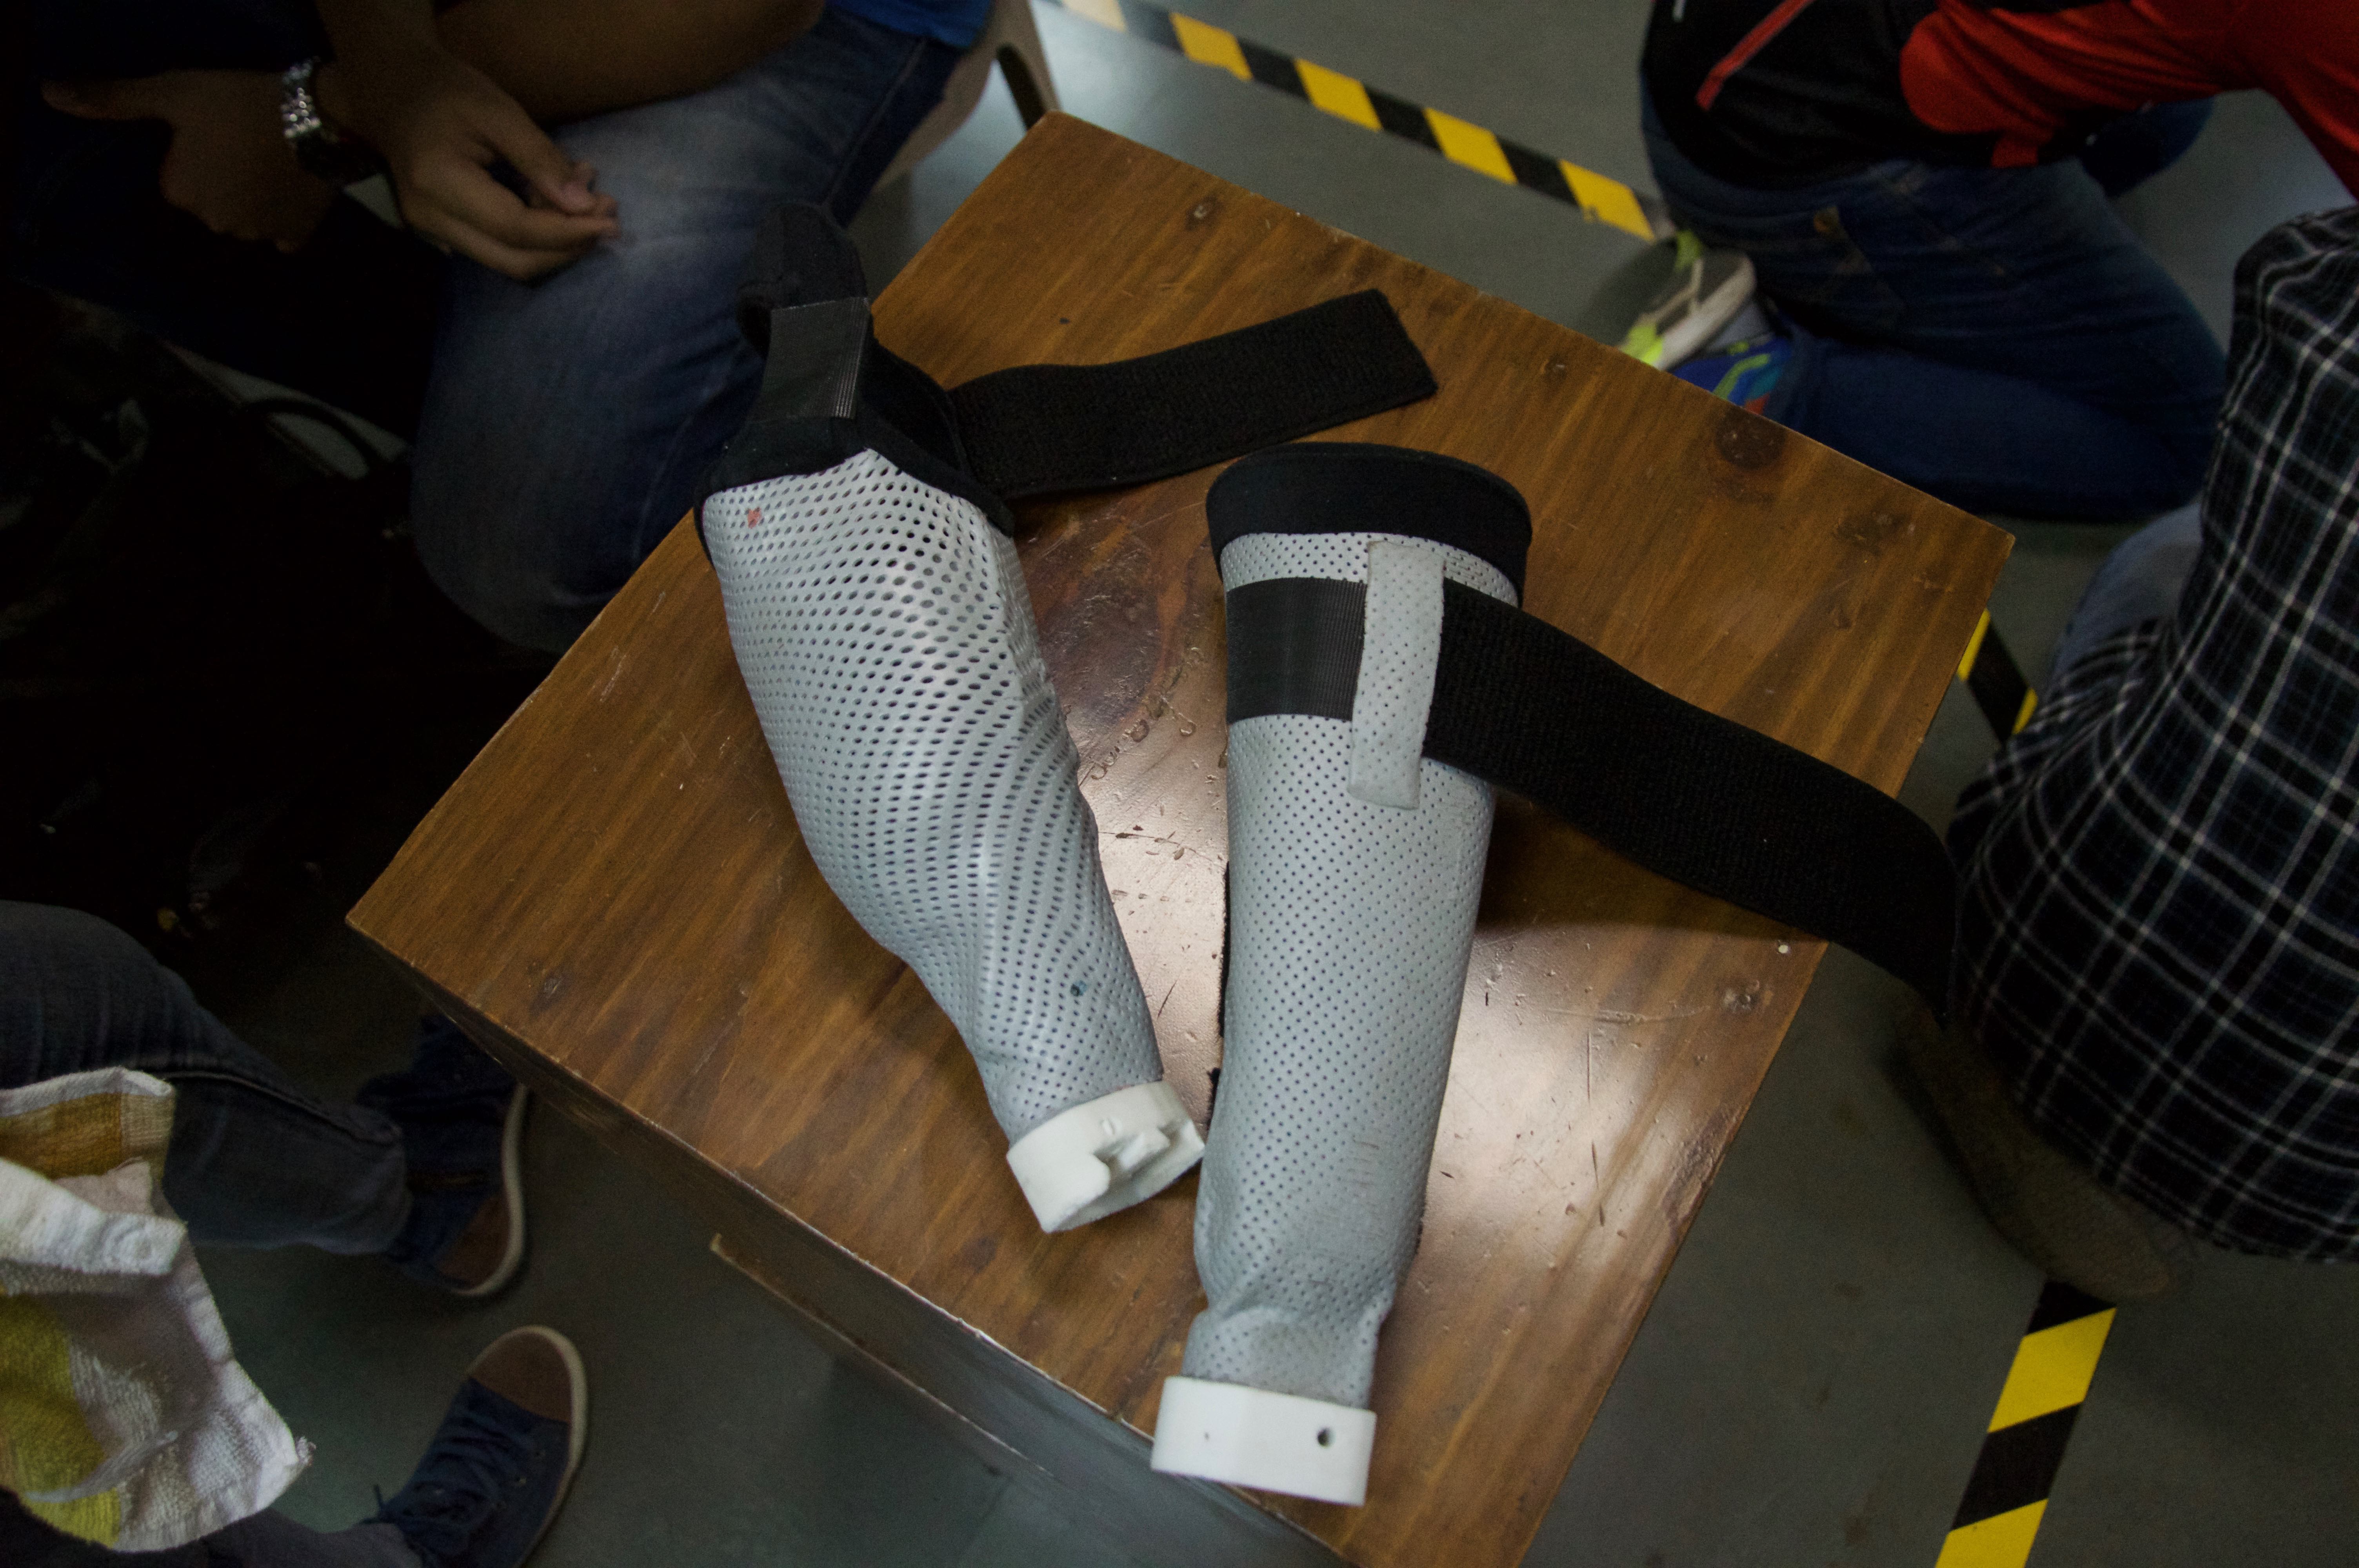
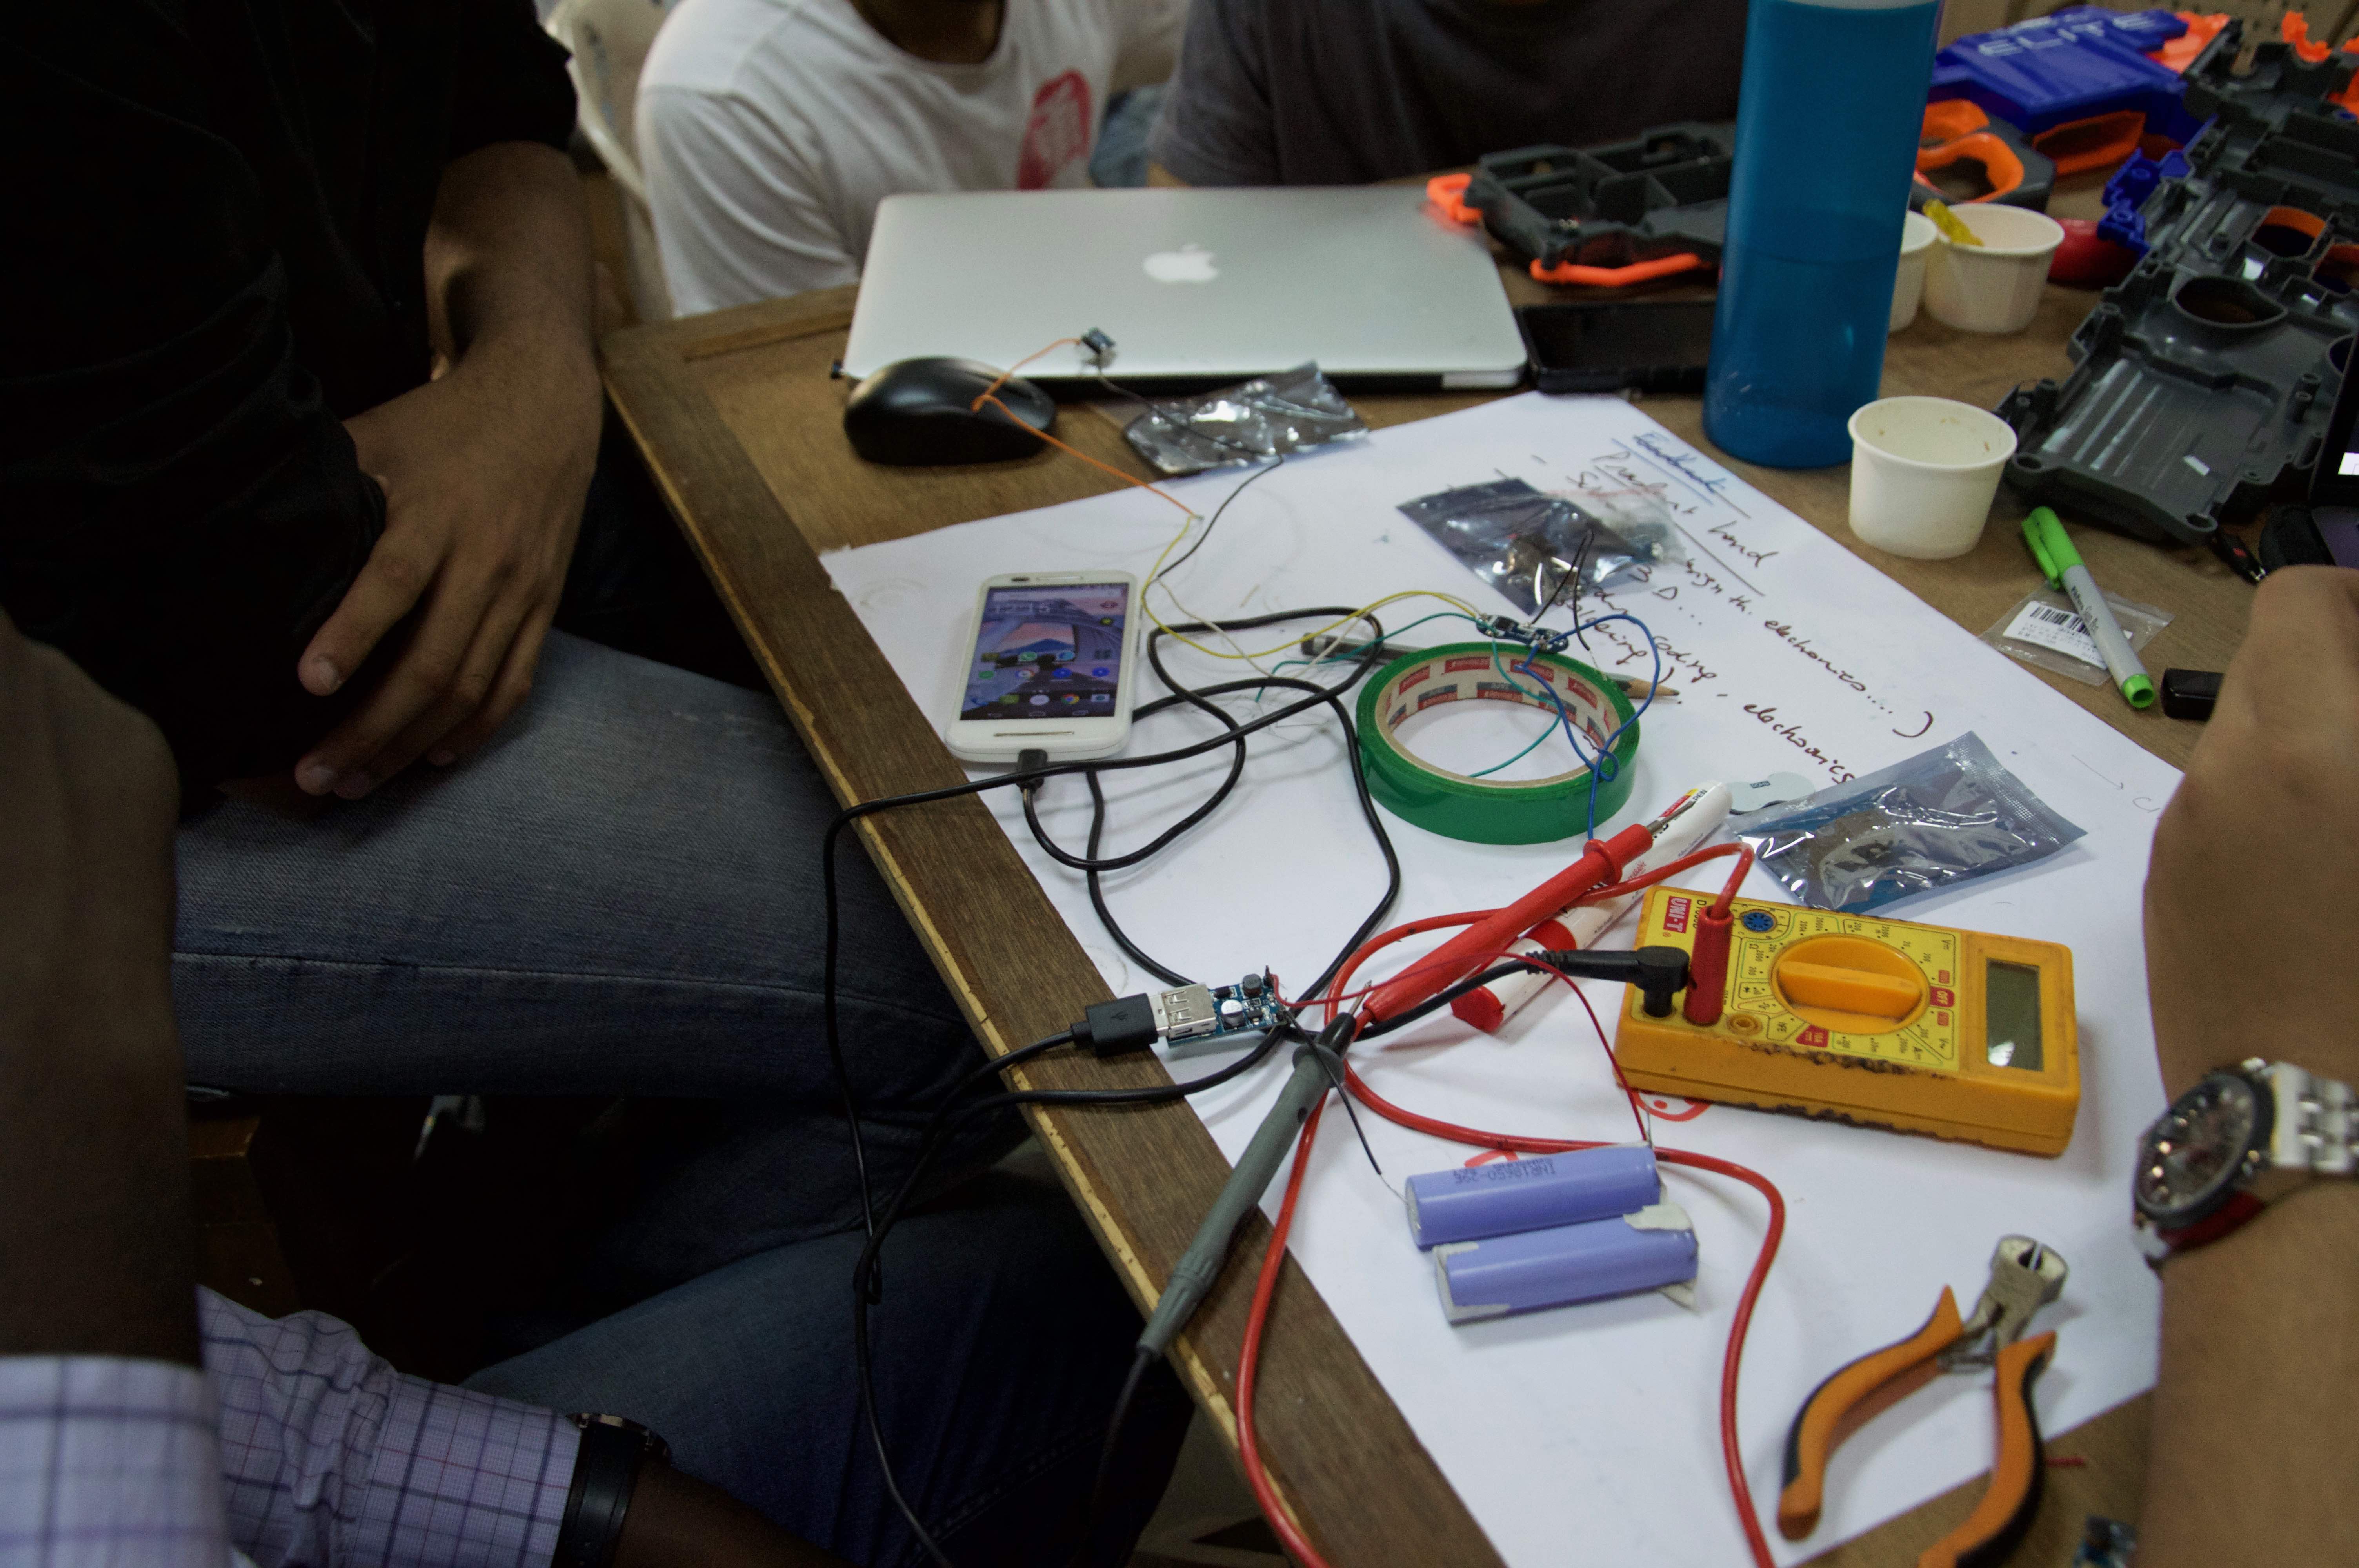
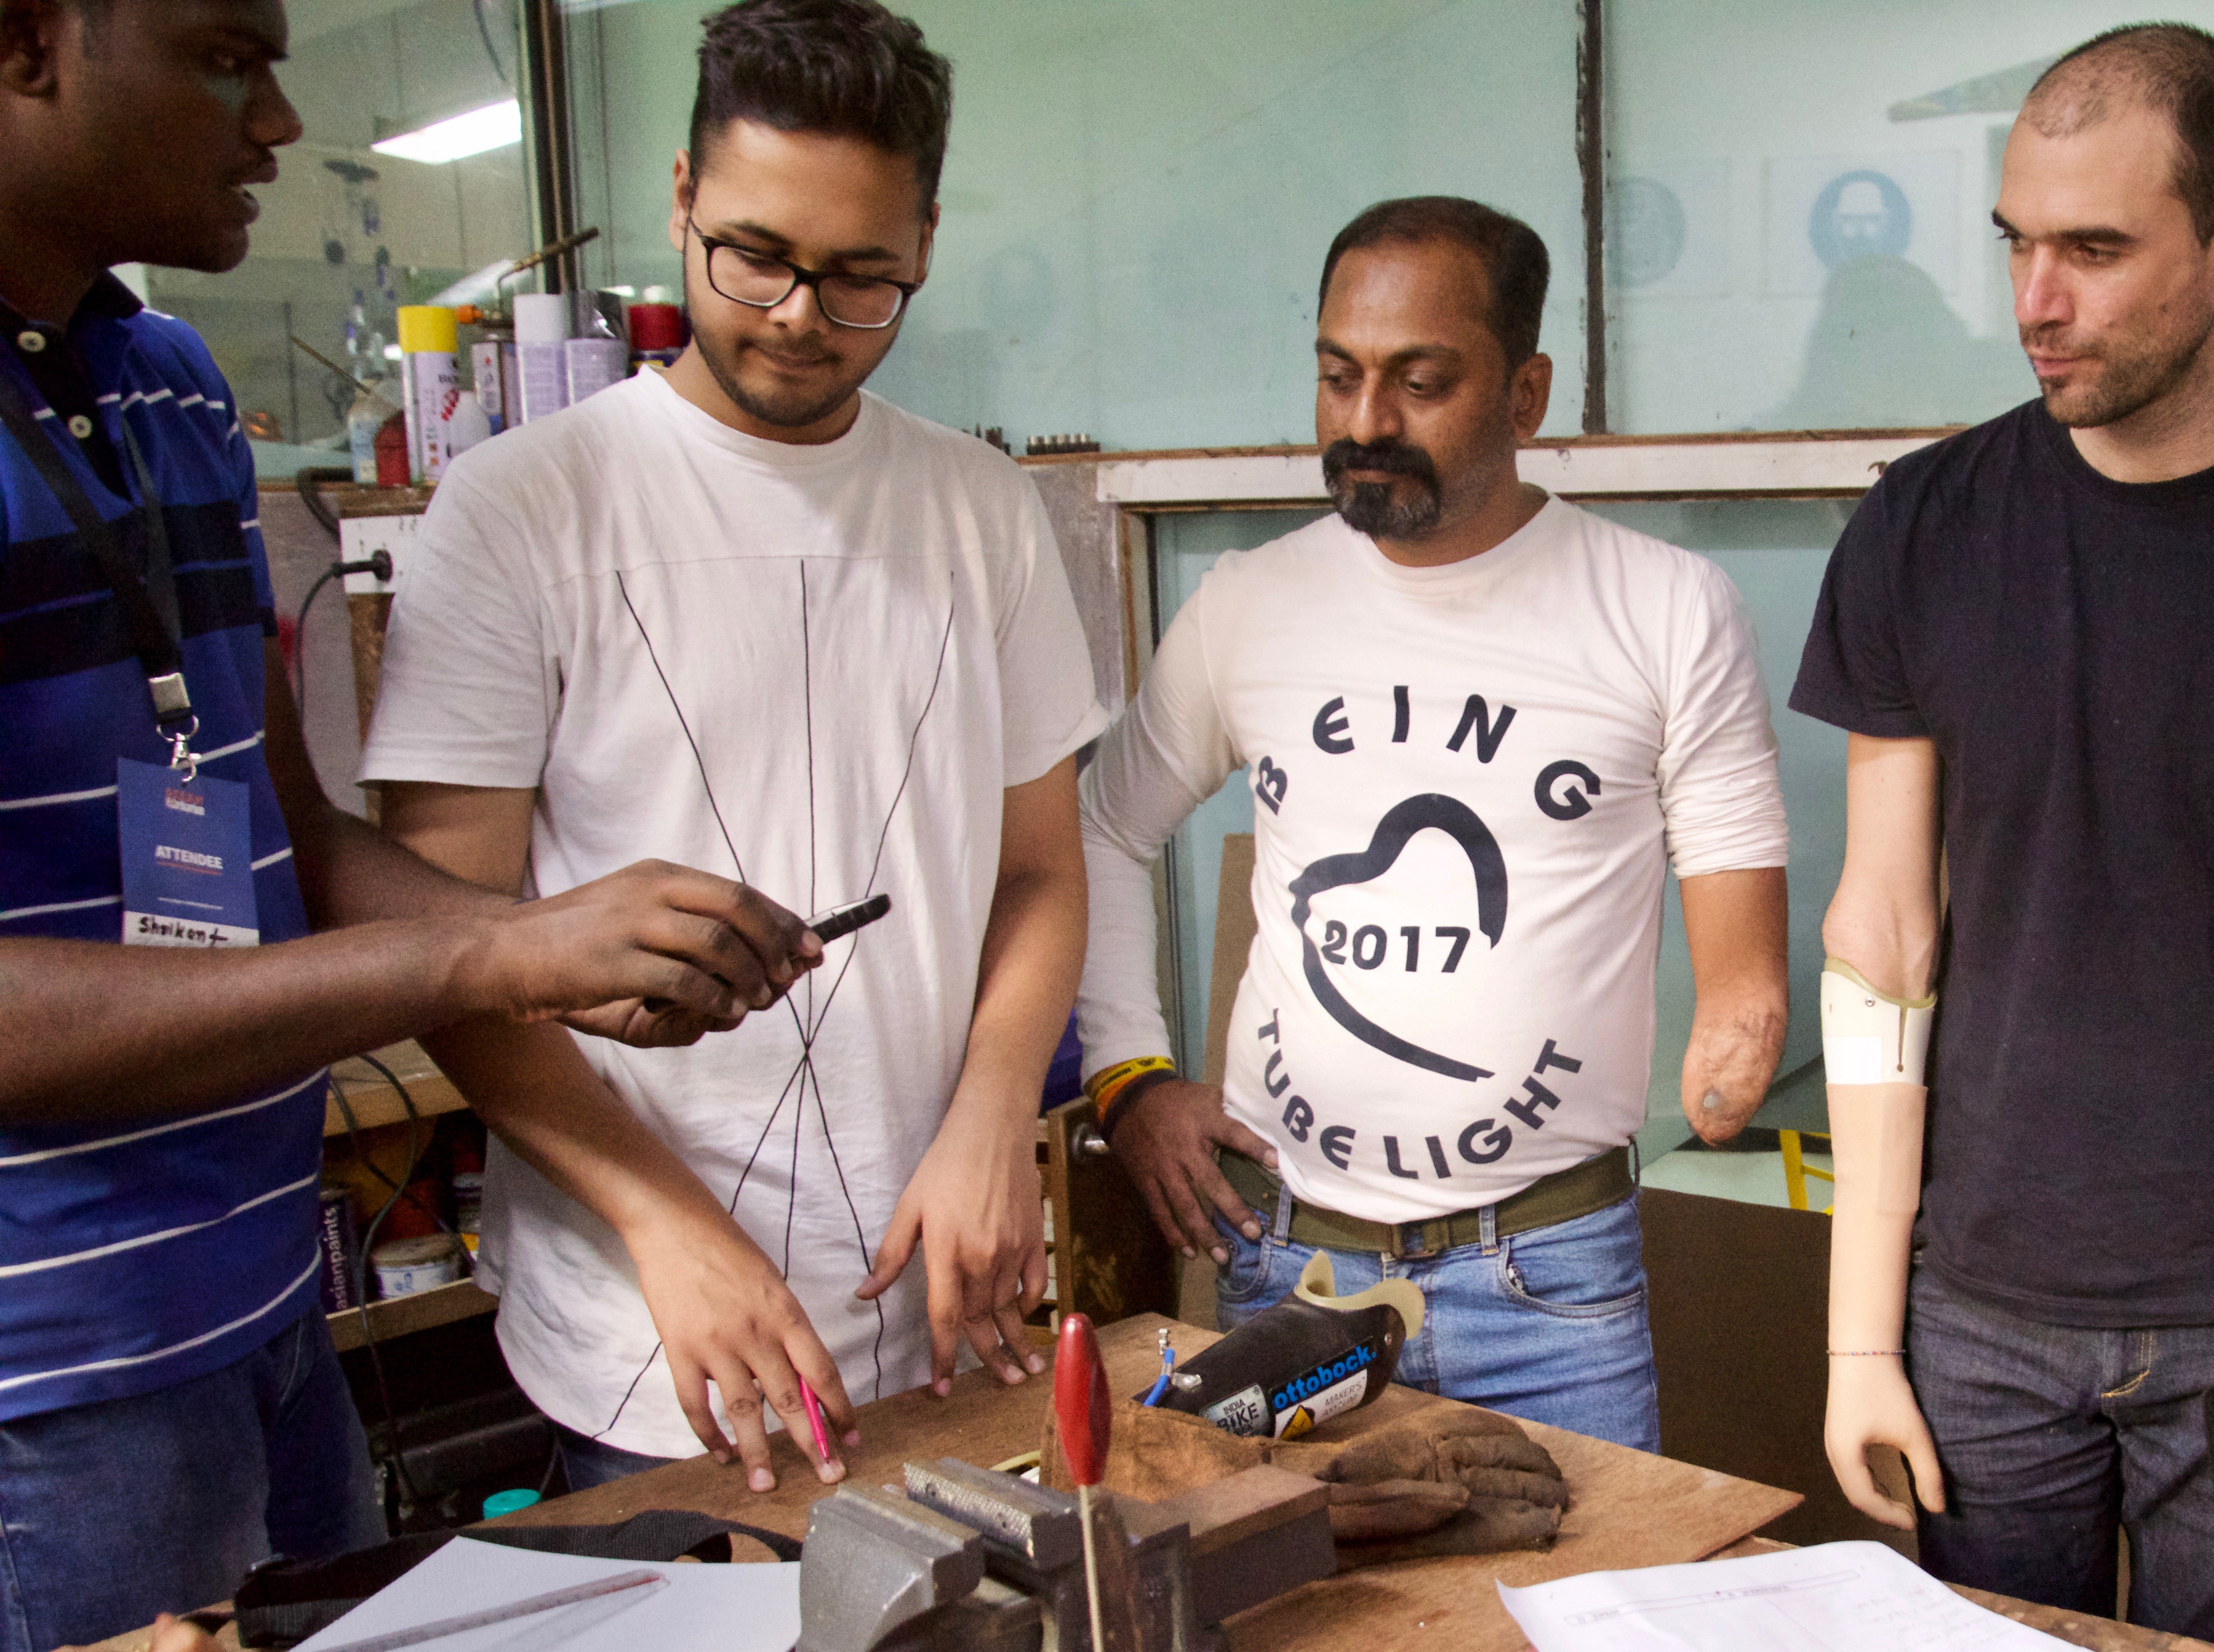
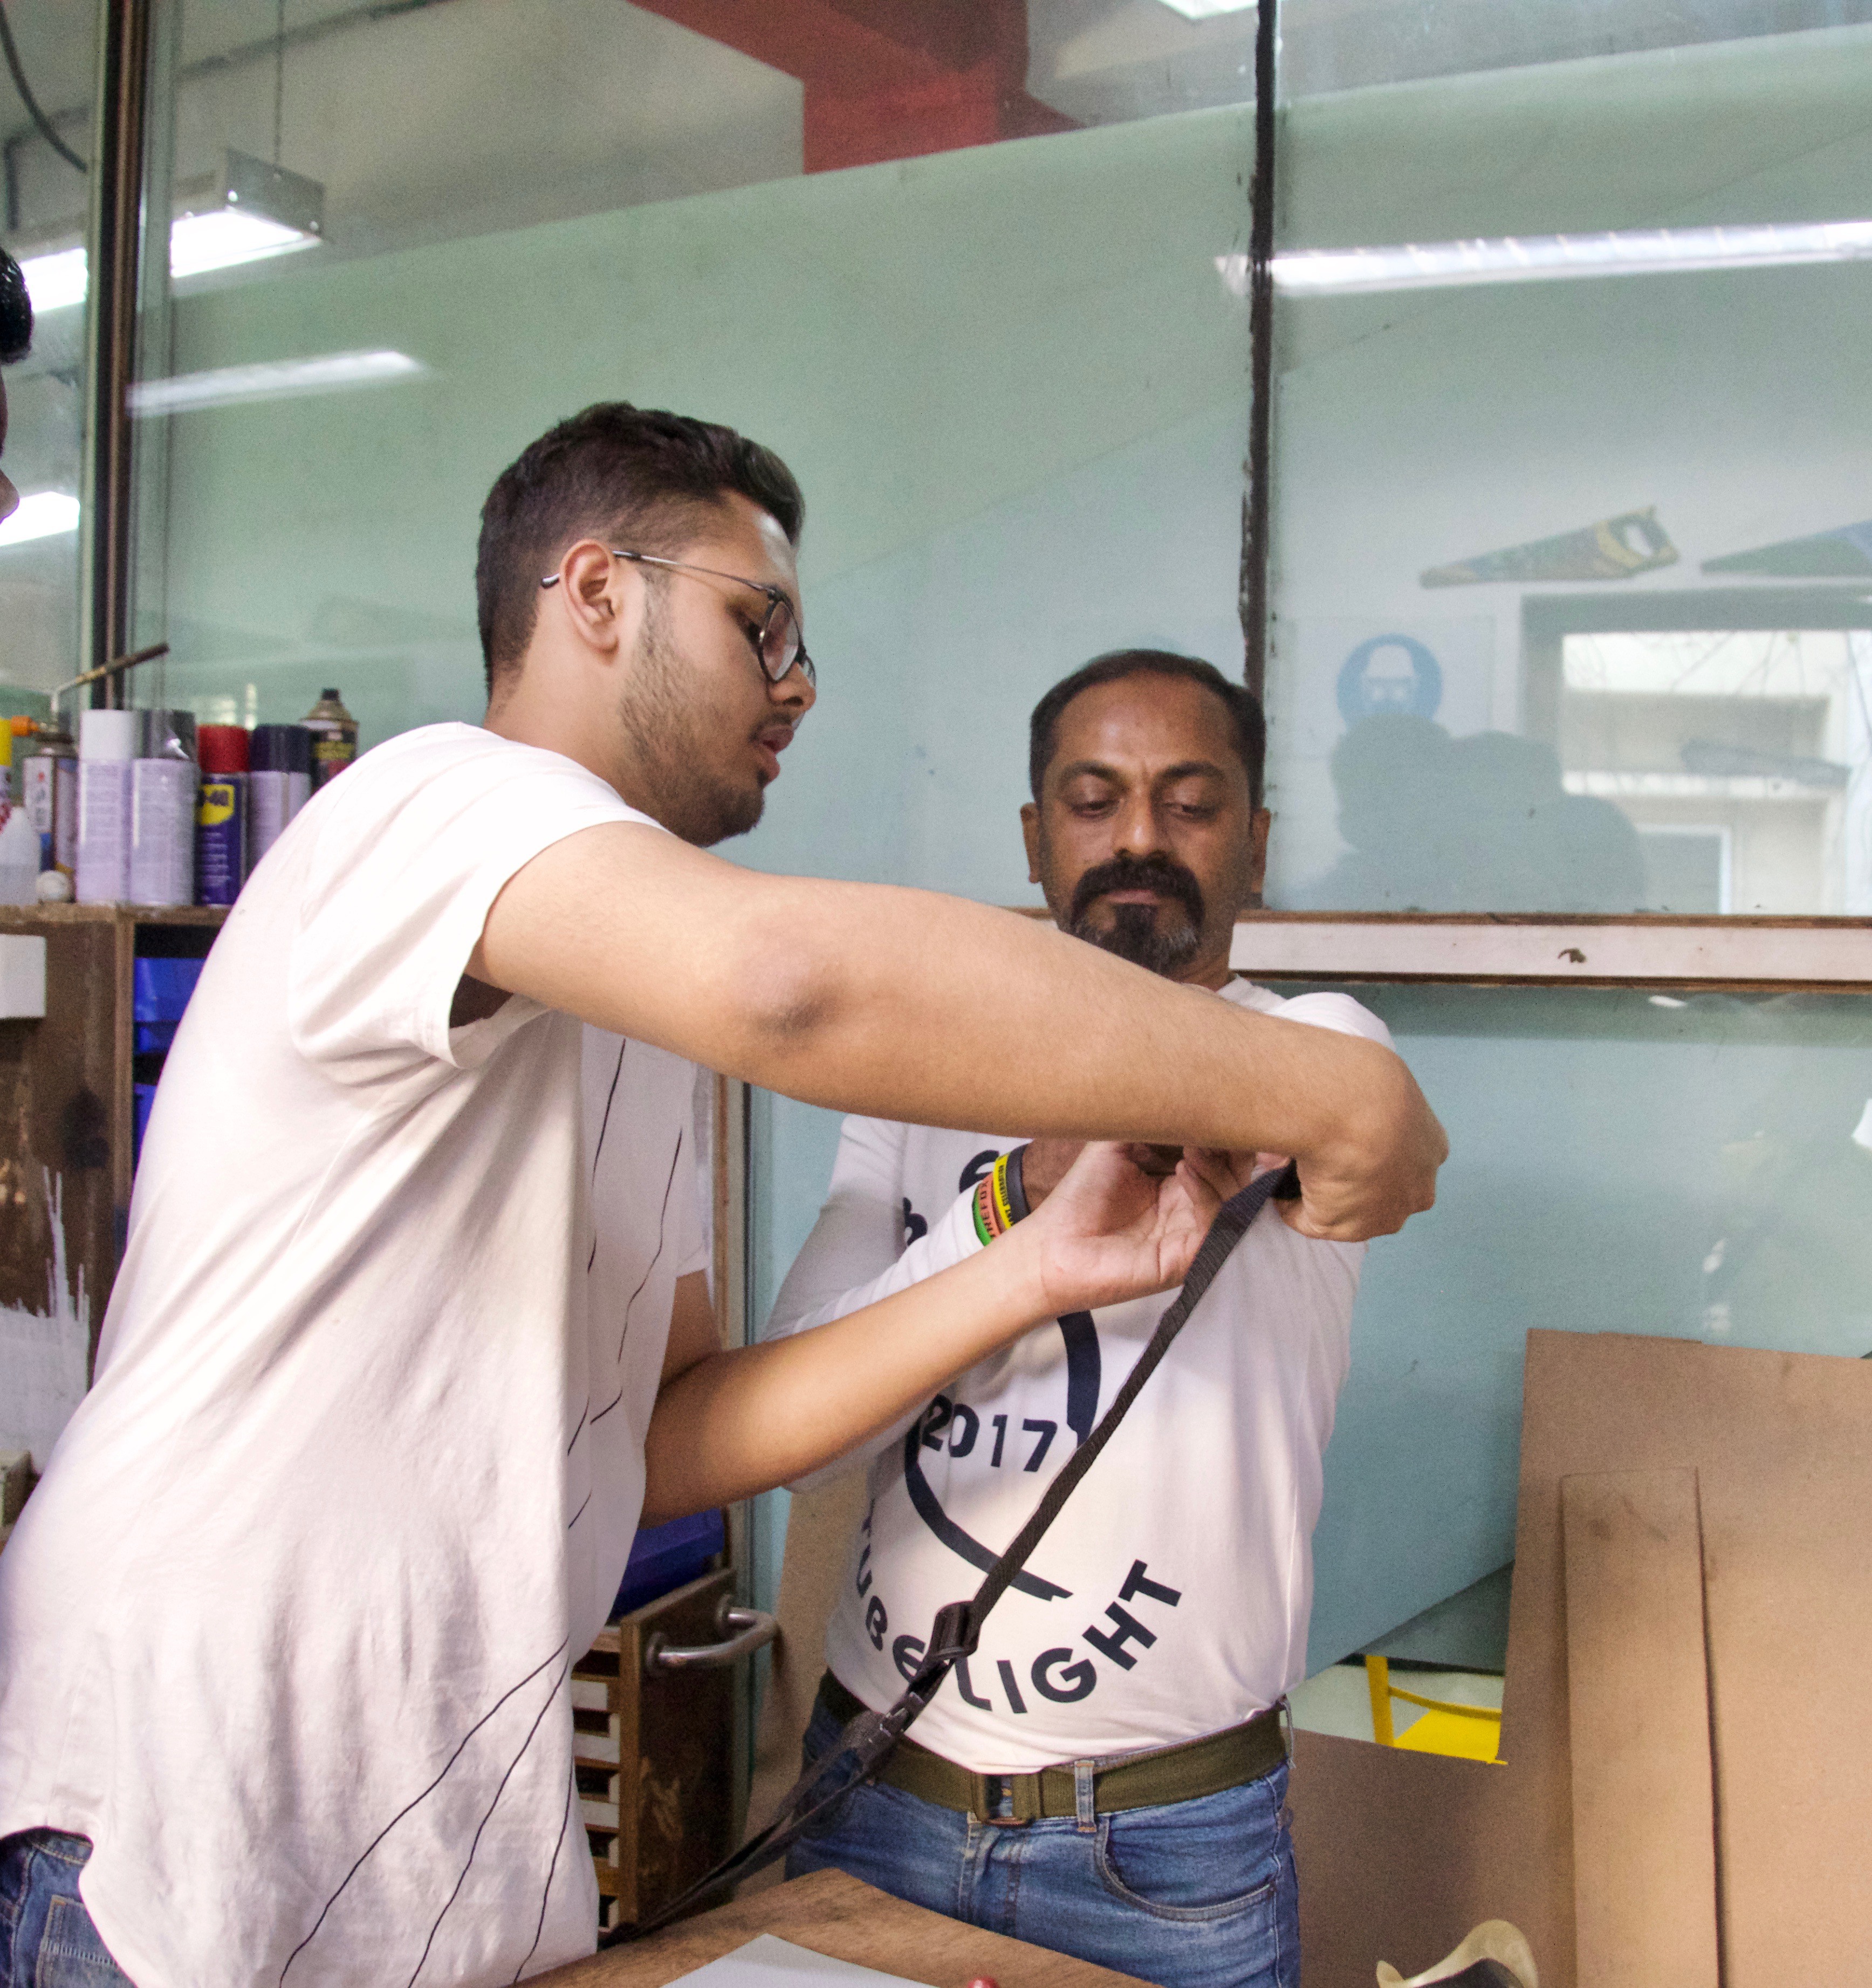
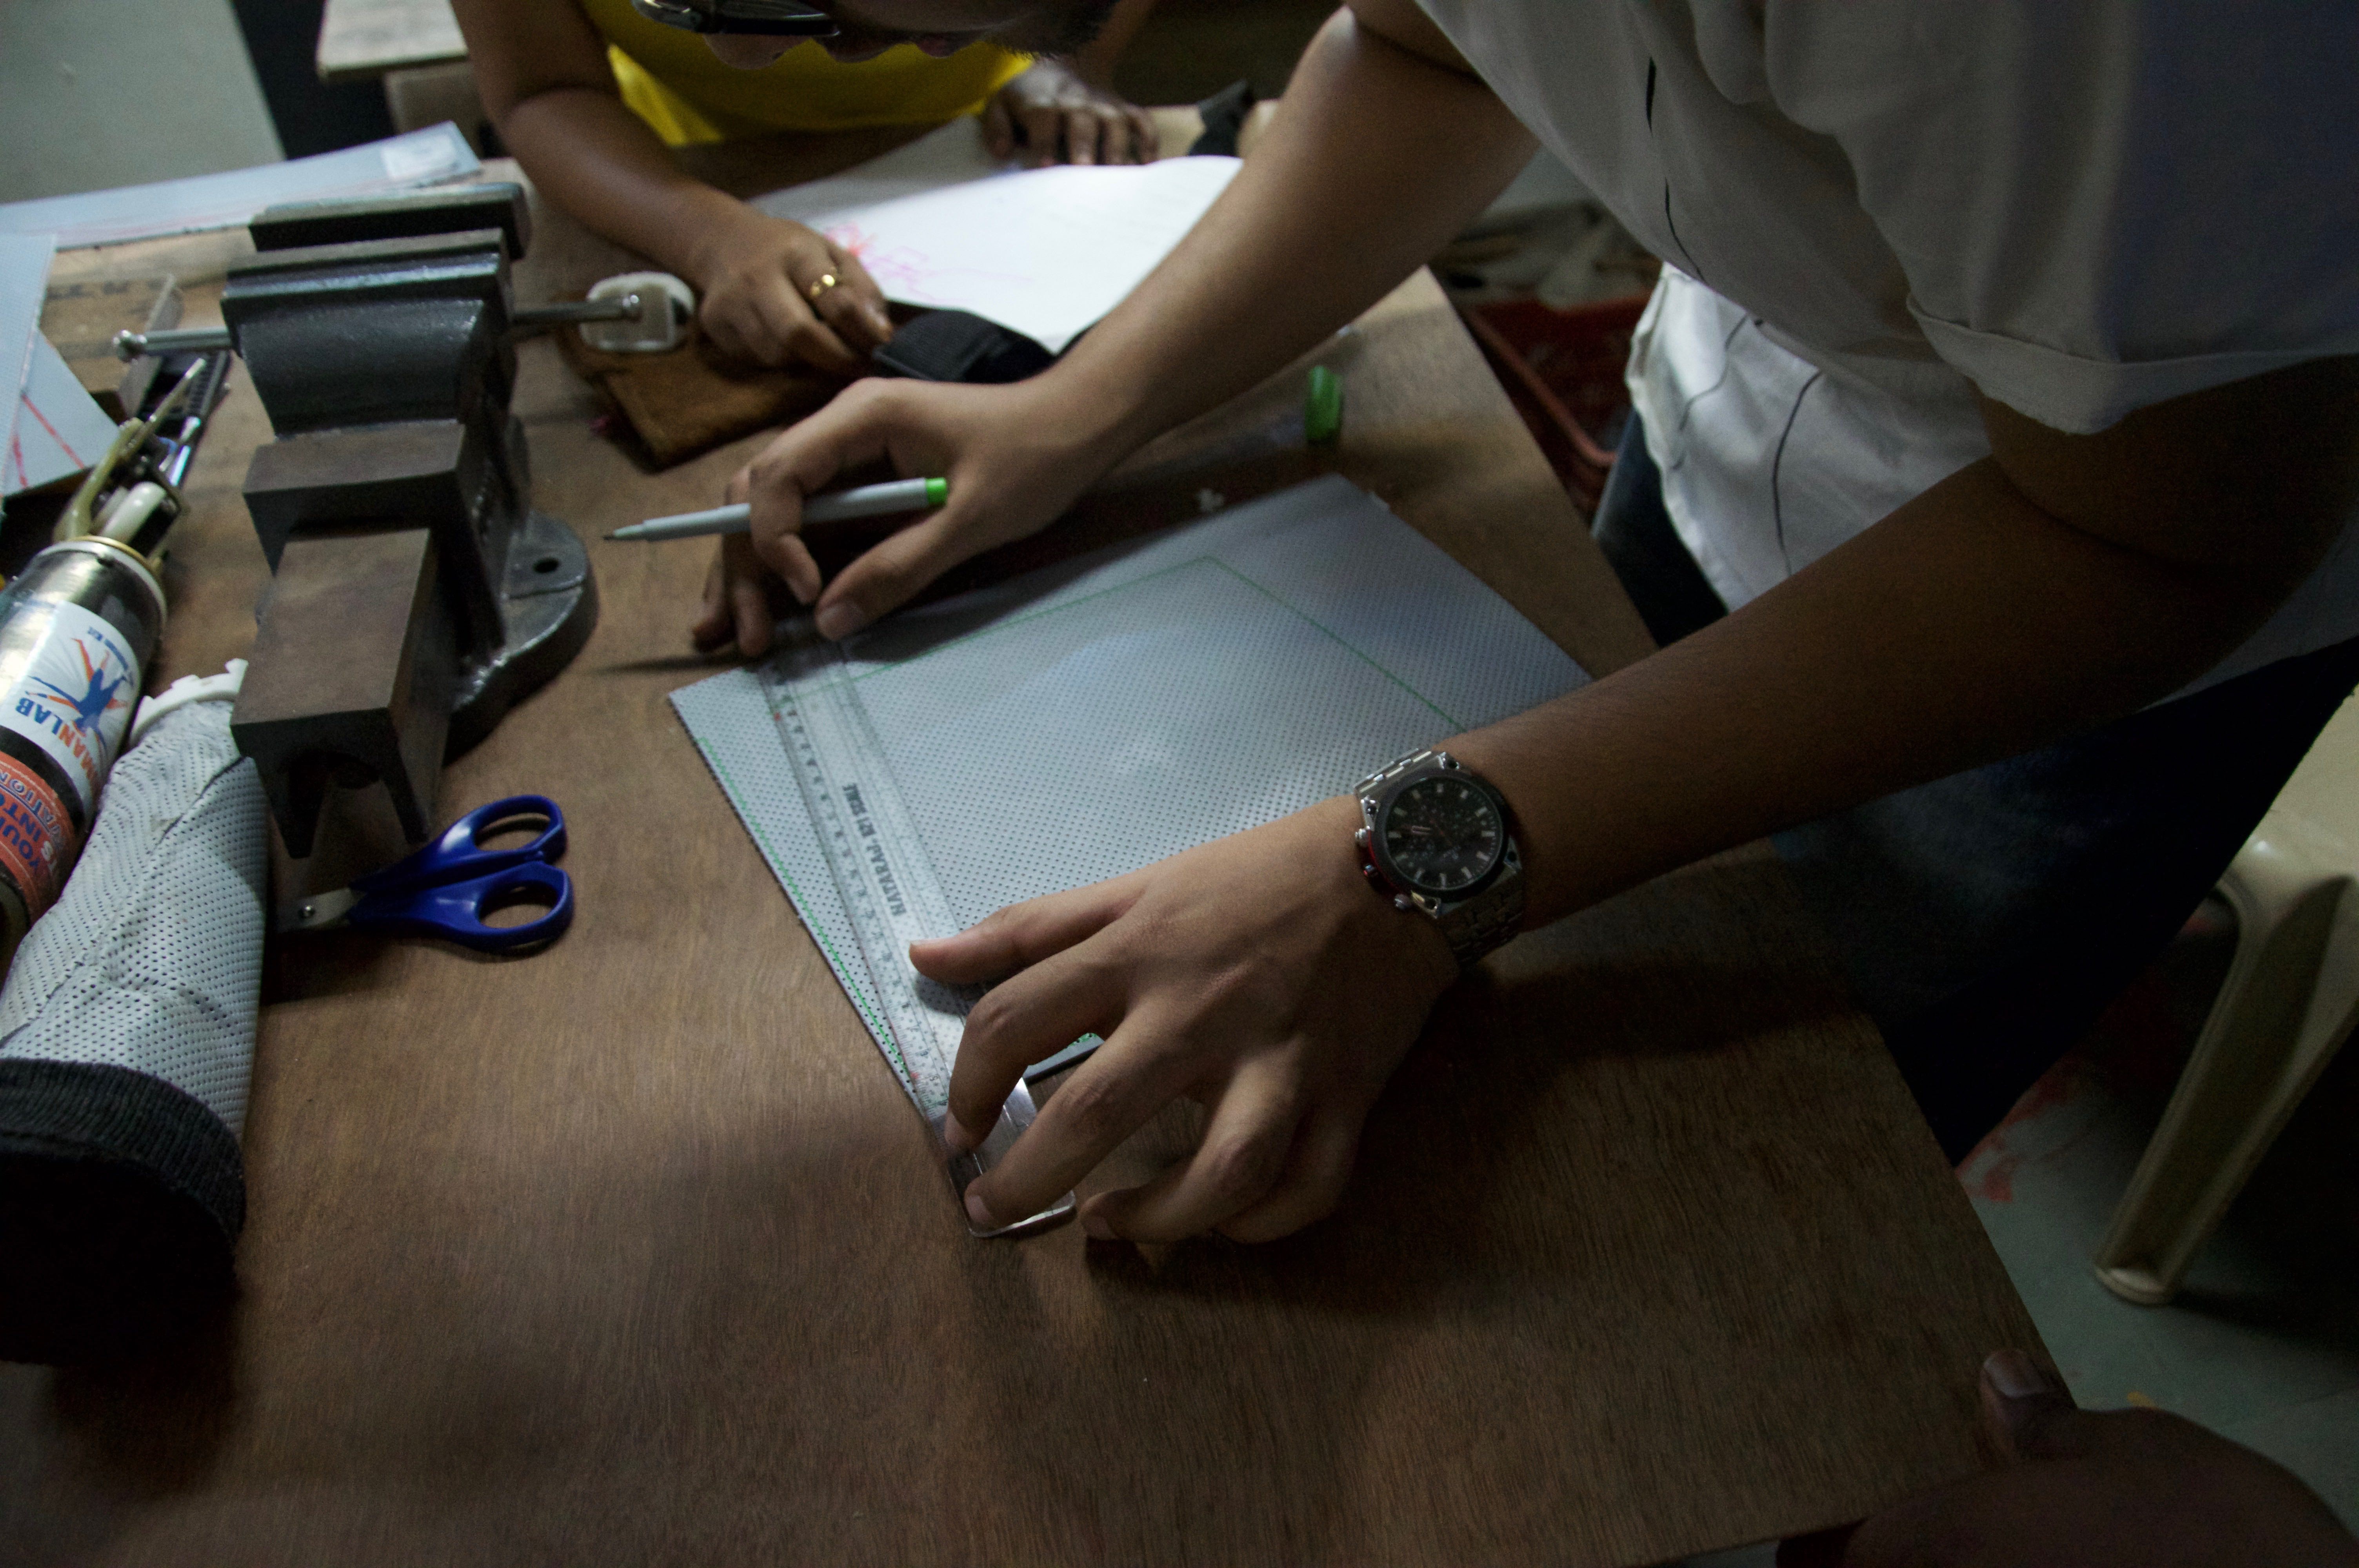
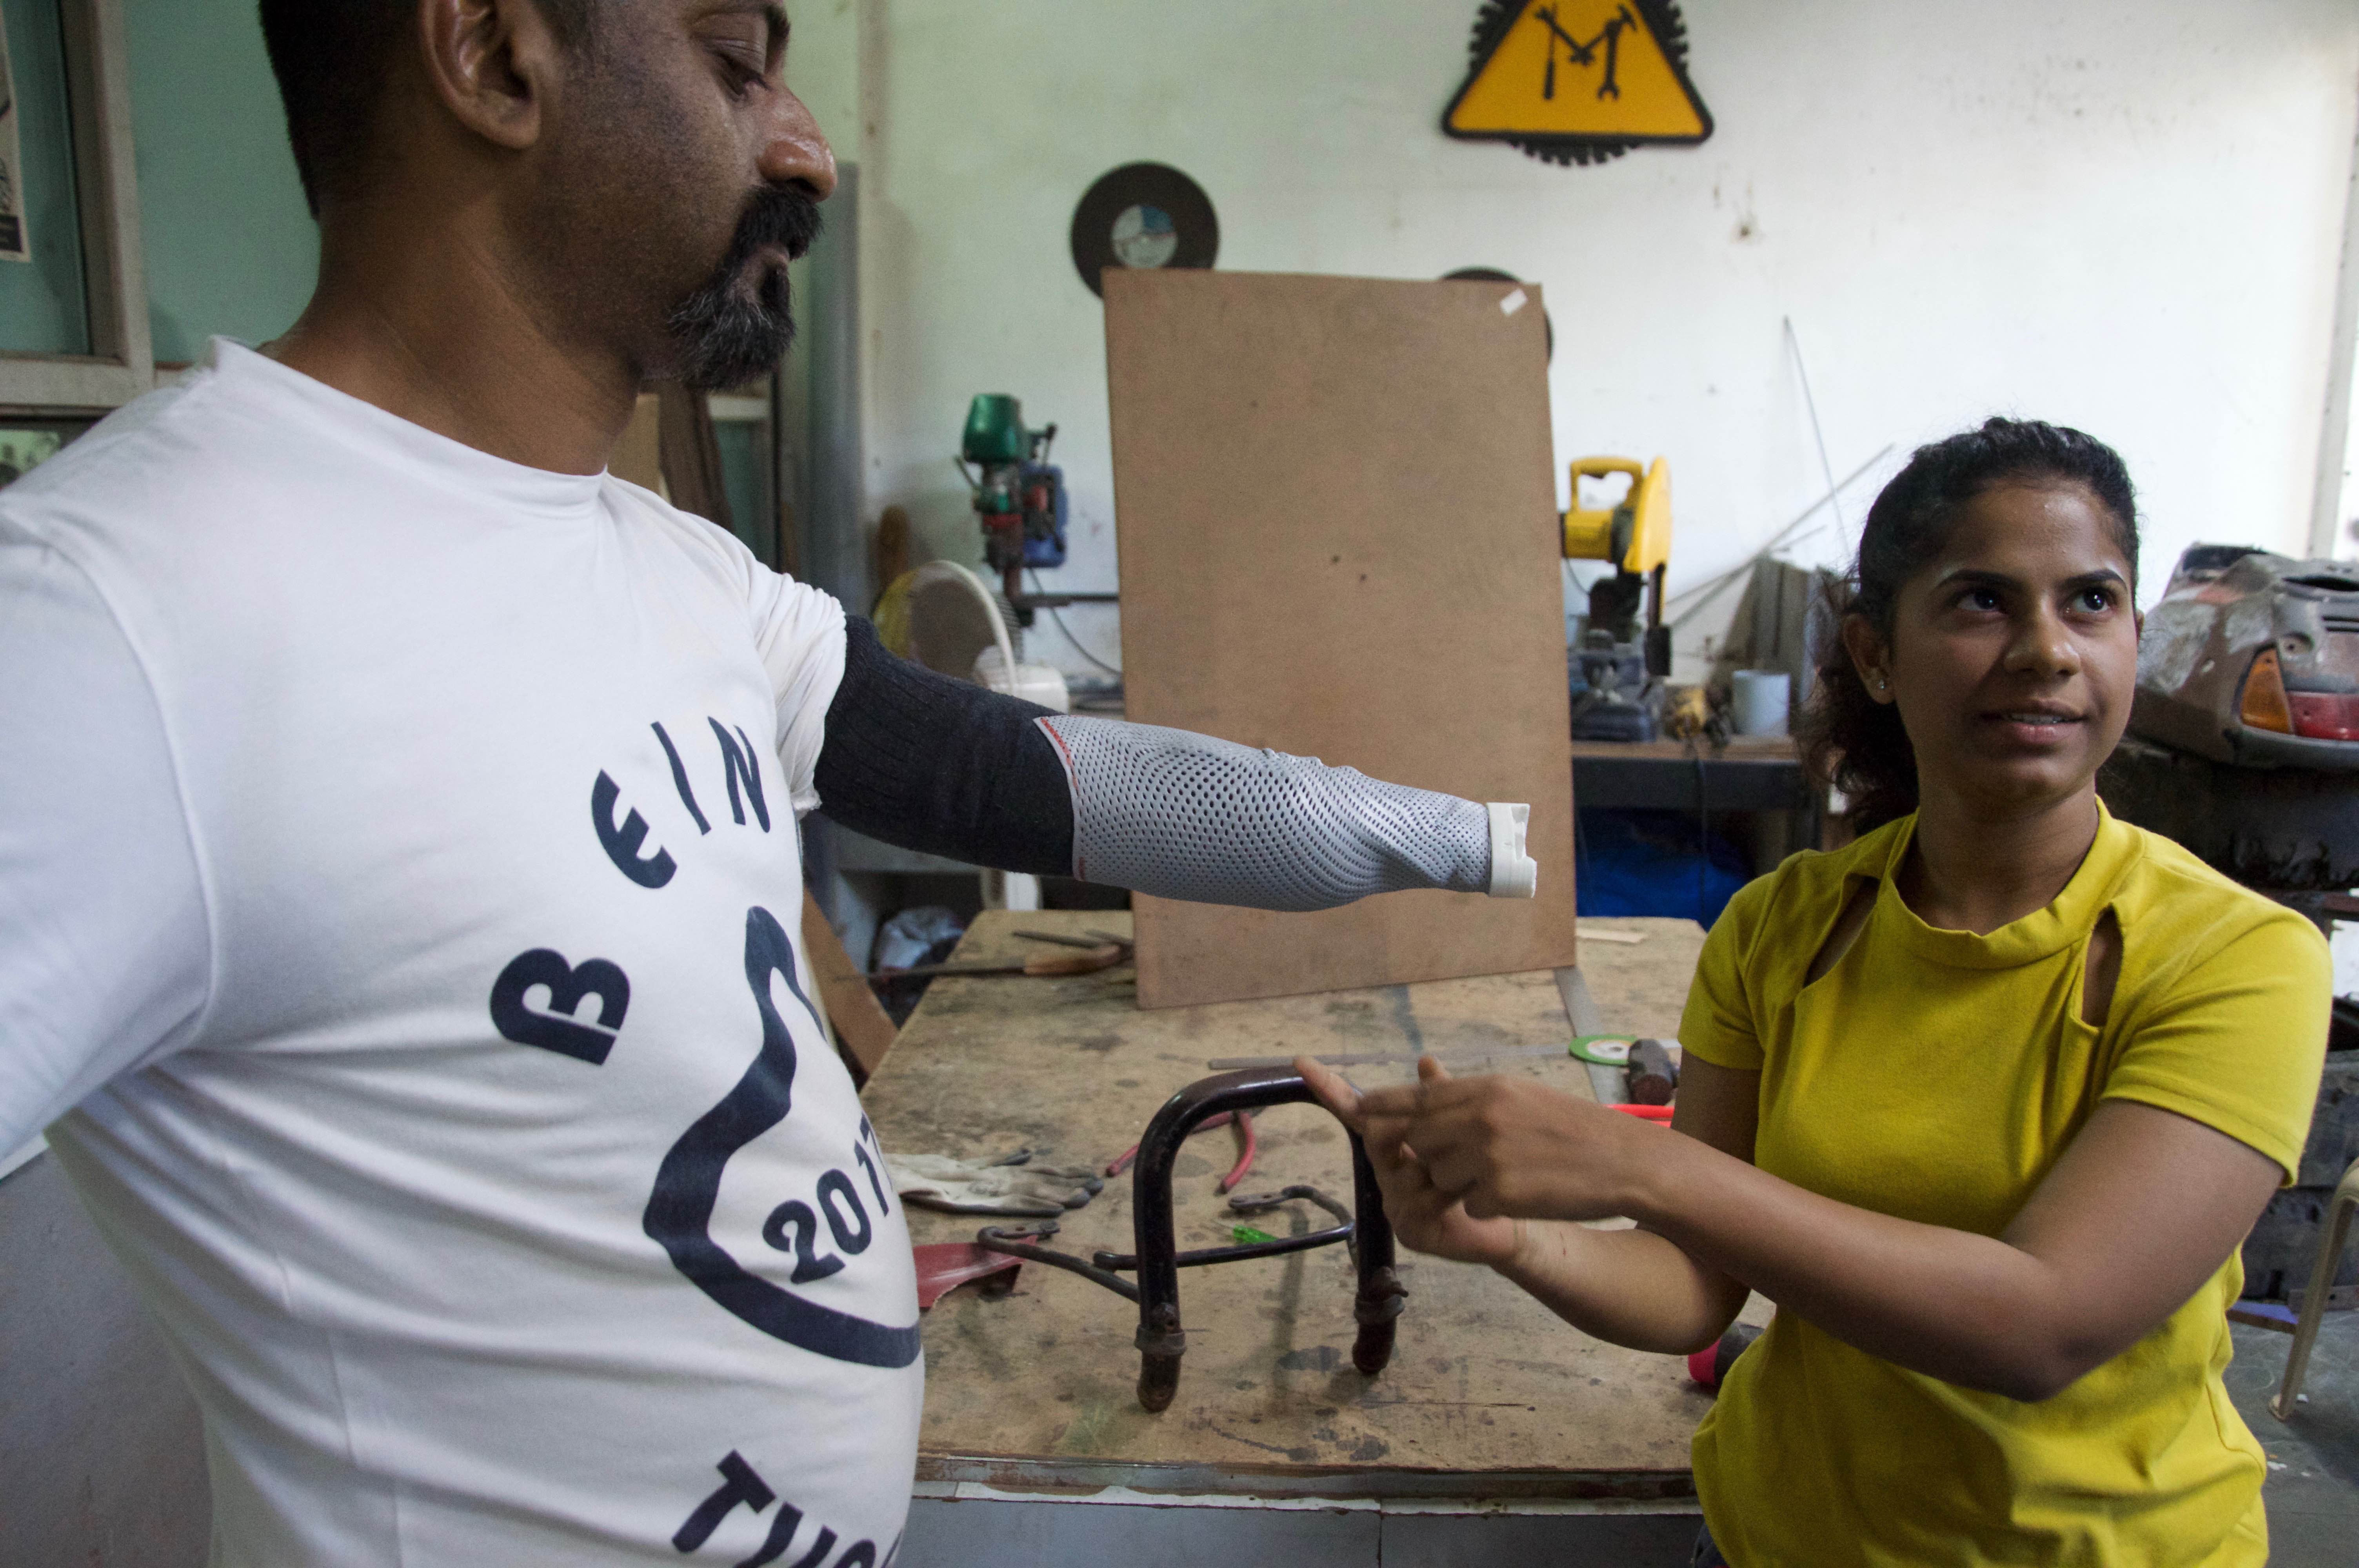
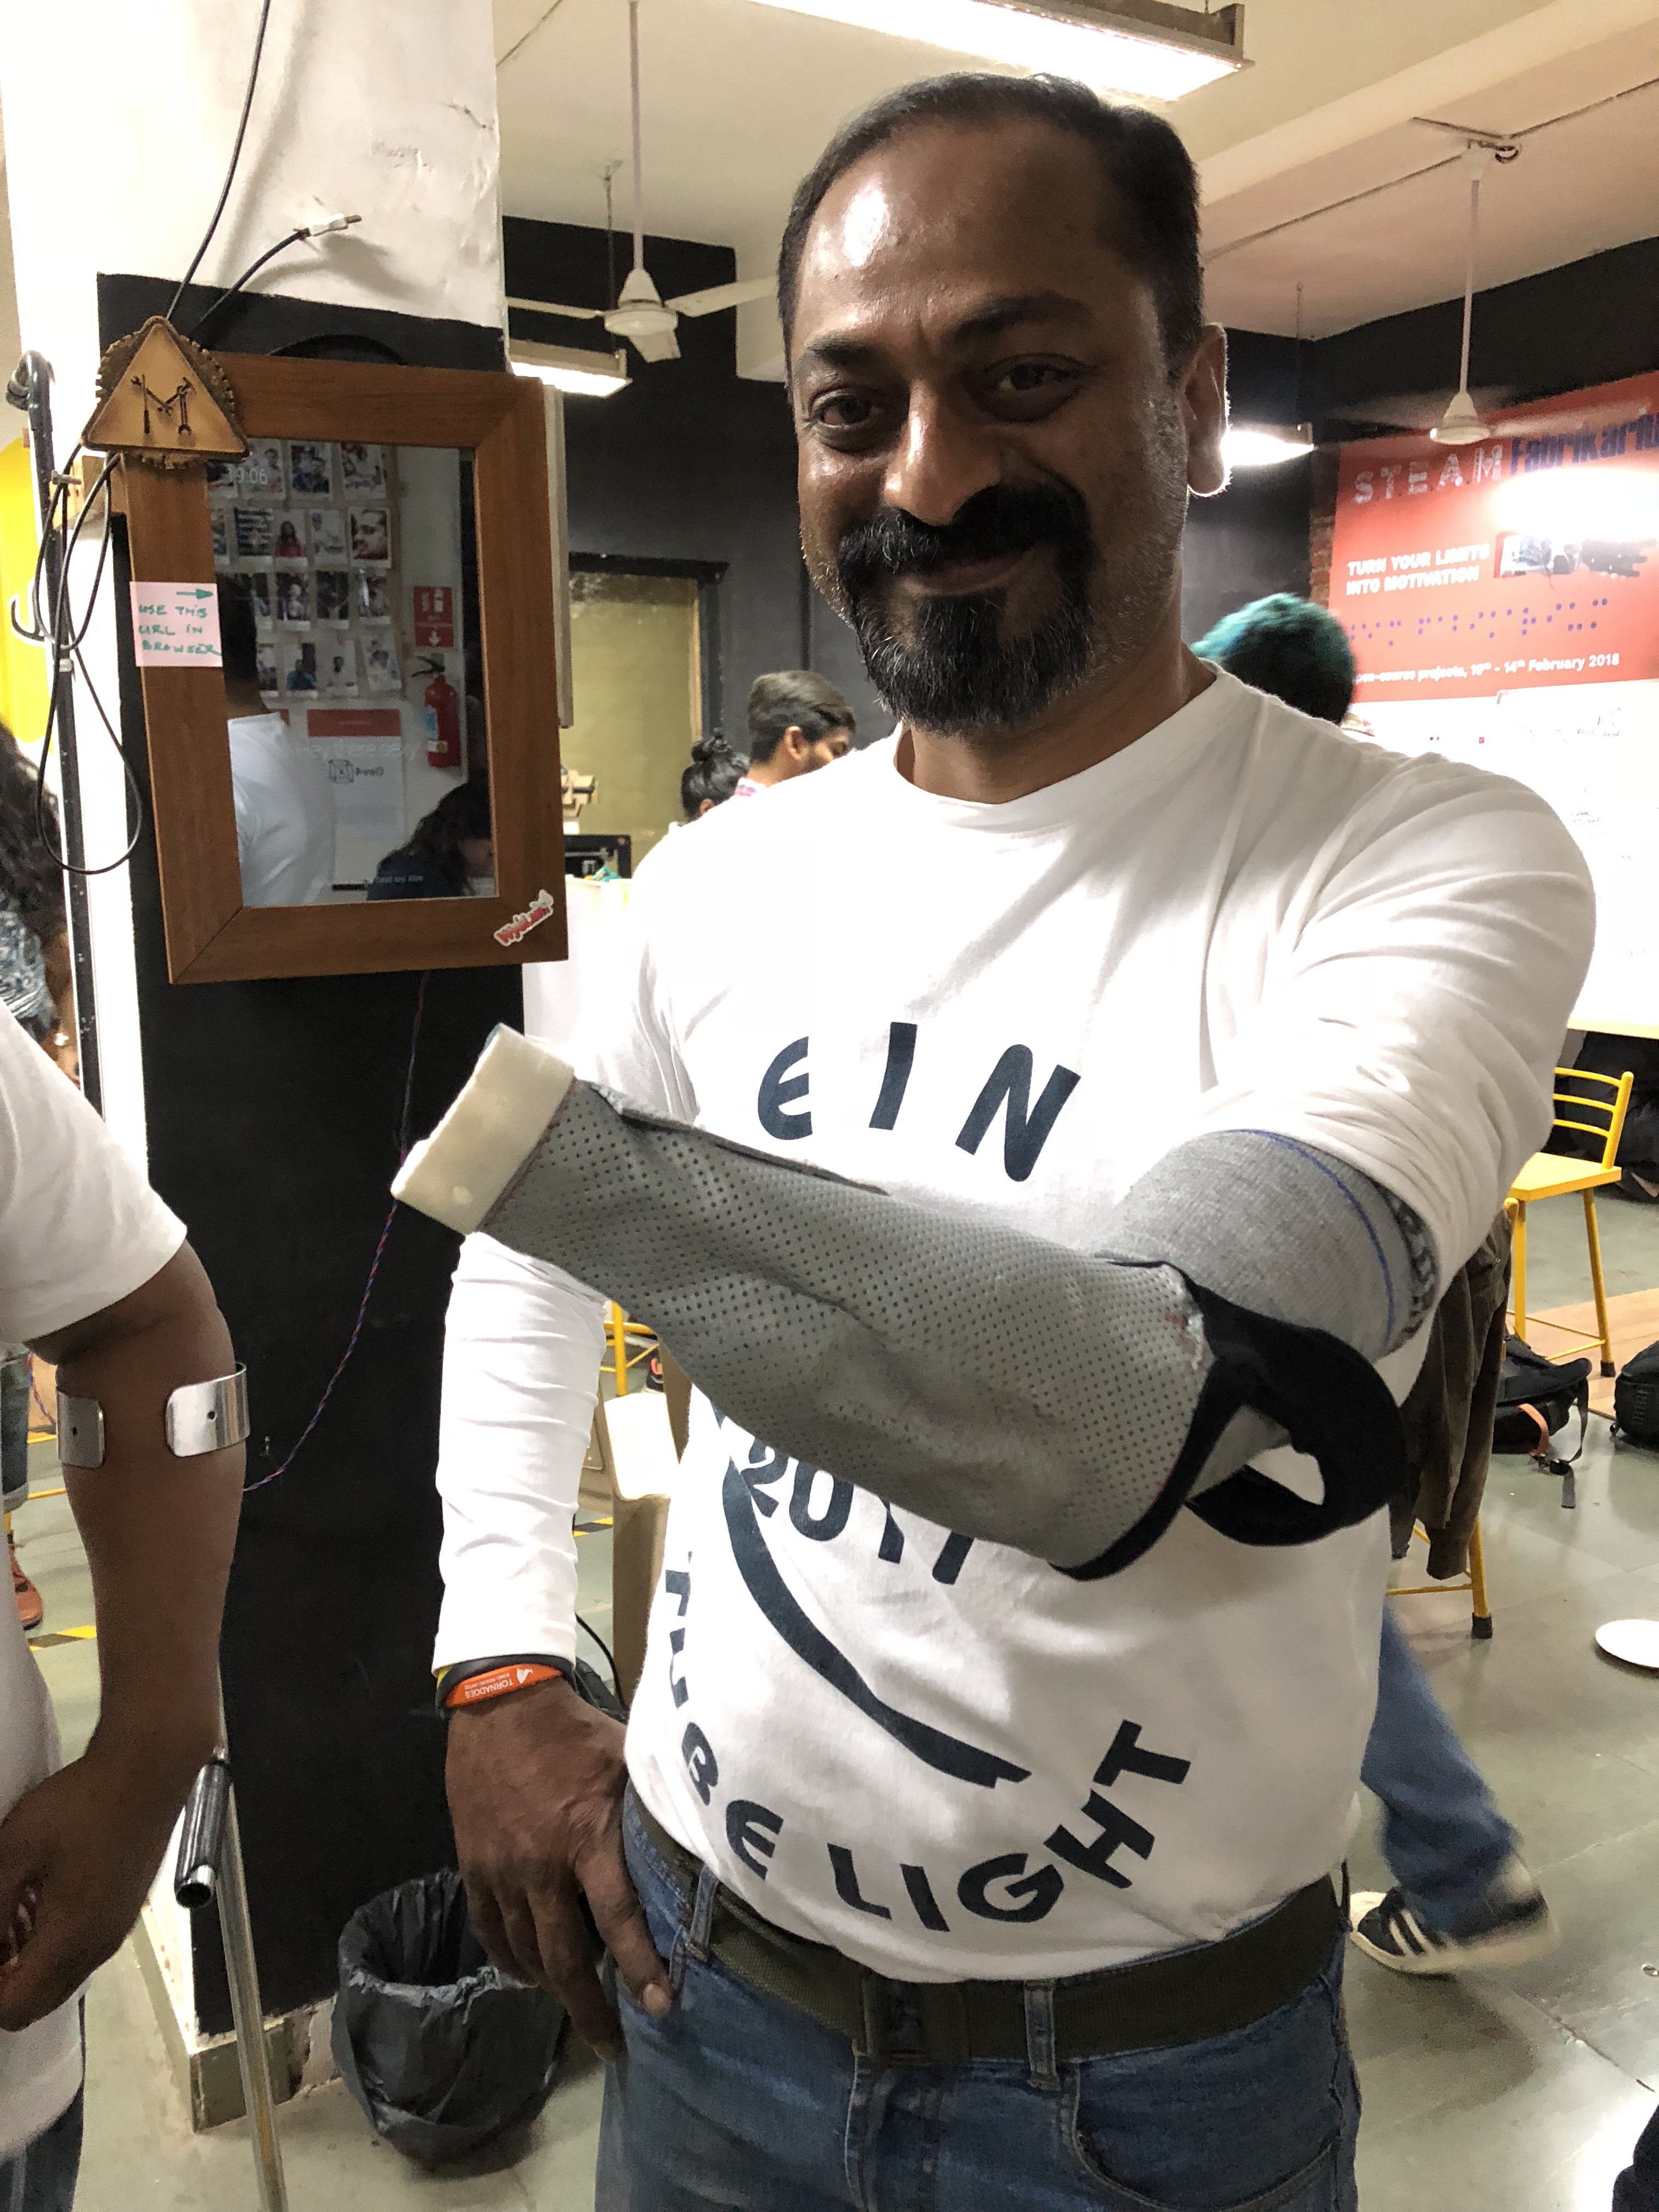
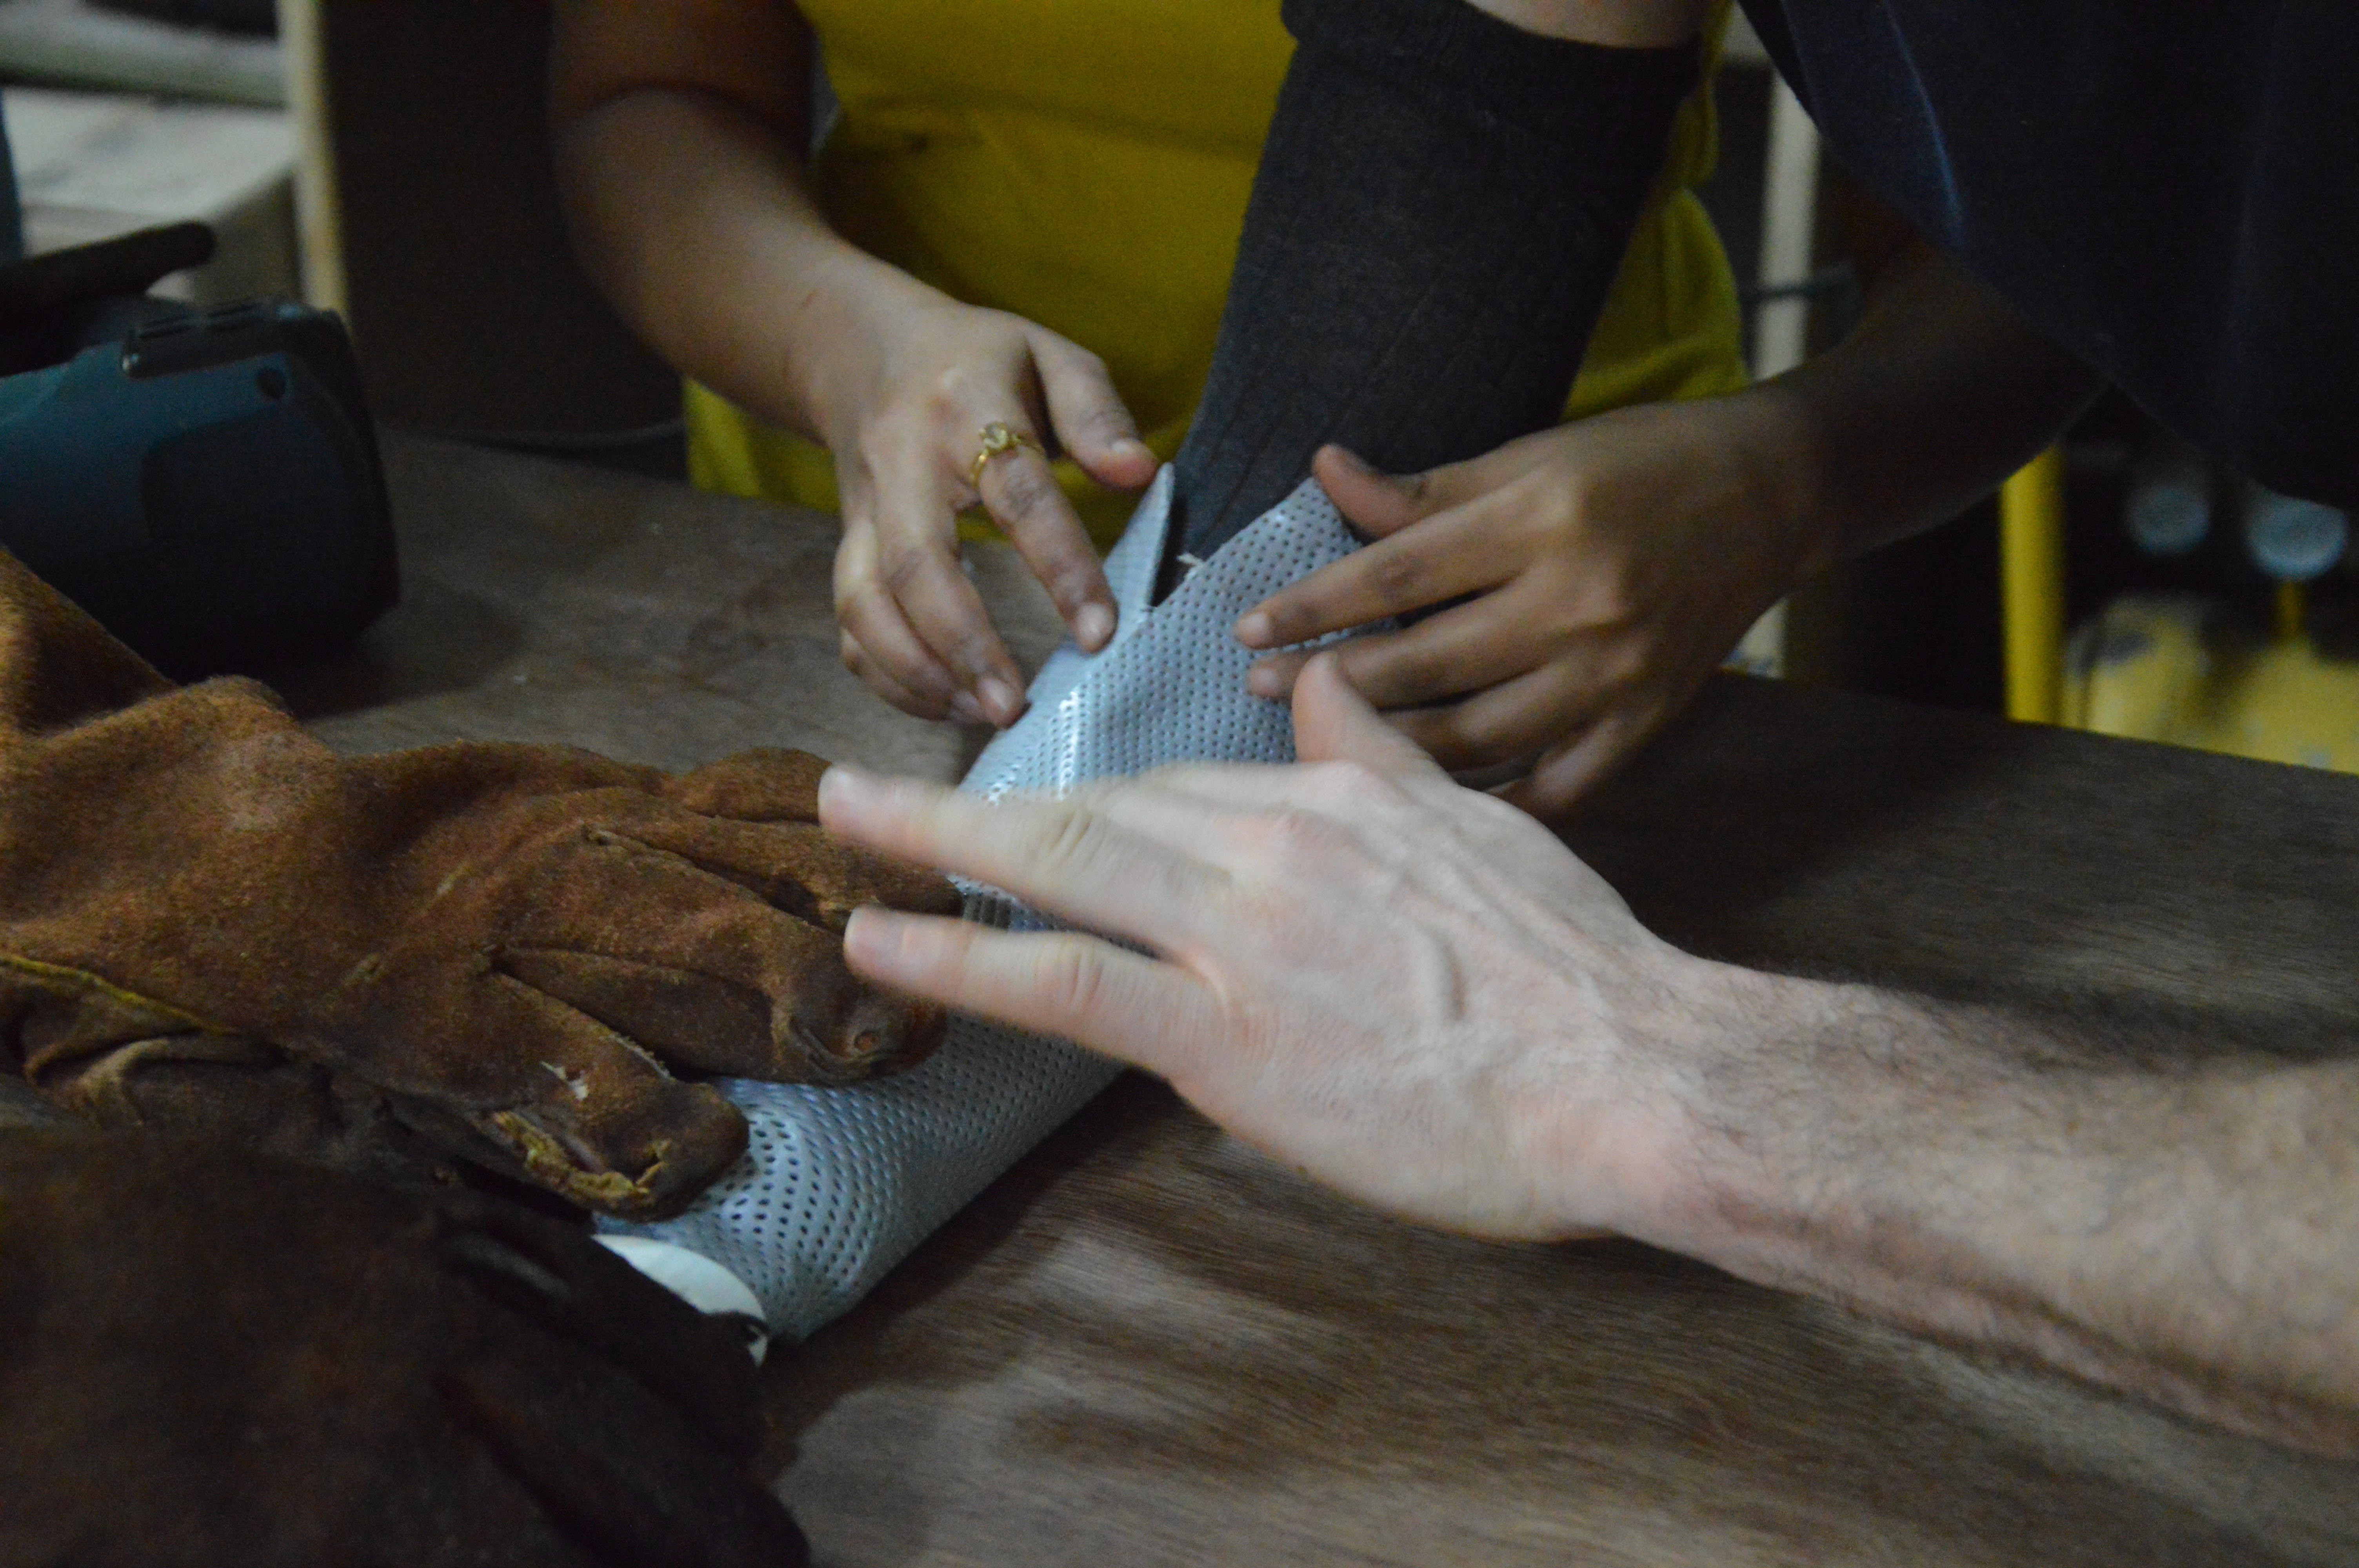
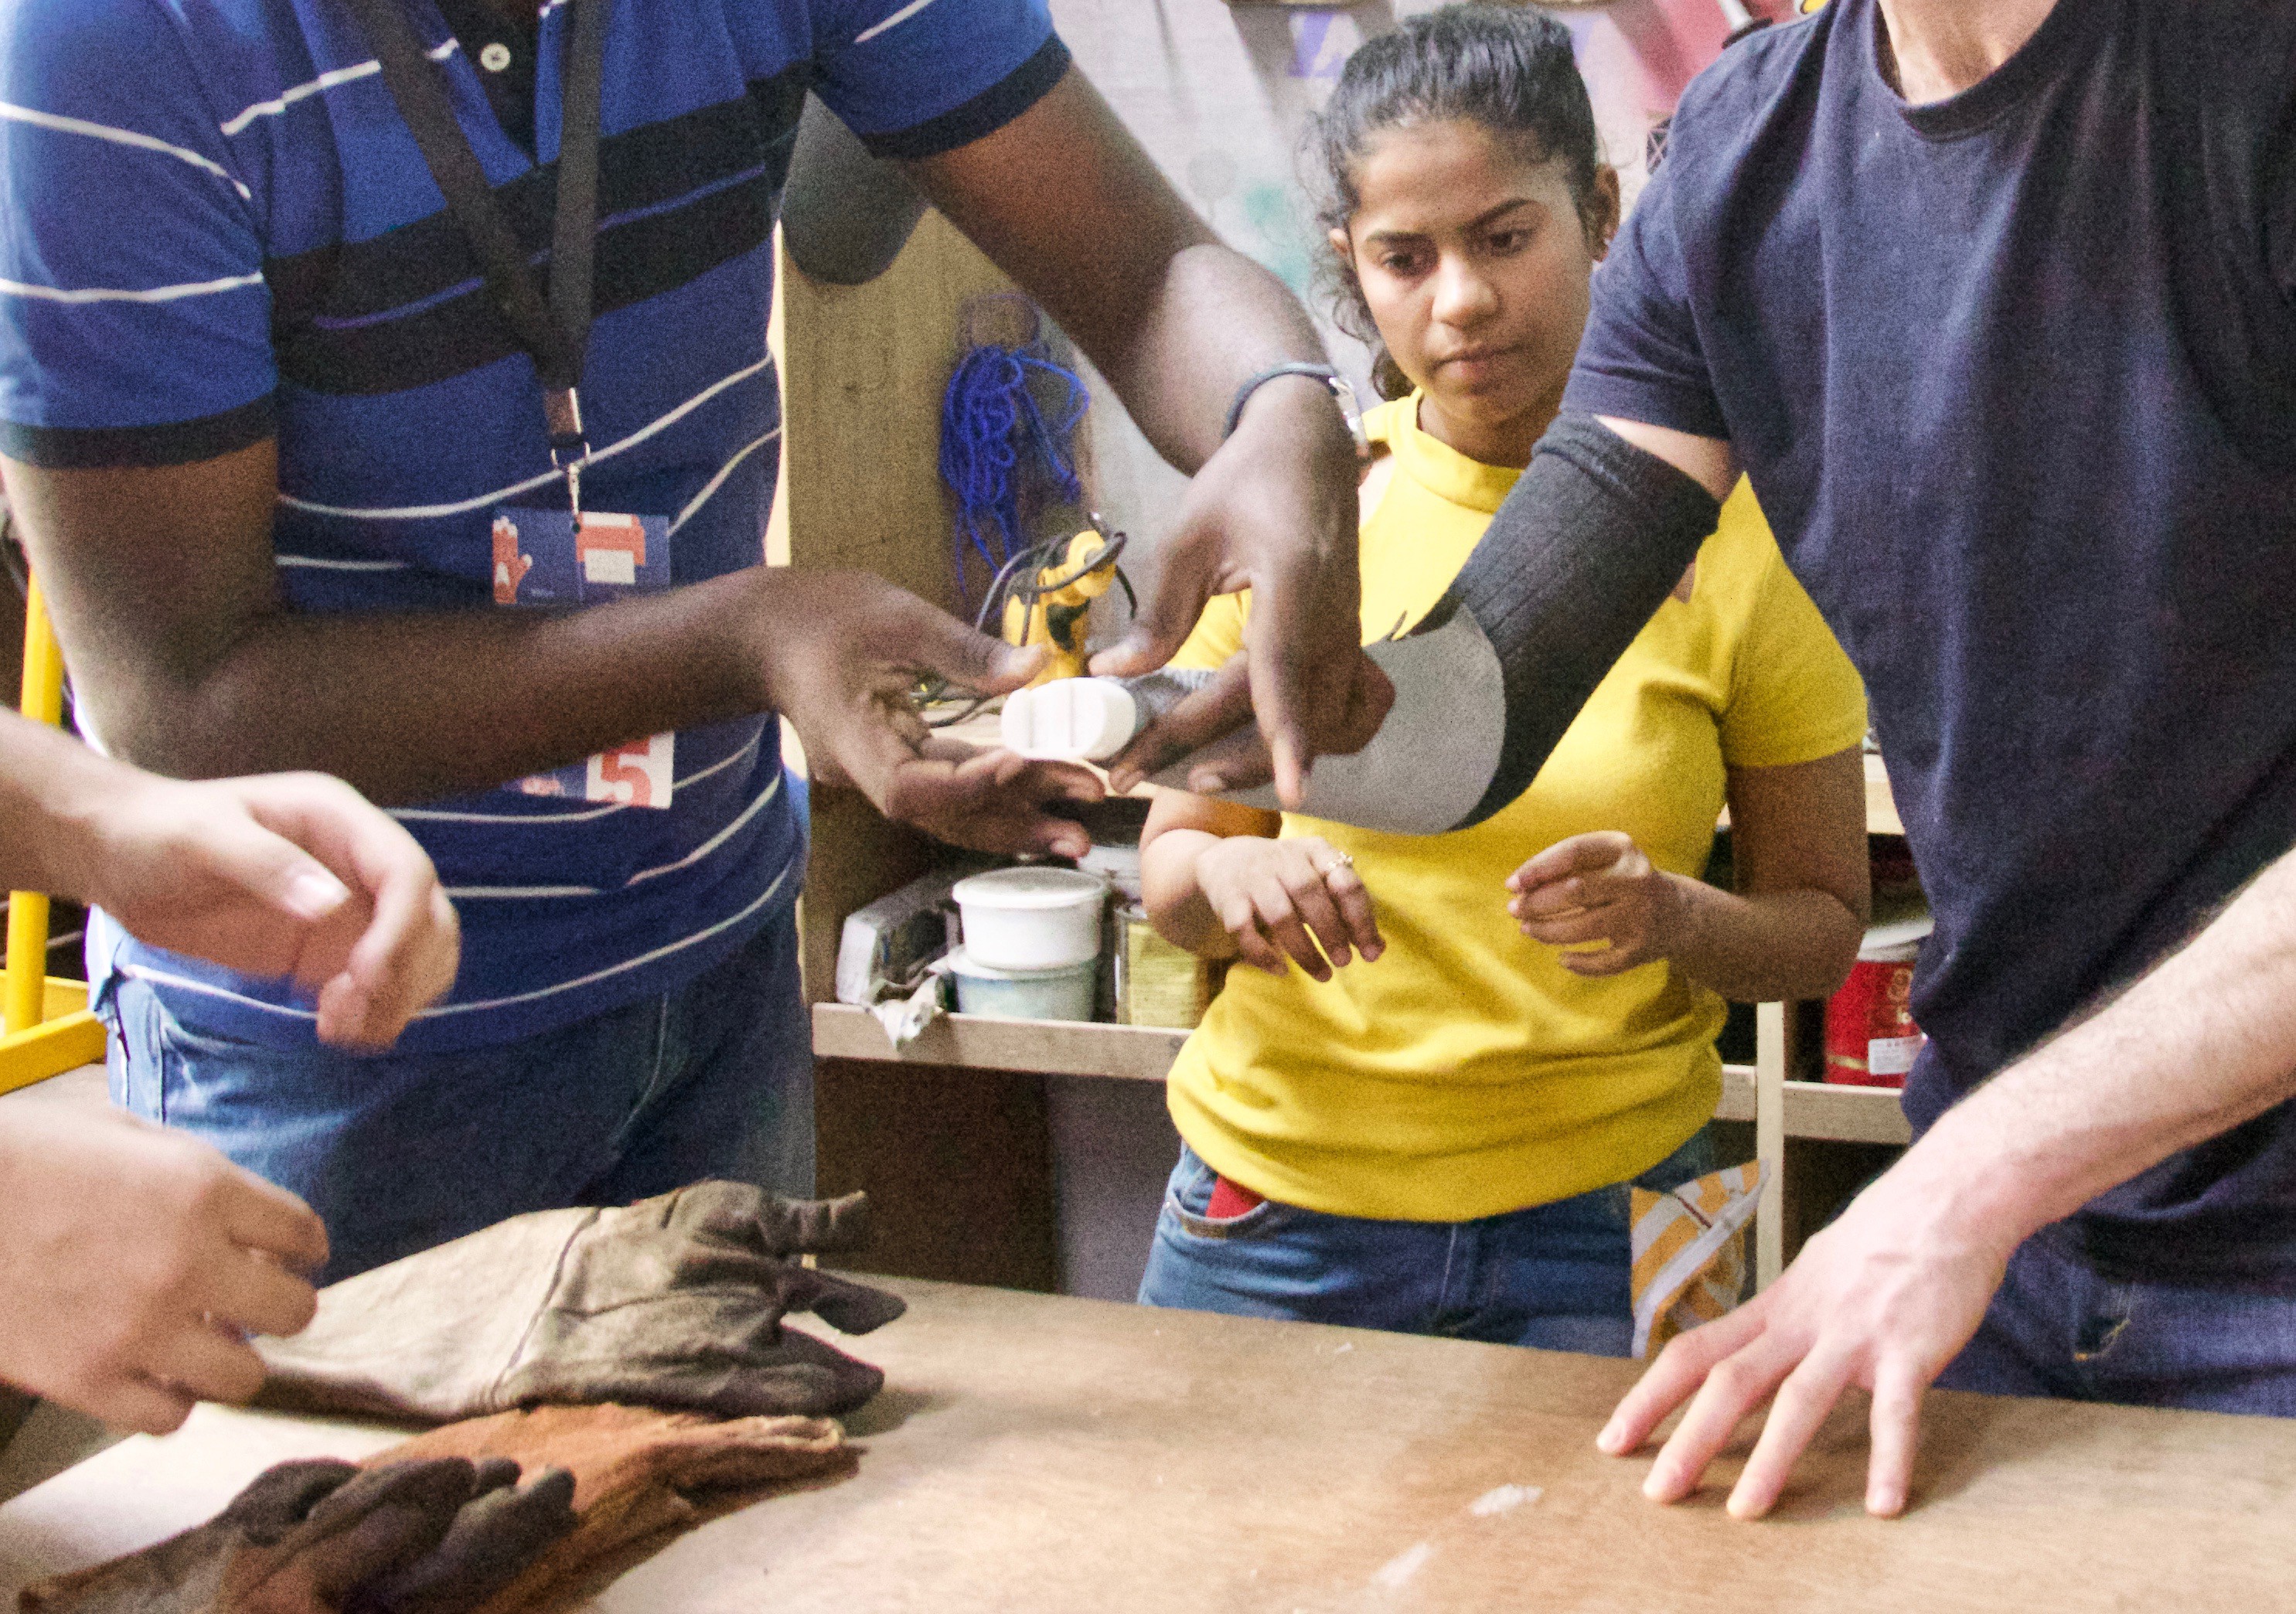
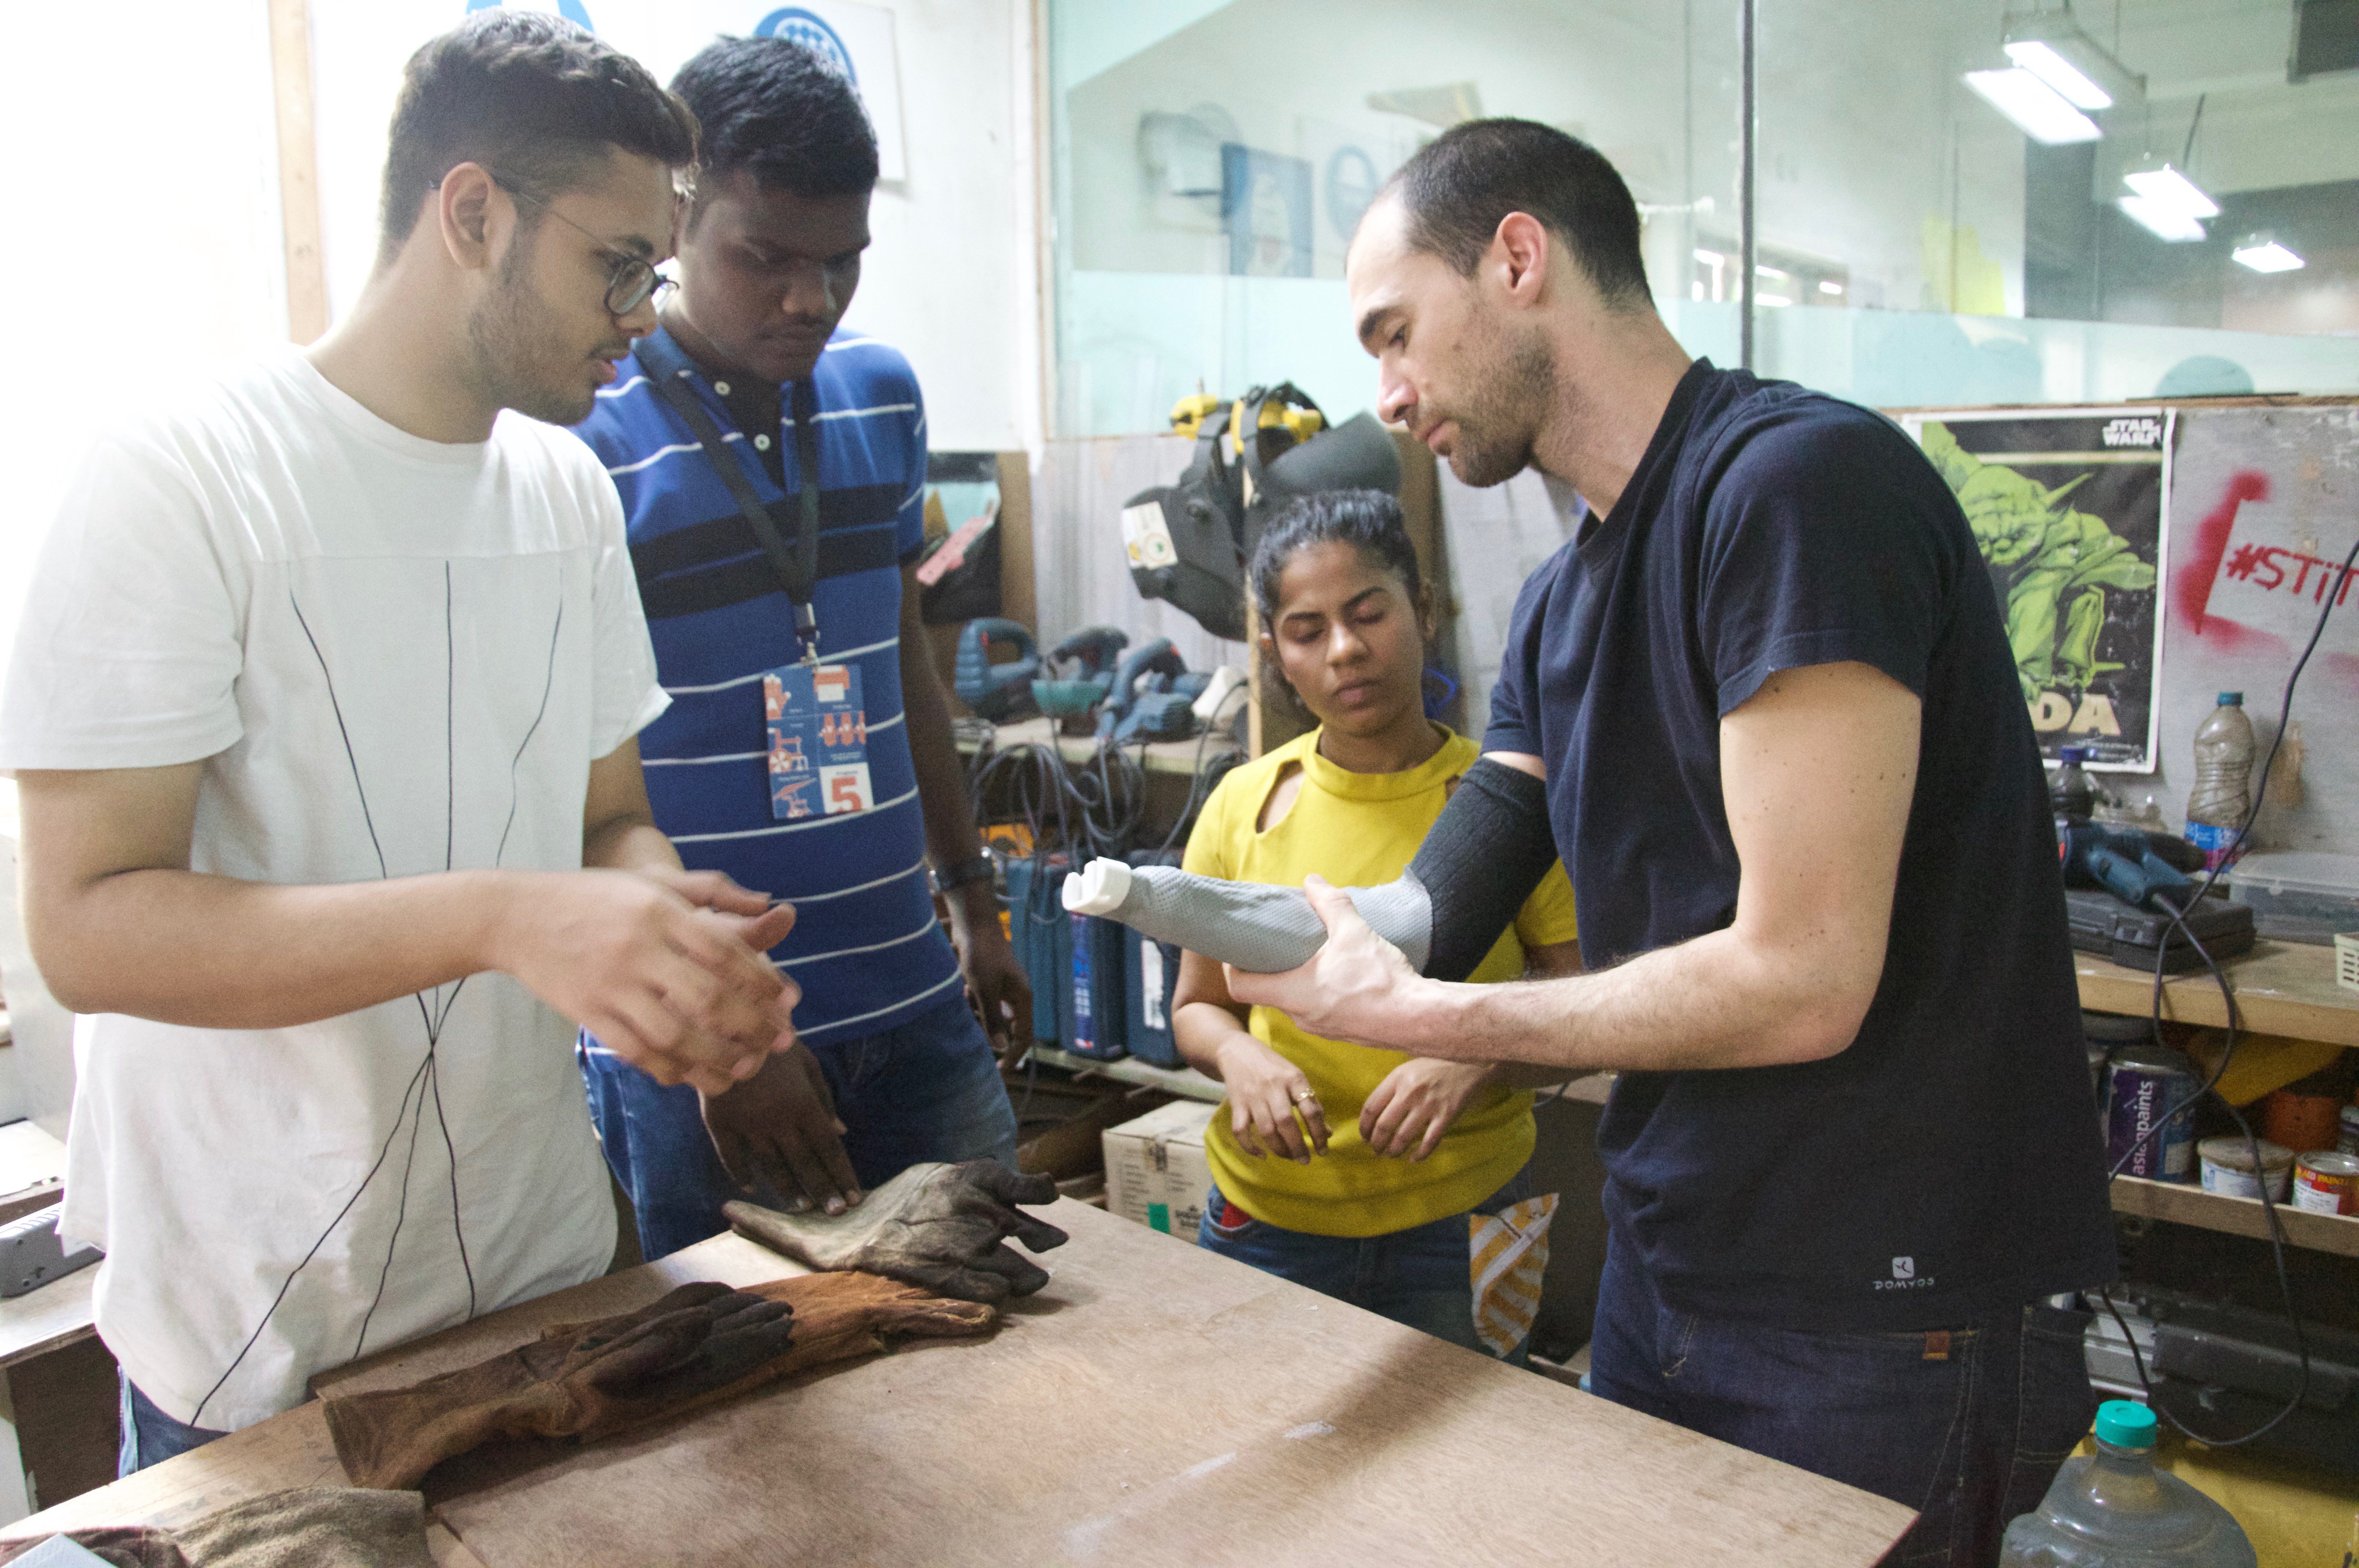
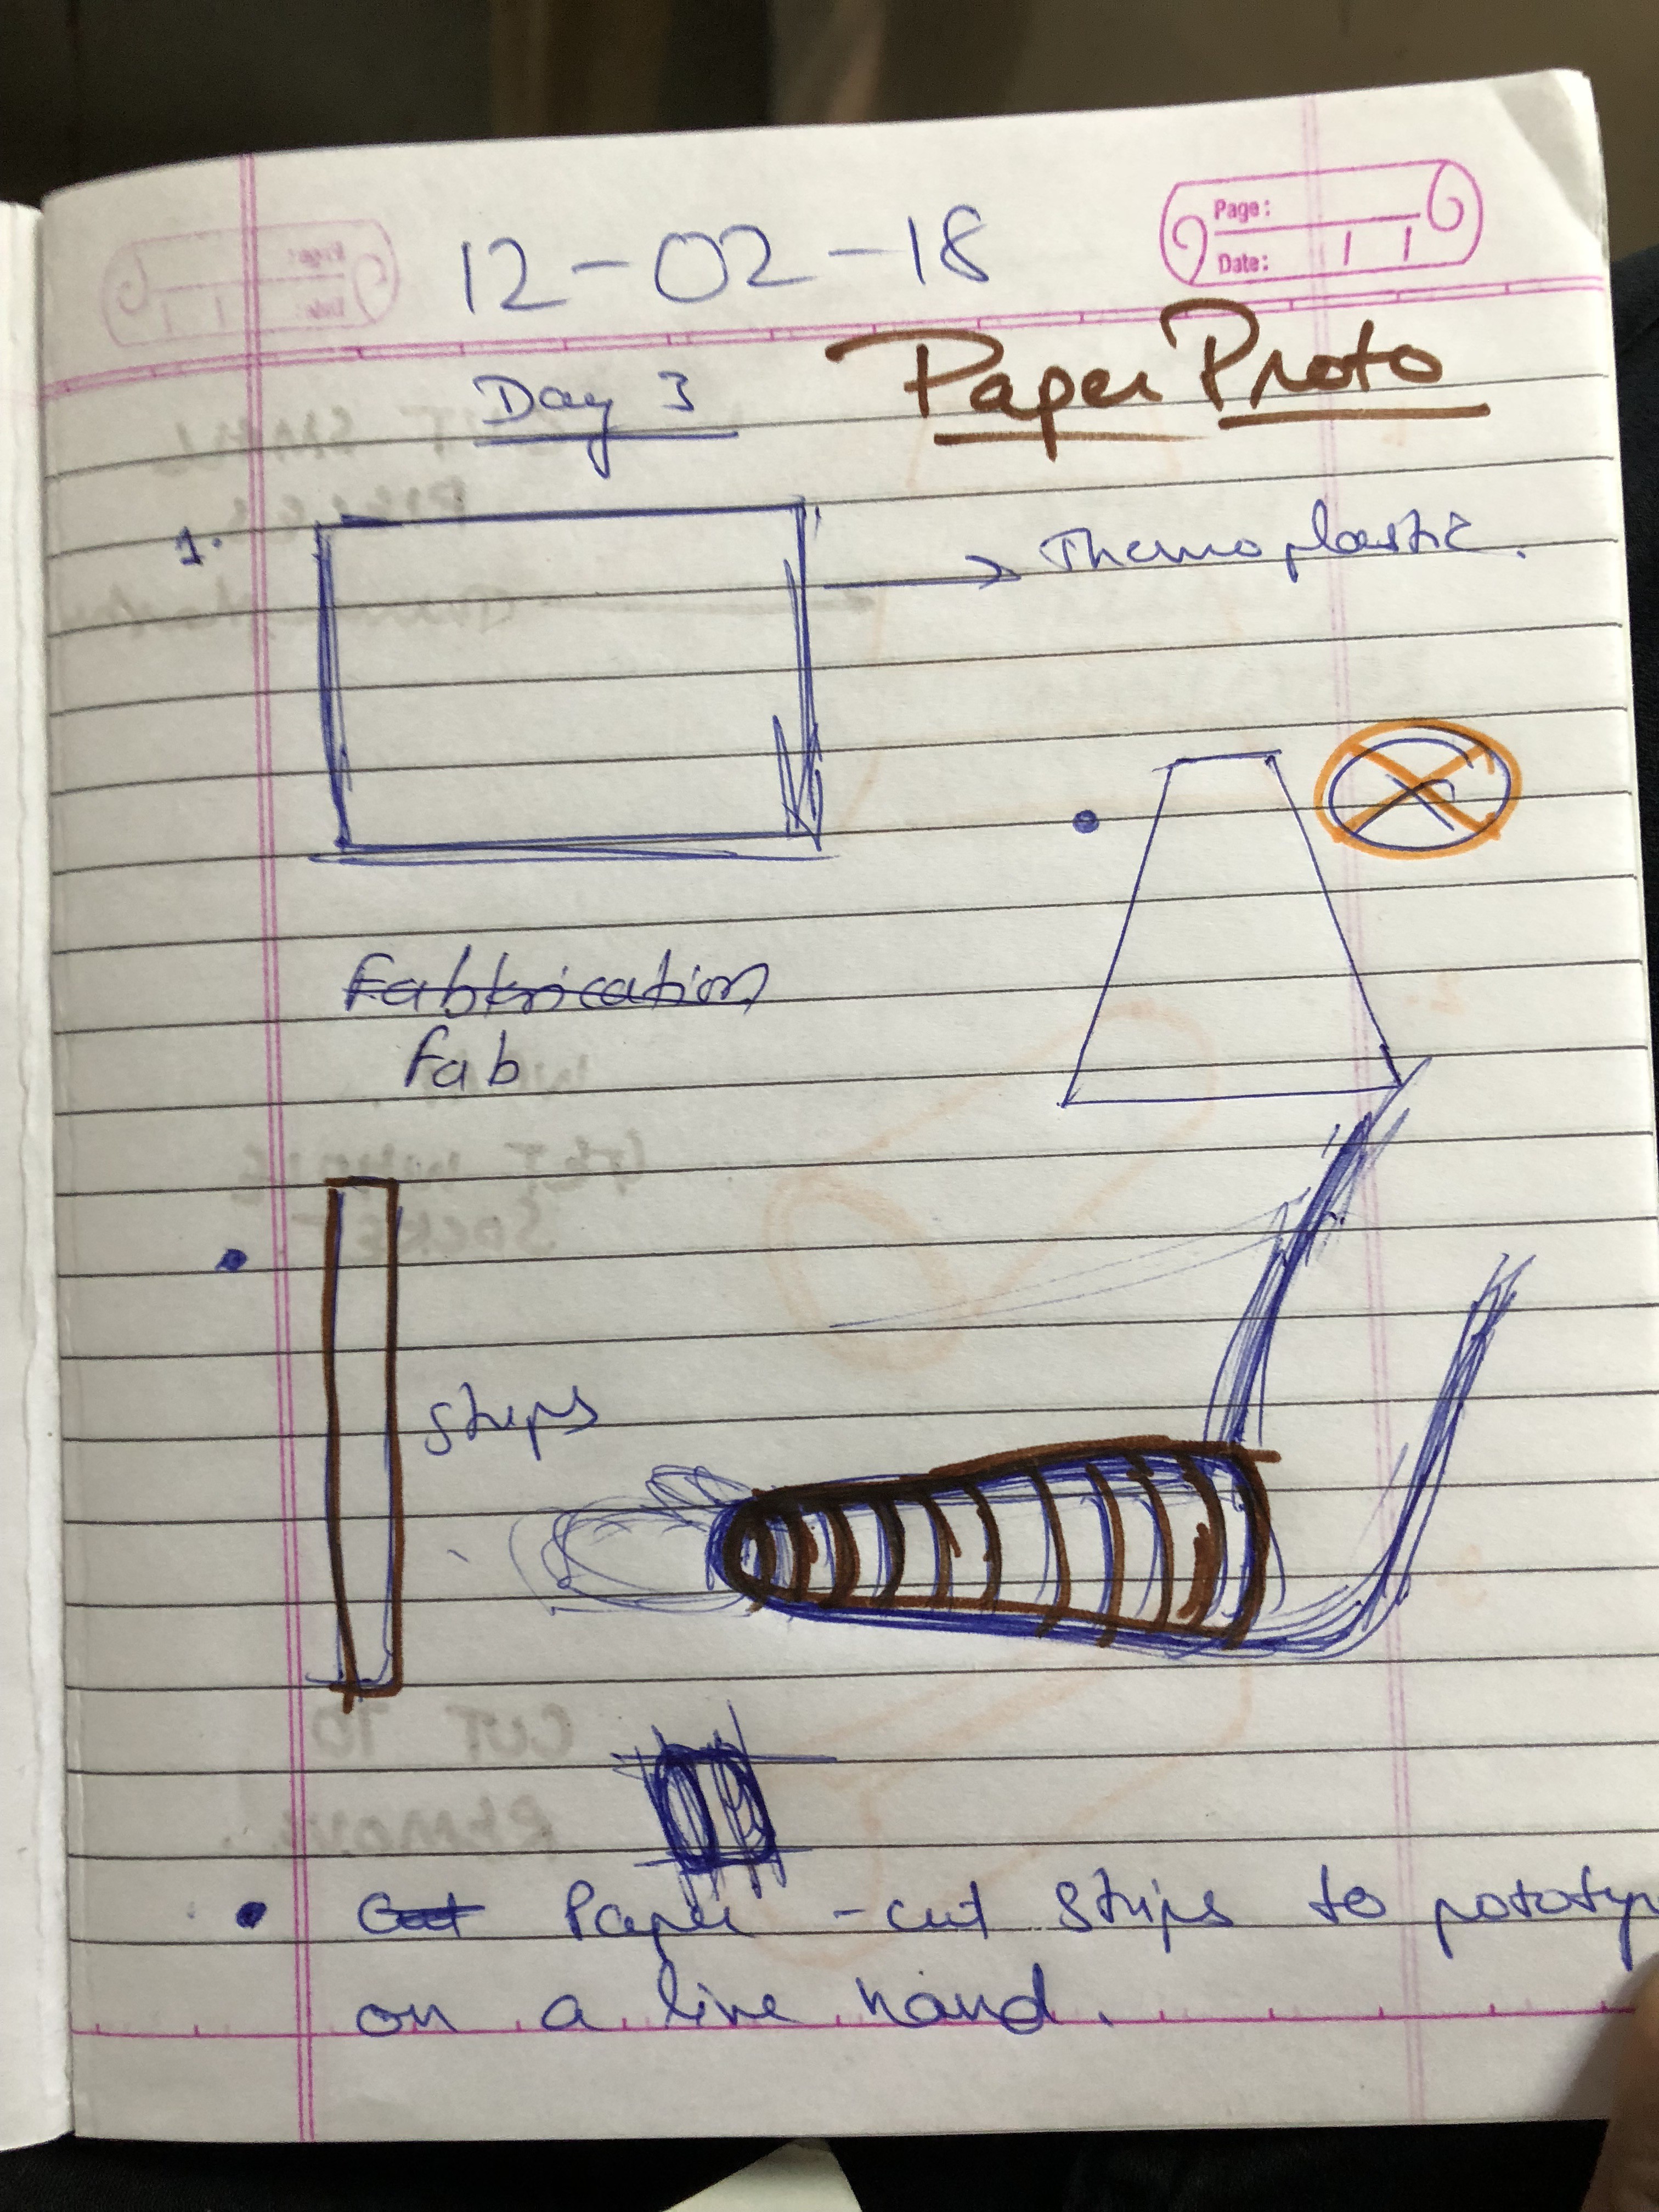
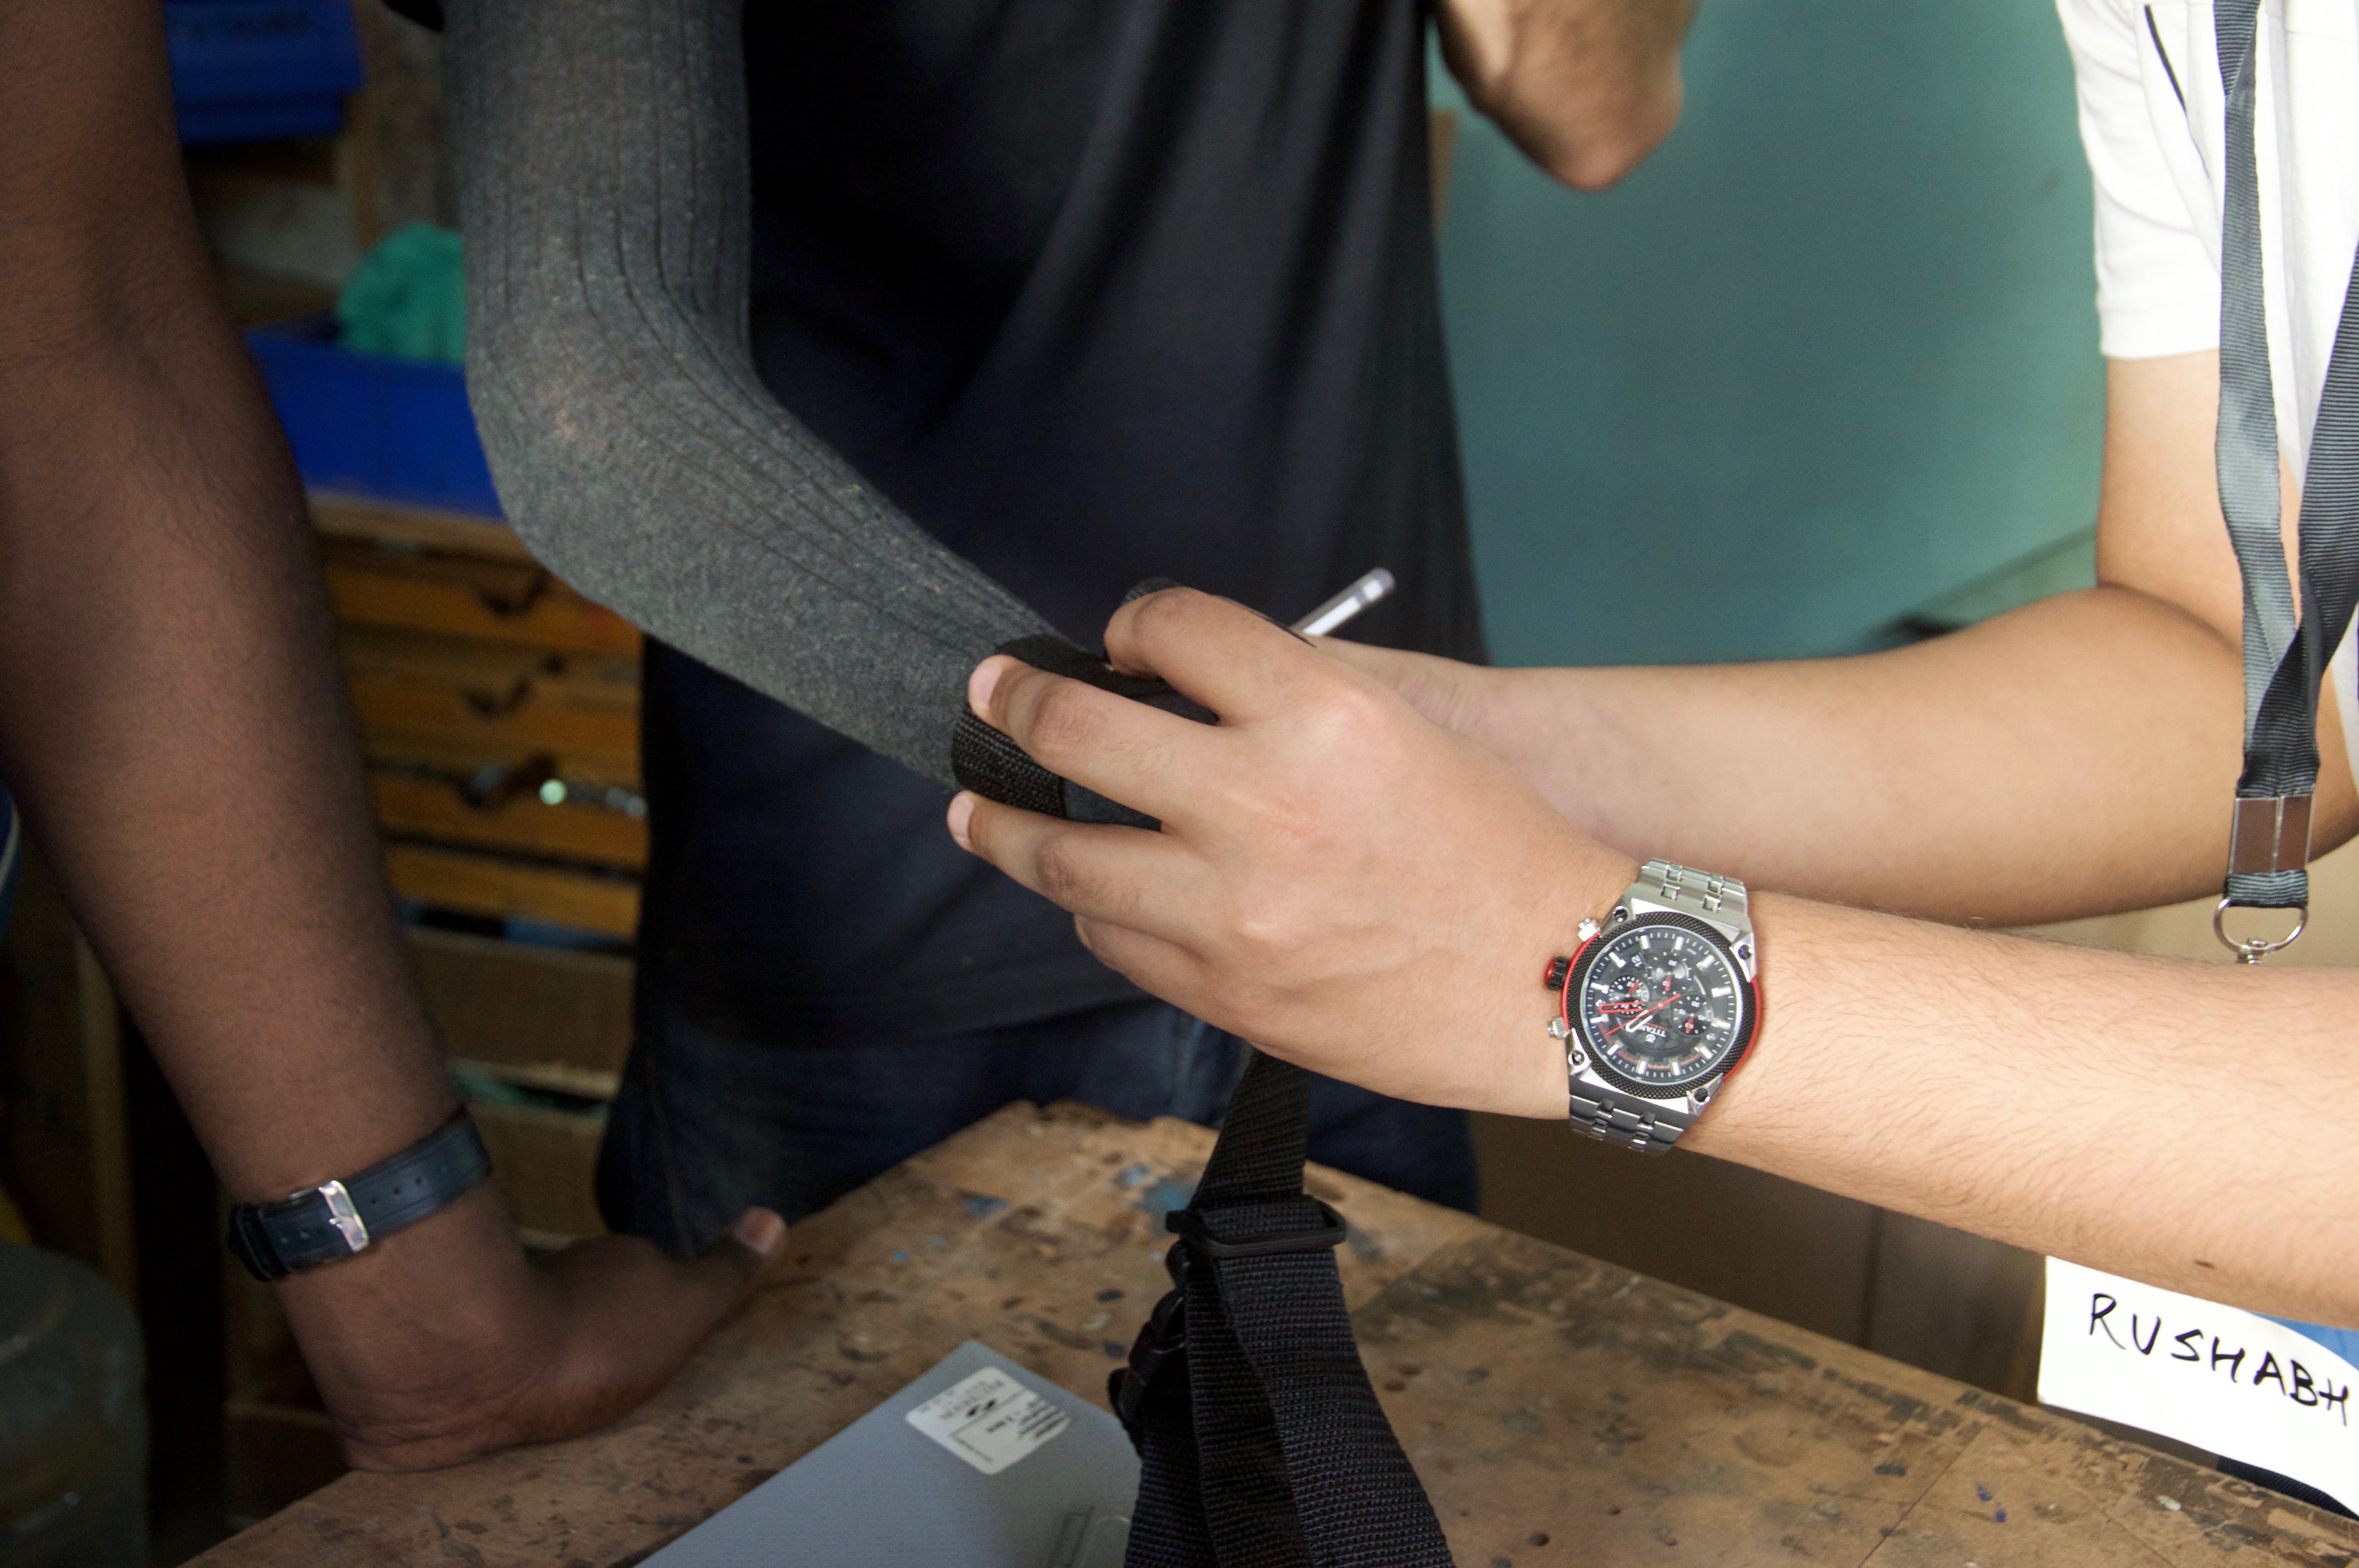
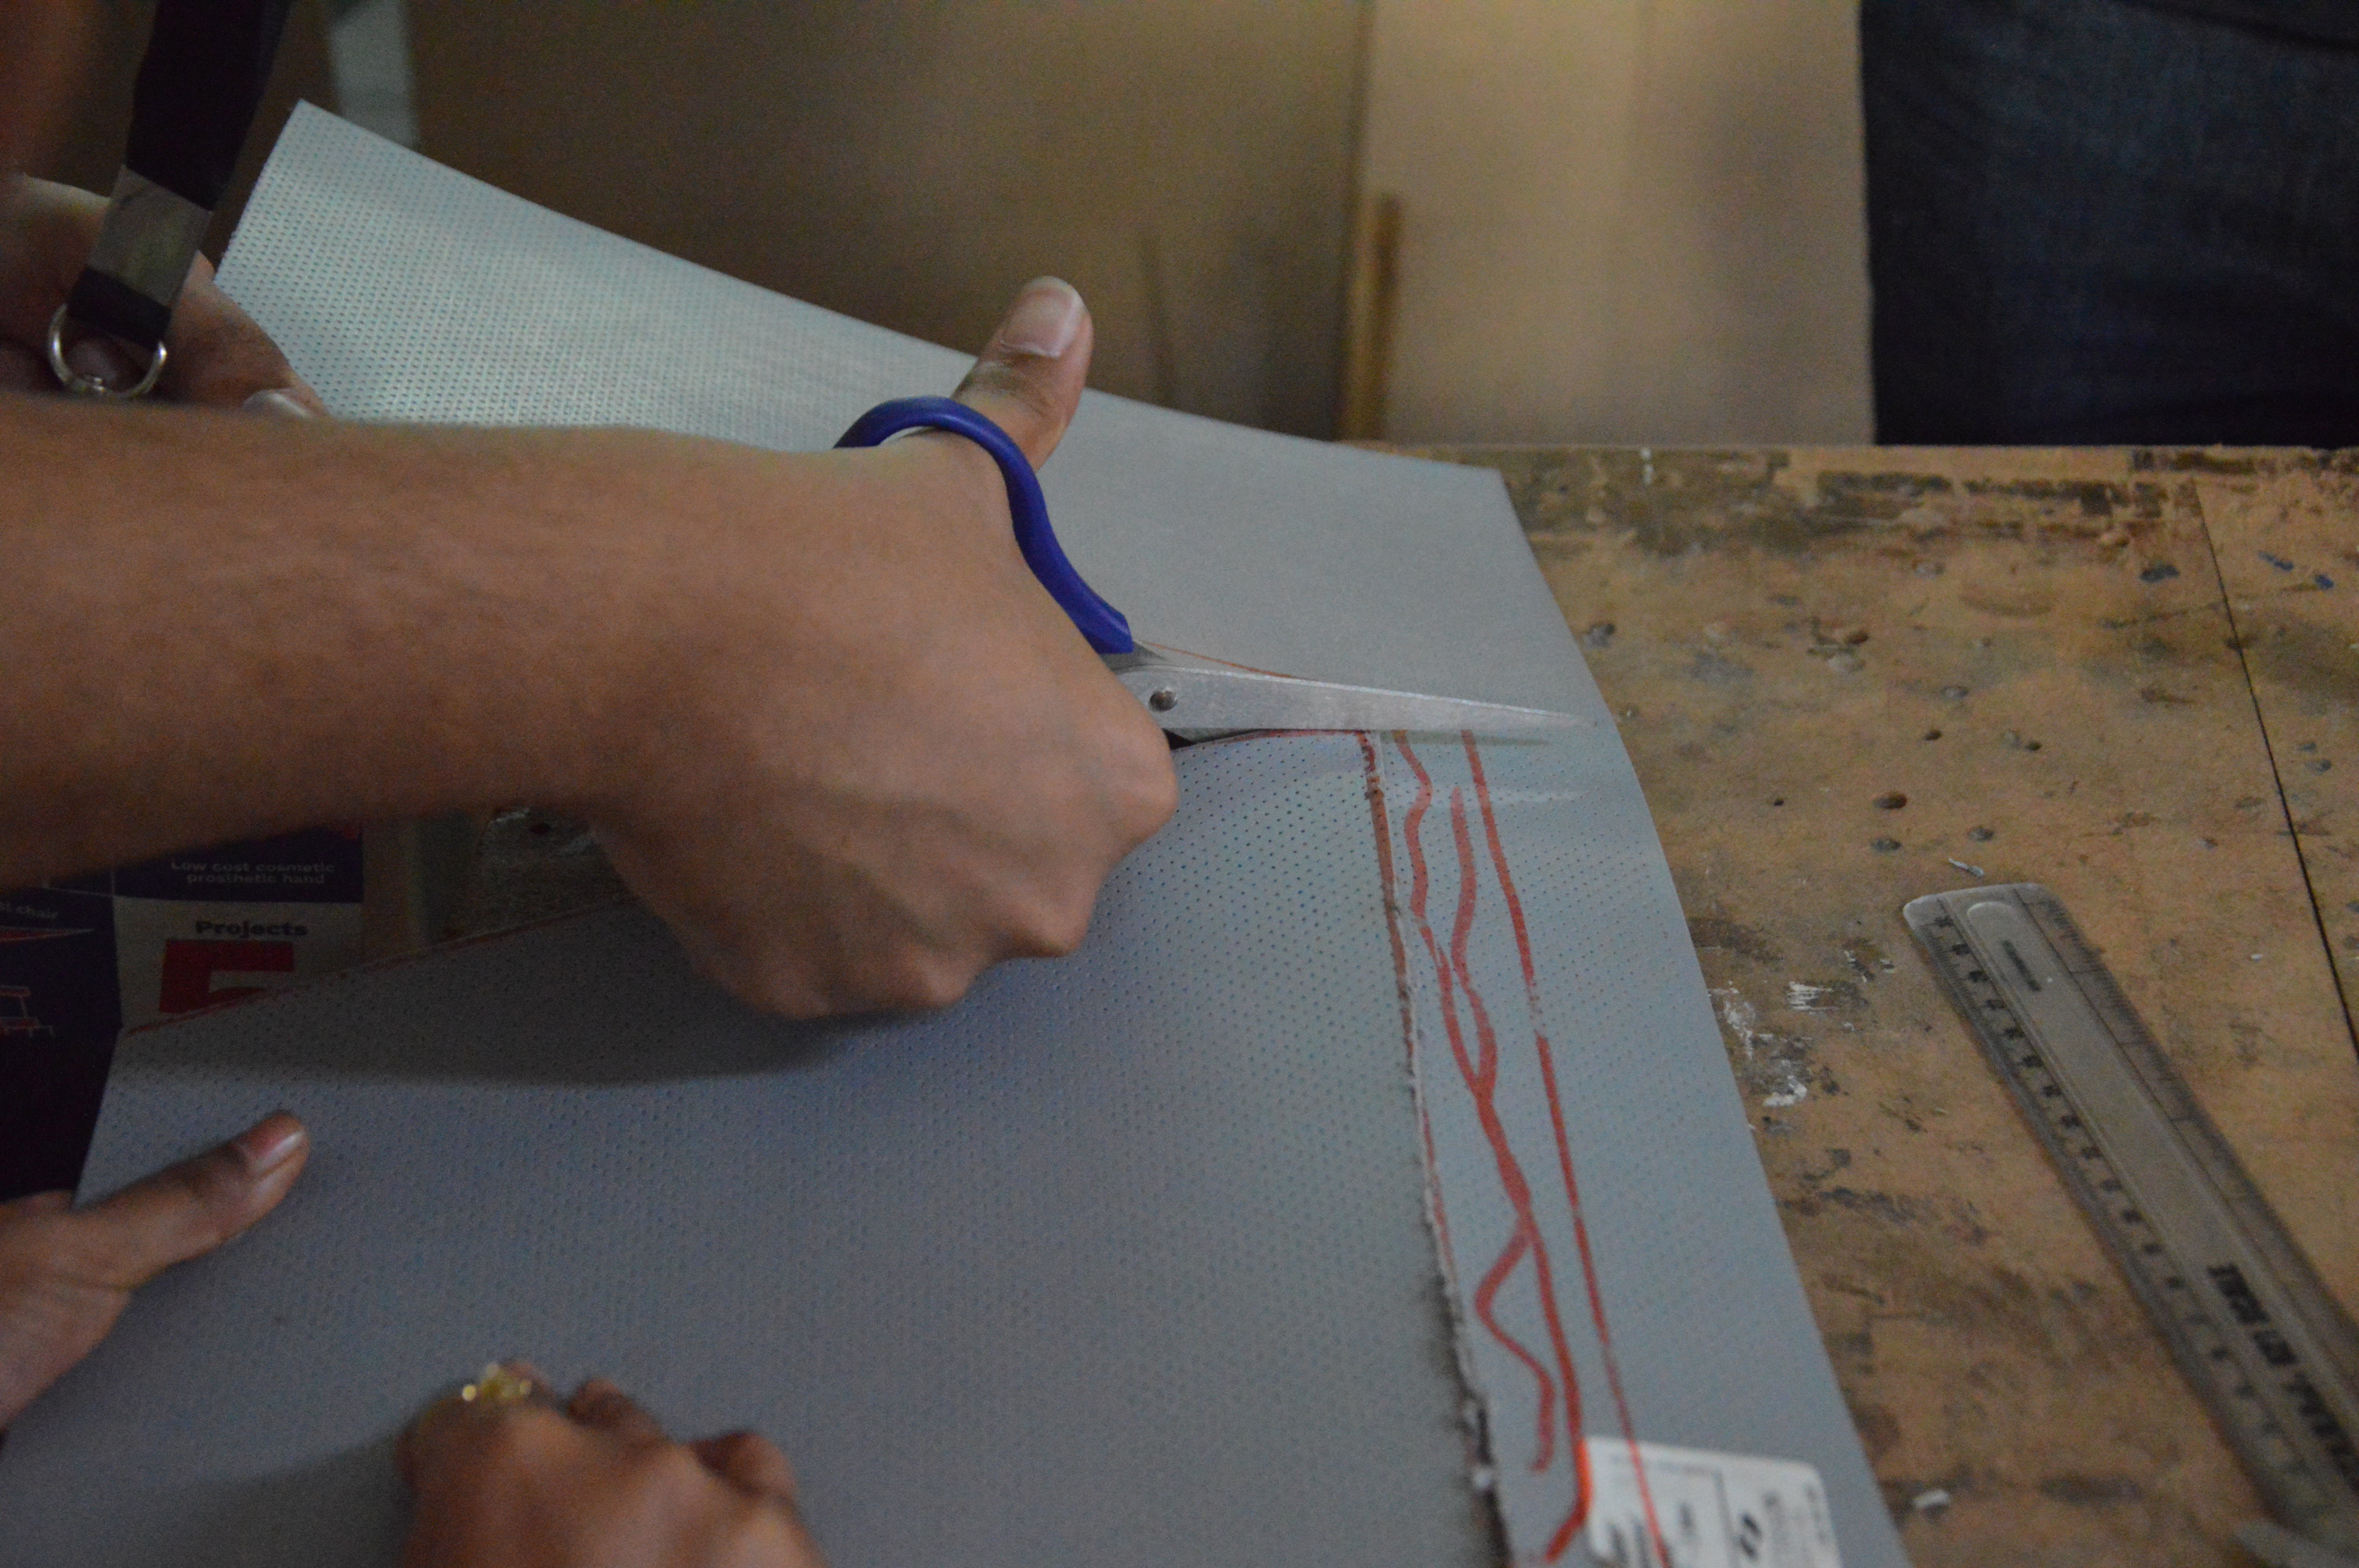
DIY Prosthetic Socket
Human Machine Interface (Arm)
Become a Hackaday.io member
Already have an account? Log in.
Just one more thing
To make the experience fit your profile, pick a username and tell us what interests you.
Pick an awesome username
hackaday.io/
Your profile's URL: hackaday.io/username. Max 25 alphanumeric characters.
Pick a few interests
Projects that share your interests
People that share your interests


 Ramón Calvo
 Shushanik Khachaturian
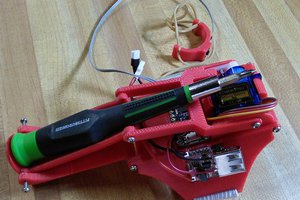
 Tim
Tim
 Dewet
Dewet
Great project! we made a printed version in 3d, maybe you find it useful as an alternative, you can see it in:
https://hackaday.io/project/159728-pulse-sensor-to-actuate-a-3d-printed-robotic-hand
Congratulations and keep moving forward!