My painting process was like this:
- do a rough sanding of the surface with approximately 100 grit sandpaper.
- Paint with sanding primer. This makes the filler and paint stick, and the wood absorb less and more evenly of the real paint. Wait at least a day to dry.
- Apply filler to any dents in the wood. Wait at least a day to dry.
- Sand vigorously with 100 grit to even out the surface roughness, wipe, then sand lightly with 180 grit, wipe, then 240 grit, wipe, 320 grit, wipe, 400 grit, wipe, use tack cloth to remove dust.
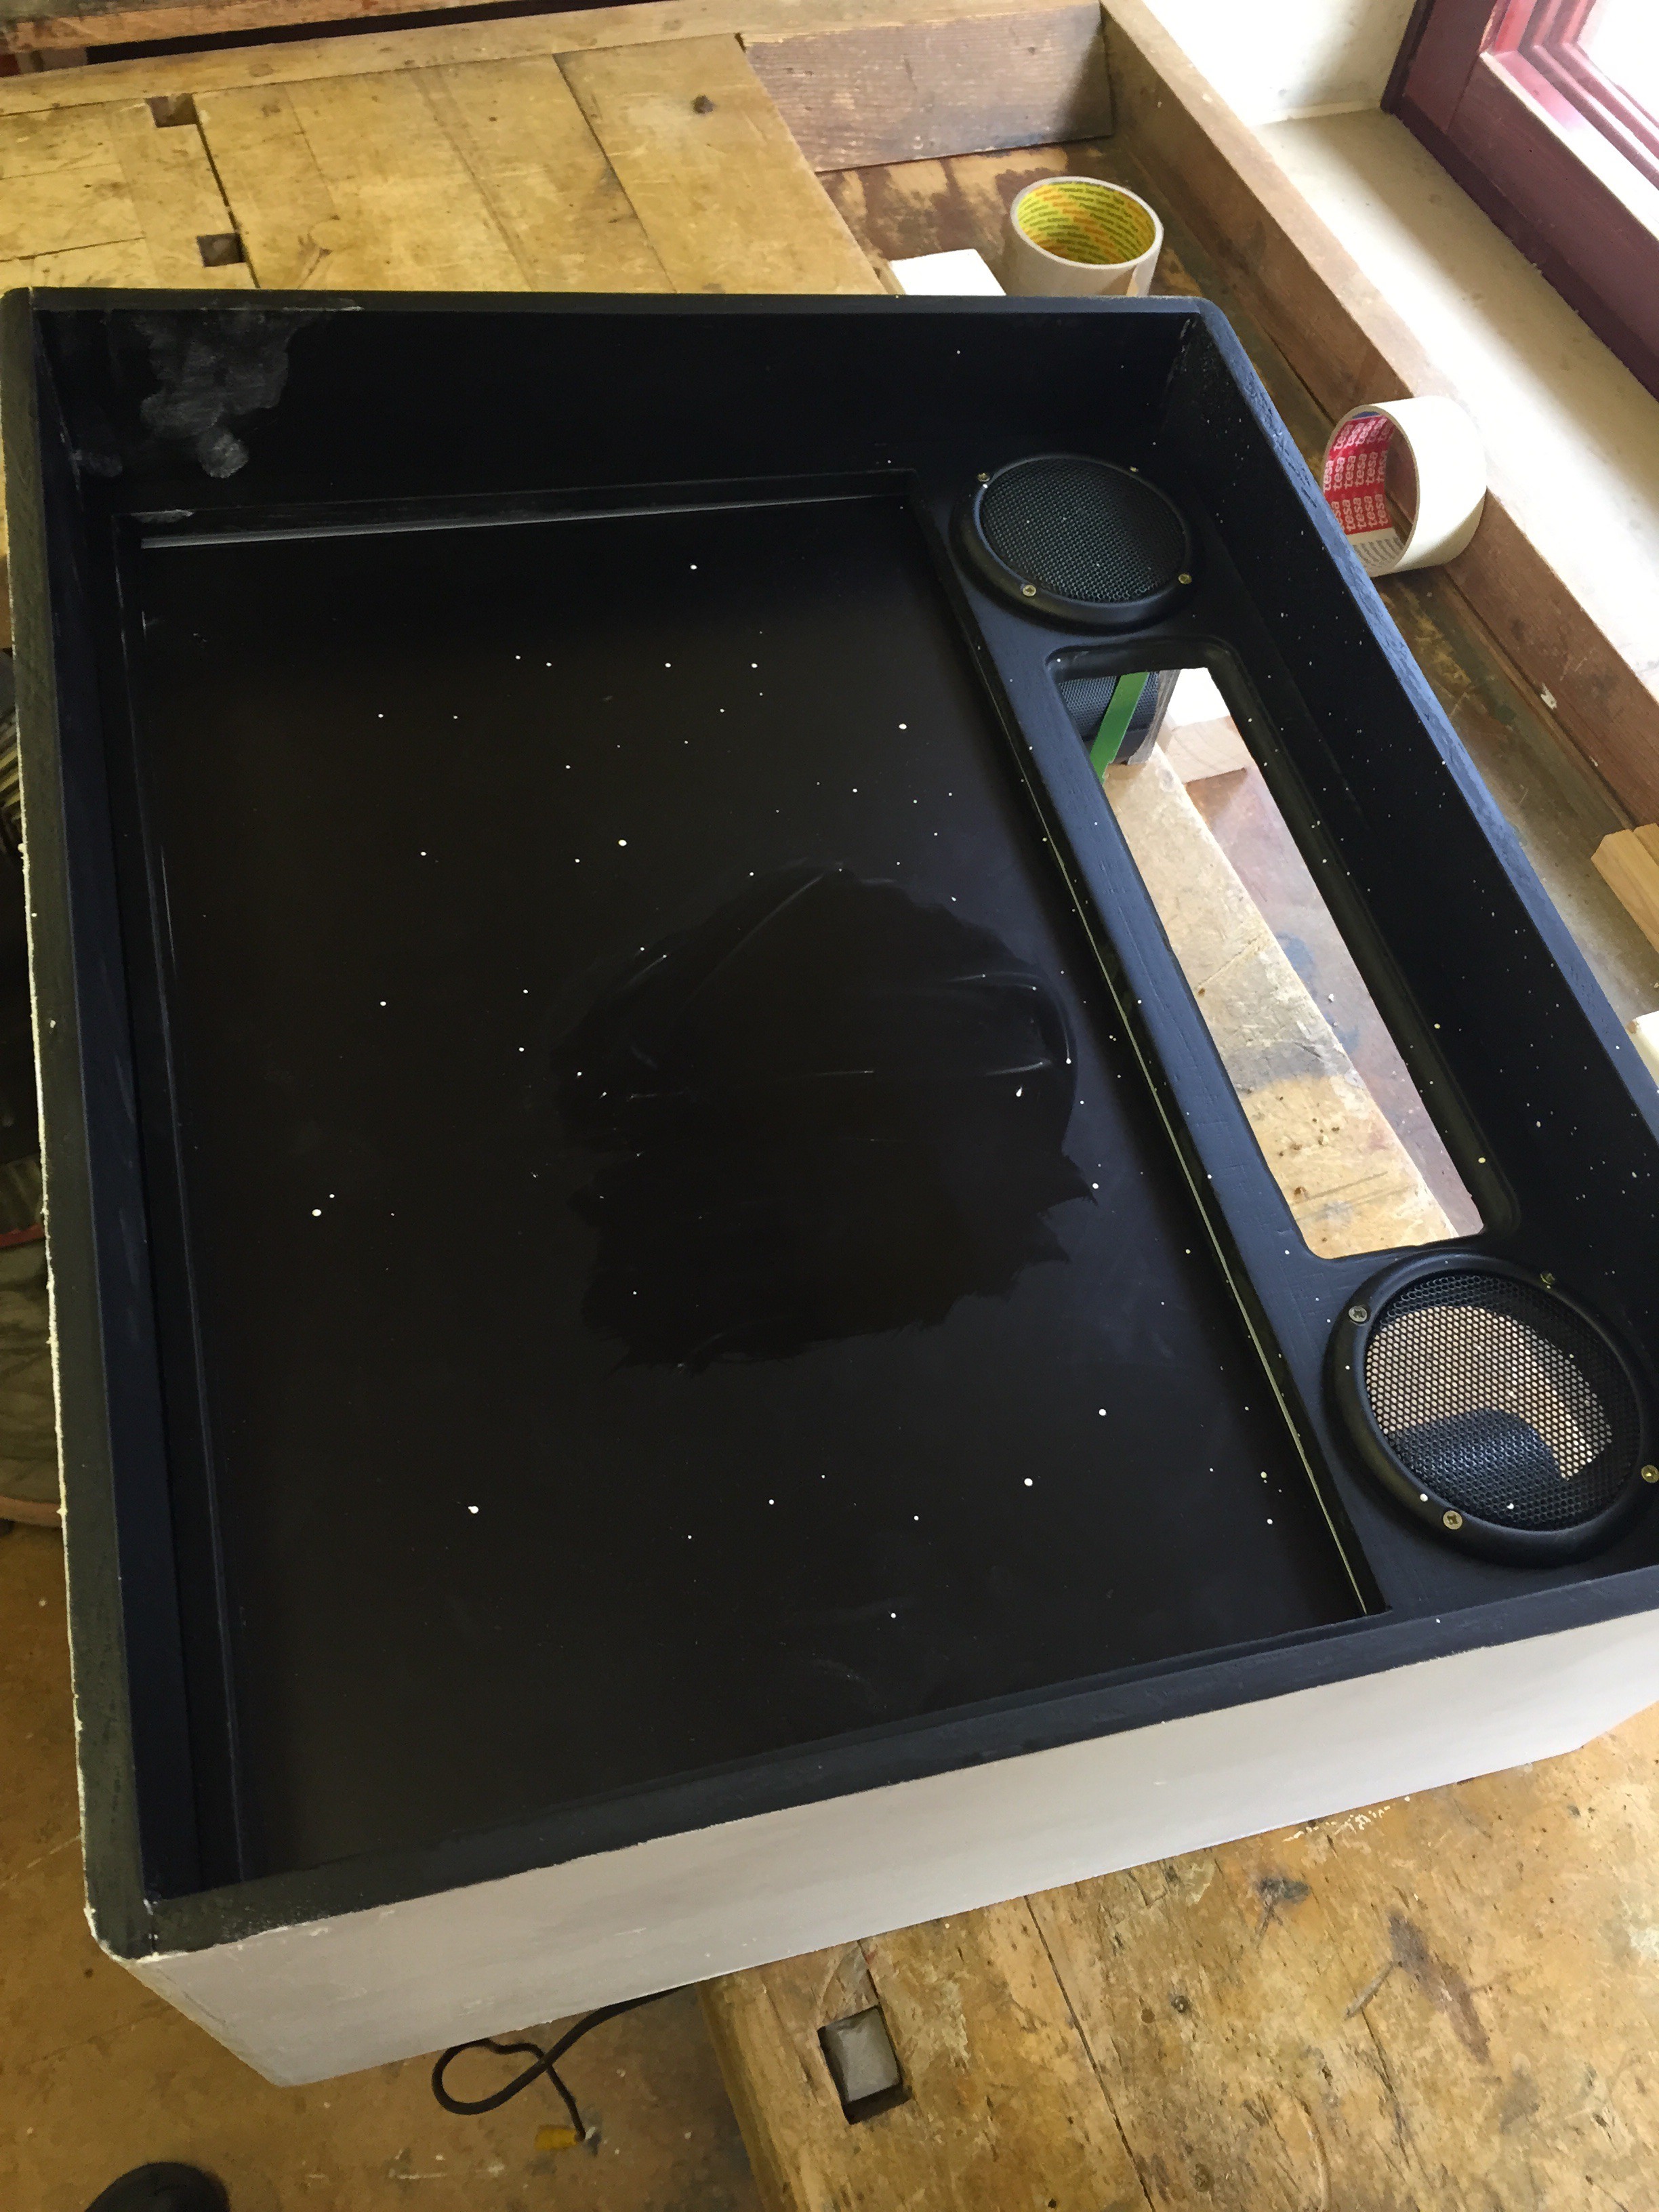
- Paint with a thick layer of the glossy paint, applied with a roller. This was more difficult than it sounds. Even the foam roller left a rough paint surface. The trick I learnt was to use a thick layer of paint, and that it would flow out to give an even surface as it dried. It needed about two days to dry.
I used a high gloss, white, water based laquer paint (Alcro Servalac Exklusiv Högblank). I ended up using two small cans.
Since I painted one surface at a time, it took almost a month to complete.
I had one near disaster at the start of the painting, when I had the backbox sitting next to the main cabinet as I was painting (slowly and carefully) with the roller. When I looked up, the paint had splattered on the backbox monitor (to whose dimensions the backbox was built)!
I got the solvent for the paint (turpentine) and tried to wipe the paint off the backbox, hoping that the thinner wouldn't dissolve the plastic on the monitor screen. I managed to save it.
Discussions
Become a Hackaday.io Member
Create an account to leave a comment. Already have an account? Log In.