Further modifications:
- We will continue to design and print 3D replacements for our robot, because things always break on our robot.
- We will try to improve our 3D models for the phone support, for the end caps, and for the strain reliefs to provide better functionality.
Things we have learned while designing and printing those repairs:
- You almost never need more than 75% infill on a piece, it only increases the printing time without adding too much strenght.
- Some pieces, like the pieces from the Tetrix kit are very easy to print because you can find them in the virtual kit
- Other pieces, like the end cap or the double end cap for our 20x20 profiles are very easy to design if you have a calliper and a profile next to your computer, because you can get the exact measurements very fast and easy
- We learnt that, even if PLA breaks easier than aluminium or steel, doubling the thickness of some parts like the motor mount or the 3D printed gears can help with the strenght of our pieces (PET-G would have helped also, but our 3D printer cannot print in PET-G)
- Also, all the holes in our robot and in our models are M4, because they are the standard screws in Romania, and Imperial screws are very hard to find and very expensive.
The pieces we have printed/designed:
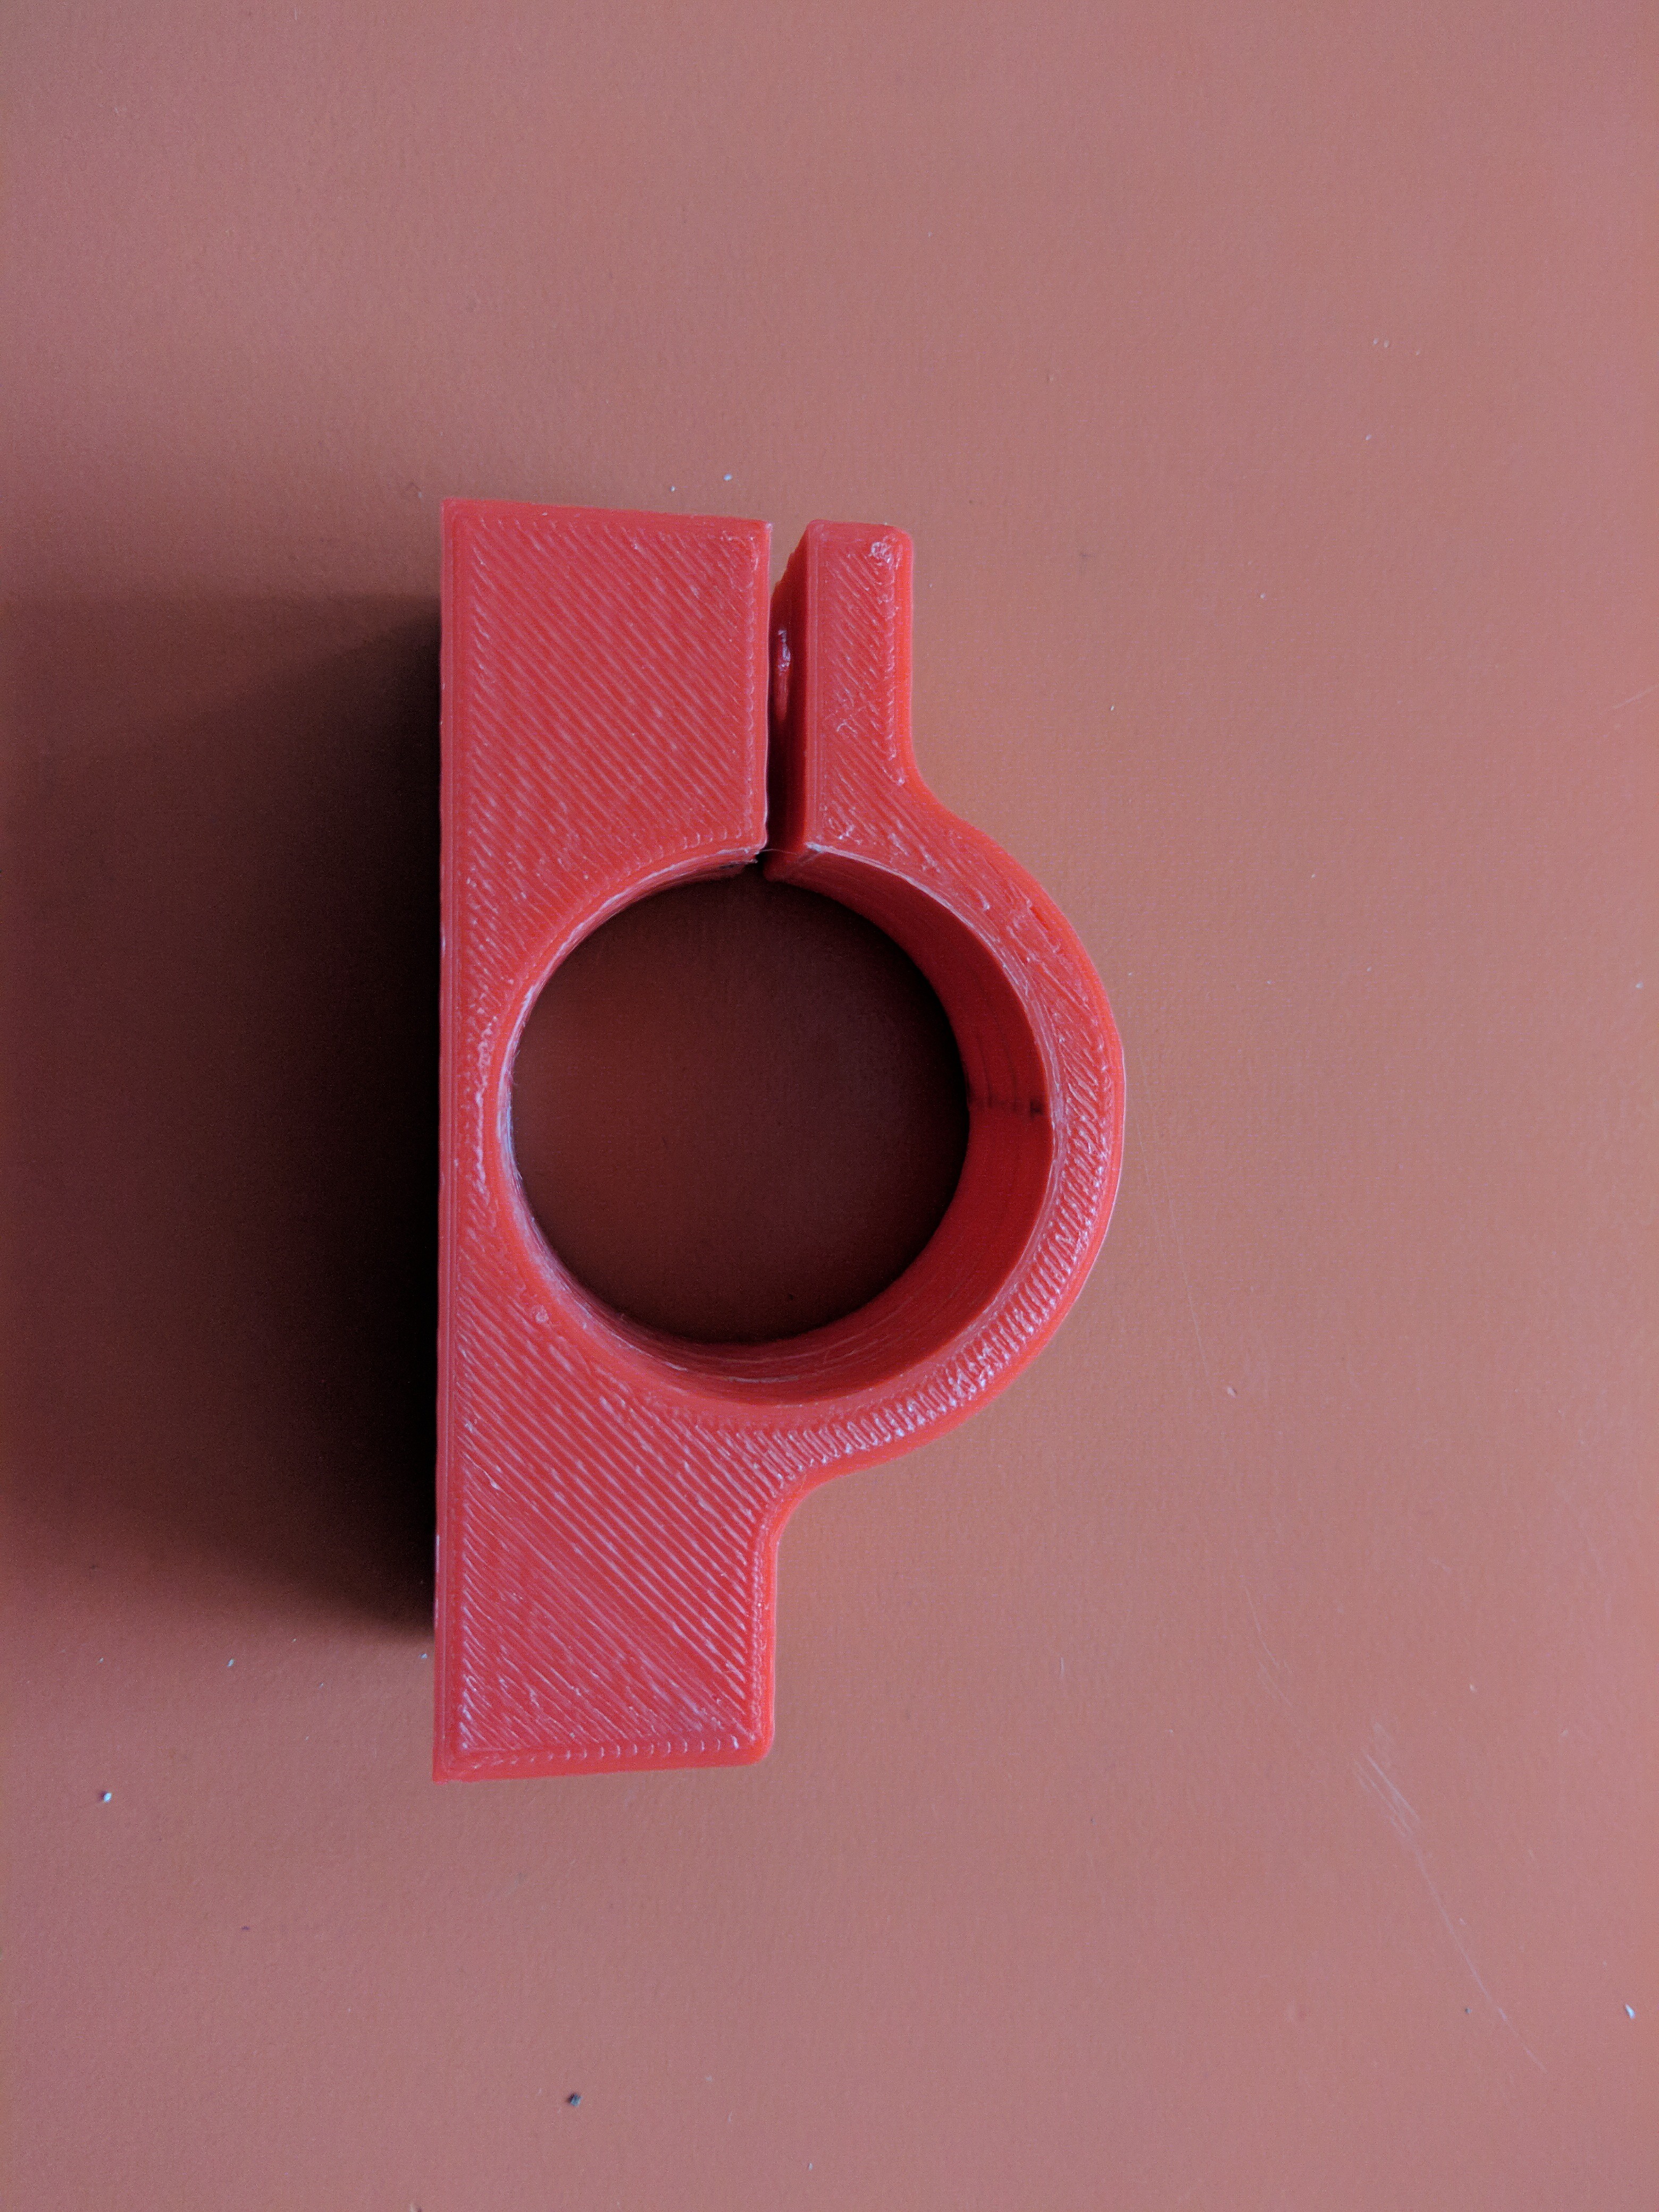
1. The double thickness Motor Mount: last year we wanted to mount an extra motor on the robot for the ball elevator, but we've discovered that we don't have any aluminium motor mounts left. Because we didn't have the option to buy another mount (we were 2 weeks before the deadline, shipping from USA to Romania takes 2-3 months), the 3D design team proposed that we print one, with double thickness. After a couple of failed prints (due to bed adhesion), we have printed the motor mount, and it survived all the shocks until now (it's been almost one year since printing). Here is what the piece looks now:
 and here is the Motor Mount mounted on our tank drive that we've built this summer:
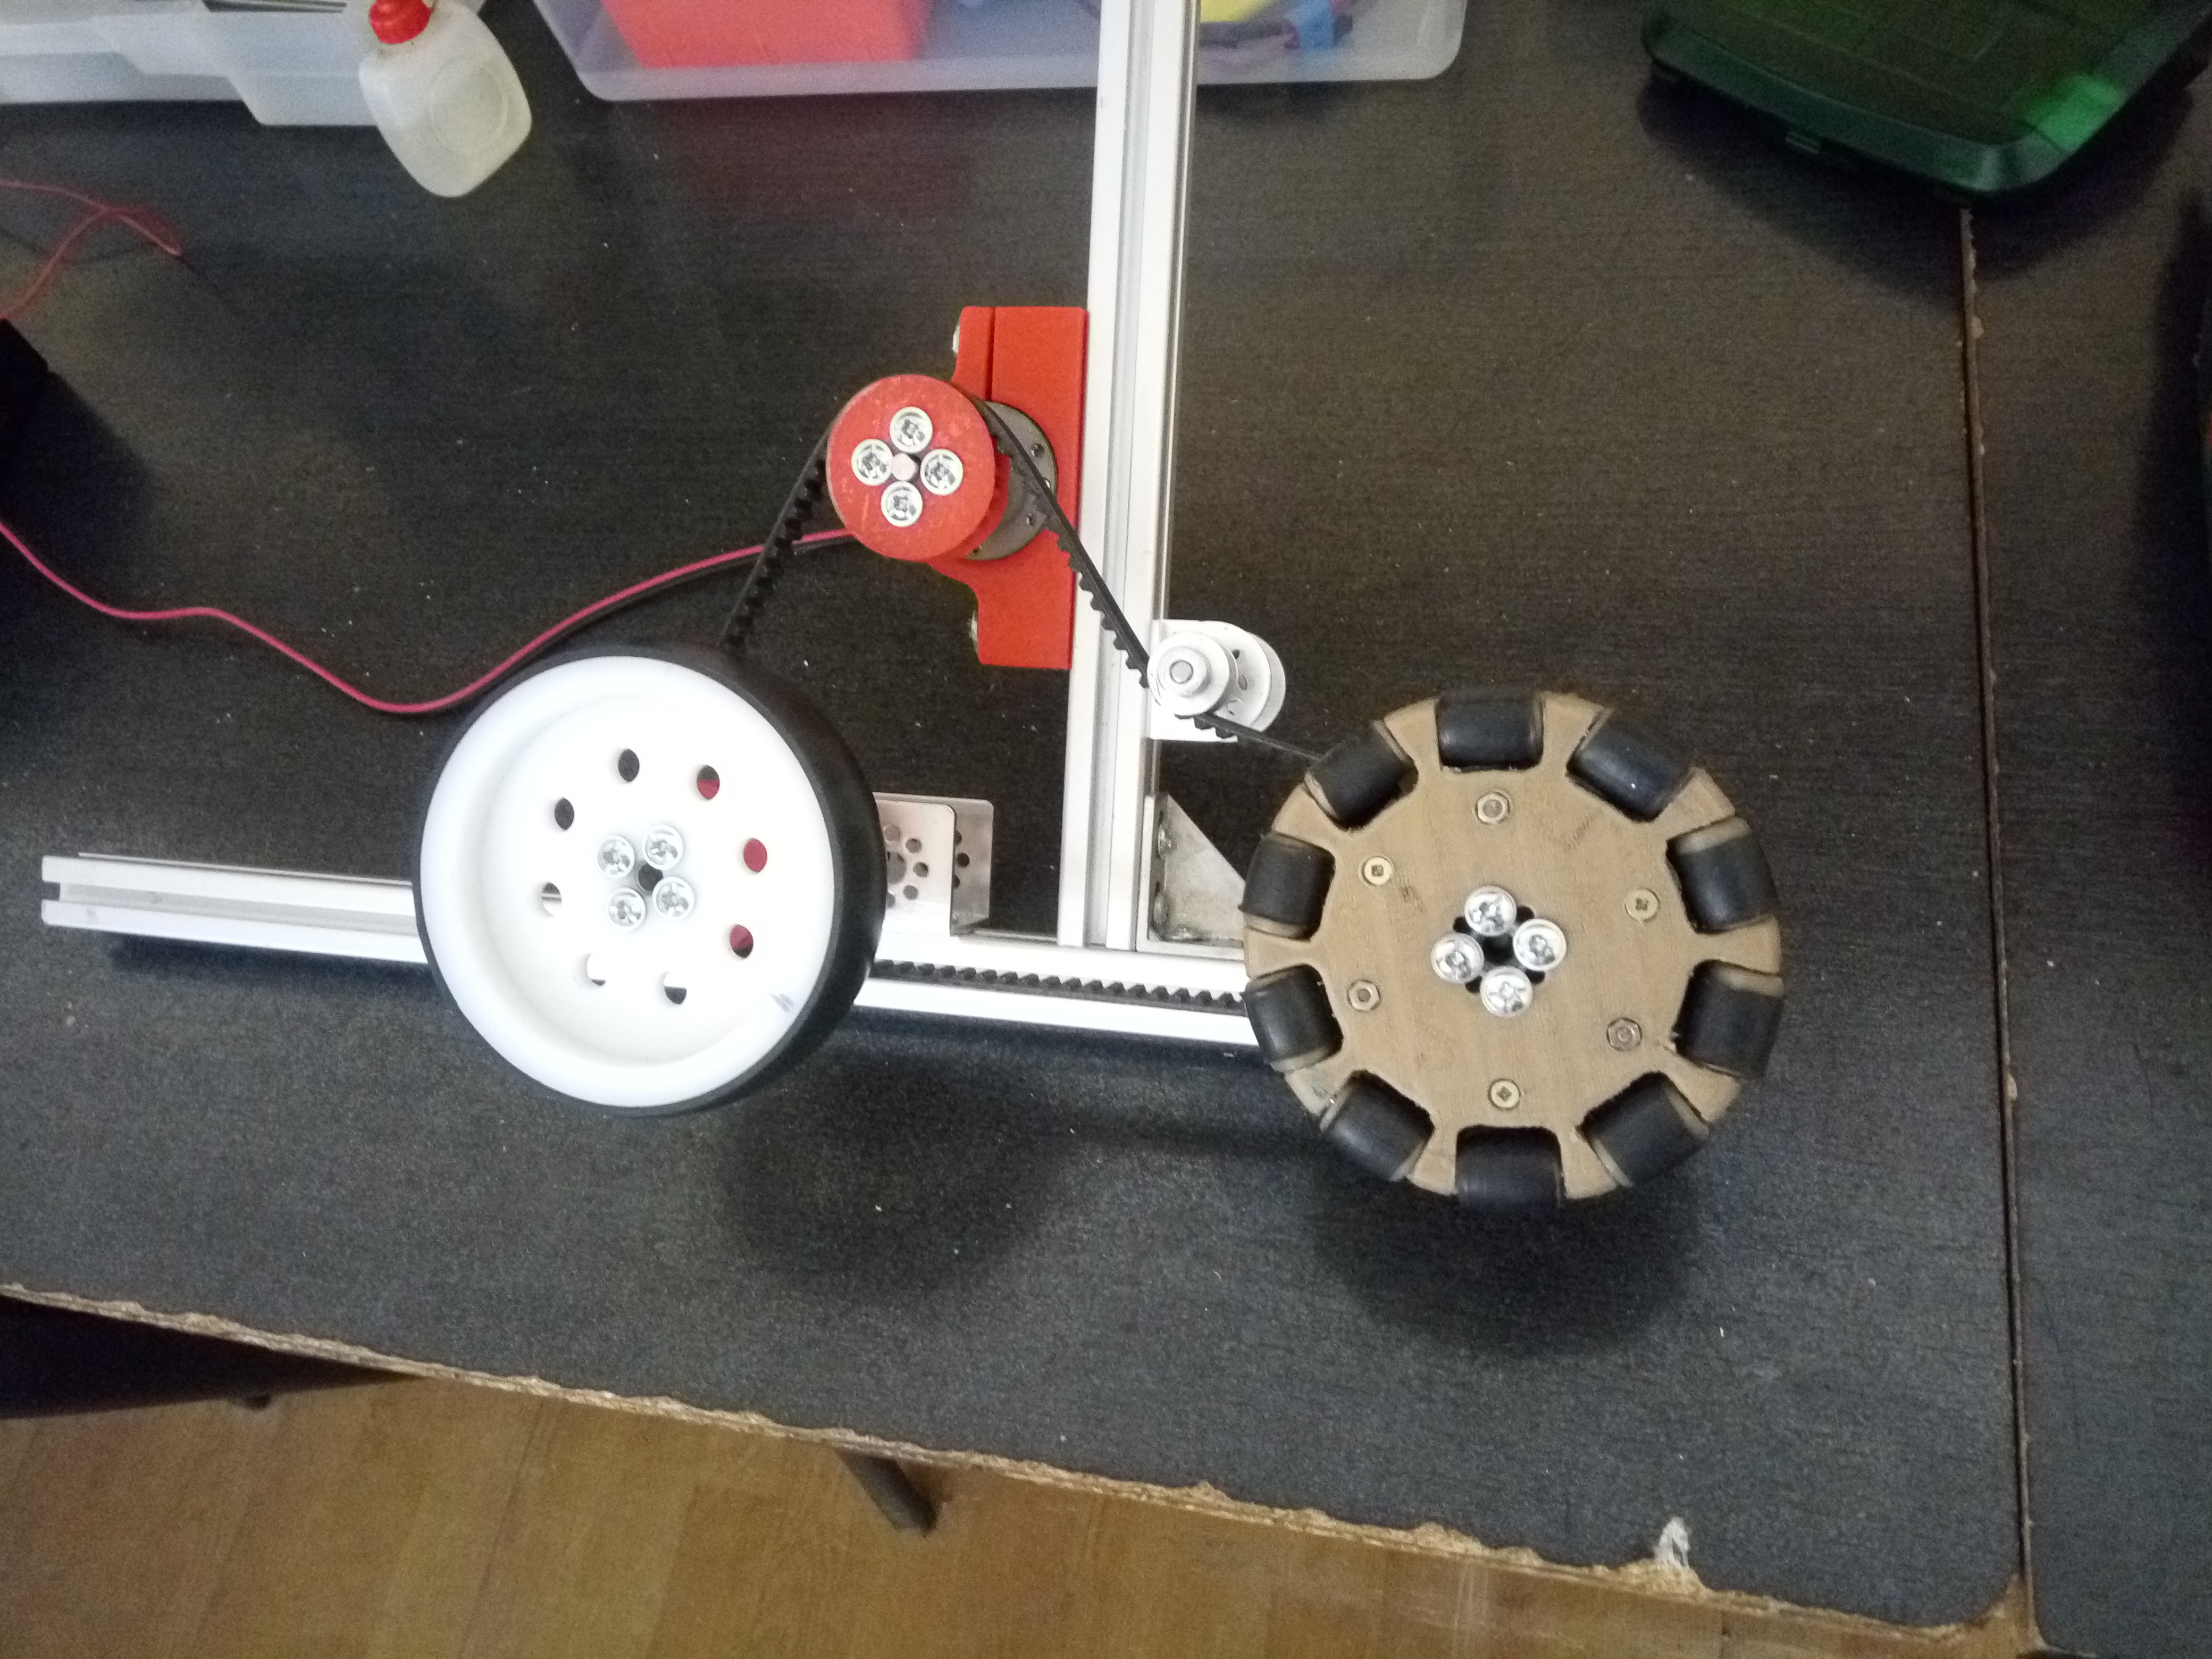
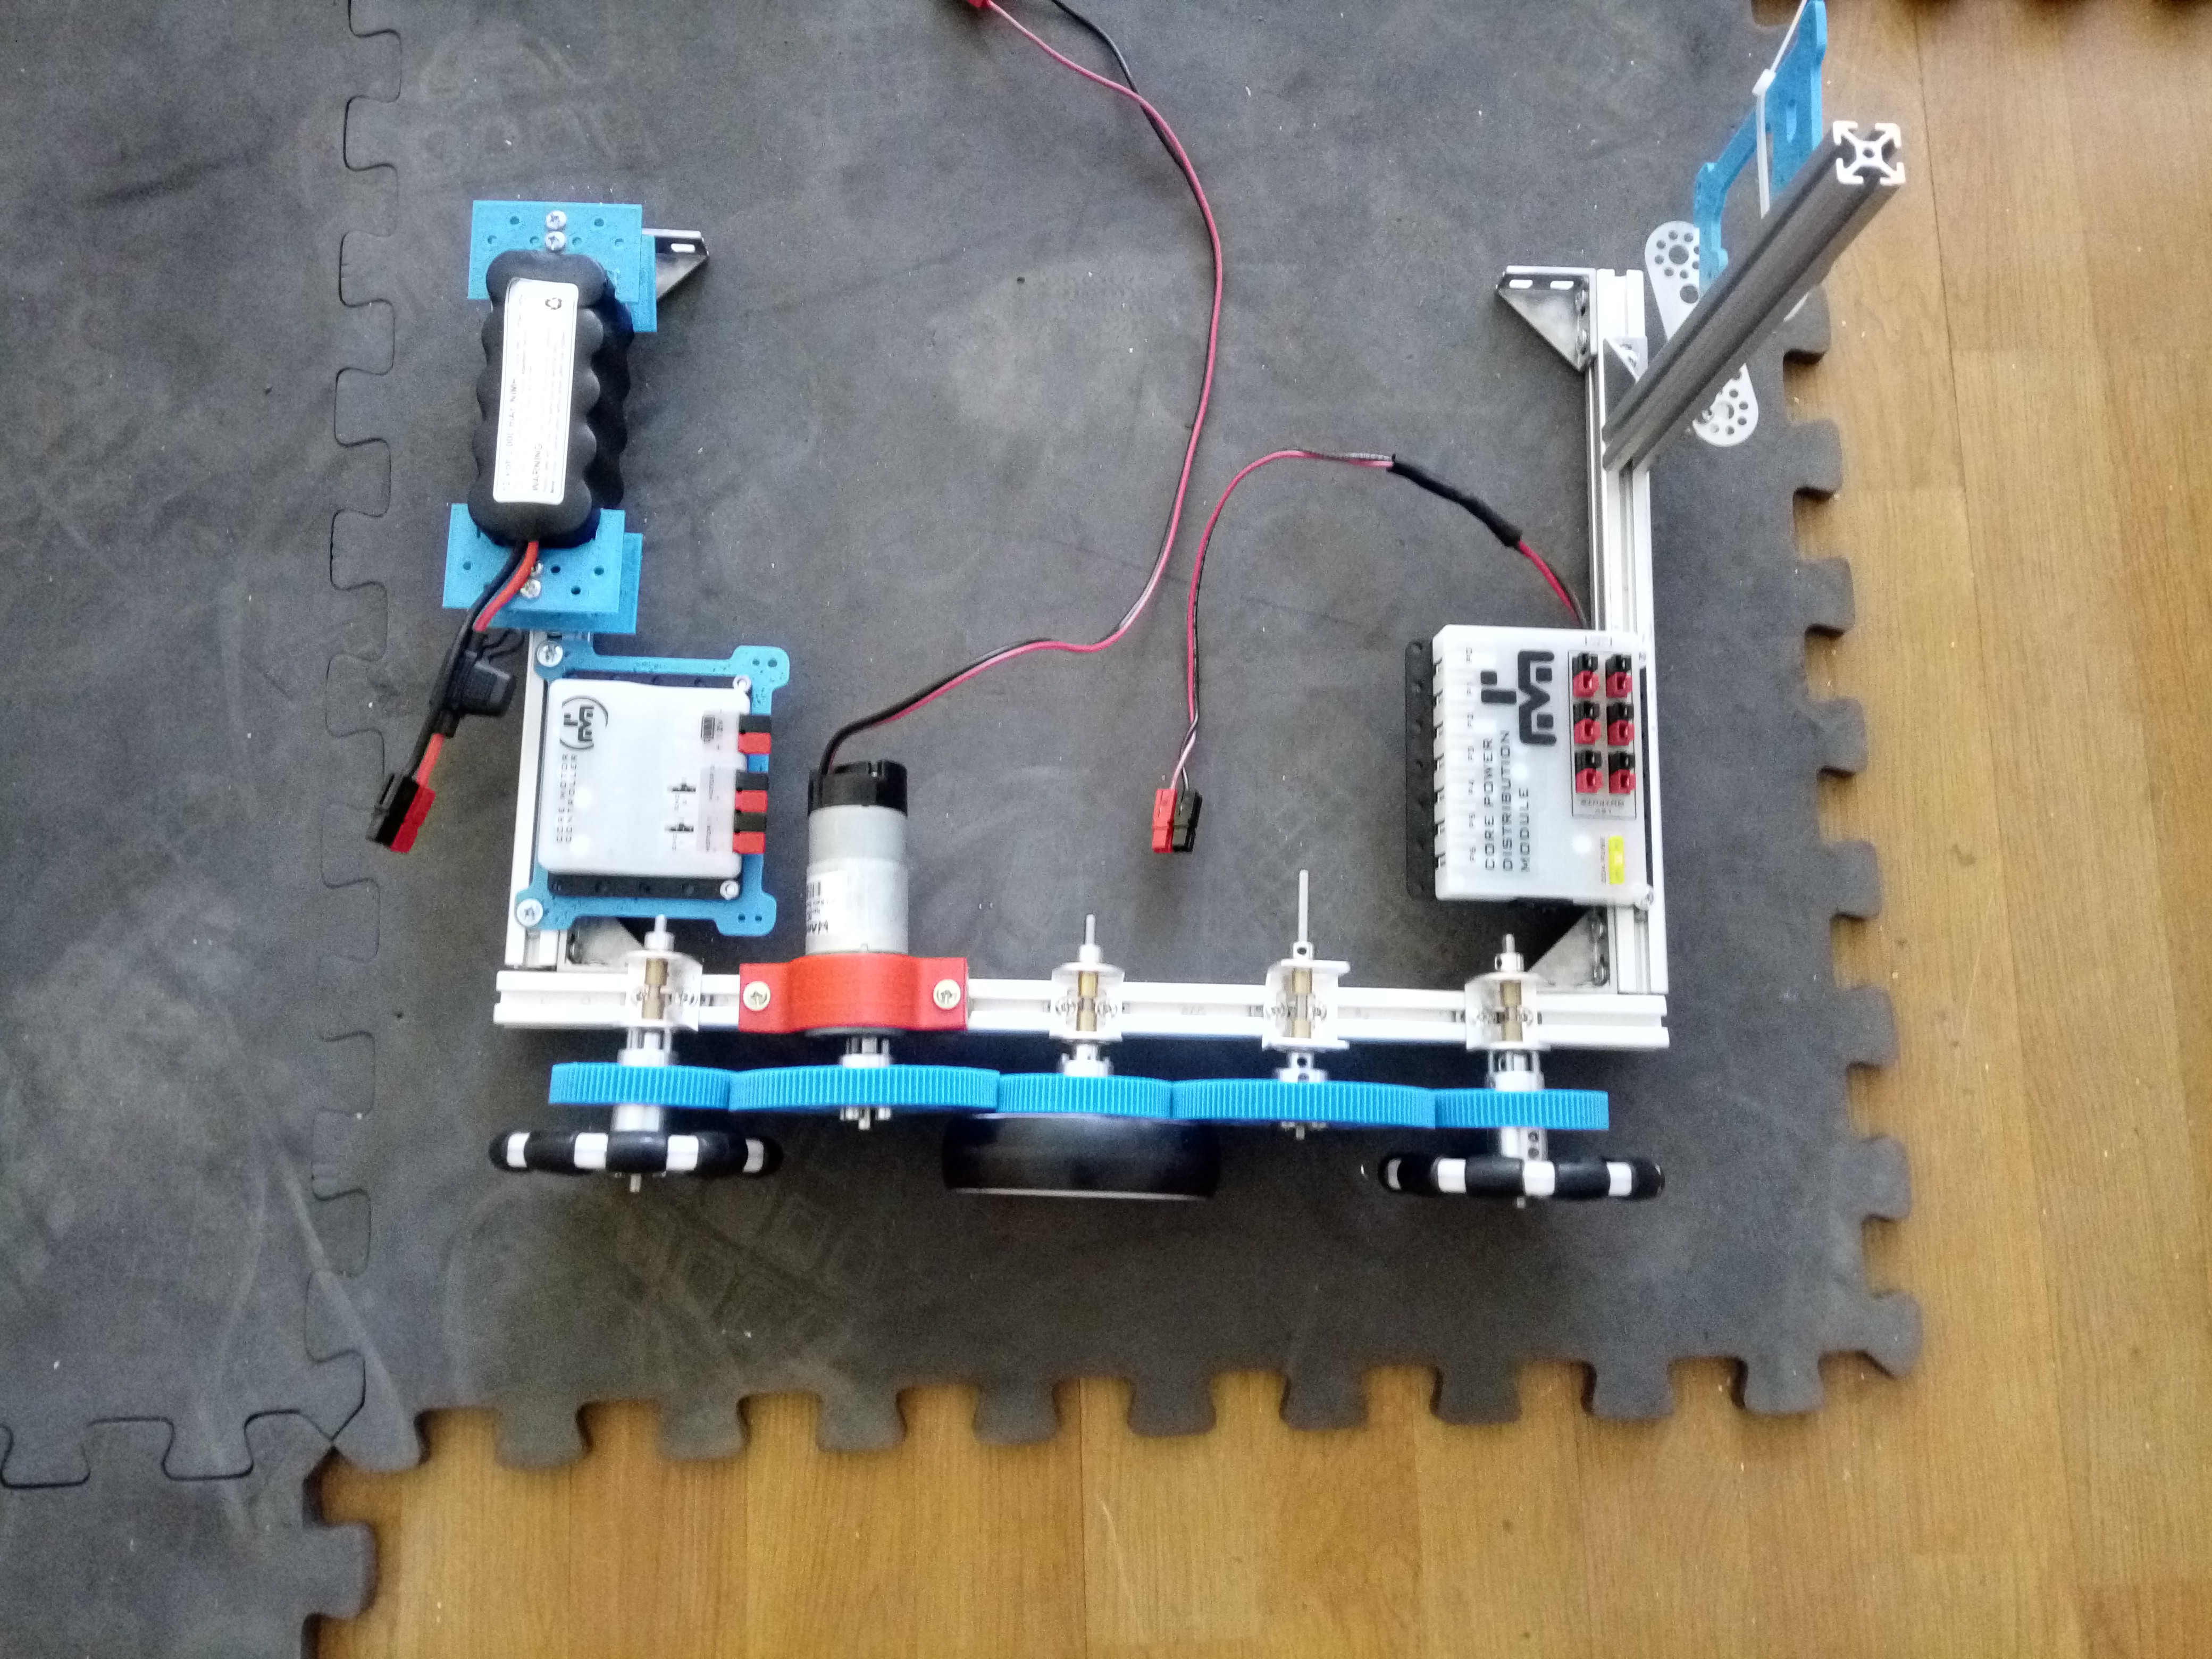
2. The double thickness gears: this summer we decided to make a new tank drive chasis. But we discovered that the gears we had were not enough, and even a new set of gears was not enough for both sides, because we needed 2 big 120 teeth gears, and one set contained only one gear of this type. So we decided to 3D print the double thickness gears. The printing took about 30 hours for 6 double thickness 80 teeth gears and 4 double thickness 120 teeth gears. They survived until this day, despite our abuses. Here are the printed gears:

and here is a picture with half of them on the chasis:
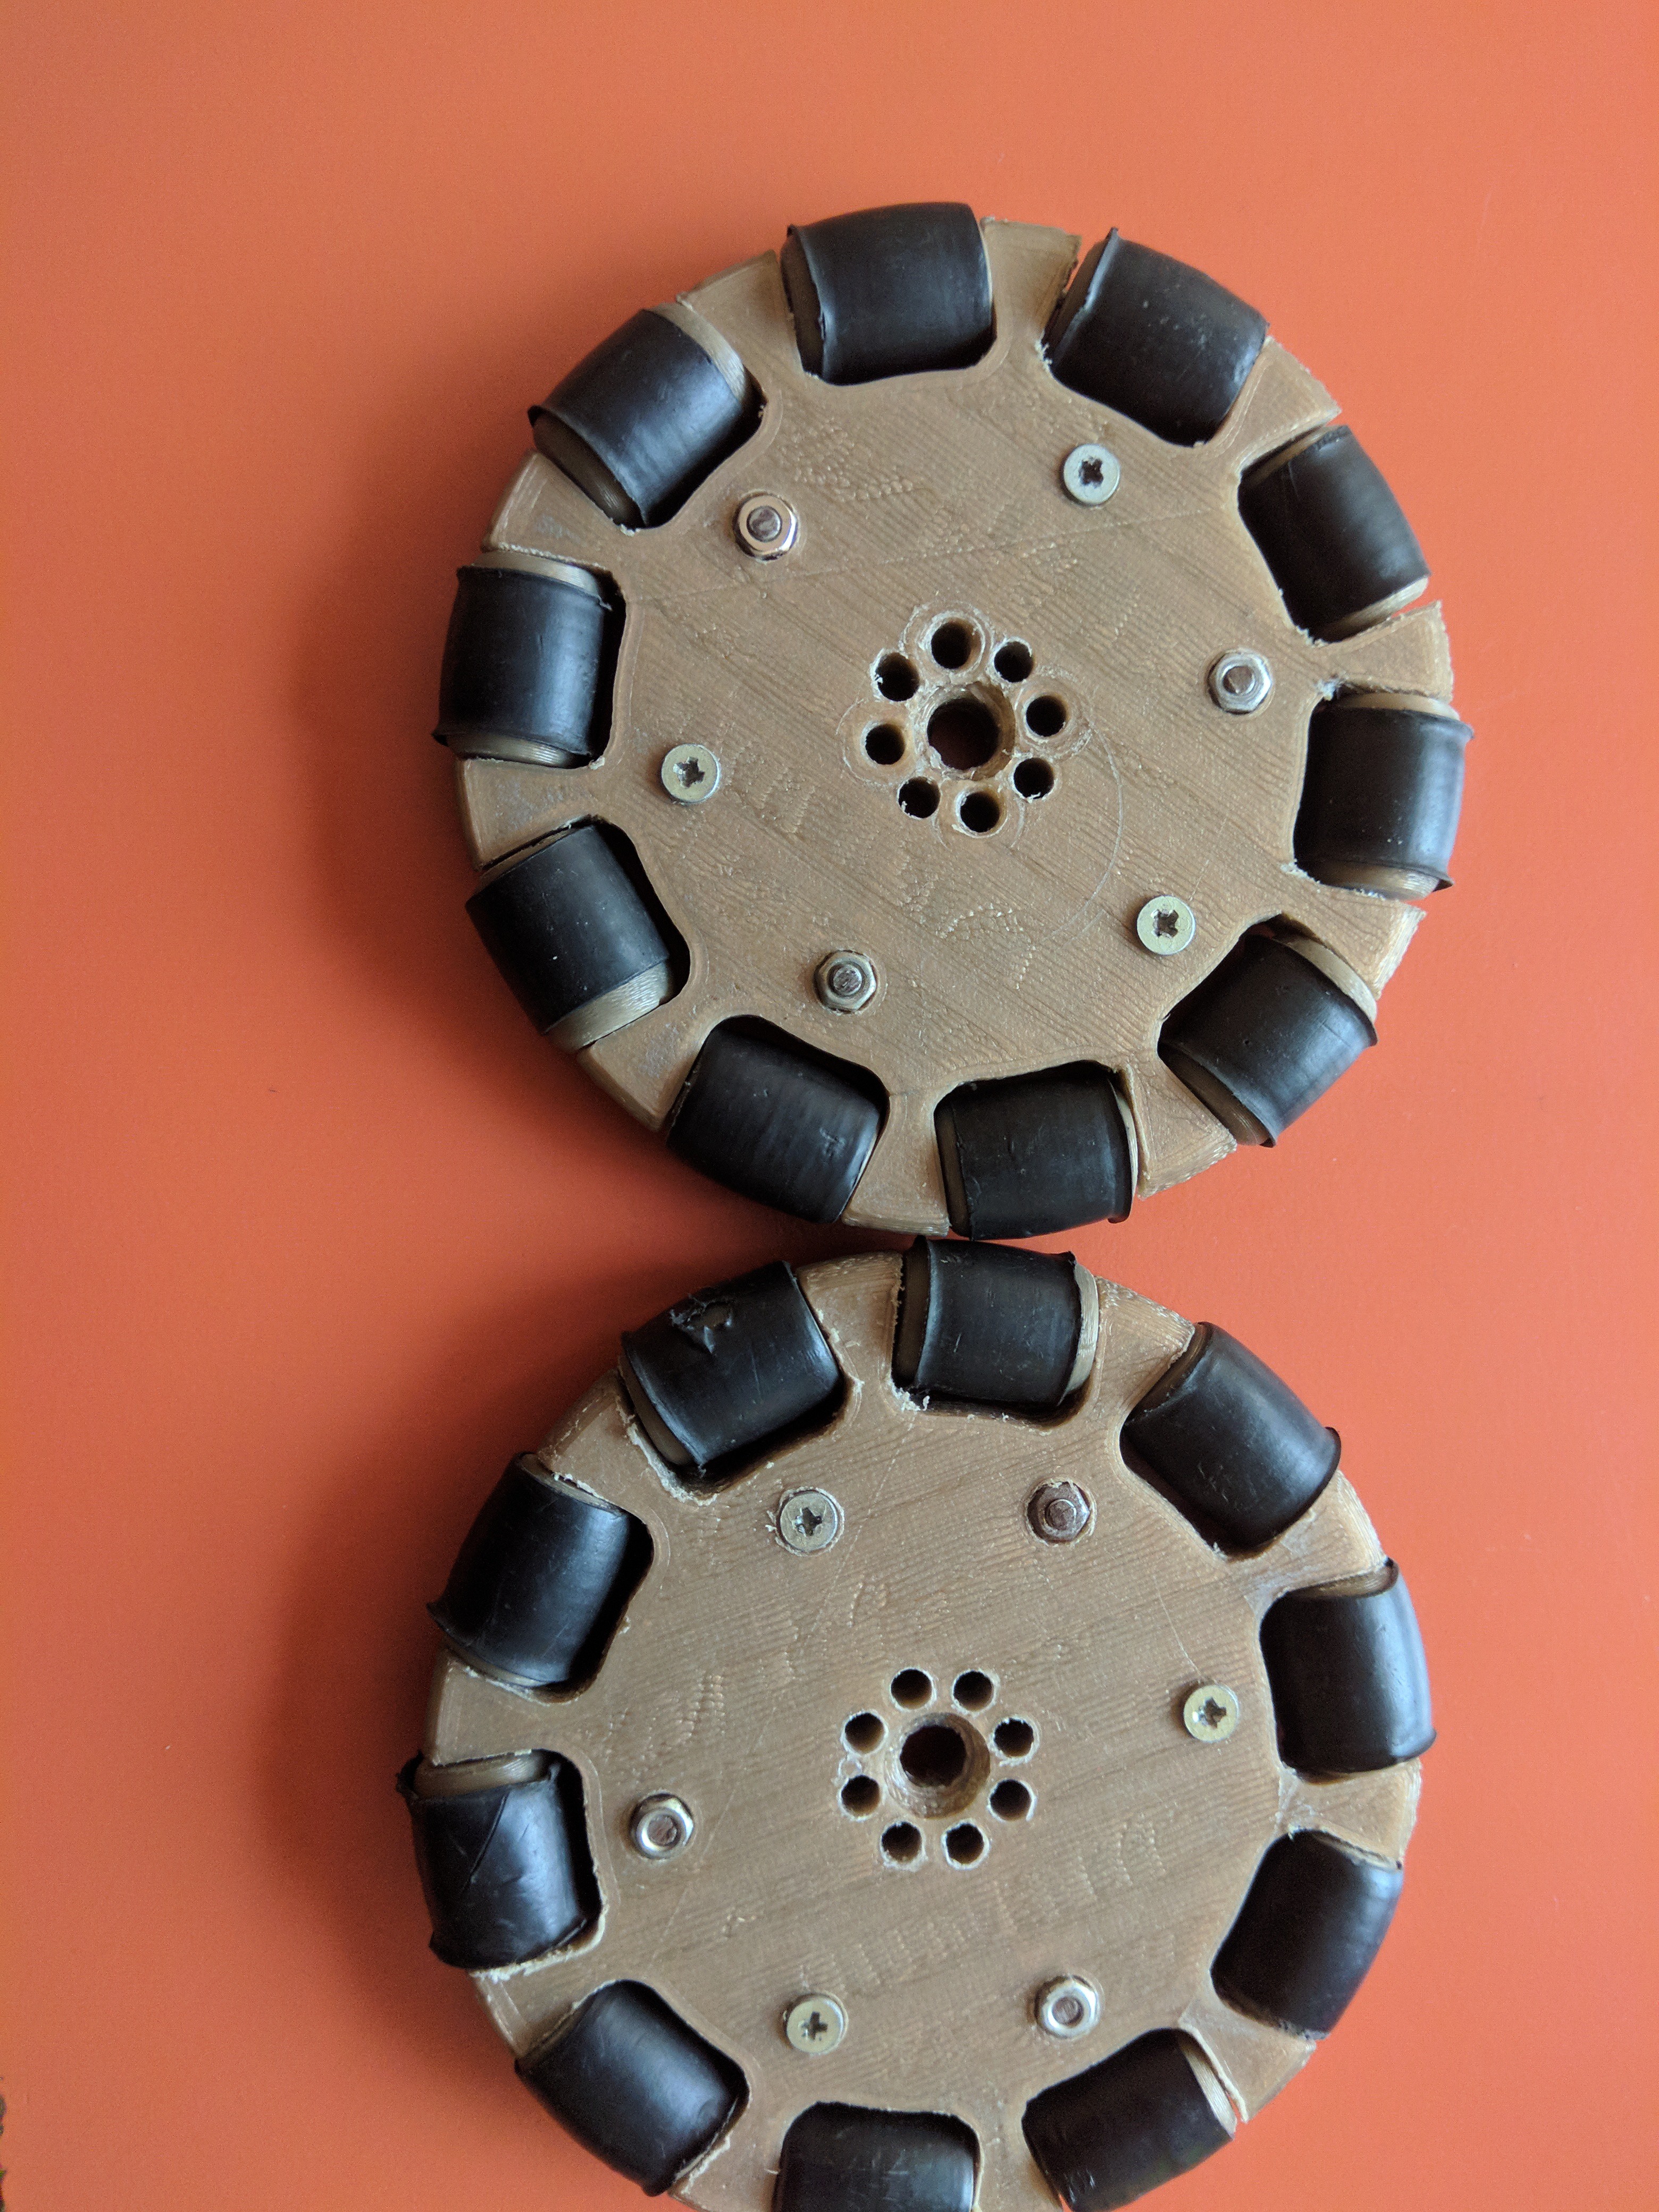
3. The 3D printed omni wheels: this were the objects that took the longest time to print & assemble from our list. One single wheel took about 10 hours of printing and one hour to assemble. After each piece (10 rollers and 2 frames) have been printed, each roller was wrapped in shrink tube, the. But despite the very low cost (actually the antennas were free) materials we have used, the omni wheels did their job and were good enough to help us get on the third place in qualification matches, despite the shrink tube needed to be changed after 3 matches. Here are the omniwheels (after all the matches):
4. 3D printed strain reliefs: those are some strain reliefs we have printed for our electronics modules. They proved somewhat useful, but because our USBs were not losing their connection we decided not to use them. Here are the strain reliefs:
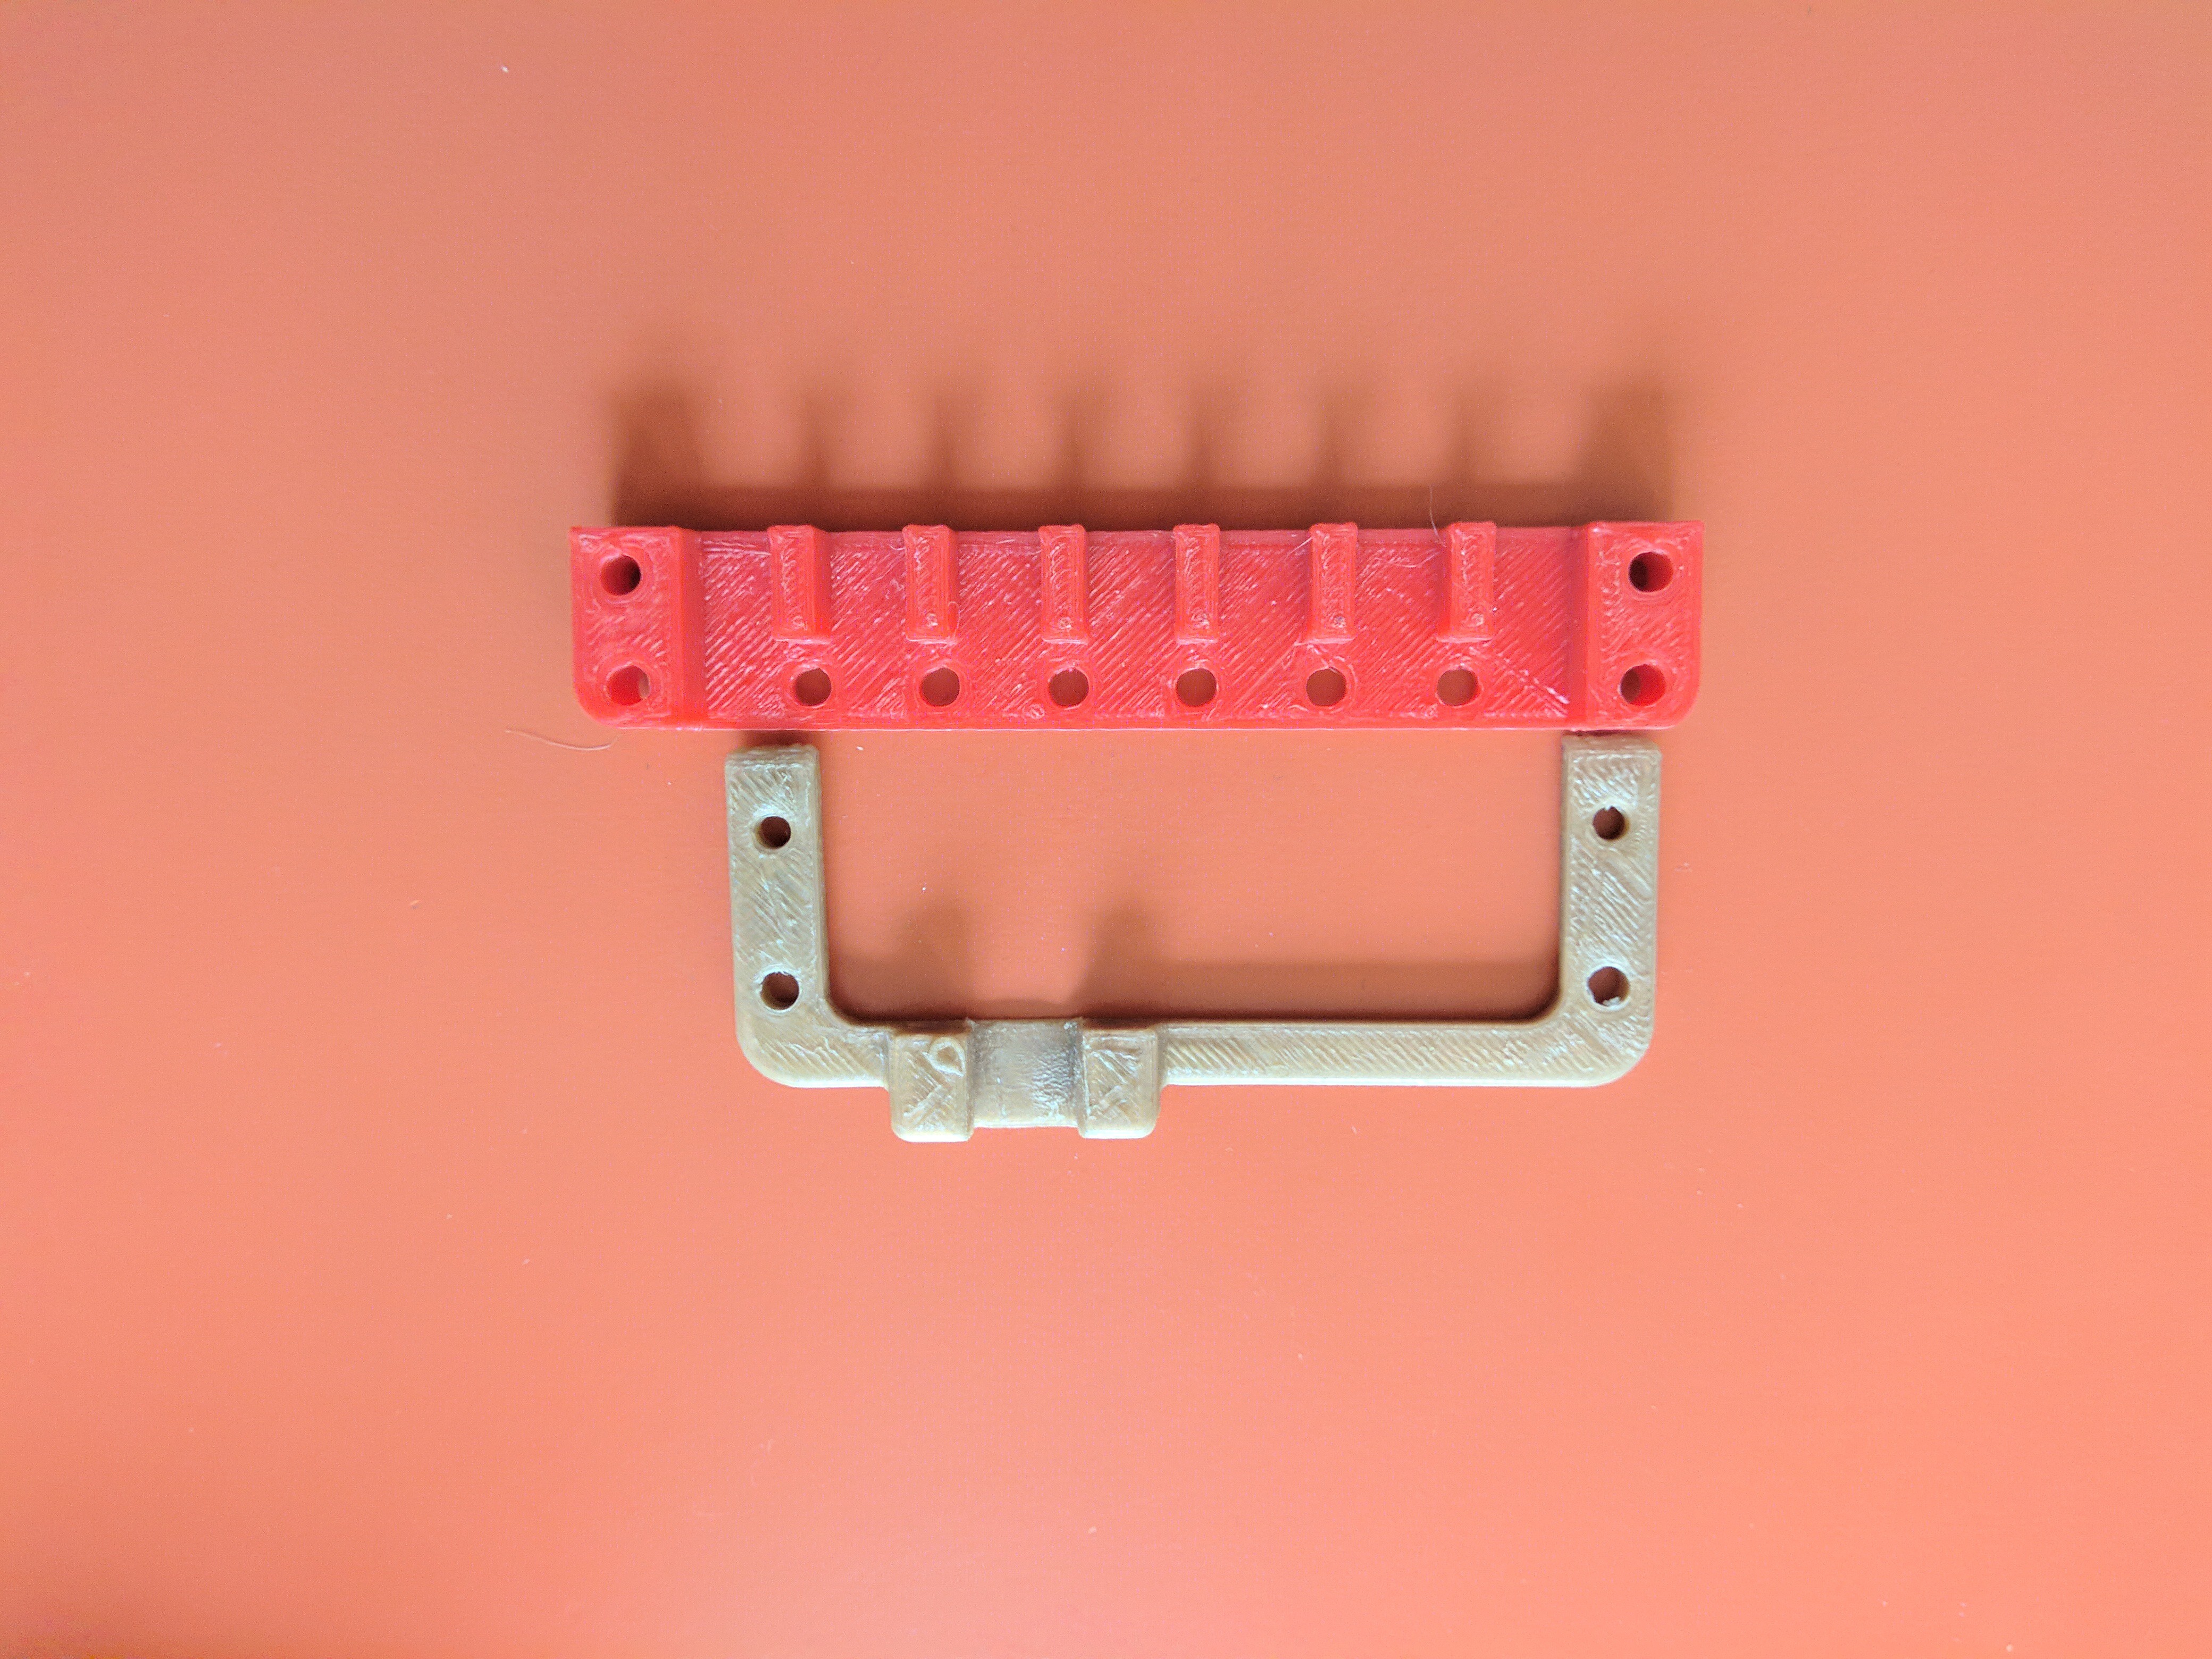
5. 3D printed battery holders: last year, we had a very odd battery holder mount, that used 2 U-shaped pieces. The mount was holding the battery well, but it was hard to change the battery, thing required after 2 matches. So we decided to design and print some models. Here we have the full battery holder,...
Read more »
 Øystein
 Robin Fröjd
 Otto Gloeckner
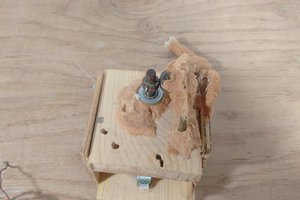
Impressive! So many 3d printed parts to solve problems!