0%
0%
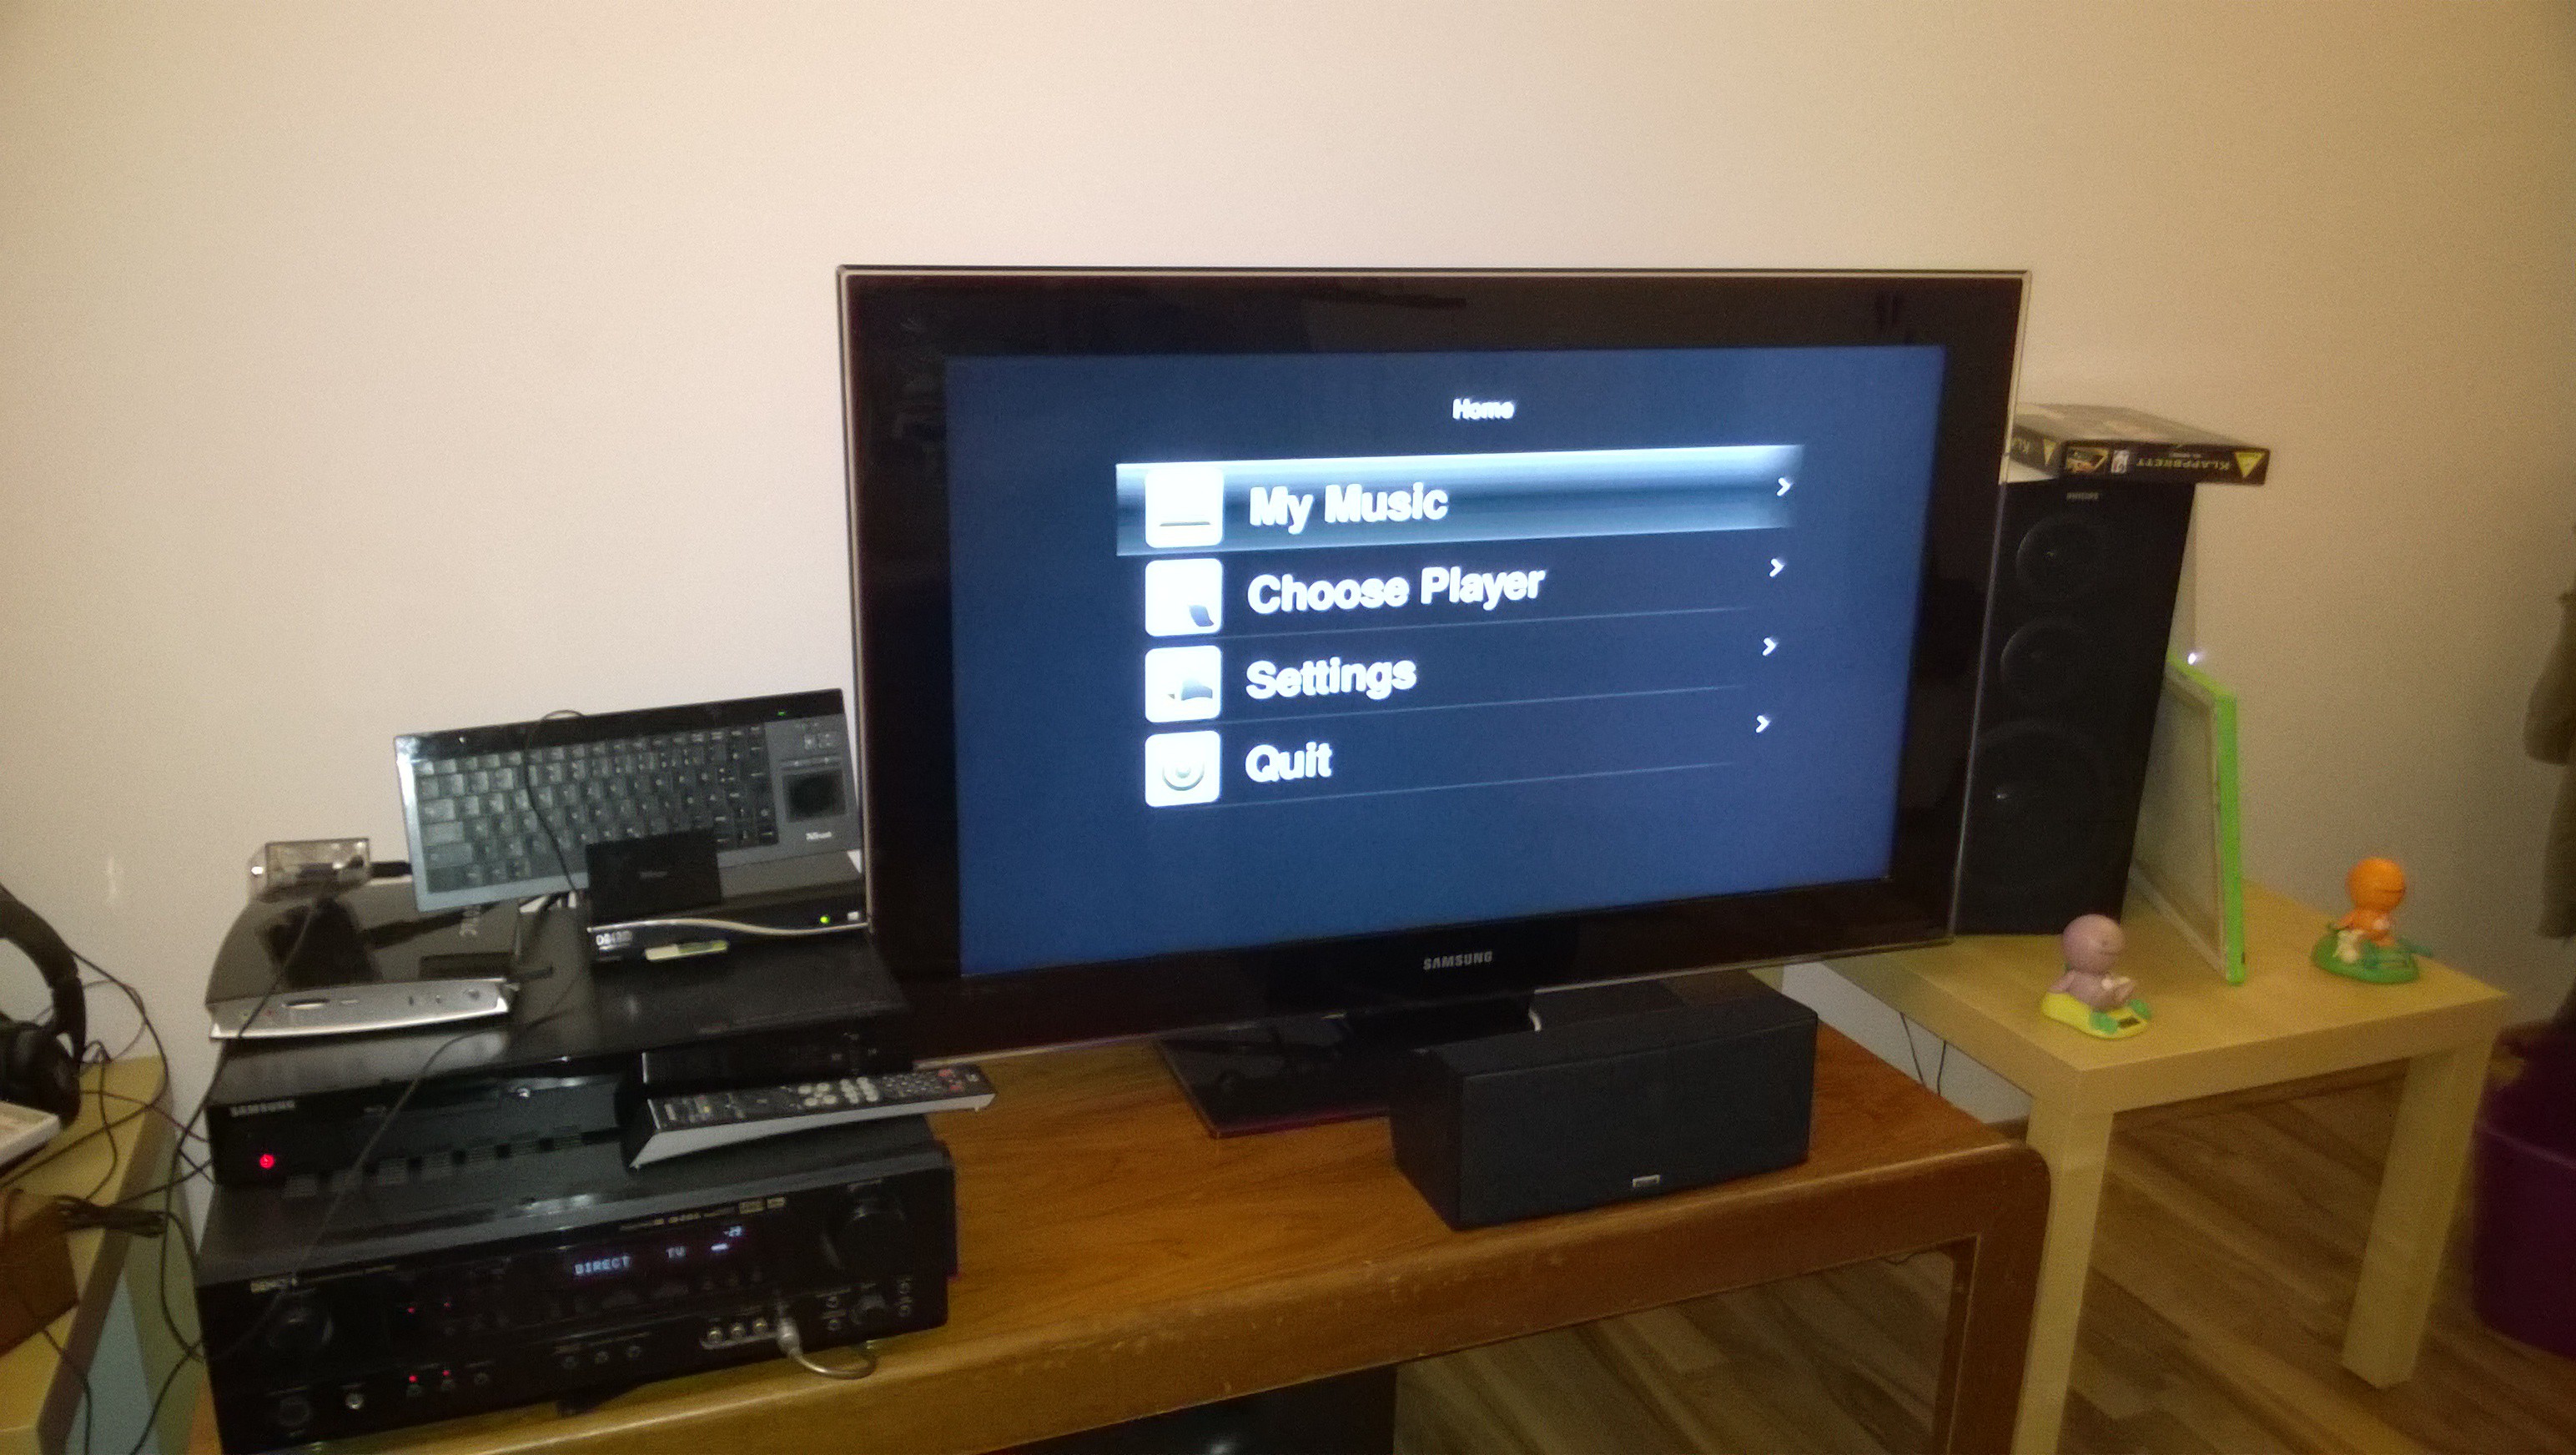
Workshop Squeezebox
Garage Squeezbox built form a Raspberry PI
 Richard Deininger
Become a Hackaday.io member
Already have an account? Log in.
Just one more thing
To make the experience fit your profile, pick a username and tell us what interests you.
Pick an awesome username
hackaday.io/
Your profile's URL: hackaday.io/username. Max 25 alphanumeric characters.
Pick a few interests
Projects that share your interests
People that share your interests
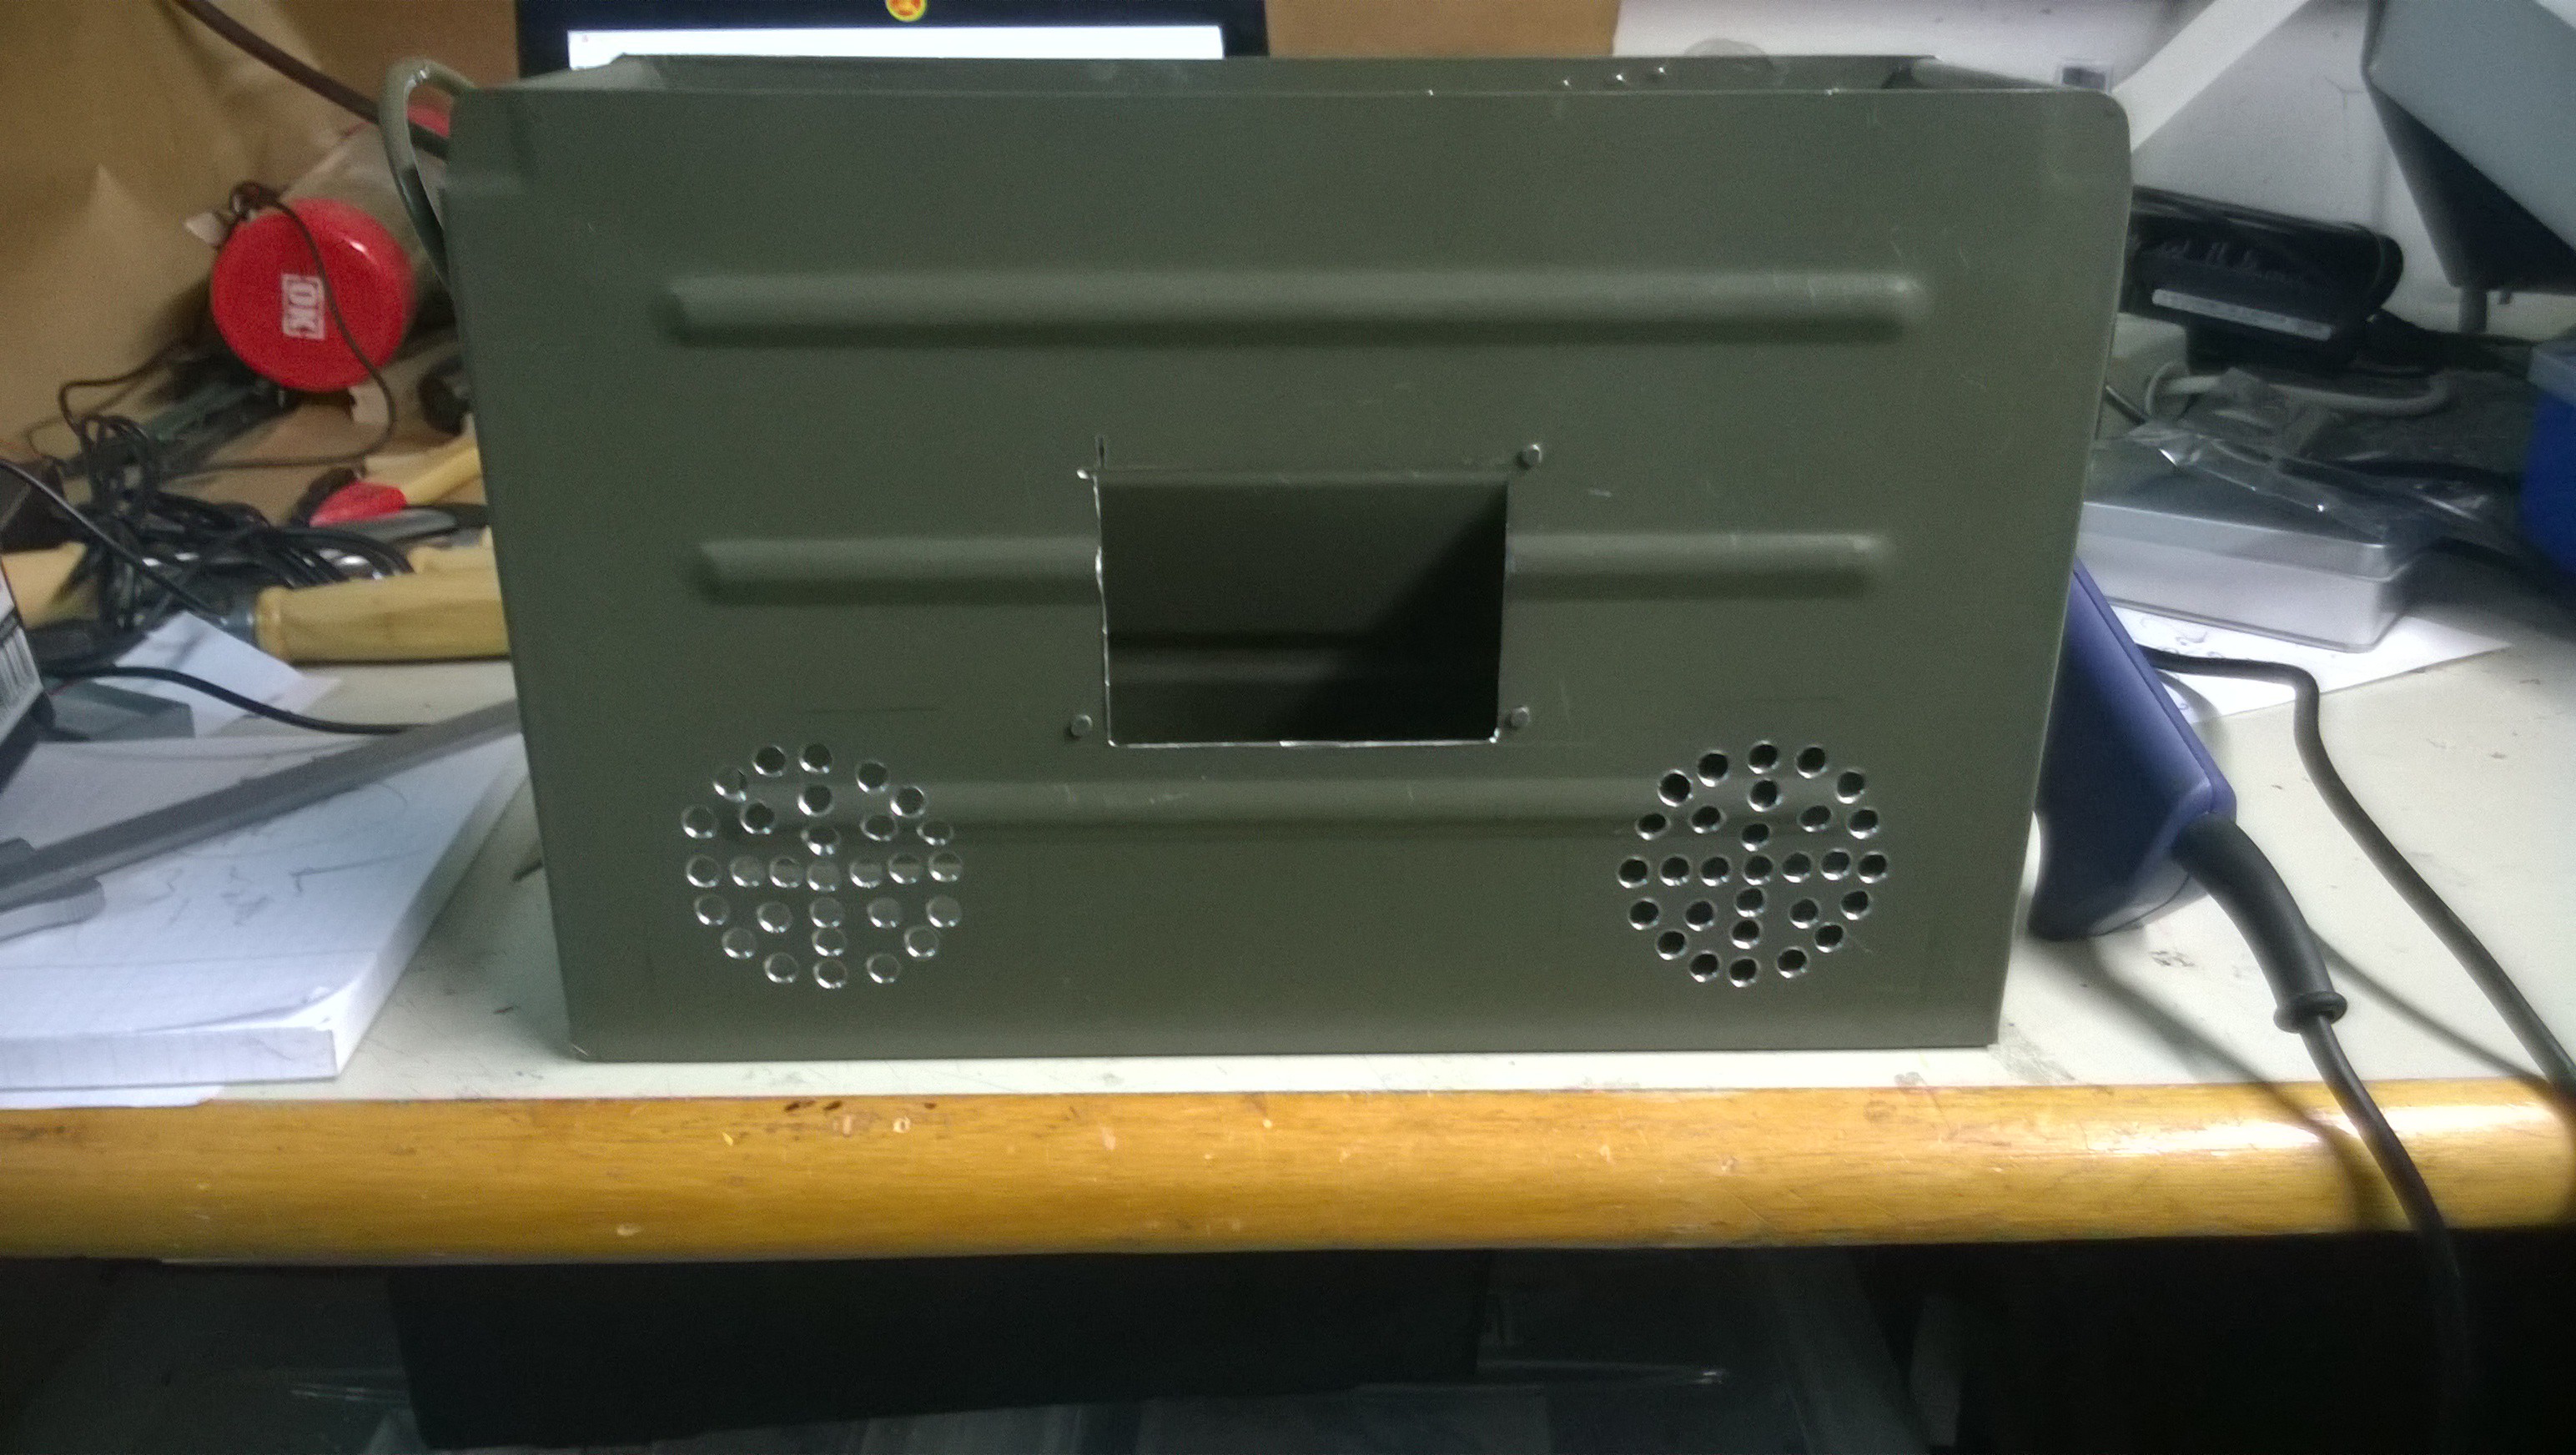
 As you can see my cut was a little bit off,... but with an angle grinder you can't expect brain surgery precision (at least not from me).

 Craig Hissett
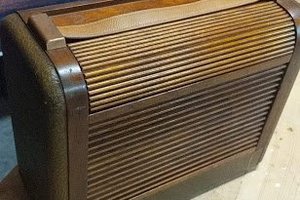
 Jacob Daniels
 Lumor
Lumor
 Kevin Williams