Close
0%
0%

WEEDINATOR 2019

The WEEDINATOR project continues .... The inevitability of robots working on farms draws ever nearer ....

Public Chat
Similar projects worth following
In the world of professional agriculture, a lot of focus has been put on large, incredibly expensive machines that work in huge open fields where just one crop is grown. Whilst this is incredibly efficient and produces very cheap food, it's not good for pretty much everything else!
There does exist a substantial backlash against this farming model where small farmers grow 'organic' vegetables on small farms with respect to the environment and indigenous wildlife.
Although robots have a bad rep for stealing our jobs, there are some jobs that most people just don't want to do. Not only are these tasks boring, but they can often tip the wage scales over the minimum threshold and make small farms financially unviable.

If anybody wants to support any of our projects, check out our Amazon Wishlist here: https://www.amazon.co.uk/hz/wishlist/ls/3AW6R7V5BVU3R?ref_=wl_share

Patreon donations can be made here: patreon.com/Goat_Industries

Licenses: Software: GPLv3; Hardware: Creative commons BY-SA.

2018 sees the project moving forwards with the addition of a side project managed by Jonno which uses a skid steer system and higher powered drive motors. It will use the same control system as the WEEDINATOR.

This year we've also got more people on the team, including Tristan Lea, a successful open source entrepreneur, who apart from having superb technical skills, has actual open source business experience.

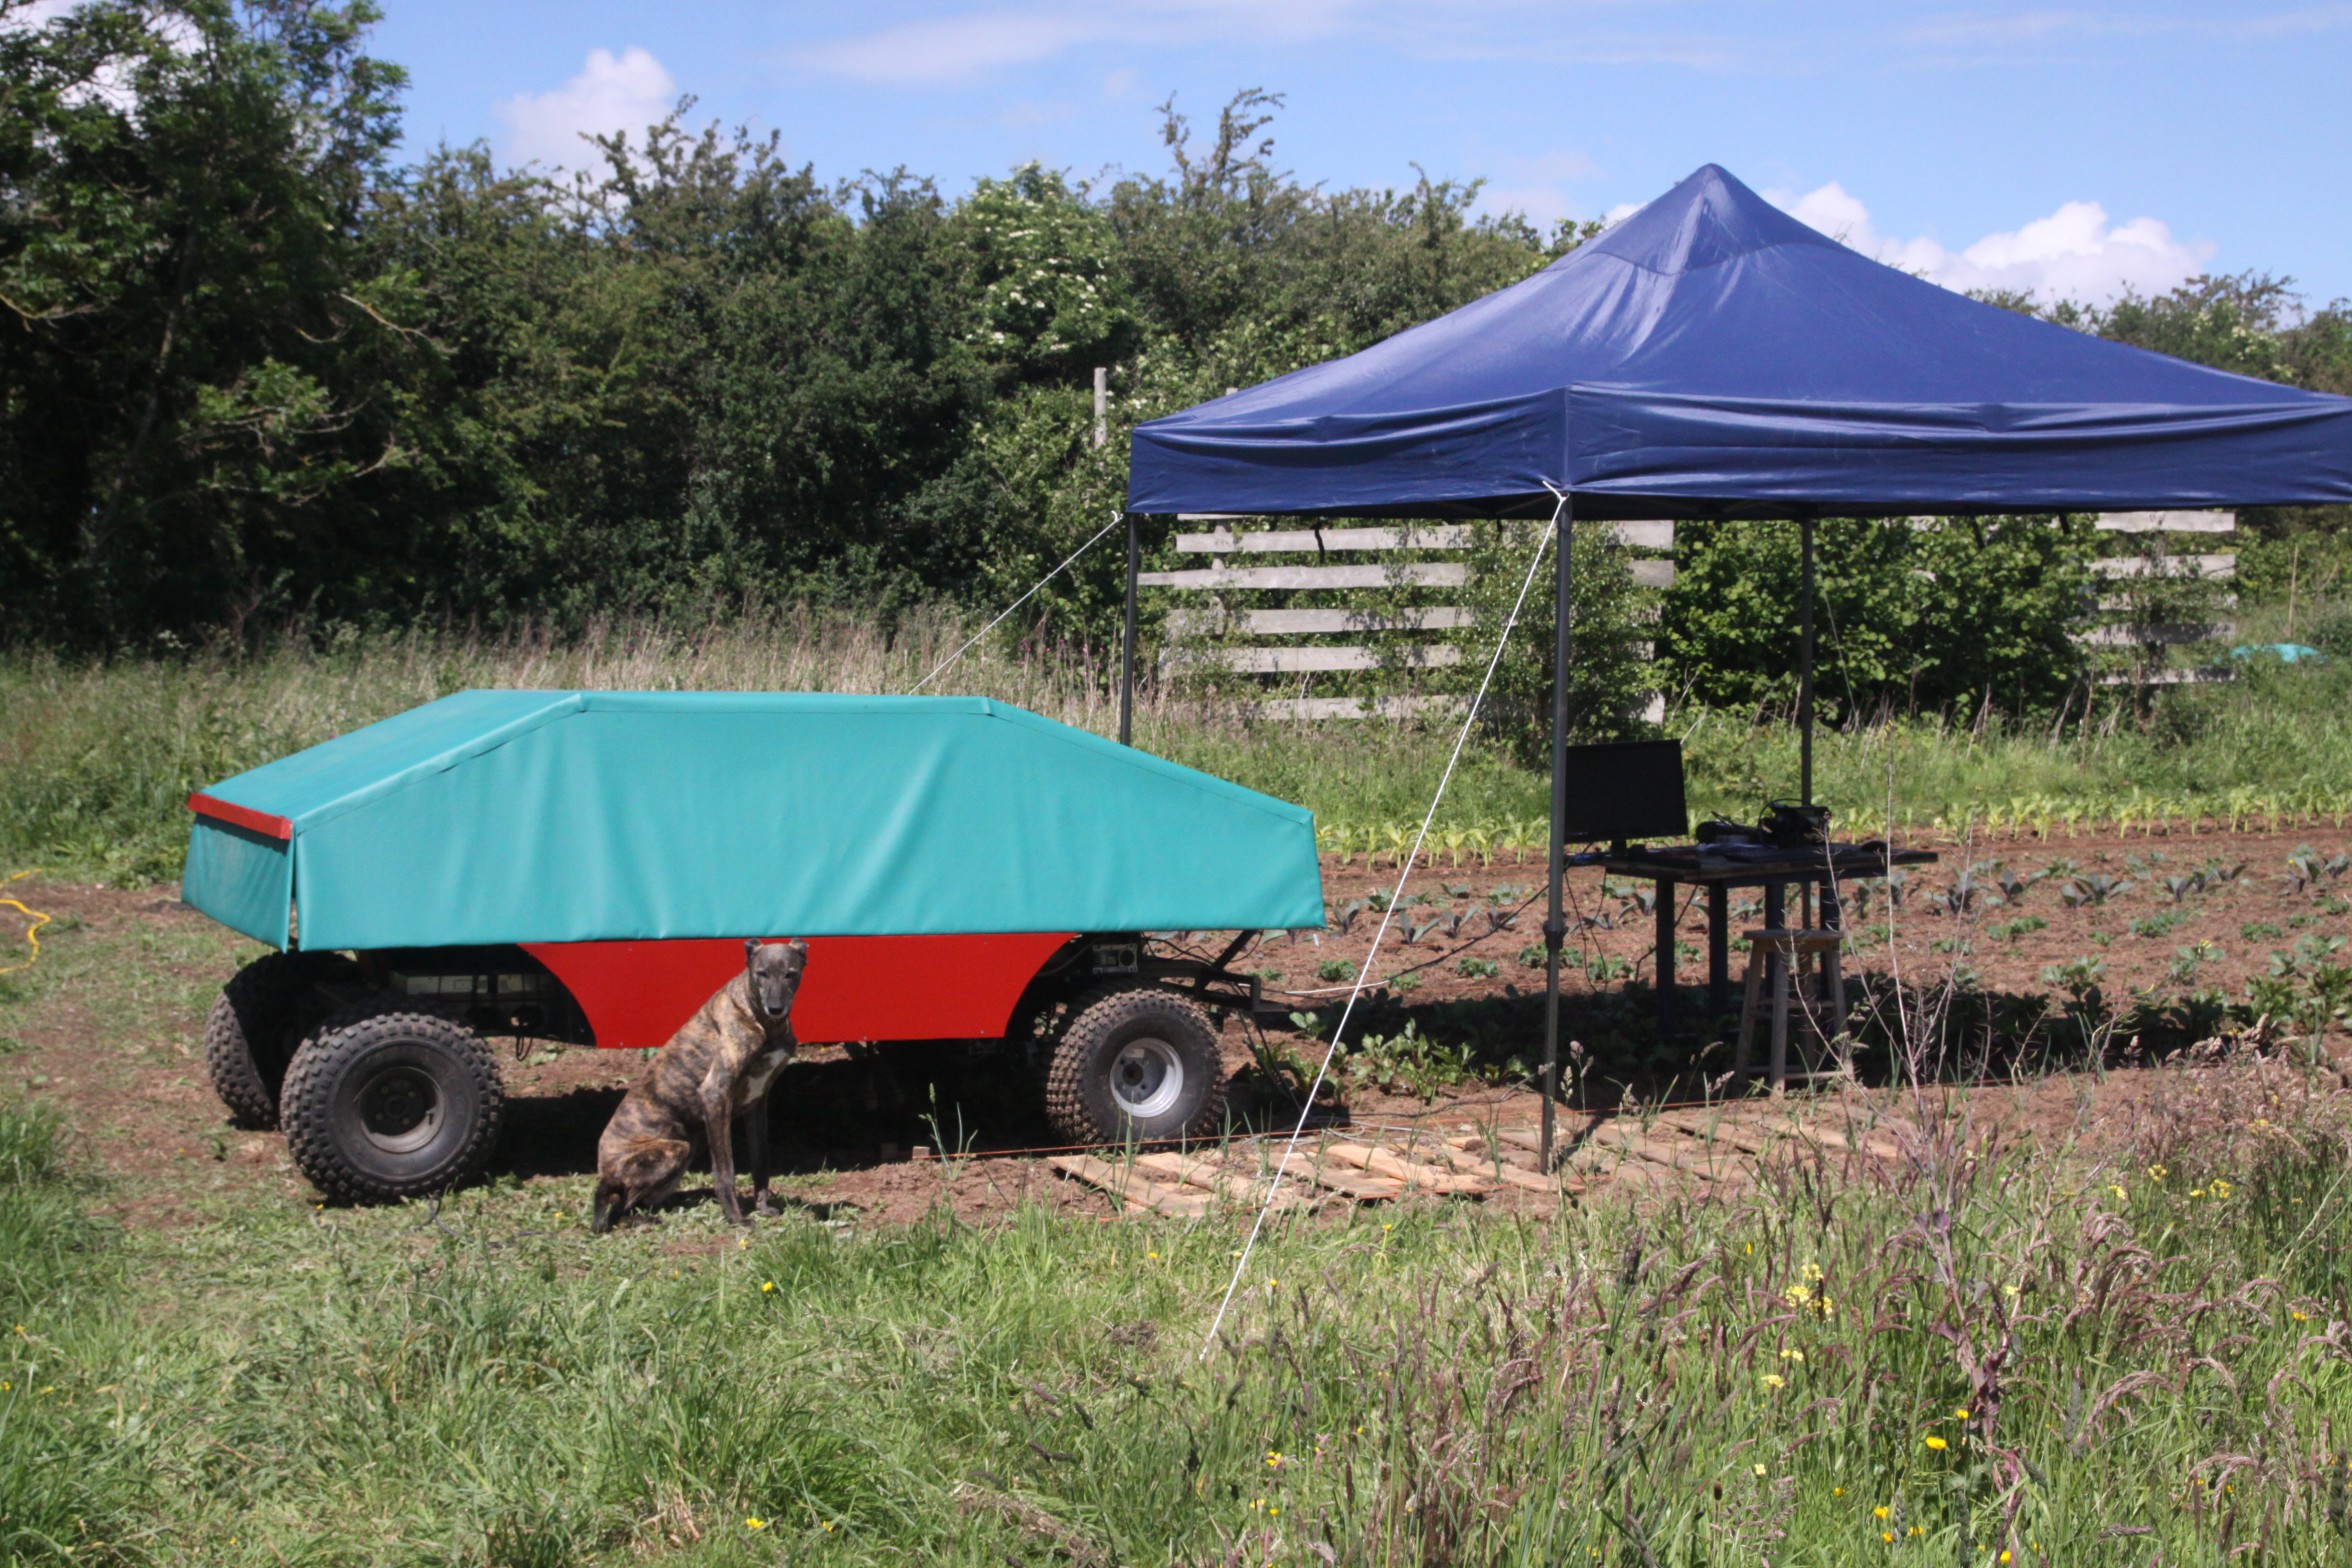
Also, the WEEDINATOR will be exhibited around the UK, including the Liverpool MakeFest, 30th June 2018 https://lpoolmakefest.org/, the Electromagnetic Field, August 31 - September 2nd 2018 and (hopefully) FarmHack UK 2018 4 October - 7 October 2018.

Project challenges:

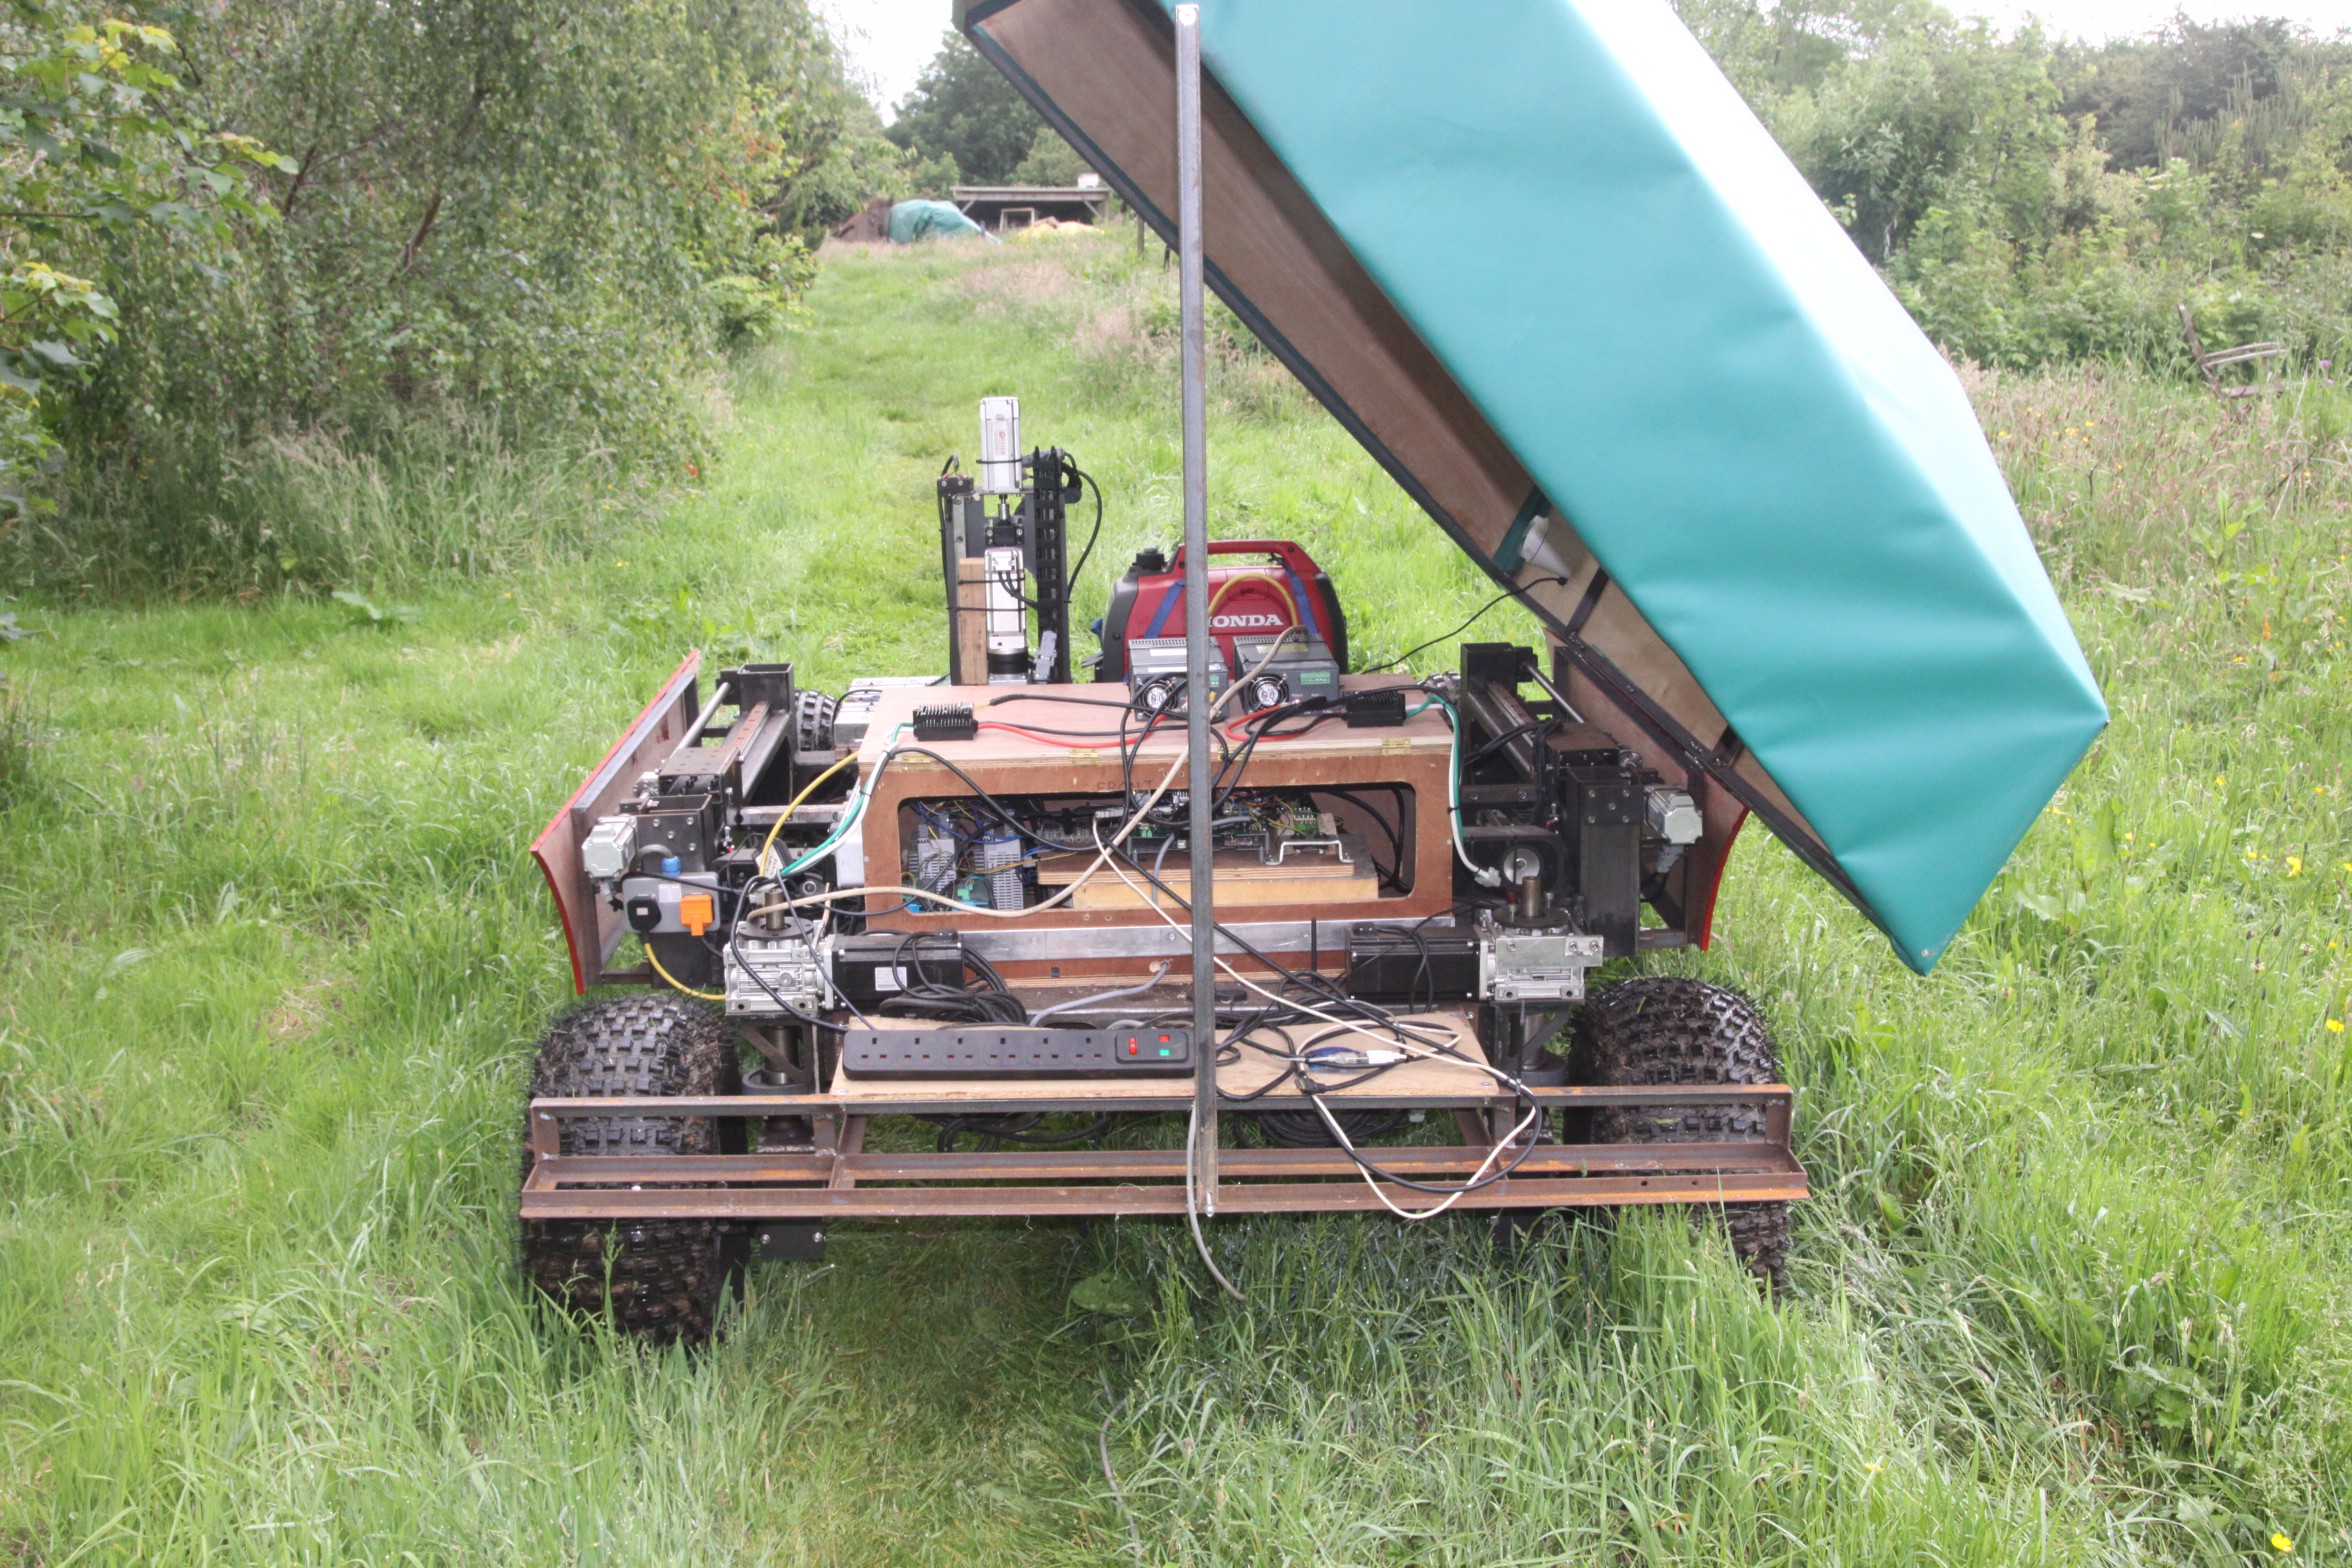
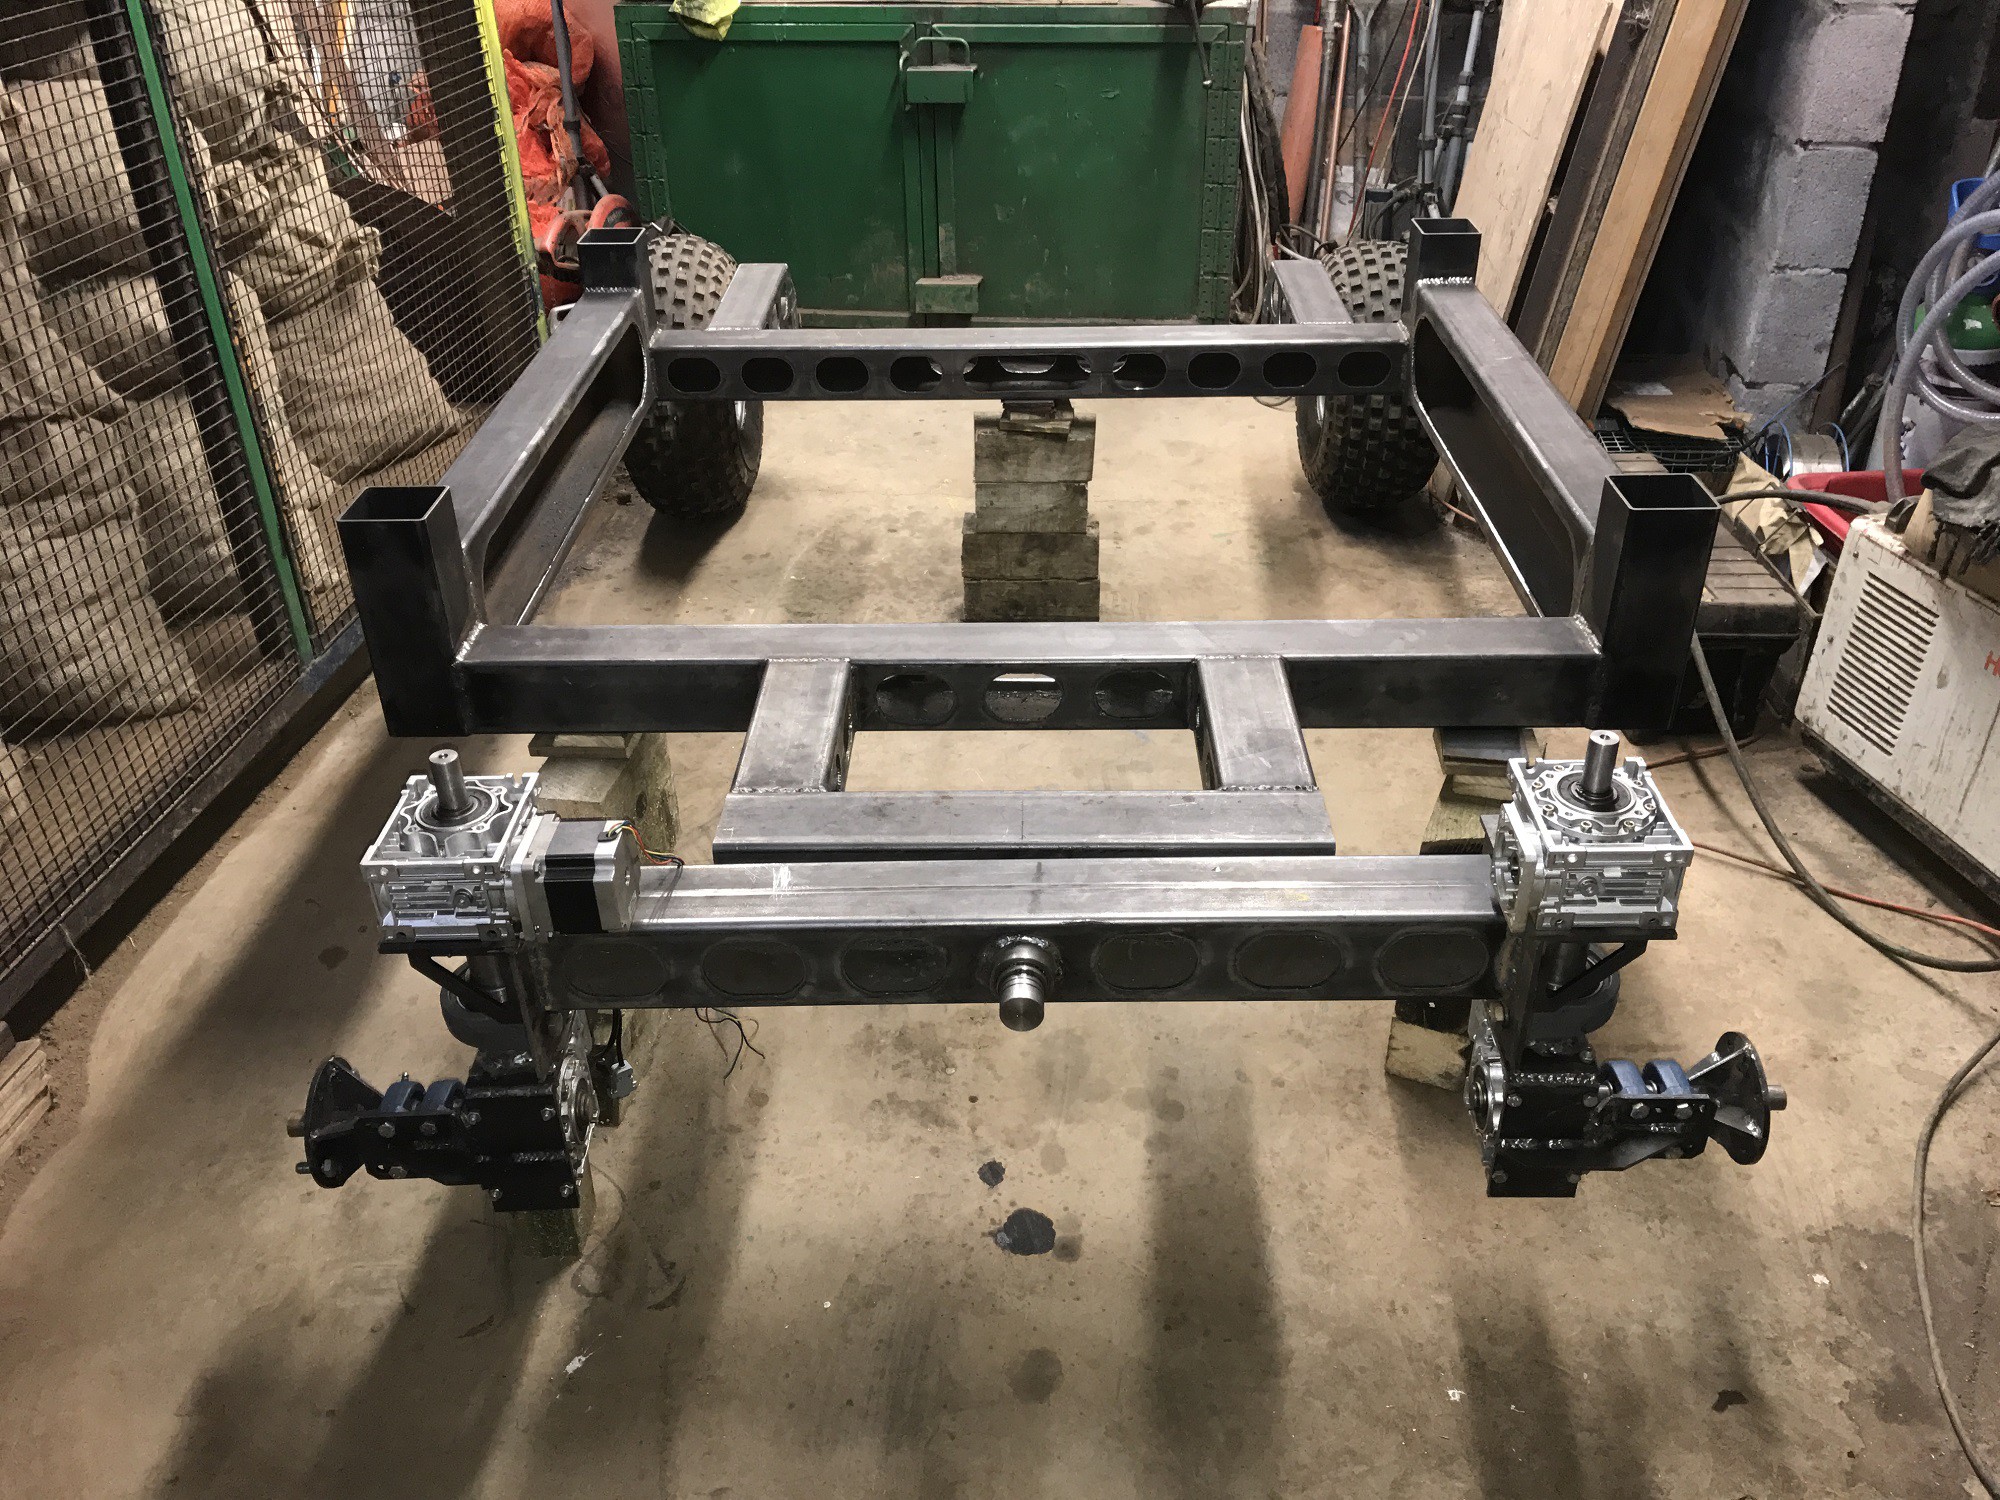
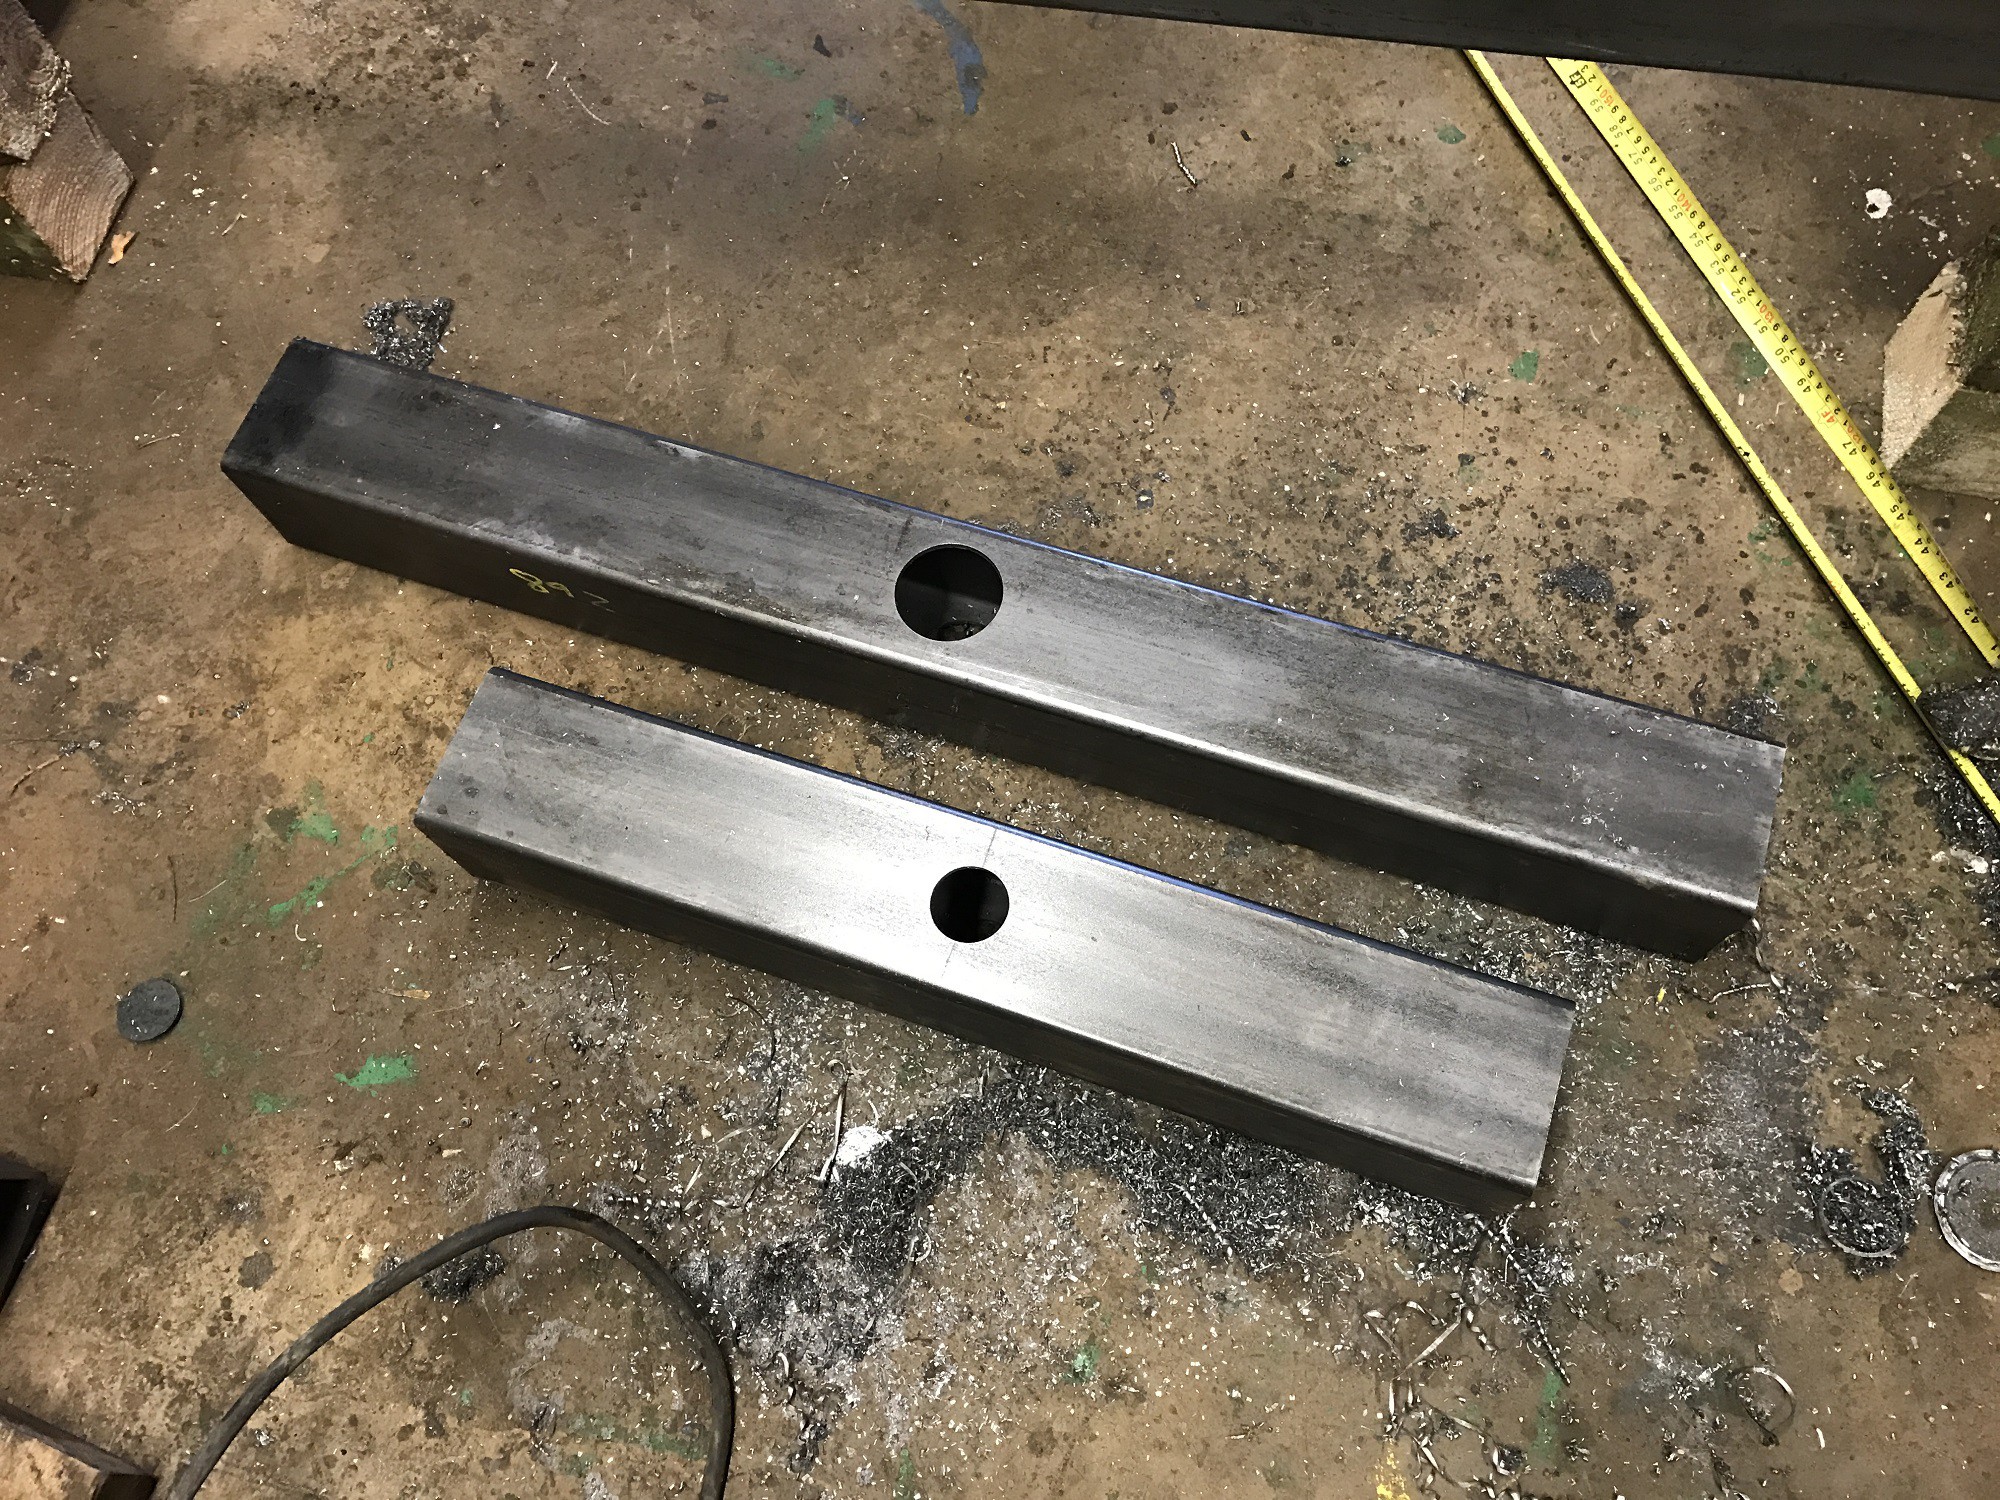
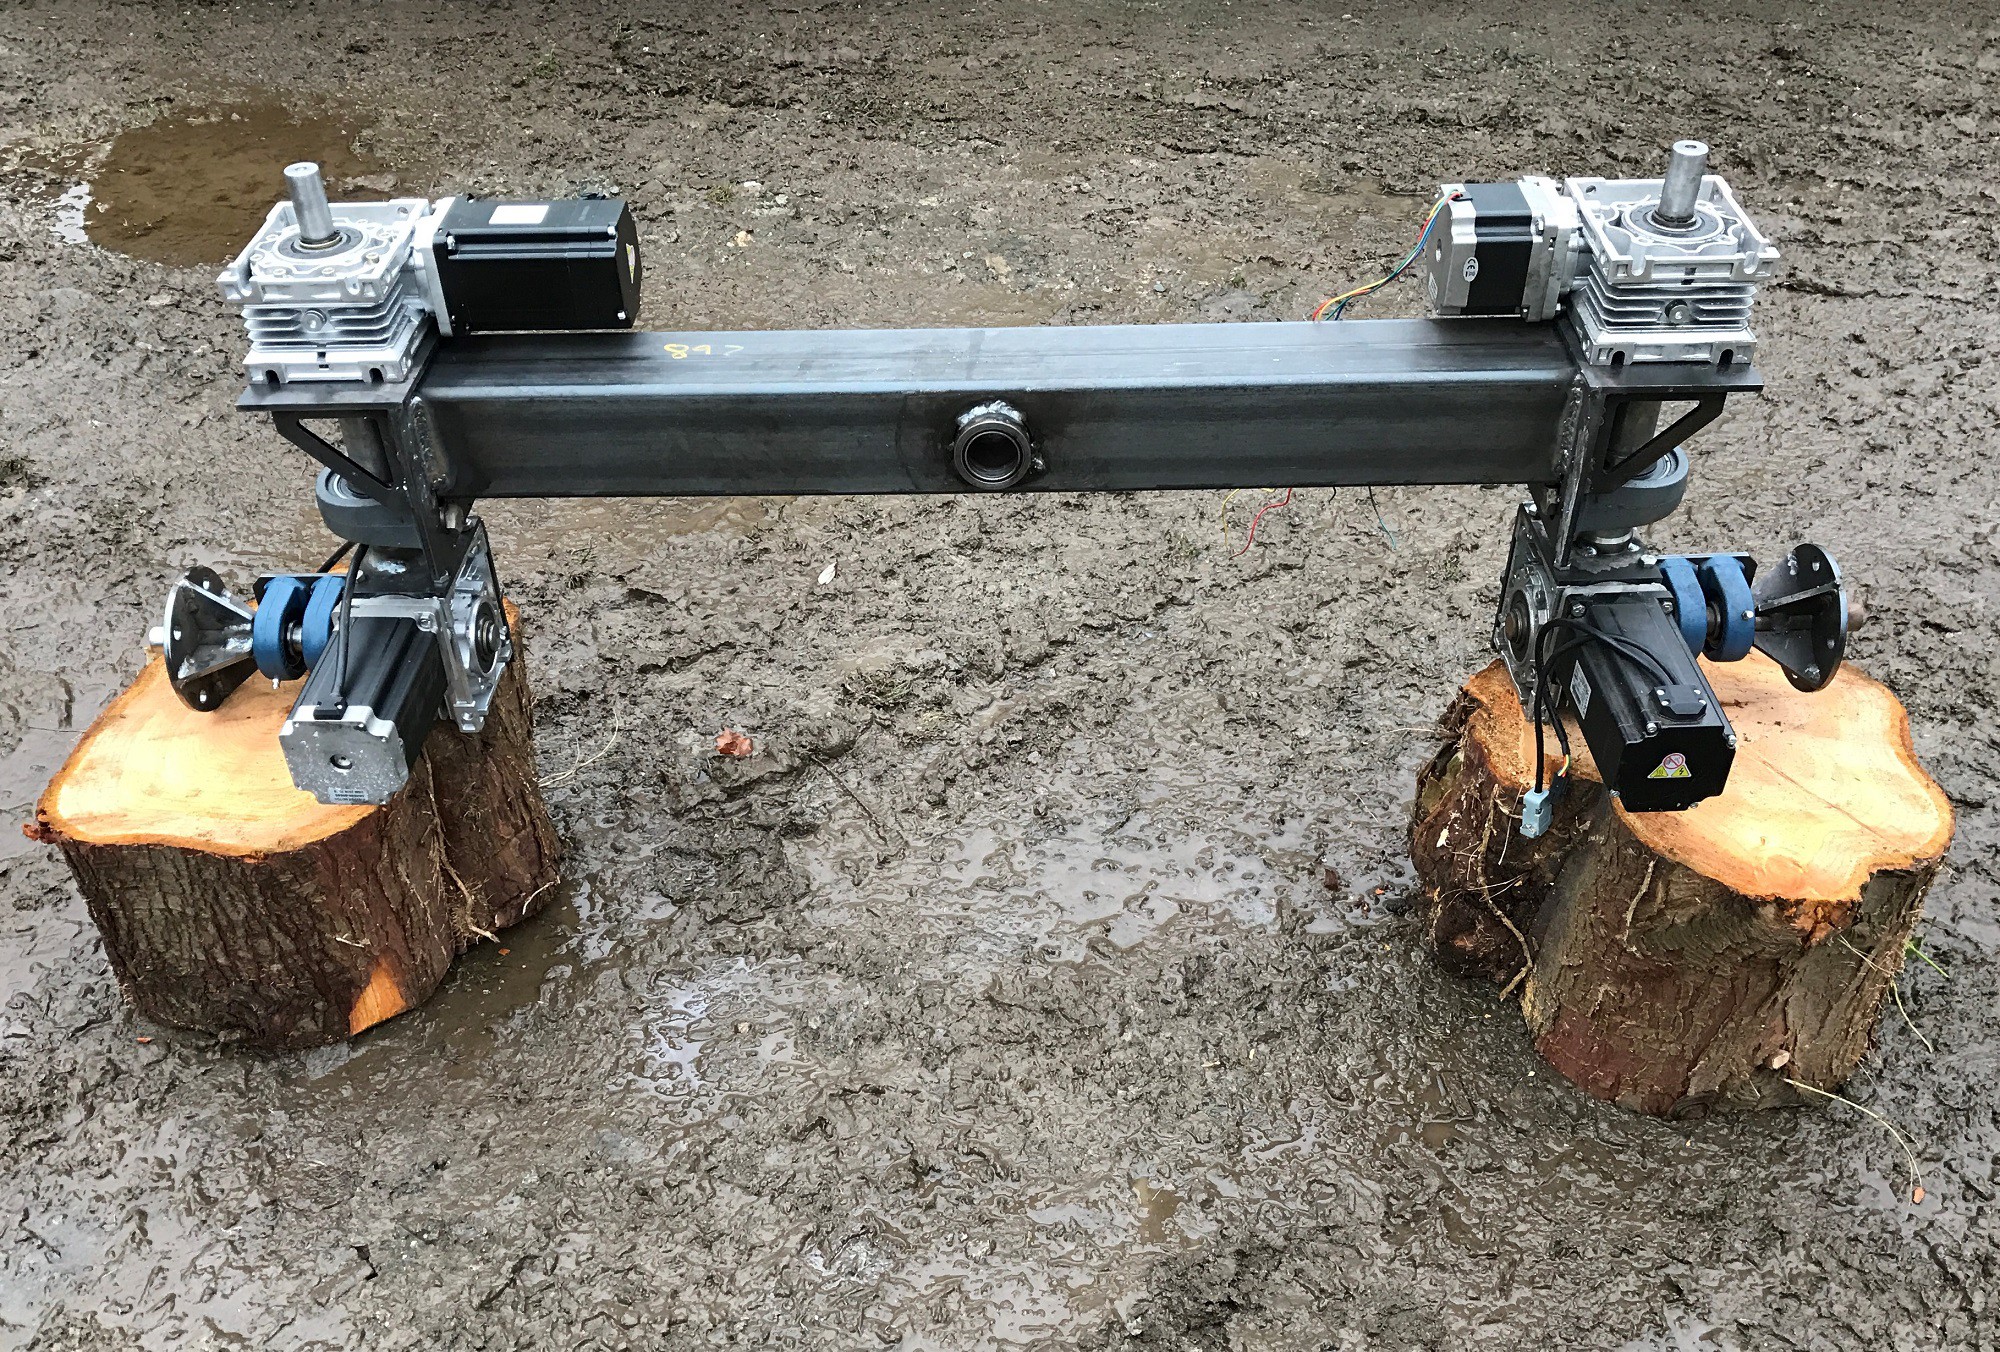
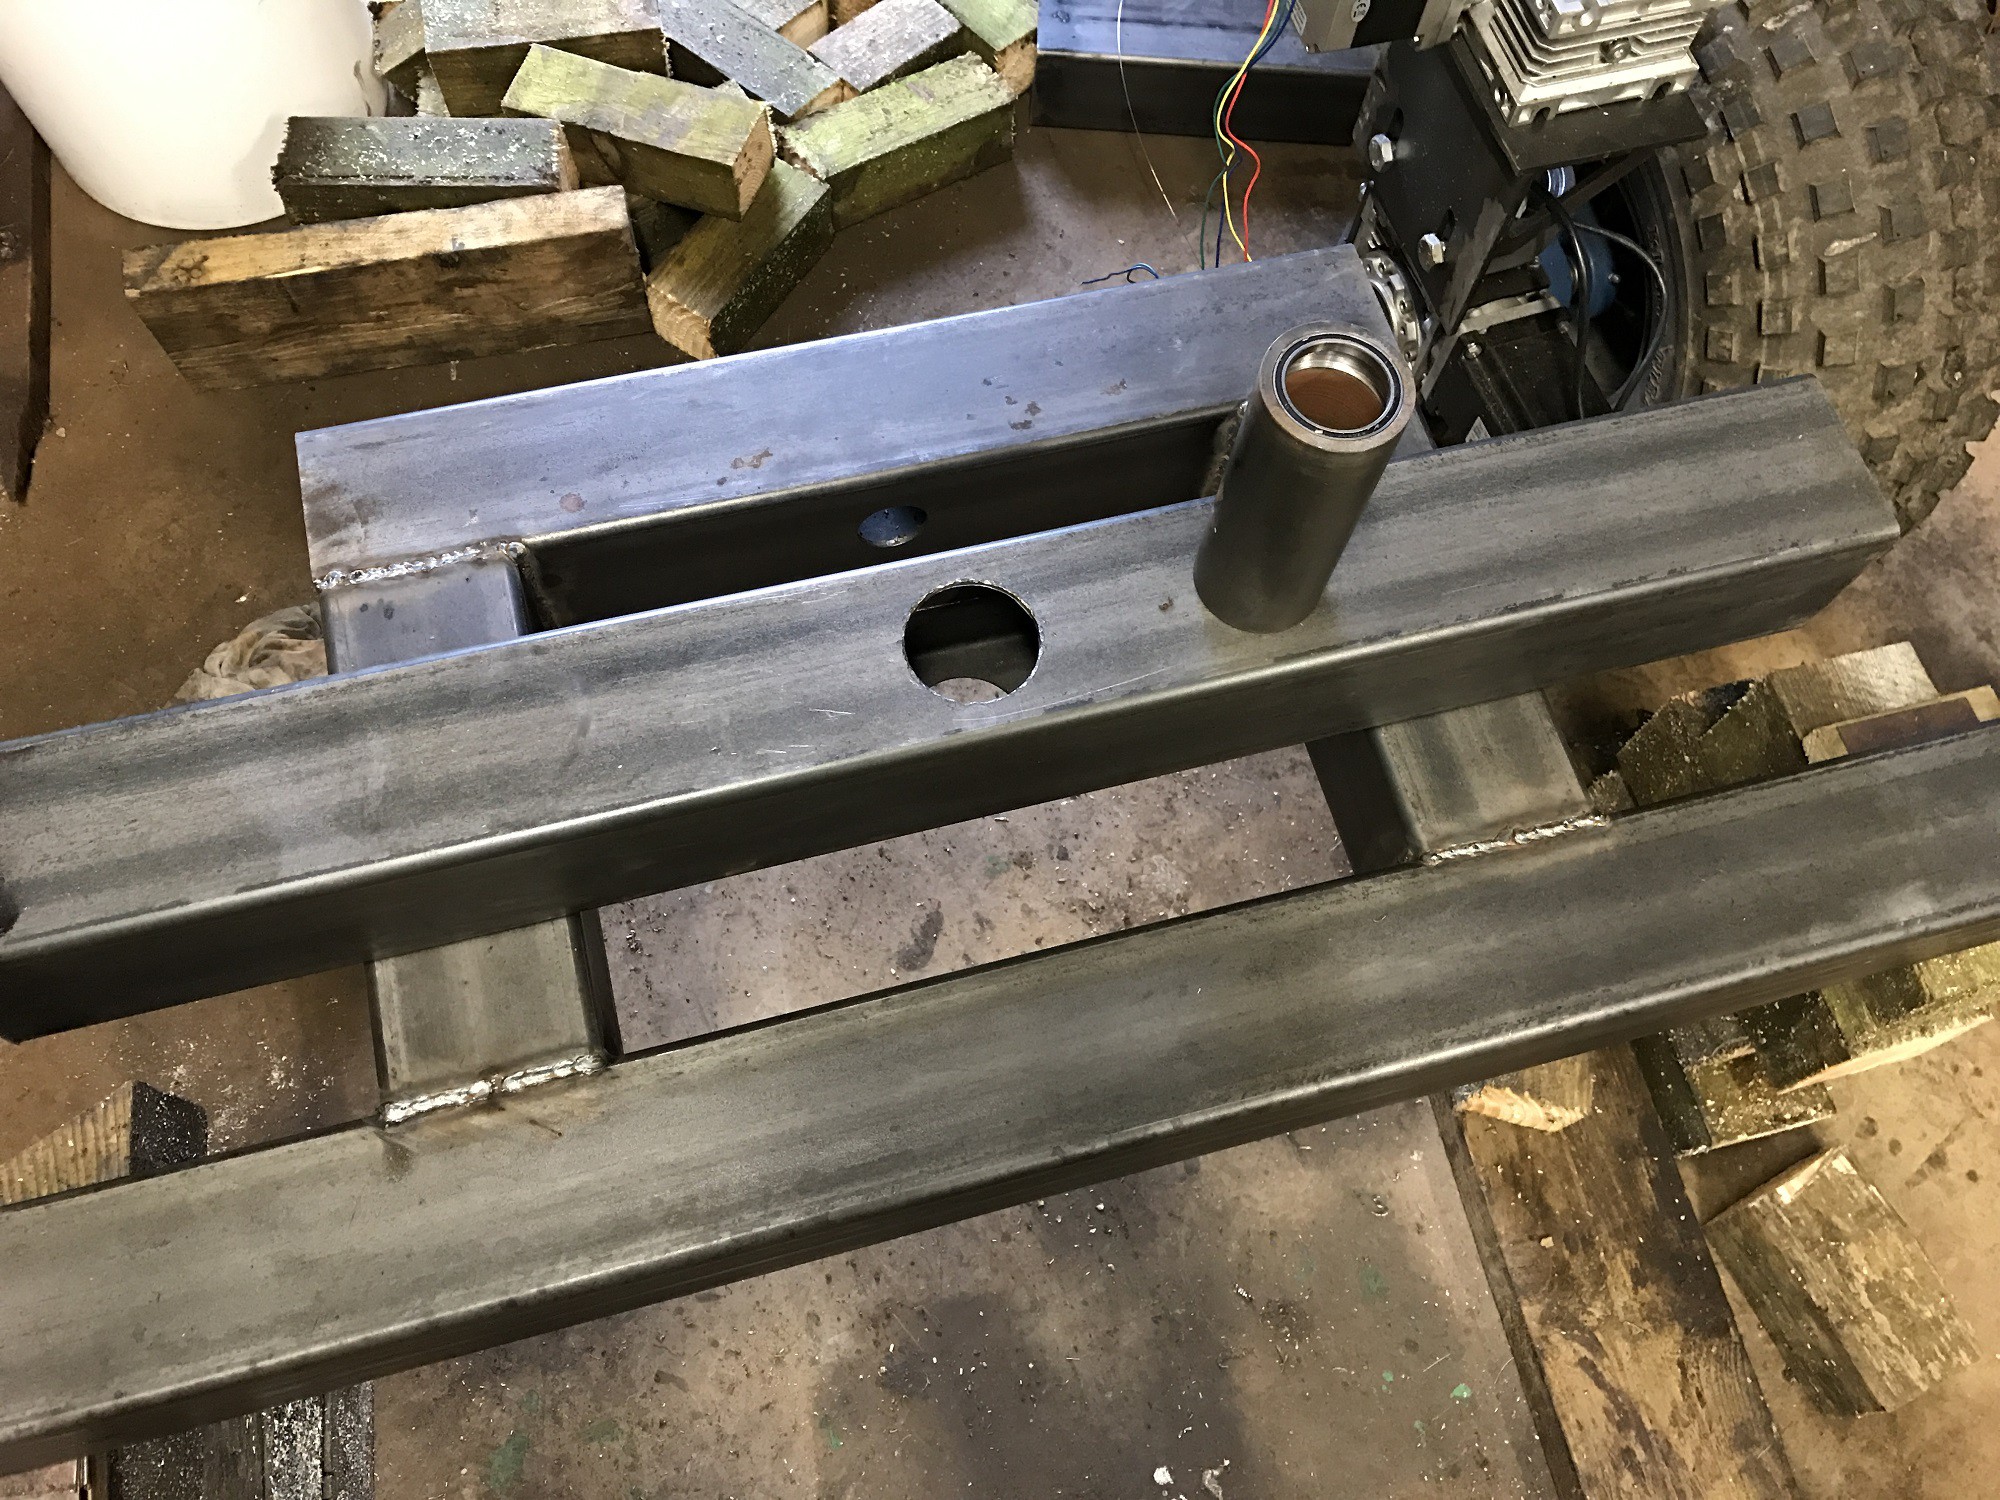
  • Designing steering geometry that does not impinge on the planted crop - I did not want to use skid steer so a more complicated steering system is required with full 'differential' where speeds of steering and drive motors individually change according to steering and drive parameters eg forwards, backwards, clockwise etc.
  • Selecting suitable motors and gearboxes - Cost is a major factor and the minimum requirement was that there should be optical encoders for monitoring 'steps' and speed. Other similar skid steer designs would use 24v truck windscreen wiper motors but these were thought to be too basic.
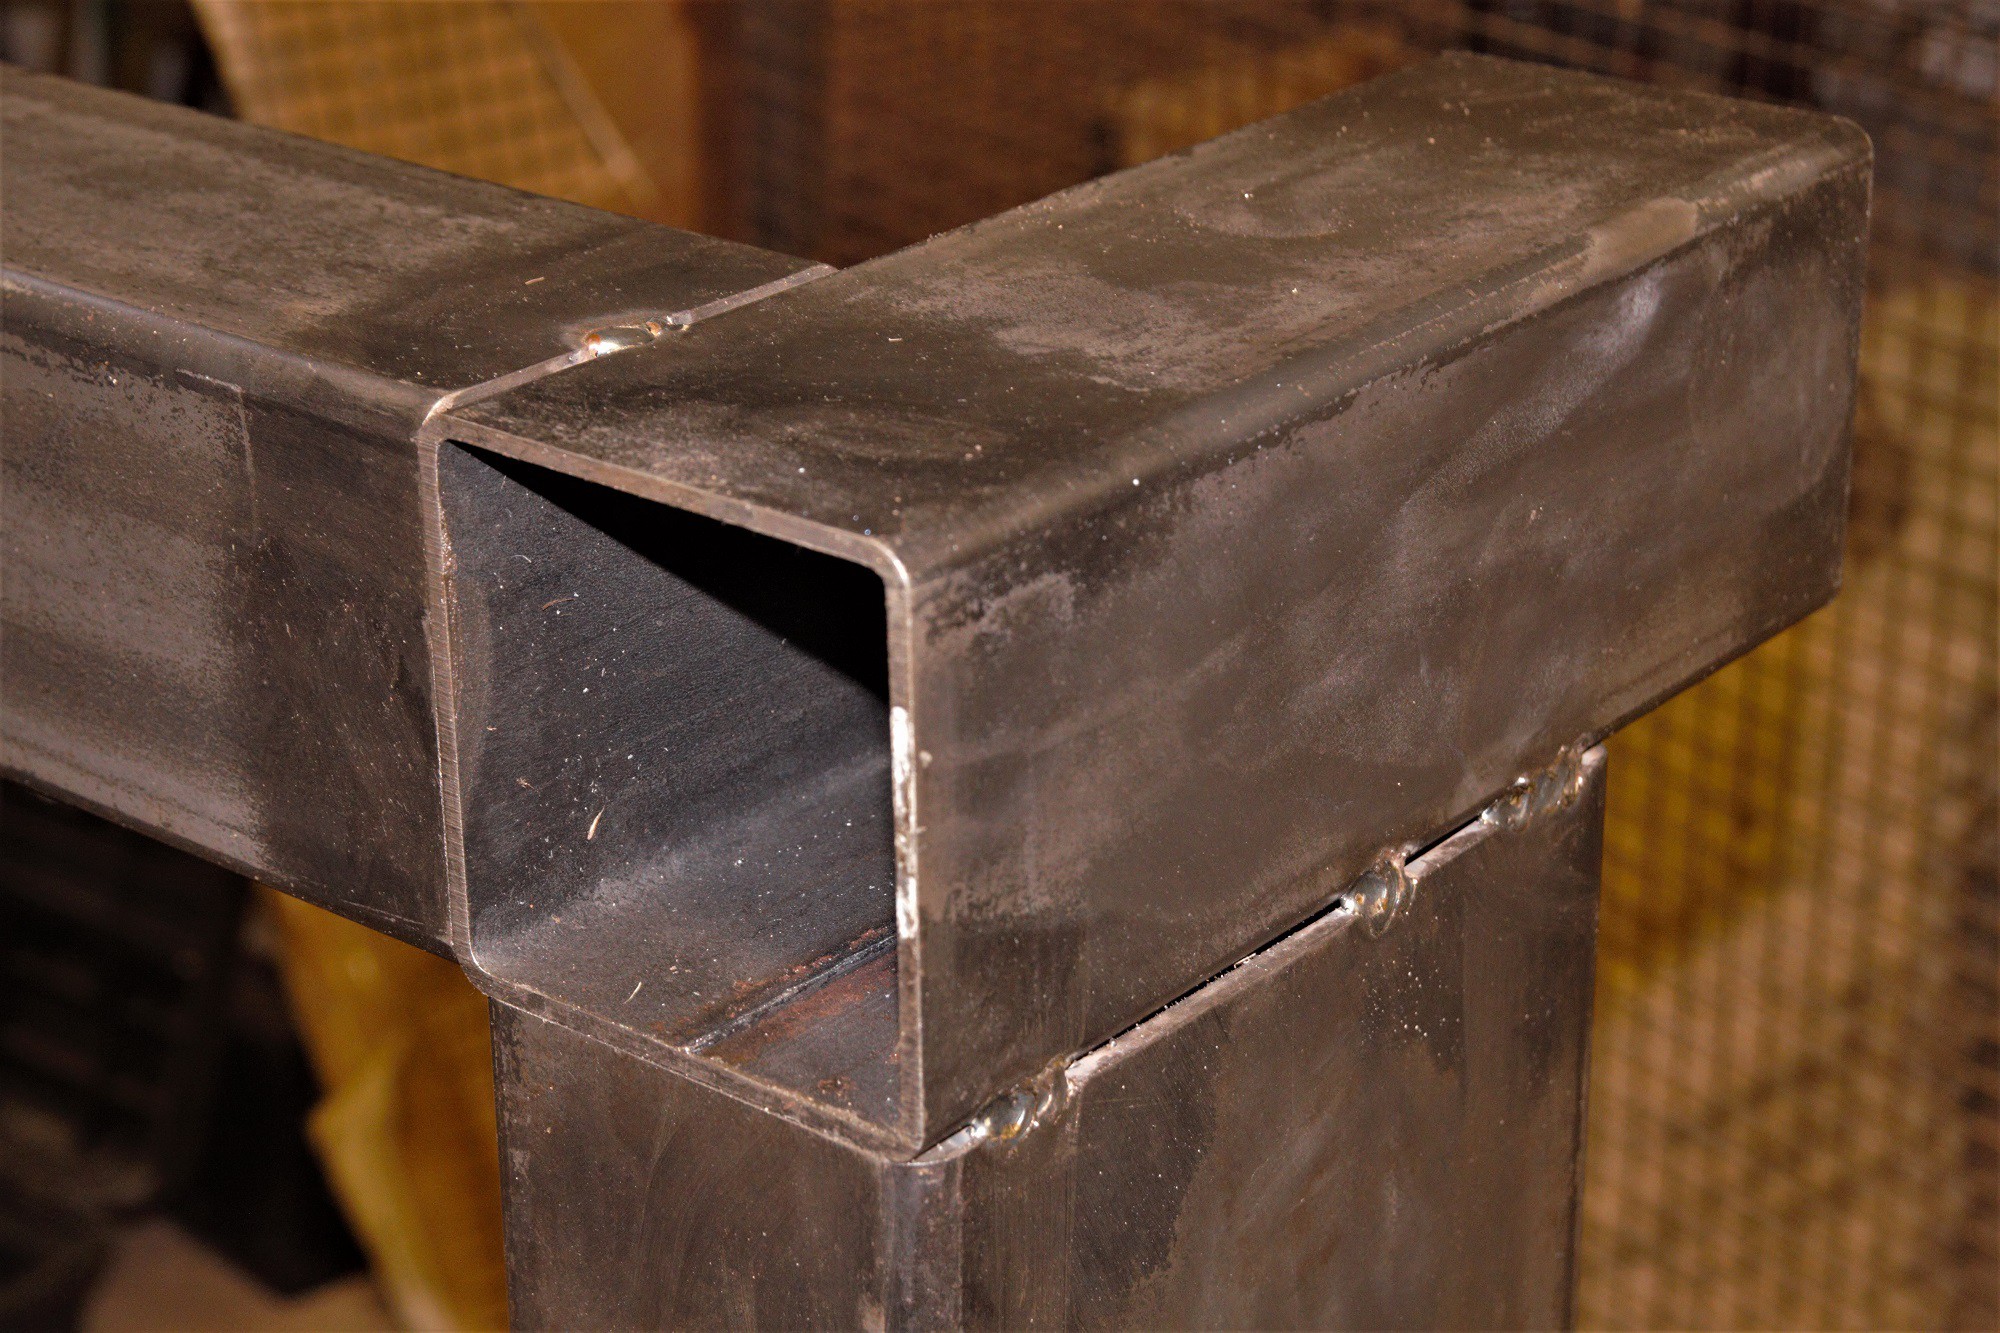
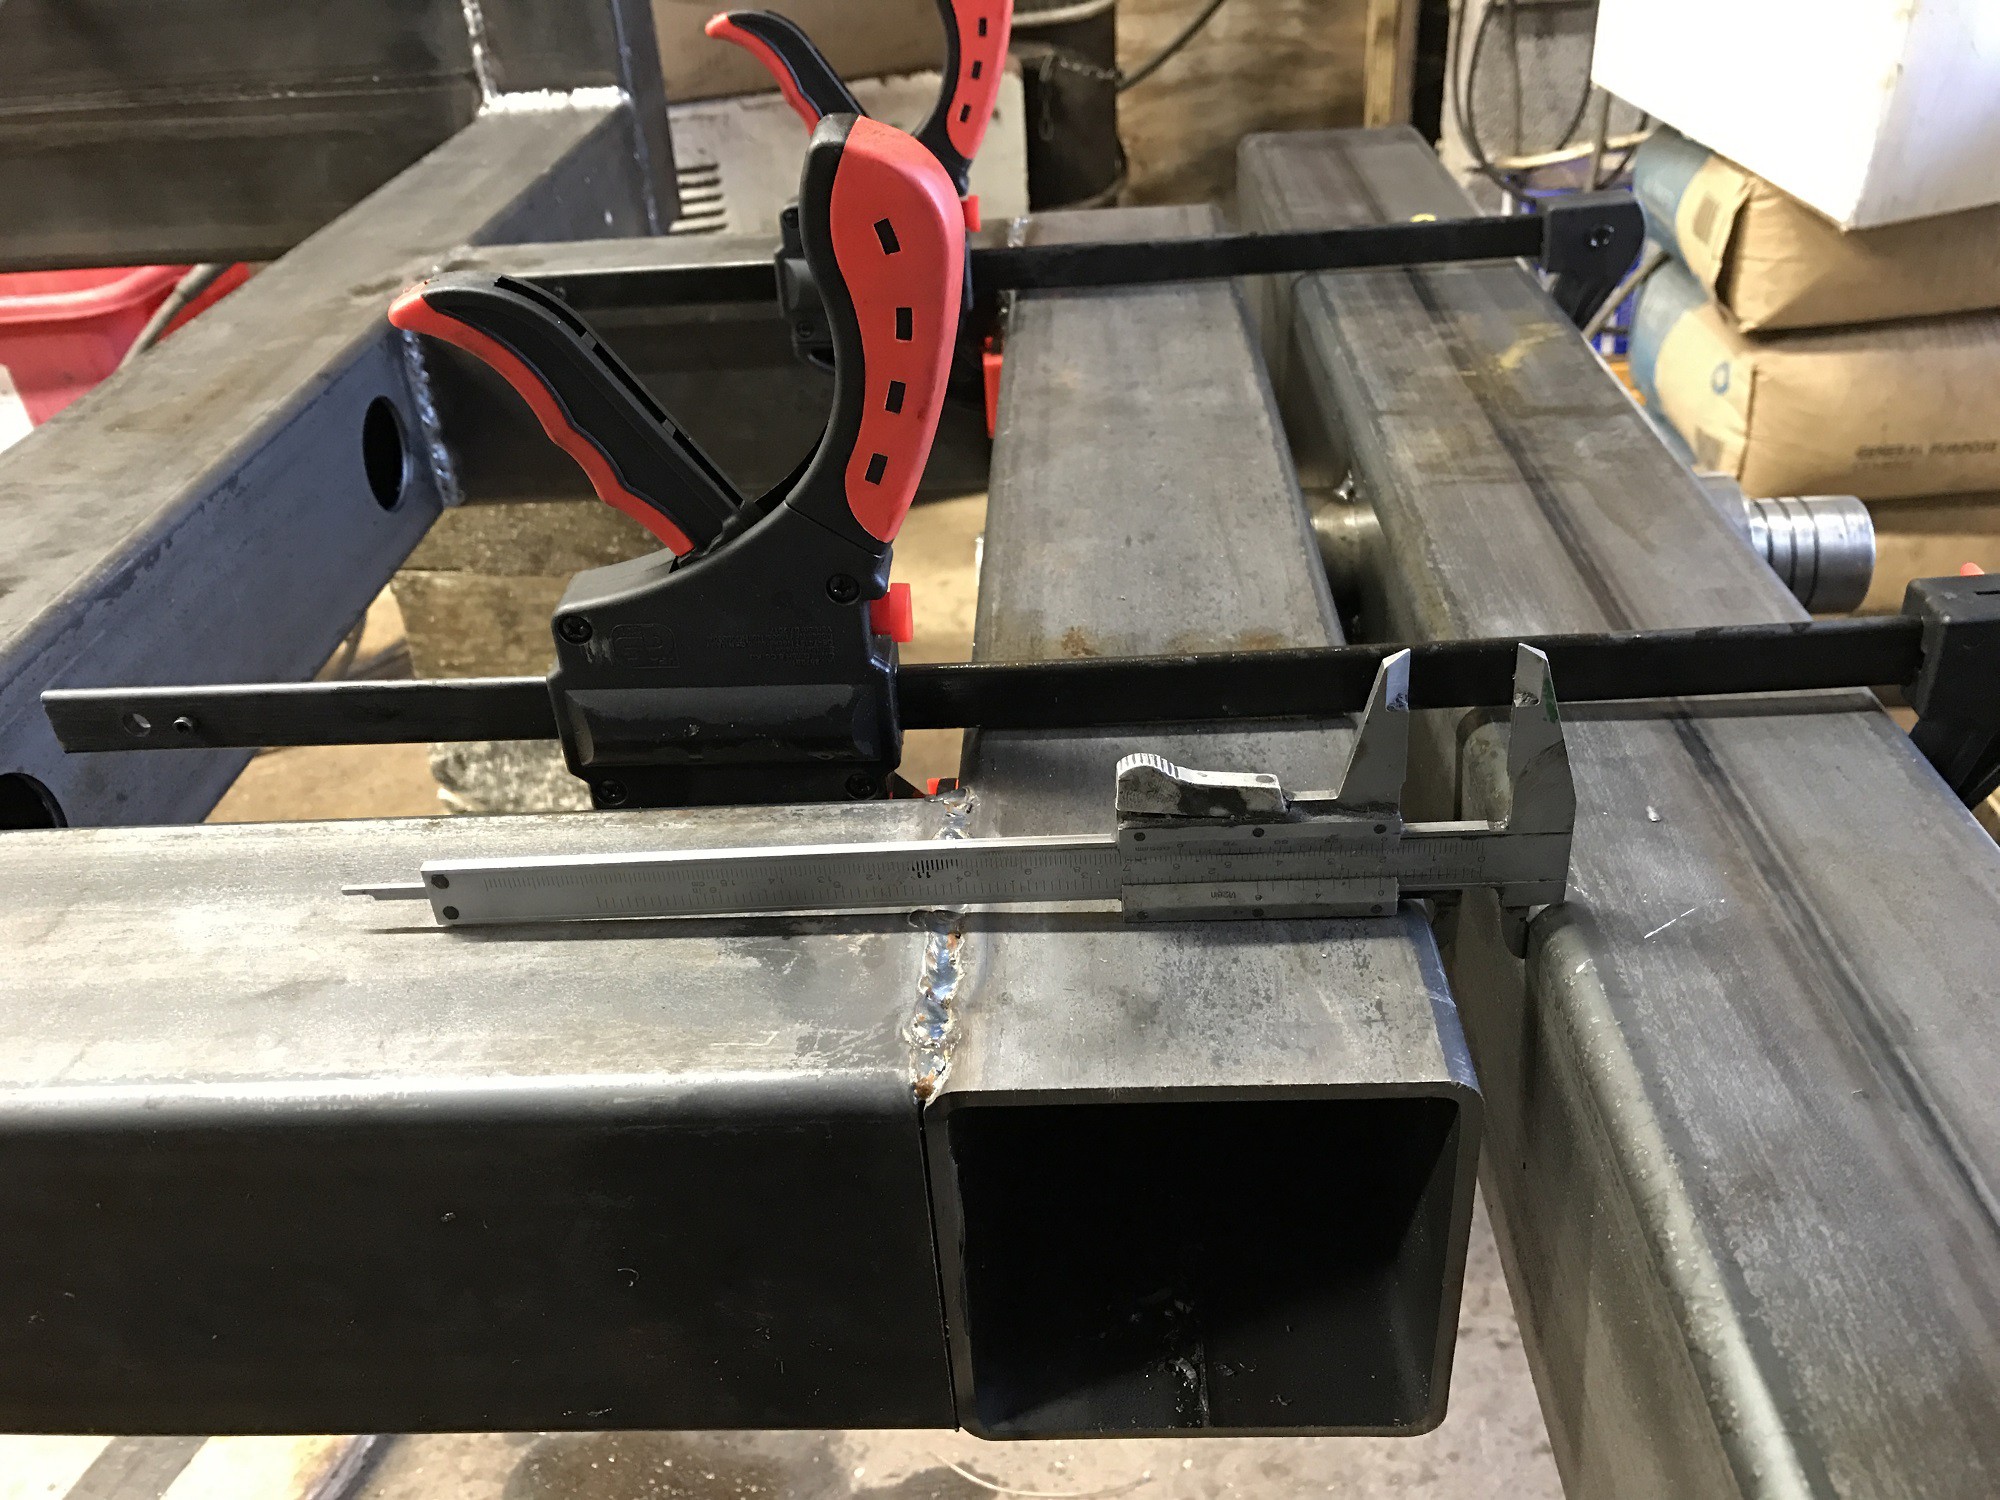
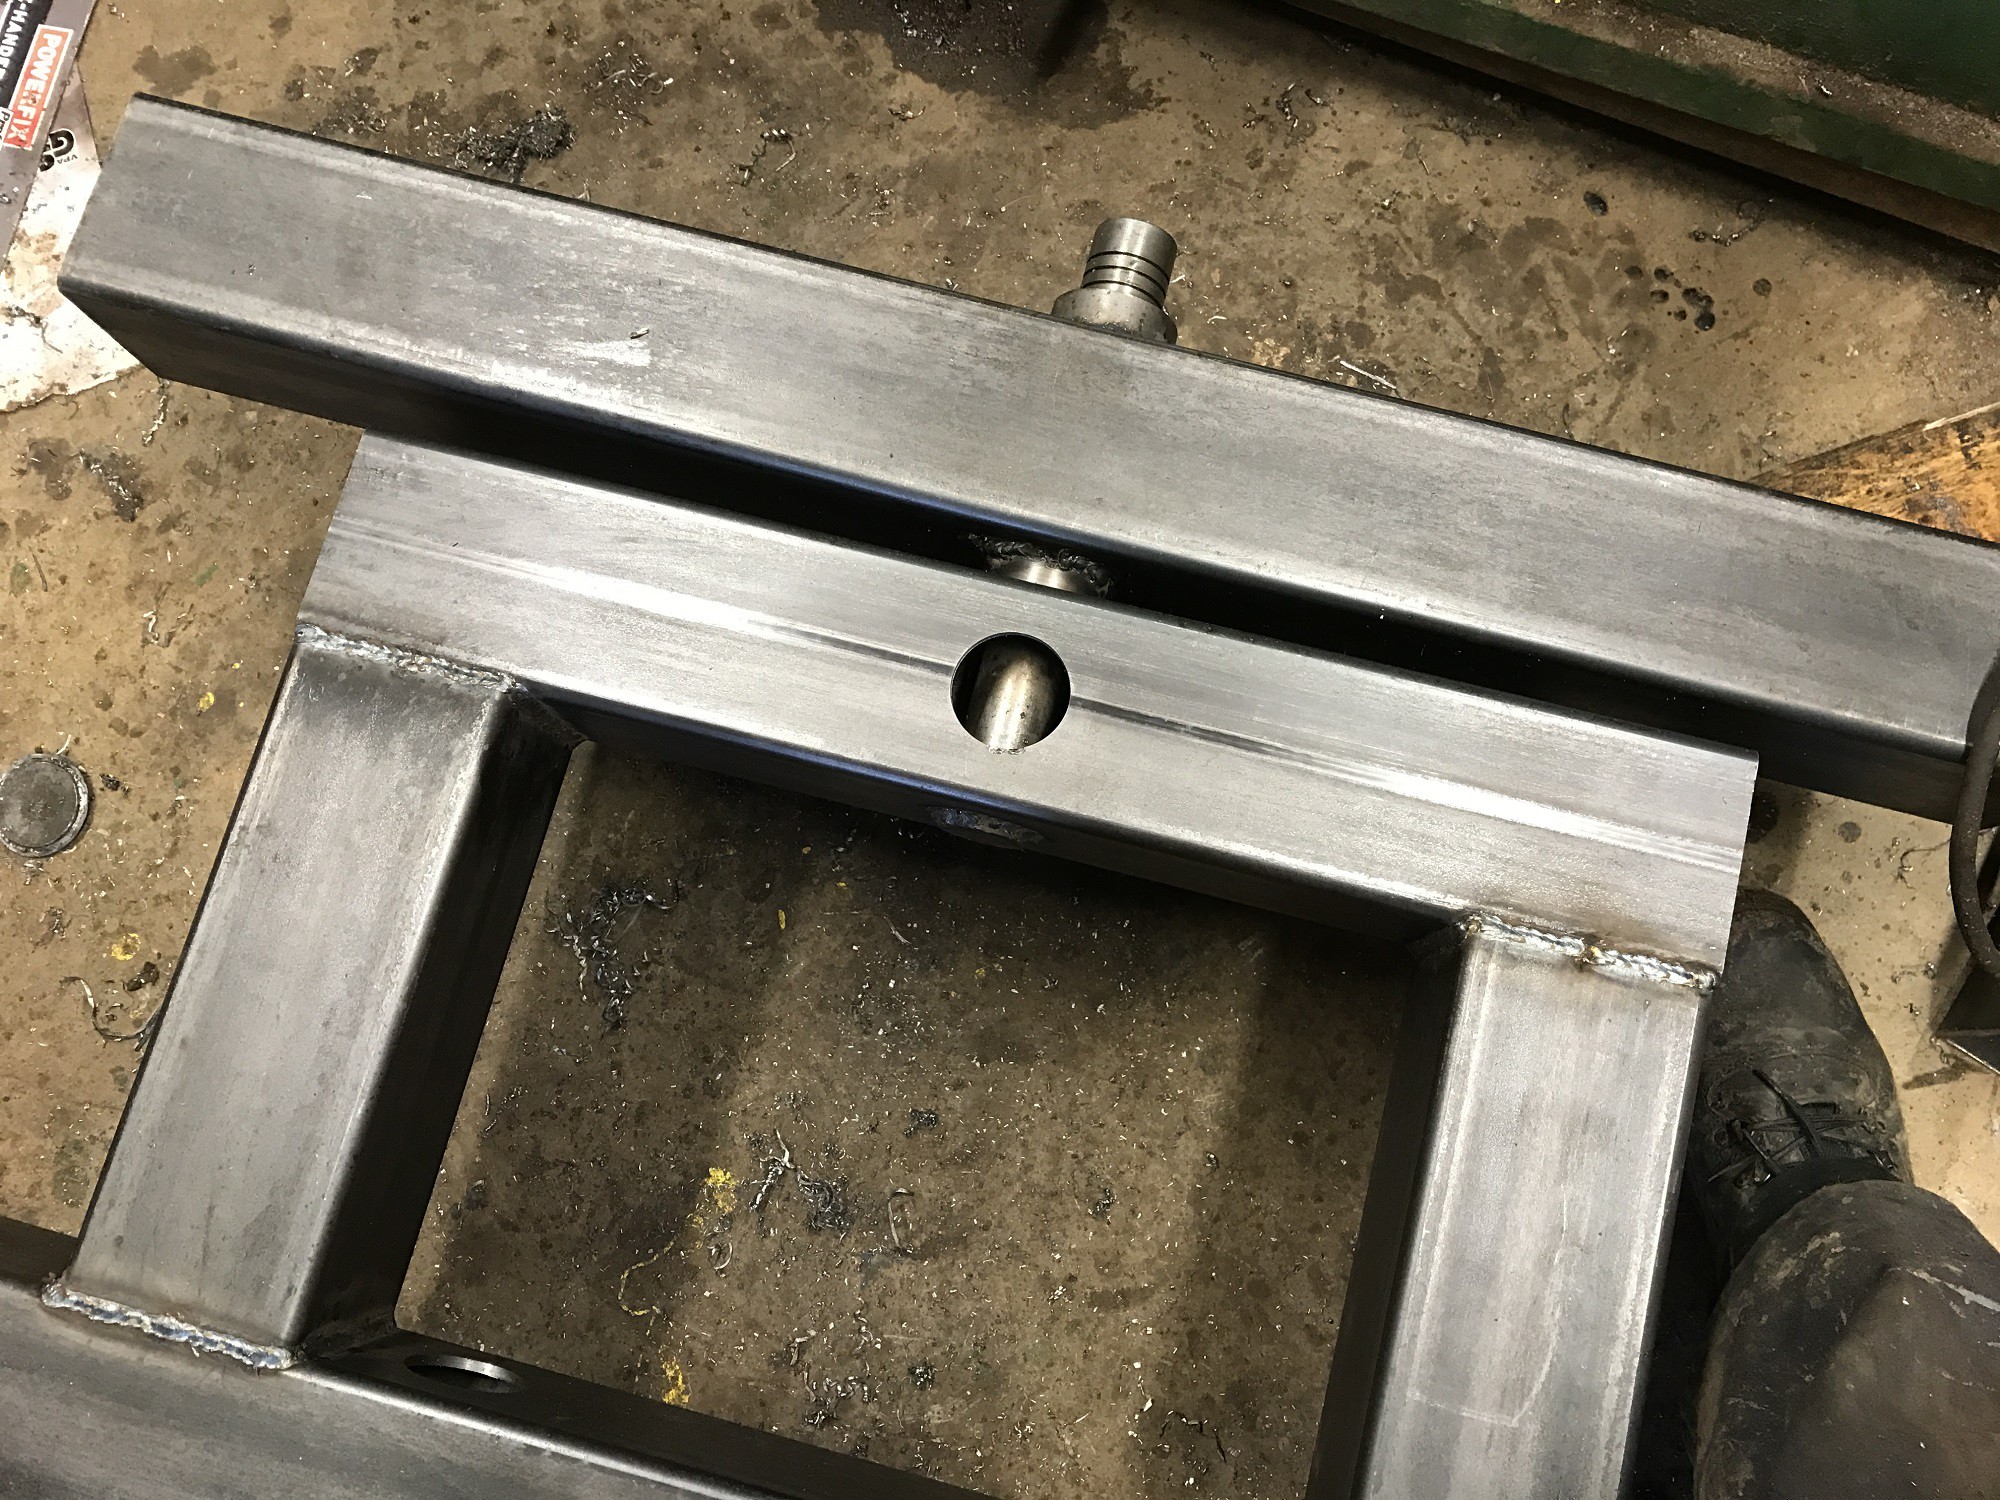
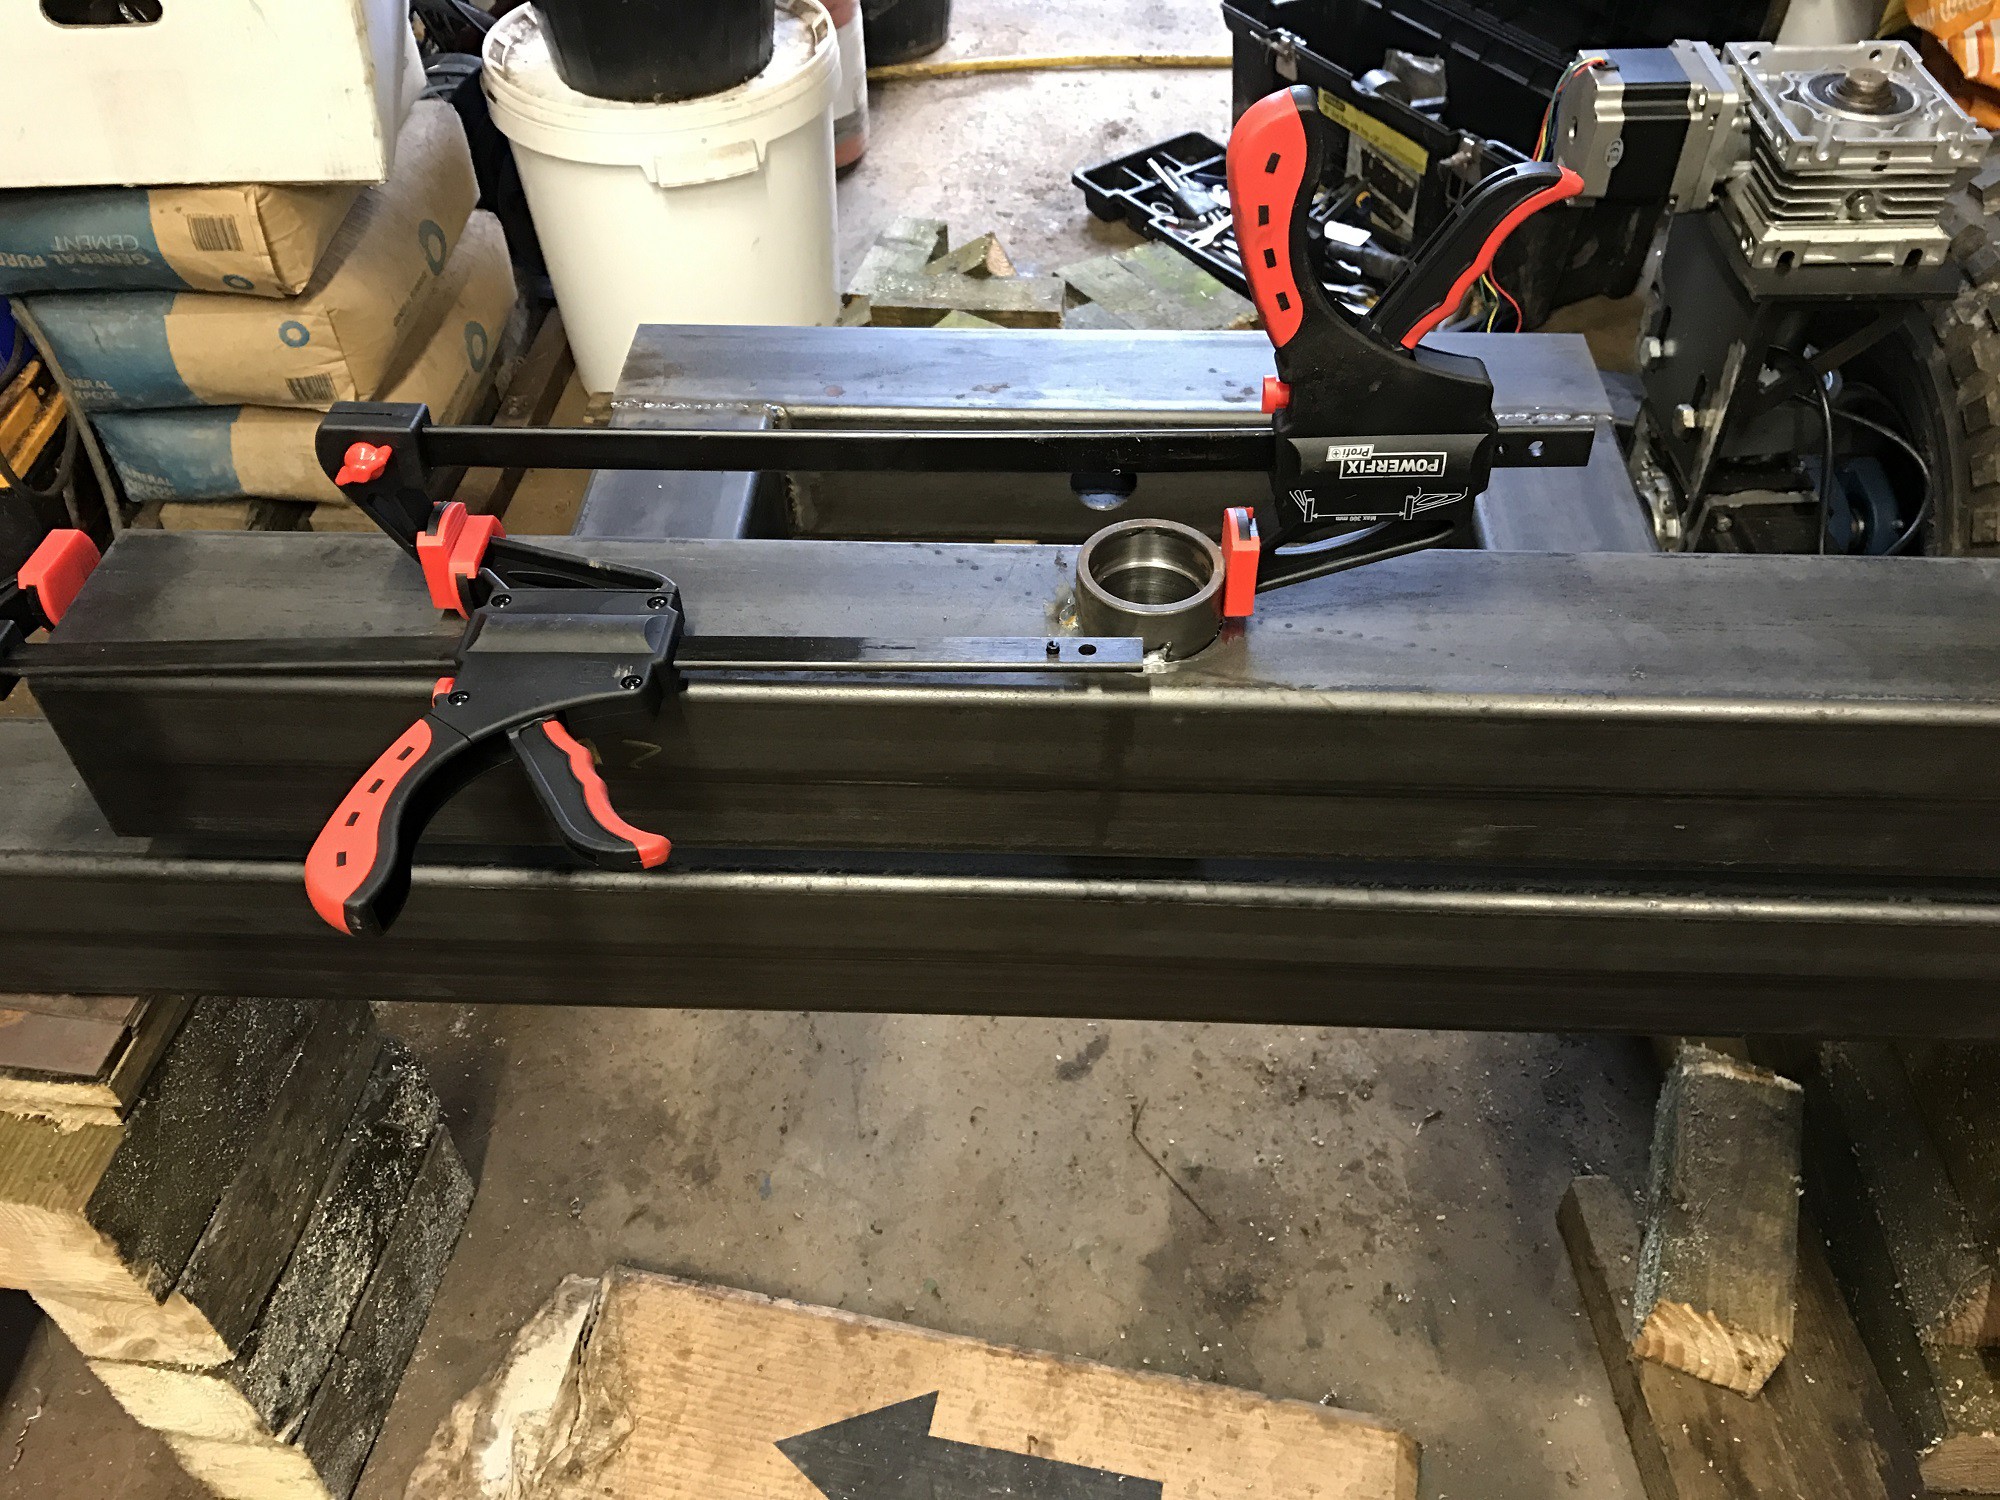
  • Preventing abrasion and jamming of the CNC mechanism due to soil and dust - gaiters, rubber boots, wipers, delrin bearings ..... the list of solutions goes on!
  • Selecting suitable power supply for motors - The obvious solution is batteries but lightweight lithium batteries are extremely expensive and are only good for a limited number of re-charges.
  • Autonomous navigation - the nav system needs to be accurate to at least +-25mm to get accurate positioning on the crop beds. Think 'error correction'!
  • Object recognition - The machine needs at least some basic OR. The weeding process is preventative so there's no need to distinguish weeds from crop. It's more about telling the difference between brown soil and green plants so the cameras are more likely to see green blobs on brown background. Objects can also be placed on the soil to aid navigation, enhancing the accuracy. But what about bright glaring sunshine?
  • Cost - The machine needs to be built within a sensible budget so that in stands a chance of being commercially viable. The mechanical design needs to be as simple as possible with appropriate compromises with functionality. How close to the crop can the drive gearboxes be? How big is the crop going to be? Most weeding needs to be done when the crop is more vulnerable at the early stages. How 'ideal' does the steering need to be? The steering bearing does not necessarily have to be in the middle of the wheel - it can be offset to one side and changing the relative speeds of the drive wheels can aid the steering motors.
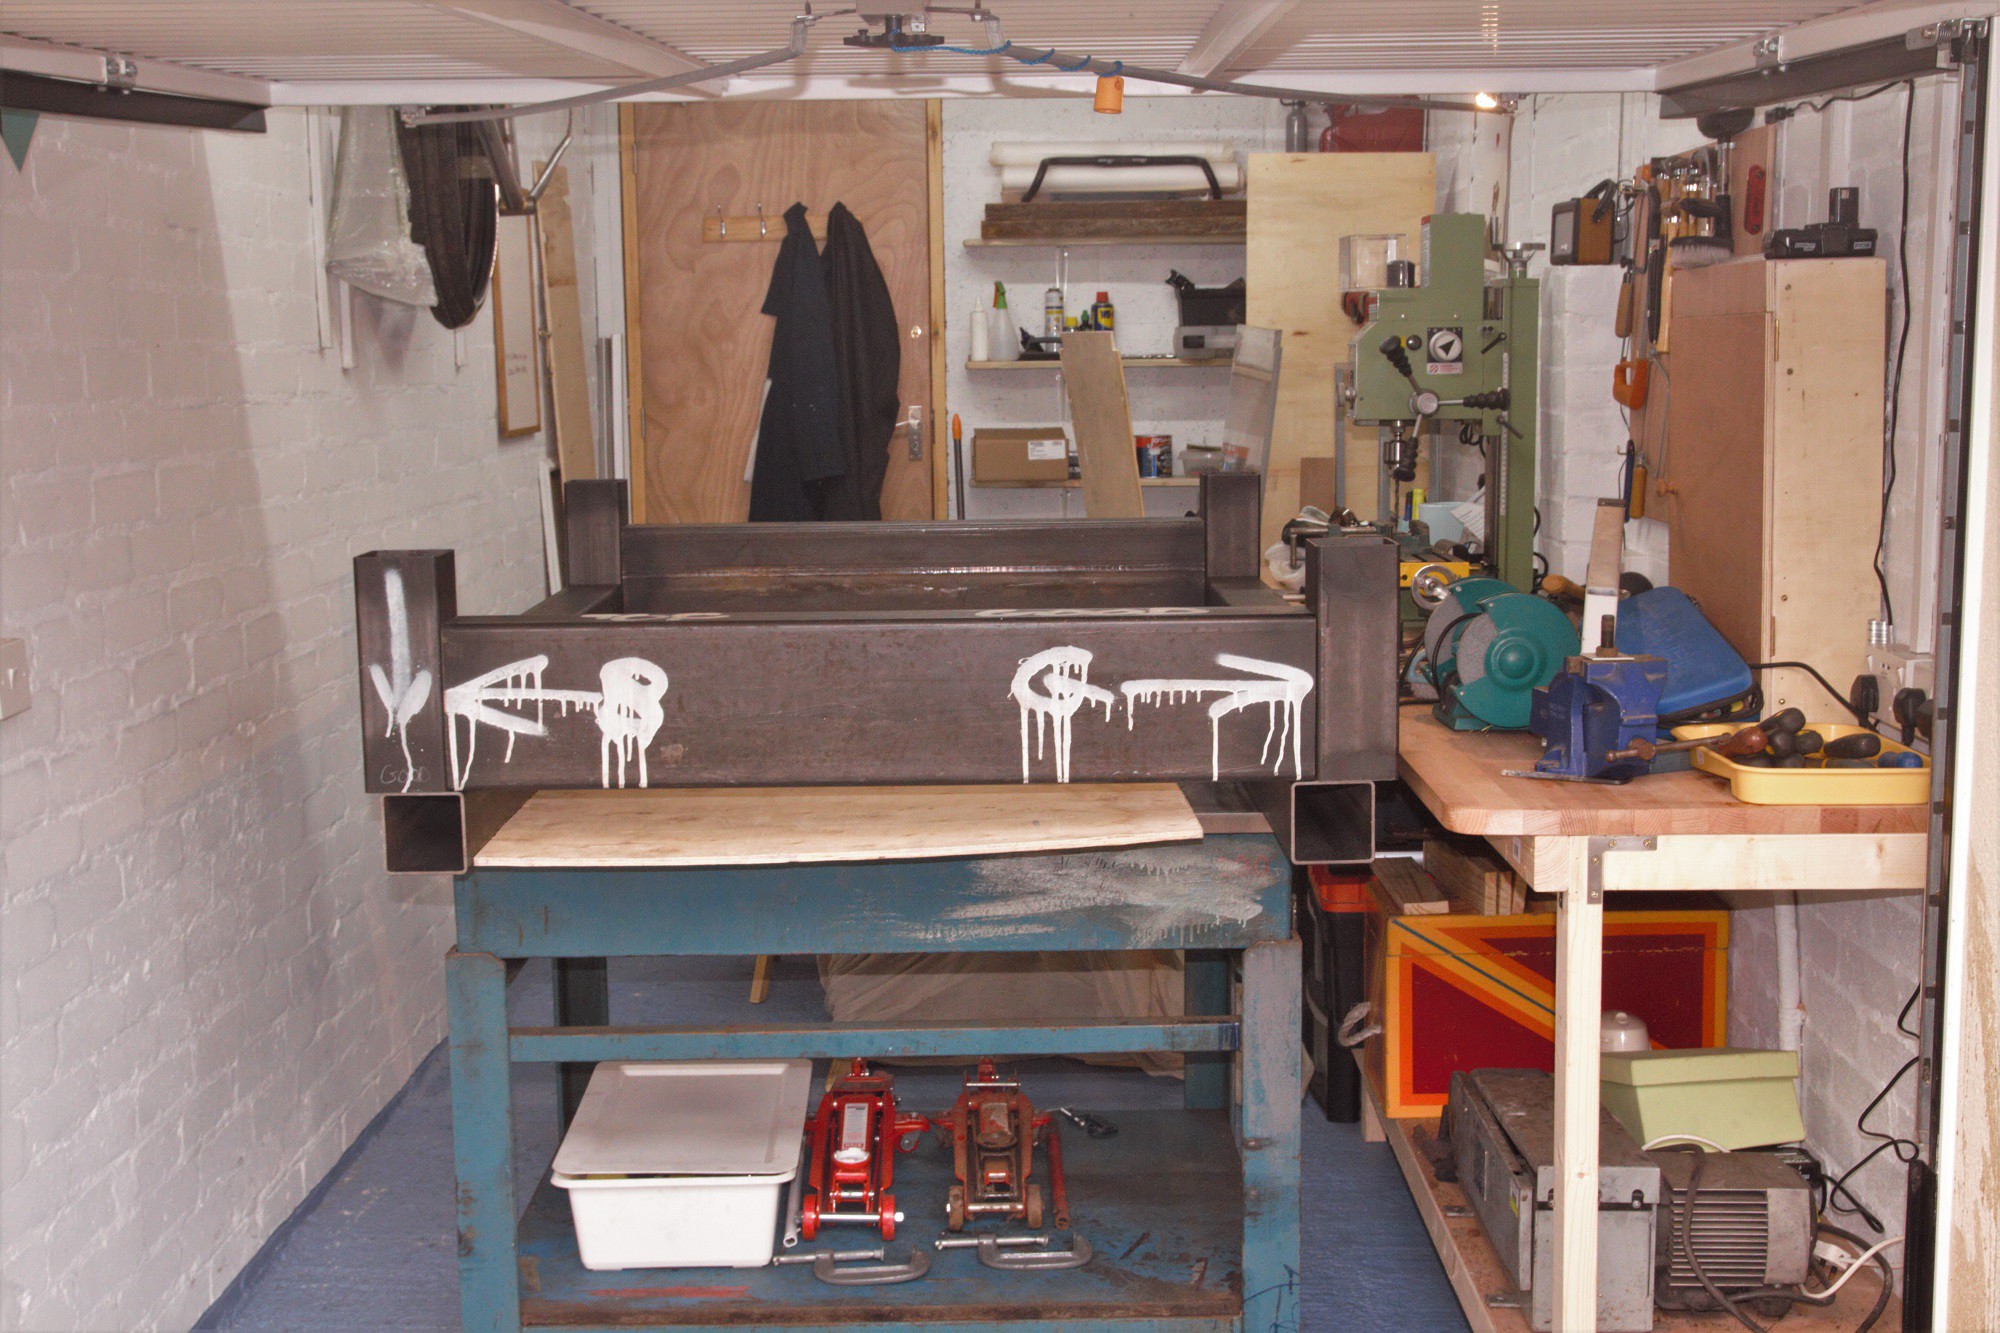
  • Multi-purposing CNC - How to design the machine in such a way as to allow different implements to be changed over from one another in less than 5 minutes? For example, the weeding apparatus should be a bolt on assembly rather than bolted on individual components.
  • Collision avoidance - Many new cars on the road (2018) have collision avoidance modules which prevent people being run over and the car hitting other obstacles. Can such systems be easily created or bought cheaply?

ProTune software manual ACSV2sm_V0.0.0.pdf

Leadshine 400W servo motors for CNC mechanism.

Adobe Portable Document Format - 2.87 MB - 08/14/2018 at 09:13

Preview
Download

ACM_Datasheet.pdf

Leadshine 400W servo motors for CNC mechanism.

Adobe Portable Document Format - 2.63 MB - 08/14/2018 at 09:13

Preview
Download

ACS806m.pdf

Leadshine 400W servo motors for CNC mechanism.

Adobe Portable Document Format - 1.98 MB - 08/14/2018 at 09:12

Preview
Download

ACS806sm.pdf

Leadshine 400W servo motors for CNC mechanism.

Adobe Portable Document Format - 565.69 kB - 08/14/2018 at 09:12

Preview
Download

Adobe Portable Document Format - 2.49 MB - 08/14/2018 at 08:40

Preview
Download

View all 22 files

View all 21 components

  • Front view

    Capt. Flatus O'Flaherty ☠06/09/2019 at 13:04 0 comments

  • More Field Tests

    Capt. Flatus O'Flaherty ☠06/06/2019 at 12:37 0 comments

    The WEEDINATOR is positioned at the start of a row of beetroot as the swede plants are now too big, with their leaves overlapping to form a canopy over the soil. Even though the objection recognition model used  was trained on swede, it still partially worked on beetroot. Fortunately, I've been taking plenty of photos of the beetroot over the last few weeks, so there's plenty to upload onto AWS to update the model.

  • Waterproofed

    Capt. Flatus O'Flaherty ☠06/05/2019 at 16:44 0 comments

    OK, so red is probably not the best colour for side panels, just happened to have that colour in stock. Black would have been better.

  • Skinning the WEEDINATOR​

    Capt. Flatus O'Flaherty ☠05/22/2019 at 17:56 0 comments

    Last season, I found doing in the field tests with the machine rather stressful due to the fear of rain, which can come at any random time where I live here in the Irish sea.

    Some kind of cover is essential to make testing more pleasant, even if it needs a tarpaulin over it to make it actually waterproof..

    A hinging lightweight frame was constructed and clad with 3mm plywood. Additionally, this could be coated with carbon fibre, but for the meantime it will probably be PVC sheet cut and trimmed into section and glued on with contact adhesive.

  • WEEDINATOR Exhibited at Farm Hack Wales 2018

    Capt. Flatus O'Flaherty ☠10/08/2018 at 07:56 0 comments


    Demonstrating the machine to a group of actual vegetable growers was interesting and the main questions seemed to revolve around scale - how big should these robots be? After a quick poll by a raising of hands, about 50% thought it was ok as it was and the other 50% thought it should be significantly smaller. The overall reception seemed to be positive and questions about 'robots stealing our jobs' did not really feature too much. The analogy of the domestic washing machine was quite useful - a simple 'robot' that we now take for granted and never really think about any more.

    I also managed to demonstrate the Nvidia Jetson TX2 recognising people coming in through the door and draw bounding boxes around them: 

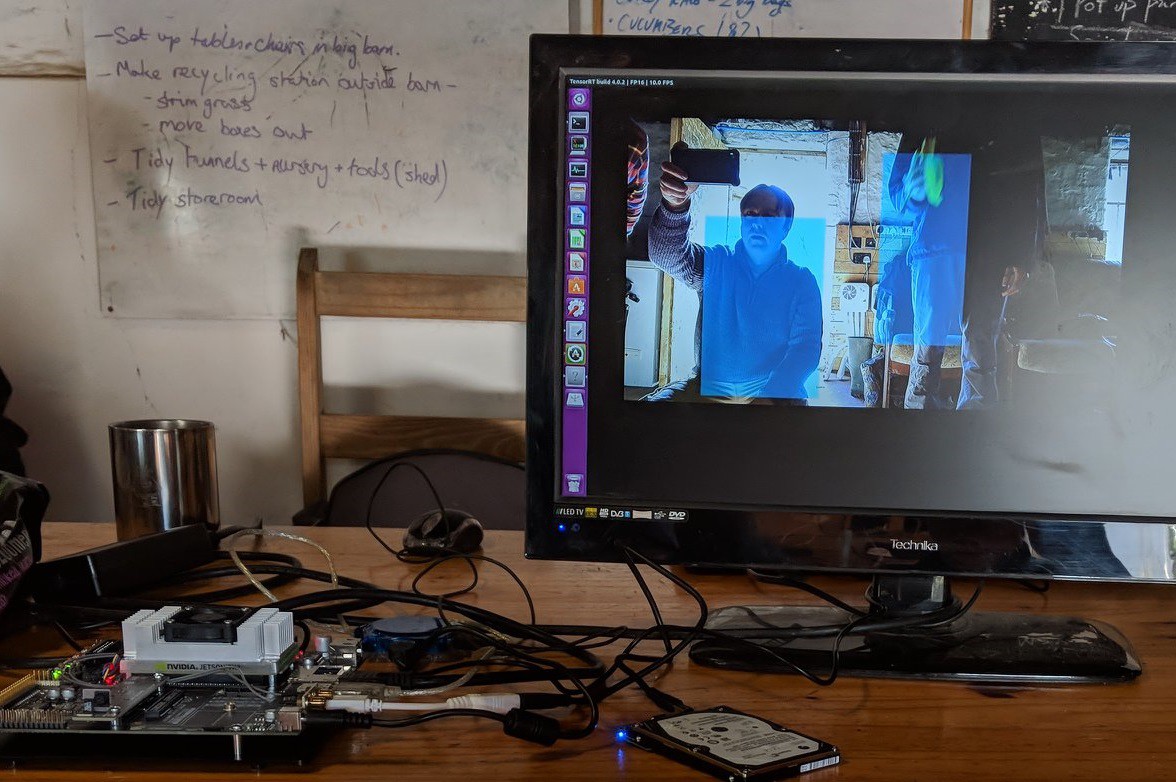
    I had only previously got this feature working the day before the event and even then, it was not working properly. Fortunately, whilst setting up, I noticed a tiny plastic tab need the camera lens and it turned out that it had a rather opaque lens cap over the camera lens! After taking it off, it performed very much better and the system proved to be quite impressive.

  • Jupyter Notebook - 3 days to get a Photo of a Cat

    Capt. Flatus O'Flaherty ☠09/21/2018 at 11:16 0 comments


    I think my pain threshold for using Ubuntu has now substantially increased as I can now install packages and their dependencies in some sort of tenuous quasi logical way. I made some notes of how and what I had to do below, which will make absolutely no sense to anyone unless they are trying to use Jupyter notebook. It seems that installing DIgits created an unsuitable environment for Jupyter and in retropect, it might even have been better to skip Digits and go straight to Jupiter:

    AttributeError: 'Cycler' object has no attribute 'change_key'

    sudo pip3 install --upgrade cycler
     
                            * The following required packages can not be built:
                                * freetype, png
                                * Try installing freetype with `apt-get install
                                * libfreetype6-dev` and pkg-config with `apt-get
                                * install pkg-config`
                                * Try installing png with `apt-get install
                                * libpng12-dev` and pkg-config with `apt-get install
                                * pkg-config`

    sudo apt-get install libfreetype6-dev
    sudo apt-get install pkg-config
    sudo apt-get install libpng12-dev
    sudo apt-get install pkg-config
    pip3 install -U matplotlib --user

     Matplotlib 3.0+ does not support Python 2.x, 3.0, 3.1, 3.2, 3.3, or 3.4.
        Beginning with Matplotlib 3.0, Python 3.5 and above is required.
        
        This may be due to an out of date pip.
        
        Make sure you have pip >= 9.0.1.
        
    digits 6.1.1 has requirement matplotlib<=1.5.2,>=1.3.1, but you'll have matplotlib 2.2.3 which is incompatible.
    digits 6.1.1 has requirement protobuf<=3.2.0,>=2.5.0, but you'll have protobuf 3.6.1 which is incompatible.
     
        ----------------------------------------
    Command "python setup.py egg_info" failed with error code 1 in /tmp/pip-build-CoCAUs/matplotlib/
    You are using pip version 8.1.1, however version 18.0 is available.
    You should consider upgrading via the 'pip install --upgrade pip' command.

    jupyter notebook
    ipython notebook

    caffe_root = '/home/nvidia/caffe/'
    pip install pyyaml

    export PATH=$PATH:/home/nvidia/.local/bin

    pip install jupyter --user
    pip3 install jupyter --user

    pip install -U matplotlib
    pip3 install -U matplotlib

    AttributeError: 'module' object has no attribute 'to_rgba'

    Matplotlib requires the following dependencies:

    Python (>= 3.5)
    FreeType (>= 2.3)
    libpng (>= 1.2)
    NumPy (>= 1.10.0)
    setuptools
    cycler (>= 0.10.0)
    dateutil (>= 2.1)
    kiwisolver (>= 1.0.0)
    pyparsing

    sudo apt-get install python3-matplotlib

    Matplotlib to_rgba jupyter notebook AttributeError: 'module' object has no attribute 'to_rgba'

    python -mpip install -U pip
    python -mpip install -U matplotlib
    pip install --upgrade pip

    Could not install packages due to an EnvironmentError: [Errno 13] Permission denied: '/usr/local/bin/jupyter-run'
    sudo chown -R $USER /usr/local/lib/python2.7
    sudo chown -R $USER /usr/local/bin/jupyter-run

    Could not install packages due to an EnvironmentError: [Errno 13] Permission denied: '/usr/local/bin/jupyter-run'
    Consider using the `--user` option or check the permissions.
    pip install jupyter --user

      The scripts jupyter-bundlerextension, jupyter-nbextension, jupyter-notebook and jupyter-serverextension are installed in '/home/nvidia/.local/bin' which is not on PATH.
      Consider...

    Read more »

  • First Steps With Ai on Jetson TX2

    Capt. Flatus O'Flaherty ☠09/16/2018 at 15:12 0 comments

    I really thought that there could not be any more files to upload after the marathon 4 month Jetpack install debacle ..... But, as might be expected, there were still many tens of thousands more to go. The interweb points to using a program called 'DIGITS' to get started 'quickly' , yet this was later defined to be a mere '2 days' work !!!! Anyway, after following the instructions at: https://github.com/NVIDIA/DIGITS/blob/master/docs/BuildDigits.md I eventually had some success. Not surprisingly, DIGITS needed a huge load of dependancies and I had to back track through each one, through 'dependencies of dependencies of dependencies' ....... A dire task for a relative Ubuntu beginner like myself.

    Fortunately, I had just about enough experience to spot the mistakes in each instruction set - usually a missing 'sudo' or failiure to cd into the right directory. A total beginner would have absolutely no chance ! For me, at least, deciphering the various error messages was extremely challenging. I made a note of most of the steps / problems pasted at the end of this log, which will probably make very little sense to anyone as very often I had to back track to get dependancies installed properly eg libprotobuf.so.12 .

    Anyway, here is my first adventure with Ai - recognising a O:

      File "/usr/local/lib/python2.7/dist-packages/protobuf-3.2.0-py2.7-linux-aarch64.egg/google/protobuf/descriptor.py", line 46, in <module>
        from google.protobuf.pyext import _message
    ImportError: libprotobuf.so.12: cannot open shared object file: No such file or directory

    Procedure:

    # For Ubuntu 16.04
    CUDA_REPO_PKG=http://developer.download.nvidia.com/compute/cuda/repos/ubuntu1604/x86_64/cuda-repo-ubuntu1604_8.0.61-1_amd64.deb

    ML_REPO_PKG=http://developer.download.nvidia.com/compute/machine-learning/repos/ubuntu1604/x86_64/nvidia-machine-learning-repo-ubuntu1604_1.0.0-1_amd64.deb

    # Install repo packages
    wget "$CUDA_REPO_PKG" -O /tmp/cuda-repo.deb && sudo dpkg -i /tmp/cuda-repo.deb && rm -f /tmp/cuda-repo.deb

    wget "$ML_REPO_PKG" -O /tmp/ml-repo.deb && sudo dpkg -i /tmp/ml-repo.deb && rm -f /tmp/ml-repo.deb

    # Download new list of packages
    sudo apt-get update

    sudo apt-get install --no-install-recommends git graphviz python-dev python-flask python-flaskext.wtf python-gevent python-h5py python-numpy python-pil python-pip python-scipy python-tk

                   ------------------DONE------------------------------

    sudo apt-get install autoconf automake libtool curl make g++ git python-dev python-setuptools unzip

                   ------------------DONE------------------------------

    $ git clone https://github.com/protocolbuffers/protobuf.git
    $ cd protobuf
    $ git submodule update --init --recursive
    $ ./autogen.sh
    To build and install the C++ Protocol Buffer runtime and the Protocol Buffer compiler (protoc) execute the following:

    $ ./configure
    $ make
    $ make check
    $ sudo make install
    $ sudo ldconfig # refresh shared library cache.
    cd python
    sudo python setup.py install --cpp_implementation

    Download Source
    DIGITS is currently compatiable with Protobuf 3.2.x

    # example location - can be customized
    export PROTOBUF_ROOT=~/protobuf
    cd $PROTOBUF_ROOT
    git clone https://github.com/google/protobuf.git $PROTOBUF_ROOT -b '3.2.x'
    Building Protobuf
    cd $PROTOBUF_ROOT
    ./autogen.sh
    ./configure
    make "-j$(nproc)"
    make install
    ldconfig
    cd python
    sudo python setup.py install --cpp_implementation
    This will ensure that Protobuf 3 is installed.

                  ------------------ DONE -------------------------

    sudo apt-get install --no-install-recommends build-essential cmake git gfortran libatlas-base-dev libboost-filesystem-dev libboost-python-dev
                   ----------- DONE -----------------------------------

    sudo apt-get install libboost-system-dev libboost-thread-dev libgflags-dev libgoogle-glog-dev libhdf5-serial-dev libleveldb-dev...

    Read more »

  • Ai Object Based Navigation Takes One Step Forwards

    Capt. Flatus O'Flaherty ☠09/14/2018 at 11:48 0 comments

    About 4 months ago I bought the Jetson TX2 development board and tried to install the JetPack software to it …….. but after many hours of struggle, I got pretty much nowhere. Fortunately, the next release, JetPack 3.3, worked a lot better and I finally managed to get a working system up and running:

    The installation uses two computers running Ubuntu and the tricks that I used are:
    • Make a fresh install of Ubuntu 16.04 (2018) on the host computer
    • Use the network settings panel to set up the USB interface, particularly the IPv4 settings. The documentation gives an address of 192.168.55.2, so enter this then 255.255.255.0 then 255.255.255.0 again. When the install itself asks for the address. use: 192.168.55.1.
    • There must be an internet connection !
    • Make sure the install knows which internet device to use eg Wi-Fi / Bluetooth / whatever. A router switch is NOT required as the install will automatically switch between the internet and USB connection whenever it needs to, as long as it was told before hand which connection to use.

    The plan is to spend the colder Winter months developing an object based navigation system for the machine so, for example, it can use the plants themselves to enhance the overall navigation accuracy. We'll still be using GNSS, electrical cables, barcodes etc but will eventually give mathematical weighting to the techniques that prove to be more useful.

  • WEEDINATOR Frontend Human - Machine Inteface Explained

    Capt. Flatus O'Flaherty ☠09/10/2018 at 08:30 0 comments

    Rafael has come from Brazil to the Land of Dragons to visit! Progress on the interface has been ongoing in the background and it's great to get a guided tour by the man himself on how it works:

  • WEEDINATOR at the EMF 2018 Festival

    Capt. Flatus O'Flaherty ☠09/02/2018 at 16:47 0 comments

    Residing in an area randomly strewn with shipping containers right next to a giant talking cat, The WEEDINATOR's text to speech module struggled to compete with the 5 KW PA system blasting out all types of dance music right through to 2 am the next morning. The integrity of the electronics was relentless tested against a whole range of powerful low range bass frequencies:

    Much alcohol needed to be consumed to get through the experience and hangovers were ongoing through most of the next day. It's day 3 now ..... And it's time for another beer .....

View all 50 project logs

  • 1
    Chassis Build

    The central part of the chassis, which is also going to be the CNC machine, is laid out on an extremely flat surface plate so that the pieces of box section can be positioned as accurately as possible, enabling the CNC components to run nice and smoothly. The pieces are welded up on the table taking great care not to get hot splatter on the table itself, which would ruin it.

    The box section itself needs to be cut with an accuracy of about 0.2 mm and I chose the best steel supplier in my location with a saw that used automated feed to get an accuracy to 0.1 mm. Other steel suppliers cut to +- 5mm which is useless!

    The sections are checked for squareness to each other and carefully tacked together in diagonal sequences to avoid distortion.

    At this stage the construction seems to be wildly heavy and very much over engineered, but in the later stages the plasma cutter is going to be used to remove as much mass from the structure as possible.

  • 2
    Buidling the Swivelling Front Axle

    The front drive units are positioned relative to the main chassis and wooden blocks are used to level it up. This enables the front axle to be measured. It is then drilled each side with a diameter 60mm hole in it's centre using a broaching drill. The 600 mm long box is drilled diameter 40mm.

    The small 100 x 100 box sub frame is welded onto the main chassis, getting it as level and square as possible and the suspension tube is inserted and welded into the 60 mm holes.

    The low profile 50 mm bearings are inserted into the tube and the shaft is carefully positioned and welded in.

    The 970mm axle box section is then welded to each of the drive units in turn.

  • 3
    Building the Back Axle Assembly

    The back axle is a temporary fixture to enable testing of the main front drive units. The dimensions of the 100 x 100 mm box sections used are given by setting the rest of the chassis level and making measurements.

View all 13 instructions

Enjoy this project?

Share

Discussions

blaise2410 wrote 08/17/2023 at 11:02 point

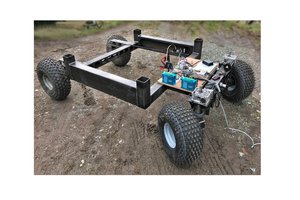
Very interested about the future weed detection and destruction system.

About accurate positionning you can think about something like this (+-300€) : https://www.thingiverse.com/thing:5182231/
Which is using DIY RTK open-source base (+-300€ also ) via the free centipede network.

  Are you sure? yes | no

vishwajeet724728 wrote 10/09/2021 at 09:31 point

Loved the Project!!!
I had one query
what is the weight of the whole robot?

  Are you sure? yes | no

andras.steger wrote 01/28/2021 at 03:26 point

Amazing achievement, congratulation, I like it very much !
I checked the repository on the GitHub, but unfortunately I didn't find, how the power line (battery, motors etc.) are wired. For example: are You used only one battery system (12V) or two battery system (12V & 48V?) ?
If You can share some block diagram, it would be highly appreciated.
Thank You very much for Your support and help in the name of other readers as well :-)

  Are you sure? yes | no

matop wrote 12/12/2019 at 21:03 point

A really cool project, I love it

Matt

  Are you sure? yes | no

Esben Bach wrote 01/11/2019 at 13:29 point

Hi

What a nice project! I would like to hear, how you have programmed it? Are you using ROS and is the code available on github? 

Best luck to you!

/Esben

  Are you sure? yes | no

Flavia Laurencich wrote 08/19/2018 at 11:45 point

Very interesting project!! Love it <3

  Are you sure? yes | no

Capt. Flatus O'Flaherty ☠ wrote 08/20/2018 at 18:21 point

Thanks Flavia!

  Are you sure? yes | no

Jan wrote 08/05/2018 at 08:52 point

I hope this question was not asked before but it really boggles my mind: Will the finished unit be fully autonomous? With that I mean: does it roam the fields freely or will it still need visual guides like QR-codes, wires or even kind of "tracks"?
The reason I ask is because I can't think of farmers equipping fields hundreds of meters wide with such delicate stuff like optical markers, wires or something like that.

Cheers, Jan

  Are you sure? yes | no

elad orbach wrote 06/03/2018 at 09:39 point

looks very similar to this project  (2001)

http://citeseerx.ist.psu.edu/viewdoc/download?doi=10.1.1.431.3255&rep=rep1&type=pdf

hope it can assist you to achieve your goal faster

  Are you sure? yes | no

Capt. Flatus O'Flaherty ☠ wrote 06/04/2018 at 16:29 point

Looks like a good system .I'd certainly love to have in-wheel motors one day!

  Are you sure? yes | no

Capt. Flatus O'Flaherty ☠ wrote 06/04/2018 at 16:35 point

yes and I'd love to be able to use in wheel motors sometime soon!

  Are you sure? yes | no

miltongiordano wrote 04/25/2018 at 12:20 point

love your project, following closely

  Are you sure? yes | no

Capt. Flatus O'Flaherty ☠ wrote 04/25/2018 at 13:59 point

Thanks - We're making a lot of good progress at the moment.

  Are you sure? yes | no

miltongiordano wrote 05/09/2018 at 11:55 point

anything to share? about your progress

  Are you sure? yes | no

Capt. Flatus O'Flaherty ☠ wrote 05/09/2018 at 16:21 point

Yes ..... I've just updated the logs section with videos etc.

  Are you sure? yes | no

RandyKC wrote 04/17/2018 at 16:26 point

Enjoying your project! 

Where did you get your tire(tyre)/wheel/hub/axel from?

  Are you sure? yes | no

berryfarm wrote 03/04/2018 at 18:34 point

Can your motor controller be used on other motors besides stepper motors?

  Are you sure? yes | no

Capt. Flatus O'Flaherty ☠ wrote 03/05/2018 at 07:03 point


 Yes, we are using the controller on other motors including servo and cargo

  Are you sure? yes | no

Similar Projects

Does this project spark your interest?

Become a member to follow this project and never miss any updates