 Linus Dillon
An now assembly. First try is by simply hand soldering the parts. The technique I'd read was to put a small blob/dome of solder on one pad, then hold the component in place and melt it again to tack the part down, then go round and solder the remaining pins (possibly just by applying a blob of sold to the iron and letting this flow into place by touching the iron to the component/pad).
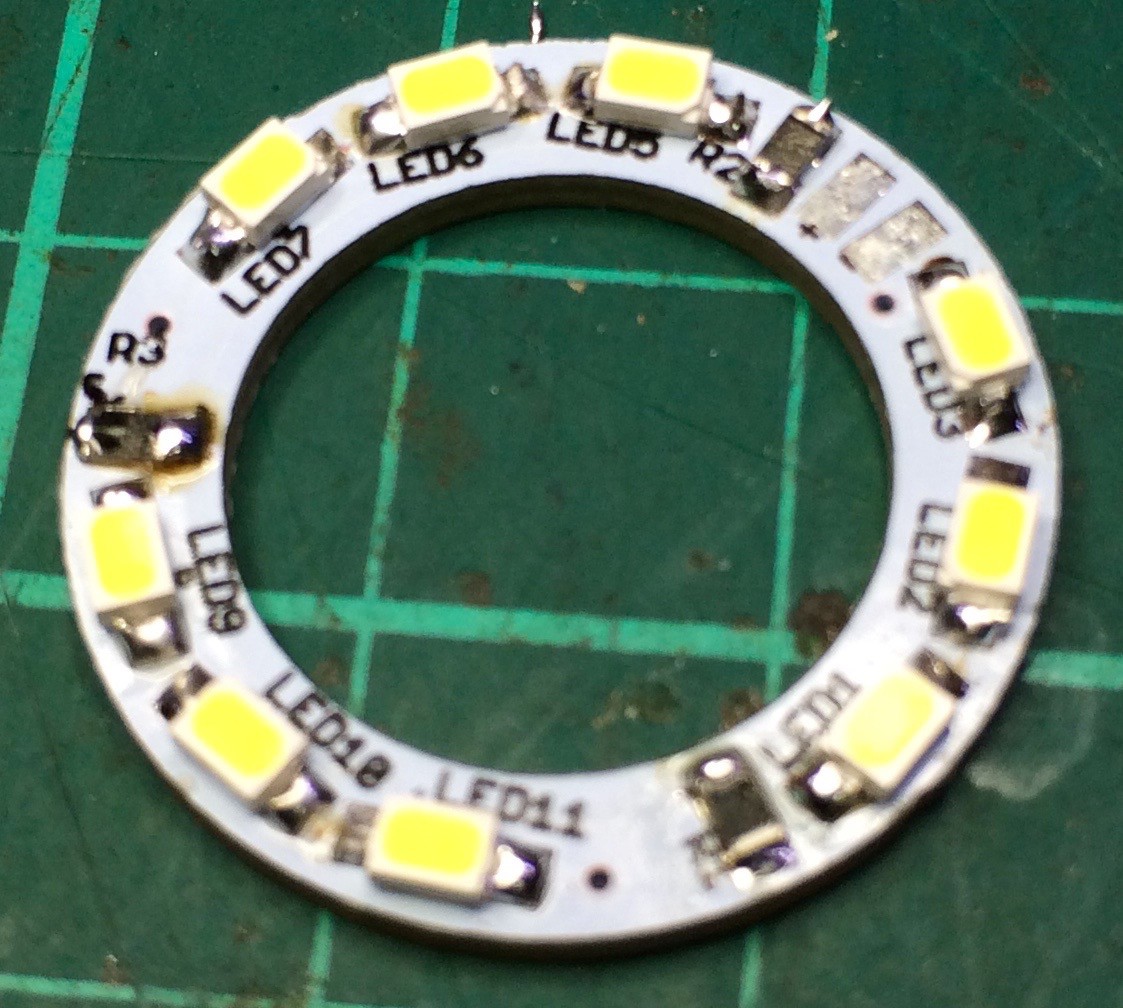
Was a little interesting identifying the polarity of the LEDs; they have a tiny little bite taken out of one corner to denote the anode, but its so small I had to use my magnifier to make sure I had it right. I ended up using the magnifier for all of it. I worked in thirds so I could test each segment of three once it was assembled. Resistor first (being the smallest) then its three corresponding LEDs. I had my iron set to 320C (have not checked to see how accurate this is). All went quite well, although I did have a little problem with solder forming a peak when I moved the soldering iron away. Reheating didn't help. Might try hitting it with my hot-air rework unit to see if I can neaten the joints up.
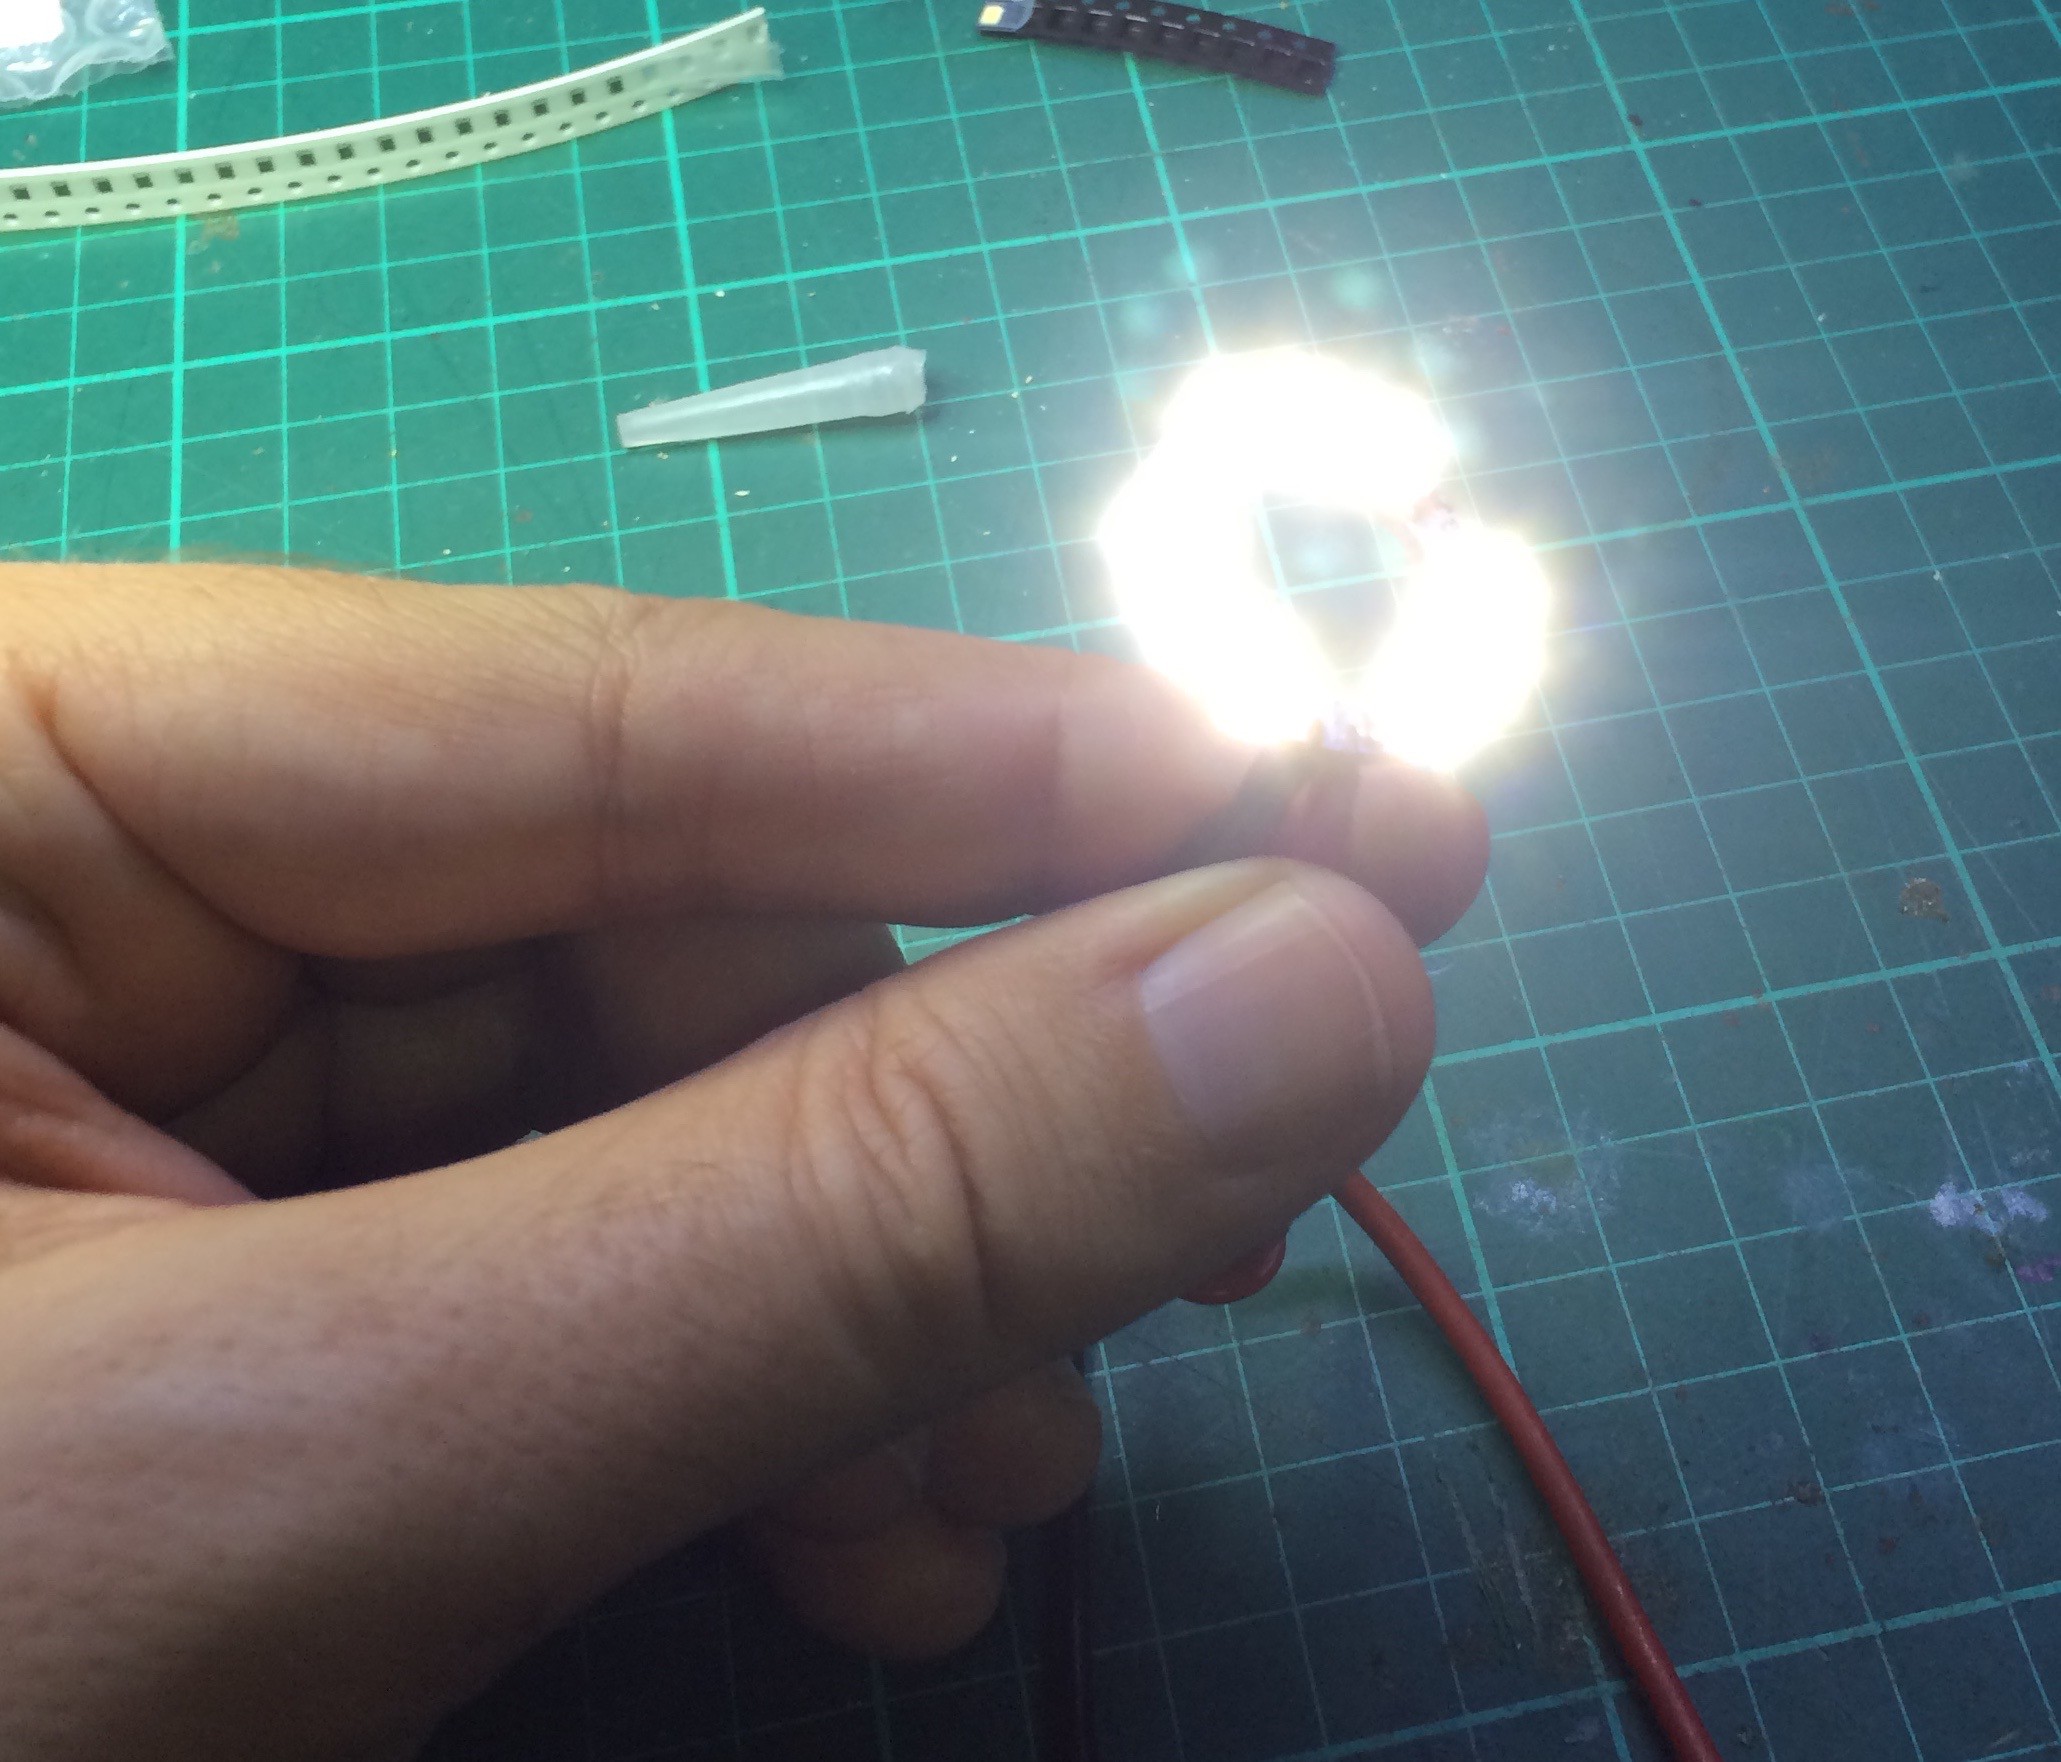
Once done I soldered on some wires and it all works. A surprising amount of light actually.
Now I just have to fit it to the iron and sort out a power supply for it. a 3D printed cowl might also be a good idea.
Discussions
Become a Hackaday.io Member
Create an account to leave a comment. Already have an account? Log In.