 Rob Vincent
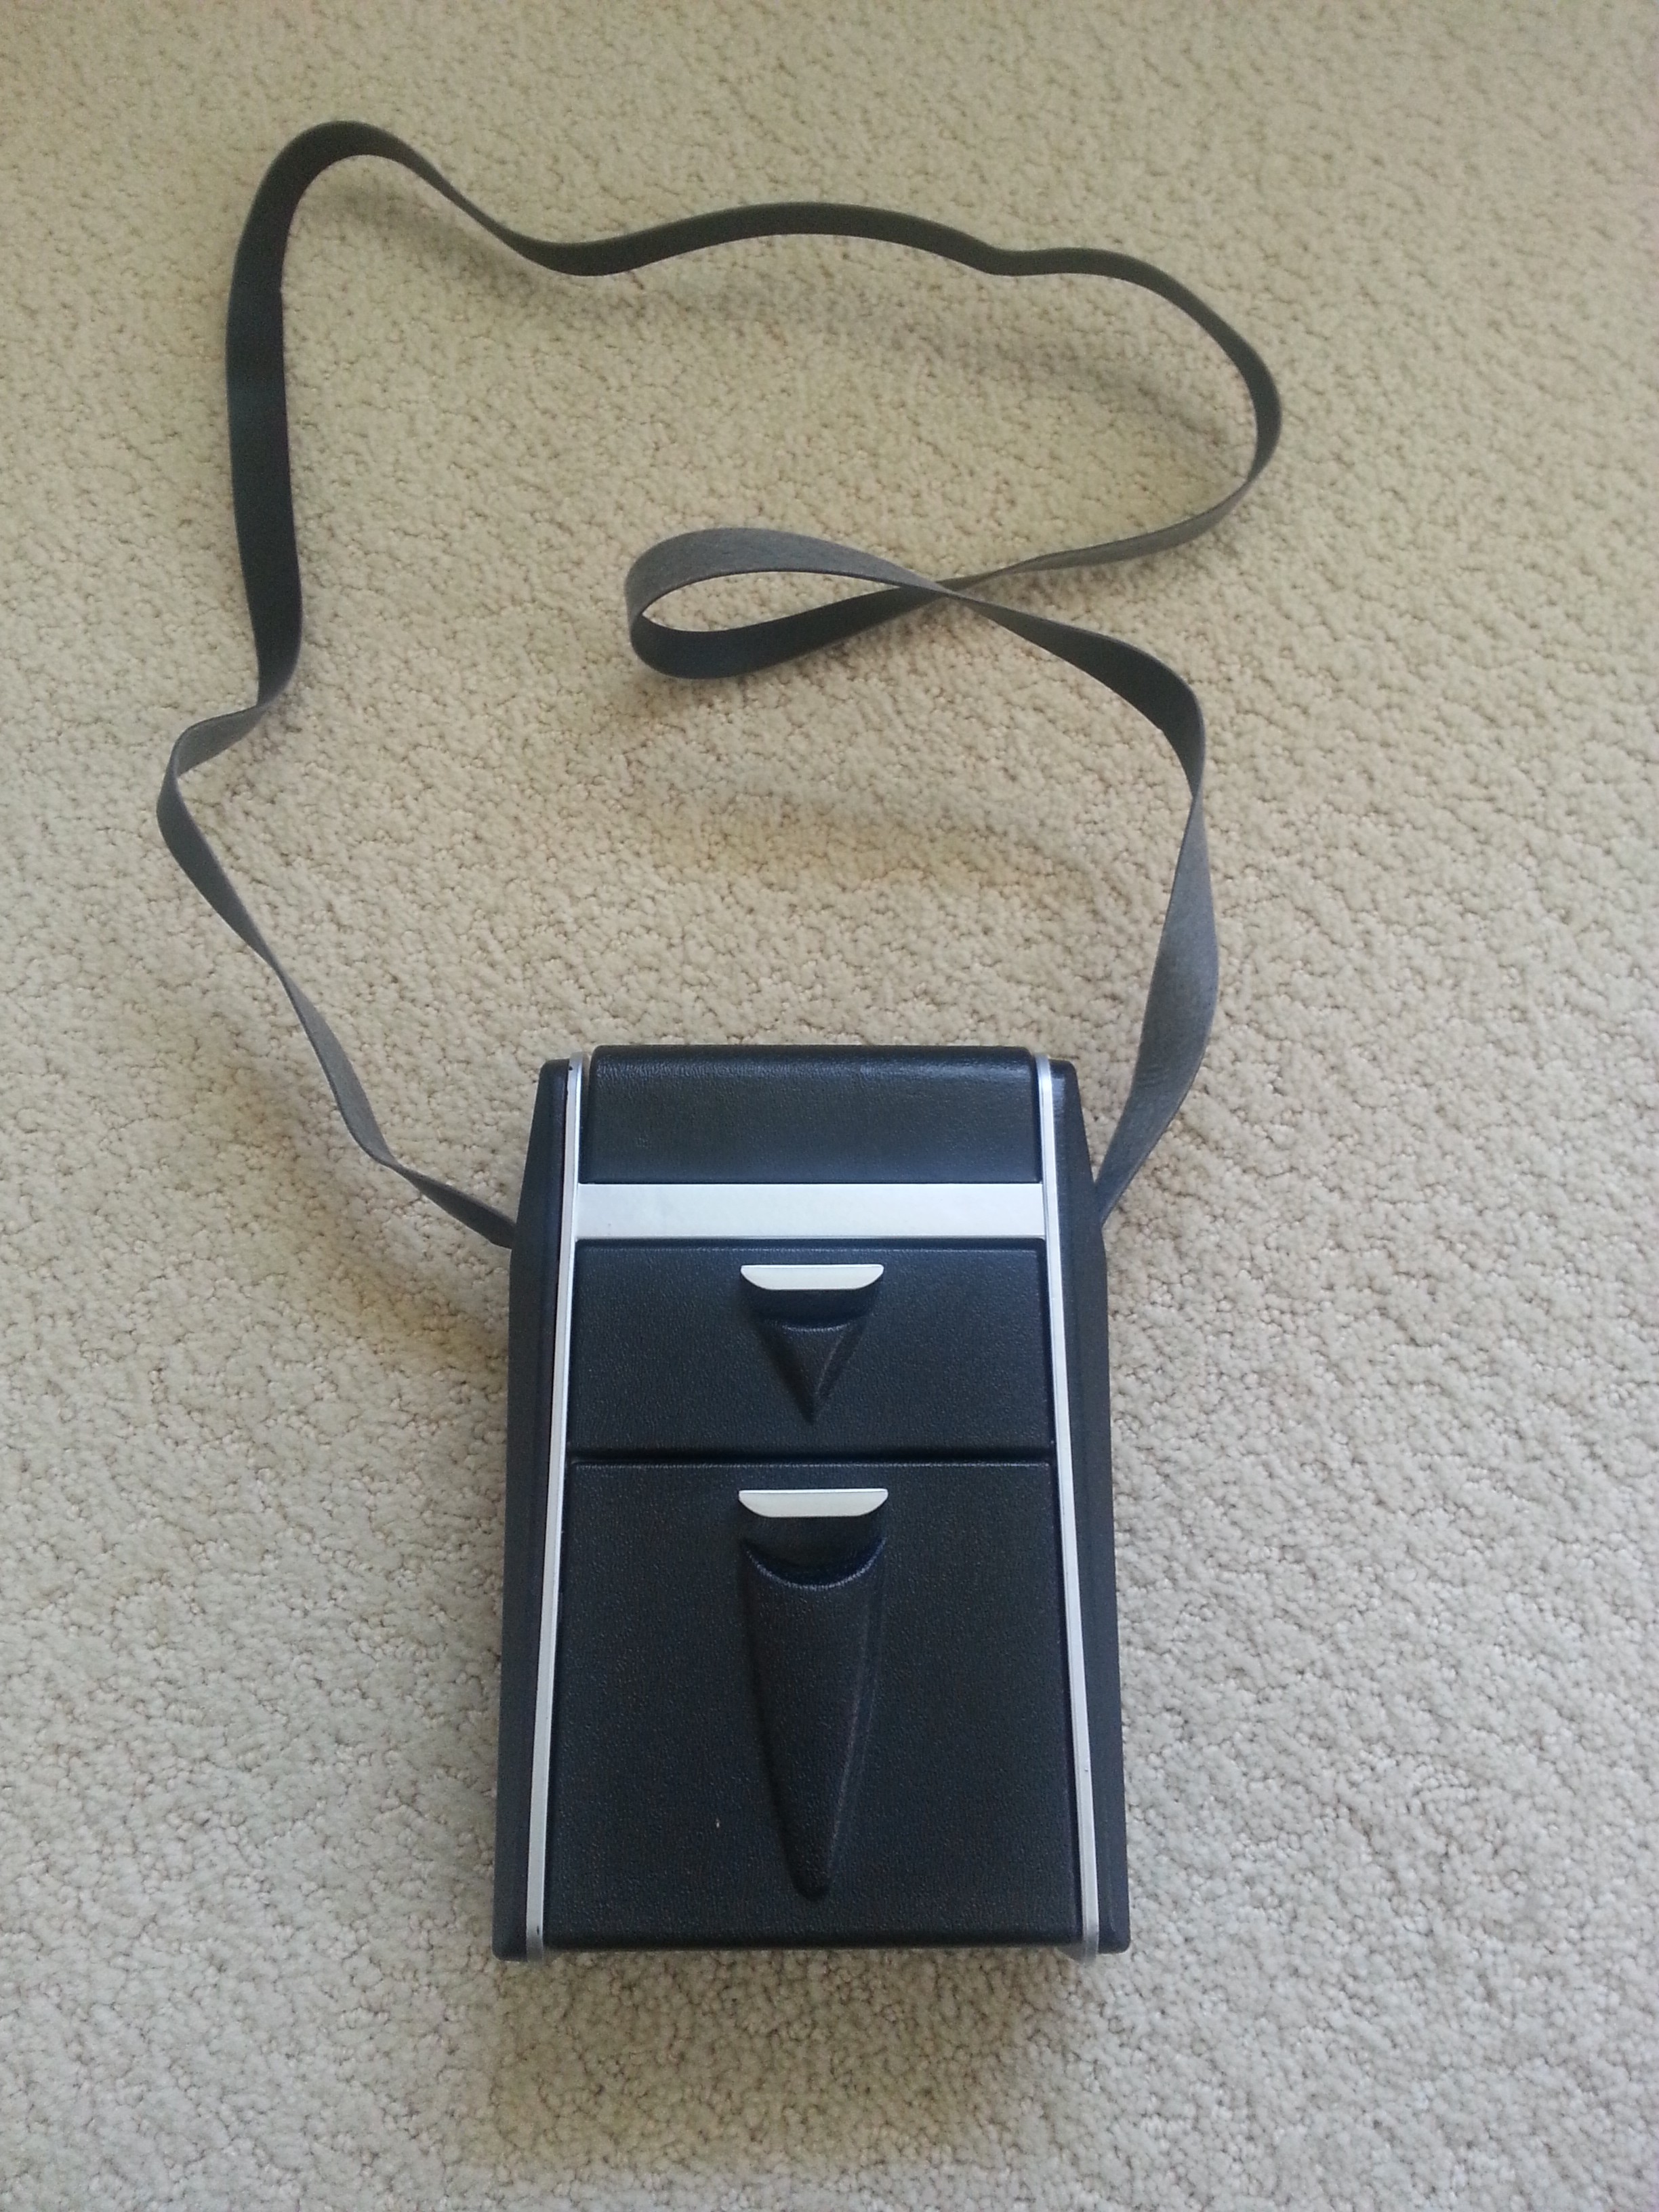
We start with a box.
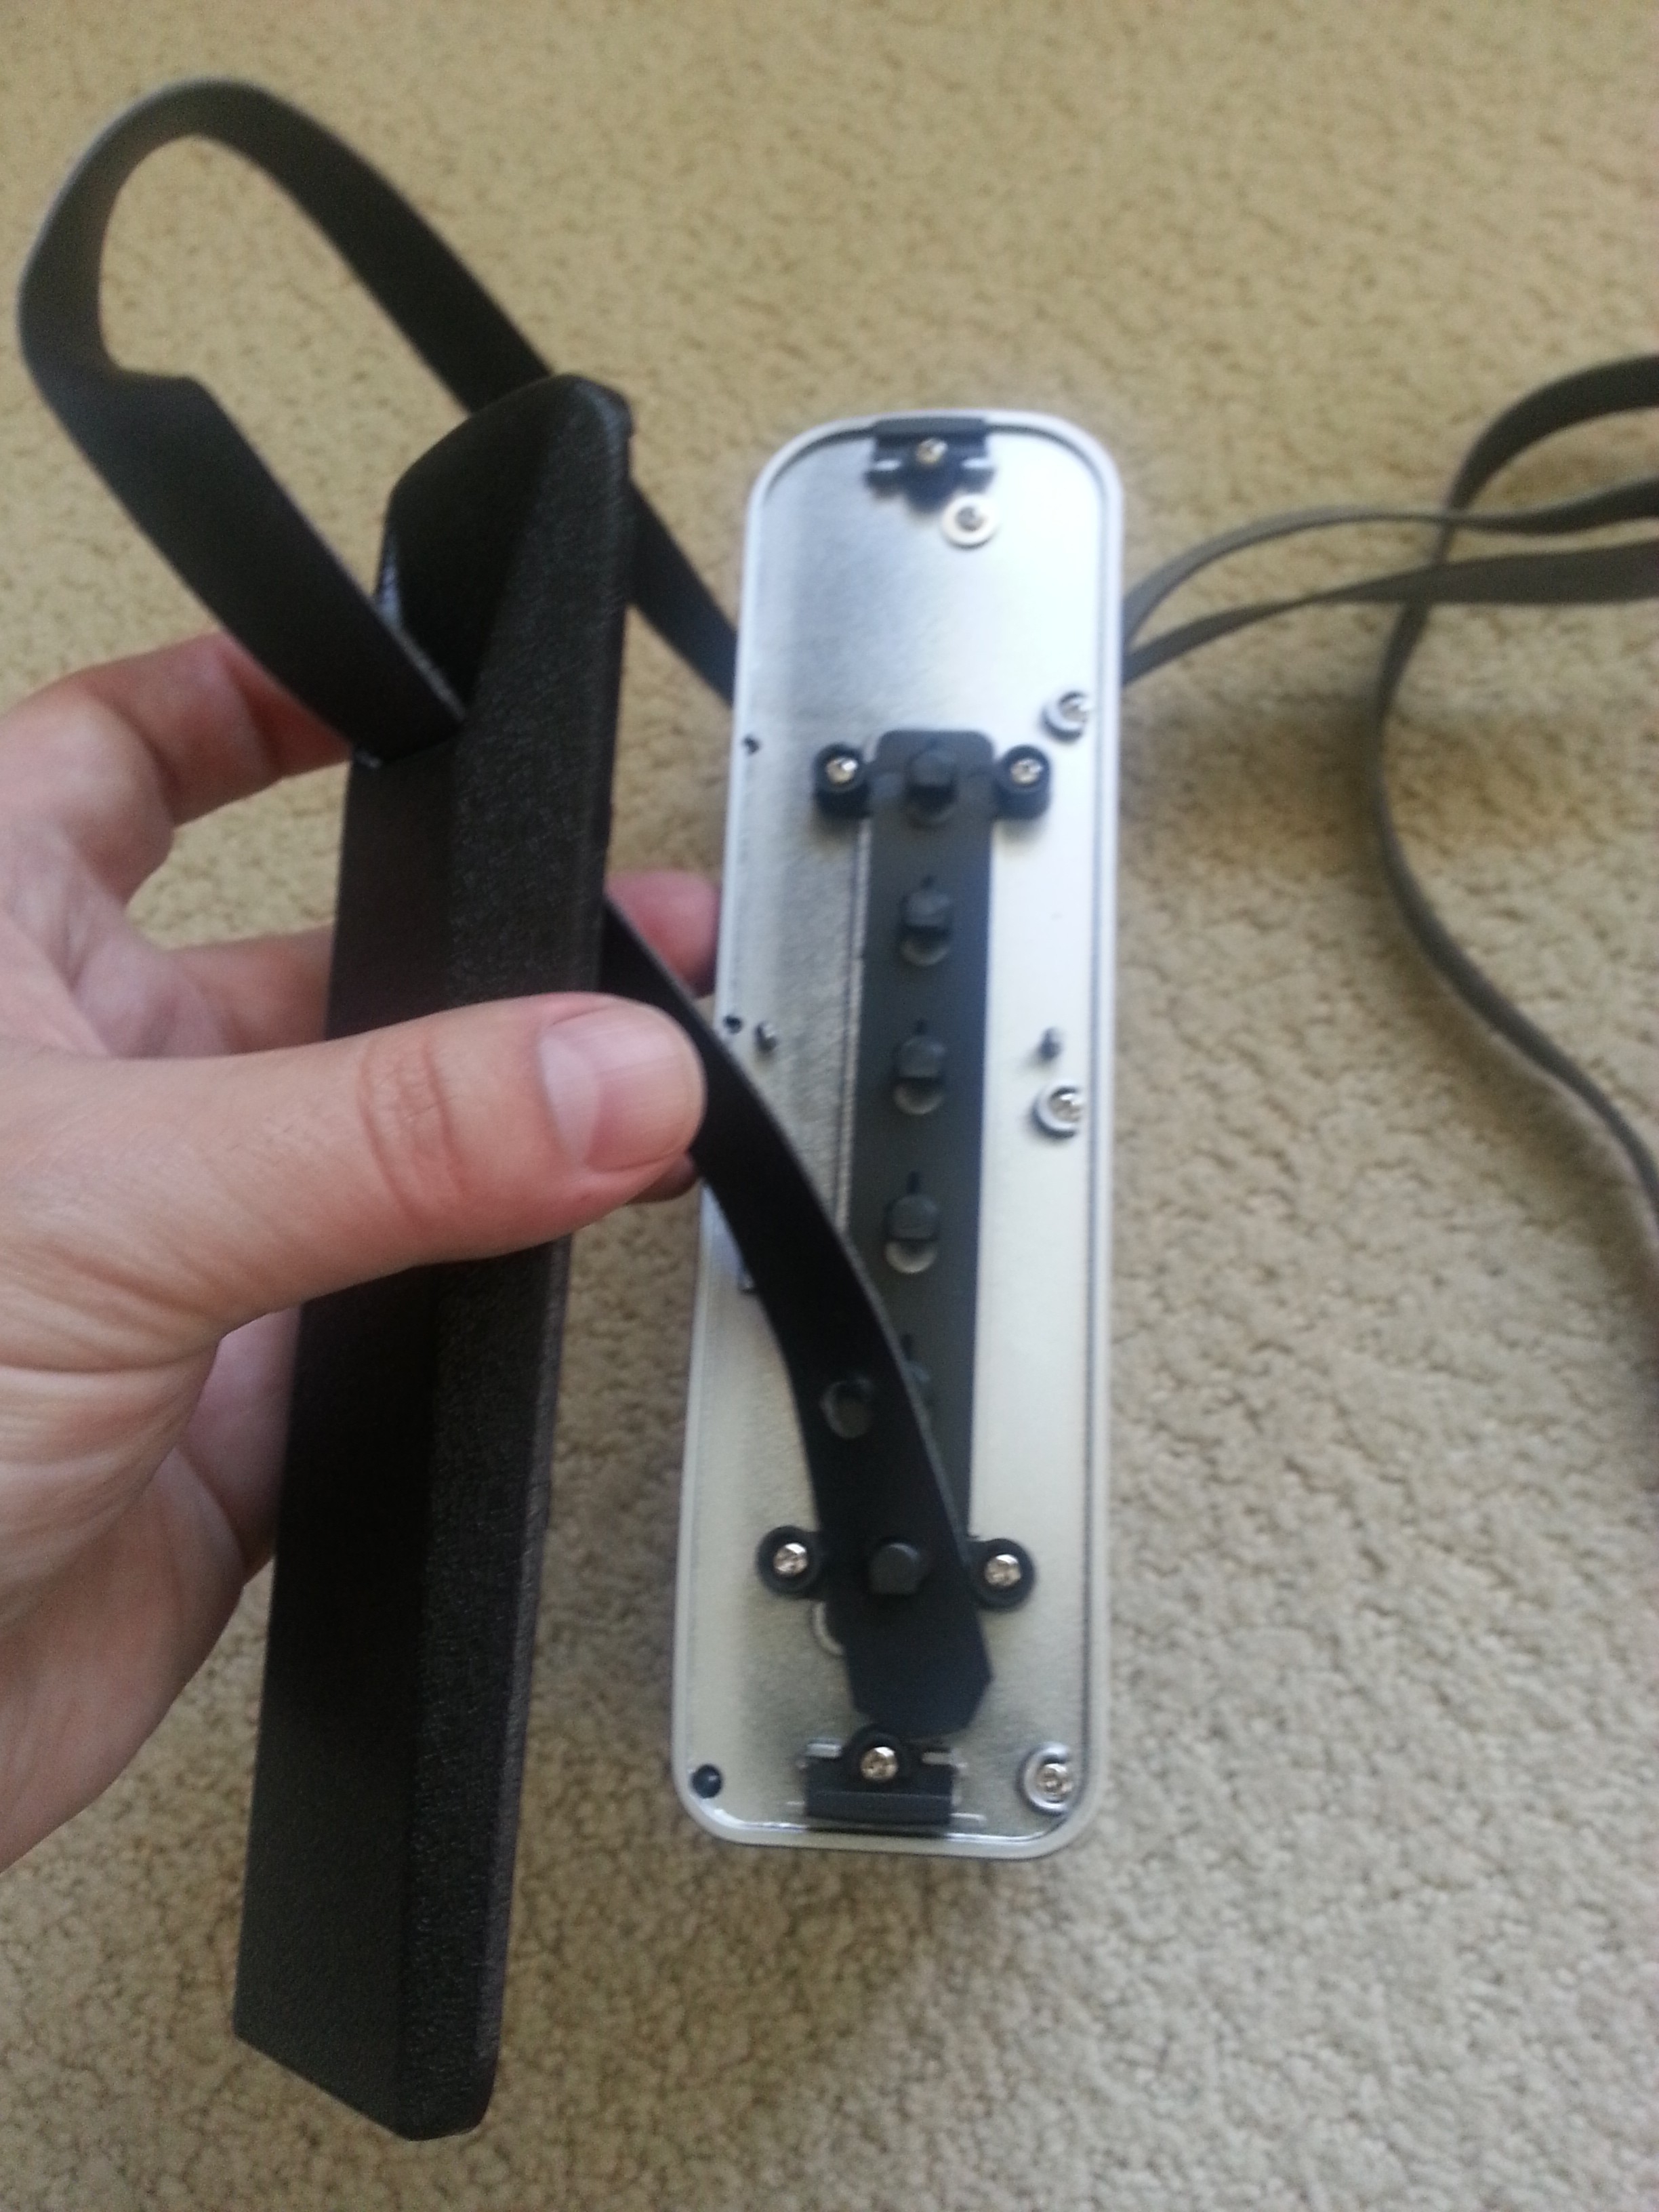
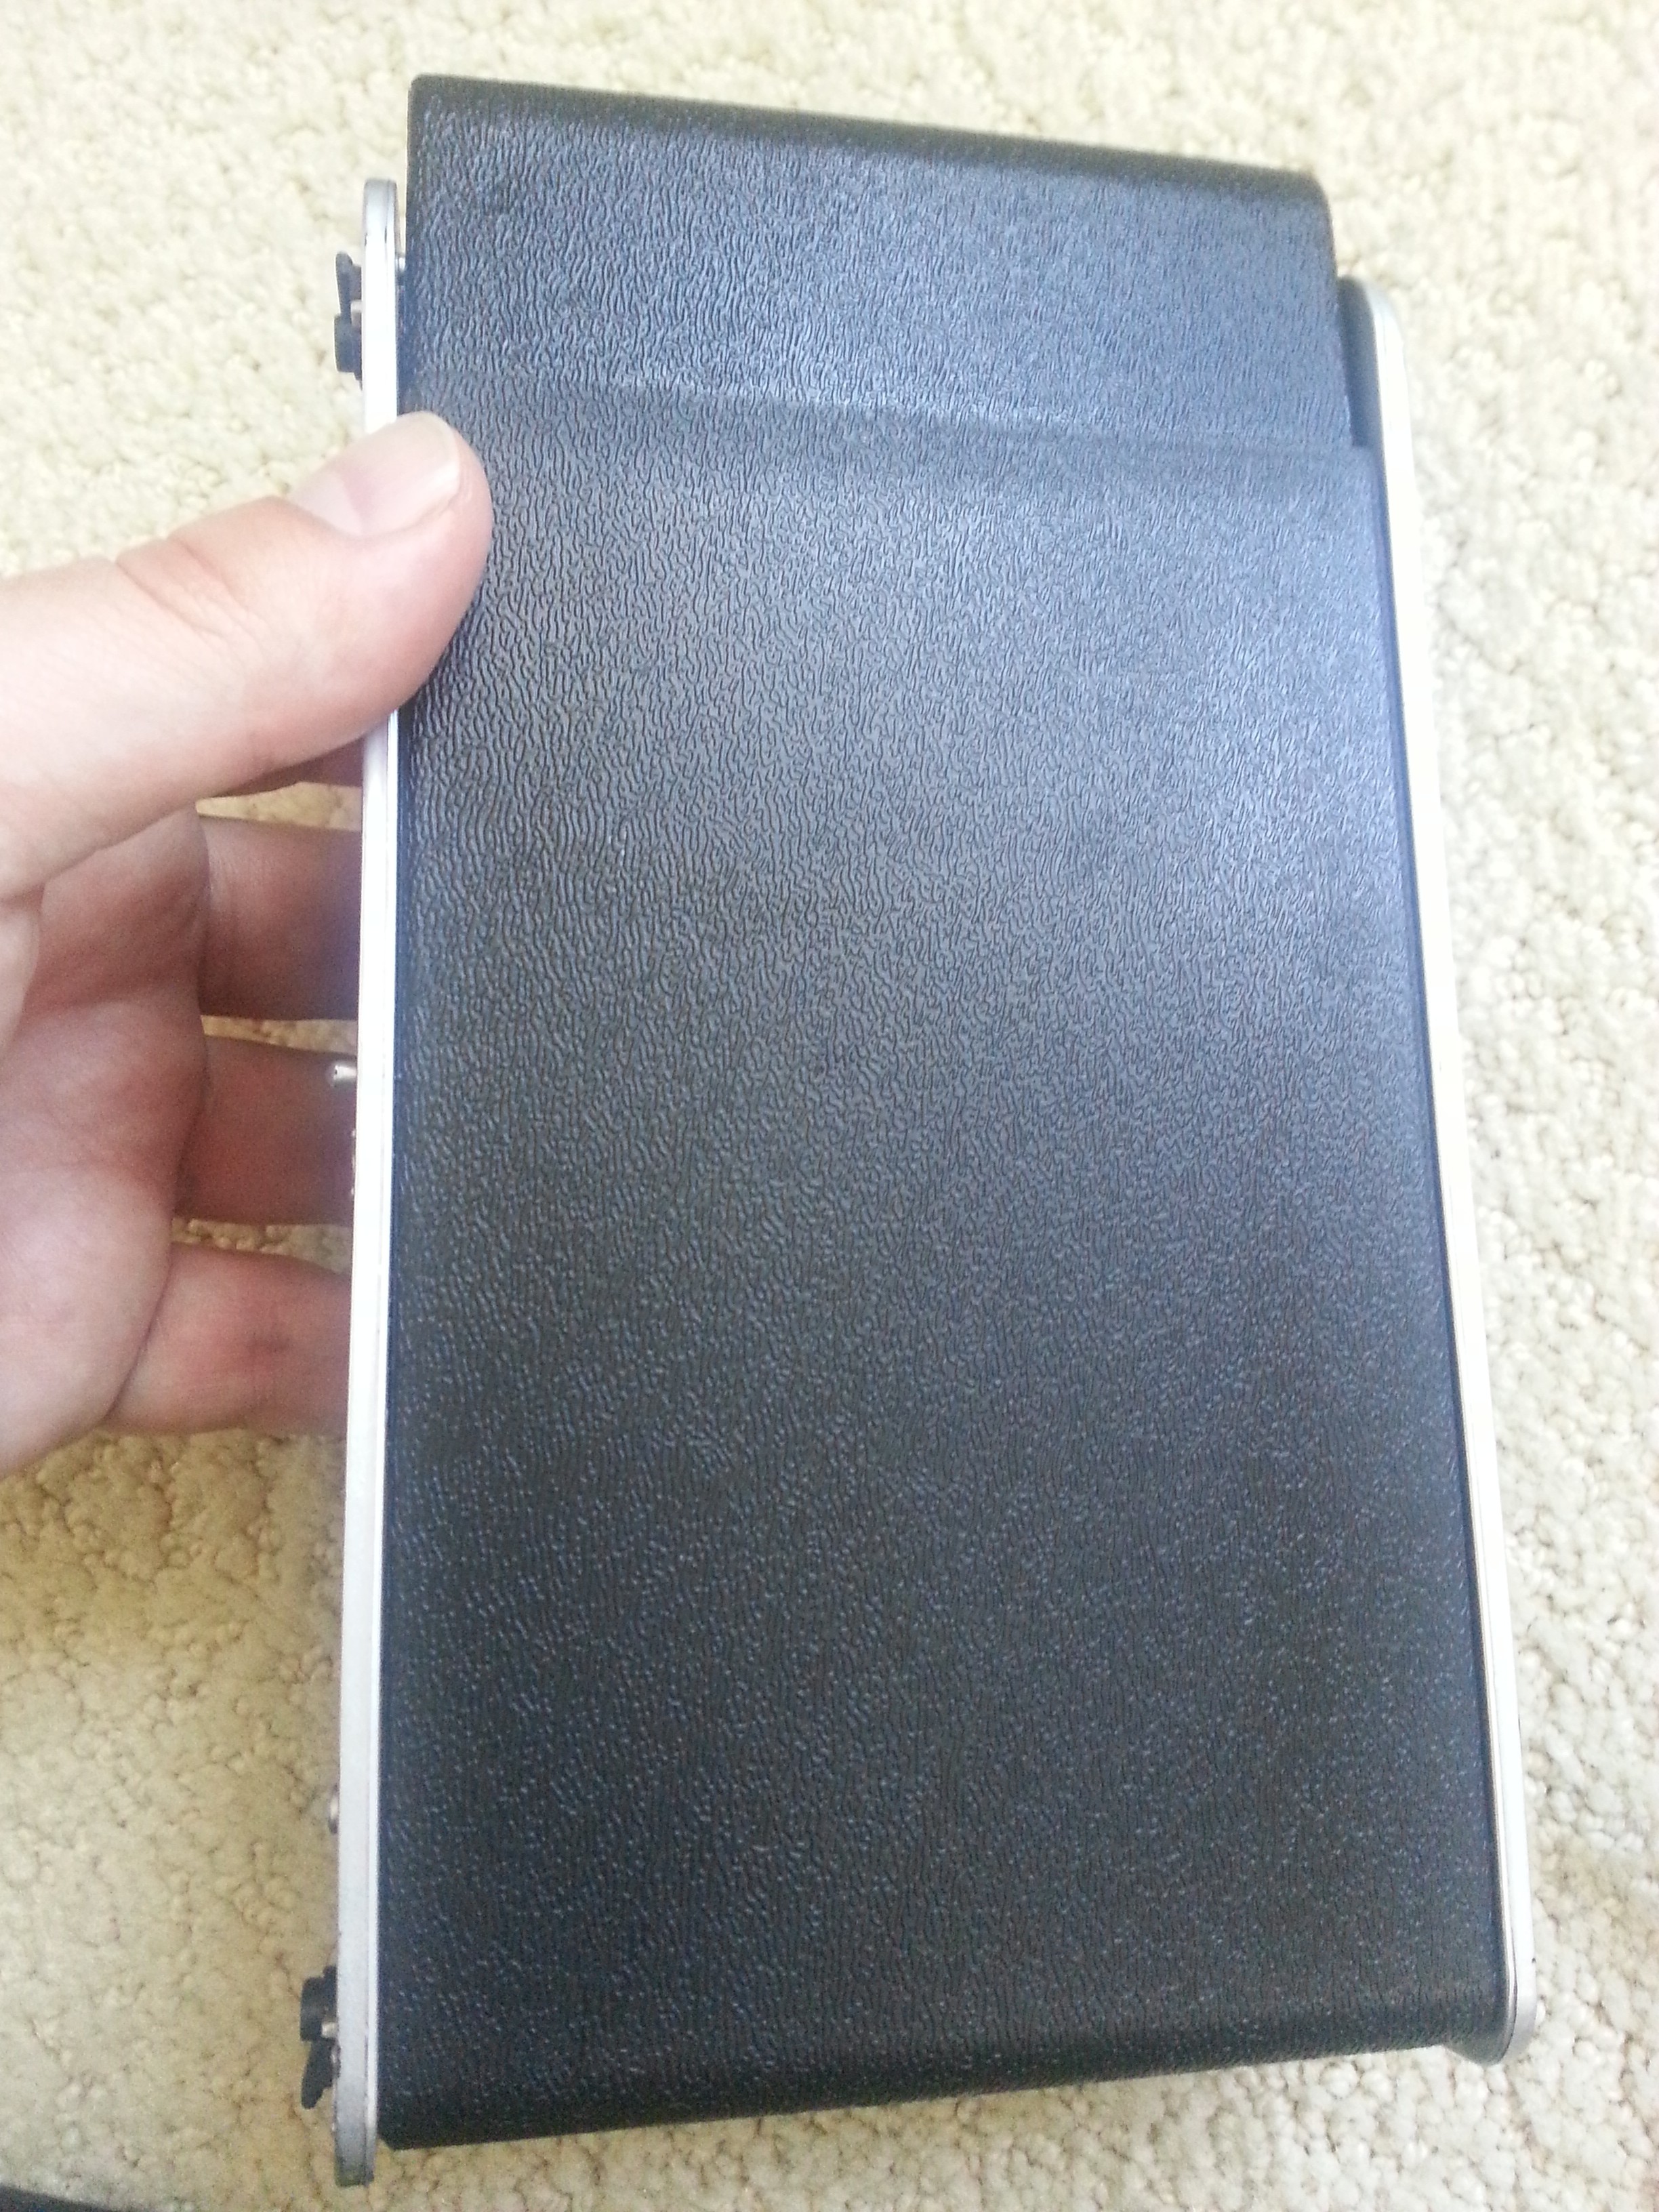
The side strips come off, revealing the adjustable strap. The strap on this toy is made of a chintzy papery felt-backed vinyl, one of the more tangibly cheap "toy-like" bits of what's otherwise a reasonably nicely-made piece, and I'll definitely be on the lookout for a replacement.
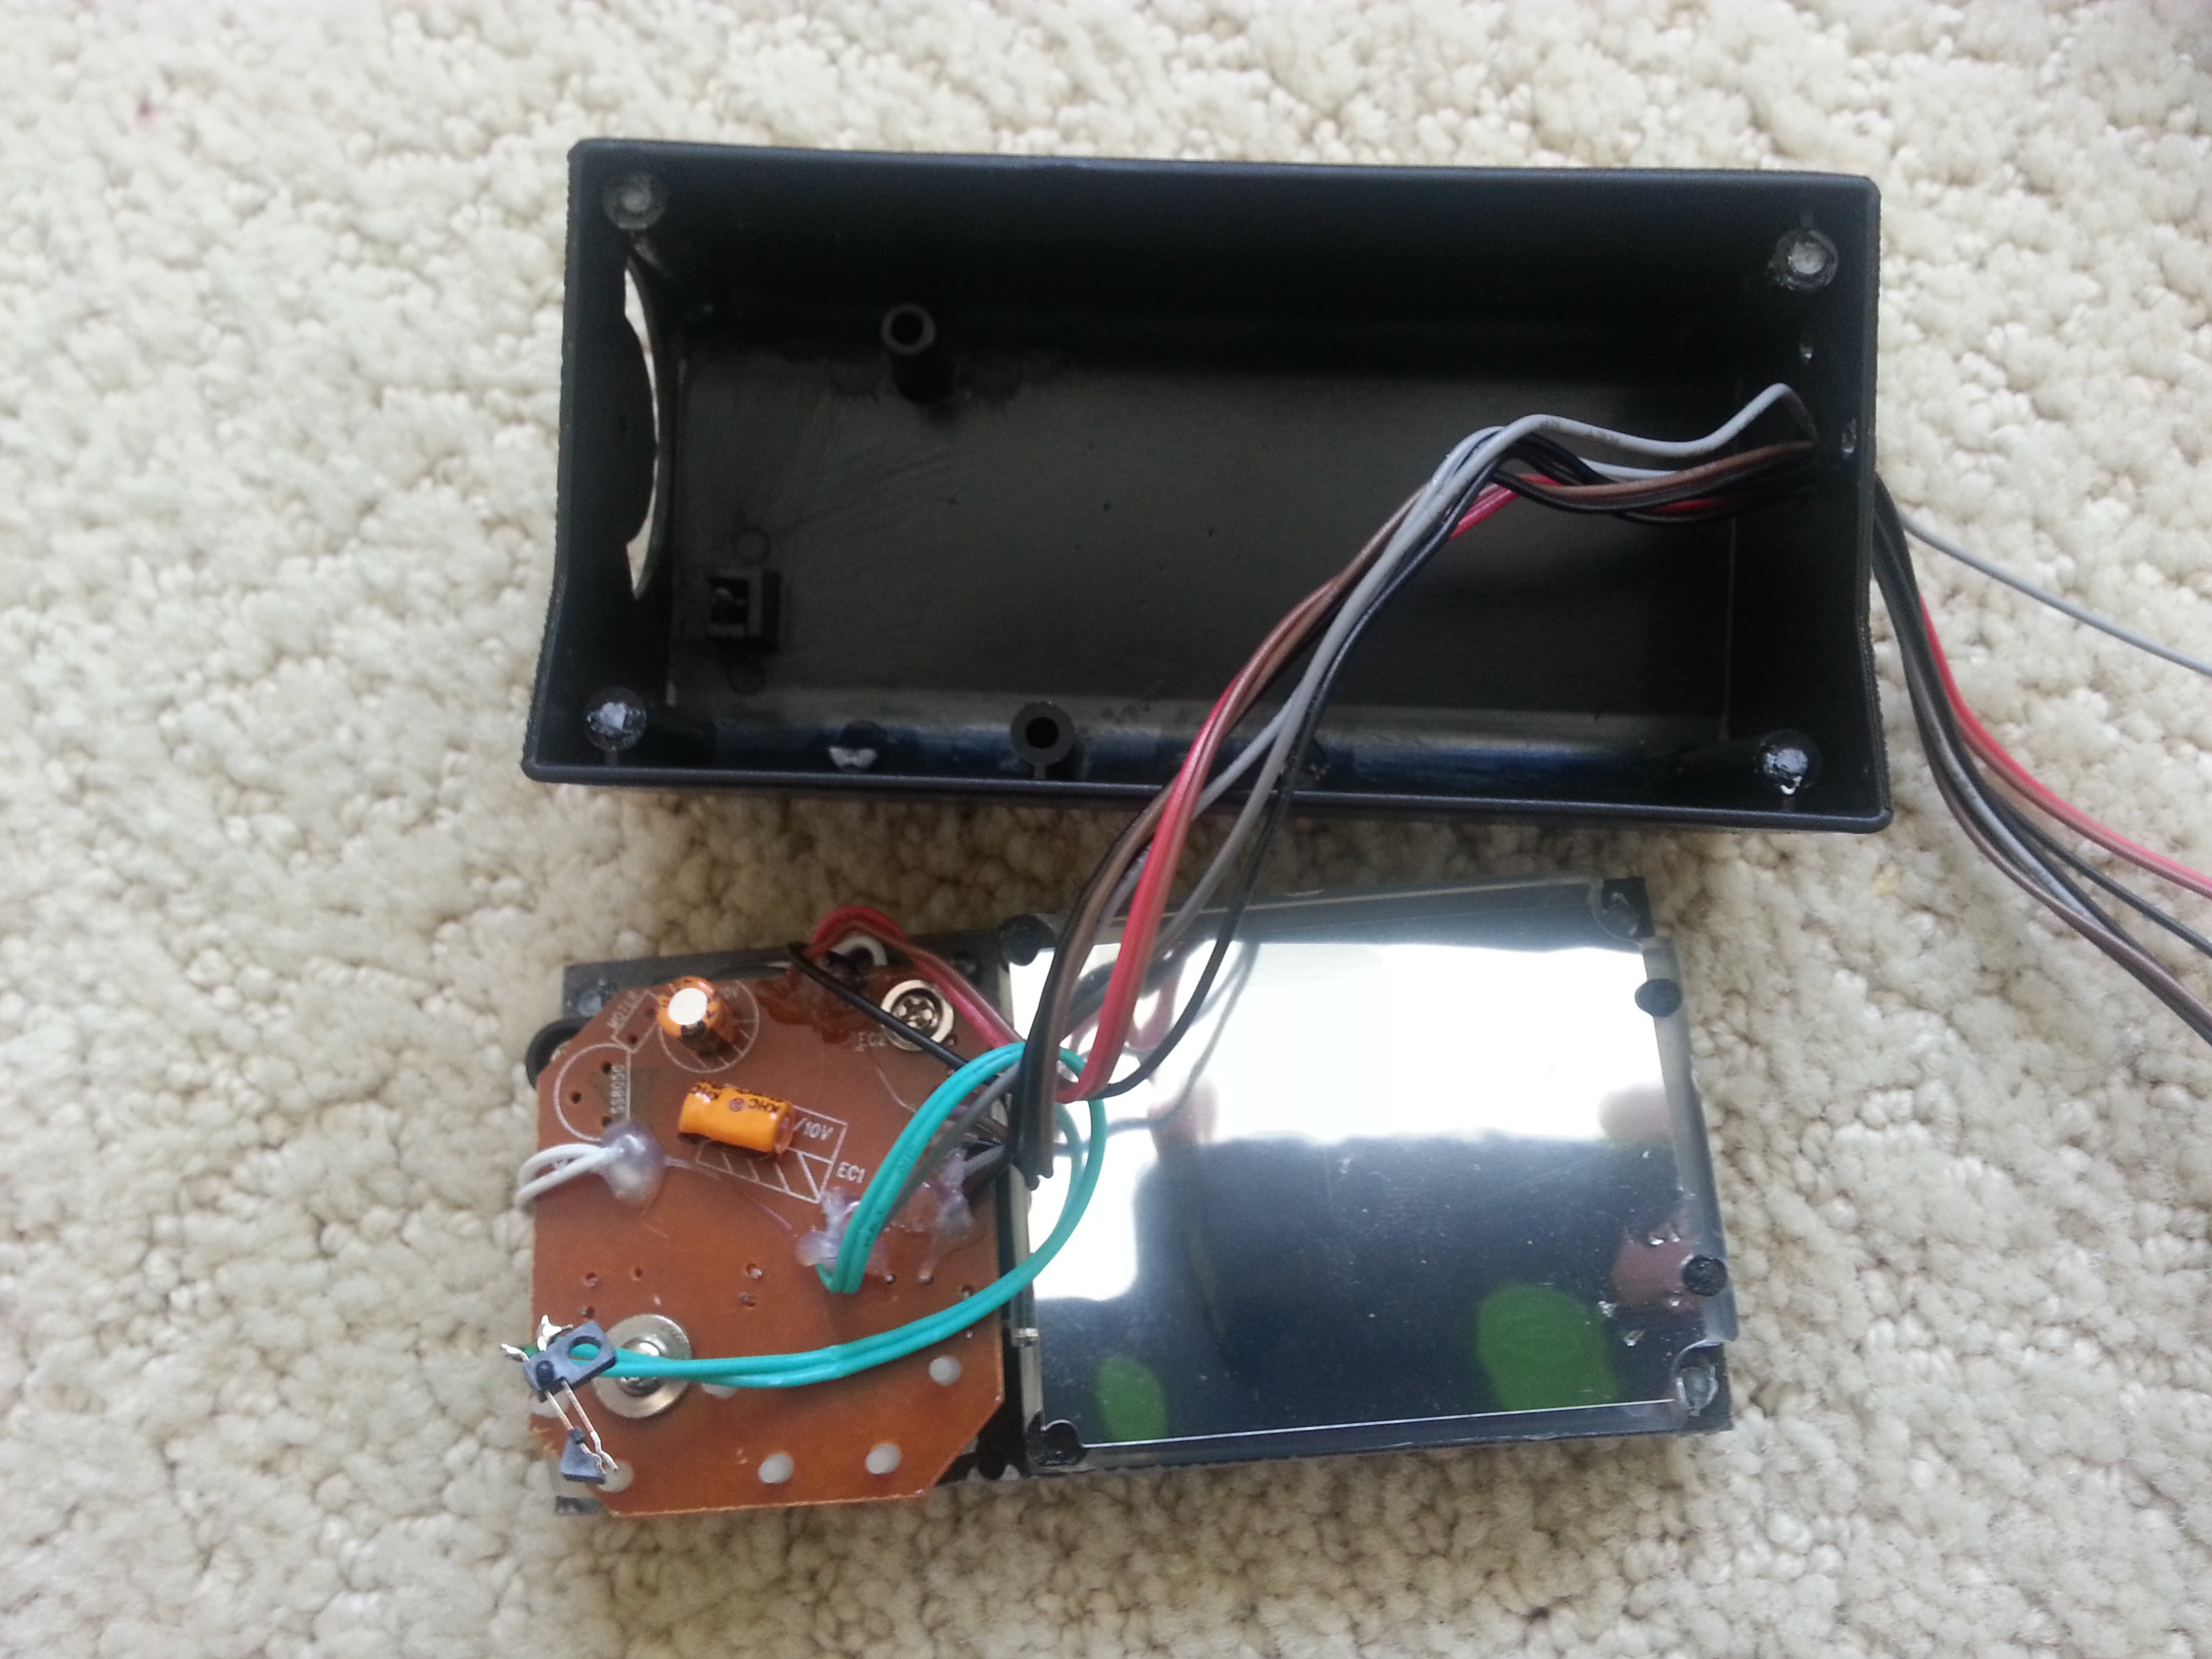
Under the side panels we also find the screws holding all the bits and pieces together.
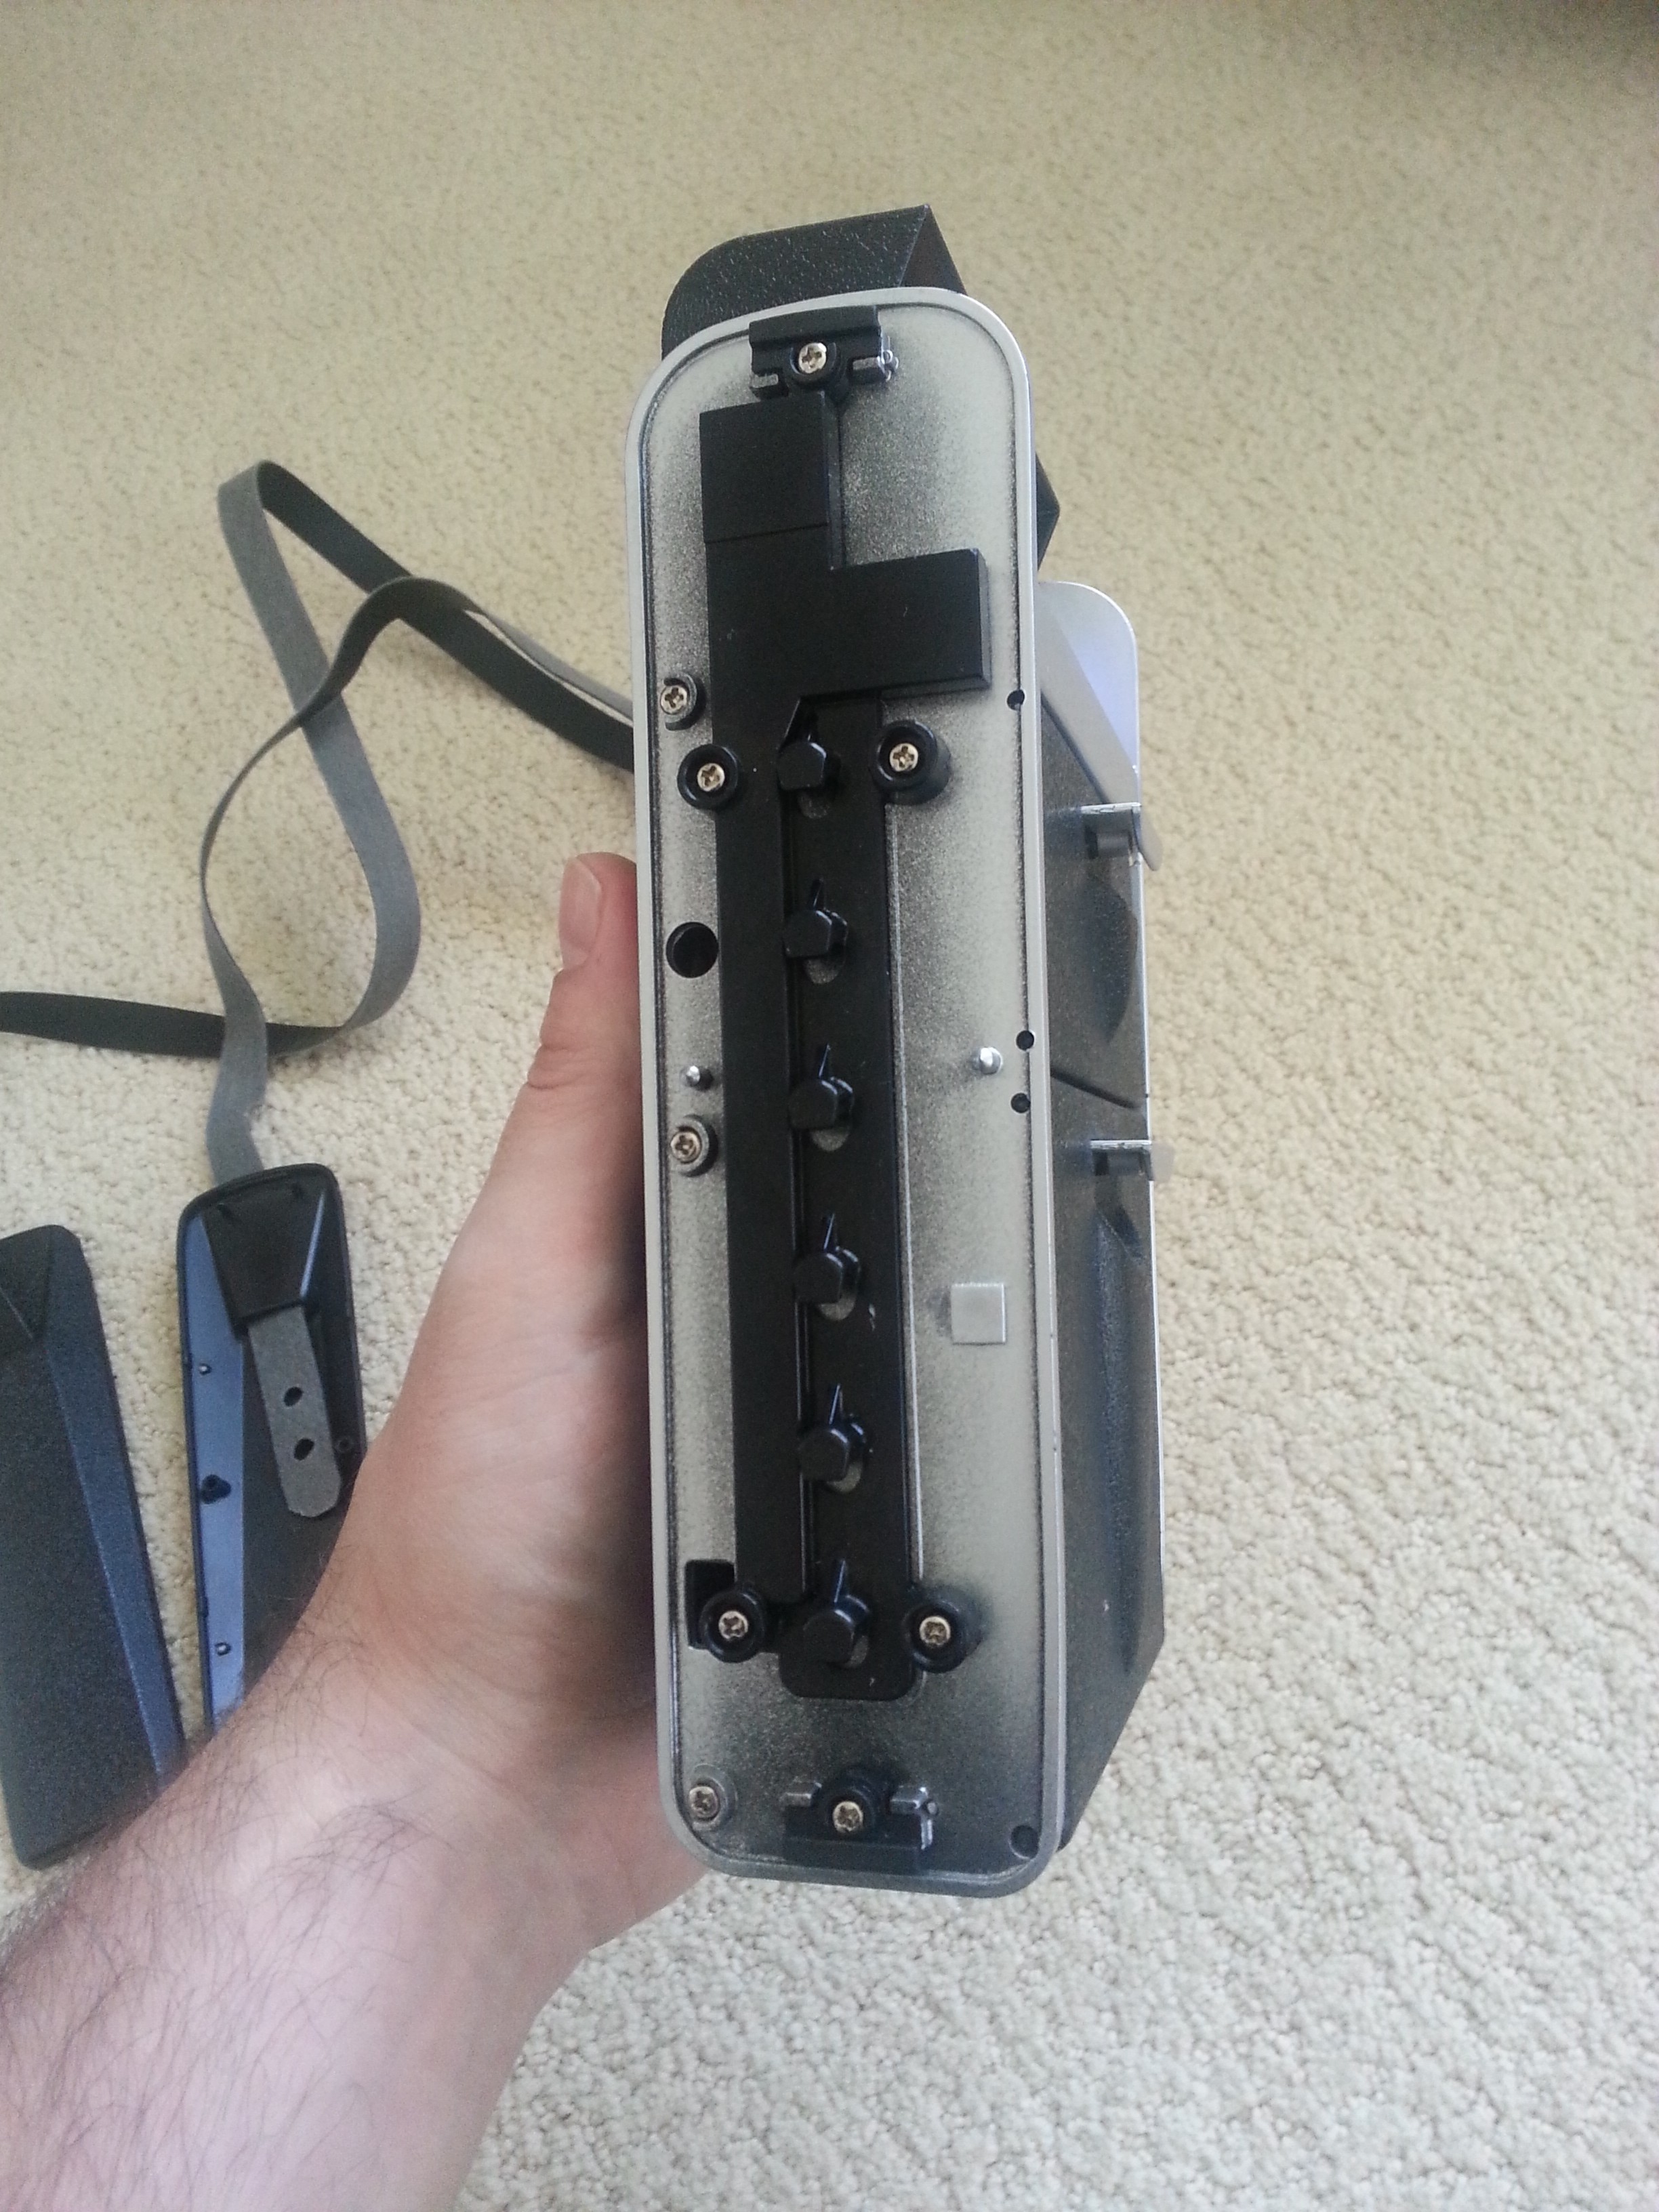
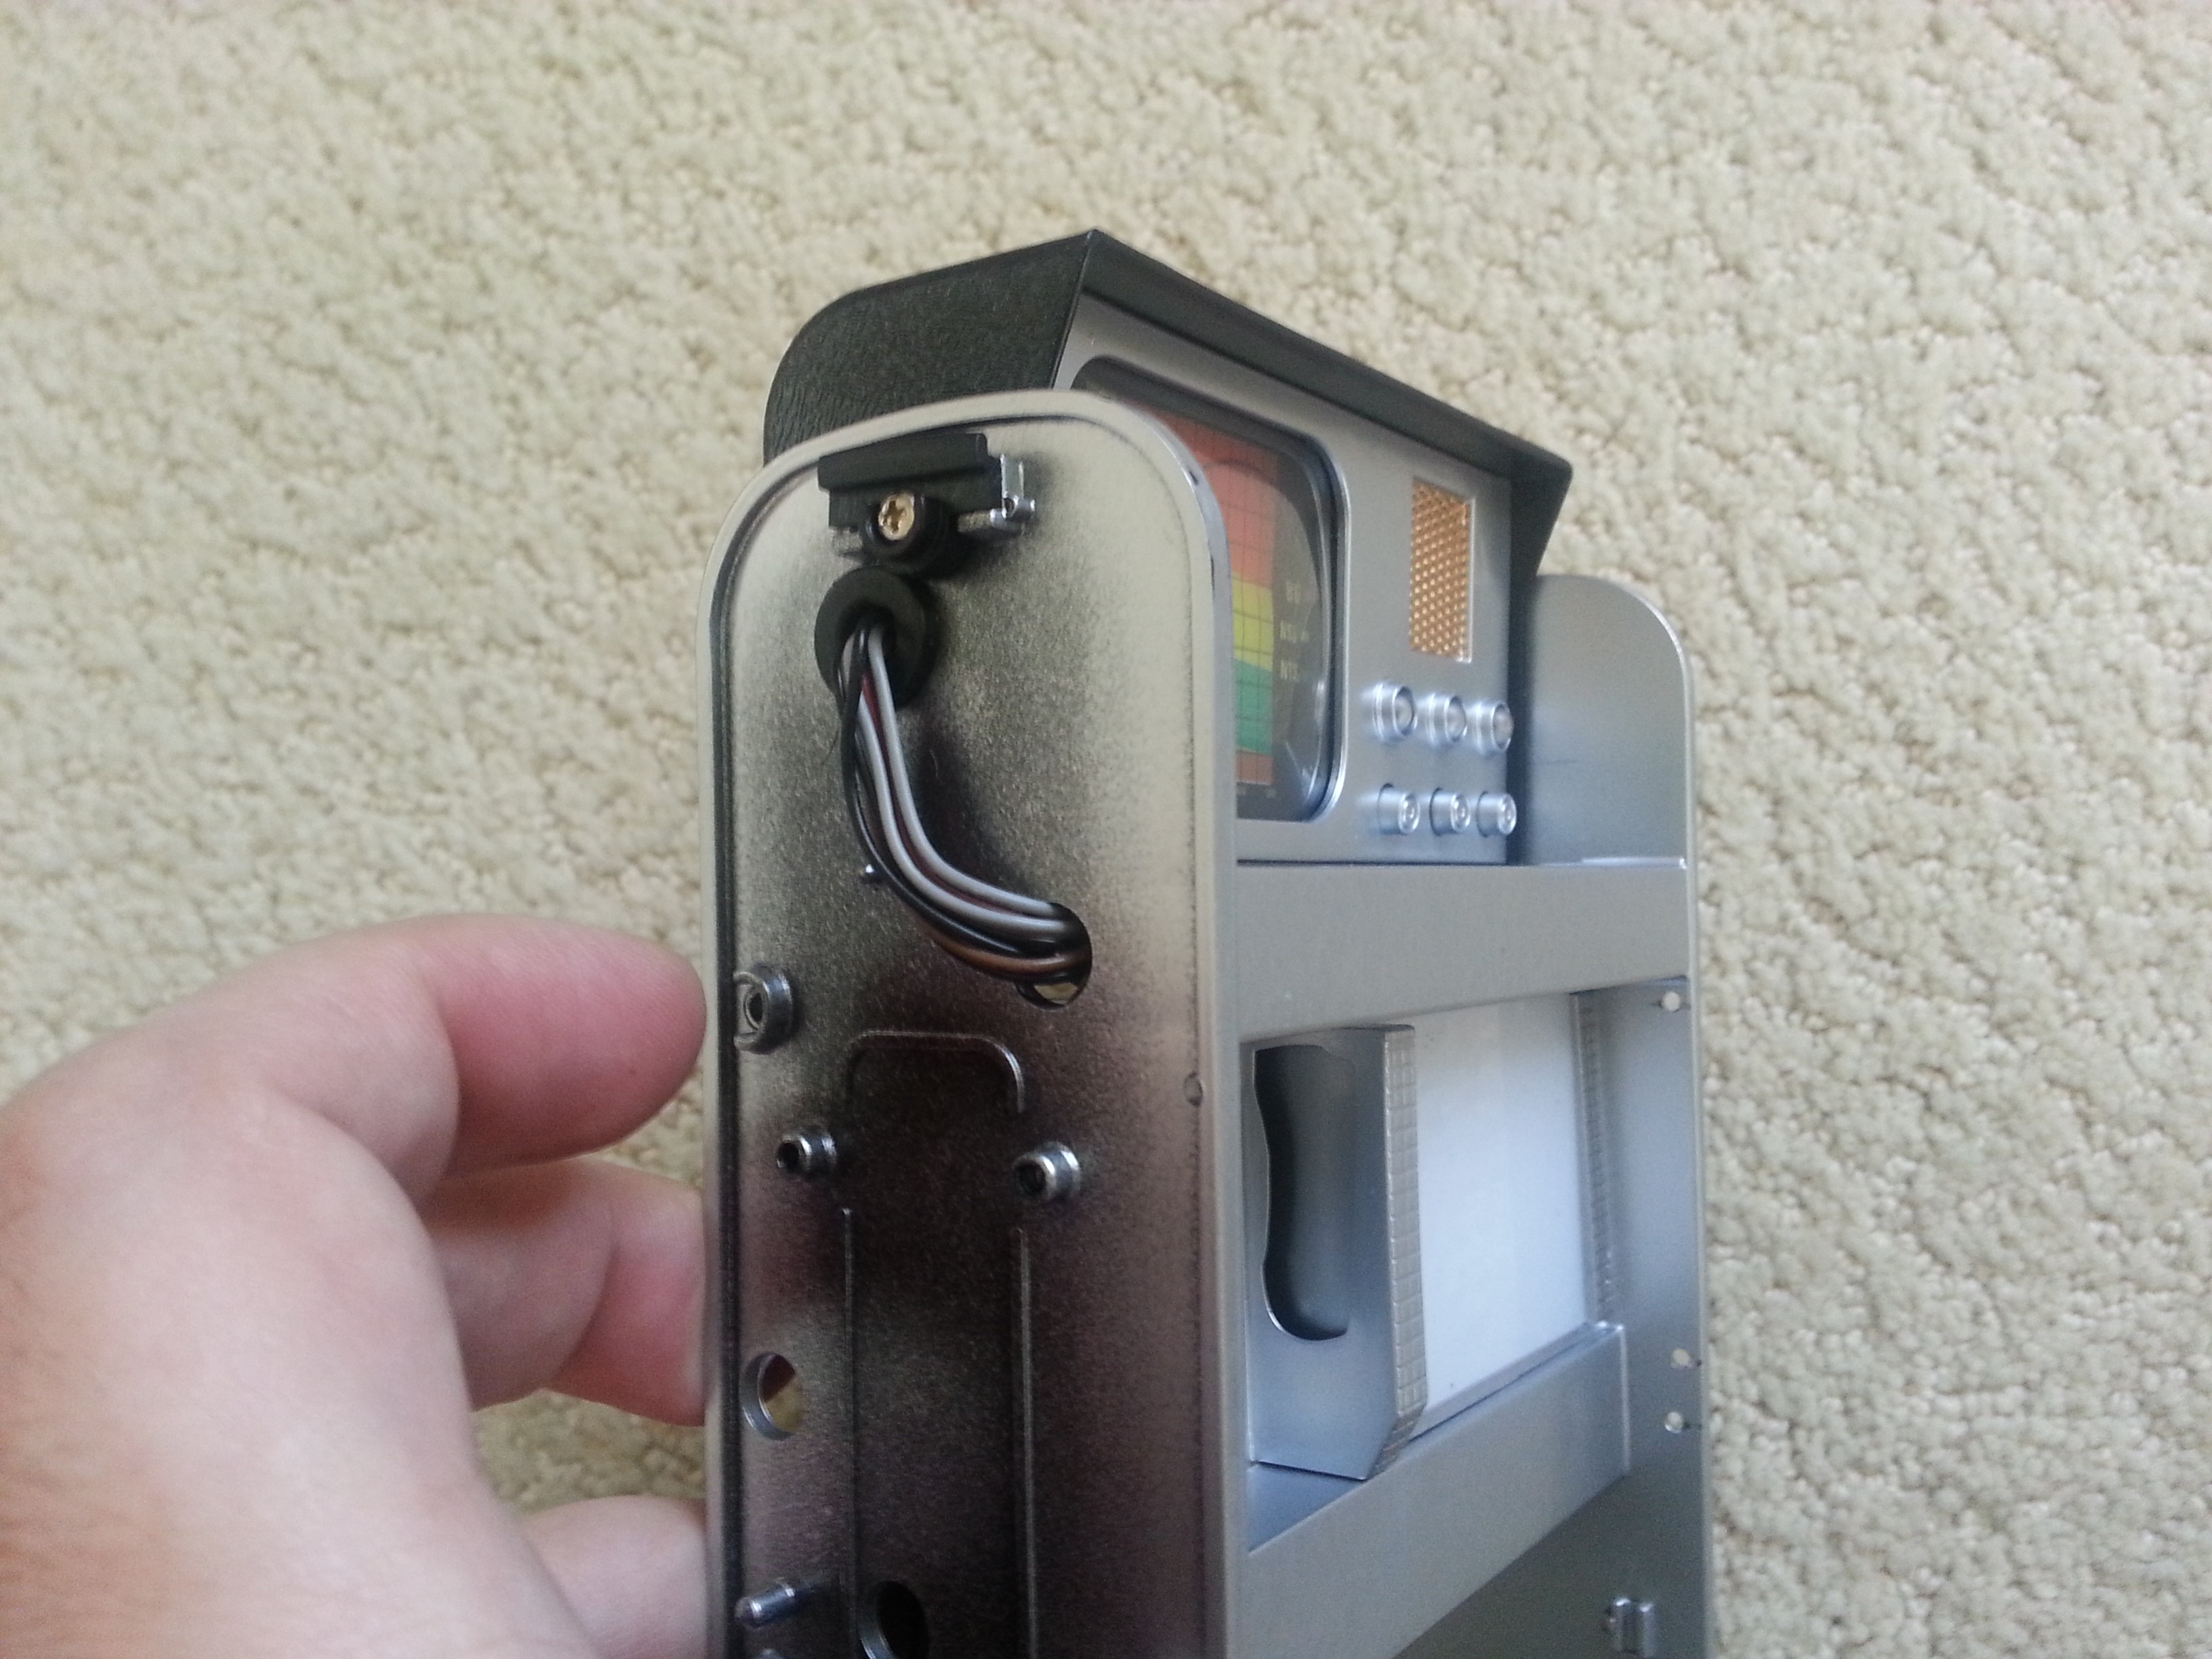
A few more unscrewings and the head and middle sections pop out.
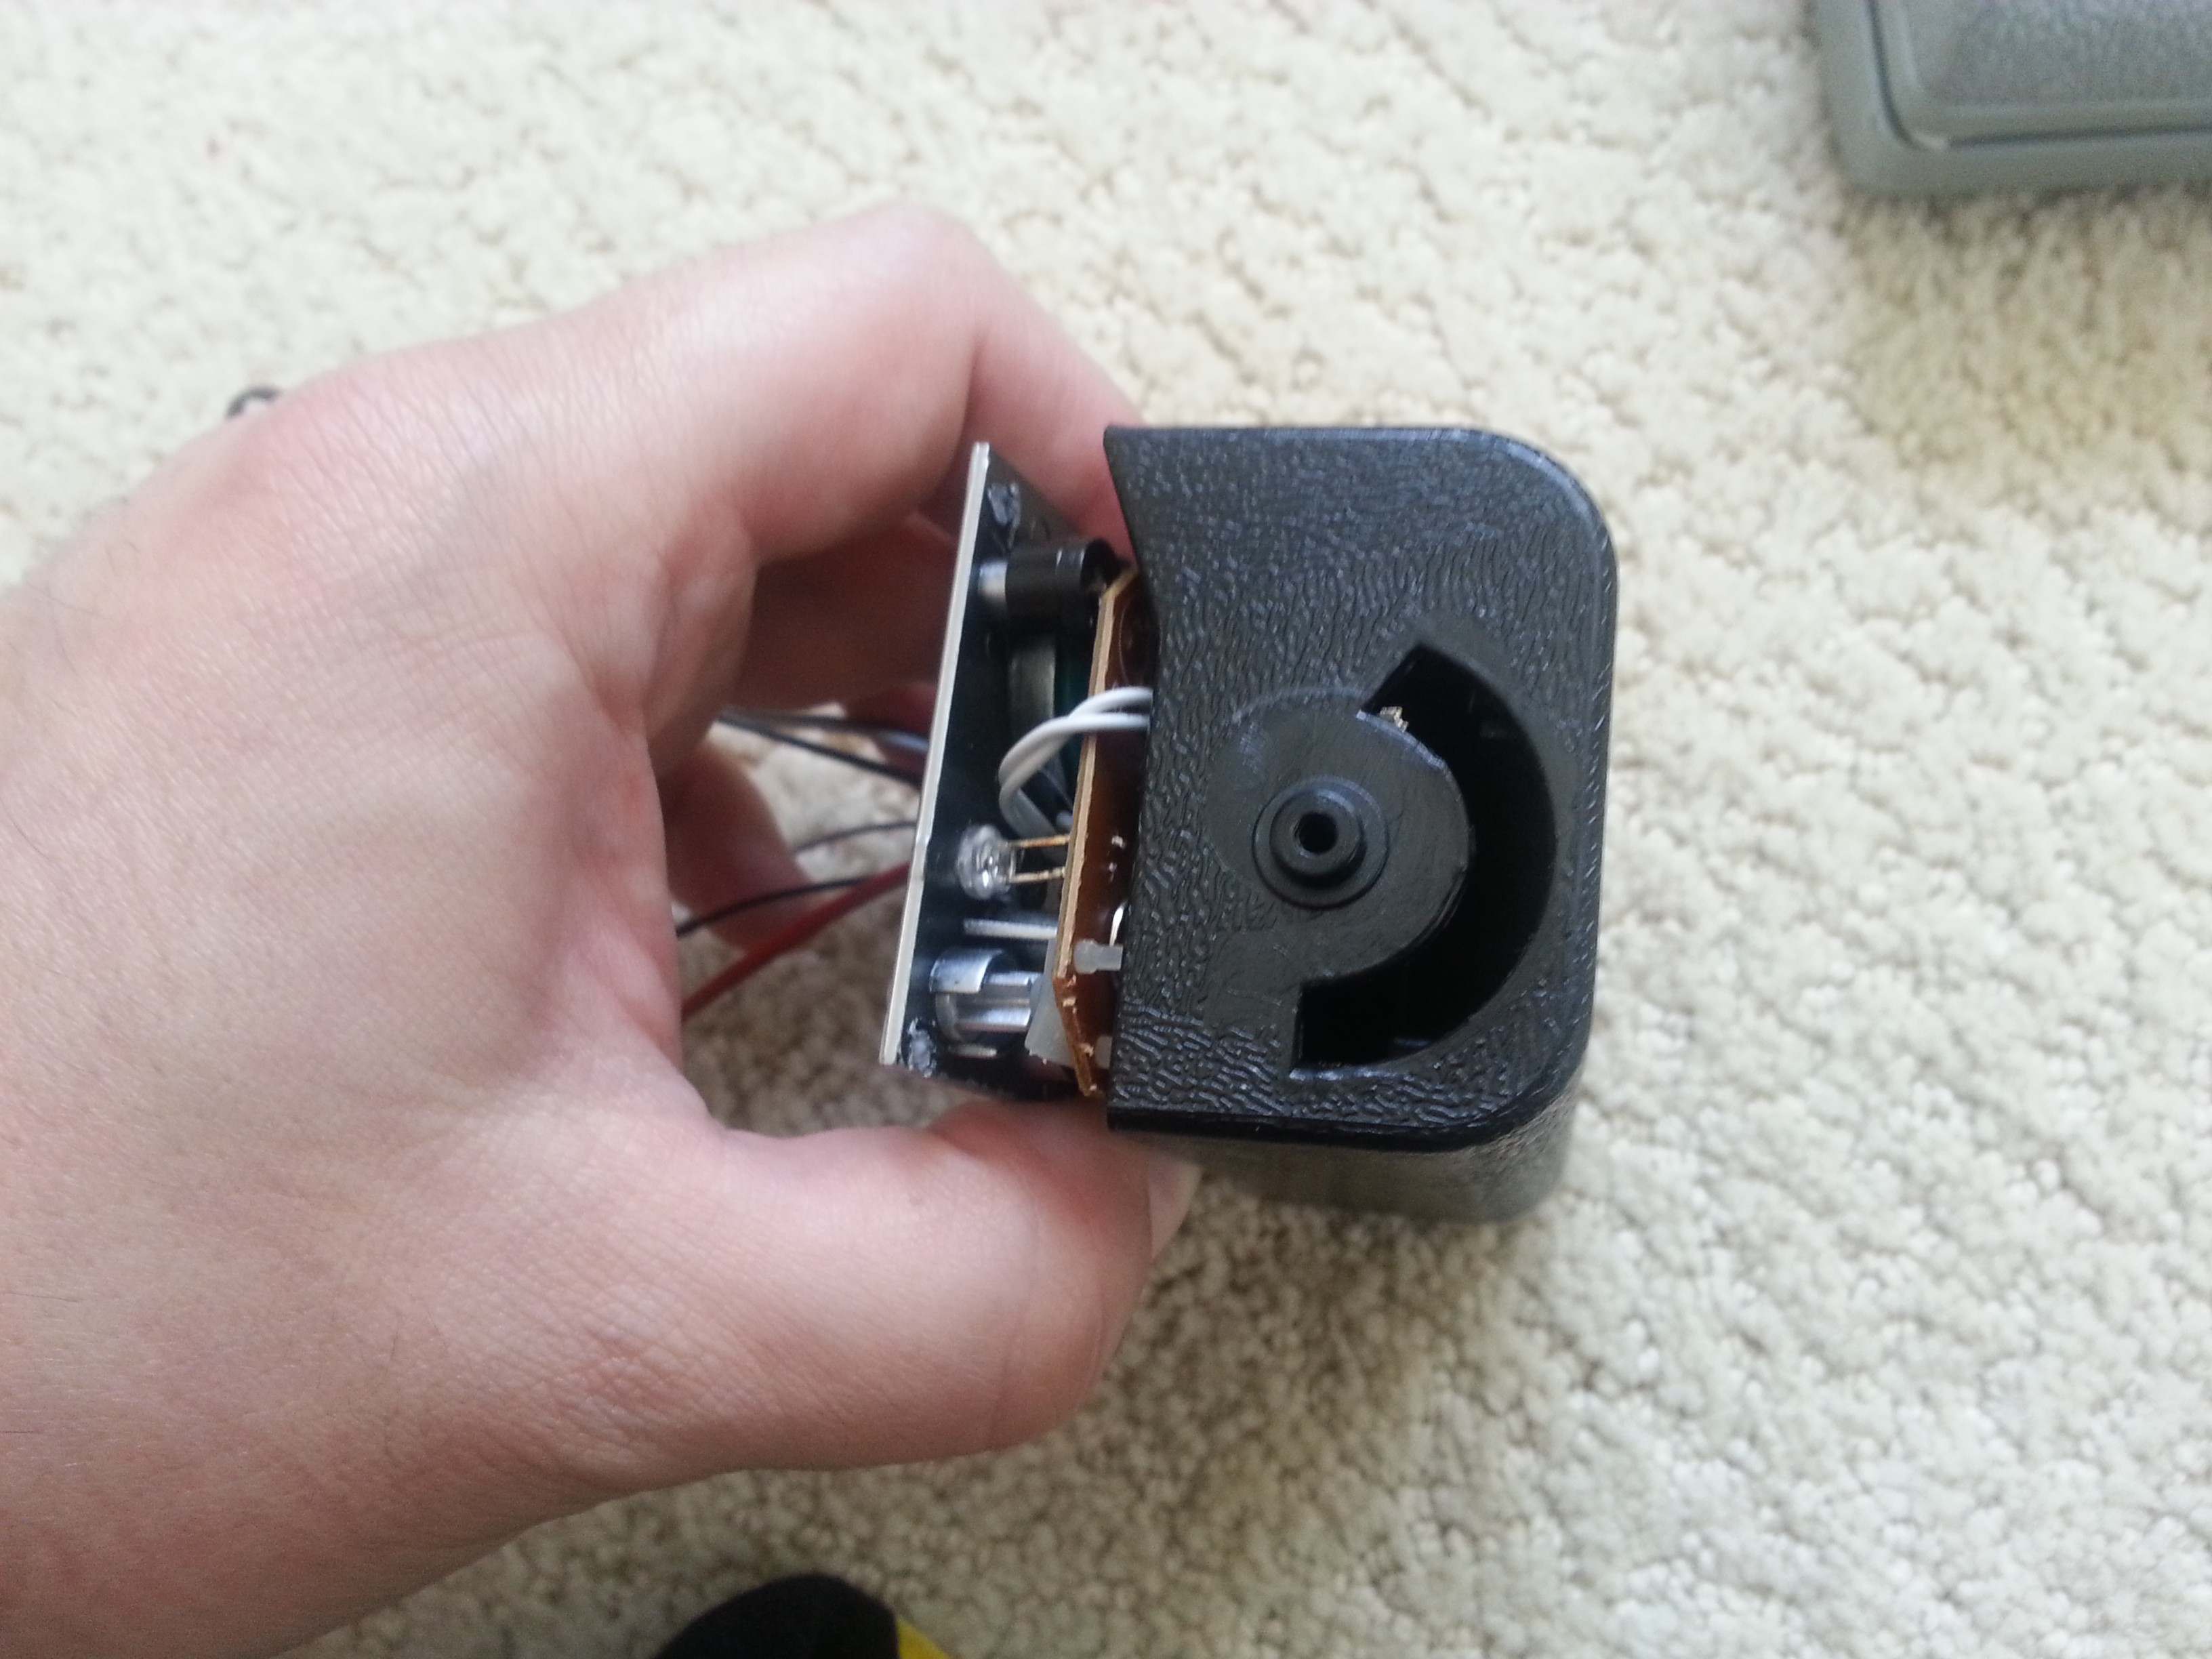
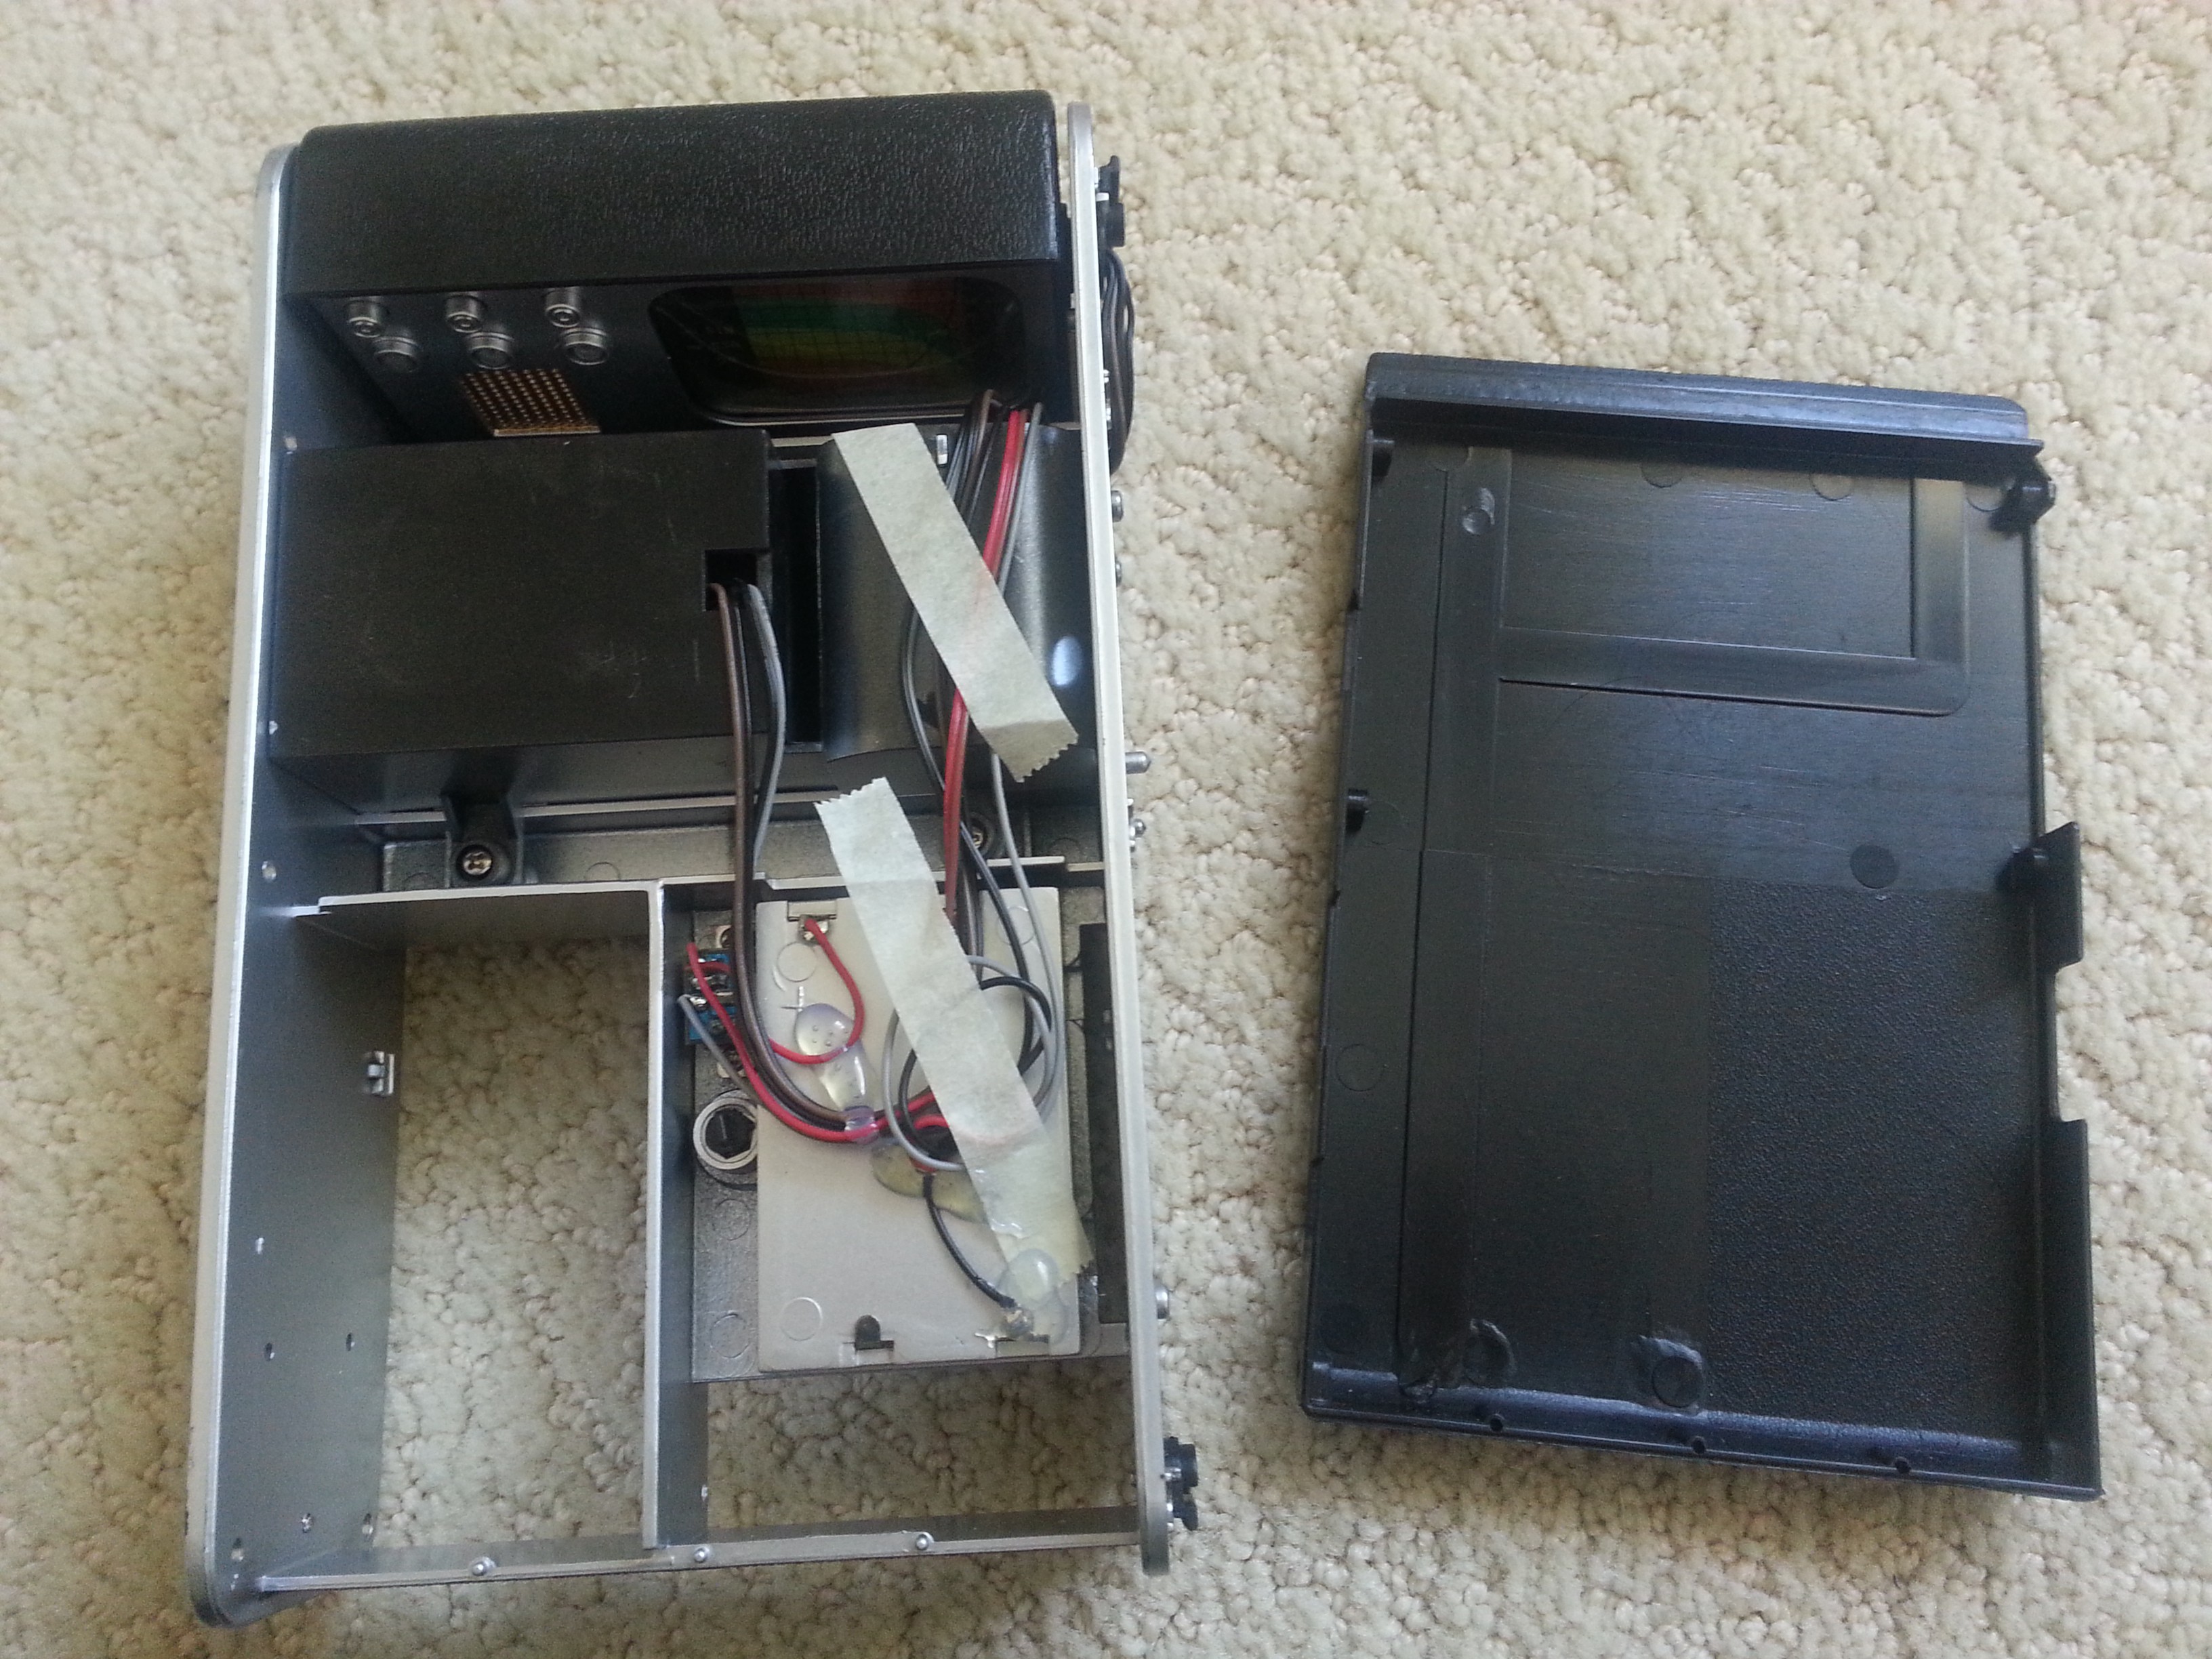
Ohai!
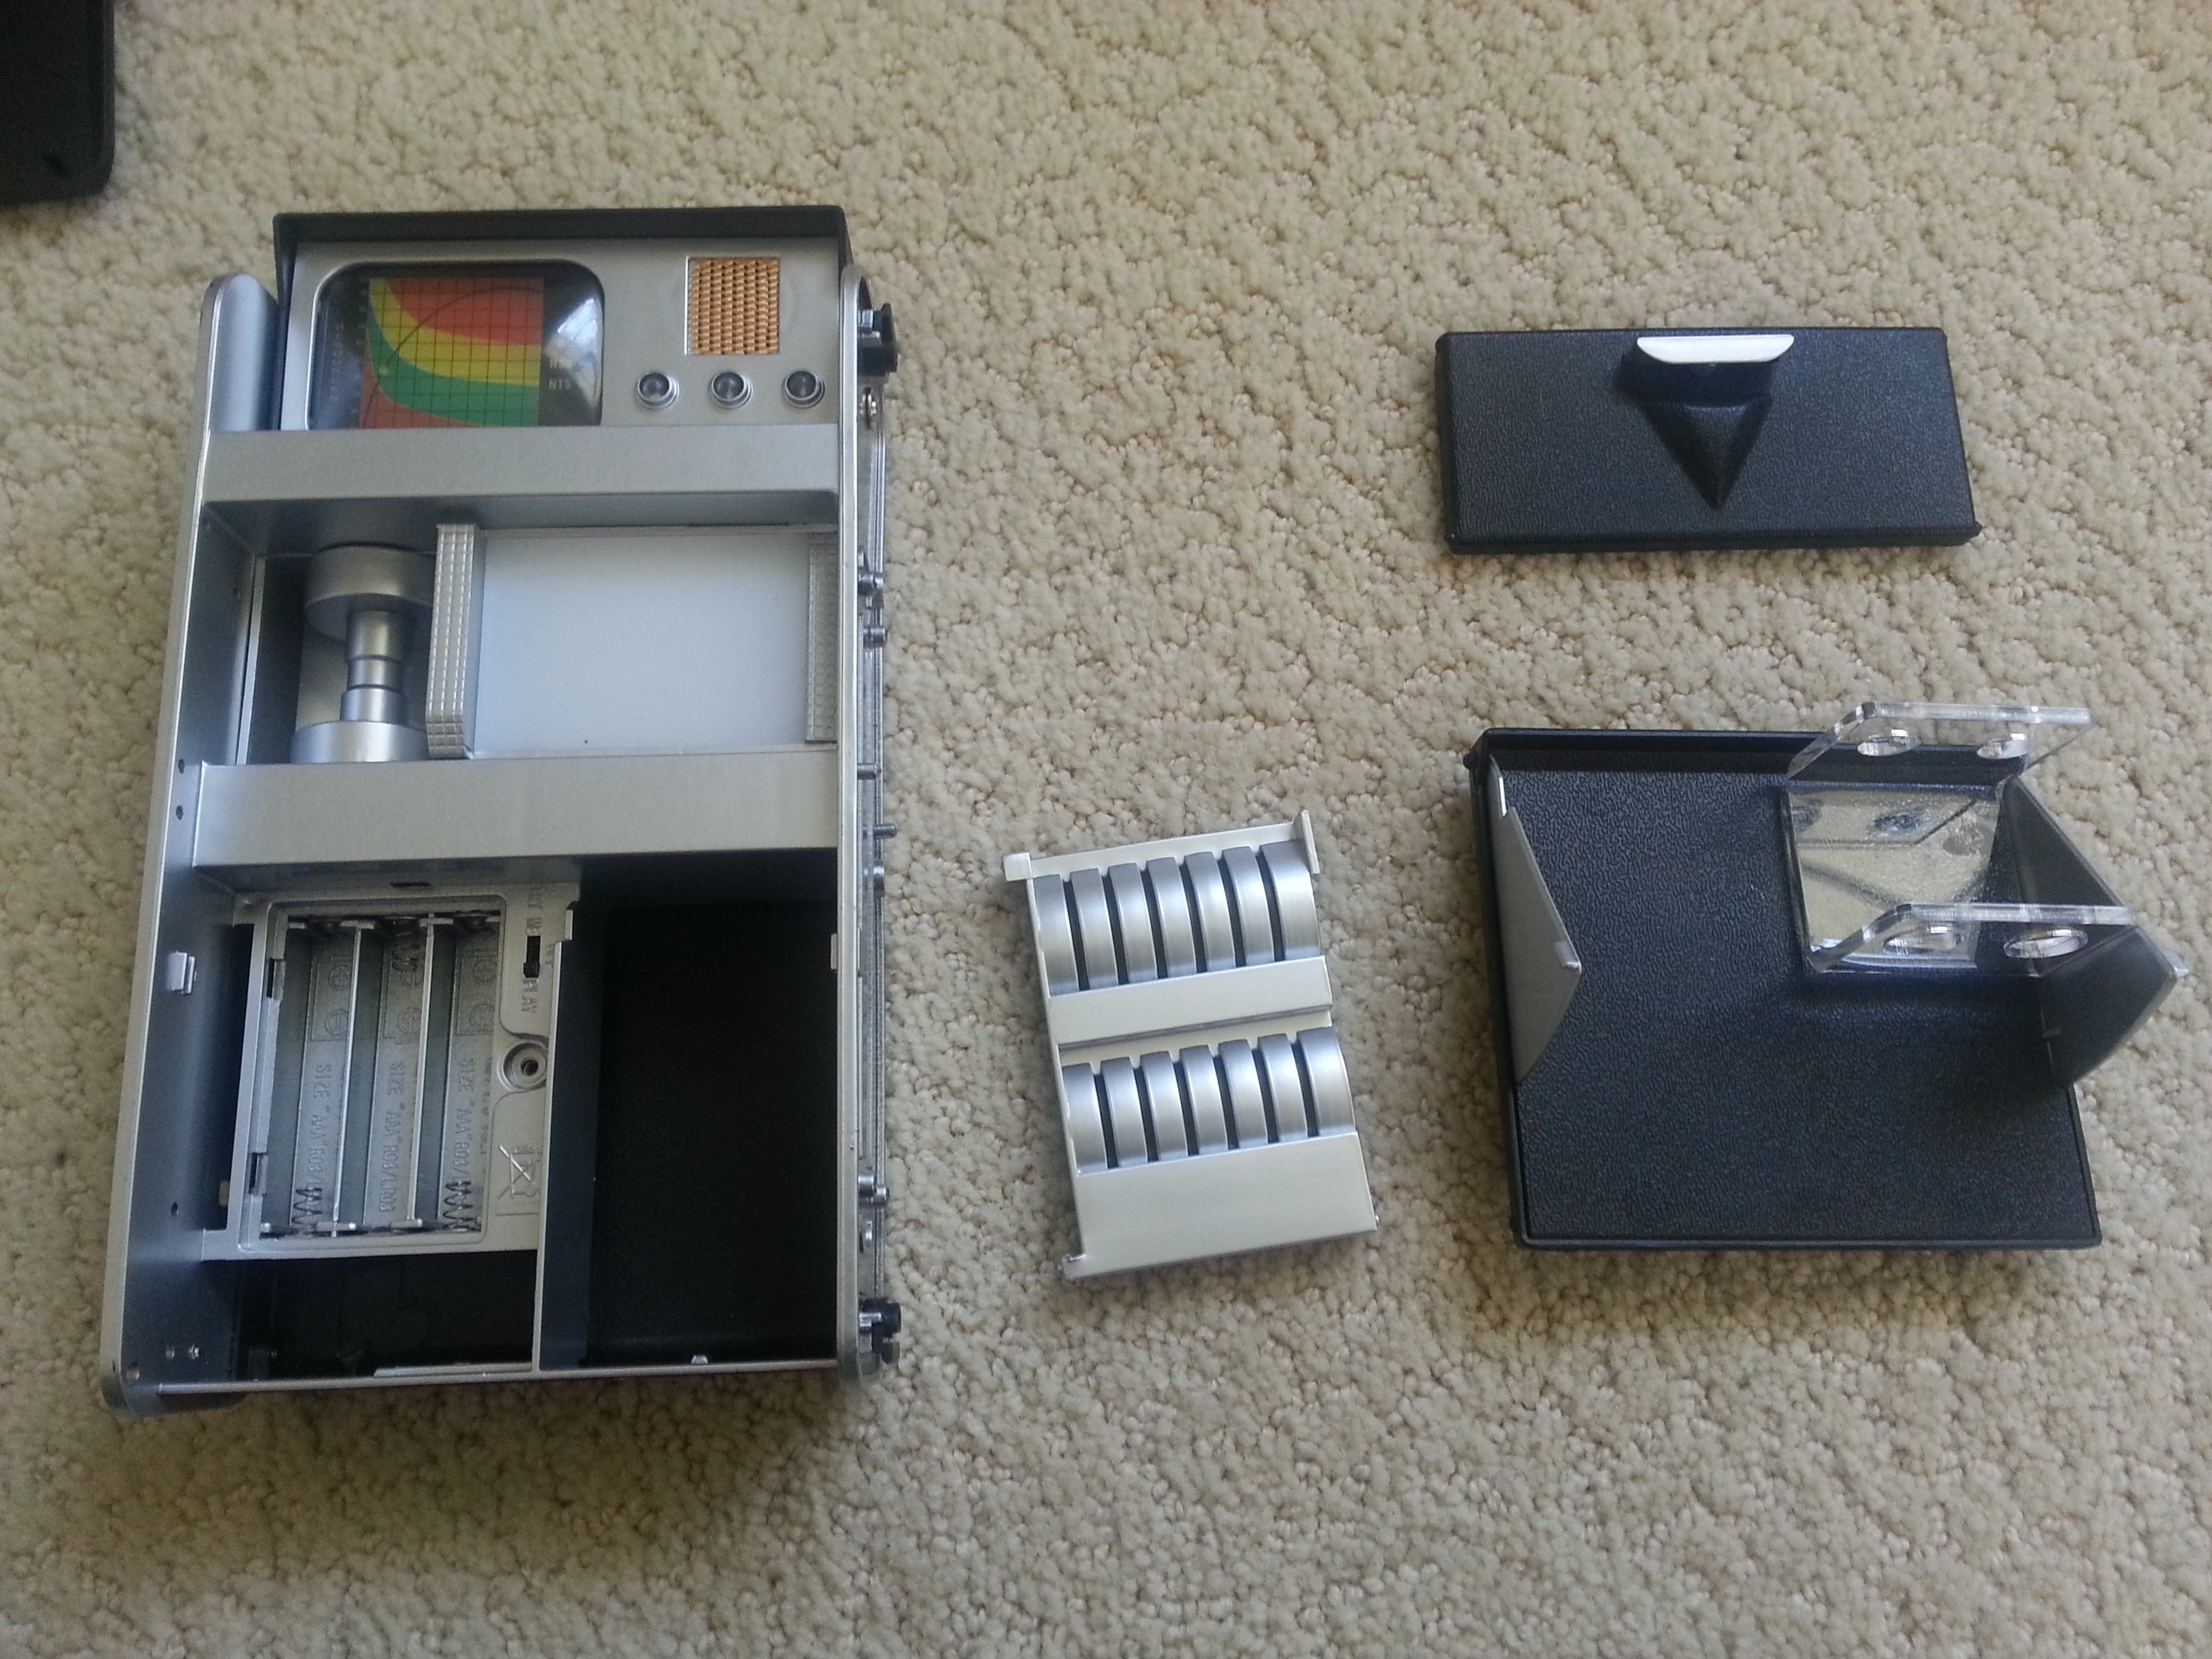
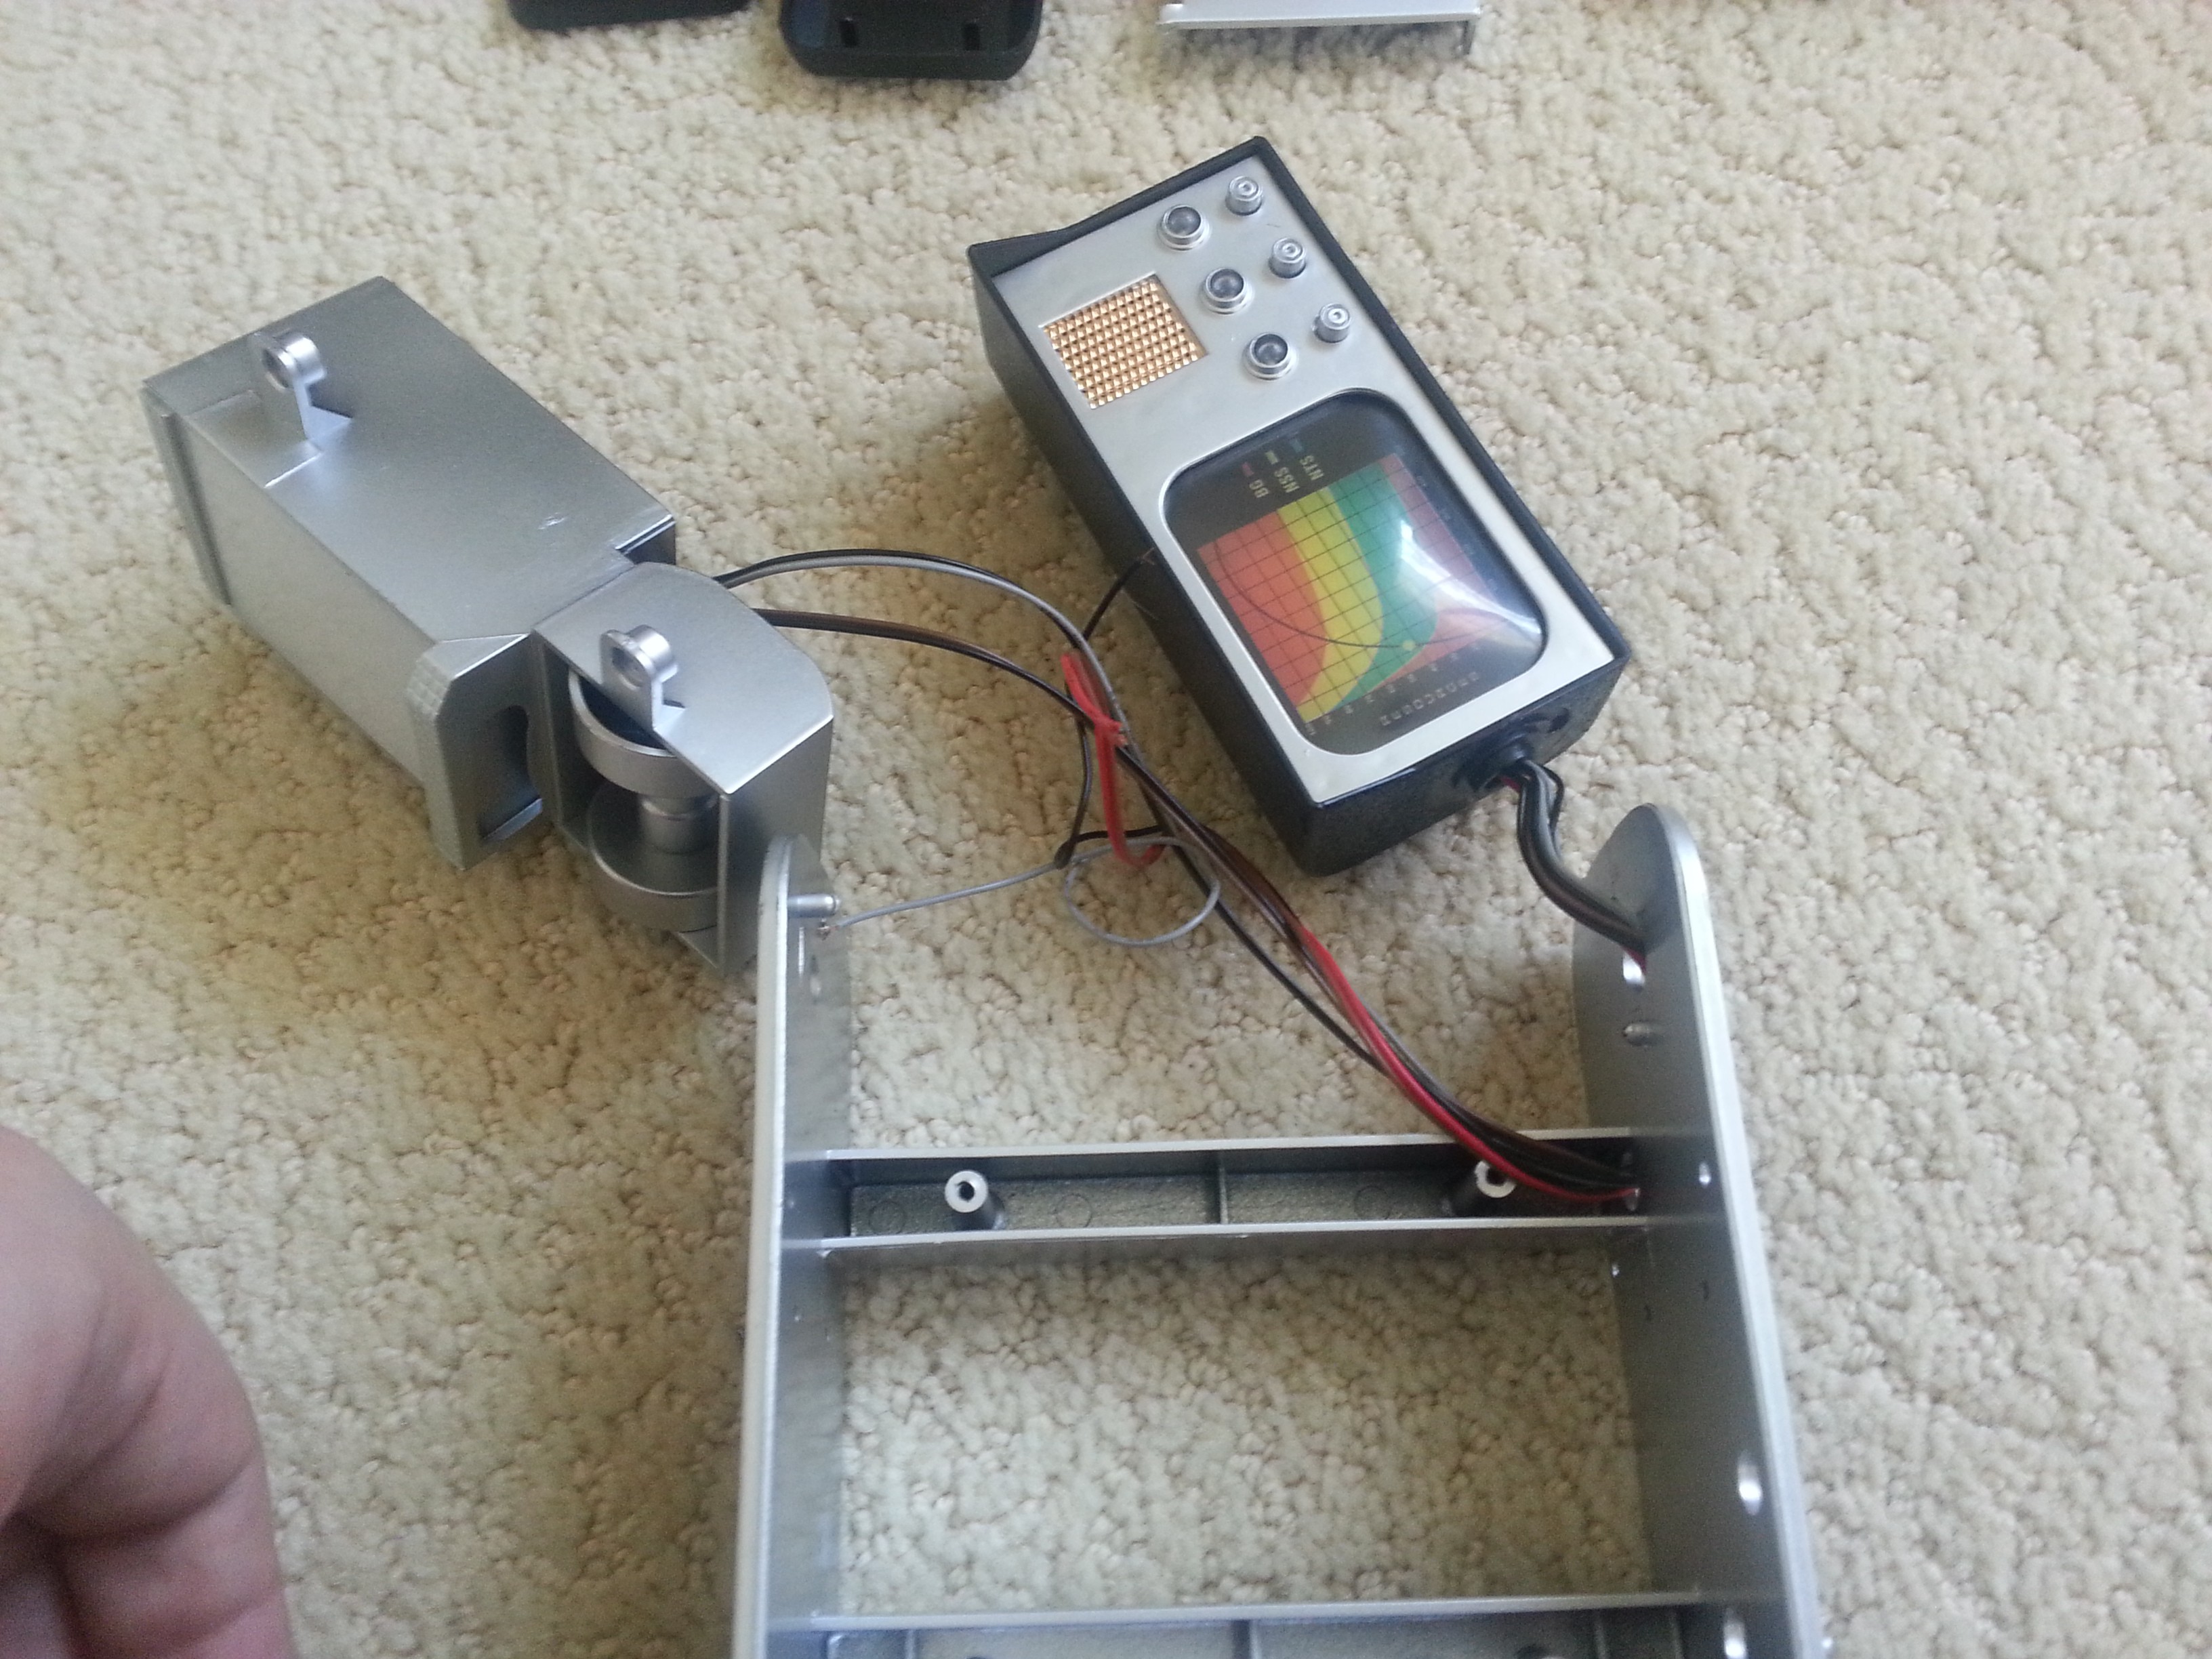
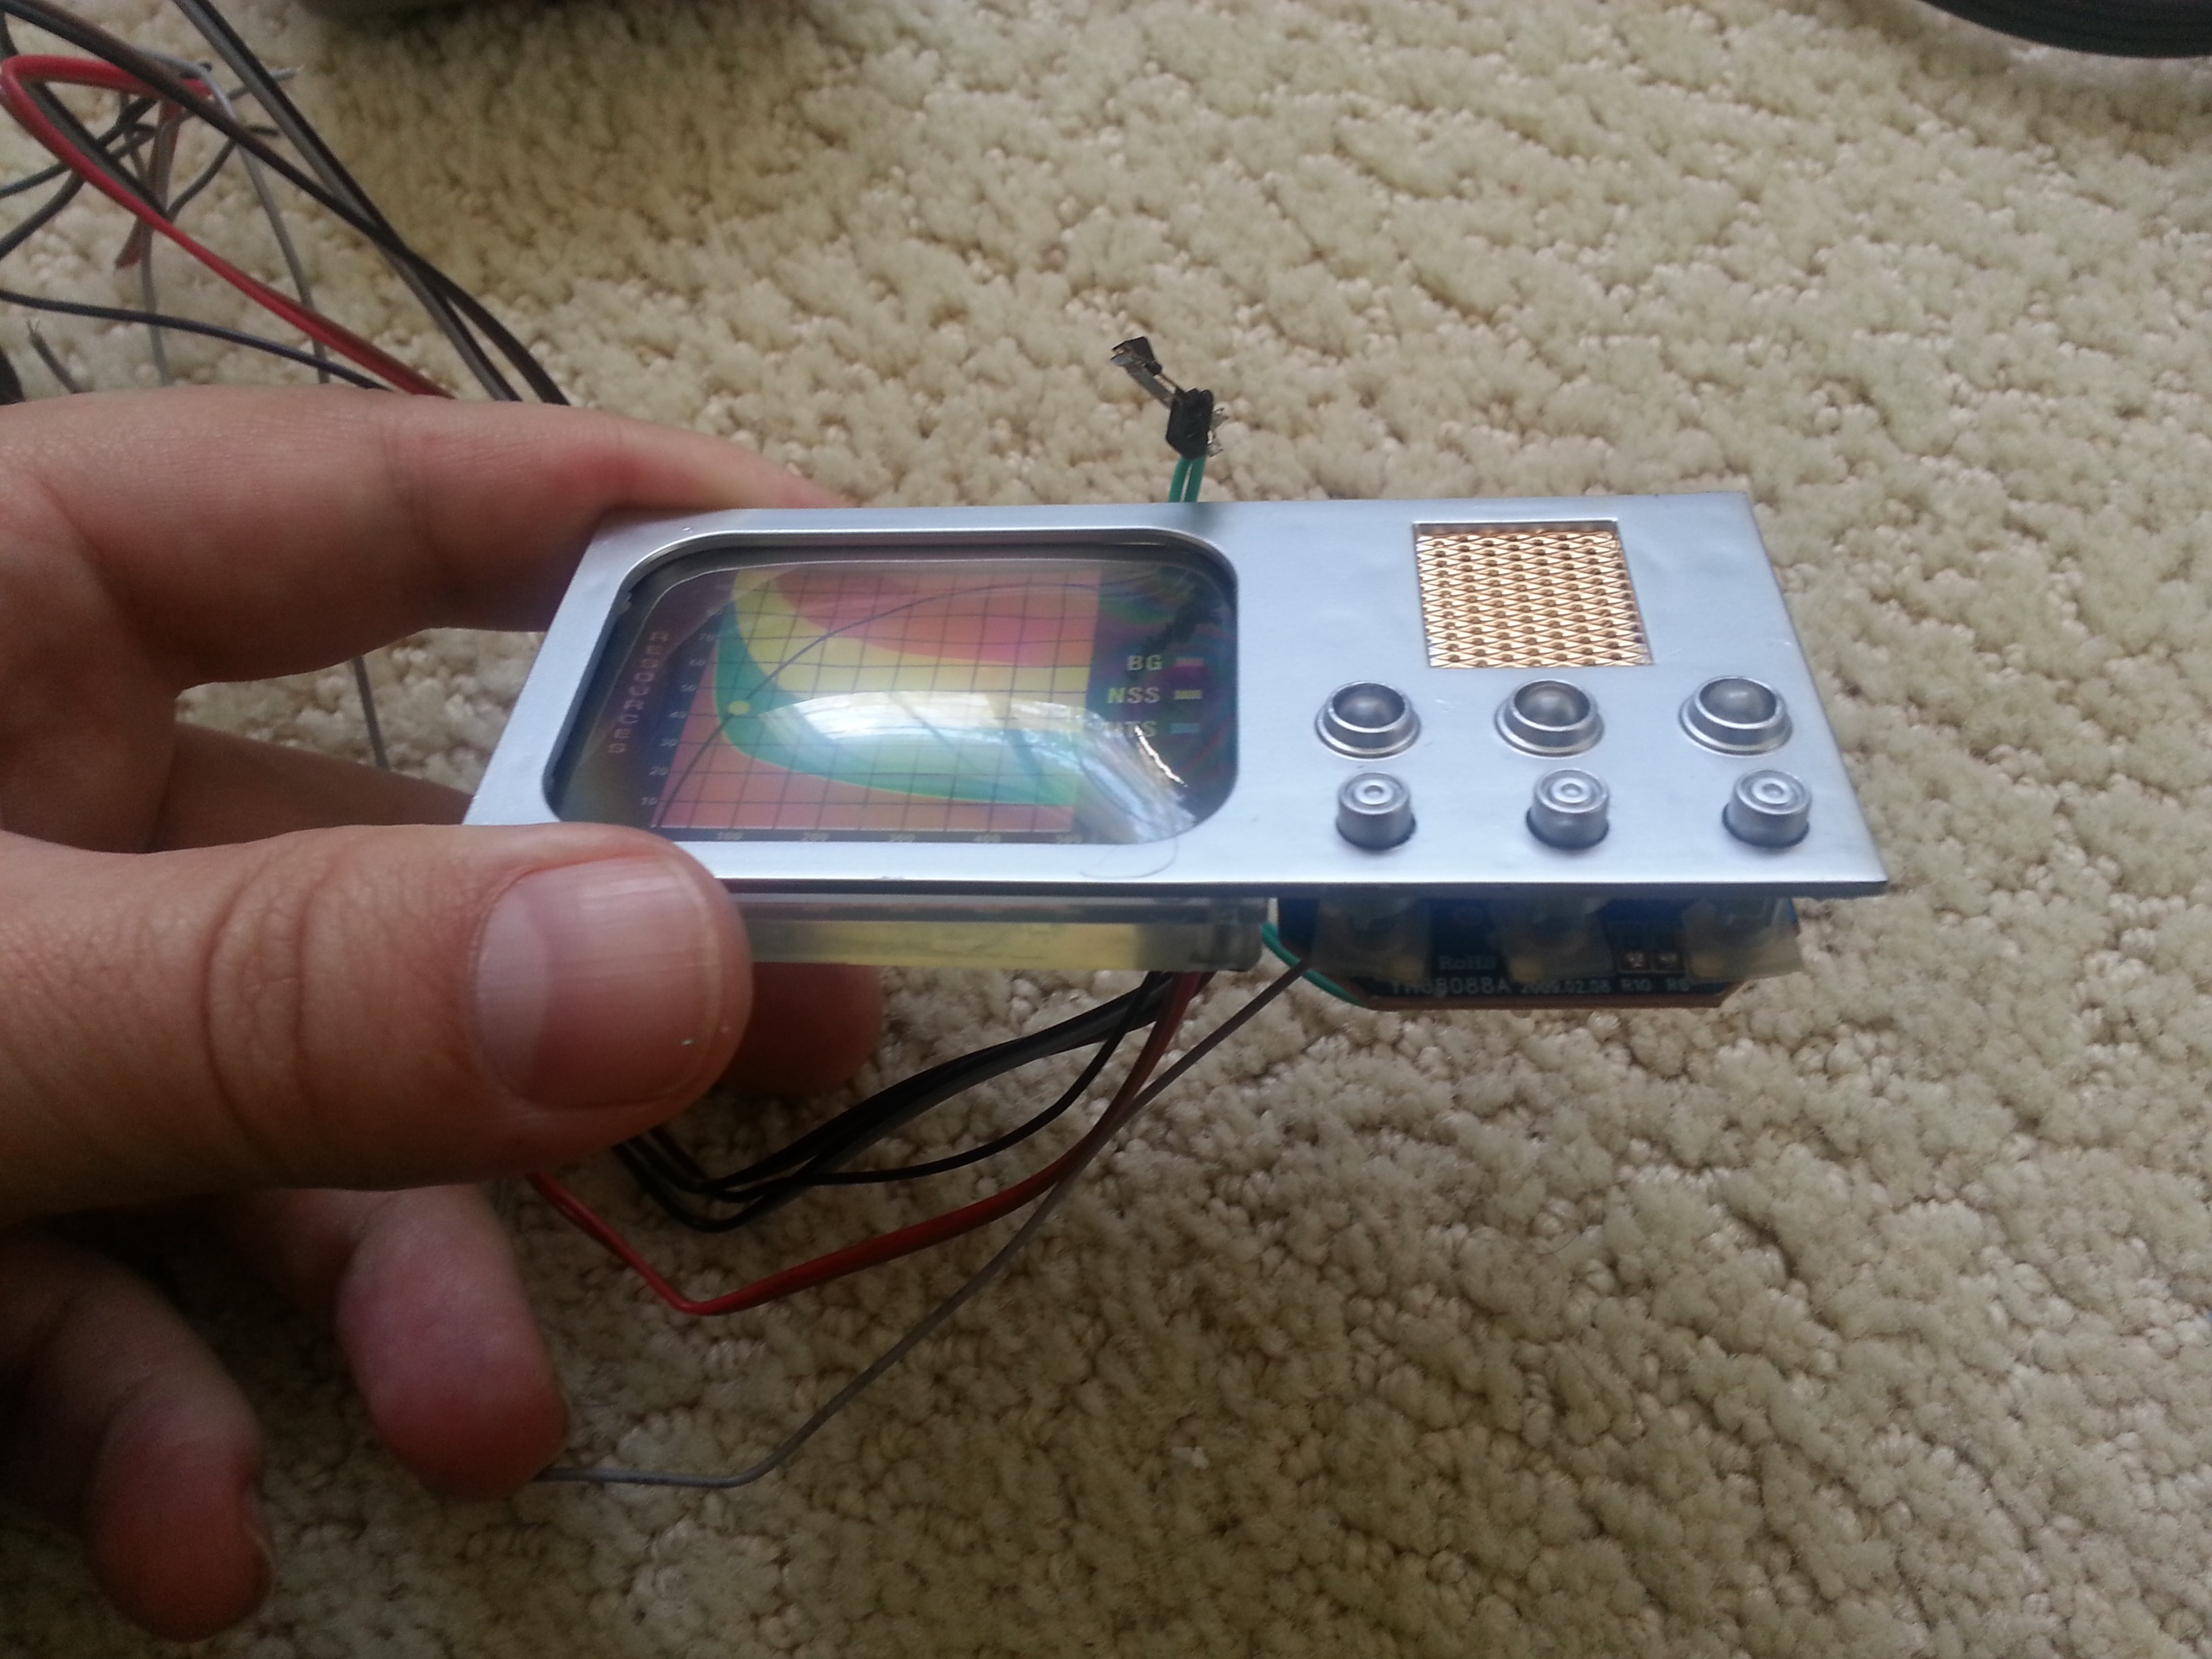
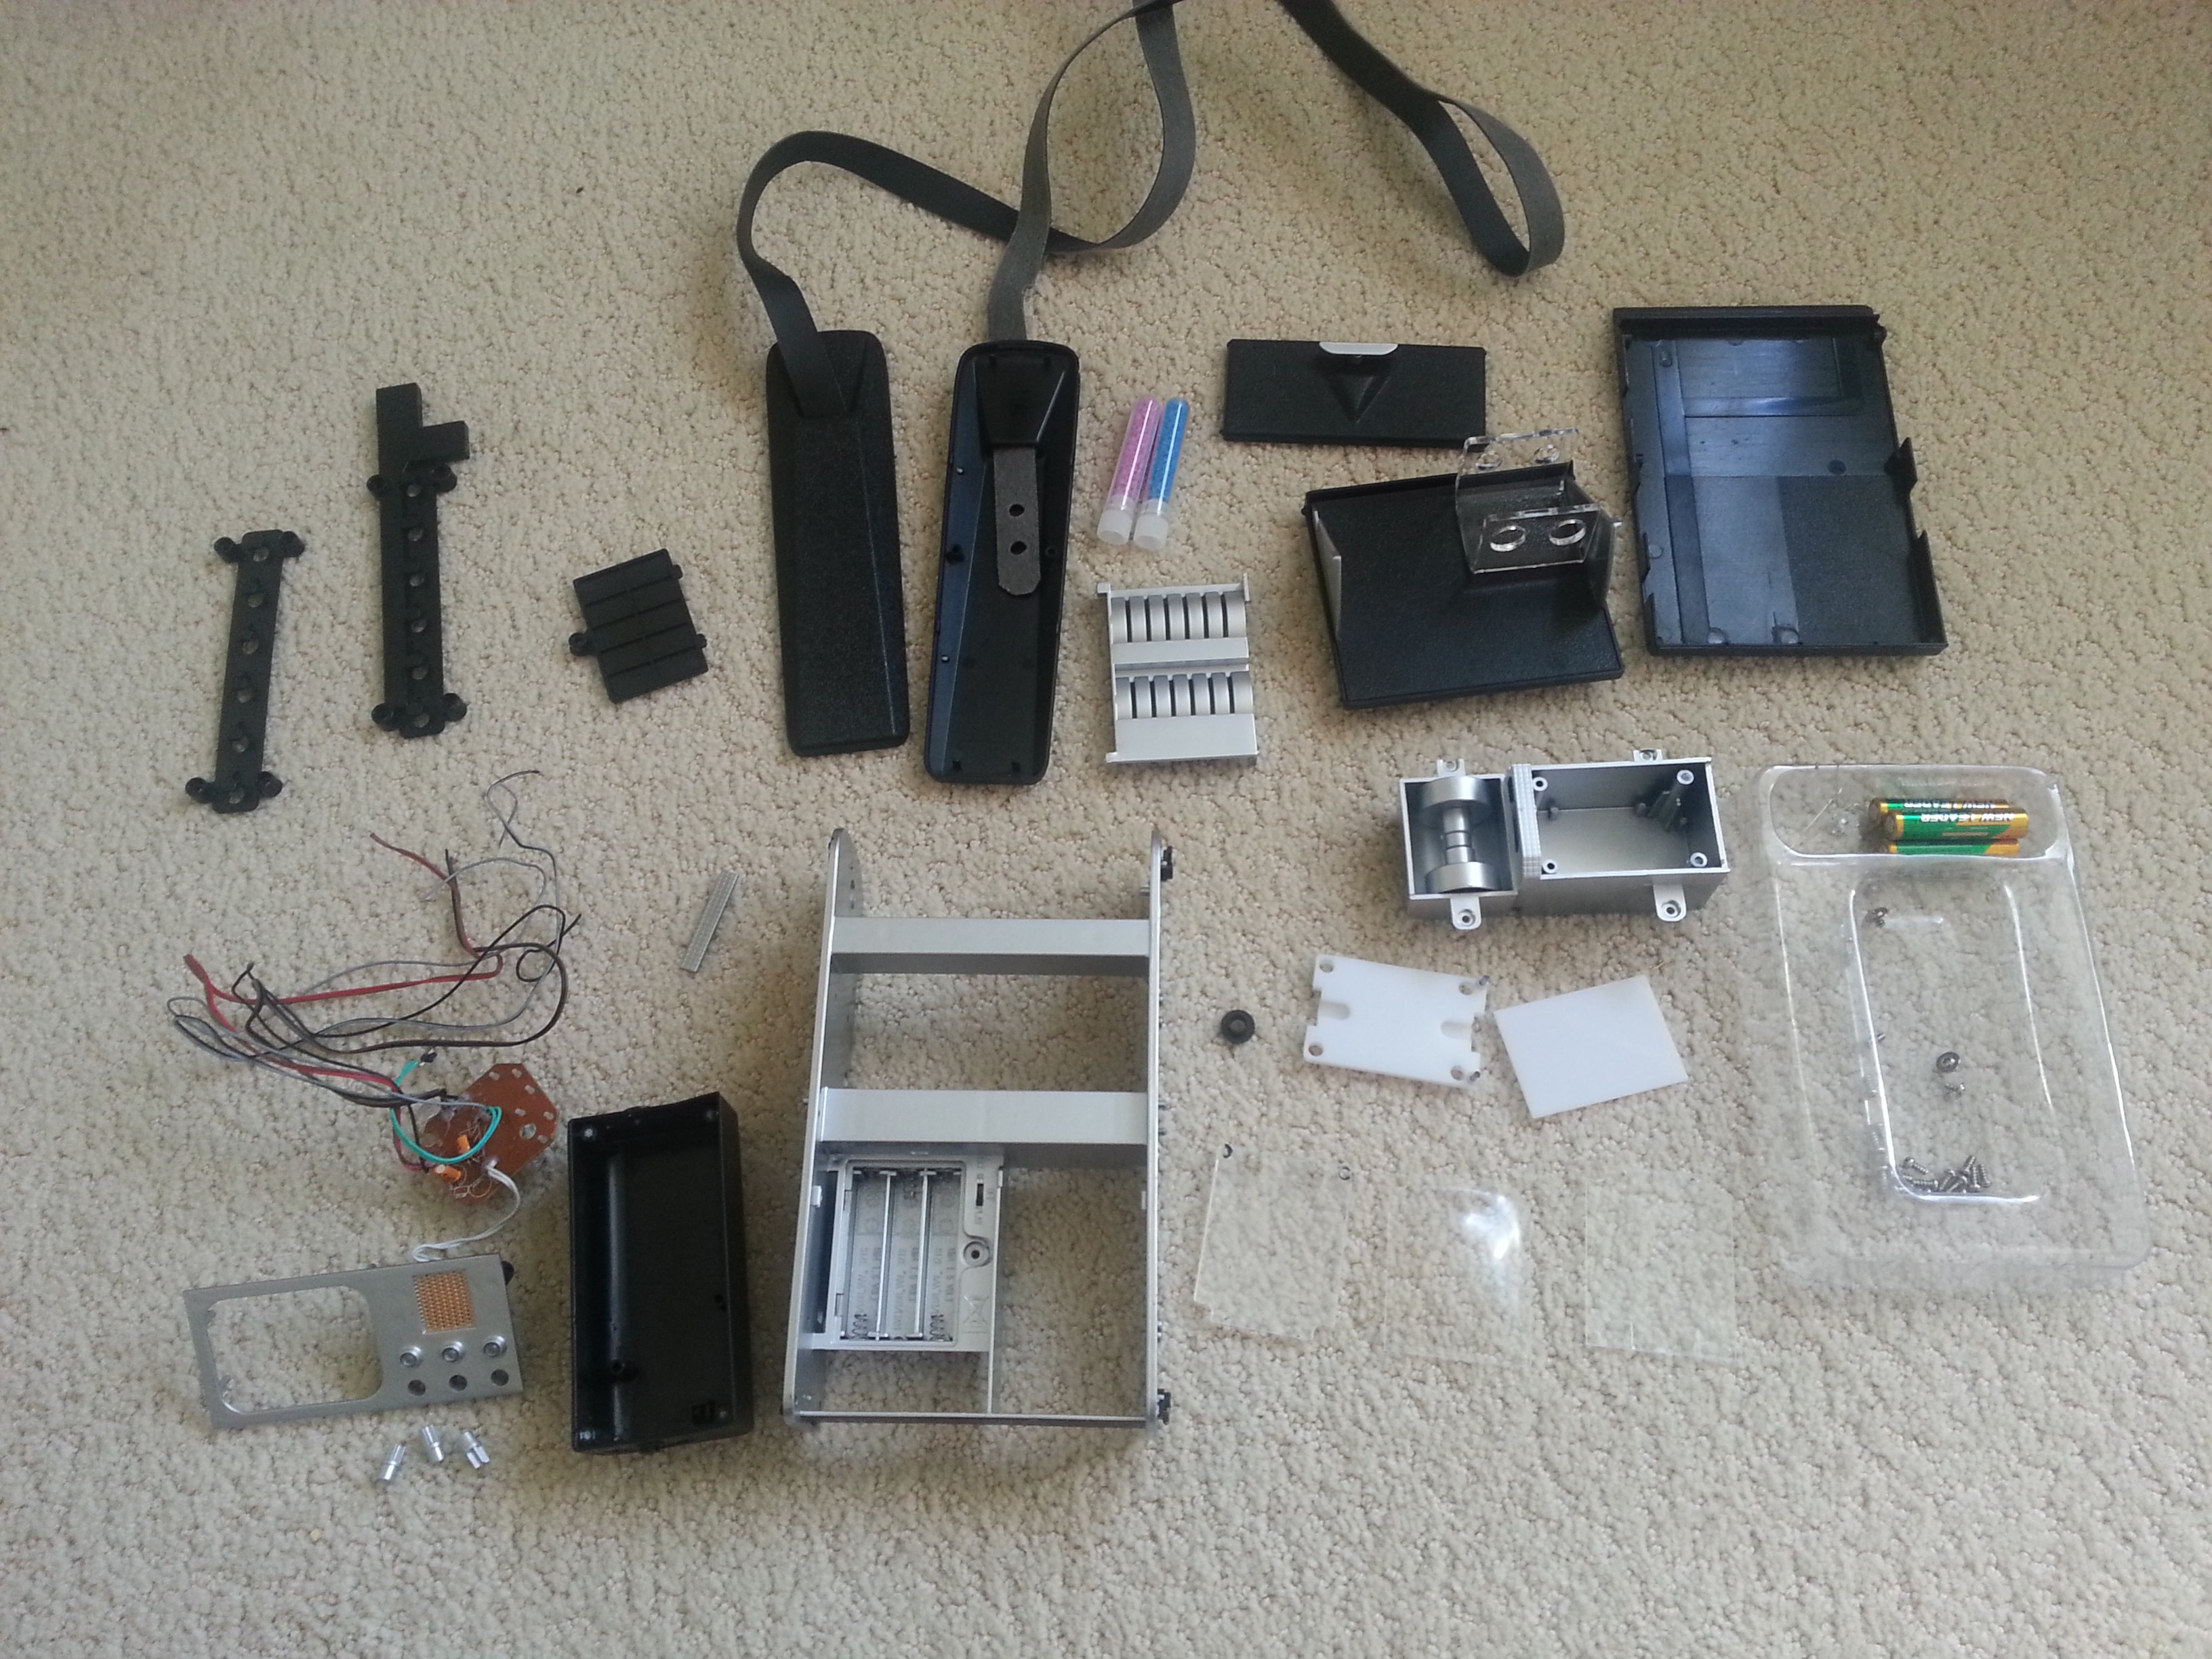
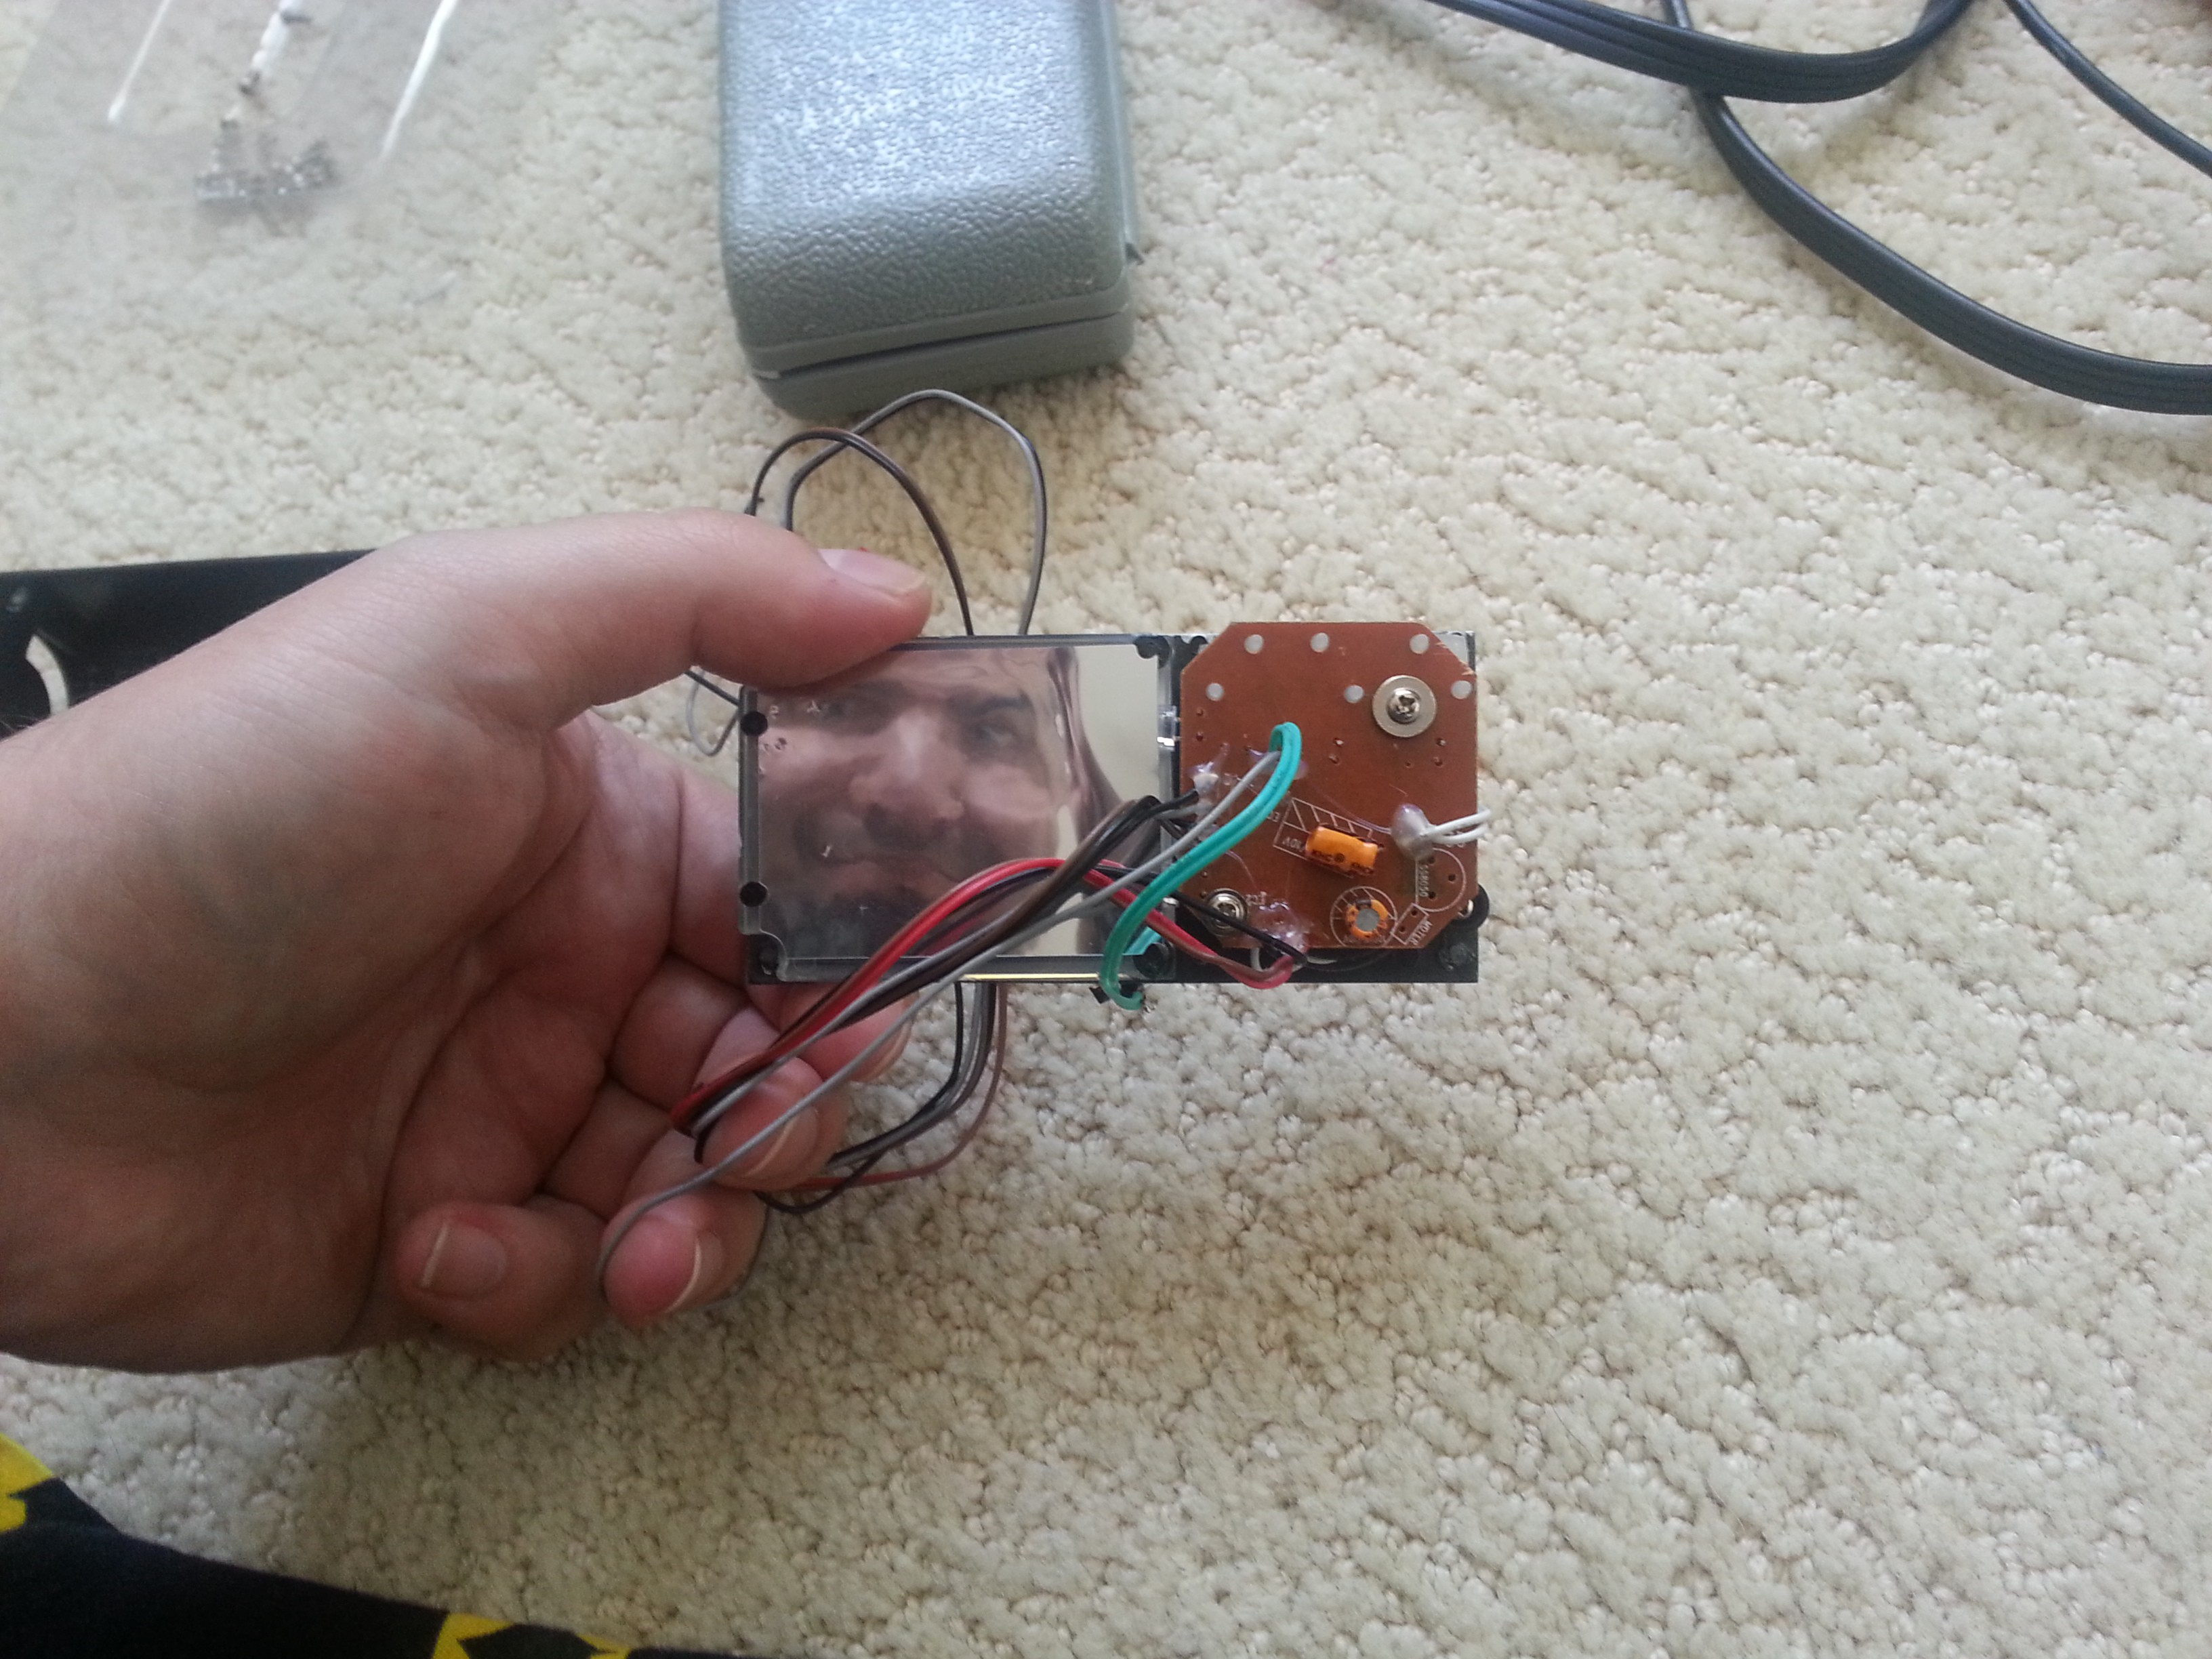 Finally, with everything disassembled, here's what it all looks like.
Next log: we introduce the Pi, and start irreversibly breaking our toys. ^_^
Discussions
Become a Hackaday.io Member
Create an account to leave a comment. Already have an account? Log In.